1984 Find and Build Up
 09-08-2013, 07:06 AM
#1
Registered User
Thread Starter
Join Date: Oct 2009
Location: Houston, TX
Posts: 76
Likes: 0
Received 0 Likes
on
0 Posts
1984 Find and Build Up
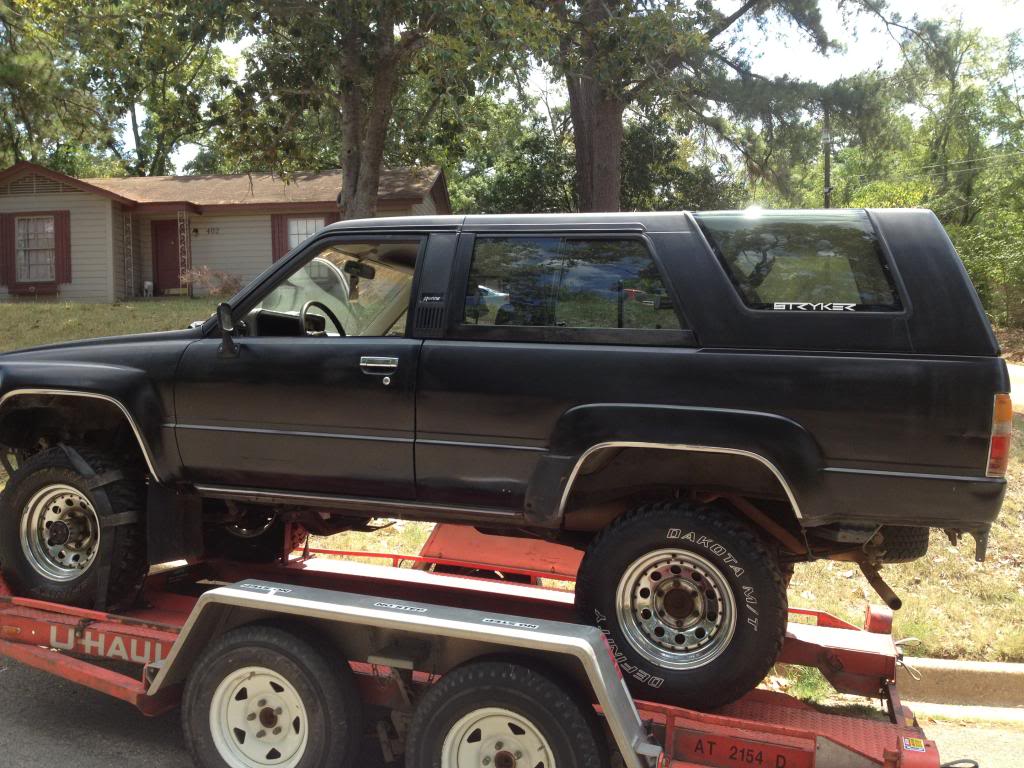
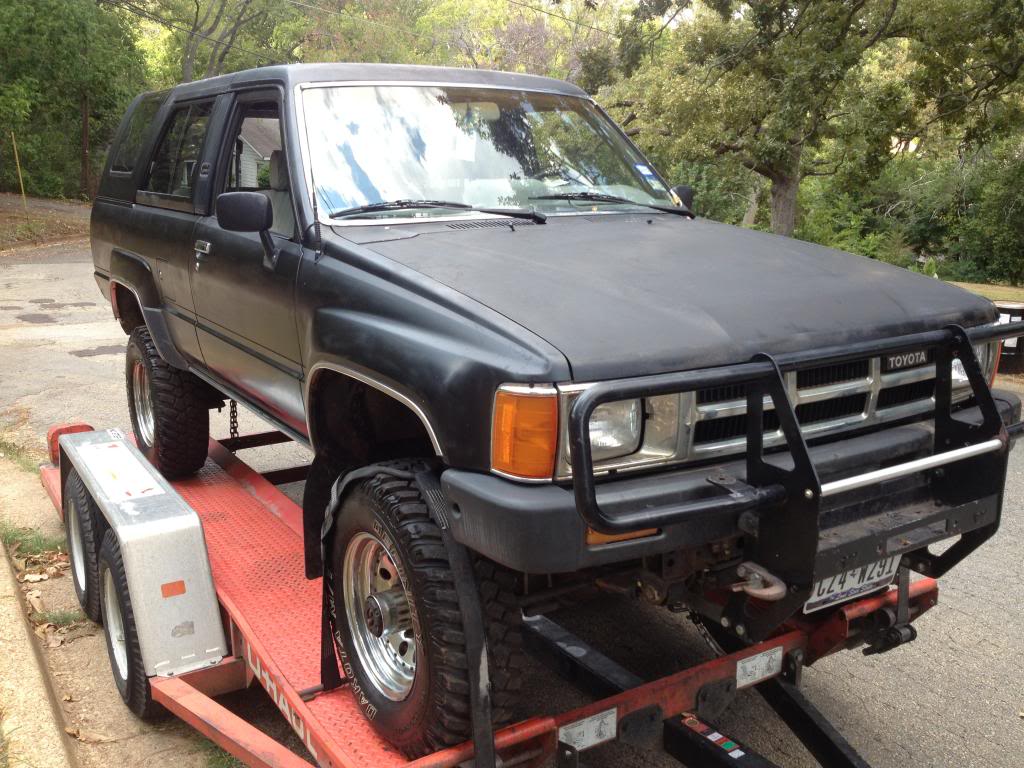
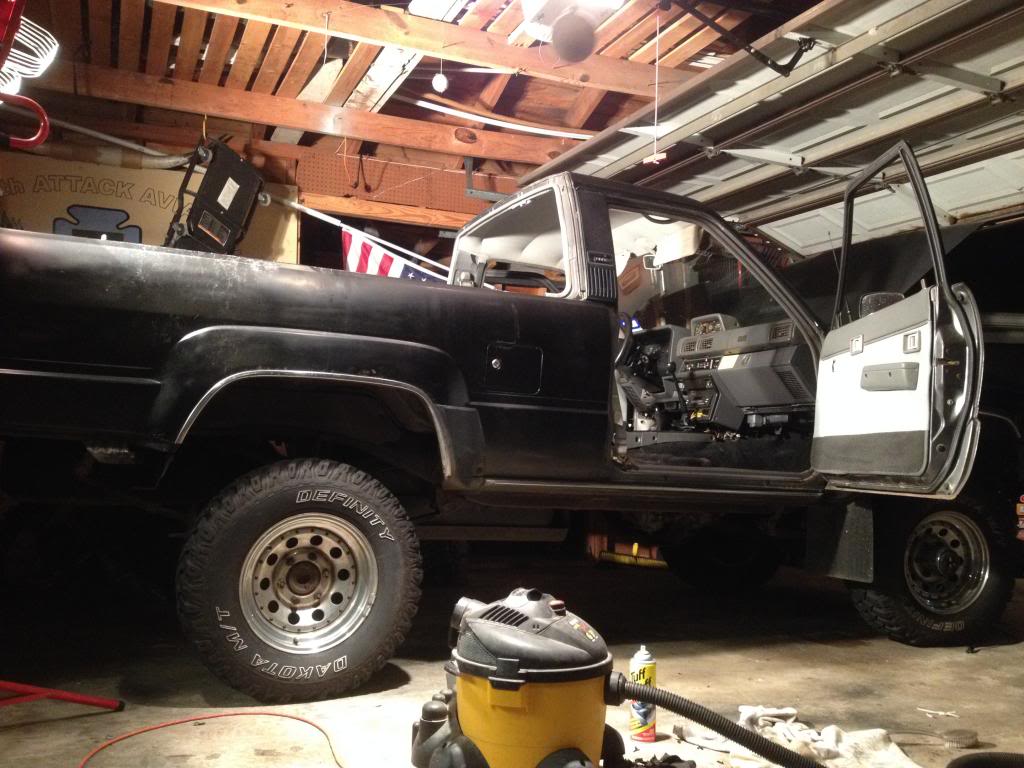
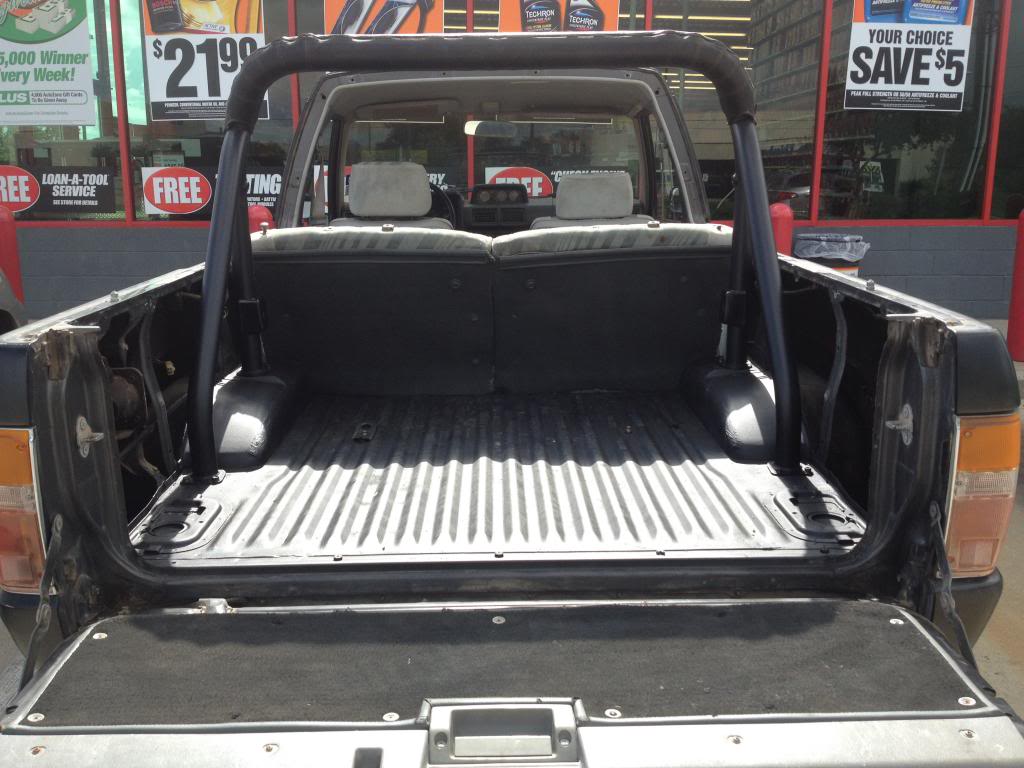
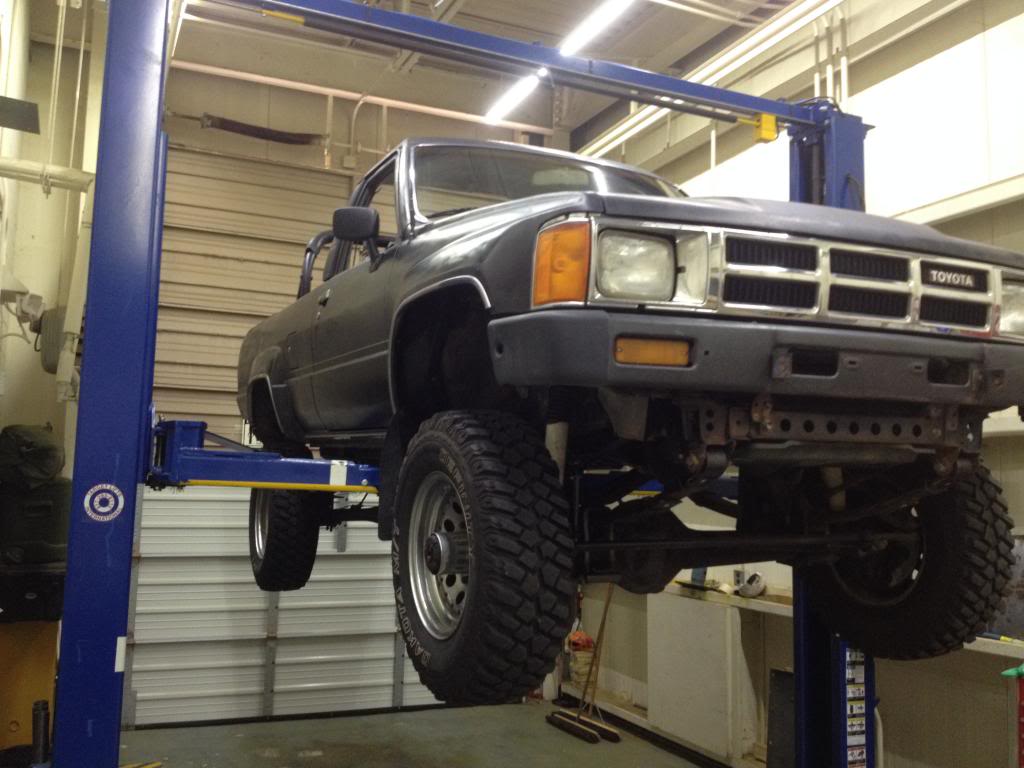
I have been looking for an unmolested first gen for about 2 years now, and finally found a good one. 6 hour road trip was worth the results.
1984 SR5 Mostly stock. Only mods are 4 in Downey Lift with larger tires and a Warn Winch Bumper. I also got a brand new in the box LC Engineering header kit that is sitting in the rear cab in the purchase.
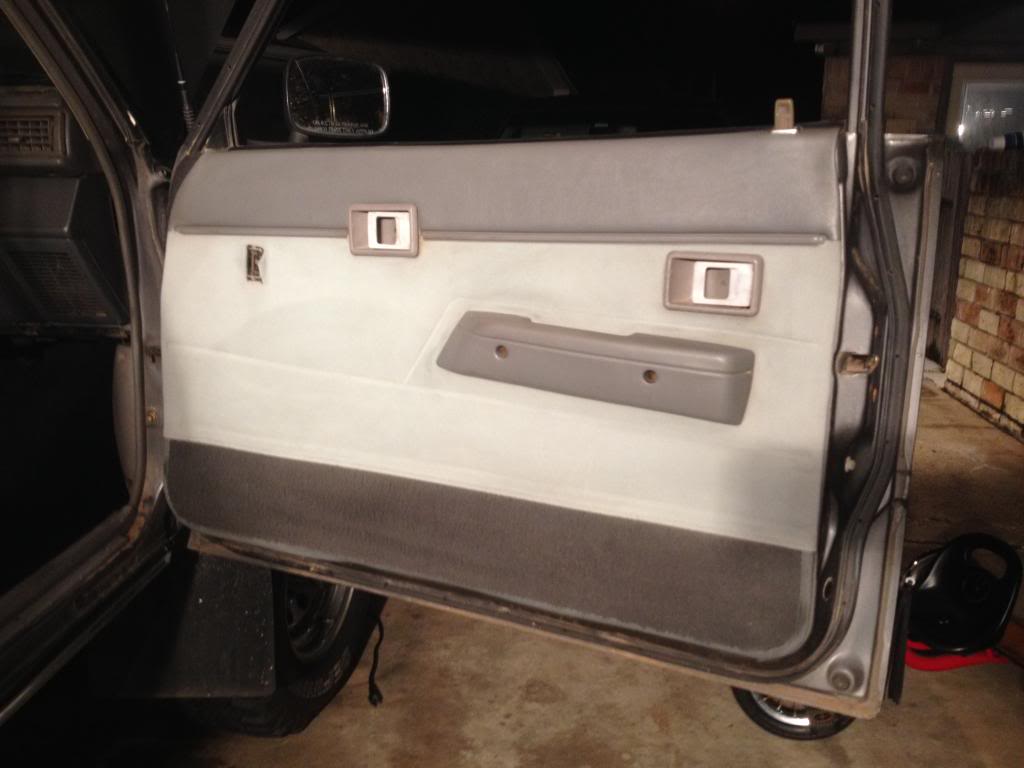
Everything else is bone stock. They even replaced the carb with a new Toyota carb! This truck was from west Texas so it has no rust (well maybe a very very small amount just showing on wheel well). Interior is in great condition only showing age on rear plastic panels that deteriorated from the sun. All power windows and gauges work.
The plan is to get this thing ready for a summer 2014 Rally.
So far, the schedule is this:
1. Clean Clean Clean I want to go through the engine bay and underneath to get rid of road grime and residual oil to identify any leaky seals or hoses.
2. Install LC Engineering emissions delete kit and LC Engineering header kit.
3. Remove all interior, clean metal and treat with rust preventative. Paint with black bedliner
4. Install diamond metal liners in place of the stock plastic liners that are head damaged and brittle.
5. Beef up stock rollbar with added metal
6. Reinstall interior (maybe some rally seats)
7. Find and install rear bumper
8. Exterior prep: sand to metal, treat any cancer, paint 2 tone (original phantom gray on top and black bottom and flares)
I'm sure this will change as time goes on, but that's it for now.
Looking forward to getting many ideas ant tips off of this forum


1984 SR5 Mostly stock. Only mods are 4 in Downey Lift with larger tires and a Warn Winch Bumper. I also got a brand new in the box LC Engineering header kit that is sitting in the rear cab in the purchase.
Everything else is bone stock. They even replaced the carb with a new Toyota carb! This truck was from west Texas so it has no rust (well maybe a very very small amount just showing on wheel well). Interior is in great condition only showing age on rear plastic panels that deteriorated from the sun. All power windows and gauges work.
The plan is to get this thing ready for a summer 2014 Rally.
So far, the schedule is this:
1. Clean Clean Clean I want to go through the engine bay and underneath to get rid of road grime and residual oil to identify any leaky seals or hoses.
2. Install LC Engineering emissions delete kit and LC Engineering header kit.
3. Remove all interior, clean metal and treat with rust preventative. Paint with black bedliner
4. Install diamond metal liners in place of the stock plastic liners that are head damaged and brittle.
5. Beef up stock rollbar with added metal
6. Reinstall interior (maybe some rally seats)
7. Find and install rear bumper
8. Exterior prep: sand to metal, treat any cancer, paint 2 tone (original phantom gray on top and black bottom and flares)
I'm sure this will change as time goes on, but that's it for now.
Looking forward to getting many ideas ant tips off of this forum
 09-12-2013, 01:52 PM
#3
 10-04-2013, 12:26 PM
#5
Registered User
Thread Starter
Join Date: Oct 2009
Location: Houston, TX
Posts: 76
Likes: 0
Received 0 Likes
on
0 Posts
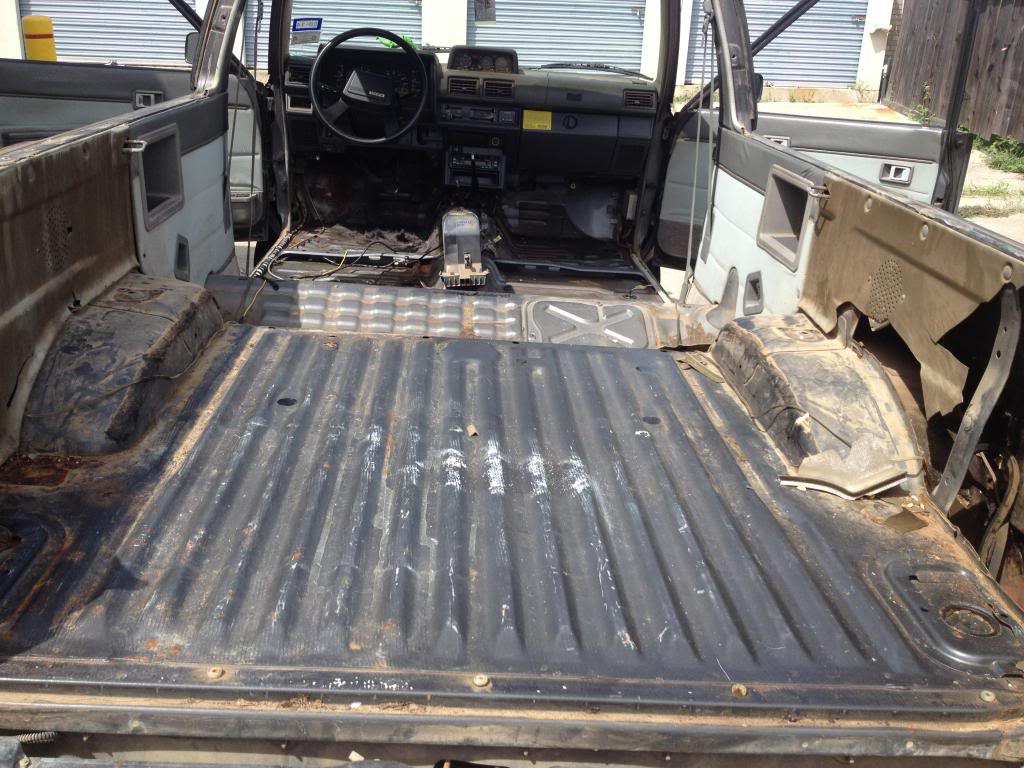
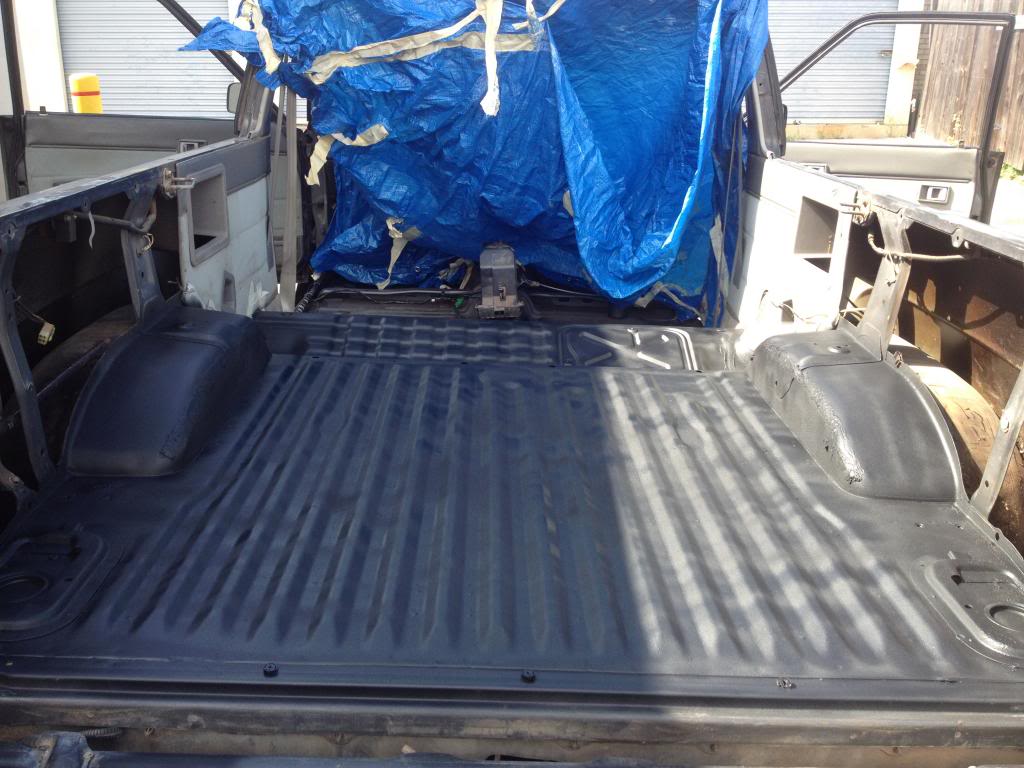
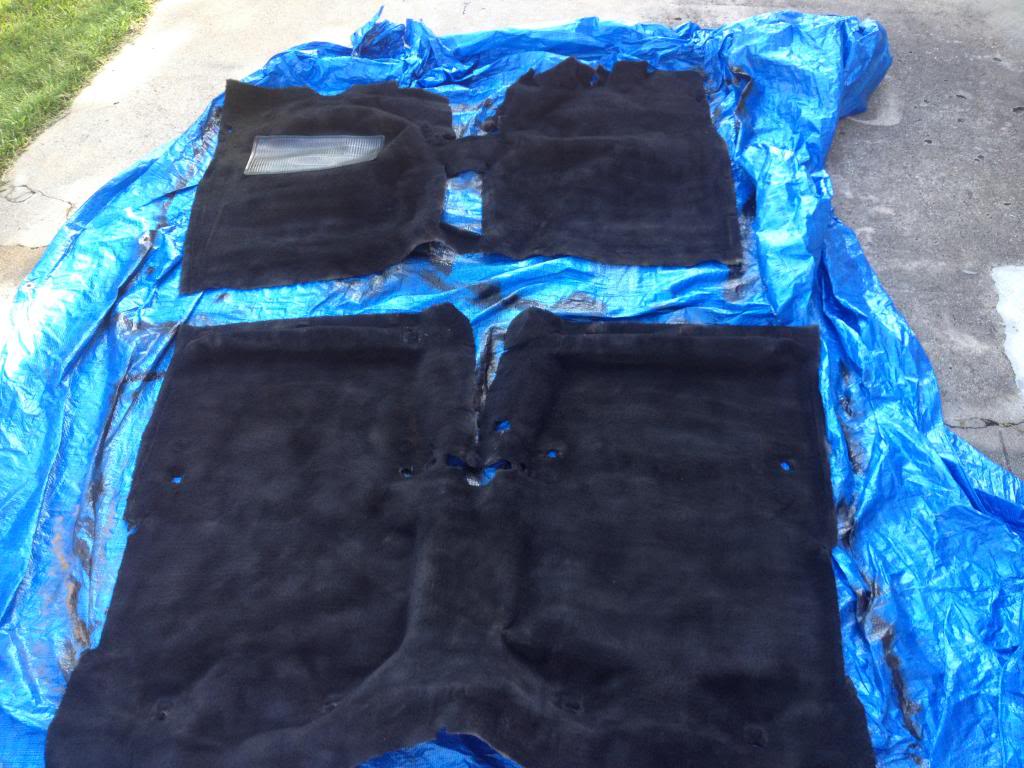
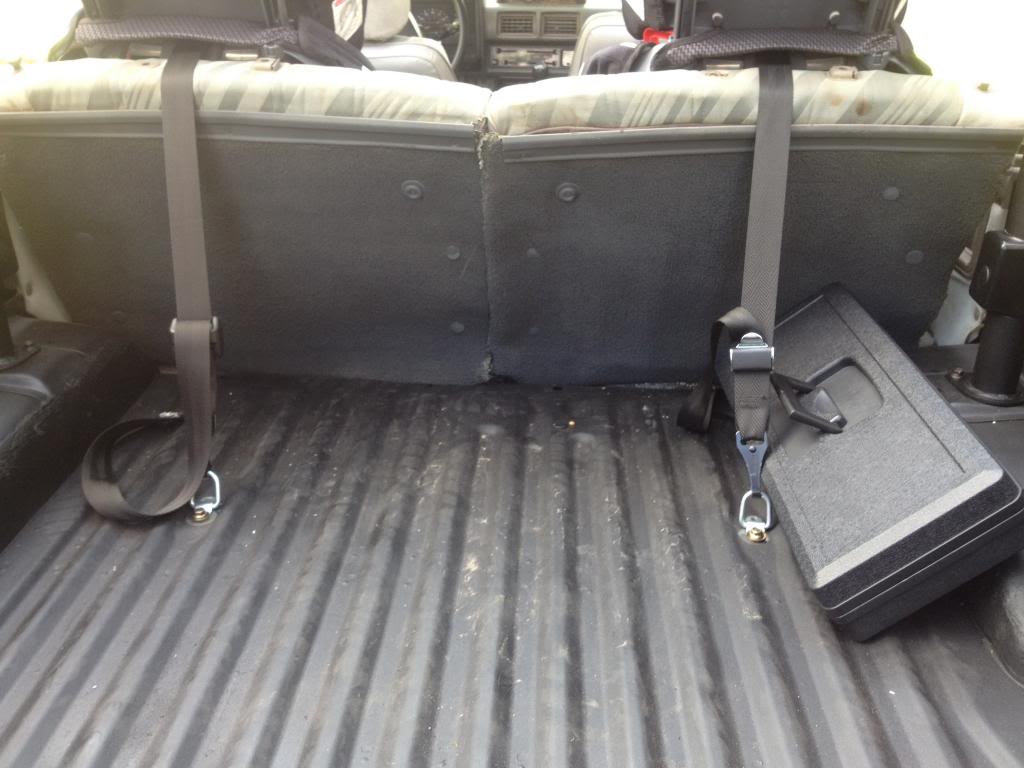
Then did some sanding and rust treatment. It was really in good shape. There was a small amount in the driver footwell and some on the bed. After grinding it down, I used some rust killer and then primed and painted it. I used some bedliner spray for the rear of the truck.
Trending Topics

 10-04-2013, 07:45 PM
#10

Good work so far!
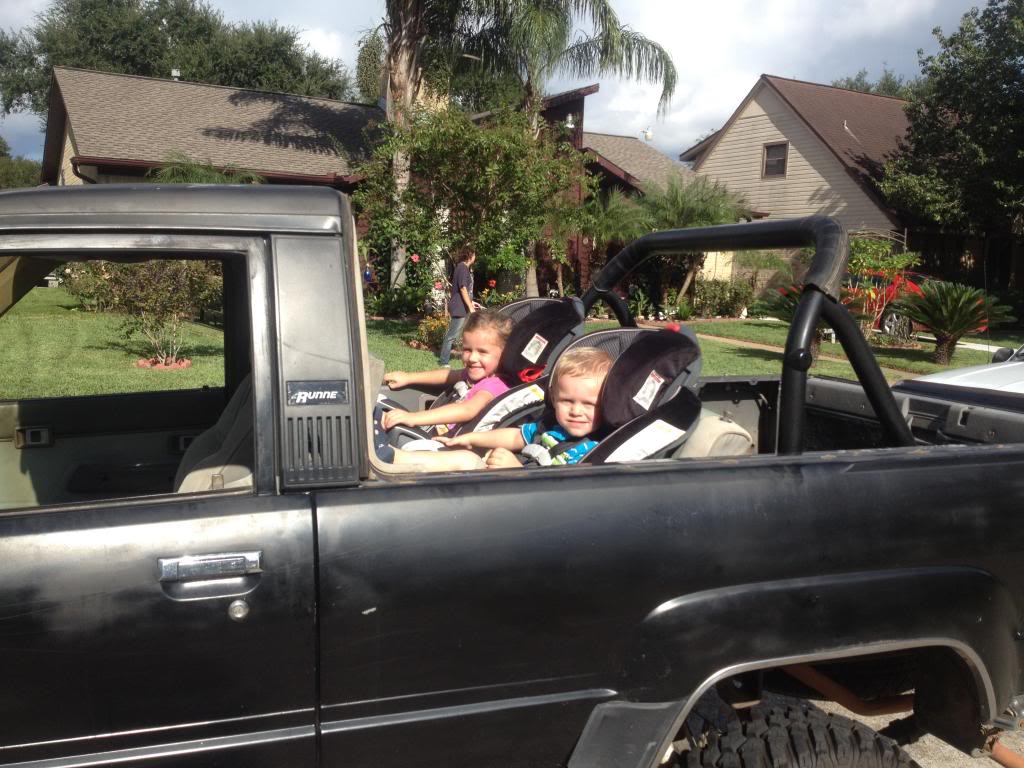
Haha love the dual kid seats in the back
Haha love the dual kid seats in the back
10-05-2013, 05:14 AM
#11
Registered User

Join Date: Aug 2013
Posts: 29
Likes: 0
Received 0 Likes
on
0 Posts
+1 and good to see they are "anchored" !
Maybe a little addition to roll bar in the future to keep the rascals extra safe in the event of rubber side up.
Dont want to scab the thread- but what kind of kids seats are those ? ( Im a little old- thinking for my grand kid(s) when they come out to wheel with grandpa.
10-05-2013, 05:42 AM
#12
Registered User
Thread Starter
Join Date: Oct 2009
Location: Houston, TX
Posts: 76
Likes: 0
Received 0 Likes
on
0 Posts
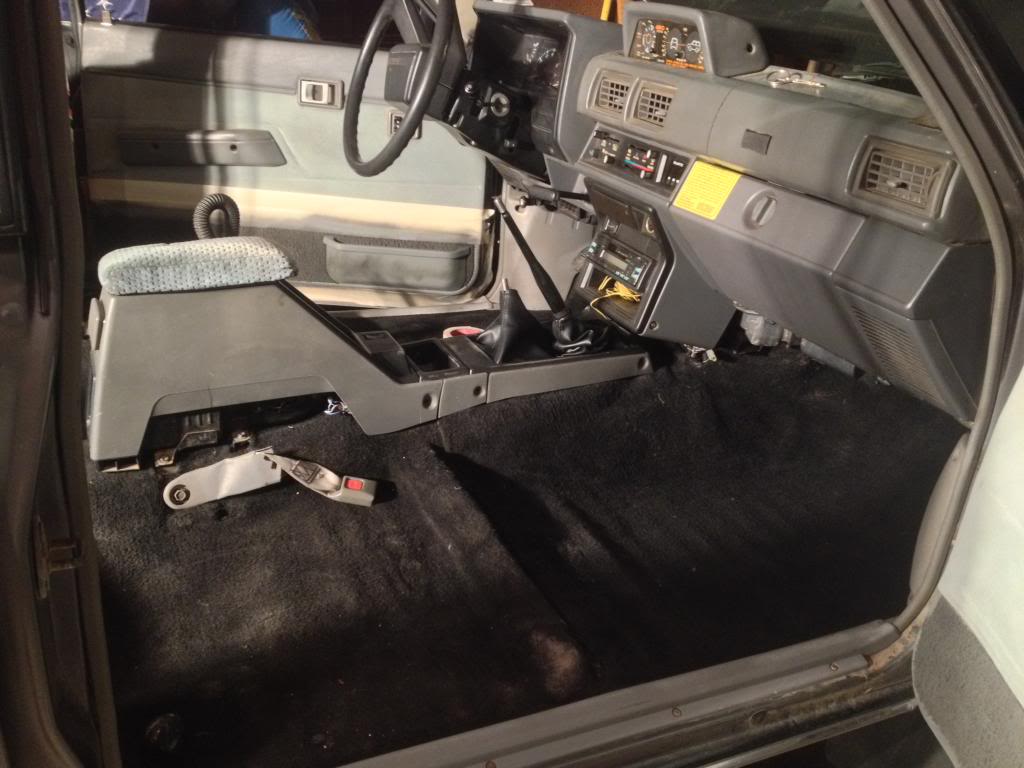
The whole purpose of this truck was to have fun with the family. My son loves Jeeps (he is 2), so I thought I would broaden his mind and show him the light. LOL
The bolt holes I used for the anchors are actually factory mounting points for car seat anchors. When you lift the carpet, you will see 2 holes covered with a paper sticker. They are threaded the same as the holes that bolt down the factory rollbar. I don't know if the truck came with the bolts and anchors originally, but those are long gone. Picked up supplies from Home Depot and off I go. Should be handy for strapping down gear also.
Car seats are top of the line Graco. They have lots of padding, adjustable head restraints, and lots of storage for goodies. I liked it so much for my daughter, I got the same one when my son was born 18mo later.
10-05-2013, 05:44 AM
#13
Registered User
Thread Starter
Join Date: Oct 2009
Location: Houston, TX
Posts: 76
Likes: 0
Received 0 Likes
on
0 Posts
Oh, and best thing so far is I did all this during the govt shutdown. As of today, they are talking about giving back pay to us all! Thanks Uncle Sam for the paid vacation to spend quality time with my family. After 21 years in the Military. I think I deserve it.
10-16-2013, 07:31 AM
#15
Registered User
Thread Starter
Join Date: Oct 2009
Location: Houston, TX
Posts: 76
Likes: 0
Received 0 Likes
on
0 Posts
Just converted AC from r-12 to r-134 using a kit from Autozone. Took the time to replace drier and every union I could get my hands on got new o-rings. Once I started filling with freon, compressor engaged and air got cold. Let's hope it holds!
10-26-2013, 04:19 AM
#16
Registered User
Thread Starter
Join Date: Oct 2009
Location: Houston, TX
Posts: 76
Likes: 0
Received 0 Likes
on
0 Posts
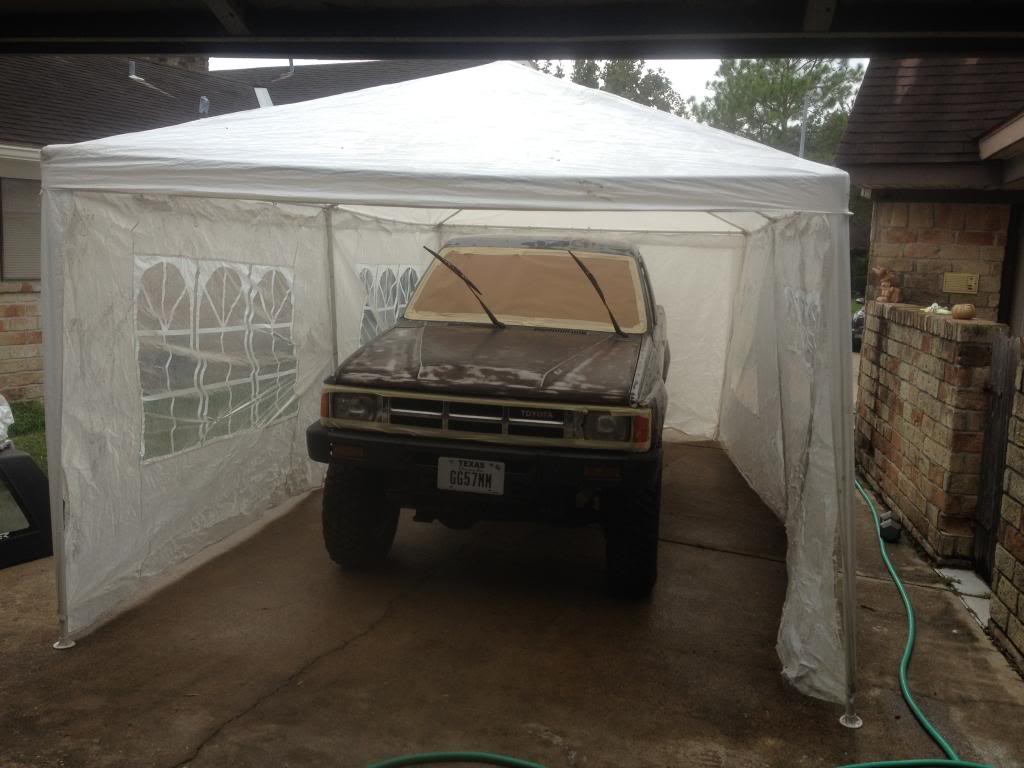
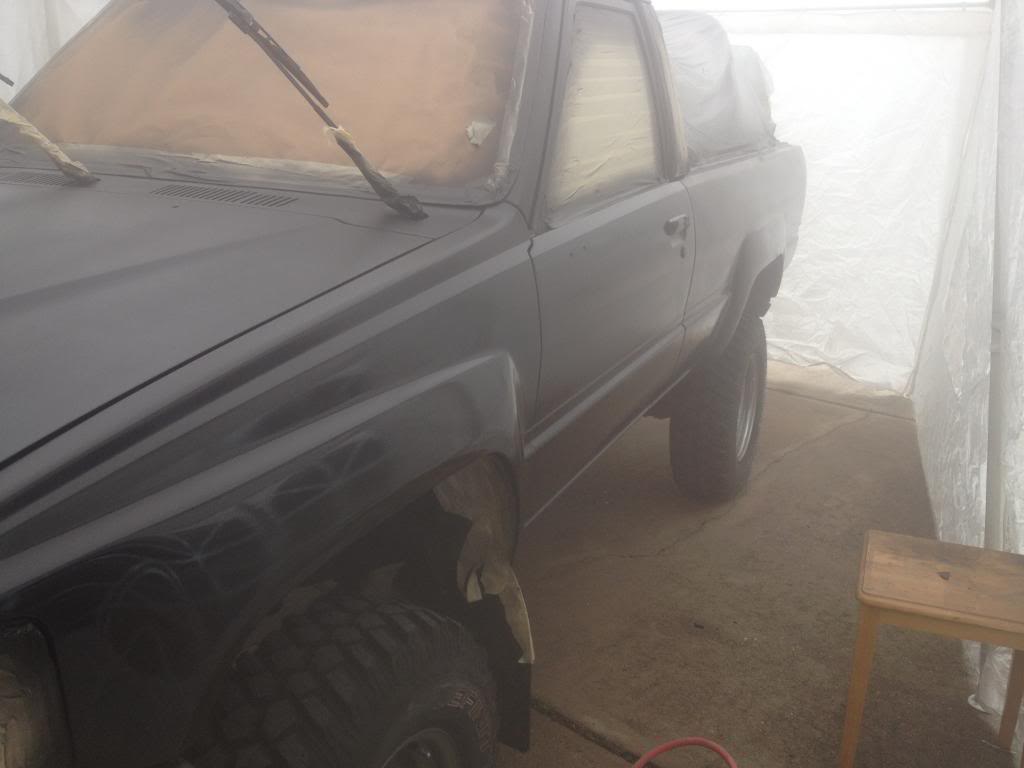
Garage paint job
Started the paint and body work. Not looking for showroom, so I did it all in my garage.
Started sanding an looking for any cancer to repair. Luckily it was just a few small areas around the fenders. I cut it out and replaced with some scrap aluminum I had laying around. Fiberglassed it in and skimmed with some body filler.
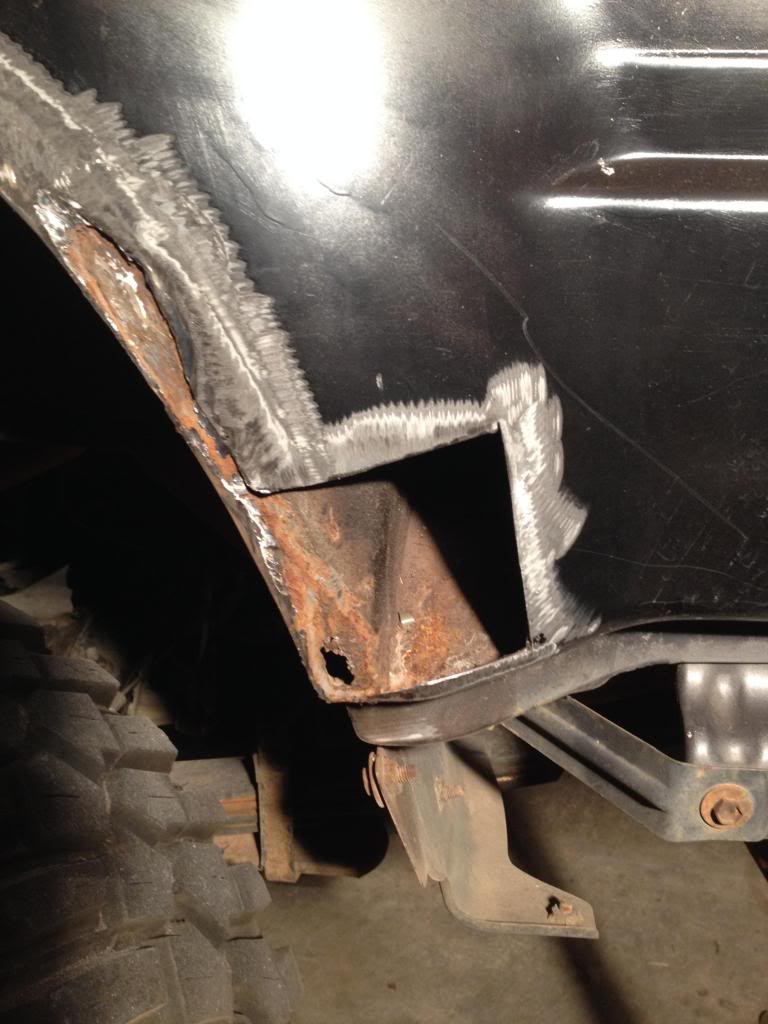
Started sanding an looking for any cancer to repair. Luckily it was just a few small areas around the fenders. I cut it out and replaced with some scrap aluminum I had laying around. Fiberglassed it in and skimmed with some body filler.
10-26-2013, 04:23 AM
#17
Registered User
Thread Starter
Join Date: Oct 2009
Location: Houston, TX
Posts: 76
Likes: 0
Received 0 Likes
on
0 Posts
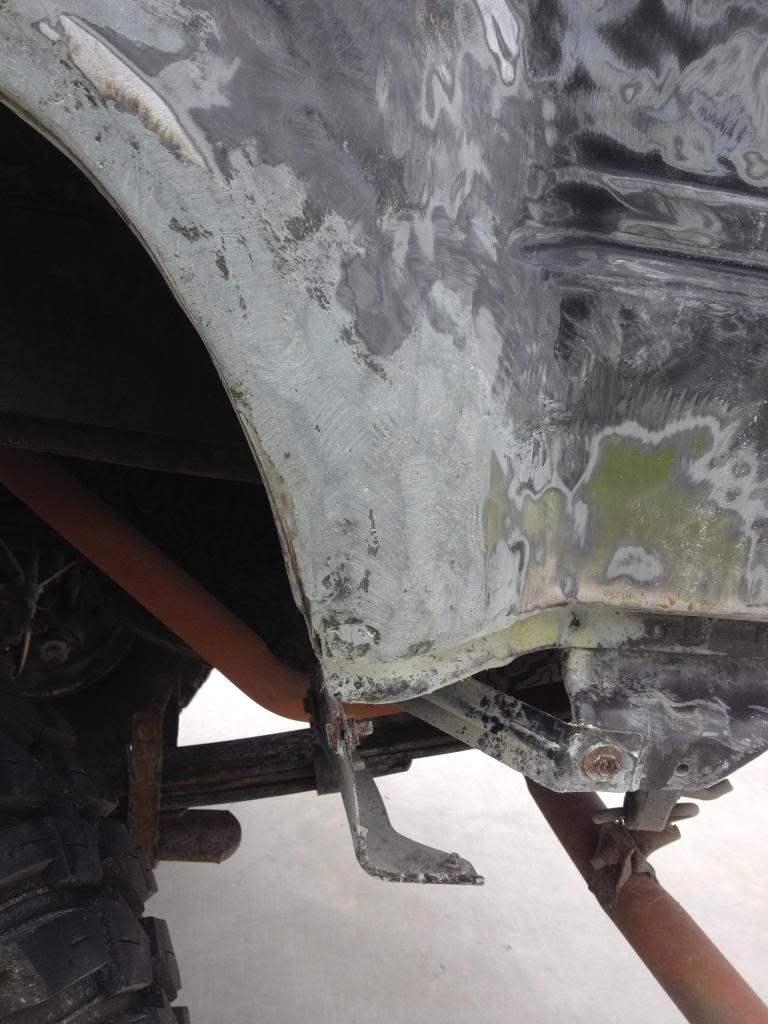
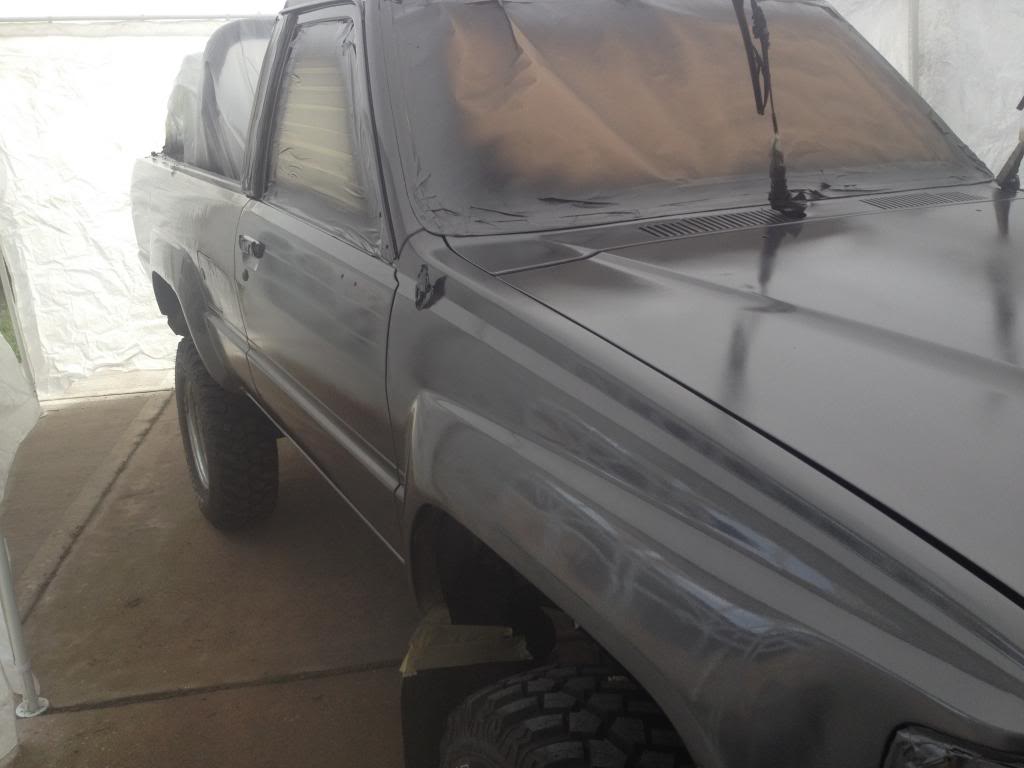
Quick day of sanding and prep before setting up my driveway paint booth. Found the rear fenders to be coated in filler as I started to sand. Probably should have spent another day on them, but don't have the time.
Gonna shoot with a black epoxy primer and a single stage paint. I am gonna do the factory metallic grey.
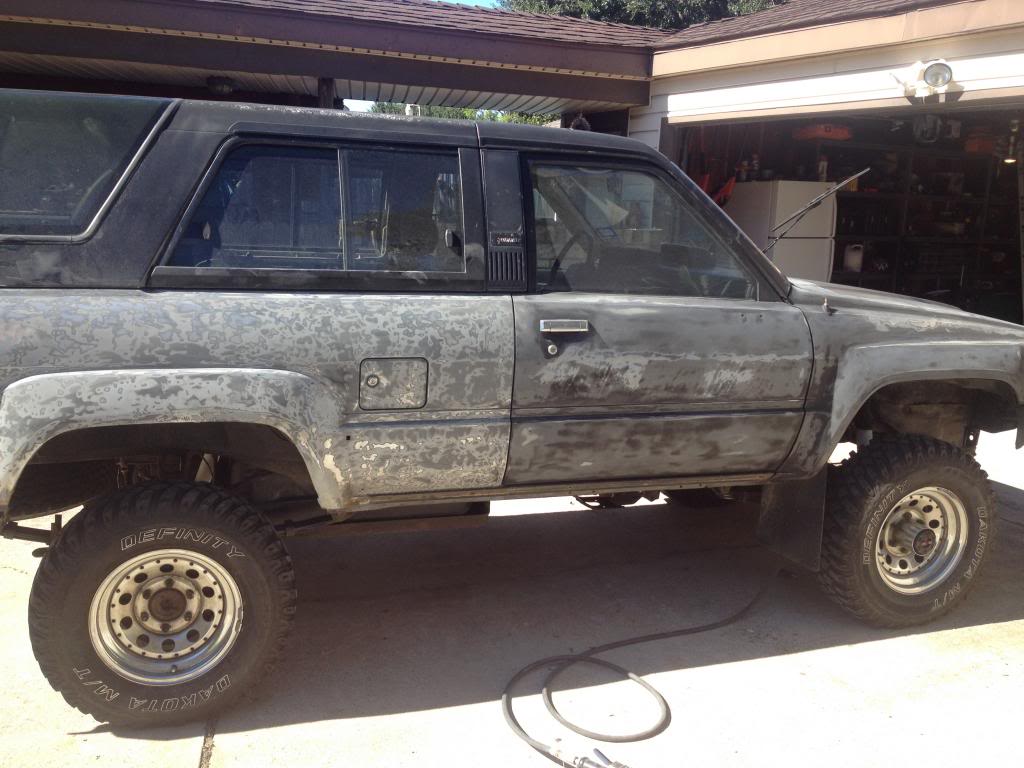
Gonna shoot with a black epoxy primer and a single stage paint. I am gonna do the factory metallic grey.
 10-26-2013, 12:56 PM
#20
Registered User
Looking good bud. Love those 1st gen Runners, even better when its a SFA. Looking forward to seeing more
I got hit by the Shutdown also but they still made us work. Federal Prison guard. back pay was nice tho
I got hit by the Shutdown also but they still made us work. Federal Prison guard. back pay was nice tho


