When you click on links to various merchants on this site and make a purchase, this can result in this site earning a commission. Affiliate programs and affiliations include, but are not limited to, the eBay Partner Network.
Groundpounder17[/color]]Whatever happened to Ey_Amigo?
I am alive! Haha I was literally thinking how I hadn't been on here and updated this thread in forever and then you posted this comment. I haven't touched the truck much and its been a crazy year but I'll post some updates and Ive got some time with all this COVID-19 stuff to crack back into my build. Thanks for the continued appreciation!
I was extremely busy preparing for cross state move from Chicago, IL to Nashville, TN. I basically did everything I could to make sure that the truck was a roller and could get down there on an auto trailer. I got the truck rolling quicker than I thought and in my last couple of weeks in Chicago tirelessly with the help of a buddy started cracking into the electrical and actually firing the engine up. Unfortunately we ran into a snag and weren't able to get it to fire with the MSD box set up before I moved. It's not getting spark and I think it might be a bad coil from the box?
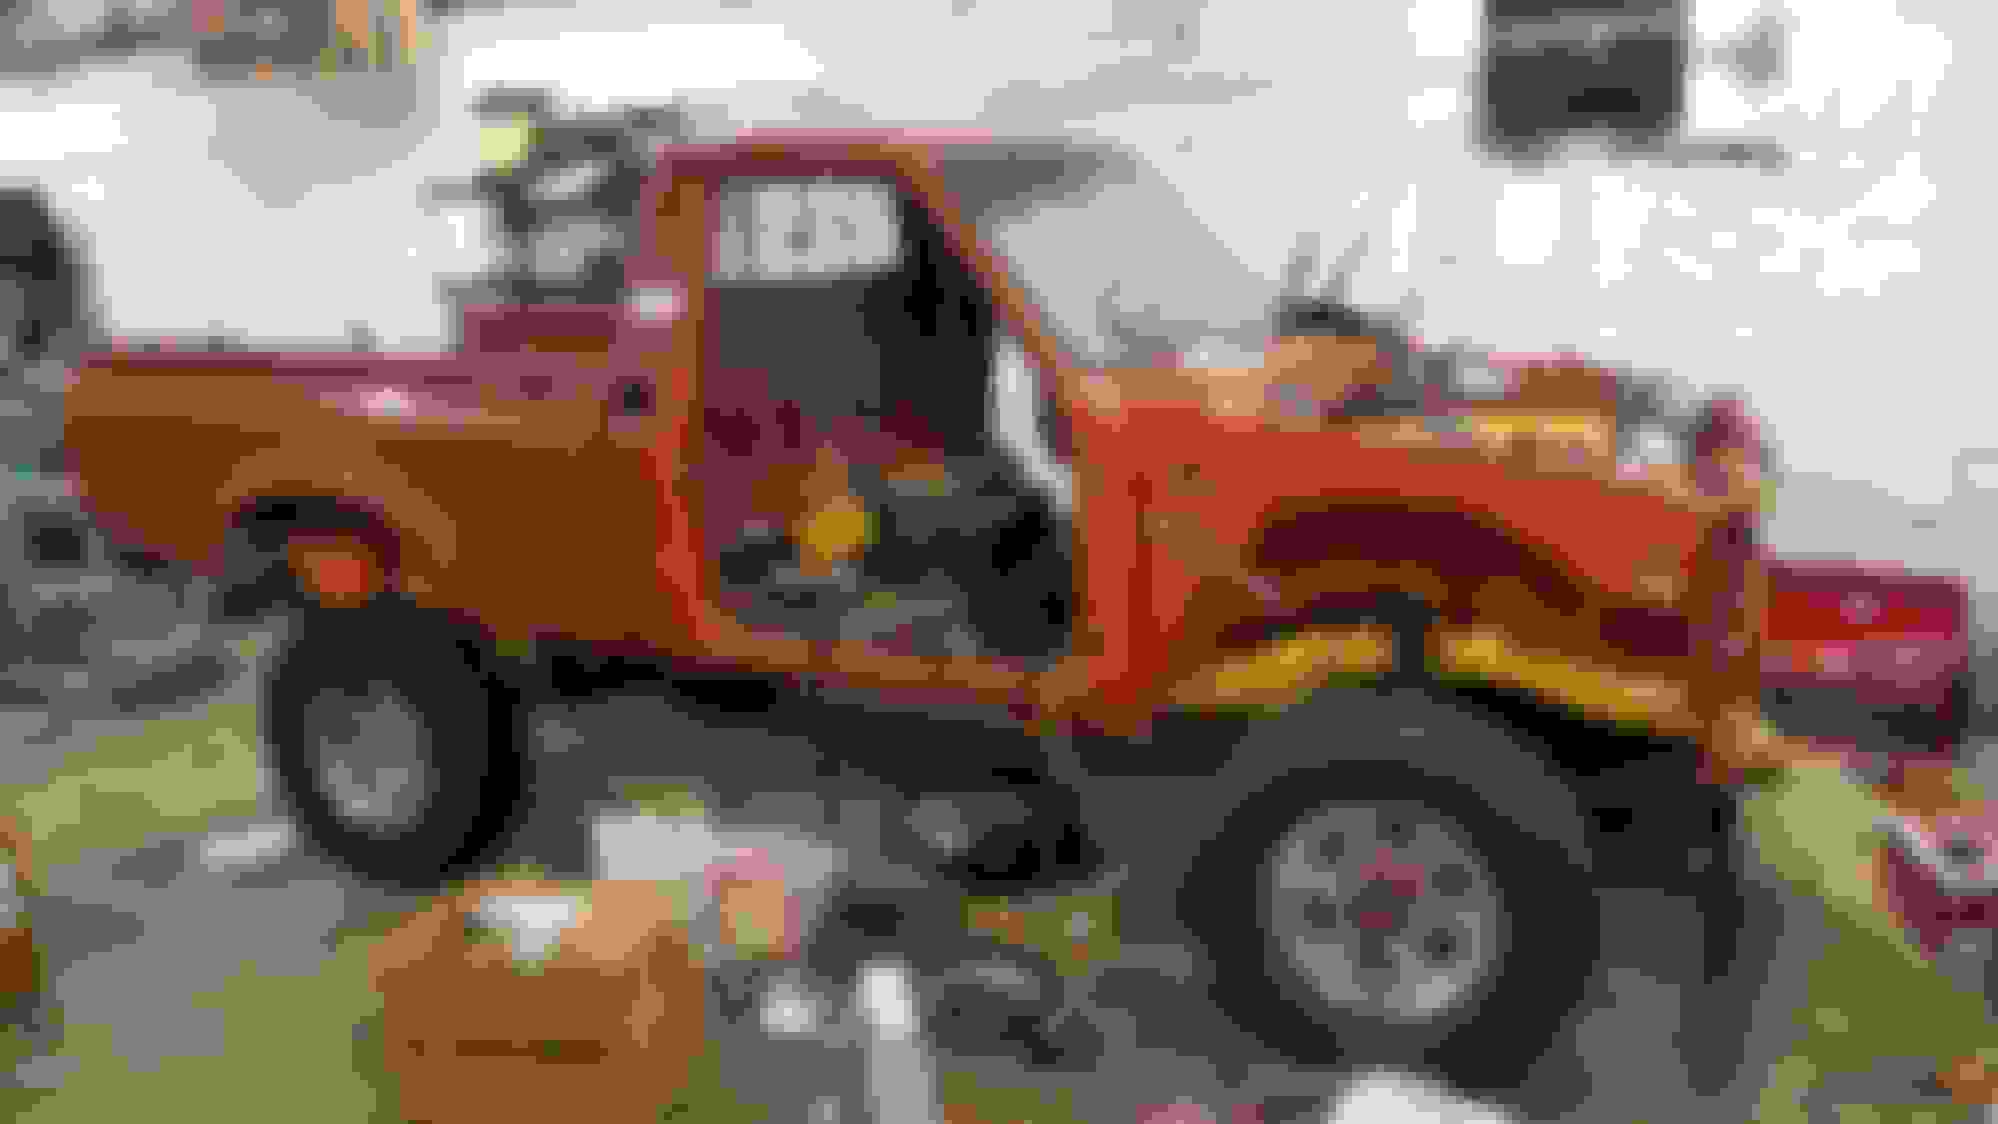
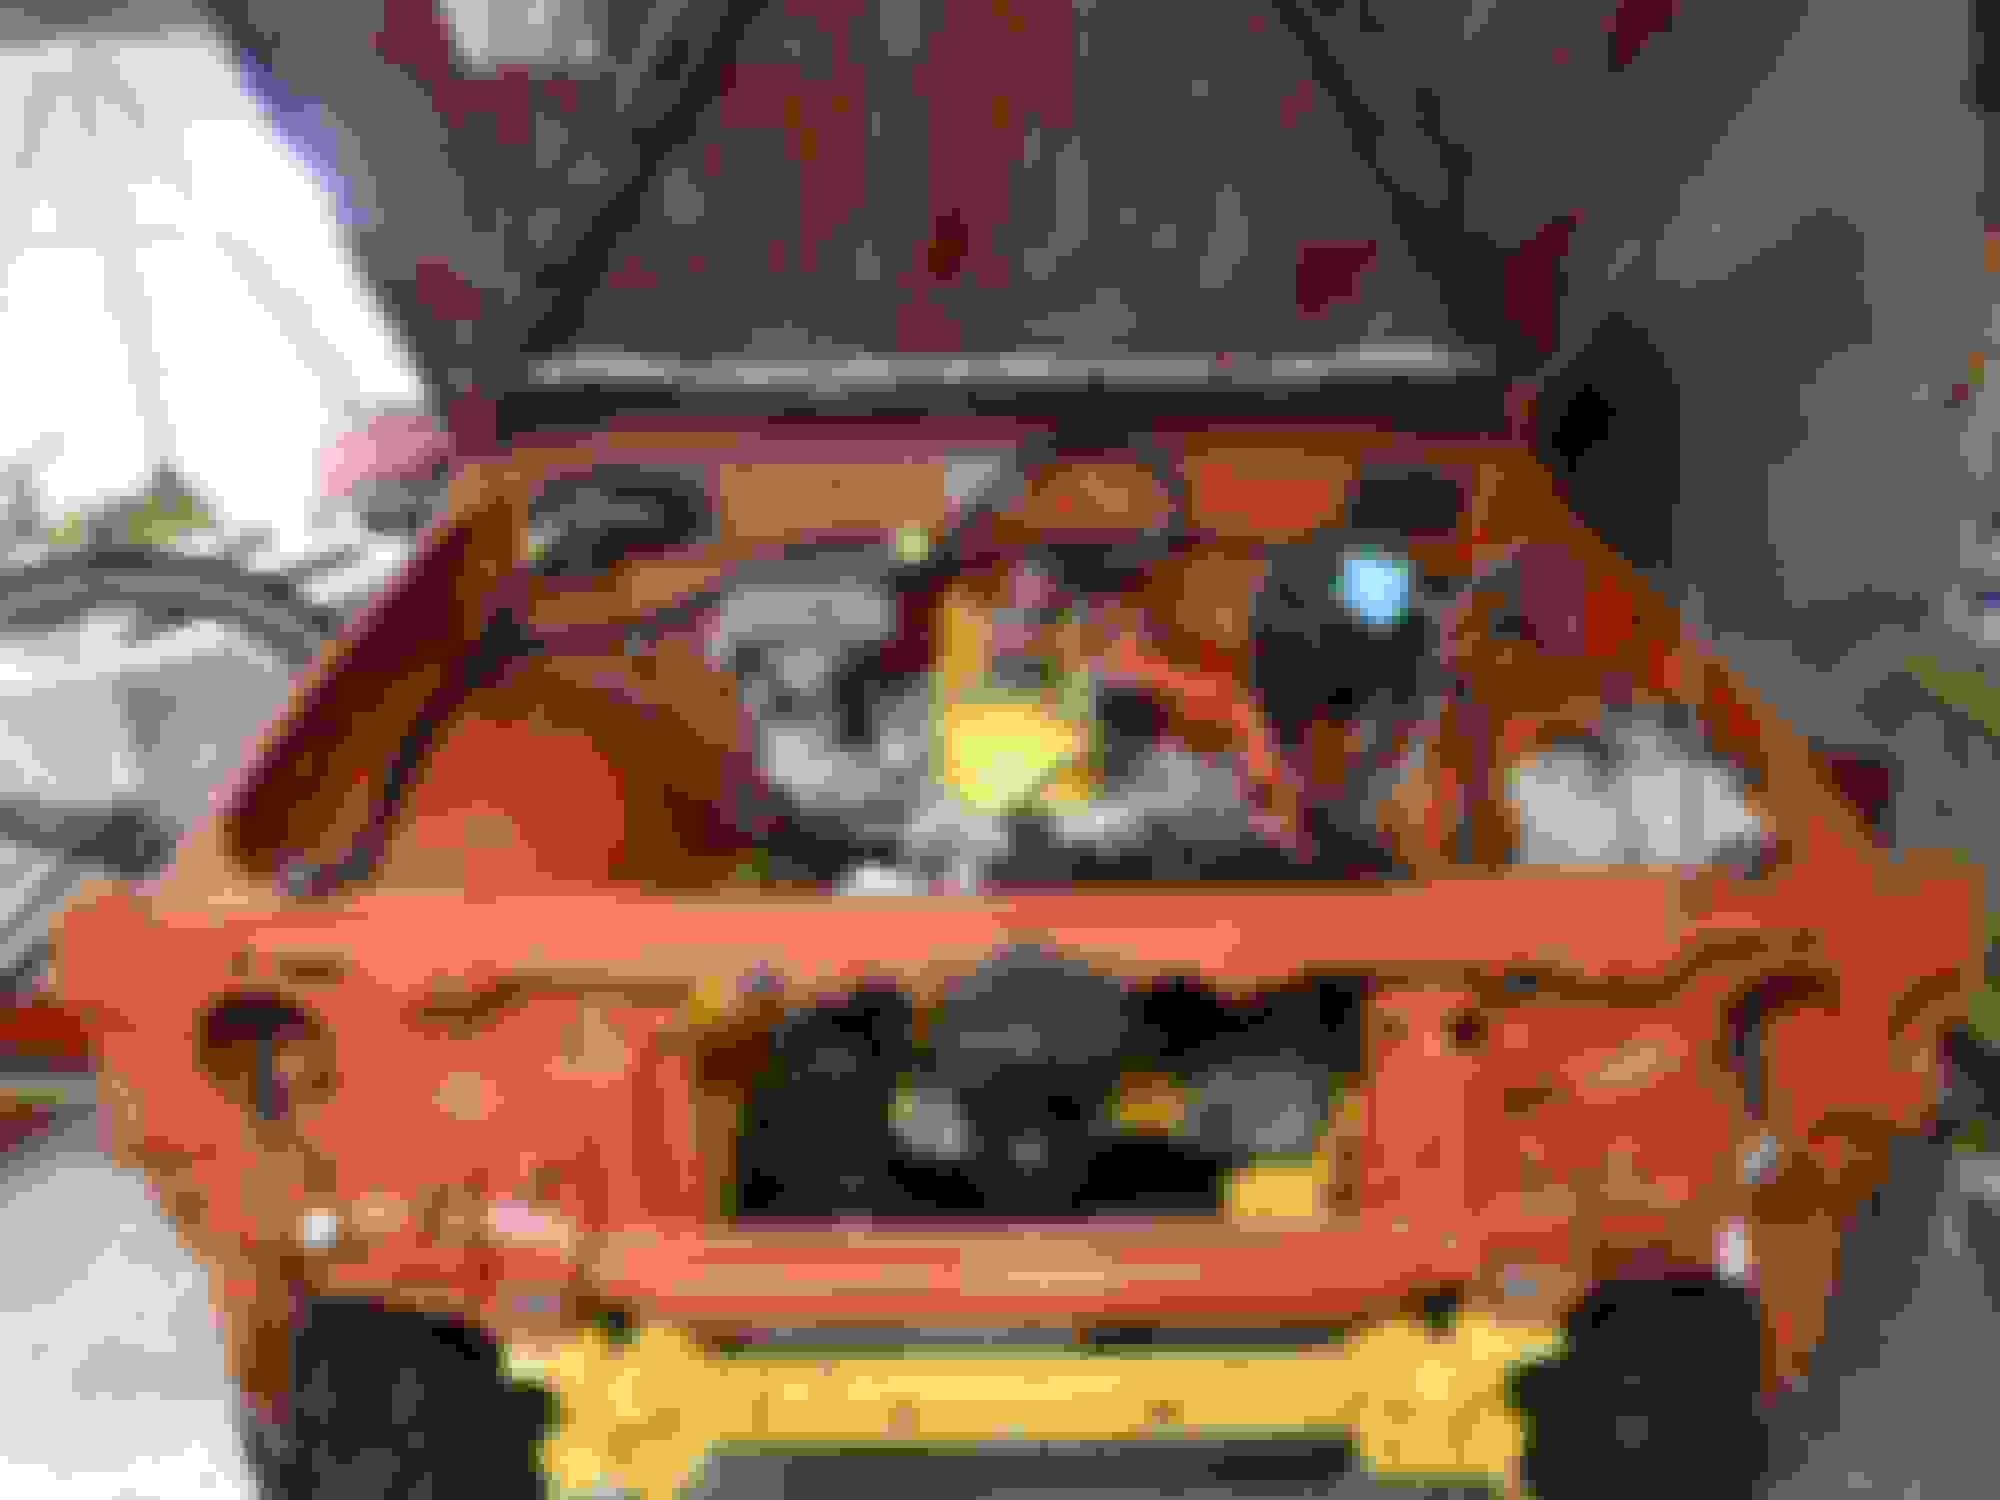
Got my Magnaflow Stainless exhaust from LCE Header installed! Knuckles getting painted and built! Paint it black, put it back! Love how clean the underside of the truck is! Notice that holley fuel pump! Wiring woes, mocking up the MSD box! Wheels ready to go on! Tank painted and installed, redcoated on the inside and made a custom breather! Sanding and polishing my specialty! Imron Tough! Ready to Roll! Off to Nashville! Where the wiring and engine bay are left off!
I was extremely busy preparing for cross state move from Chicago, IL to Nashville, TN. I basically did everything I could to make sure that the truck was a roller and could get down there on an auto trailer. I got the truck rolling quicker than I thought and in my last couple of weeks in Chicago tirelessly with the help of a buddy started cracking into the electrical and actually firing the engine up. Unfortunately we ran into a snag and weren't able to get it to fire with the MSD box set up before I moved. It's not getting spark and I think it might be a bad coil from the box?
Got my Magnaflow Stainless exhaust from LCE Header installed! Knuckles getting painted and built! Paint it black, put it back! Love how clean the underside of the truck is! Notice that holley fuel pump! Wiring woes, mocking up the MSD box! Wheels ready to go on! Tank painted and installed, redcoated on the inside and made a custom breather! Sanding and polishing my specialty! Imron Tough! Ready to Roll! Off to Nashville! Where the wiring and engine bay are left off!
Looking great! You are in Nashville now? I�m in Louisville, about 2.5 hrs north of you.
What did you mean on the gas tank pic by redcoated the inside?
What did you mean on the gas tank pic by redcoated the inside?
Red Kote is a great gas tank sealer. I cleaned the little rust on the inside with ball bearings and gasoline, drained it, washed it out and then applied red-kote to seal the inside from further rusting.
Red Kote is a great gas tank sealer. I cleaned the little rust on the inside with ball bearings and gasoline, drained it, washed it out and then applied red-kote to seal the inside from further rusting.
How much did you use (pints, quarts, gallons, etc) and how many coats ?
I used one whole quart for the stock tank, pour it in, move it around the tank for 30min (its an arm work out), and then pour out the excess into the trash. Probably not super necessary with how clean and little rust was on the inside of my tank was but I already had the tank out so like everything about this project I'm just doing it all and right.
Why I've been so busy and unable to complete the truck
I know you guys are probably wondering why I haven't been able too finish the truck, most of the really dirty hard work is done (besides the bed) and I'm not super proud that its gone untouched for a year especially considering it really just needs to be re-assembled.
Well first, I bought a house with my lovely partner and had to move all my shop equipment down from Chicago to Nashville. Once I got here I was really occupied with getting my small bicycle fabrication shop up and running again because I had customer orders that were lagging. I couldn't with integrity work on my truck if I had spare time, because their frames were late. But I got the shop up and running and even though my garage was unfinished I was fine with a space heater because (thank god!) the winters are so much milder than Chicago, but then summer hit! And holy ˟˟˟˟ when your doing torch and hot work and its 105 degrees in the shop, its brutal. So I took on the task of finishing and insulating my garage, more time and money stopping me from finishing the truck. Thanksgiving 2020 first load down, Bridgeport mill, welding tables and fixtures. Probably a good 1k lbs over towing limit The garage before moving anything in. Here's how the previous owners had it, ripped out that bench and cabinets, to have the floors professionally done. Before moving my mill and heavy equipment in. Floors done and everything moved in! Summer doors open, working on a frame, this is when it started to get really hot! Moved everything out middle of June. Framing and insulation done! ˟˟˟˟˟˟ drywall! Seriously! ˟˟˟˟˟˟ Drywall! Everything together. I installed a rotary phase converter to run my mill on 3 phase, 3 outlets for 240v. and bench height plugs around the walls and plenty of LED lighting! Bicycle assembly/repair area Panorama Frame I had to finish immediately after getting this proiect done
I used one whole quart for the stock tank, pour it in, move it around the tank for 30min (its an arm work out), and then pour out the excess into the trash. Probably not super necessary with how clean and little rust was on the inside of my tank was but I already had the tank out so like everything about this project I'm just doing it all and right.
I agree. If you already have it apart you might as well do it right. I plan to try something like this on my gas tank. Thanks!
What Weber carb is that you are using? Is that the vintage ones made in Italy or Spain?
I got updates! I don't know if it is a vintage weber it came with the truck when I bought it, my guess is its at least 10 years old. Do you know how I could tell?
Ok so I got the bug back and started diving back into the truck. I want it out of my garage, ripping around and have the room to put a cnc mill in its place in my shop! I've been mostly doing weekly updates from my instagram account @amigo_frameworks and I have neglected this community.
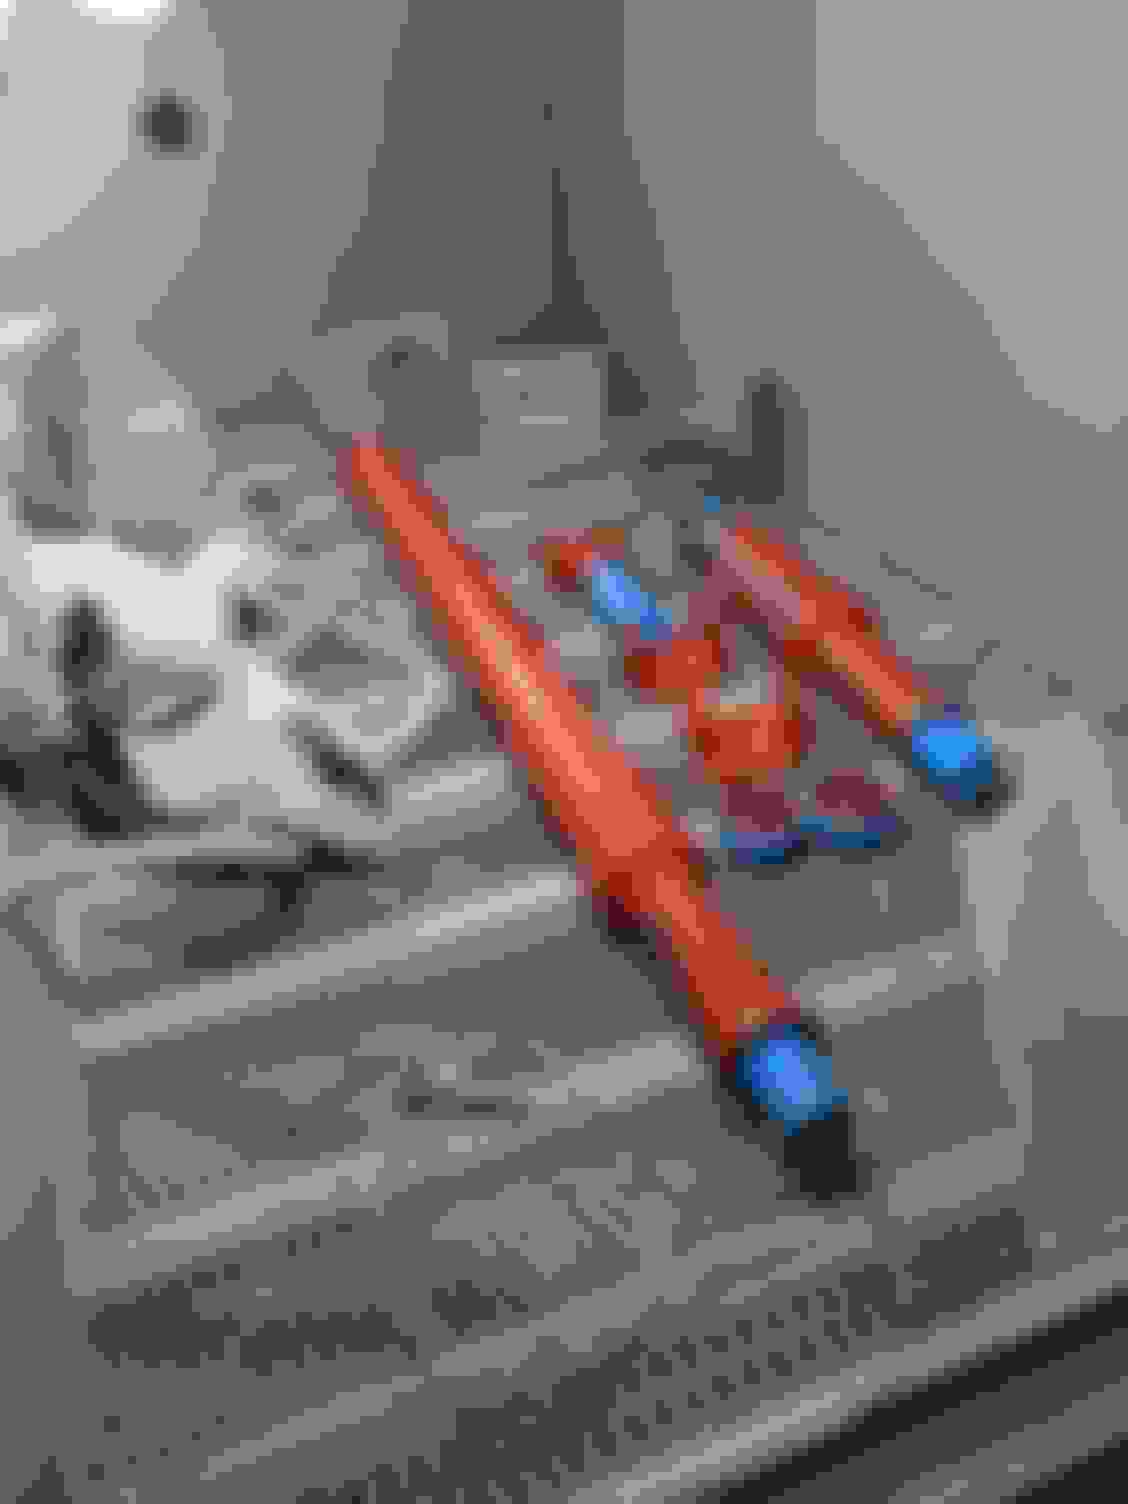
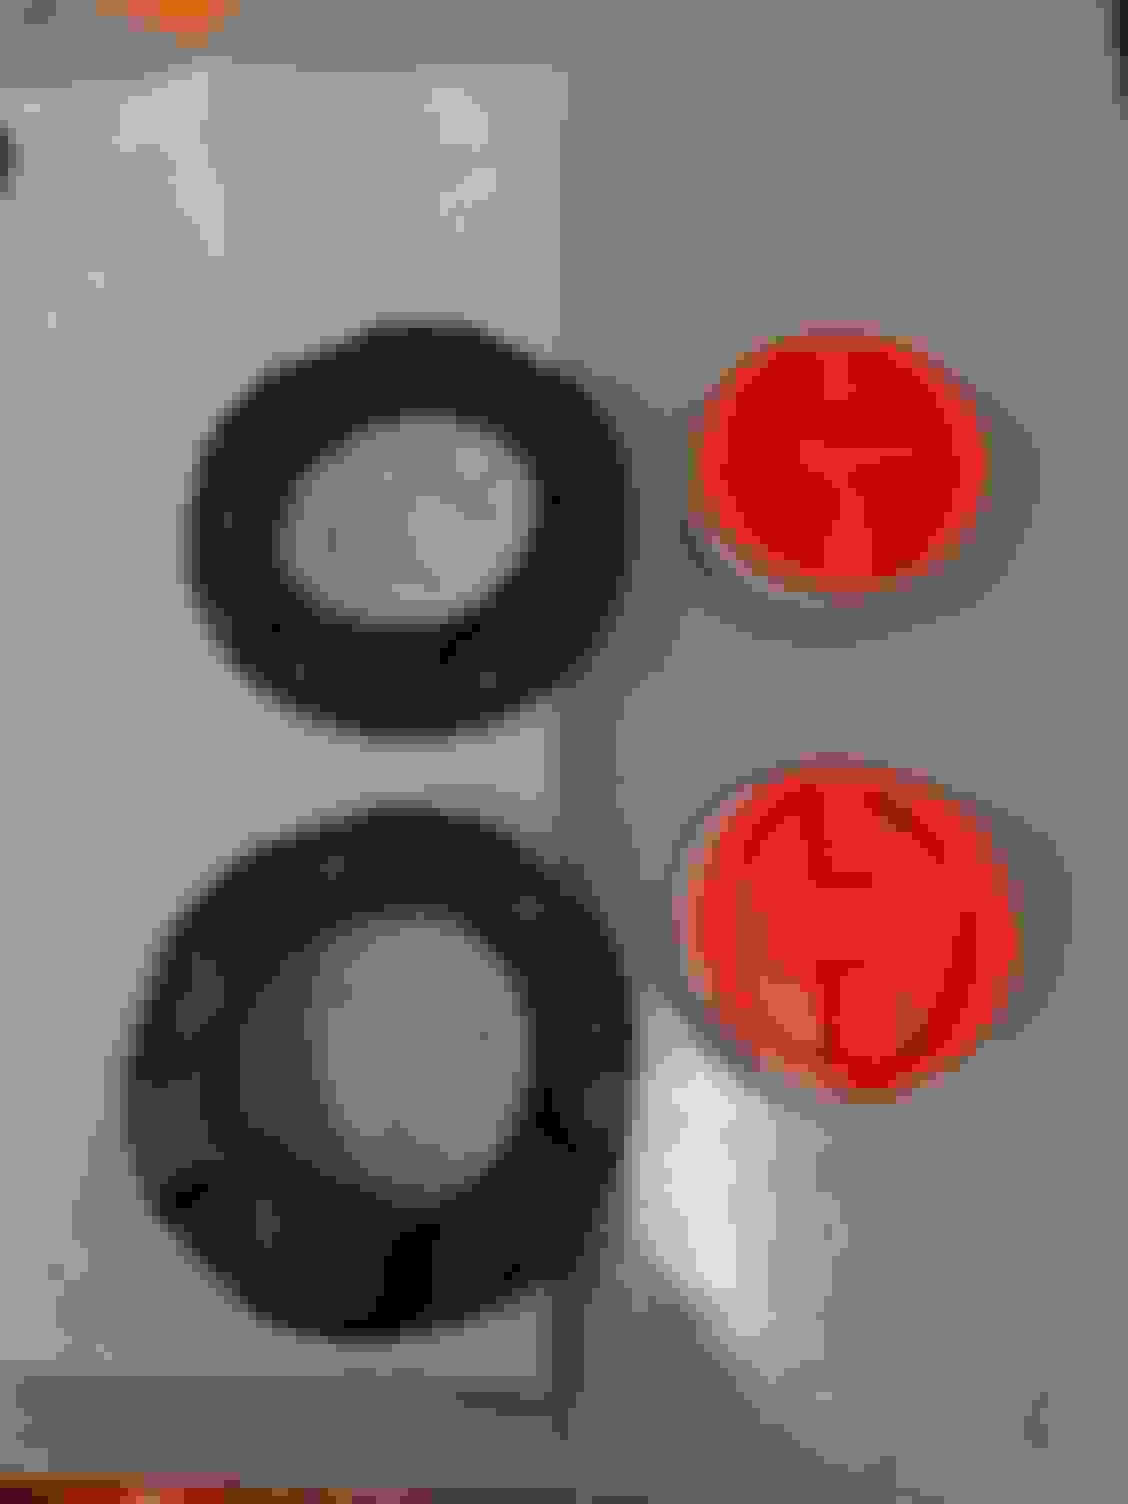
So far I have been kind of fixing my old mistakes, I rebuilt and painted my drive shafts and locking hubs in cerakote so theyre ultra durable, I need to pull apart some of my steering components too and get them to the powder coater because the quick job I did of painting isnt holding up and I havent even driven the thing! I bought some sound deadening material and going to start on the cab interior next along with a repop dash stereo bezel. I have a buddy too that is going to help me nail down the wiring and get the engine firing.
-Zach
Old paint job I did with enamel was terrible. I shouldn't have rushed this. getting out the old joints was a nightmare Cerakote ultra durable! Also painted with cerakote so this shouldnt get messed up on the trails getting in these u-joints and new centering ball joint was awful, felt so accomplished getting this all back together, it fought me the entire way.
One issue I do have with the driveshafts is my front transfer propeller shaft is extended out too much...I dont know the best route for that. spacer? remove a leaf? i just rebuilt and painted them and really dont want to have to cut and weld the thing and repaint it. Getting the centering yoke and U-joints in the cardone joint was a PITA
I have attached photos of my old man emu suspension which when I bought it I read as buying a Stock lift but its a 2" what they call theyre stock lift. Truck is sitting on jack stands on the axle tubes with the engine and transmission mounted so there is weight on them currently. I believe the leafs are in the correct orientation with the double wrap to the front and the shackle angle looks primo. I know that they are known to come out of the box stiff and will settle but it seems like that wont be enough to get the front one looking good (the rear in my opinion looks fine) I am just surprised that a 2" lift would effect my driveshaft length this much... advice is appreciated.
A spacer would work but will increase the angles that your CV and U joint have to operate. Your drive shaft angle doesn't look steep now so you'd probably be fine. Not sure how strong a spacer is but you're probably not planning any heavy crawling.
The other options are considerably more work.
Personally, I'd probably go to a driveshaft shop and tell them how much it needs extended by because cutting and welding it myself means it wouldn't be perfectly balanced.
The cerakote on your hubs looks awesome! I would recommend painting FREE and LOCK with a little white so it's easy to see where they are at a glance in the snow or mud.
This truck is going to be a gem when you've got it all together!


 04-02-2020, 07:54 AM