When you click on links to various merchants on this site and make a purchase, this can result in this site earning a commission. Affiliate programs and affiliations include, but are not limited to, the eBay Partner Network.
Now onto that driver door. Every rubber on this Truck is getting Replaced. 32 years of Arizona heat takes it toll. Despite the functionality of all the rubber it would have to be replaced anyway do to over spray on all of it. Here is the pile of old take outs from one door along with a wore out driver regulator.
Arrgh! more over spray...
New Handle and Lock going in. The Truck had One Toyota Lock with wore out seal and one Ford Lock and wore out seal. The Driver Door is in pretty good shape despite a lousy paint job. I'll remove all the new goodies and repaint it Next Summer Because I know I'm in for a time consuming disaster on the Passenger side.
Vent Frame removed and getting stripped and epoxy painted. New outer door seals, inner channel seals, door lock pulls, door handle, inner and outer window moldings, vent rubber and door catch all courtesy of factory Toyota.
Last edited by Big Little Bear; 10-09-2018 at 07:00 AM.
Can't really see it but I primed and epoxy painted the Interior bottom half of the door then installed aluminum backed sound proofing, then sprayed the very bottom down with a lithium grease / cosomoline type protectant. Water gets past those drain window felts and winds up in the bottom of the door. Most drains out the drain holes but what is left dries on it's own. In Arizona it's not a problem but here on the East Coast it seems to rain every day.
Frame Epoxy painted and new rubber. all stainless was cleaned up via steel wool Brillo/SOS Pad. New vinyl washers and spring lubed up with lithium grease
Brillo Pad to clean the mirror up and Stainless steel screws. I also Cut a 1/4 x 2 x 3 inch piece of aluminum flat bar and drilled two corresponding holes to back the door up where the mirror bolts are. I haven't yet pulled the mirror glass out or the ball stem out and epoxy painted yet. And I just noticed on the previous pics that those little specs you see everywhere are pollen dust.
The over spray on this Rig is ridiculous. This data plate will have to come off cleaned up and re-rivot. Next summer when I paint this side.
I also scored on some door sills that were in really nice condition
New generic latch handle an window crank handle. A factory new Toyota regulator. and a door arm rest pull that was Tan and decent shape repainted with vinyl Black rattle can.
soundproofing
scored some really nice door area pinchweld molding and new seat belts courtesy JC Whitney
Fast forward to the Passenger side to show how the new vapor barrier looks for the driver side that I didn't get any pics of
scored a decent driver door panel that was Tan on the bottom Half and rattle canned it with black vinyl paint. I've cut some bottom boards that need to be covered in carpet, but for now I'm moving to the passenger side where the time consuming monster is..
So I knew this area was hit in the front of the rocker and behind the fender. This actually looks good from where I started. I pried this area out and reshaped it as close as My limited skill set allowed. I am No body man. I used some pics from yotatech to give me an idea what this area was supposed to look like as well as pulling the driver fender off and looking there. The drain hole you see was mushed in and it was much uglier before I started.
I used a fiberglass type filler and began a long process for me to get this area looking like something better.
Sanding filling sanding repeat. I don't know what I'm doing here. Im just doing it
Last edited by Big Little Bear; 10-09-2018 at 07:05 AM.
With the rocker area better than before I decided to repaint the door opening, B pillar stopping at the seams.
Then behind the Fender and where the door hangs. Anything Black Is Epoxy paint.
New Fender. Epoxy paint on the inside. primer, sand, acrylic, wet sand, clear, wet sand and then polish. Again I don't know what I'm doing but It came out better than before. one day it will get a real paint job.
My only Goal here is to get this Truck in better condition until I can afford to do it 100% right. My repairs my be a little embarrassing to those with better skills.
This is where the door took part in the same hit that damaged the fender and the rocker. Someone drilled, pulled and puttied it it and left this yummy spaghetti for me.
Last edited by Big Little Bear; 10-09-2018 at 07:09 AM.
The Next area I decided to tackle was The A Pillars, Cowl, and Roof to the Drip Rail. The Drip Rail Seam Sealer was Cracked up and missing in places So I dug it Out and re seam sealed the drip Rail.
The cowl look as though someone walk on it in places So after pulling the wiper linkage out I had some access to use a small cut off from a 2x4 as a pivot point and a 1x1x16 to apply pressure upwards like a teeter totter on the underside of the cowl to get back up into shape.
The Engine Bay was The Ugliest of all. Someone sprayed Flat Black over nearly everything under the Hood. I decided that since the sheet metal that makes up the cowl actually drop down into the engine bay to a pinchweld that It made sense to bring the paint down to that pinchweld. Ideally in a perfect world with time and money I wouldn't be Painting this thing in sections or with acrylic.
After wet sanding applying clear another wet sand then Polish I put everything back up. All the covers, Brackets, Hinges, and Linkage and Motor got covered with epoxy paint.
Nice Bailing wire and one bolt or maybe two holding the grille in...Over spray everywhere
First thing I did before Driving This out From AZ was to give it some Air and something better to hang the spark plug wires from, other than zip ties and bailing wire. (My zip ties are holding rubber gloves over the AC lines to keep debris out until I can get the AC box cleaned up and back in). I was able to pry the battery tray back up to level and put a factory new battery tie down. Generic new hood bumpers. New Dual core Aluminum radiator and Hoses.
Found a valve cover that had been tanked for a good price along with an new aluminum decal on Ebay. installed new VC gasket, half moons, bolt seals, pcv valve and grommet,
Cleaned up the PS Reservoir and epoxy painted...Installed new hoses.
Last edited by Big Little Bear; 10-09-2018 at 07:15 AM.
Drove 4 hours round trip to Virgina for this and some inner fender liners ...I took it apart cleaned it up and painted. fender liners had most of the holes busted through I didn't have any and they are not an easy find so it was worth the trip.
Finally we have heat in Summer and No AC...
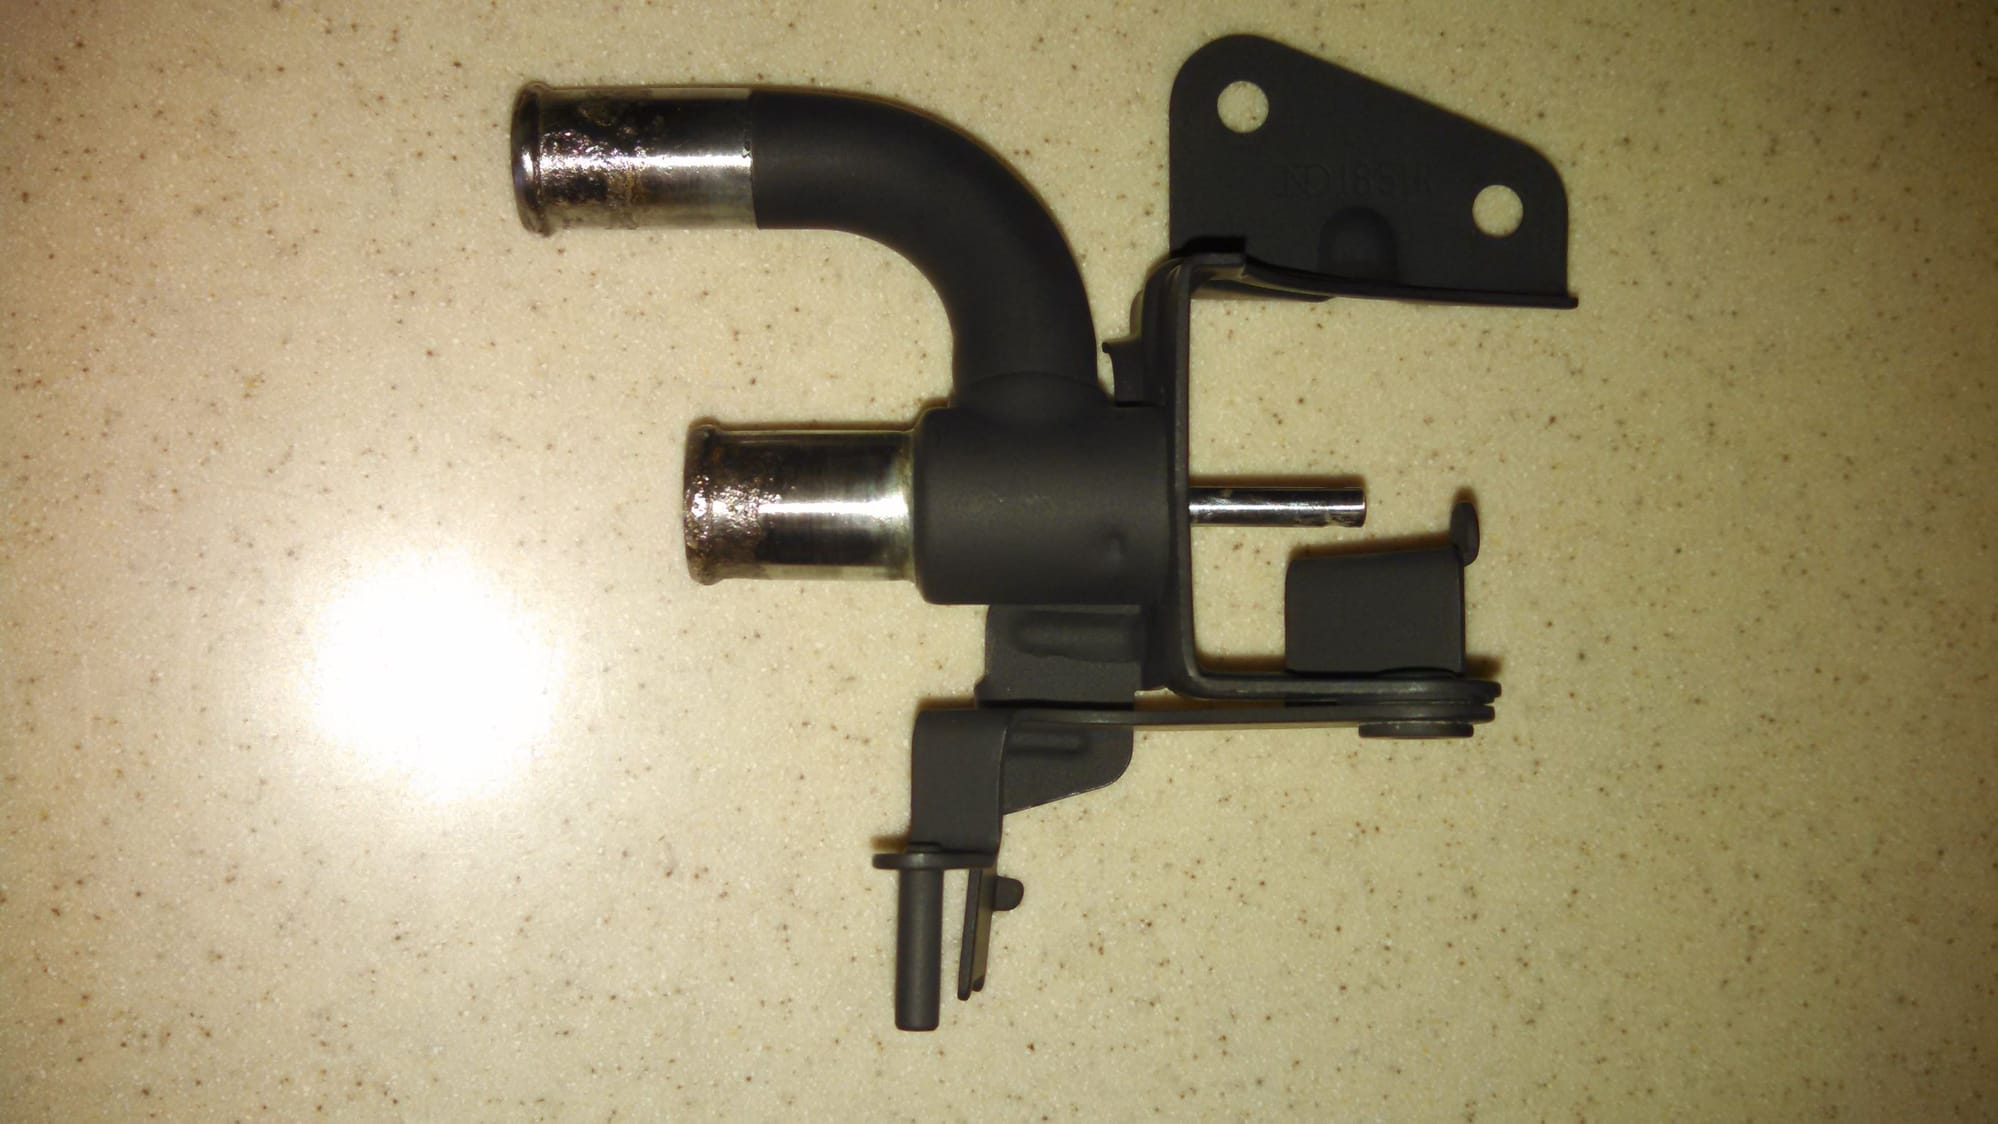
I had to cut out about 2 inches of my new lower radiator hose and install this T pipe from Cooling Solutions to hook up the Heater Hose... The factory J Pipe that goes down in this system is another impossible find. But this works.
That Brass fitting I installed Plugs up where someone had connected a heater hose.
repairing and shrink wrapping engine bay wiring for the distributor
Cut and rebend newer styleThrottle cable bracket to give me the correct height. New cable on the way.
A delightful find on a coolant washer reservoir that was decent on the outside but cruddy on the inside. I used everything from bleach to baking soda to try and clean the inside of the coolant side. What I found that worked was to start out dry and pour a cup of childrens toy box sand in the tank close the top and shake violently for as long as I could every time I had nothing to do... like watching TV. It took a while but the sand cleaned it up nice. The only bad thing is the dirty looks I got from the wife.
New Cardone MBC and Reservoir... The stuff that came out of my brake lines was... I don't know what, but it looked like you could have poured it over pancakes.
No Heater Control Valve.... No Heat... Someone ran the heater hoses to the Block hoping there would be heat....There was not.
There could have been heat running...just a lot of it...all the time...in Arizona...amazing what some people do!
Originally Posted by Big Little Bear
Drove 4 hours round trip to Virgina for this and some inner fender liners ...I took it apart cleaned it up and painted. fender liners had most of the holes busted through I didn't have any and they are not an easy find so it was worth the trip.
You are EXTREMELY lucky to find a heater valve in good condition without leaks! I was luckily able to take mine apart and rebuild it.
Things are looking good! On another note, are you and the truck in Maryland right now? The Endless Summer Cruisin' Car Show is in Ocean City this weekend. If you can make it, we should meet up. I should be down there most of the weekend with my truck.
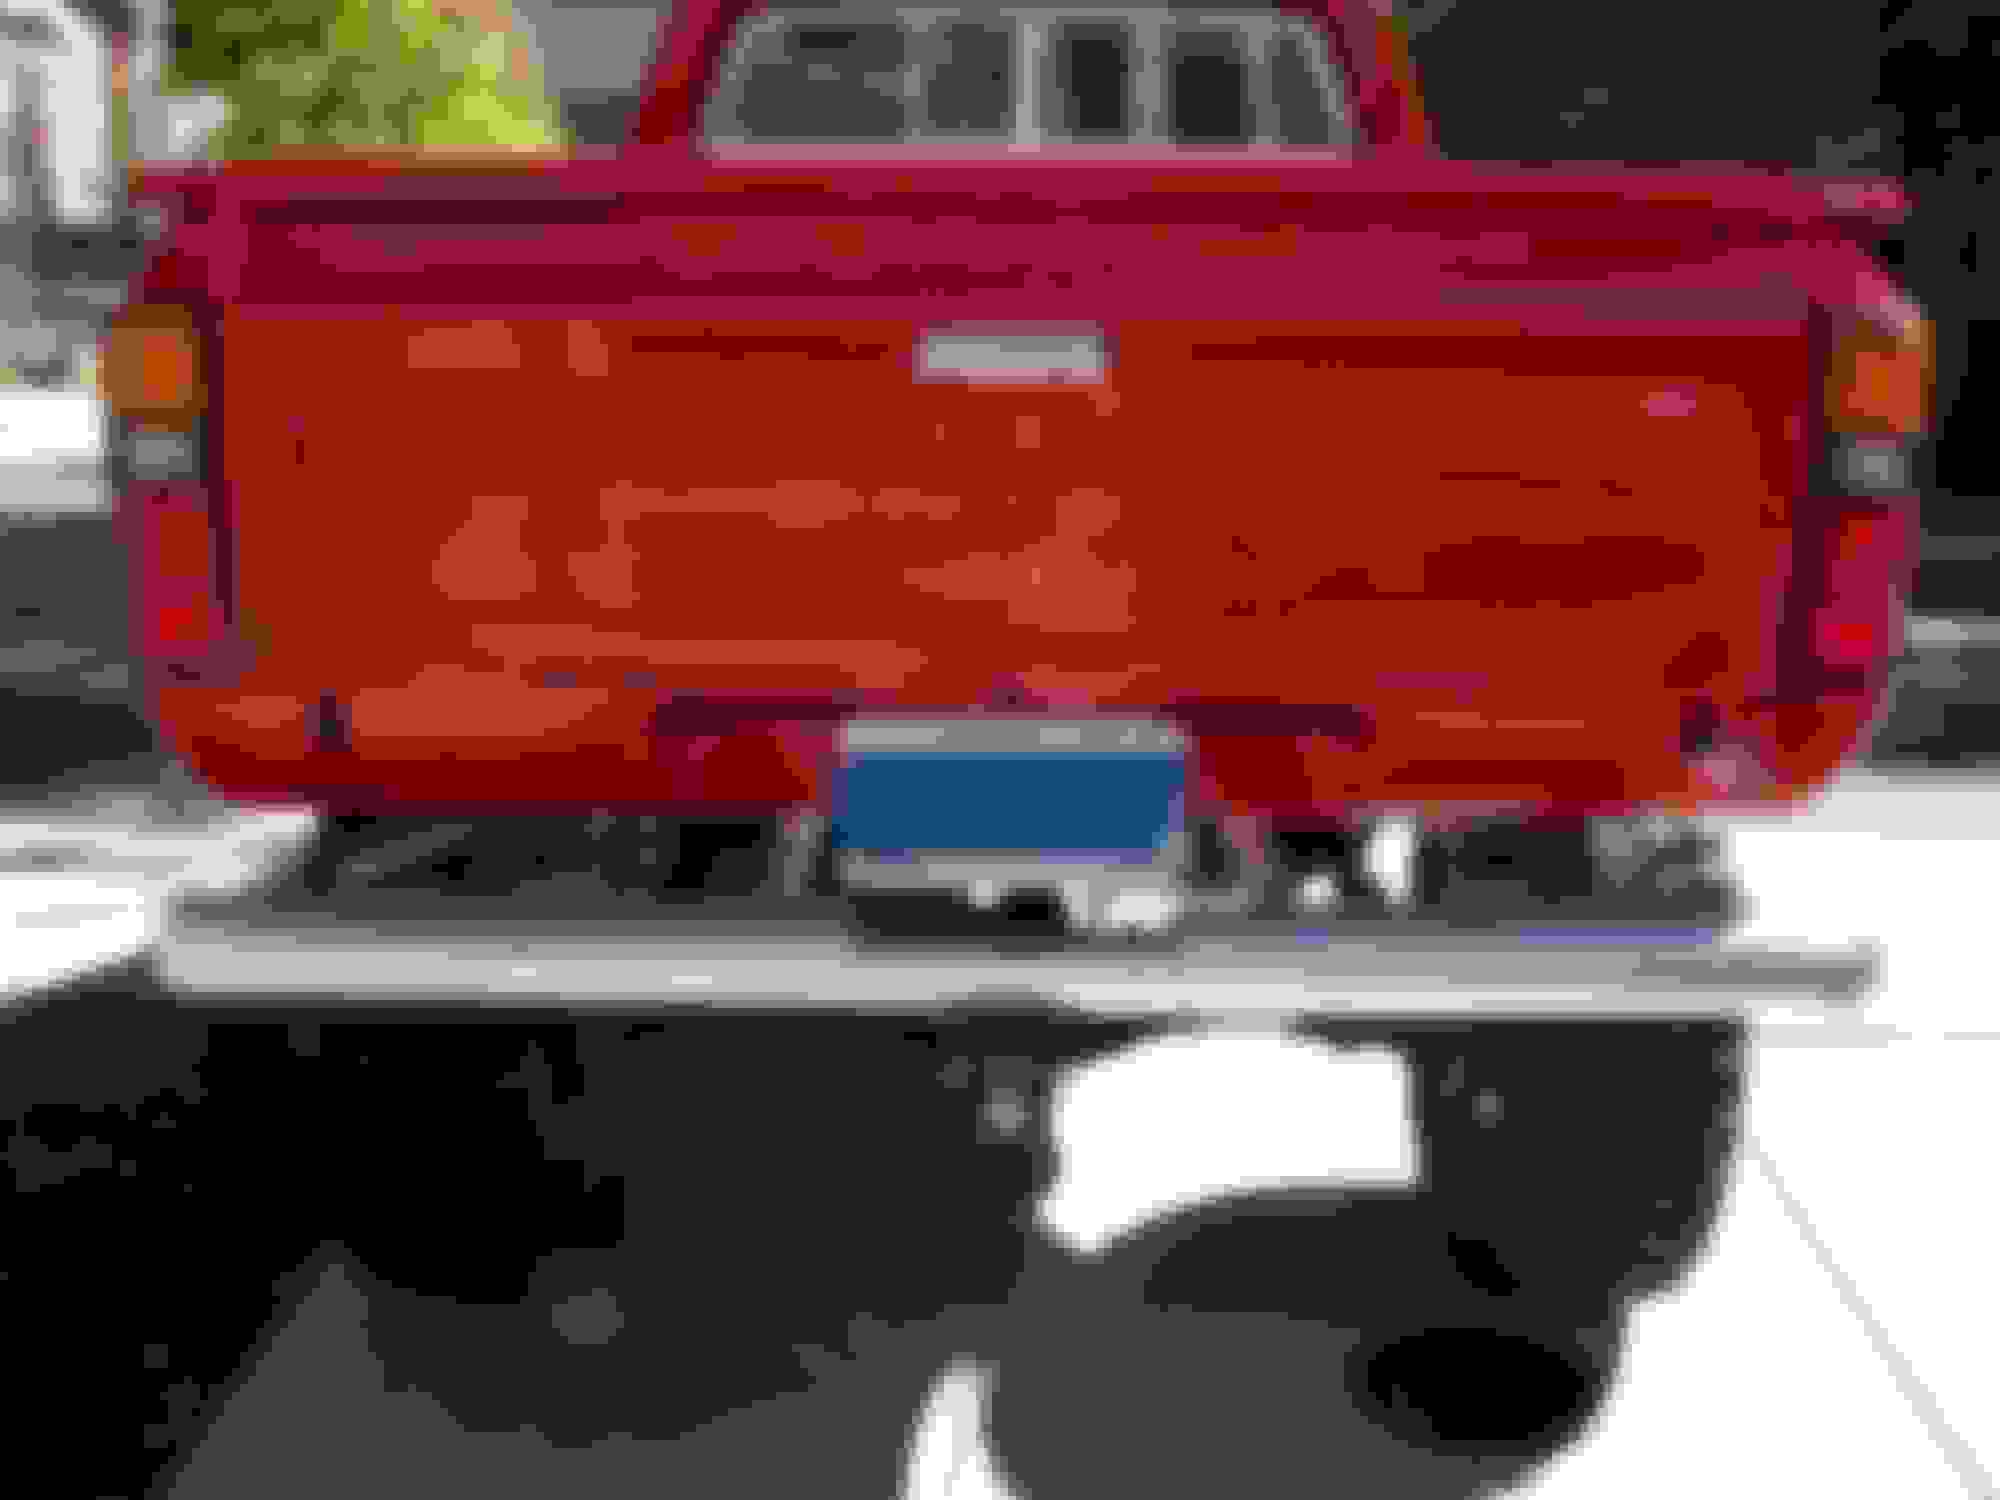
Hey Dave, I'm Dan...Yep I'm still in MD. I actually just got back from AZ seeing my Daughter. I should be here a While. As for the CAR SHOW I'd like to come but I don't know if I can get out of some prior obligations. I took some Pics of my bumper now that we have some sunshine after all that rain. So here they are and I'll ask the wife about this weekend.
The Bumper on Big Red Rolling Turd was there when I bought her. It will do me for now but I will probably go with something Like I had on My 1981 Big Little Bear
 10-04-2015, 11:14 AM