When you click on links to various merchants on this site and make a purchase, this can result in this site earning a commission. Affiliate programs and affiliations include, but are not limited to, the eBay Partner Network.
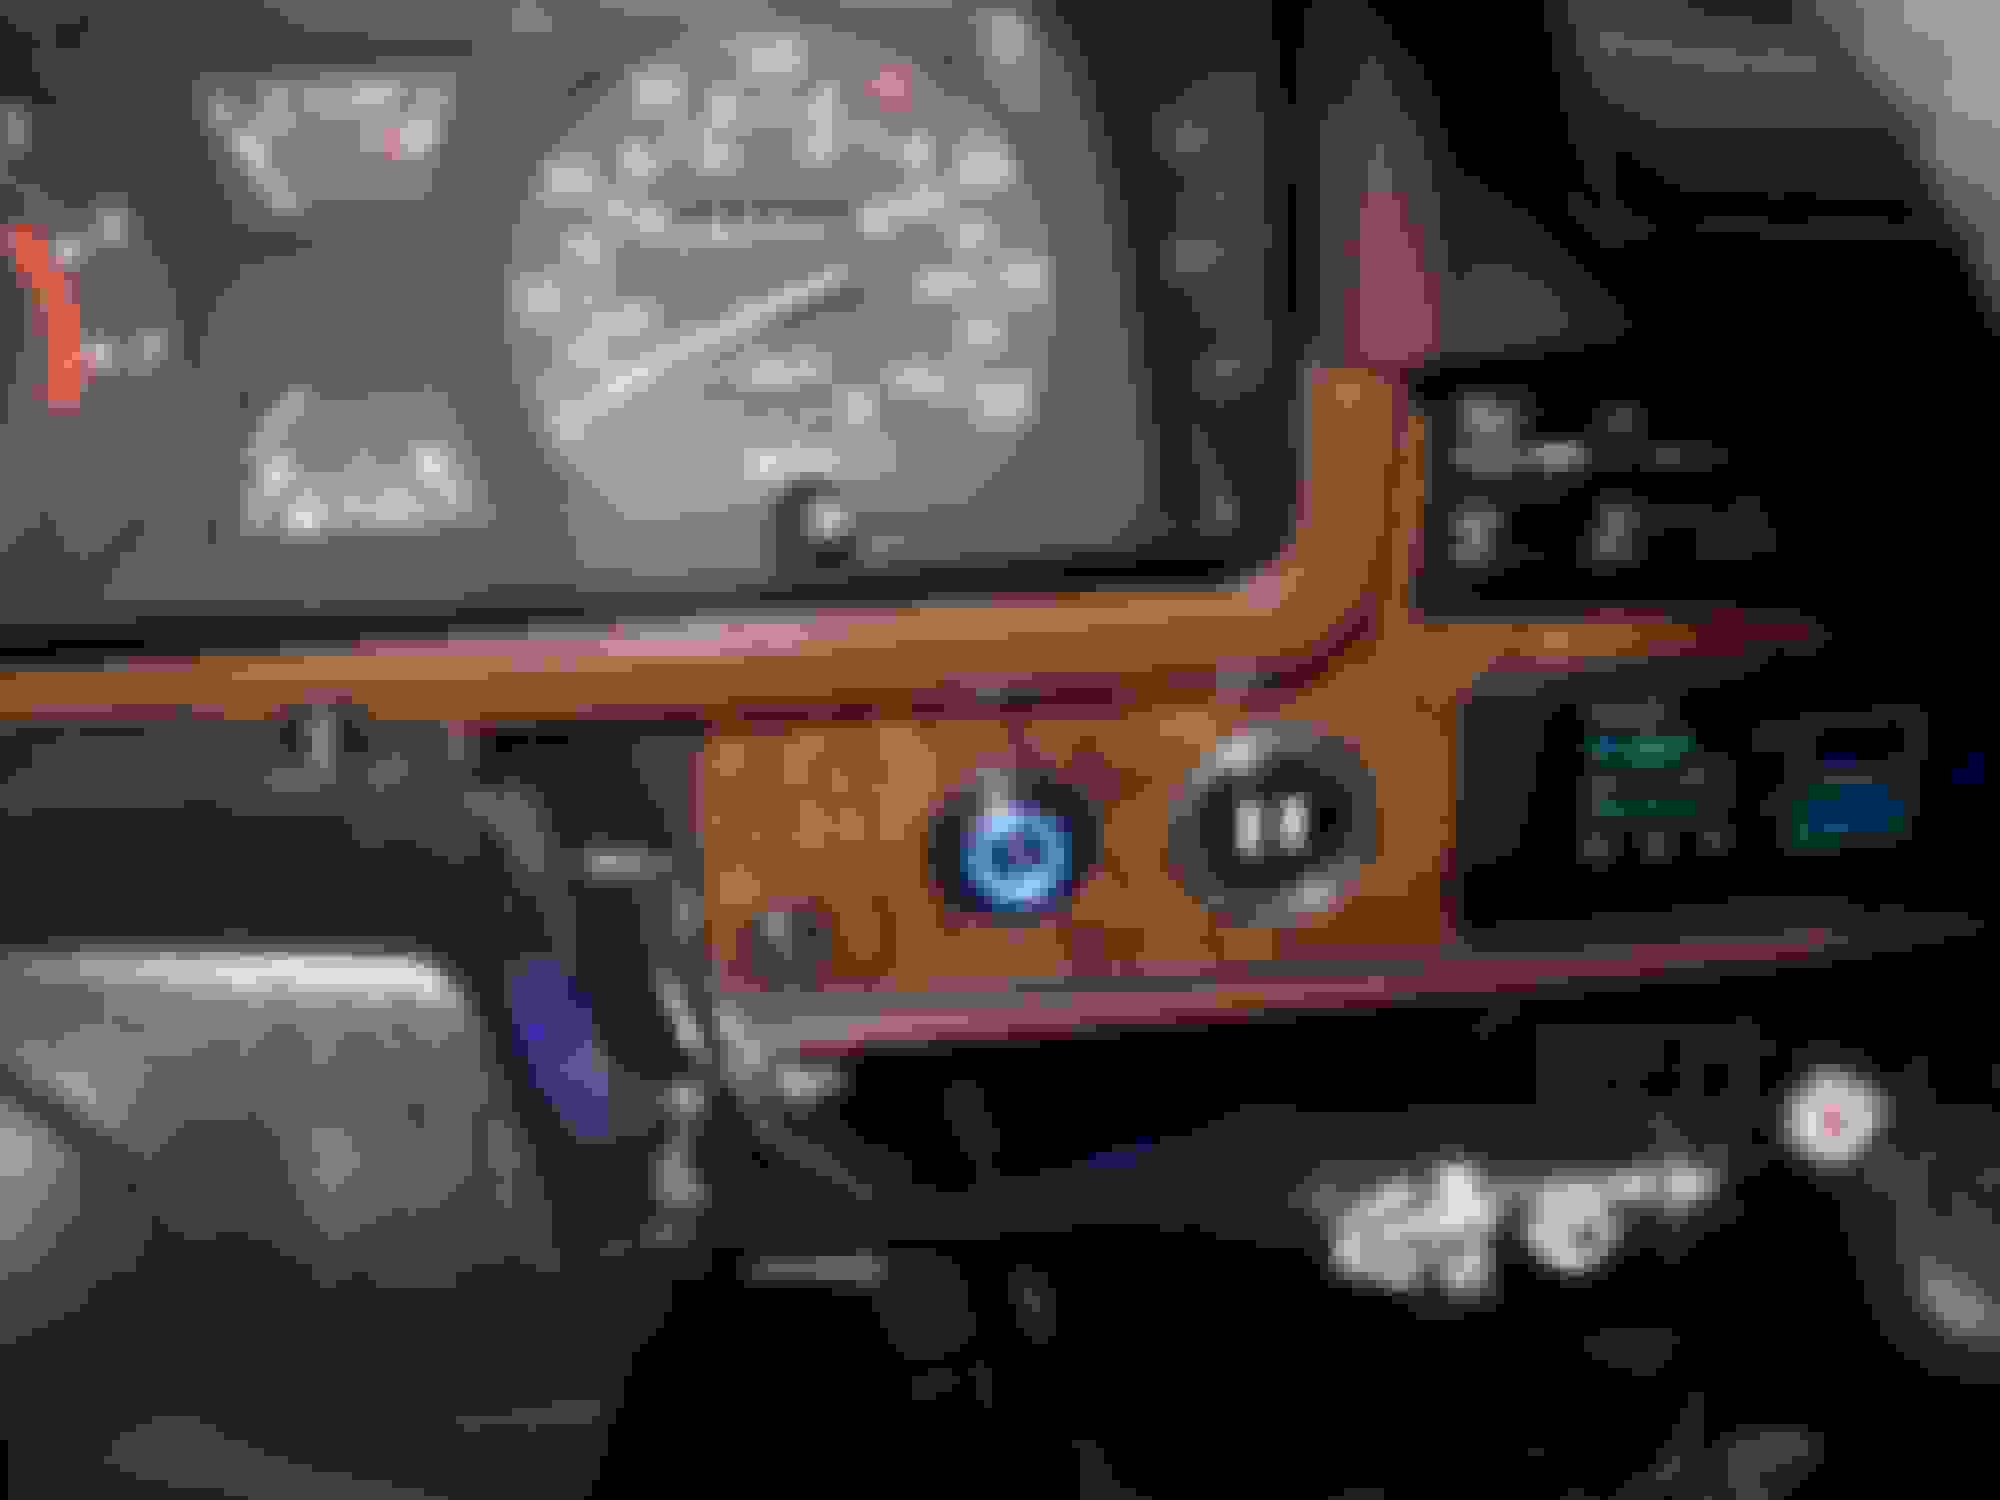
The Red and white wires seen in the previous pic are the (red)12v power and (white) trigger wire that will be hooked up to the round push button "angel eye" switch located on the dash that I initially installed for a power antennae. this will power this light bar
El Cheapo Ebay light bar
I got some 1/4 inch bar stock from Home depot.. cut it to a length that works drilled some holes for the light bar mounts and bolted these fabricated "light bar tabs" where the Factory tow hooks would be.... ..we used to use the hell out of those hooks when we four wheeled back in the eighties so I will reinstall the tow hooks later when I get some longer bolts.
Since , I went cheapo on the AM/FM, I went cheapo on an amp.
wires from the secondary fuse box run through the fire wall then along/under the door sill to the amp. Wires hanging on the back of the cab are for the Roll bar and will be run through the back of the cab and to the bed... factory grommets for the wires to run through already exist on the back of the cab and the "fence" of the bed.
Last edited by Big Little Bear; 09-14-2017 at 07:00 PM.
Here they are installed and working. I now have an additional Horn that doesn't sound like a scooter along with switches and wires ready for accessories.
Where did you get the console, it looks great. I just put in bucket seats from a 98 mazda and want to fill the void between the seats now.
Thanks 206, The rear part of the console was a used Ebay find from a 96-04 Tacoma...introduced on page 4 of this build. The front section was Toyota dealer new and came with the leather boots. I had to un-stitch and rotate and re-sew the xfer case leather portion of the boot to make it work because the angle was wrong. The rubber boots under the leather boots were found at Yota Yard on Ebay and are from an unknown year. The Console lid was also dealer new because I couldn't find a used one that wasn't beat.
You can pretty much search for any type of console on Ebay. I knew it wasn't going to be a perfect fit since it wasn't designed for this truck but "eyeballed" all the parts for a few weeks to get something I thought might work and to better my odds stuck with Toyota products, Hope this helps.
Last edited by Big Little Bear; 09-21-2017 at 09:48 PM.
Here are some more pics of the accessories installed.
angel eye latching switch for the front light bar lights on I could not believe how bright this thing is.
Last edited by Big Little Bear; 10-09-2017 at 12:21 PM.
I found some used "old school" MTX truck speakers cheap... Cleaned them up and they sound great. I was really surprised how well the cheapo am/ fm with amp sounds.
These 8 inch MTXs fit well behind the seat and are just like the MTXs I had in my 81 back in eighties.
Last edited by Big Little Bear; 10-09-2017 at 11:24 AM.
I got a piece of aluminum stock 6x6x1/4 and cut this shape then decided this shape would be better. I then drilled the appropriate holes to mount this bracket, CB, and mic hanger Here on the right side of the gauges utilizing the top and bottom gauge housing mounting brackets . I reversed the direction of these longer bolts to point outwards so that I could hang the bracket on.
Last edited by Big Little Bear; 10-09-2017 at 12:14 PM.
Man that truck is coming along nice.....If I look long enough I might find some motivation to get out in the shop......
Thanks DDoffroad, It's been getting colder and rainy at the my Old lady's place in MD, so I'm not so motivated to get out to the shop either. I might wait a bit to see if I get a few more extra days before Winter or just take off to AZ before salt hits the road on this side of the country.
Ok, Wow!
It's been a long time, and I, as well as all of you,
have been busy with that thing called Life.
From the beginning of this thread you know that I'm From the land of the free Arizona
and my Wife is from Communist controlled M.D.
Well she's finally figured it out and now we're finally moving her to the land of Freedom.
So an update that will be kind of scattered So forgive me if it's incomplete or out of order
ask any questions and I'll try to answer.
The BRRT (Big Red Rolling Turd) Has Officially left Turd status,. Now it's Just Big Red.
So Much left to do though.
So let's get started where I left off....
So Summer hit and my previous A/C work took a dump on me. If you remember I Only replaced the O rings that were easy to access, cleaned the evaporator, replaced the receiver/drier and updated the Freon from R-12 to R134a well that bought me two years. This Summer when it stopped working I decided that a more serious approach was needed so decided to replace every thing.Now everyone knows A/C components for these trucks are hard to come by but I was Lucky. First thing to go was my condenser
Of course not until I procured a new one Factory Toyota one of Only Three left in the country. This is when I found that Mike at Griffith Toyota moved to Toyota of Corvallis. Of course he hooked me up and said to let everyone on Yotatech to look him up for parts.
New R/D installed even though the one it replaced was less than two years old. The NEW Condenser connection can be seen above the R/D Cleaned up the piping from Condenser to R/D R/D Metrix reciver / drier W0133-1622258
Last edited by Big Little Bear; 10-07-2018 at 01:51 PM.
 09-14-2017, 06:28 PM