1983 Toyota Pickup.


 04-29-2014, 07:29 PM
#42
Registered User
Thread Starter

Join Date: Nov 2013
Posts: 83
Likes: 0
Received 0 Likes
on
0 Posts
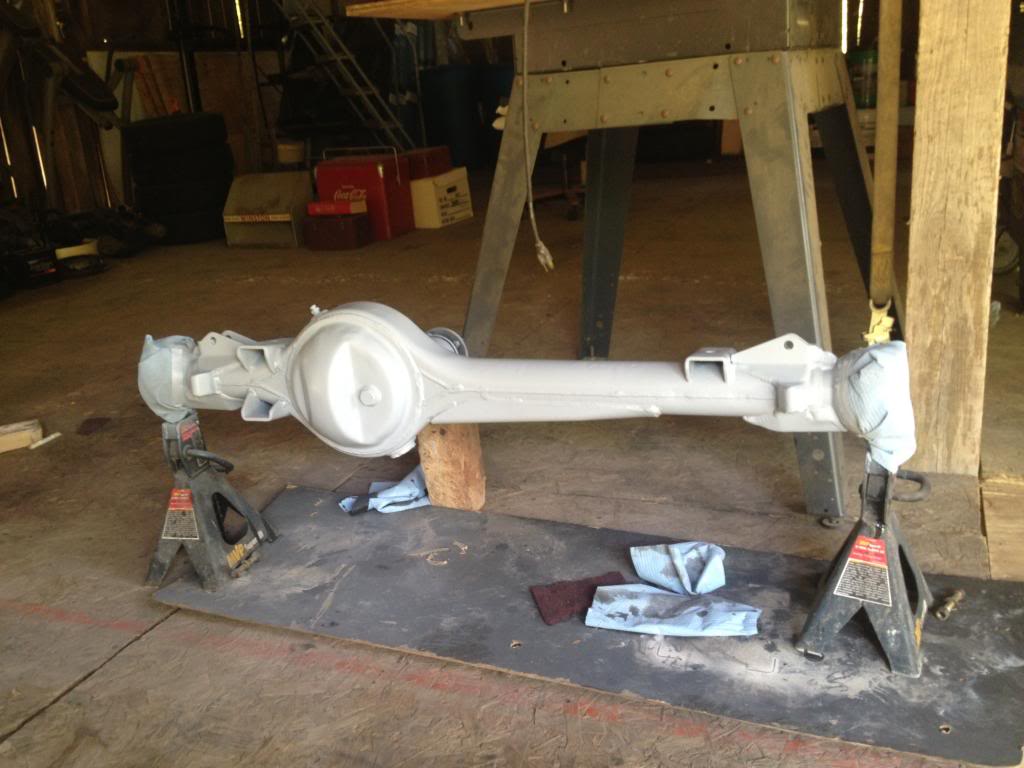
Had a little bit of time today so I managed to clean up the axle housing. I should be able to paint it tomorrow. I still need to clean up the knuckles, spindles, and whatnot. Oh and finals are finally over so I should have a brief period of time where I can put out some work until summer classes start. Then I will have 00 life.
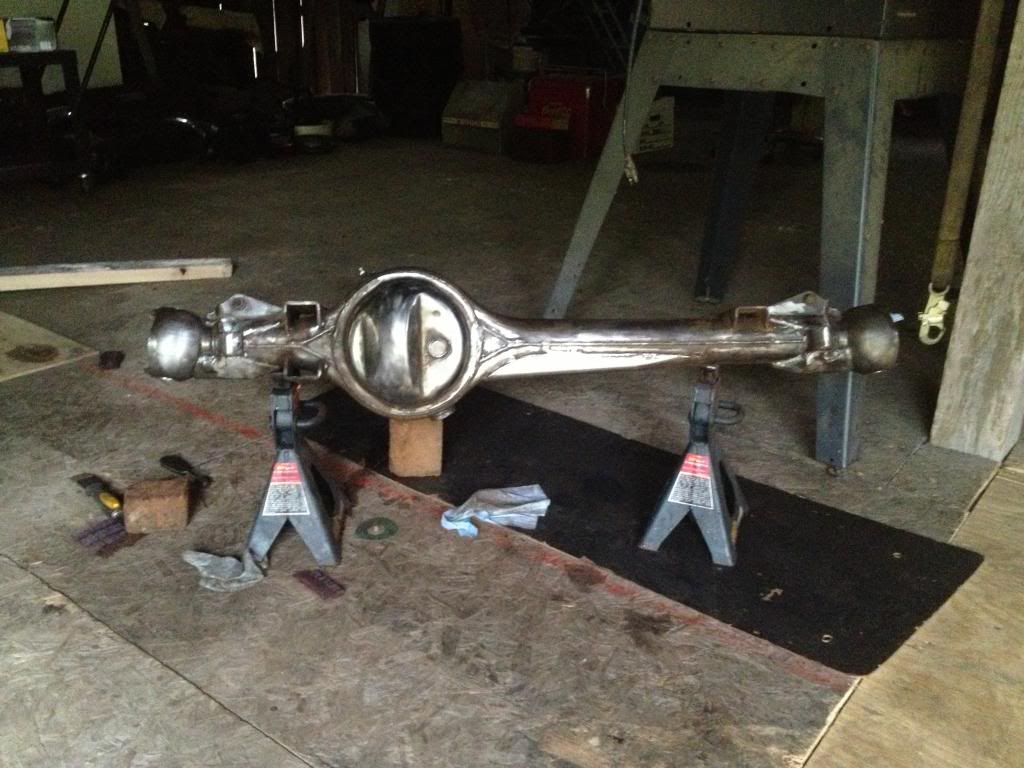
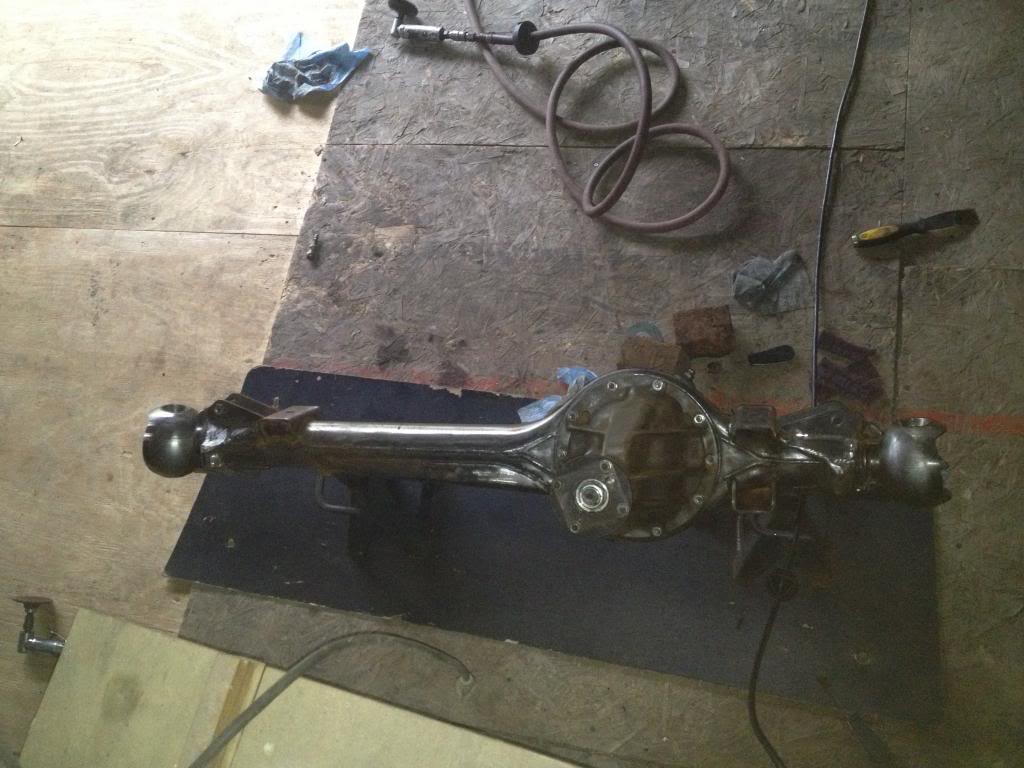
Cleaning the housing was a much bigger pain than I thought it'd be. Took me 3.5 hours. It seemed like every little nook and cranny had something to share.


Cleaning the housing was a much bigger pain than I thought it'd be. Took me 3.5 hours. It seemed like every little nook and cranny had something to share.
04-30-2014, 05:22 PM
#45
Registered User
Thread Starter
Join Date: Nov 2013
Posts: 83
Likes: 0
Received 0 Likes
on
0 Posts
Thanks! Pretty sound advice, too. I believe I will get a blaster. I actually went by today but didn't have any coupons. That will also be very useful when doing floor pans like you said.
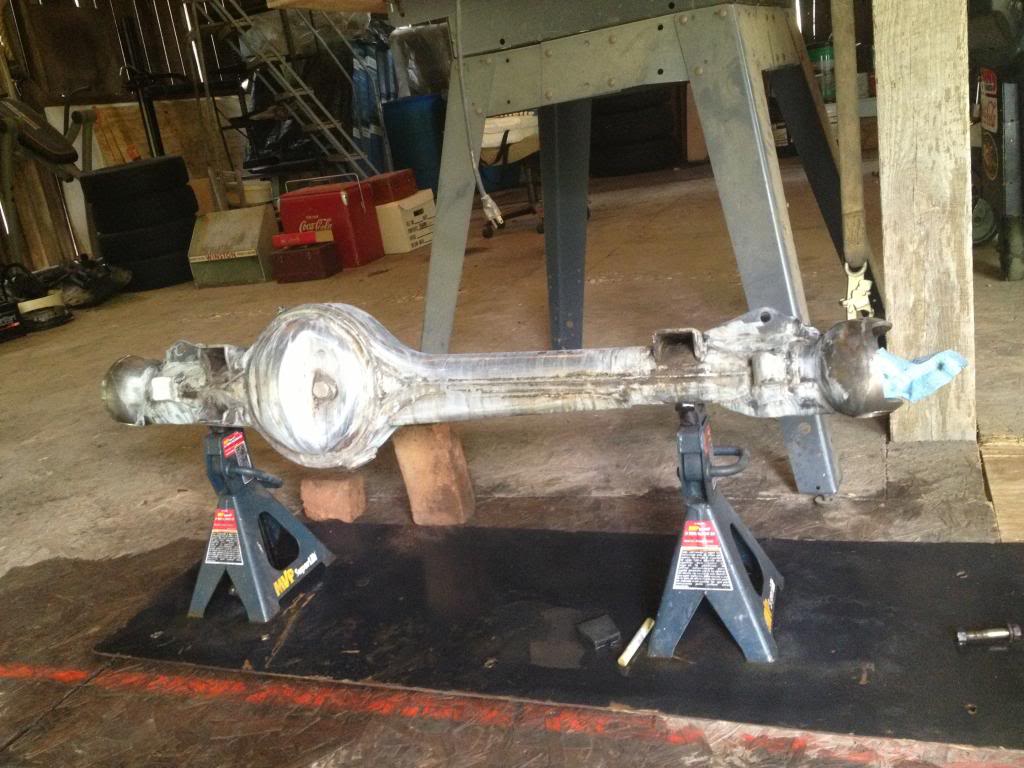
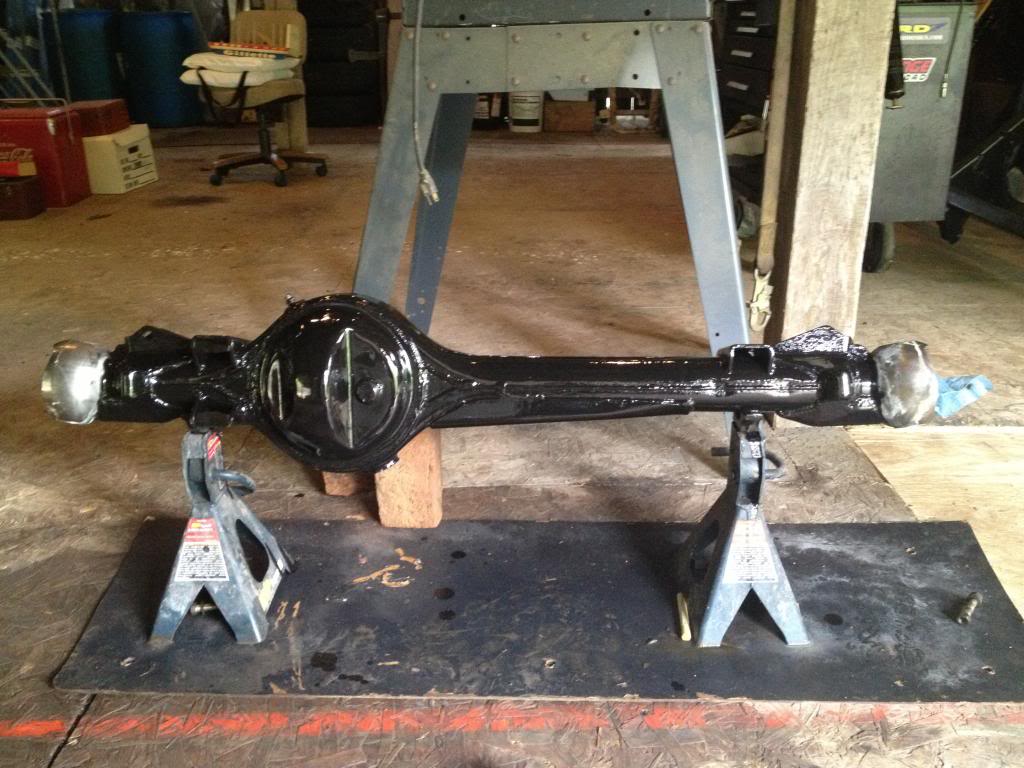
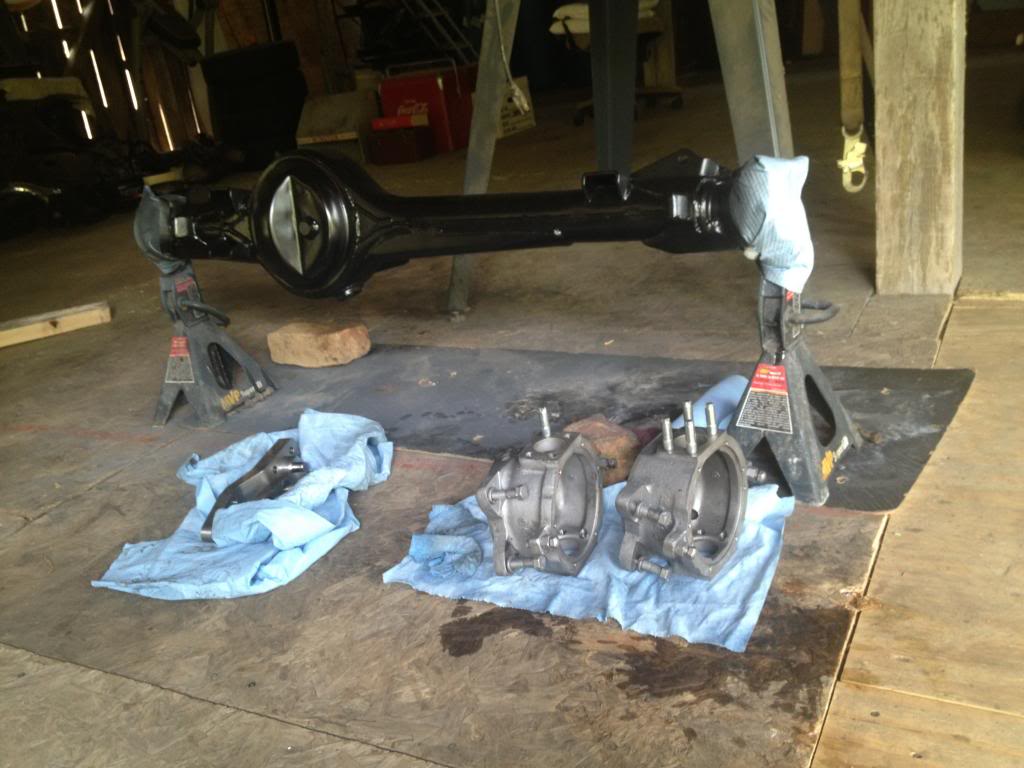
Today I applied Metal Ready to the axle housing and layed down the first coat of POR 15. I also sold my 22r, and I'm waiting on the machine shop to get me a quote on making some pieces to align my knuckles.
"Bone dry" Metal Ready applied:
1st coat POR 15 applied:
Today I applied Metal Ready to the axle housing and layed down the first coat of POR 15. I also sold my 22r, and I'm waiting on the machine shop to get me a quote on making some pieces to align my knuckles.
"Bone dry" Metal Ready applied:

1st coat POR 15 applied:
 05-01-2014, 09:15 AM
#46
Yep, the sandblaster will be your best friend in these endeavors. I think the 20lb blaster is usually on sale for around $60. It'll do the job just fine, but definitely get a Deadman valve from Eastwood - I think it's only around $15. Not to mention, POR-15 LOVES sandblasted surfaces! You can see the stuff sink right into the metal as you apply it. Also, not sure if you planned on this, but POR-15 does not like sun light. I had a friend do his axles with it but didn't top coat over it and it started looking chalky after about a year. I top coated mine with the POR-15 Chassis Coat. Turned out to have a nice semi-gloss finish to it.
As for your knuckle alignment, if your knuckles were aligned properly when you took them apart then you can put the shims back in the same order and not have to worry about getting an alignment tool... assuming you labeled the shims when you removed them. I actually labeled mine when I took them off and replaced them with the new shims that came the my TG rebuild kit. Just had to make sure that I was replacing them with the correct thickness.
Looking good Brutha!
05-01-2014, 09:45 AM
#47
Registered User
Thread Starter
Join Date: Nov 2013
Posts: 83
Likes: 0
Received 0 Likes
on
0 Posts
I actually just went and got a blaster and I'm messing with it now. I had to re-wrap everything on it. And the tip it came with is garbage. It got clogged up as soon as I opened the sand valve. I tried drilling it out and broke the tip. So I'll definitely get a deadmans valve. I asked the guy at HF if they had any and he didn't have a clue what i was talking about. Oh and what material are you using? I just went to lowes and got play sand...
I also plan on top coating my axles like I did my frame.
I labeled my shims, but I'm pretty positive the grease and oil was intermixed so I feel like it'd be a good idea to get an alignment tool. I copied the measurements off the guy that made the homemade alignment tool off Pirate forum and got a quote at a local machine shop. He said it'd cost $1200.00 to make a small bushing and shaft out of steel. WTF. The special tool is like a hundred bucks. He better have been making it out of gold for someone to pay that much.
Last edited by Cab4you26; 05-01-2014 at 10:01 AM.
05-01-2014, 10:16 AM
#49
I used play sand on everything except for the final body blasting. I used 20-40 grit glass on the body to kept it clean. The trick to play sand (or any material for that matter) is to make sure that it is good and dry. I would dump the sand out on the driveway and spread it thin to let it dry in the sun for a day or so before I used it. Before I loaded it up in the blaster I would sift all the sand in using a mesh kitchen strainer. You can see the handle of it to the left of this picture:
or like this one here:

Get a round one that fits snugly in the funnel that came with your blaster to make it easier on yourself. I probably went through at least 10 bags of play sand on my frame, axles and other drivetrain parts and I'm 6 bags of Black Diamond deep on my body. I would sweep up the driveway and reclaim the sand each time so I could re-use it, but I swear that stuff just simply disappears! But the key is good, dry material and sifting to remove all the over sized media and debris from reclaiming the sand. Other than that, just find out the right valve positioning for the pot pressure and sand feed and you'll be in good shape.
And if you had gear oil in your knuckles, it doesn't necessarily mean that they were out of alignment. I had gear oil in mine too - it drove and tracked perfectly, but my seals were shot. Go with the Marlin EcoSeals for inner axle seals. When I got mine, I could clearly tell how much better they were over the TG seals that came with my rebuild kit. They actually have dual sealing lips that help keep the oil from getting into the knuckles.

or like this one here:
Get a round one that fits snugly in the funnel that came with your blaster to make it easier on yourself. I probably went through at least 10 bags of play sand on my frame, axles and other drivetrain parts and I'm 6 bags of Black Diamond deep on my body. I would sweep up the driveway and reclaim the sand each time so I could re-use it, but I swear that stuff just simply disappears! But the key is good, dry material and sifting to remove all the over sized media and debris from reclaiming the sand. Other than that, just find out the right valve positioning for the pot pressure and sand feed and you'll be in good shape.
And if you had gear oil in your knuckles, it doesn't necessarily mean that they were out of alignment. I had gear oil in mine too - it drove and tracked perfectly, but my seals were shot. Go with the Marlin EcoSeals for inner axle seals. When I got mine, I could clearly tell how much better they were over the TG seals that came with my rebuild kit. They actually have dual sealing lips that help keep the oil from getting into the knuckles.
05-01-2014, 10:21 AM
#50
Dave is right! I run a water separator on my compressor too! I can easily get 3 ounces of water in the separator after steady running the blaster for a hour. When I accidentally hooked up my hose to my separator bypass fitting, gravity would cause the water to collect in the hose at the base of the blaster below the media valve and clog the hose. I had no idea I was shooting water because it would clog up in the hose and wouldn't even get to the nozzle.
05-01-2014, 12:20 PM
#51
Registered User
Join Date: Feb 2014
Posts: 351
Likes: 0
Received 0 Likes
on
0 Posts
I used play sand on everything except for the final body blasting. I used 20-40 grit glass on the body to kept it clean. The trick to play sand (or any material for that matter) is to make sure that it is good and dry. I would dump the sand out on the driveway and spread it thin to let it dry in the sun for a day or so before I used it. Before I loaded it up in the blaster I would sift all the sand in using a mesh kitchen strainer. You can see the handle of it to the left of this picture: or like this one here: Get a round one that fits snugly in the funnel that came with your blaster to make it easier on yourself. I probably went through at least 10 bags of play sand on my frame, axles and other drivetrain parts and I'm 6 bags of Black Diamond deep on my body. I would sweep up the driveway and reclaim the sand each time so I could re-use it, but I swear that stuff just simply disappears! But the key is good, dry material and sifting to remove all the over sized media and debris from reclaiming the sand. Other than that, just find out the right valve positioning for the pot pressure and sand feed and you'll be in good shape. And if you had gear oil in your knuckles, it doesn't necessarily mean that they were out of alignment. I had gear oil in mine too - it drove and tracked perfectly, but my seals were shot. Go with the Marlin EcoSeals for inner axle seals. When I got mine, I could clearly tell how much better they were over the TG seals that came with my rebuild kit. They actually have dual sealing lips that help keep the oil from getting into the knuckles.
05-01-2014, 12:44 PM
#52
Registered User
Thread Starter
Join Date: Nov 2013
Posts: 83
Likes: 0
Received 0 Likes
on
0 Posts
I don't know if I have the patience to spread my sand out and dry it haha, I could sift it, though. I definitely need a water separator/air dryer because it seems like every 10 seconds my air tools are blowing out water. I could probably fill up a gallon jug after a days use.
05-01-2014, 01:39 PM
#53
Registered User
Doesnt have to be a super fancy drier....just that it is there is important. Put as much hose or harline between it and your compressor as you can. Longer lines condense more water out and the drier works better.
My sandblast cabinet air downstairs is dry as a bone. The driers I got were off ebay for like 20 each? Have a regulator built in as well. Dry enough air for my powdercoat gun too.
Kawa....lets see your outside blasting setup. Im curious.
My sandblast cabinet air downstairs is dry as a bone. The driers I got were off ebay for like 20 each? Have a regulator built in as well. Dry enough air for my powdercoat gun too.
Kawa....lets see your outside blasting setup. Im curious.
05-05-2014, 11:37 AM
#55
Registered User
Thread Starter
Join Date: Nov 2013
Posts: 83
Likes: 0
Received 0 Likes
on
0 Posts
I got a quote from the machine shop for the alignment tool and he said it'd cost $1200.00 to make! for a dummy bushing and shaft! i told the guy made out of steel.....not gold. So that plan is a no-go. So the guy that sells them on Pirate had one left, but I told him no because I bought an air dryer the other day. It's from Ingersoll rand and it's a dryer/regulator combo. I also ordered my motor mounts today from Chilkat along with the oil pan, pickup tube, etc. I finished the POR 15 and top coated my front axle housing and sand blasted my knuckles, too.
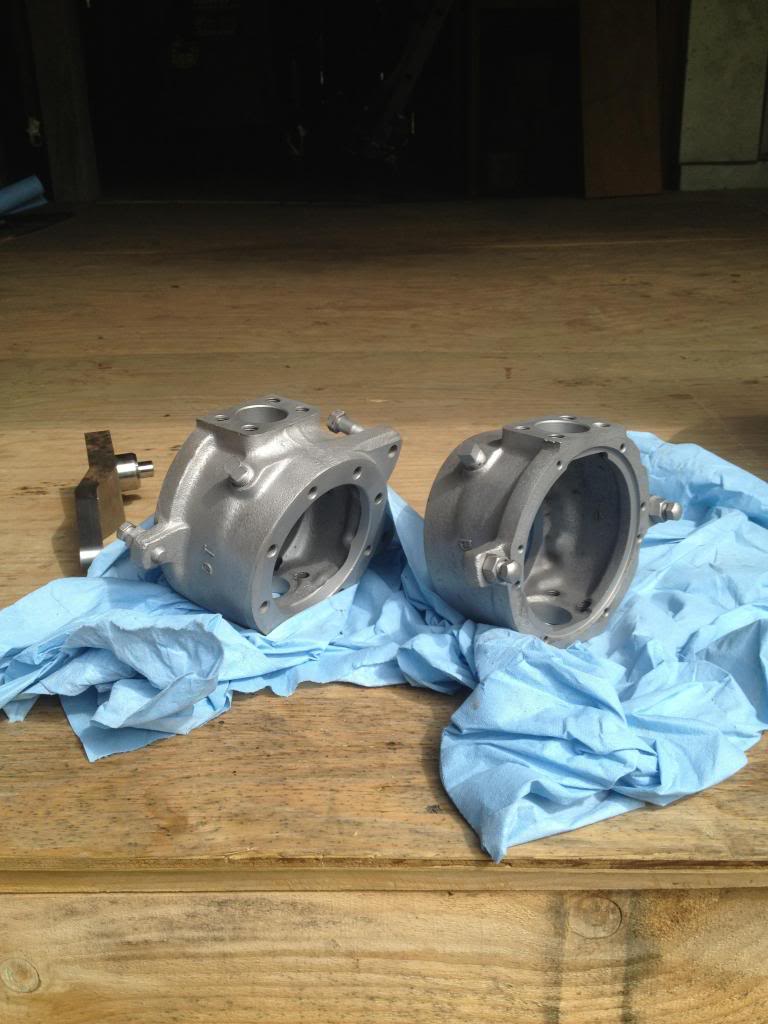
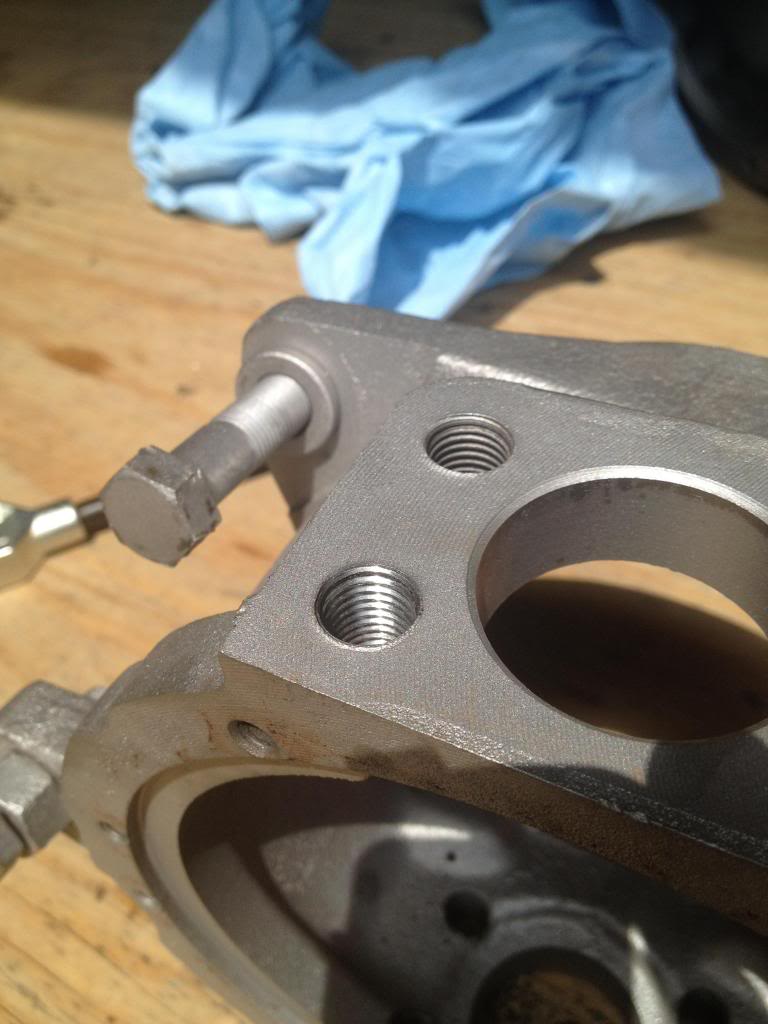
And when I went to see if my new studs would thread into the knuckles I could only get one thread in. When I blasted my knuckles all the excess grease migrated into the old bolt holes. I went to the store to get a tap and ended up getting a whole tap/die set. I'm glad I got it because I've already used three of the taps to chase threads on the knuckles.
In this picture you can see how far down the new stud threaded into the non-chased threads vs chased threads.
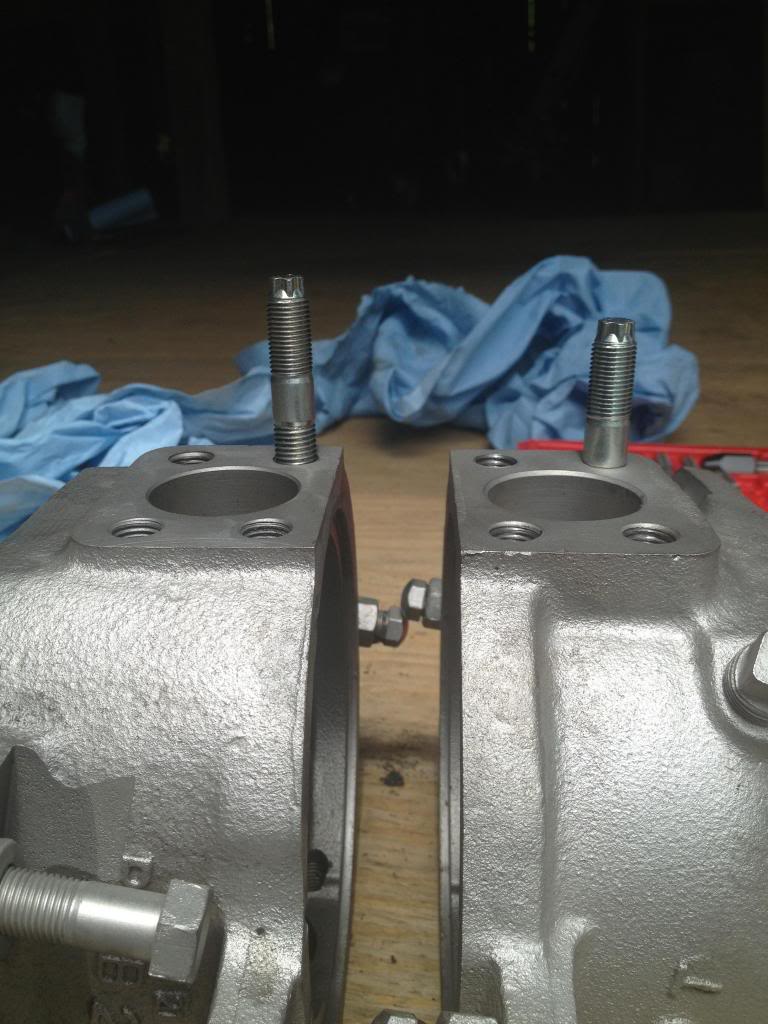
And how the chased threads look vs non chased.
I barely finished chasing all the threads before I came into work. I managed to coat them in Metal Ready, too, before work so they'll be ready to paint tomorrow!


And when I went to see if my new studs would thread into the knuckles I could only get one thread in. When I blasted my knuckles all the excess grease migrated into the old bolt holes. I went to the store to get a tap and ended up getting a whole tap/die set. I'm glad I got it because I've already used three of the taps to chase threads on the knuckles.
In this picture you can see how far down the new stud threaded into the non-chased threads vs chased threads.

And how the chased threads look vs non chased.

I barely finished chasing all the threads before I came into work. I managed to coat them in Metal Ready, too, before work so they'll be ready to paint tomorrow!
Last edited by Cab4you26; 05-05-2014 at 12:42 PM.
05-05-2014, 02:05 PM
#56
Registered User
Make sure you are using a thread chaser and not just a tap.
Chasers clean....taps will cut some...loosening the threads, potentially skewing torque readings.
Chasers clean....taps will cut some...loosening the threads, potentially skewing torque readings.
05-05-2014, 02:19 PM
#57
Registered User
Thread Starter
Join Date: Nov 2013
Posts: 83
Likes: 0
Received 0 Likes
on
0 Posts
Yeah I was using a tap, we always use them at work and haven't had any trouble. Most of the engines I work on are SAE. We had one that had a gouged up thread that was metric, and we didn't have any metric taps but we had a metric thread restorer kit (had actual thread chasers) and the gouged up threads just ate up the thread chaser.
Last edited by Cab4you26; 05-05-2014 at 02:38 PM.
05-06-2014, 06:37 AM
#58
A good set of metric taps and thread chasers are a must. I've chased damn near every thread on my pickup - it's money well spent for sure! I see you're putting that sandblaster to good use too, makes it a whole lot easier than wire brushing doesn't it?
Now you just have to get a powdercoating kit to make all those purdy sandblasted parts look fresh forever! You can get one from Eastwood for less than $150 and a pound of powder costs just about as much as a can of Rustoleum, but goes 2-3 times as far. Trust me, my powdercoating kit has paid for itself a couple times over and I never have to worry about chipping, pealing or re-coating my parts. Dave (HighLux) will agree with me I sure.
Now you just have to get a powdercoating kit to make all those purdy sandblasted parts look fresh forever! You can get one from Eastwood for less than $150 and a pound of powder costs just about as much as a can of Rustoleum, but goes 2-3 times as far. Trust me, my powdercoating kit has paid for itself a couple times over and I never have to worry about chipping, pealing or re-coating my parts. Dave (HighLux) will agree with me I sure.
05-06-2014, 06:48 AM
#59
Registered User
Thread Starter
Join Date: Nov 2013
Posts: 83
Likes: 0
Received 0 Likes
on
0 Posts
I actually used a blasting cabinet on my knuckles haha. I haven't ordered a deadman valve yet. And I may try to go with a different media, too. I read play sand has silica in it, and that's not good for the lungs.
Kawazx636 you're gonna make me go broke before I get this thing put together! Lol I've thought about getting a powdercoater, but I don't have a spare oven to use with it.
On a side note, I just finished putting some POR15 on my knuckles.
Kawazx636 you're gonna make me go broke before I get this thing put together! Lol I've thought about getting a powdercoater, but I don't have a spare oven to use with it.
On a side note, I just finished putting some POR15 on my knuckles.
05-06-2014, 07:21 AM
#60
I bought a used oven off craigslist for $25... add that to your list of things I'm persuading you to buy! LOL Pretty much all blasting media has silica or something you don't want to breathe in so you should always use a respirator when blasting. It kind of sucks having to wear one, but it is way better than silicosis. But like I said, play sand is good for the things that don't need aren't as important for aesthetics like knuckles and frames. You want the better stuff for body work or other things like that. Play sand tends to be "dirty" so just clean everything off really well with some acetone before you coat it.


