When you click on links to various merchants on this site and make a purchase, this can result in this site earning a commission. Affiliate programs and affiliations include, but are not limited to, the eBay Partner Network.
Hey whats going on every one thought i'd join the forum see if I can get some help from some of you guys that have done this swap already.But anyways heres what im working with a 1990 Toyota 4Runner V6 5sd 4x4 and a 1983 300SD engine i took out a running car im using 4x4 Labs adapter plate so far I have both engines out the one part i'm stuck on is fabing up the motor mounts I would like to see some pics of what you guys have done that would really help me out. I will upload some pics as soon as i could figure out how to resize my pics since it wont let me upload .
Last edited by Vr4junkie; Apr 21, 2015 at 01:16 AM.
For my build the motor mounts seemed like they would be difficult till I just went ahead and did em.
I re-used the stock Toyota rubber mounts. I bolted the motor and trans together and mocked the Engine/Trans assembly in place as far as driveline angles and motor clearance, allowing for 1/2" or so of sag when the weight was dropped onto the mounts. First bolted plate to the block on each side, then just went to town with cardboard, cut pieces to size, tacked welded the pieces in place, removed the mounts and finished the welds. Not at home now, I can take a few pictures next week.
For sure man, I'll take some when I get home.
For the mounts there are many ways to make them up, I found easiest to re-use as much of the toy setup as I could. The important thing is when you design the mounts make sure they are stiff in the forward/backward direction as well, that's an axis most people don't think about but braking/accelerating puts a good amount of force in that plane as well.
Also, I can't see the front of the motor in your pics, but if you remove the PS pump, Vacuum Pump, and Water pump Pulley it will make your life alot easier installing the motor without needing to hack apart the core support.
Do you have a SAS or plan on modifying the oil pan?
Last edited by usmma2013; Apr 22, 2015 at 05:53 AM.
yes I do plan on modifying the oil pan I know I don't have or plan to have a SAS anytime soon but I did take most of the front off but it's still a tight fit.
So I took it out of my brothers shop so I will be working on it as much as possible I'll keep updating my progress
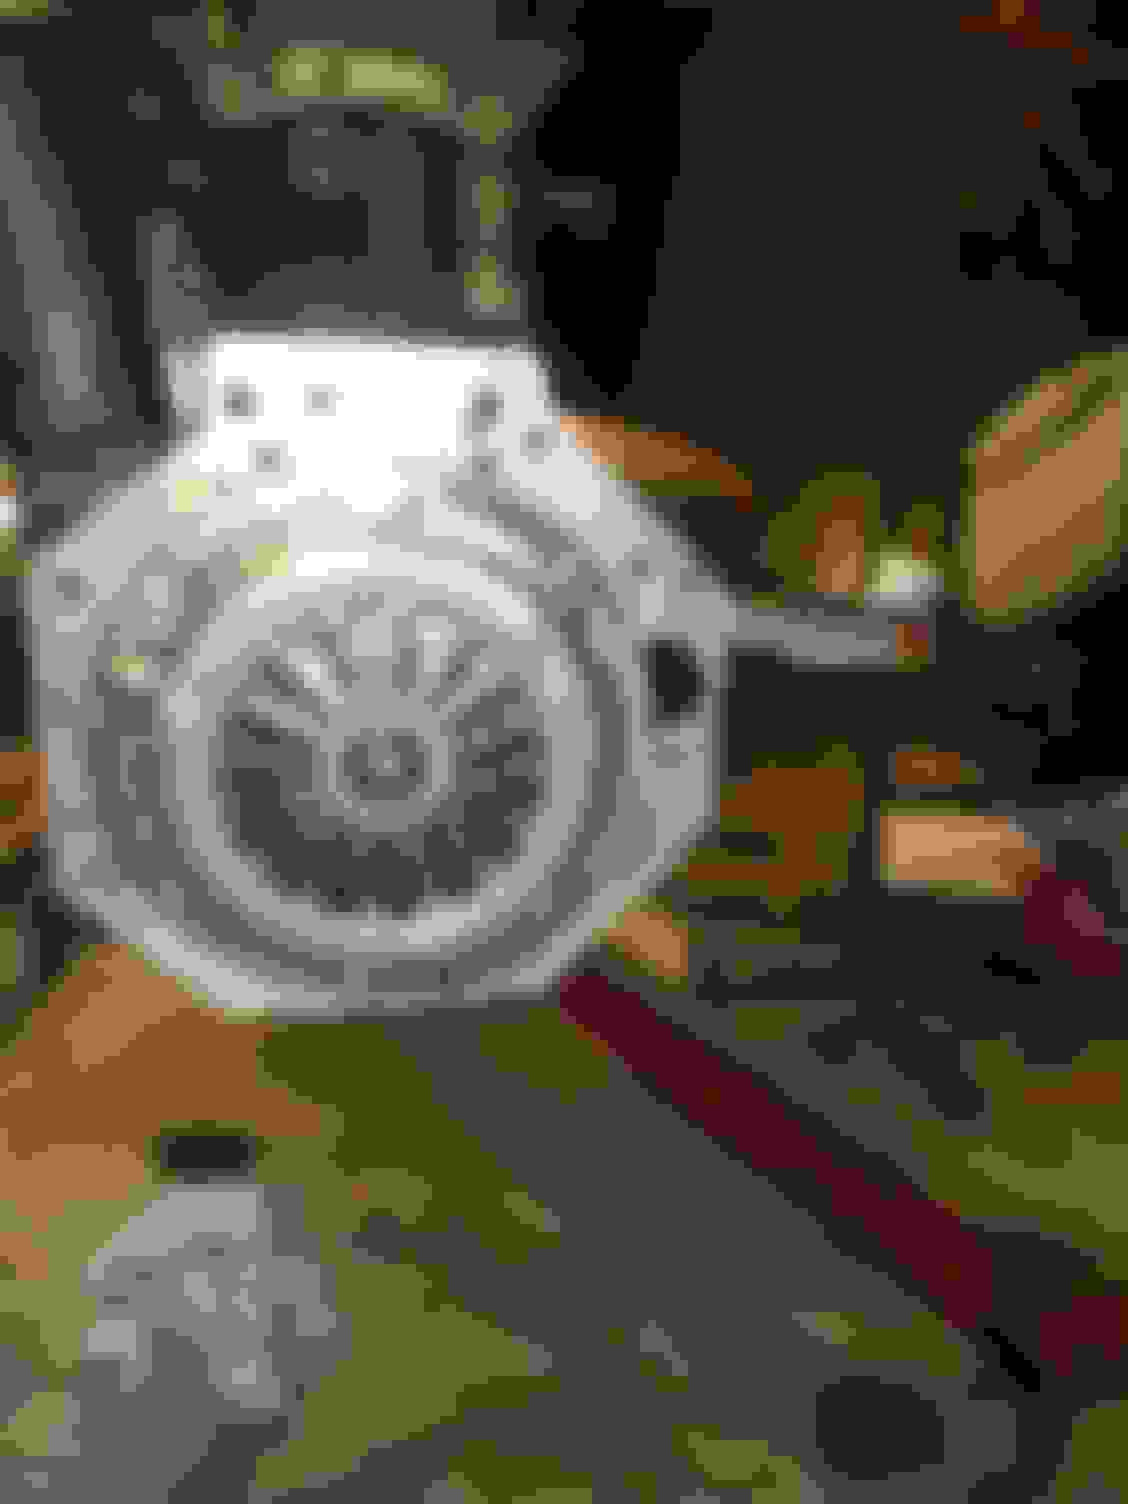
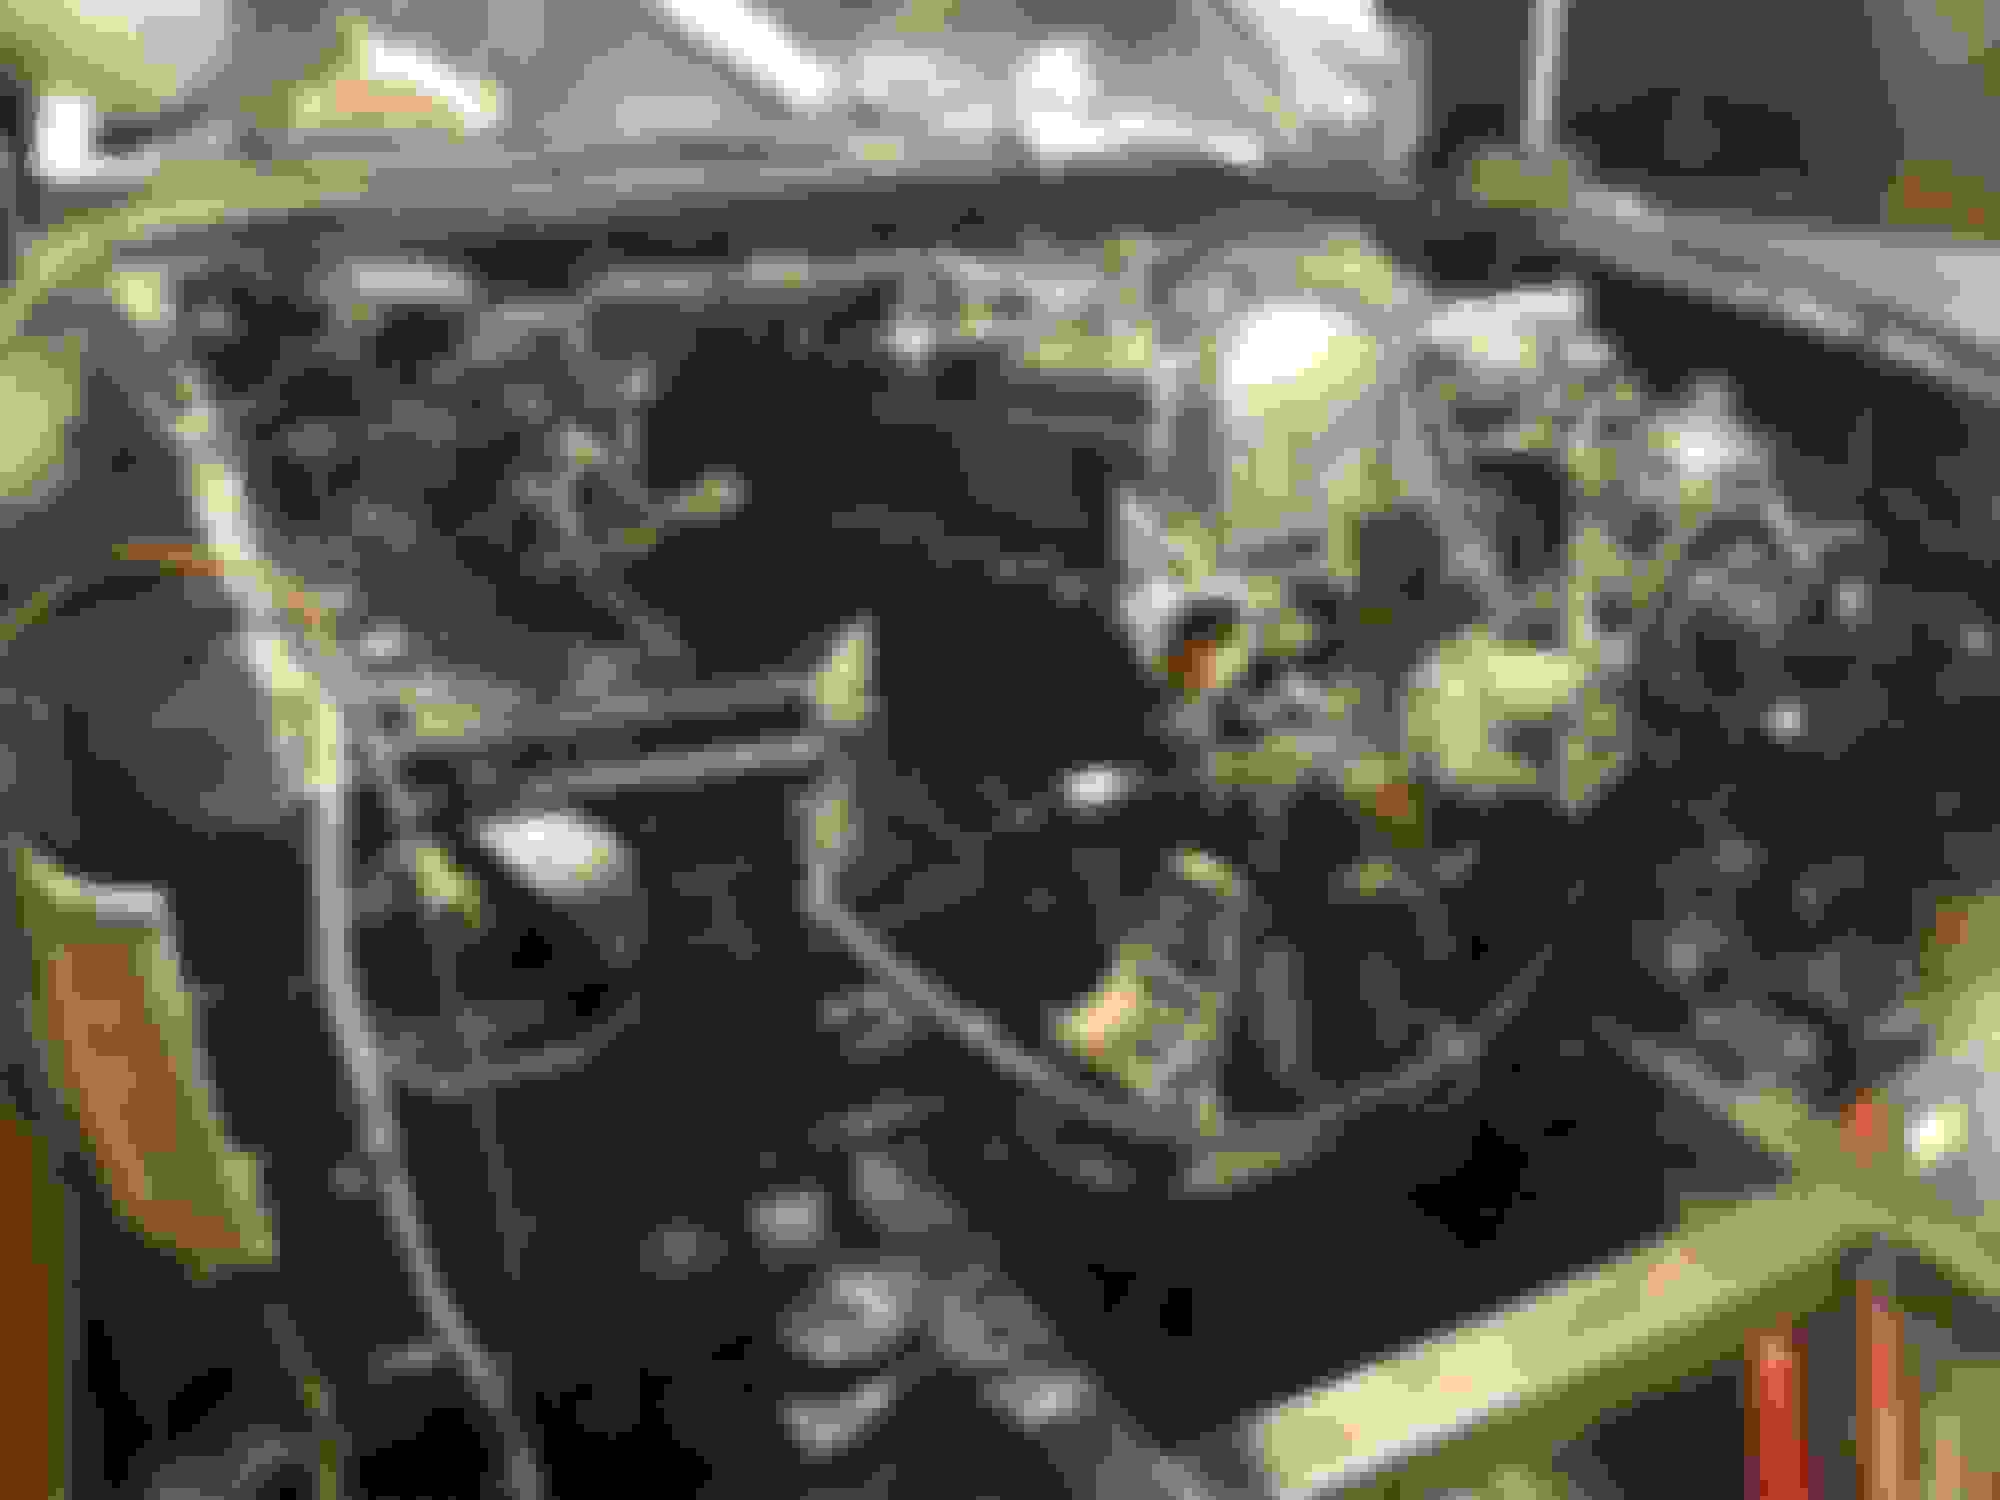
OK so here's an issue I'm having I put the motor in for a test fit and seems like it might be a really tight fit does the tranny need to be pushed back to make this work.
The way the engine sits now there was no need to modify the oil pan or oil pick. Only down side to this is hood can't be closed but that's not an issue for me since this is a play truck but there's alot more room to work on it and do basic maintenance
So oil pump doesn't need to get cut up just need to push stabalizer shock mount more down.
Last edited by Vr4junkie; Aug 20, 2015 at 05:42 PM.
So the time has come and shes finally running here's a little video of the first start up .. The duck tape is just temporary and the plastic dip will eventually come off too
So here she is AKA FRANKENSTEIN I'm sure you guys know how it got its name. But on the good shes up and running and playing around in the mud installed new LED light, smity built winch, Moroso Wheel studs all around, and my favorite the Aussie rear locker huge difference.
Last edited by Vr4junkie; Mar 15, 2016 at 12:07 AM.
If you have any problems with your motor mounts, it's probably going to be where the square tube mounts to the rubber isolator. You are creating a huge moment on the head of that bolt. Hopefully it works well for you though. It looks like you are pretty much dedicated to the setup you have since you hacked off your stock mounts. This swap is very possible to keep your grill in the stock location and keep your hood shut. My motor mounts set the motor down so the hood can clear without a body lift. If you change your mind down the road and want to redo it, hit me up and I can help you out.
What do you mean about the motor mount like add some support or what??
Ill definitely hit you up I remember I would look thru your build thread and few other just thinking one day. But this my guinea pig for now keeping it cheap and simple if i do end up doing it the right way it'll be on something newer and nicer
Originally Posted by pyrojoe22
If you have any problems with your motor mounts, it's probably going to be where the square tube mounts to the rubber isolator. You are creating a huge moment on the head of that bolt. Hopefully it works well for you though. It looks like you are pretty much dedicated to the setup you have since you hacked off your stock mounts. This swap is very possible to keep your grill in the stock location and keep your hood shut. My motor mounts set the motor down so the hood can clear without a body lift. If you change your mind down the road and want to redo it, hit me up and I can help you out.
So these are new HD tie rods there Synergy Tie rod end used for the Jeep Jk. its a tight fit but they work diffently feels alot better and stronger as you can see.
Now i just need to make a custom Idler arm I have broken 3 already including 2 new ones.
Last edited by Vr4junkie; Mar 21, 2016 at 12:54 AM.
I plan on trying my own 3VZE to OM617 swap using the 4x4labs adapter kit. My only concern is trying to fit that long SOB into the engine bay. Is there enough room in there to push the trans back any?
I plan on trying my own 3VZE to OM617 swap using the 4x4labs adapter kit. My only concern is trying to fit that long SOB into the engine bay. Is there enough room in there to push the trans back any?
There is plenty of room to fit the engine, either by modifying the front core support and leaving the transmission where it is, or leave the front core support alone and moving the transmission back.
Not to step on anyone's toes, but I have V6 kits in stock that can be shipped next-day.
Well like Projoe22 said there is plenty of room for the engine to fit you might wanna get intouched with him about those motor mounts .
And about the tranny yes there is space to push it back i decided not to because i didn't wanna go thru the trouble of getting new drive shafts and pushing the tranny crossmember back and cutting the oilpan.
Ill see if can post a walk around video of how it is now.

 Apr 20, 2015 | 12:33 AM