When you click on links to various merchants on this site and make a purchase, this can result in this site earning a commission. Affiliate programs and affiliations include, but are not limited to, the eBay Partner Network.
So after my pickup was in an accident, you can read it in my build thread, I decided now was the time to swap in the 1uz that had been sitting in my garage for 2 years.
I got the 3.0 pulled just fine. A local gent cut me the adapter plate I needed for $60. Everything was going smoothly, but now that I am trying to fit the engine in the bay, I have some questions.
I know the drivetrain has to sit back a couple of inches. I have everything moved back, but how in the world does one get this engine to sit low enough?
I have some pics of the current position. It is a 1992 toyota pickup with IFS, using the stock R150f.
Open engine bay, with 1uz bellhousing in place. needs some cleaning. I shaved the parking brake bolt, might have .5 inches left to go before the engine hits that? I will have to cut and turn the manifold plate so that they dont interfere with the torsion bars. The exhaust manifolds interfere with the upper control arm if I am too far forward. Driver side manifold And my biggest concern, this is a front sump engine. How do you get this engine low enough to clear the hood?!? The center link is in the way. Not sure the hood will clear. Barely enough room up front, not sure how that is gonna play out yet.
so, anybody who has done this swap with ifs, do you think I am going to have to do a body lift? It was the last thing I wanted to do, just hoping somebody out there might have some tips.
Thanks for any help! I will continue posting with updates. Thanks!
So I think I have a solution to some of these clearance problems. I was playing around with the engine placement, and it turns out that if I get the oil pan within an inch of the center link, the steering arms actually clears the exhaust manifold. Barely but it does. Now for the steering stabilizer tab on the center link, I am thinking I will just cut it off and use a couple of U-bolts with a plate to hold the stabilizer to the arm. I have seen aftermarket kits do that on super duty trucks, not sure why it wouldn't work here.
The valve cover contacts the brake booster, either will shave down the valve cover or knock a small dent in the side of the booster. You know, precision fabrication here.
I had cut and turn the exhaust manifold flanges, but they were still interfering with stuff on the truck, so I cut part of the flange off on each. Will have to redrill and tap for a third bolt now. I should have thought ahead and bought universal exhaust flanges to weld on.
And for hood clearance... I have always liked the hood scoop look. the only thing that pains me is cutting a hole in a brand new hood, which I haven't bought yet.
I could do a 2 inch body lift and overcome some of these issues, but the body lift will cause the steering arm to contact the manifold at that point, and then I would have to get tundra headers. Hopefully this weekend I will get the engine mounts fabricated and the engine sitting in its final resting place, then I can finish debating what to do.
Last edited by chukarhunt; 06-08-2017 at 05:39 AM.
If you search the forum, you will find my build, you can fit it with AC without the body lift. I had to weld up a custom oil pan and headers to get it to fit in there. I have many pictures of it on my build. Check it out and let me know if you have any questions. There is no question it is crazy tight in there, but it did fit. I have been driving it for about 20k miles so far. between the heads and the fire wall I think I have around 1/4", not much, and you can tell it hits once in a while.
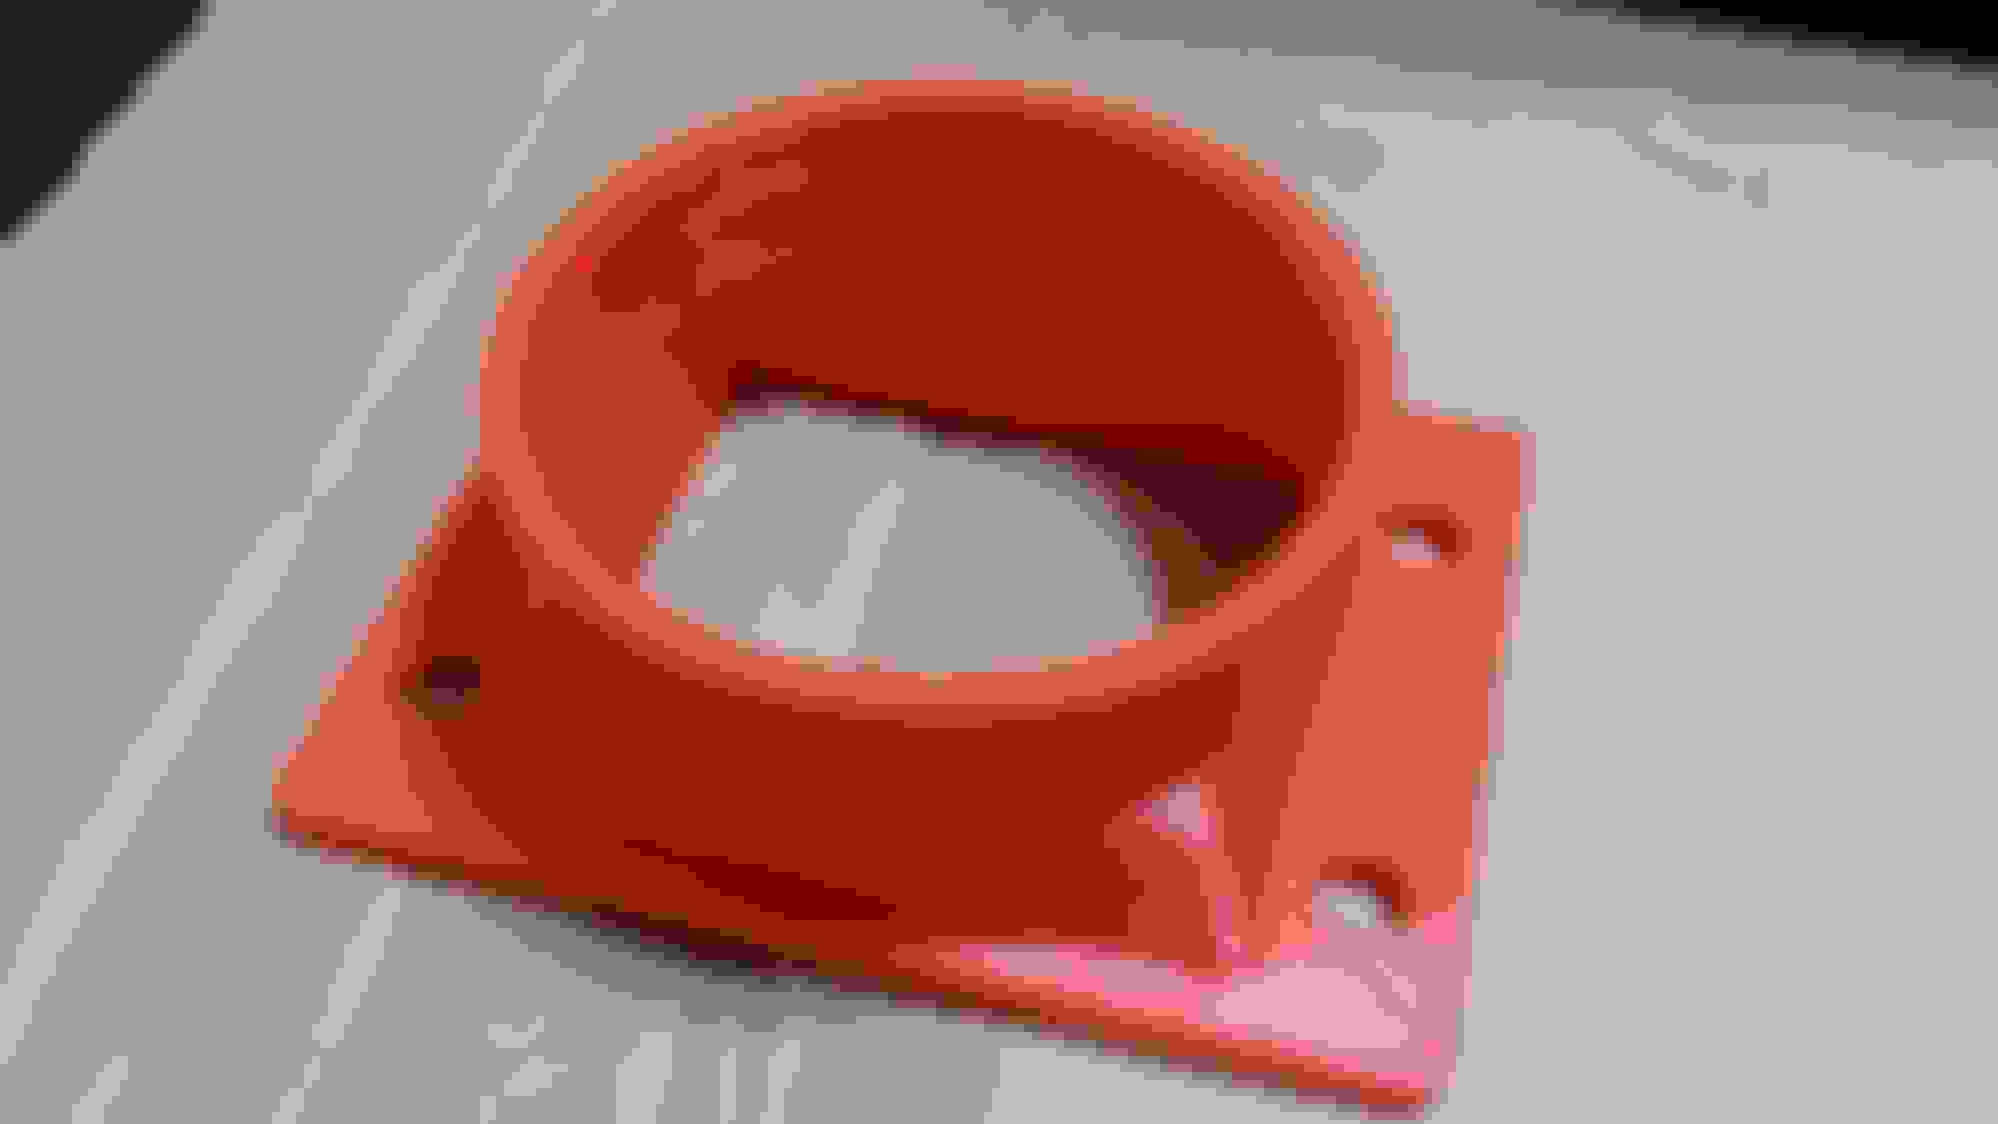
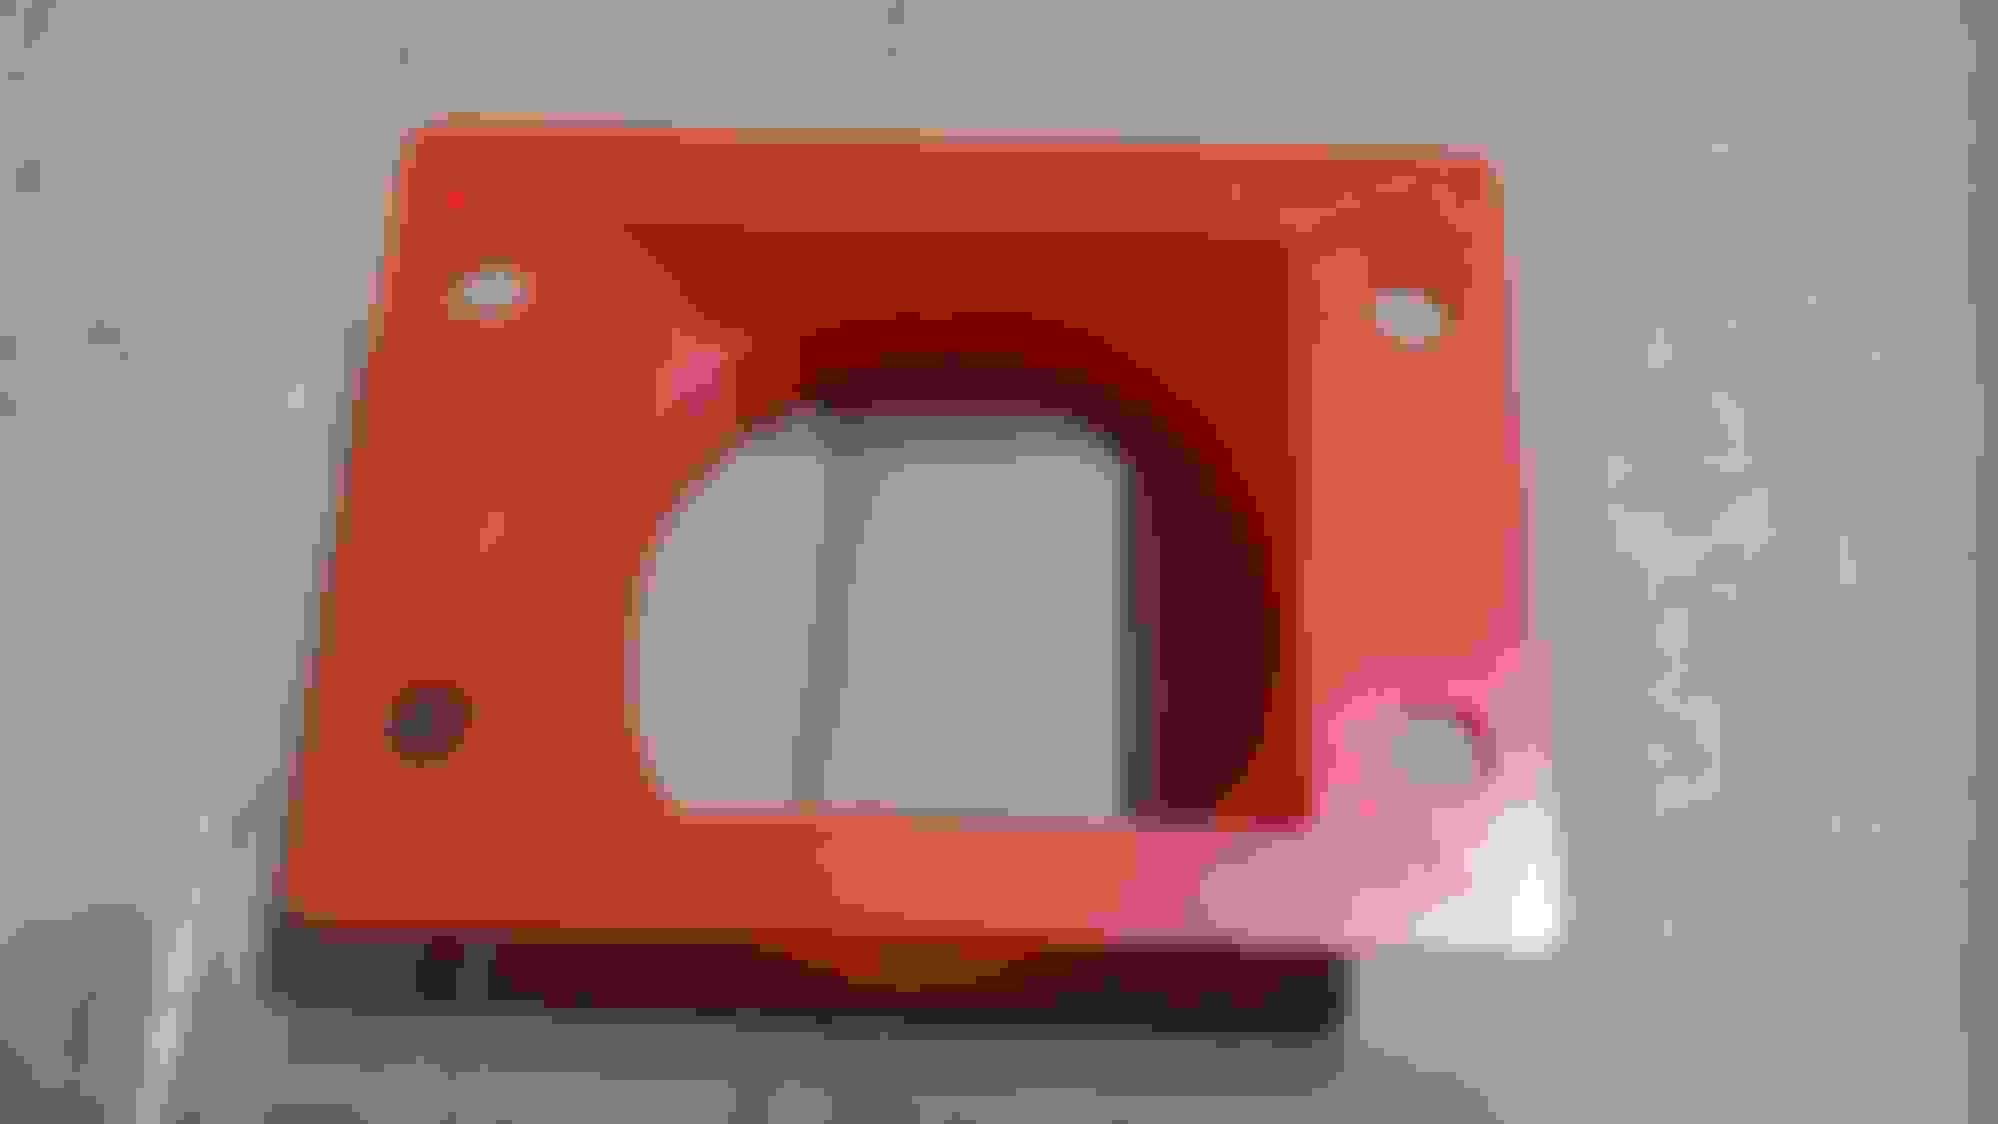
This is taking me a lot longer than it should, but I bought a 3D printer and it has been consuming a lot of my time for obvious reasons lol. Anyway, this trucks drives! Just not 100% done yet. Marlin Crawler 1200lb pressure plate on 34lb 3vze flywheel. Chopping fenders and making room! I later spray painted the engine bay red. The original adapter plate drawings did not include a spot for the pivot ball to mount, so I had to weld one one. Cost me $40 and a case of beer to a local guy to cut and tap the adapter plate. Beats the $240 a high profile machine shop quoted me! Installed the shift fork. I have a pic somewhere of the pivot ball, but I had to cut and extend the ball by about an inch to place the throwout bearing in the right place. Sitting in its final place! I got tired of fussing with the flanges, so I cut them out and welded on straight pipe. Later used lap band clamps to install the exhaust system. Got creative with the slave cylinder mount. and a custom fully adjustable slave cylinder rod! More pics of the setup to come. Utilized the 3D printer to make me an air filter to AFM adapter. Perfect! One thing I did not realize until it was too late, is the core support I bought was from a 4runner that had the halogen headlights, not the glass like these. so I had to get creative again. Works like a charm! Pain in the arse to adjust the headlights, but it works. Looking like a truck again!
I have a lot more photos and videos to upload of the entire setup, so it should answer some questions for ya'll, but this was all done without a body lift on stock suspension. The engine is running super rich right now, but it is driveable. Have some sensors to replace and see if that clears up the fueling. Stay tuned for more video and pics. This sucker is loud!
Sorry I haven't posted in a while. I ended up buying a MS3 pro evo ECU and tuned it. Used the wiring harness that came with the ecu. Advanced the timing a bit more on the beast, and it loves it.
 06-03-2017, 09:19 AM