All Other Toyota Swaps I4, I6, Lexus V8

1jz gtte into 95 4runner

Thread Tools
 
Search this Thread
 
Old 02-11-2018, 10:43 PM
  #21  
Registered User
Thread Starter
 
8784 runner's Avatar
 
Join Date: May 2010
Location: Anne Arundel,MD
Posts: 311
Likes: 0
Received 3 Likes on 3 Posts
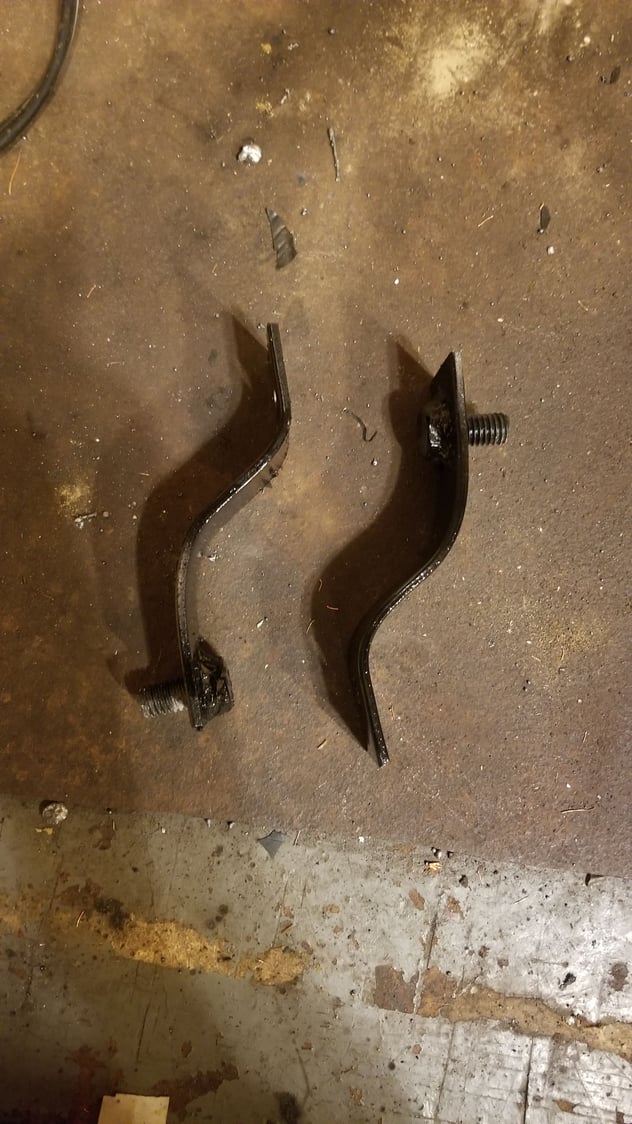
Also made these for the shift bracket on the transfer case. Makes up for the body lift and the trans being pushed back from original location. Just 1 1/2" flat kind of dead eyed the bend to give the difference in elevation I wanted. Checked fitment then drilled two holes in each. One end I dropped in a bolt then welded the head just to make it easier when bolting the shift bracket to it.
Old 03-06-2018, 06:28 AM
  #22  
Registered User
Thread Starter
 
8784 runner's Avatar
 
Join Date: May 2010
Location: Anne Arundel,MD
Posts: 311
Likes: 0
Received 3 Likes on 3 Posts

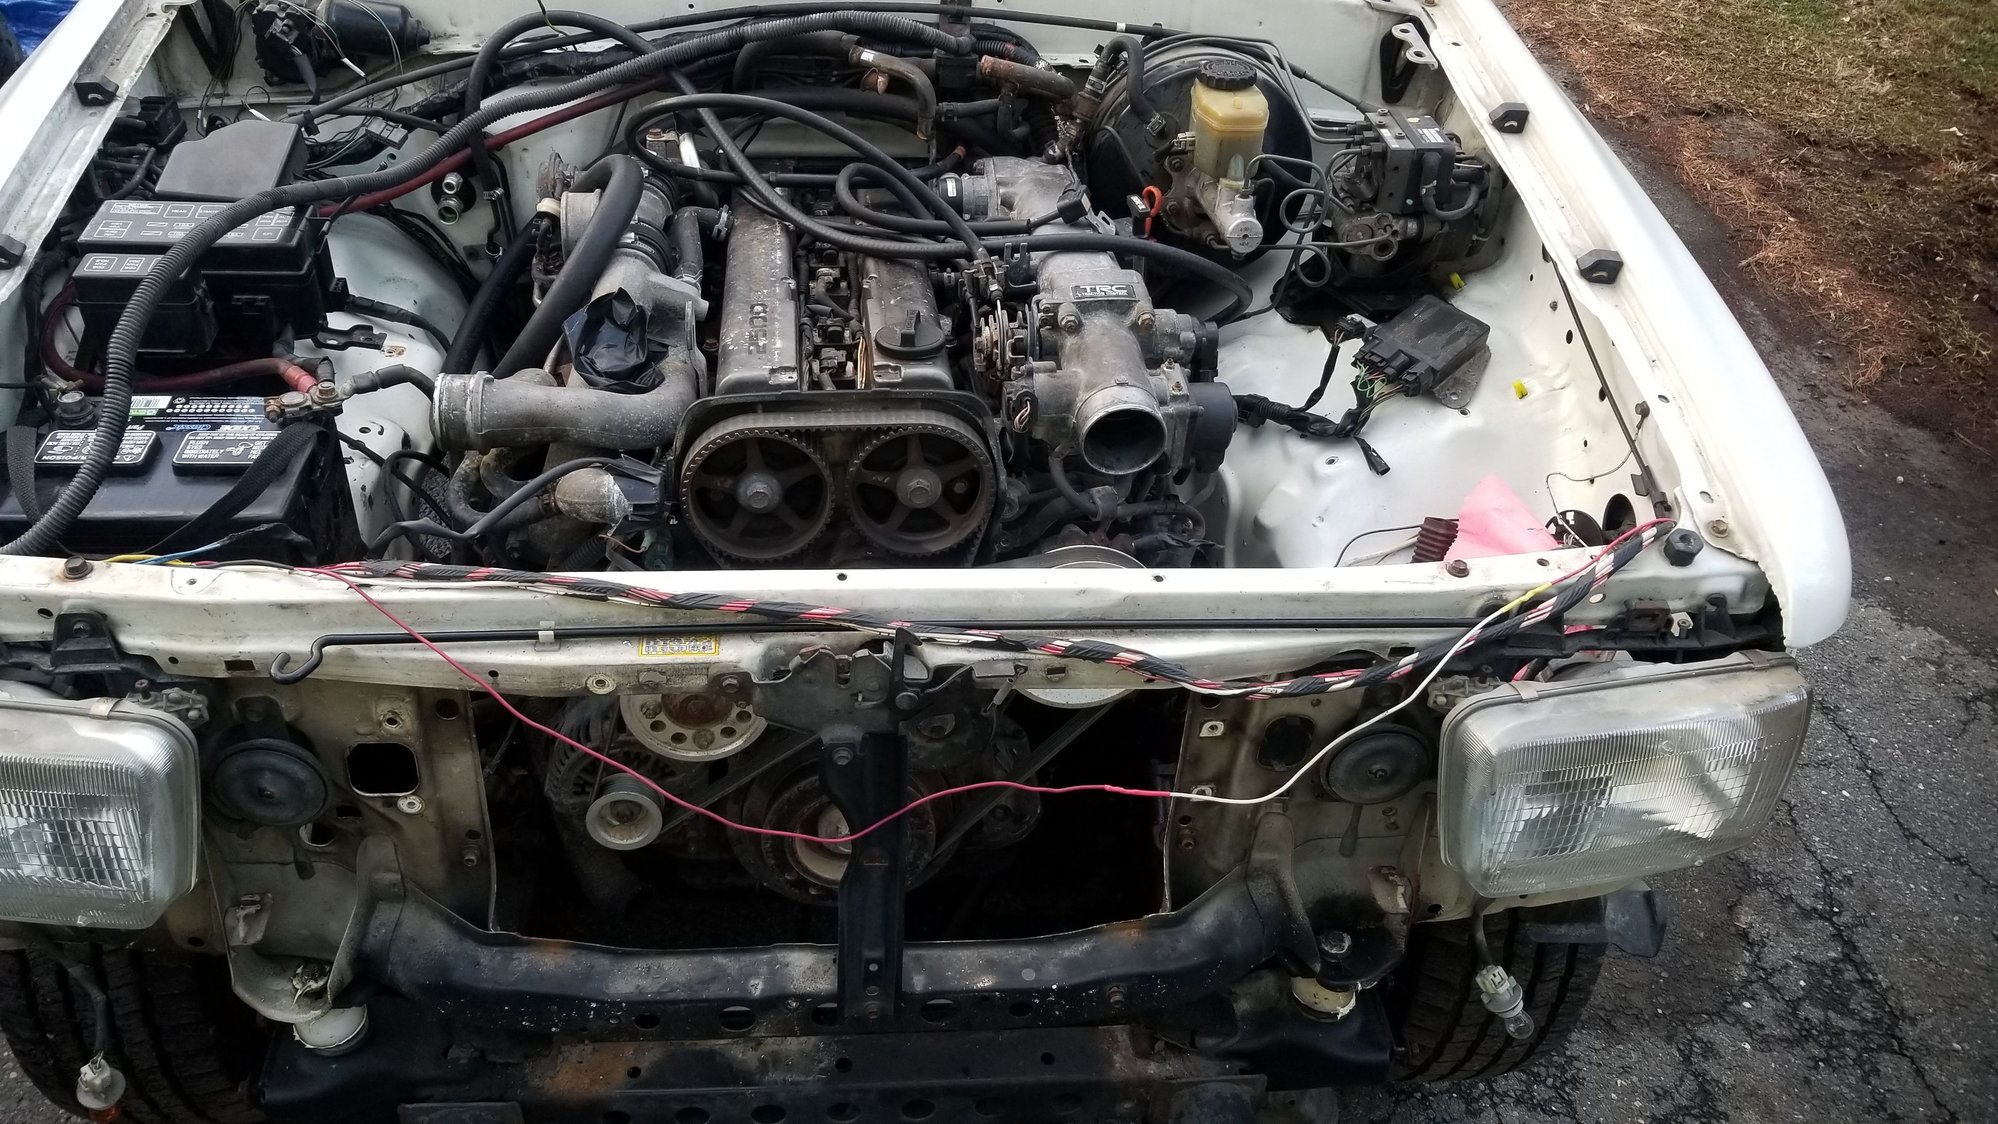
So the motor did fire. Was a little ruff with no filter or intercooler piping. But I was able to back it out of garage and do a lap around yard.
Old 03-06-2018, 06:35 AM
  #23  
Registered User
Thread Starter
 
8784 runner's Avatar
 
Join Date: May 2010
Location: Anne Arundel,MD
Posts: 311
Likes: 0
Received 3 Likes on 3 Posts
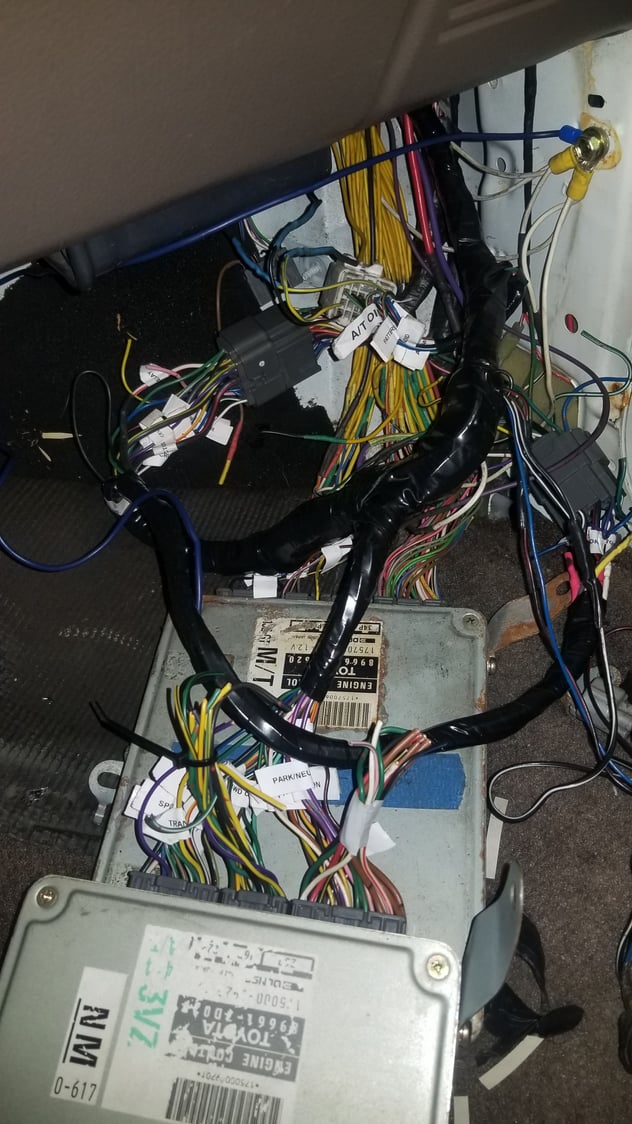
Now that I know the motor runs despite the cutting and splicing I did to merge the two ECU's together. I can actually get moving to have this done soon. Only thing is that in my yard I was not able to get enough speed to see if the trans actually shifts like it's suppose to. So althjough the motor runs is a great sign. Still don't know if the trans is gonna shift properly till I get it on the road
Old 03-06-2018, 06:42 AM
  #24  
Registered User
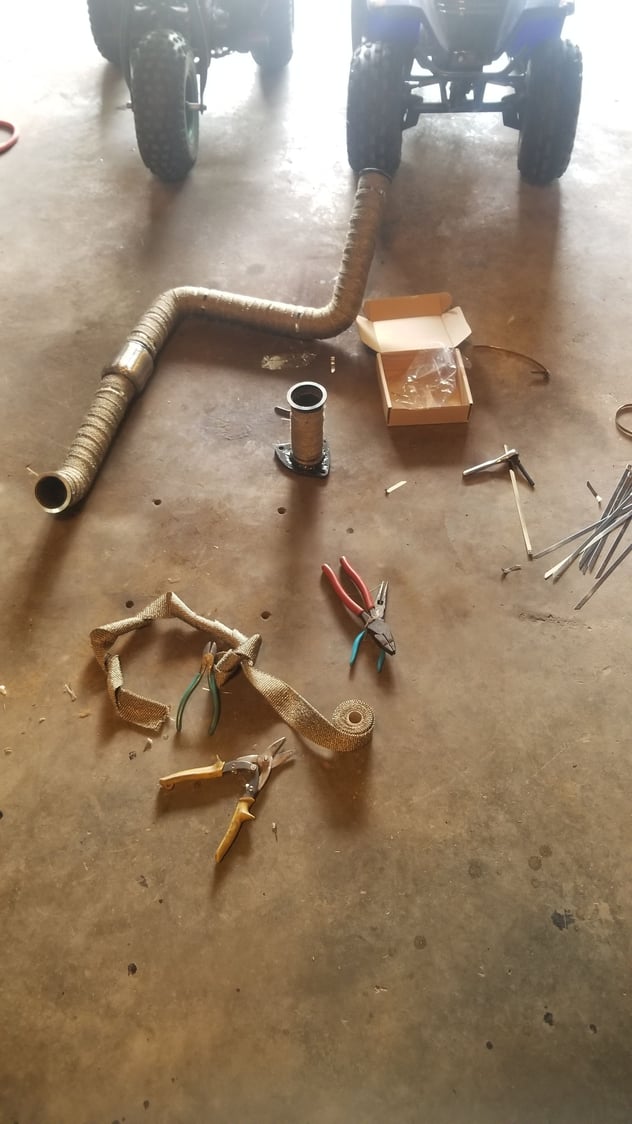
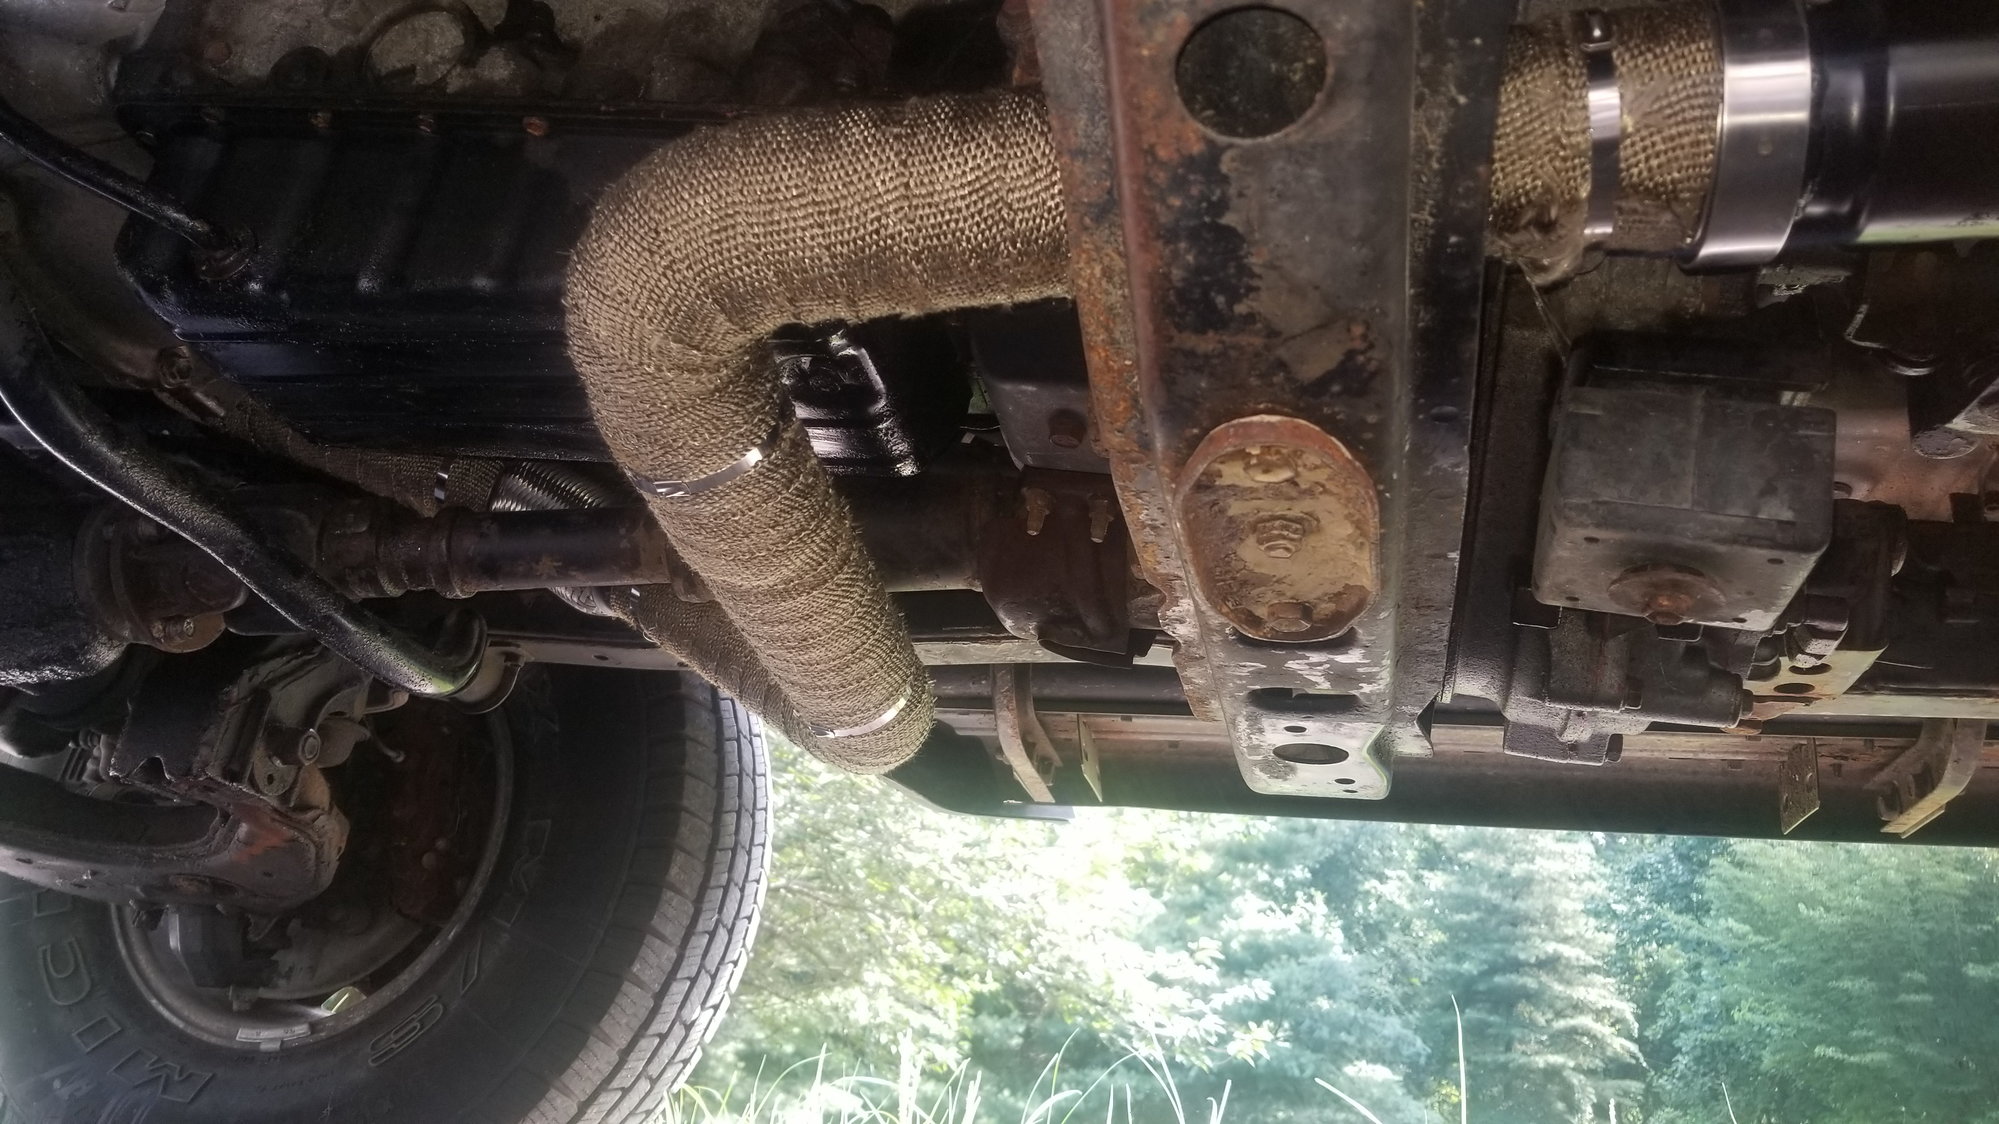
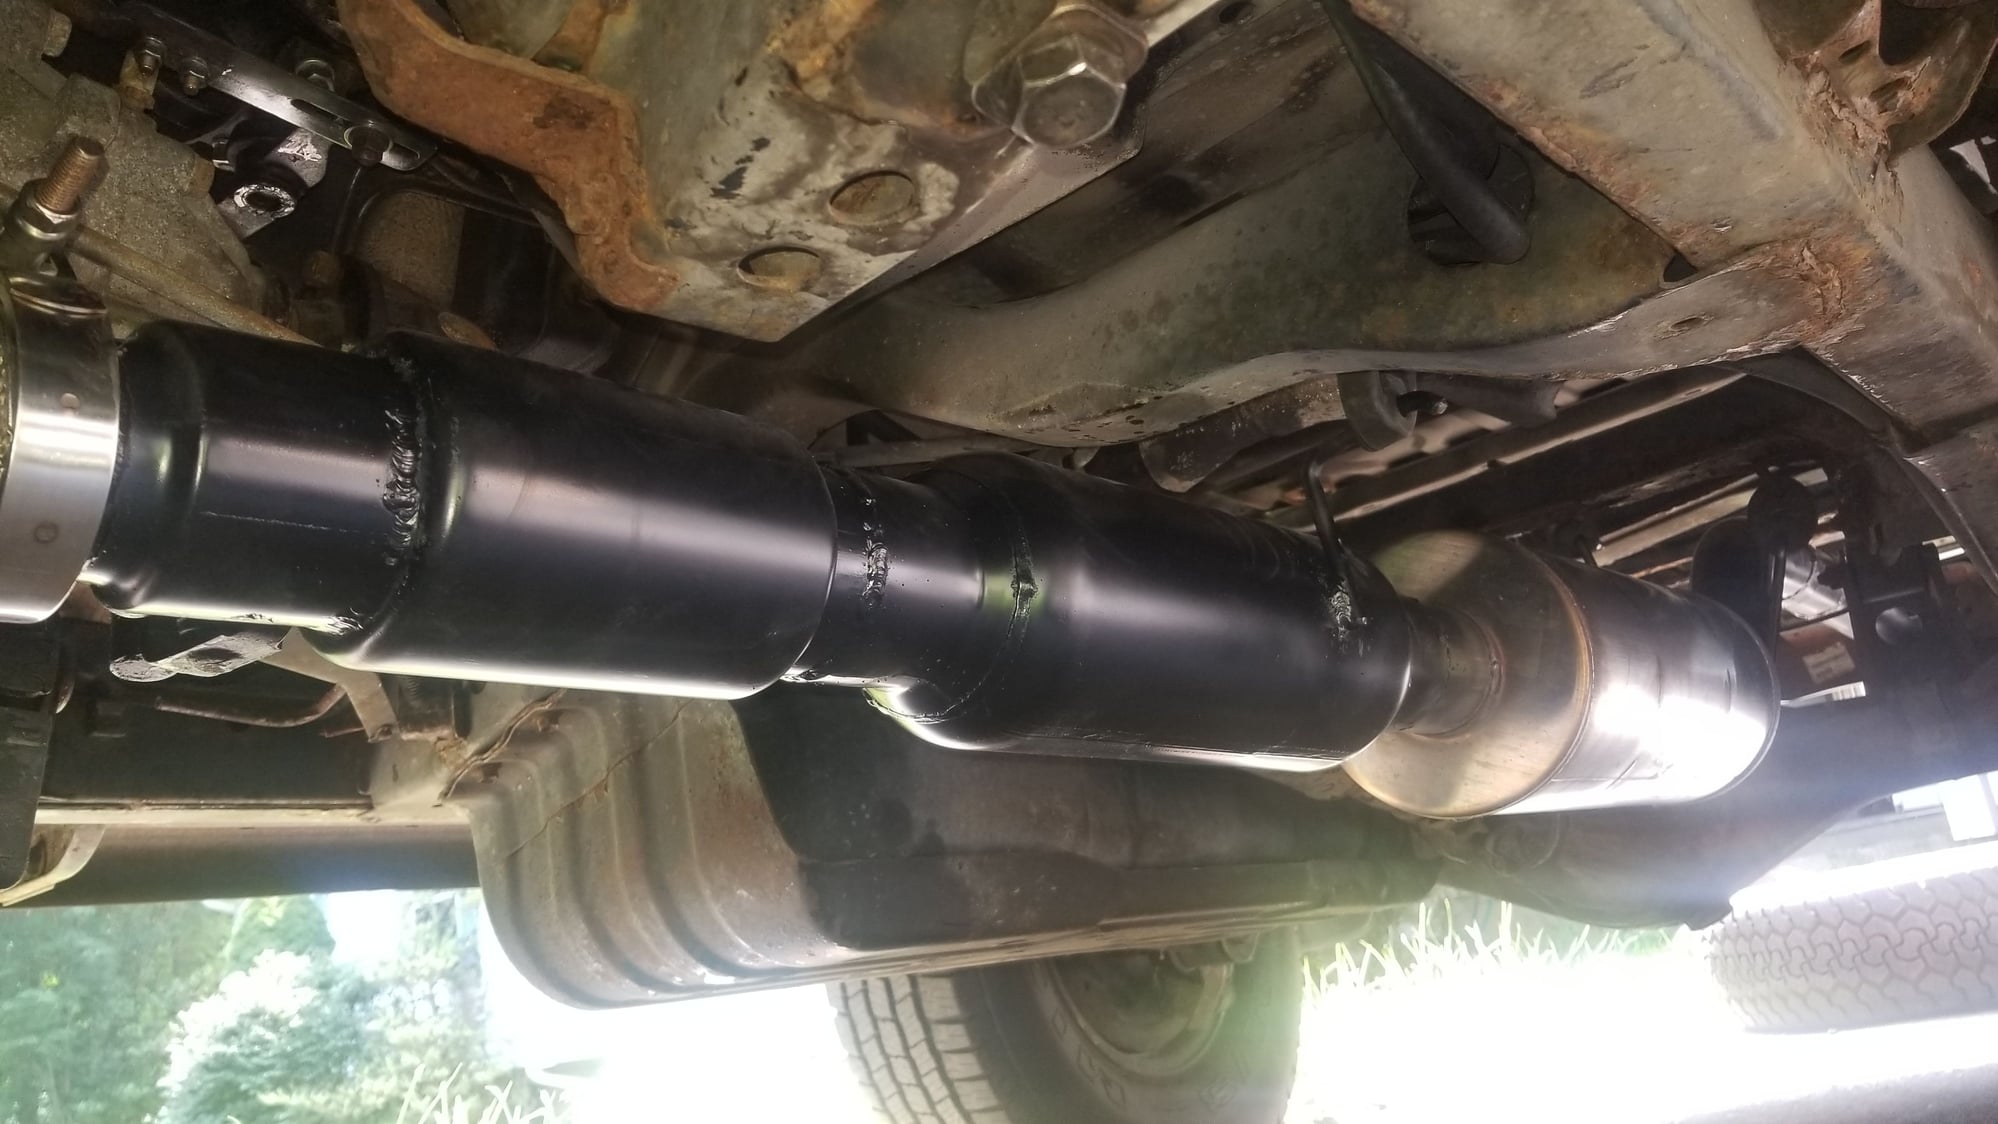
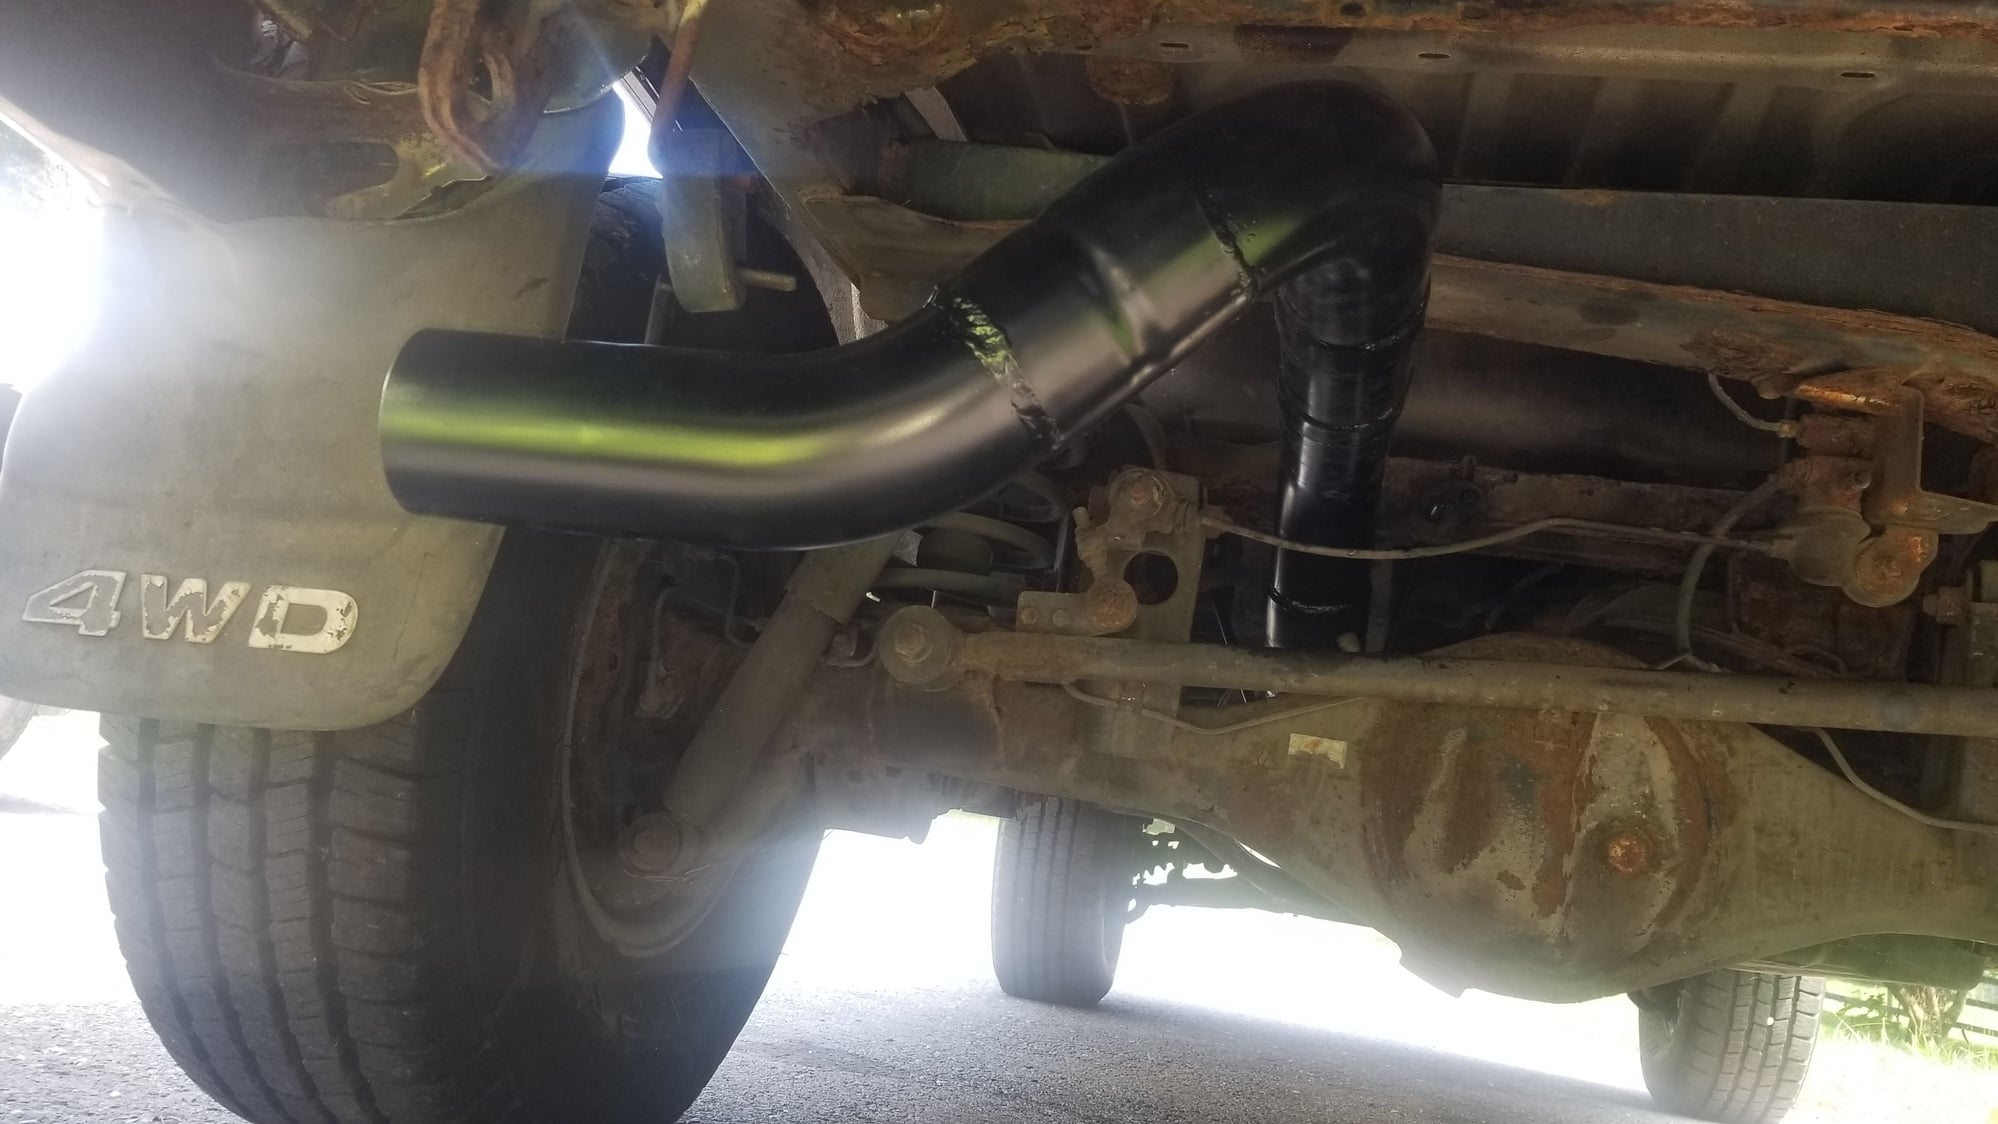
Thread Starter
 
8784 runner's Avatar
 
Join Date: May 2010
Location: Anne Arundel,MD
Posts: 311
Likes: 0
Received 3 Likes on 3 Posts
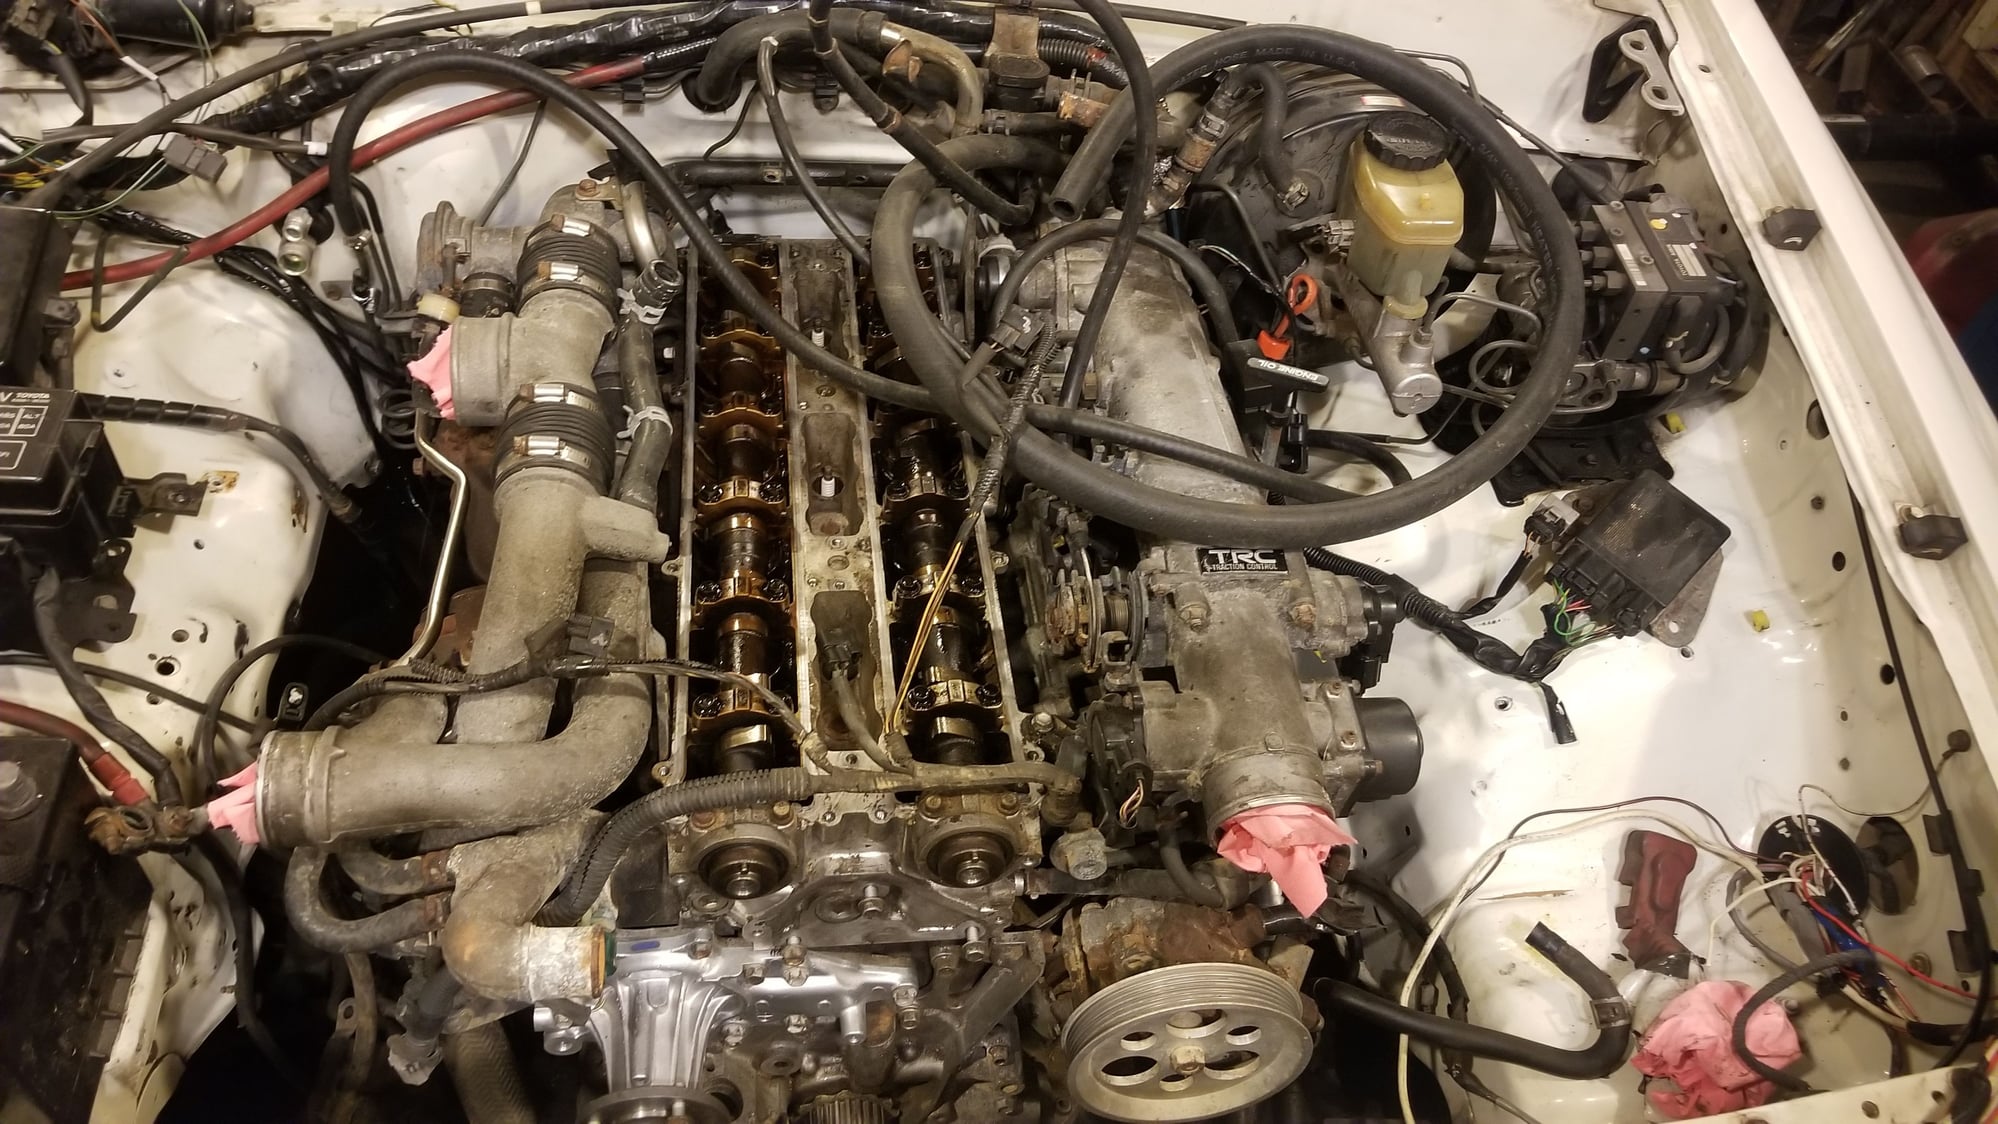
Replaced spark plugs as well. Also put new hardware on the coil pack trays. Driftmotion wanted $3 a screw. I went to local hardware store and picked identical Stainless steel hardware for .40 cents a screw

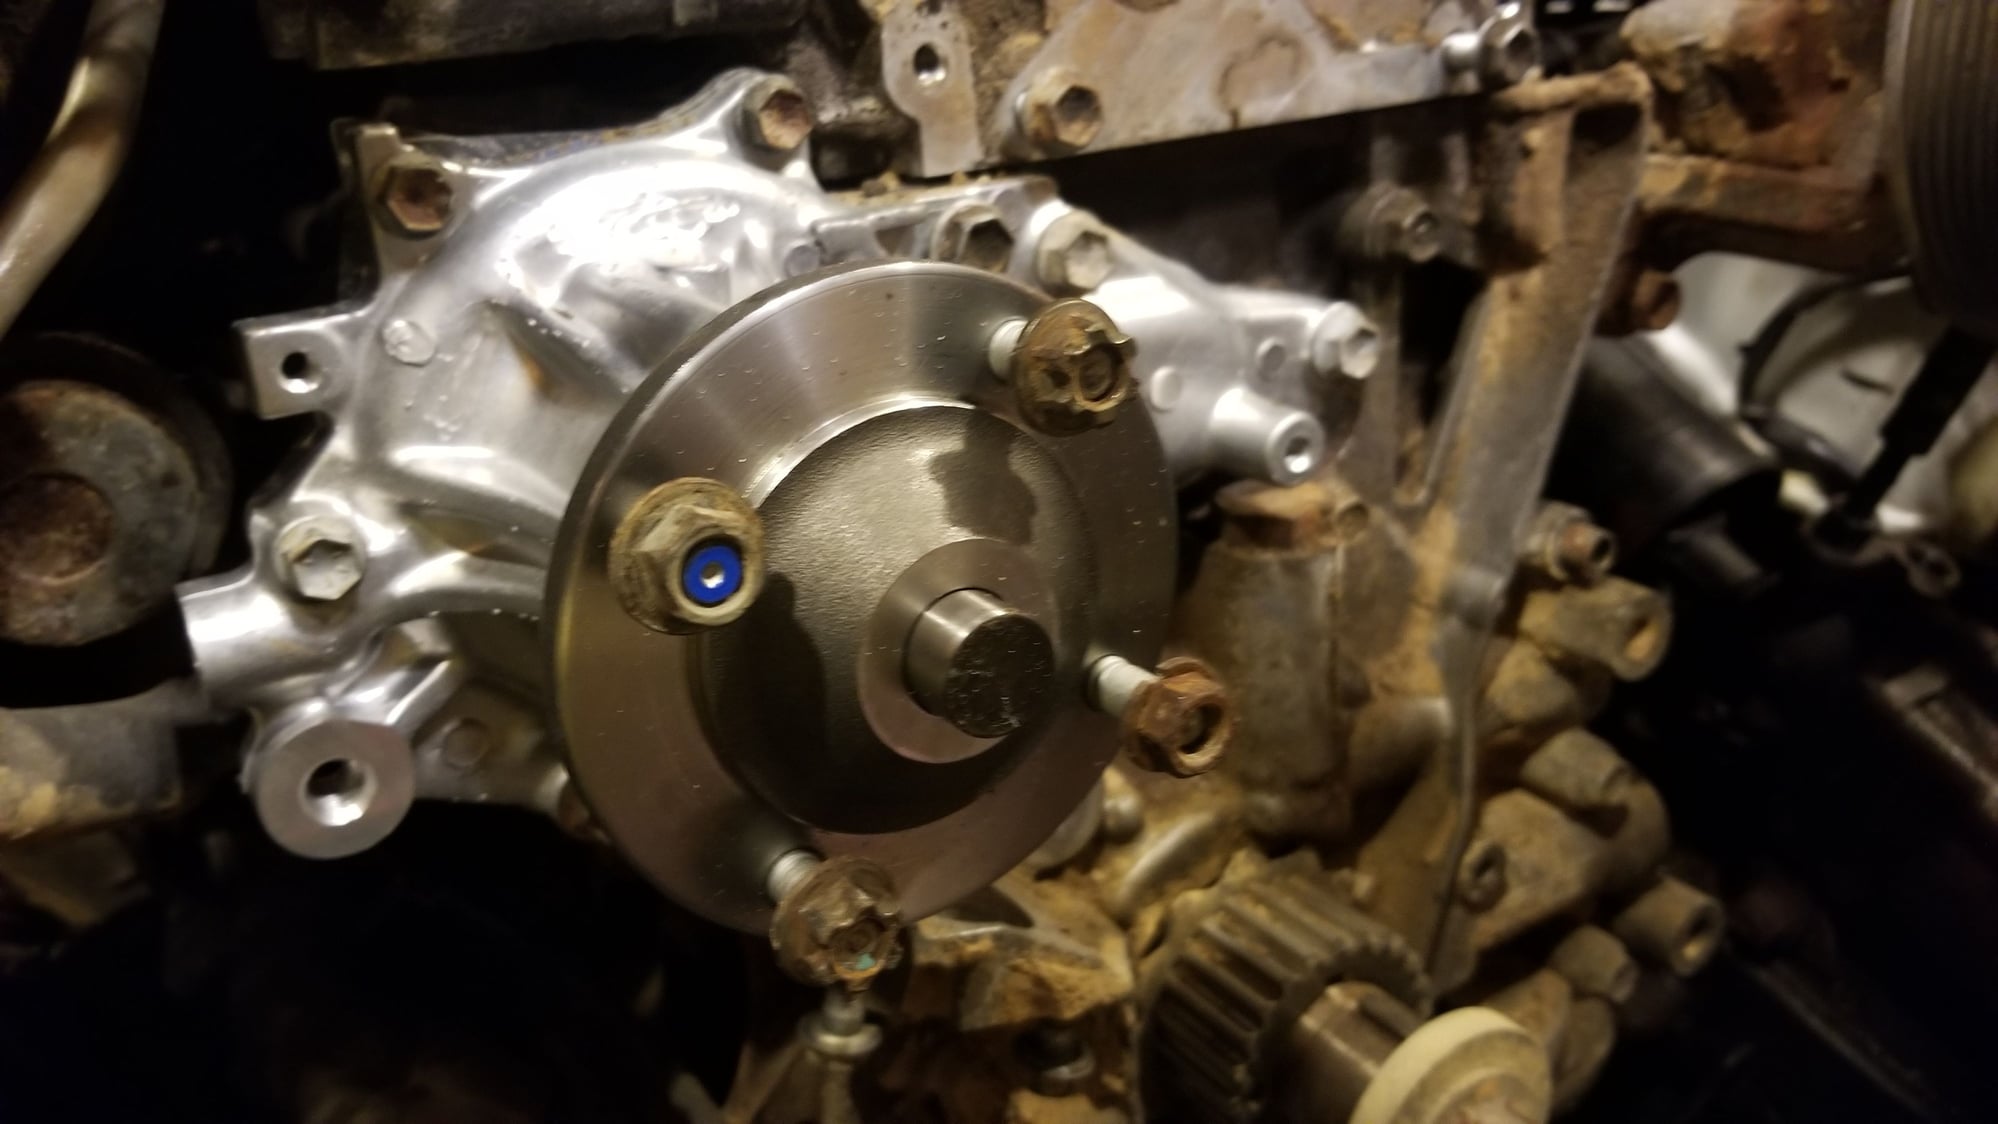
Went and put a new water pump while it was somewhat easy to do. Cleaned everything under timing belt cover. Actually getting to the water pump takes longer then replacing it. I didn't look far enough ahead to order new timing belt and belt tensioner. Since they only have about 25k on them from when this motor was put in the other 4runner I don't think they'll be an issue for some time. Water pump I order a AISIN pump for a 1993 2jz supra

Last edited by 8784 runner; 03-06-2018 at 06:45 AM.
Old 04-22-2018, 04:06 AM
  #25  
Registered User
Thread Starter
 
8784 runner's Avatar
 
Join Date: May 2010
Location: Anne Arundel,MD
Posts: 311
Likes: 0
Received 3 Likes on 3 Posts

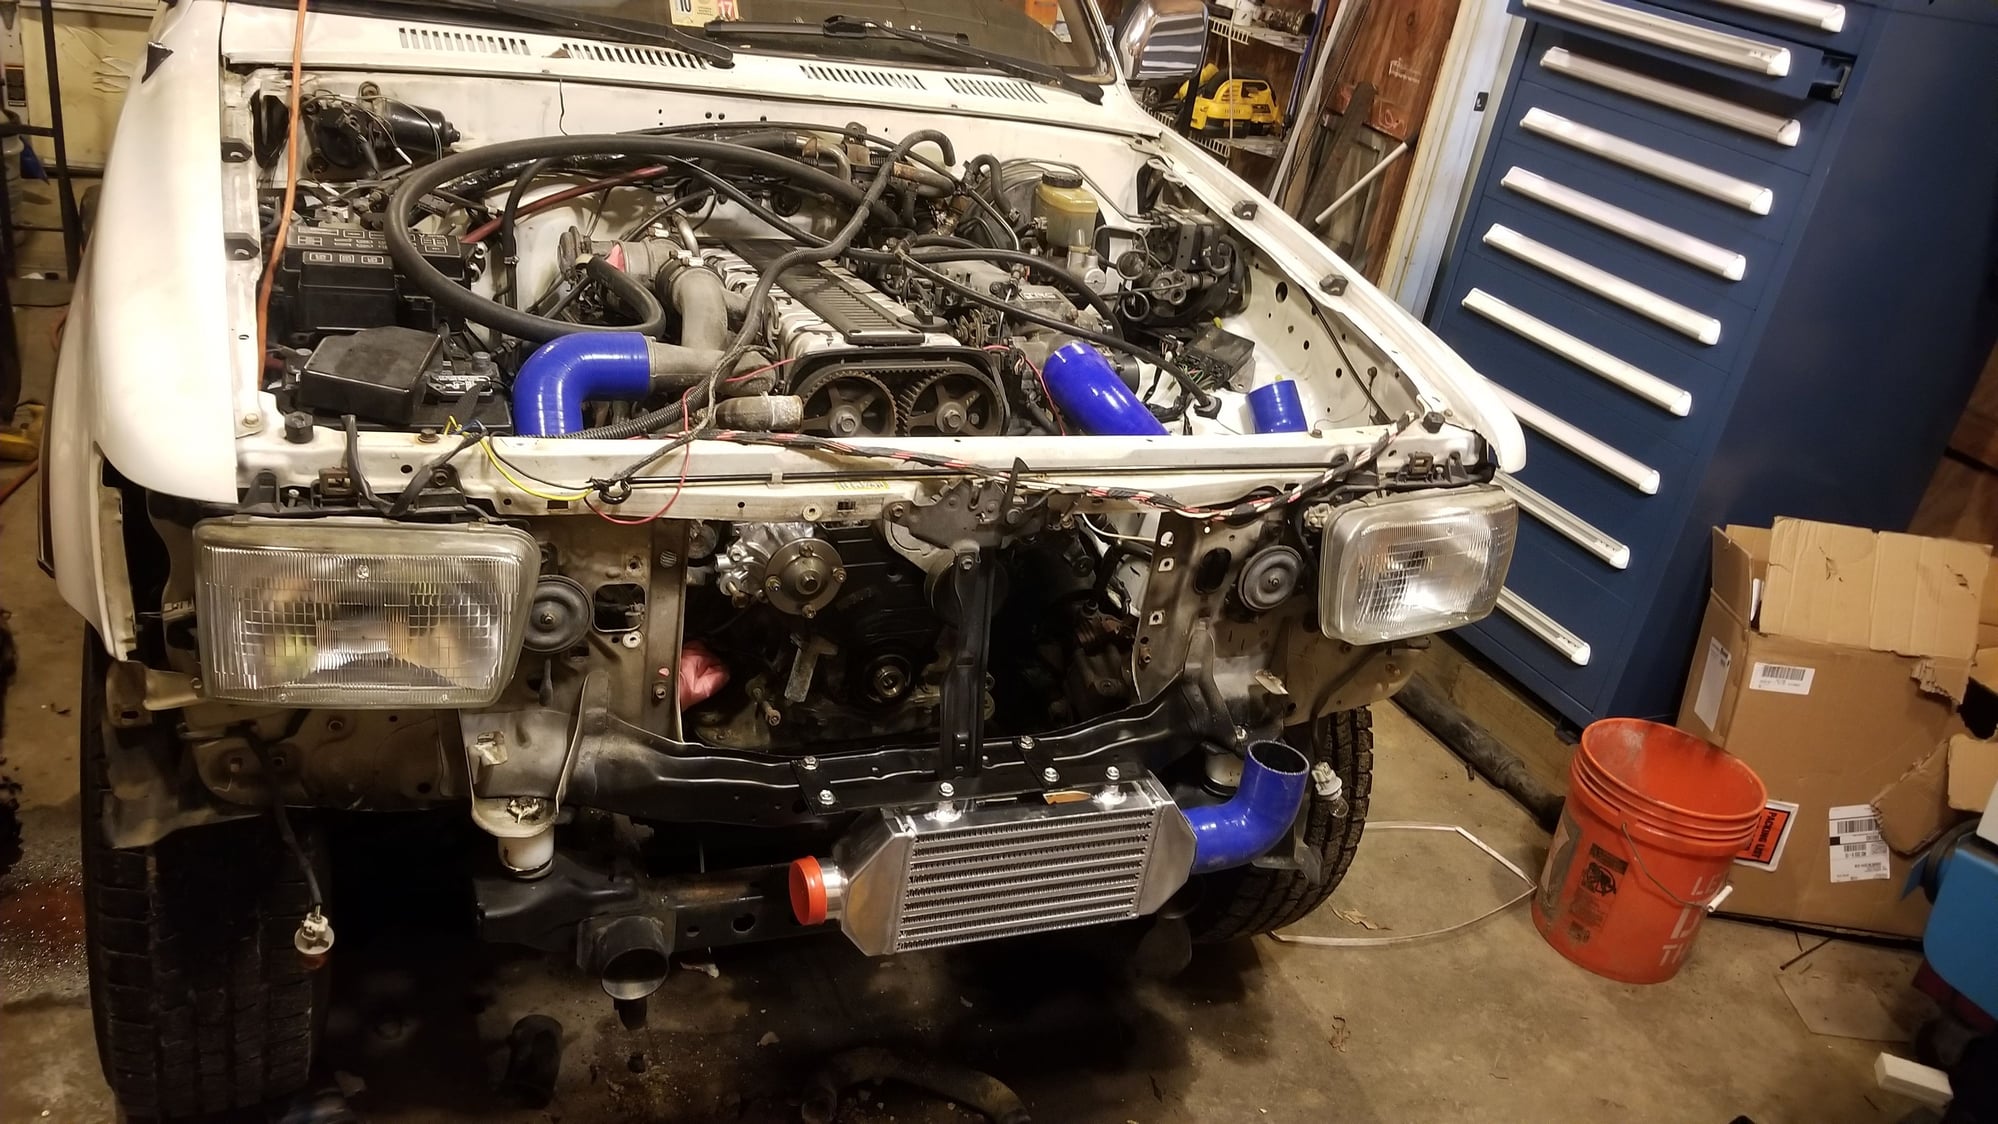
Final hole just barley missed the inner fender well.
The tricky part here was getting the piping yhrough the radiator support without hitting the inner fender well. Measured and layed it out 3 times to be sure before hitting it with the hole saw. Luckily came out perfect without an 1/8" to spare.
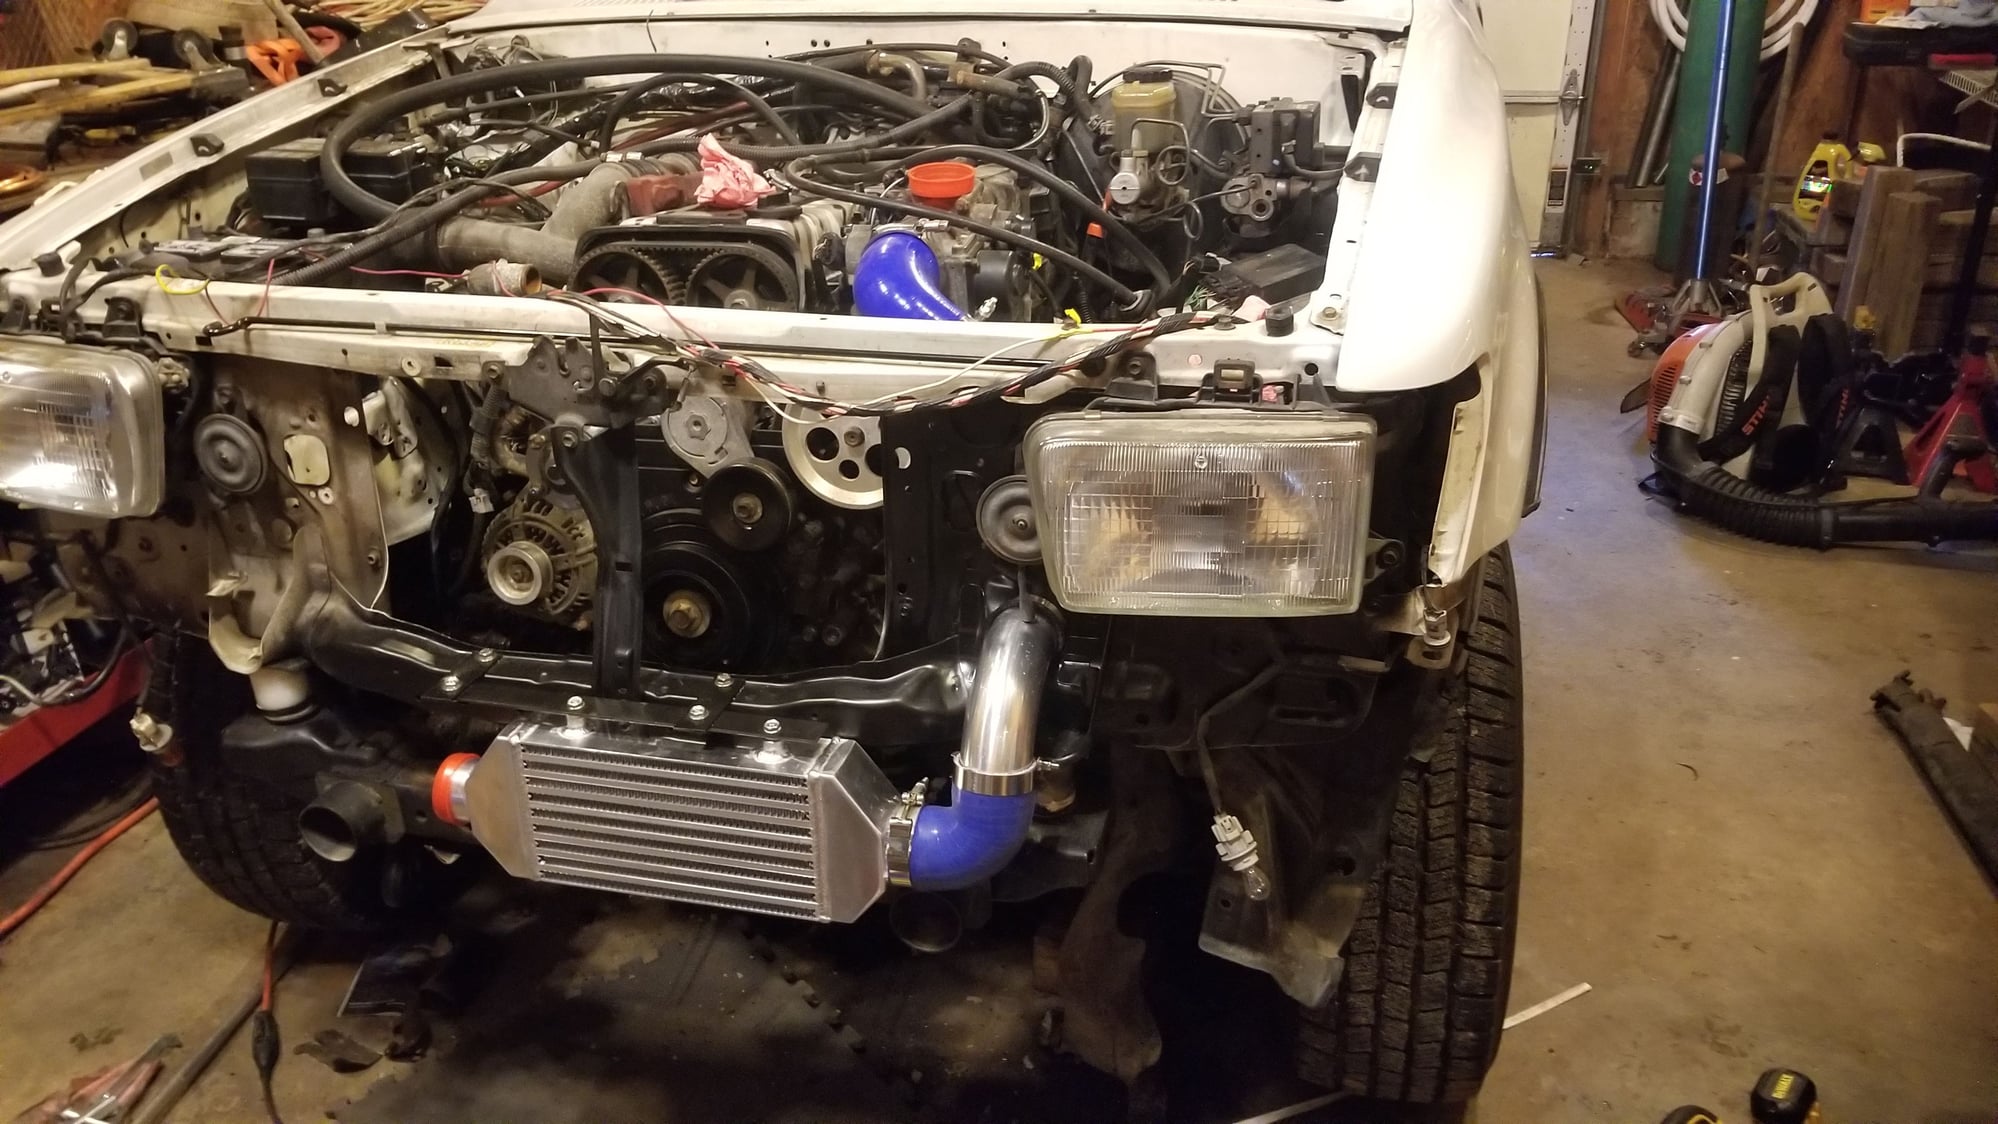
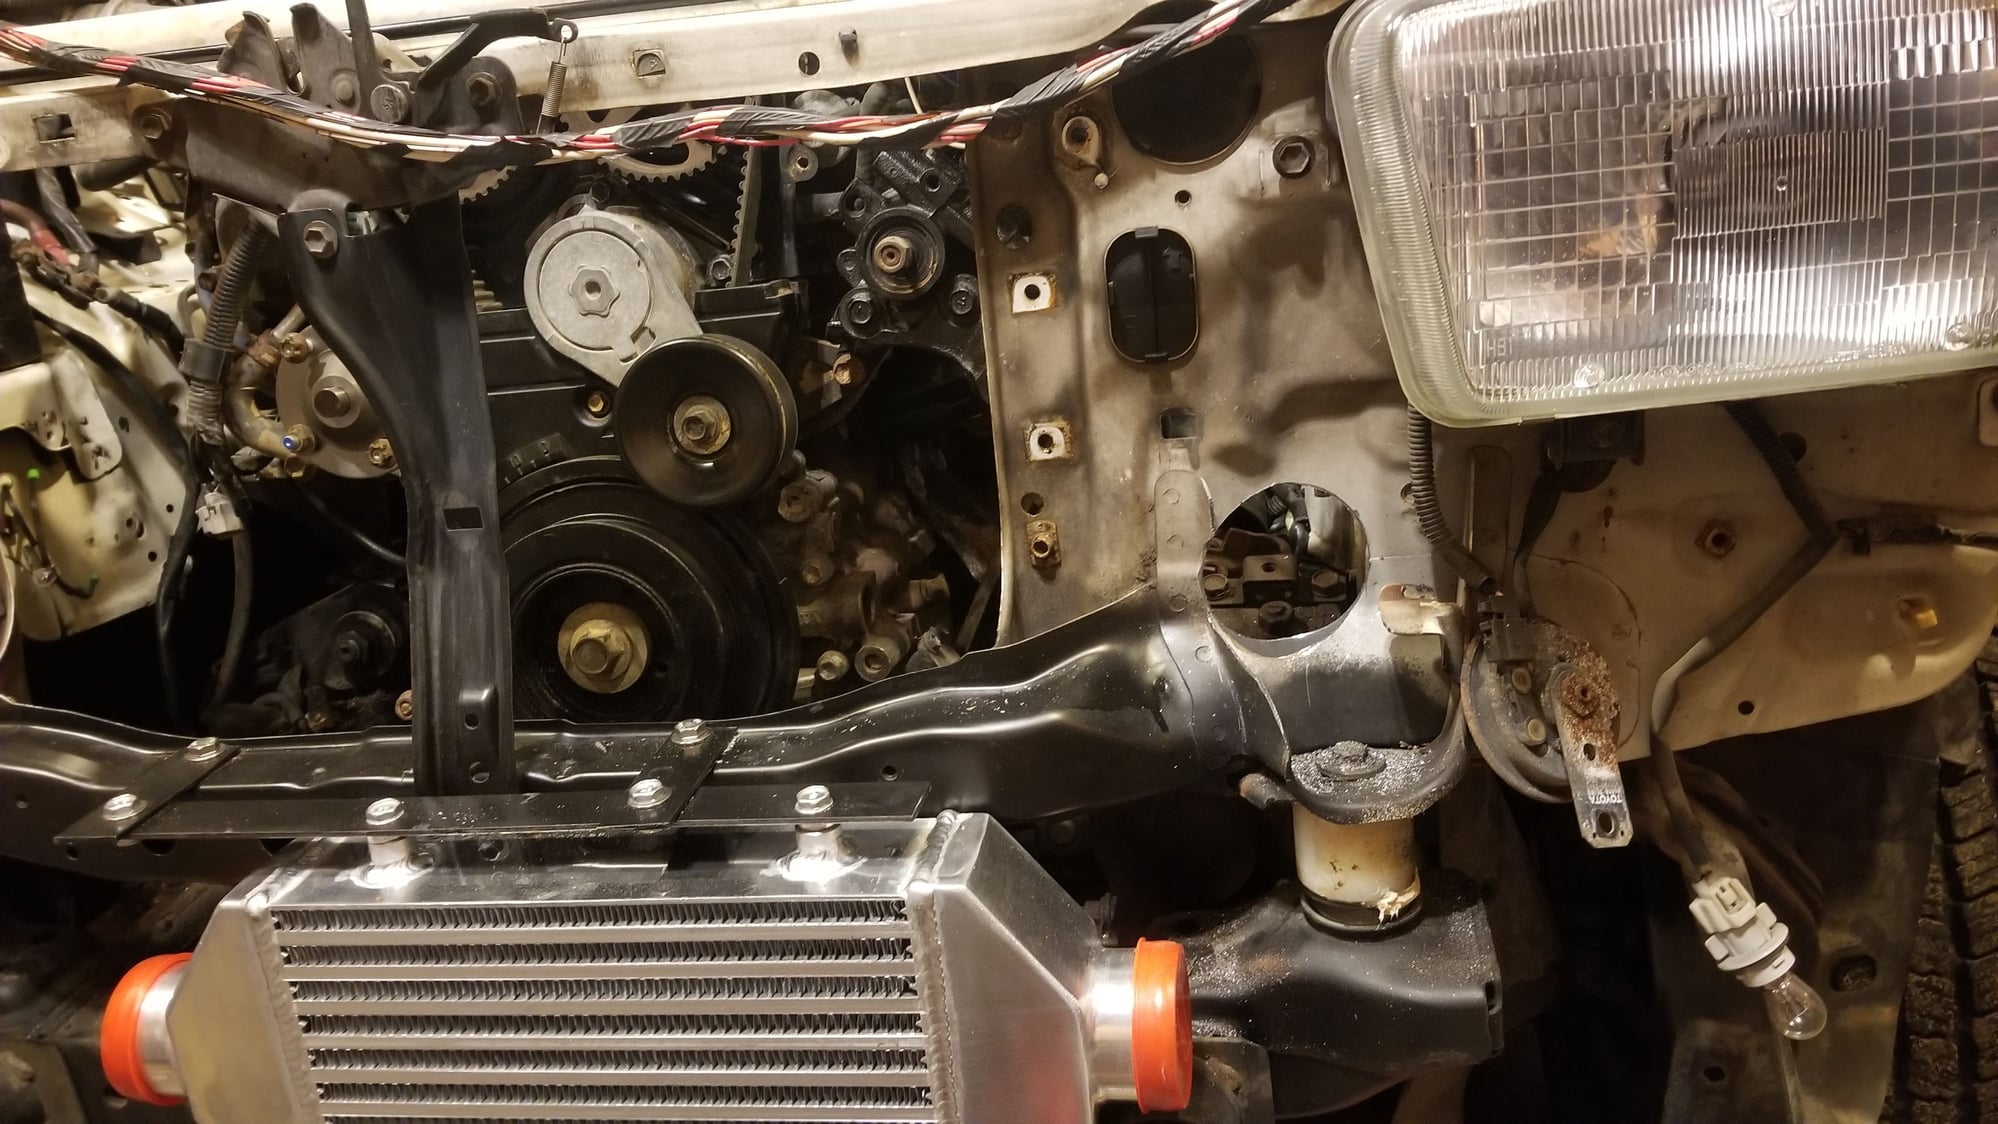
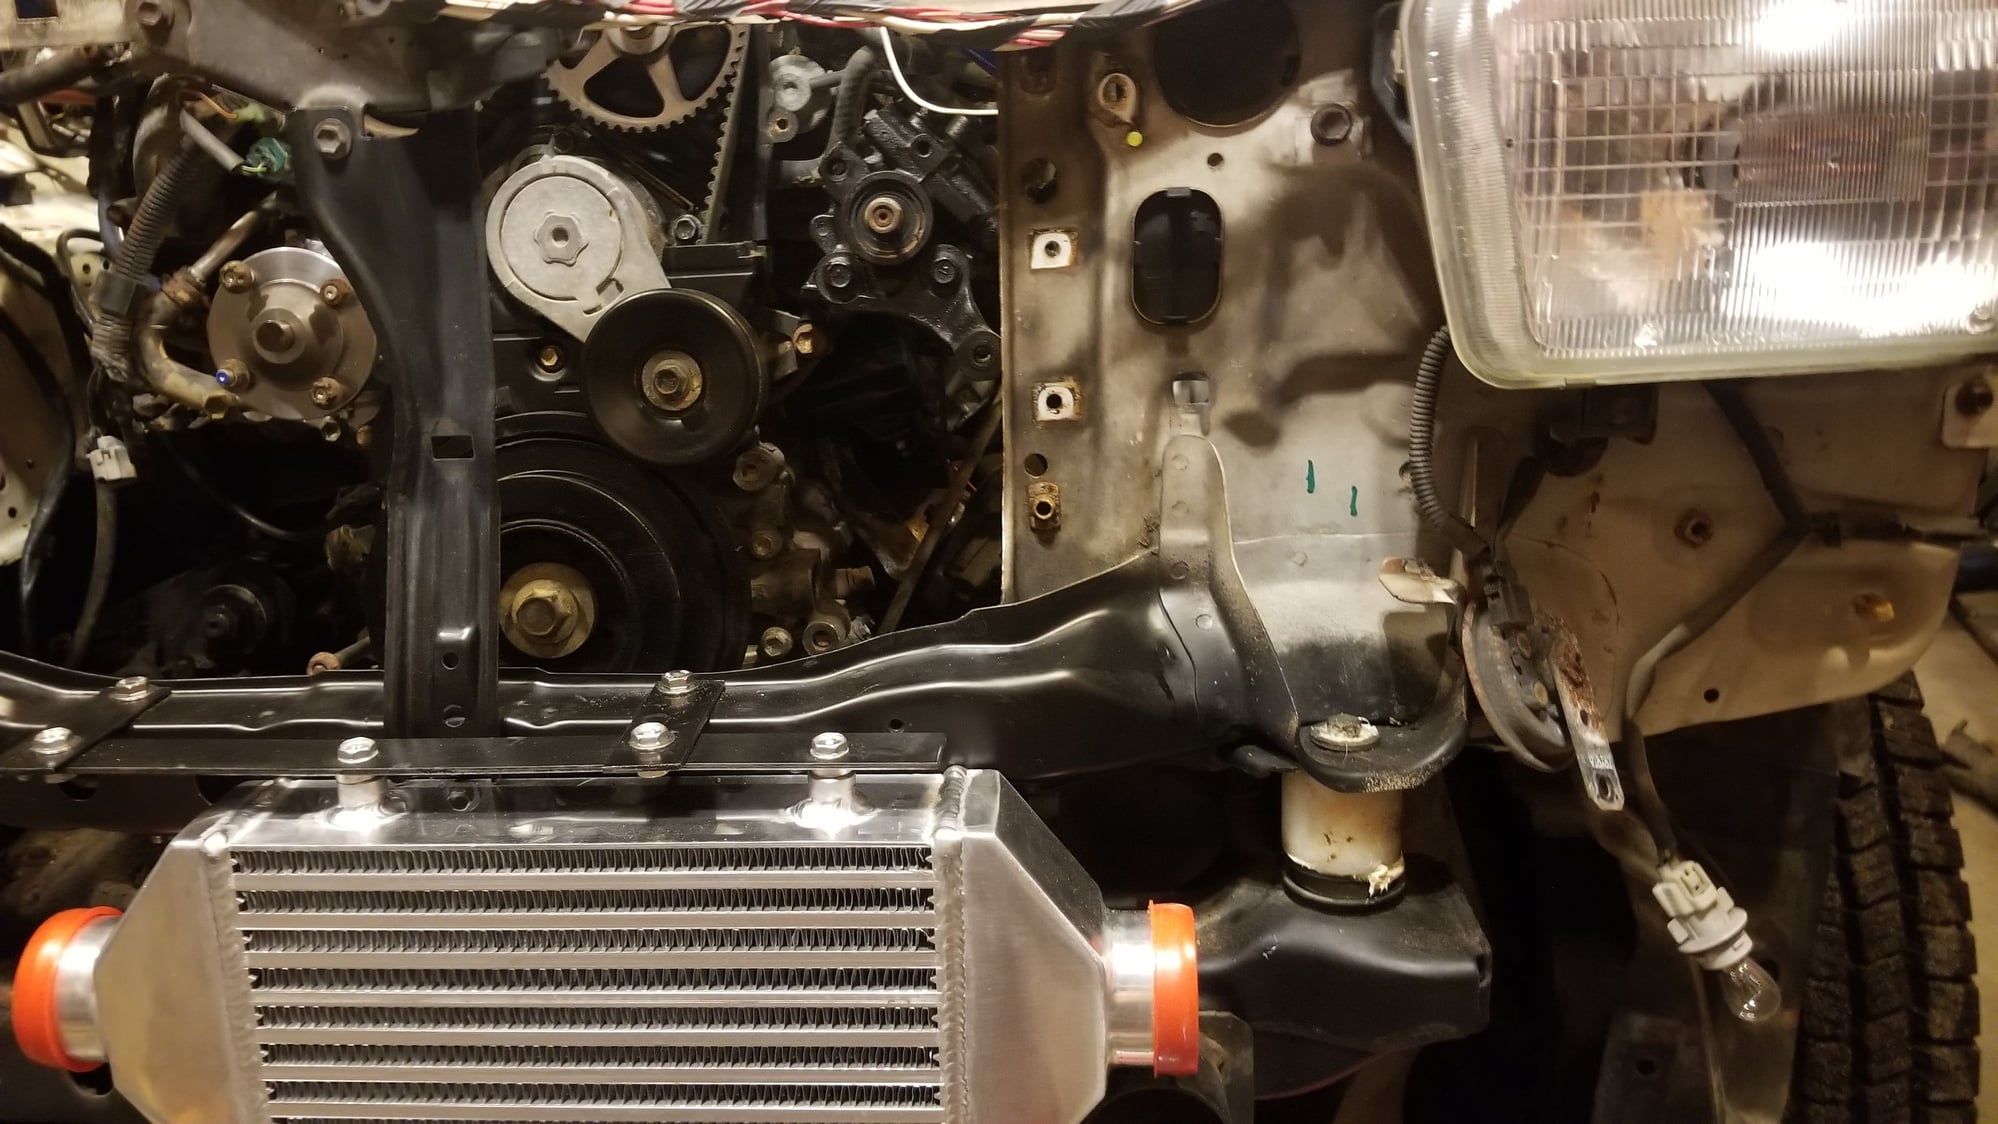
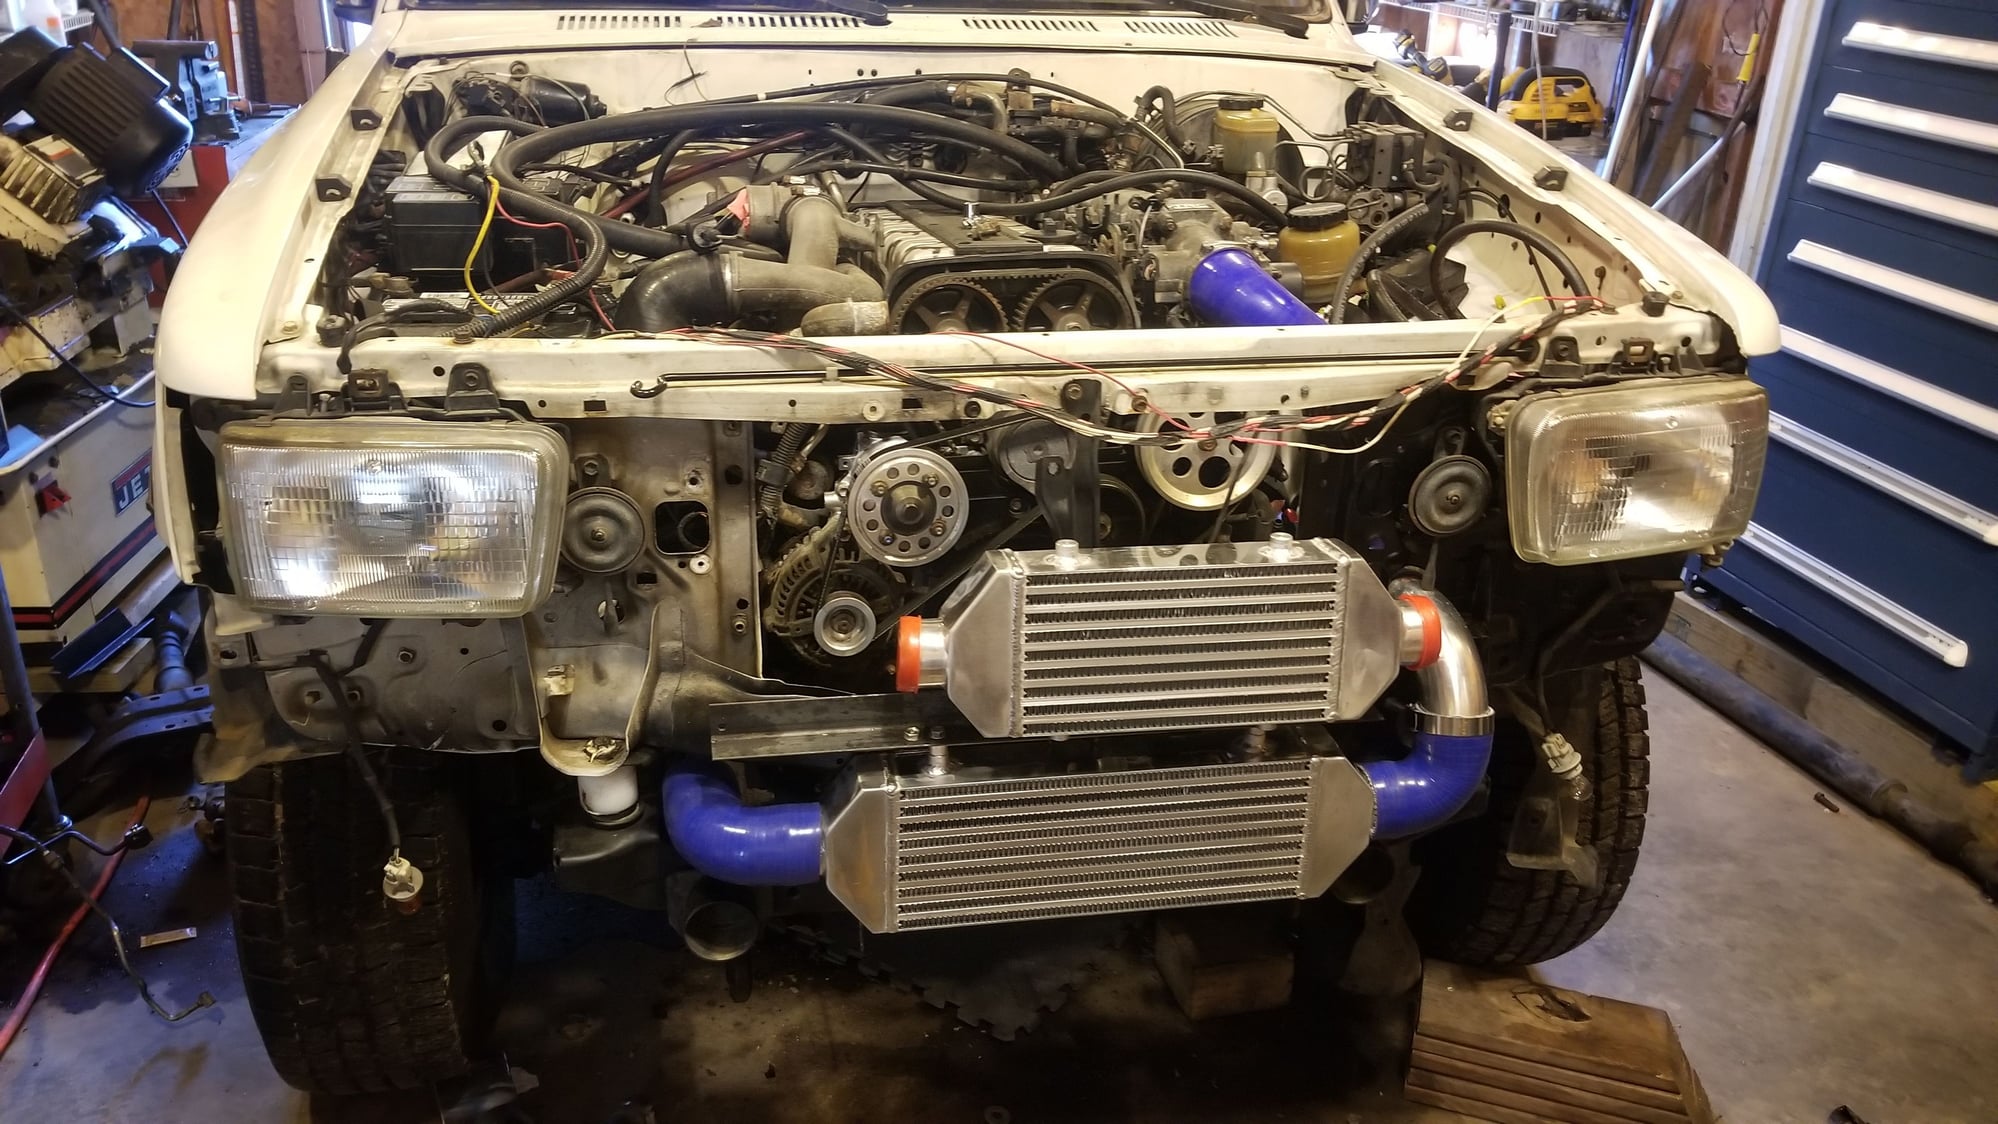
So i had an idea on where i wanted the intercooler. Roughly put the front bumper on did some measurements and found this on ebay. Built a quick and easy bracket for it and thier it sits.
Old 04-22-2018, 04:11 AM
  #26  
Registered User
Thread Starter
 
8784 runner's Avatar
 
Join Date: May 2010
Location: Anne Arundel,MD
Posts: 311
Likes: 0
Received 3 Likes on 3 Posts
Once intercooler was on with bumper and tag over it i didnt like how much of the intercooler was blocked so i orderd the biggest one that would still fit exactly where i wanted. Just a couple inches longer. Every little bit helps
I redid the bracket but changed to a piece of angle as well for my power steering cooler to bolt to
Old 04-22-2018, 04:15 AM
  #27  
Registered User
Thread Starter
 
8784 runner's Avatar
 
Join Date: May 2010
Location: Anne Arundel,MD
Posts: 311
Likes: 0
Received 3 Likes on 3 Posts
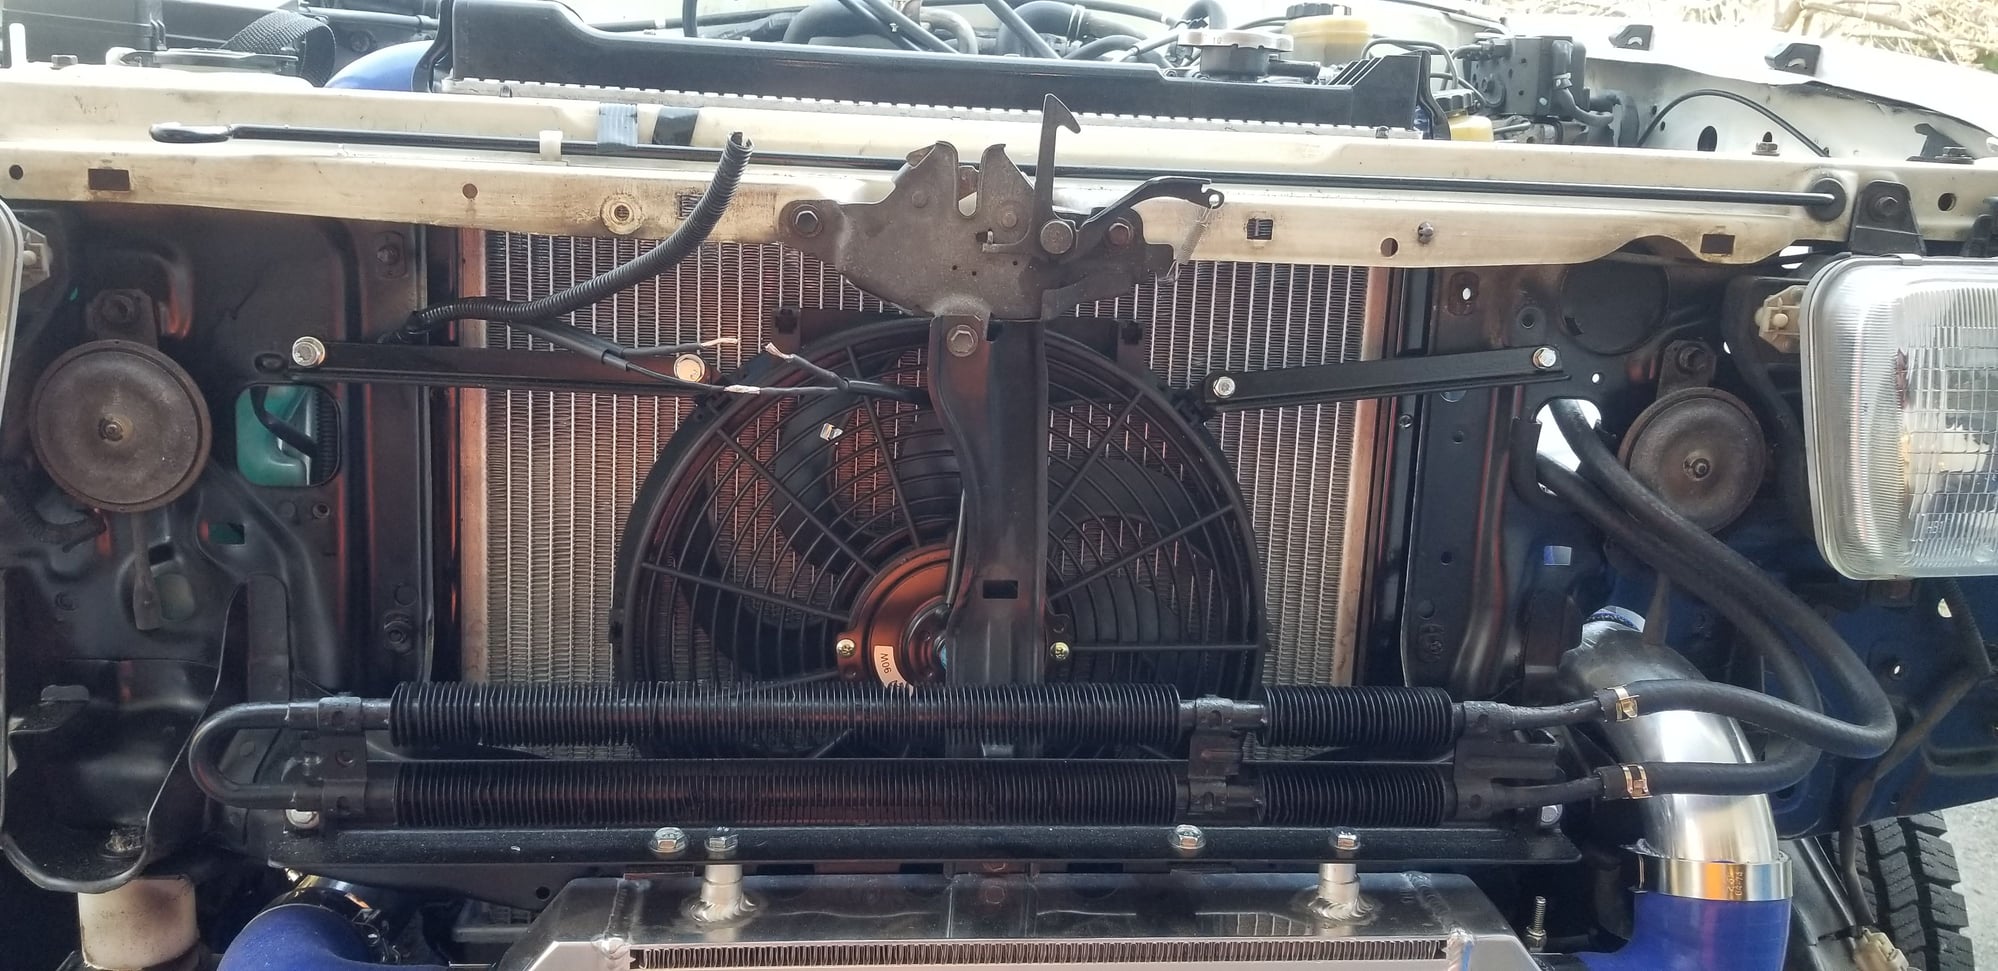
Here you can see power steering cooler bolted up above the intercooler as well as the elctric fan. I really do not like the plastic mounts for the fans that go through the radiator fins and press the fan against it. So i mounted to the core support instead. Physically and cant go anywhere and the bracket helps keep it blowing against the radiator.
Old 04-22-2018, 04:19 AM
  #28  
Registered User
Thread Starter
 
8784 runner's Avatar
 
Join Date: May 2010
Location: Anne Arundel,MD
Posts: 311
Likes: 0
Received 3 Likes on 3 Posts
Currently cant find the pic on my phone. But the wiring for the volt meter for alternator is simple enough. The wire colors are the same from the 1jz plug to the wires on the 4Runner. I forget the color/strip combo. But the base colors of the wires is Black,White,Red so it's pretty easy to know which goes where lol
Old 04-22-2018, 04:23 AM
  #29  
Registered User
Thread Starter
 
8784 runner's Avatar
 
Join Date: May 2010
Location: Anne Arundel,MD
Posts: 311
Likes: 0
Received 3 Likes on 3 Posts
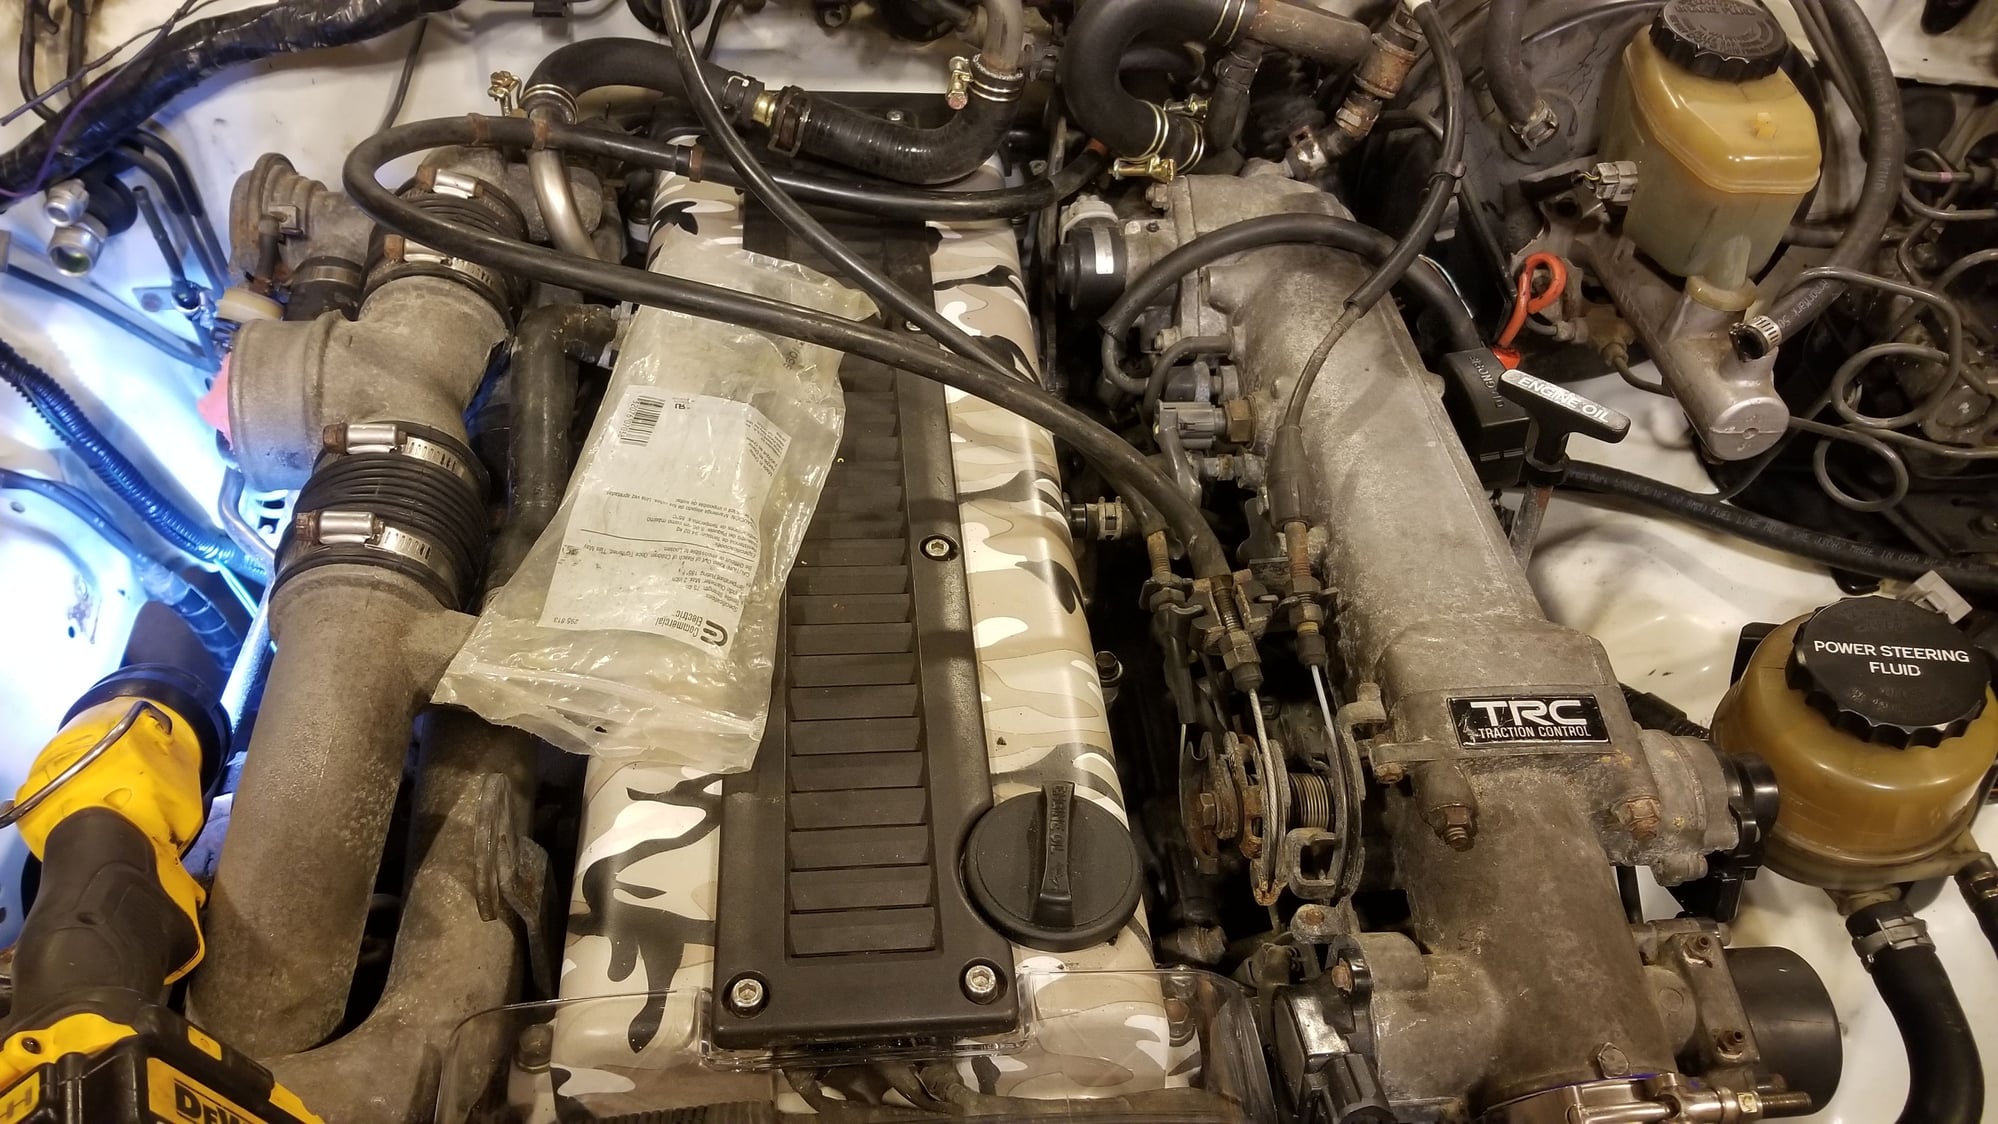
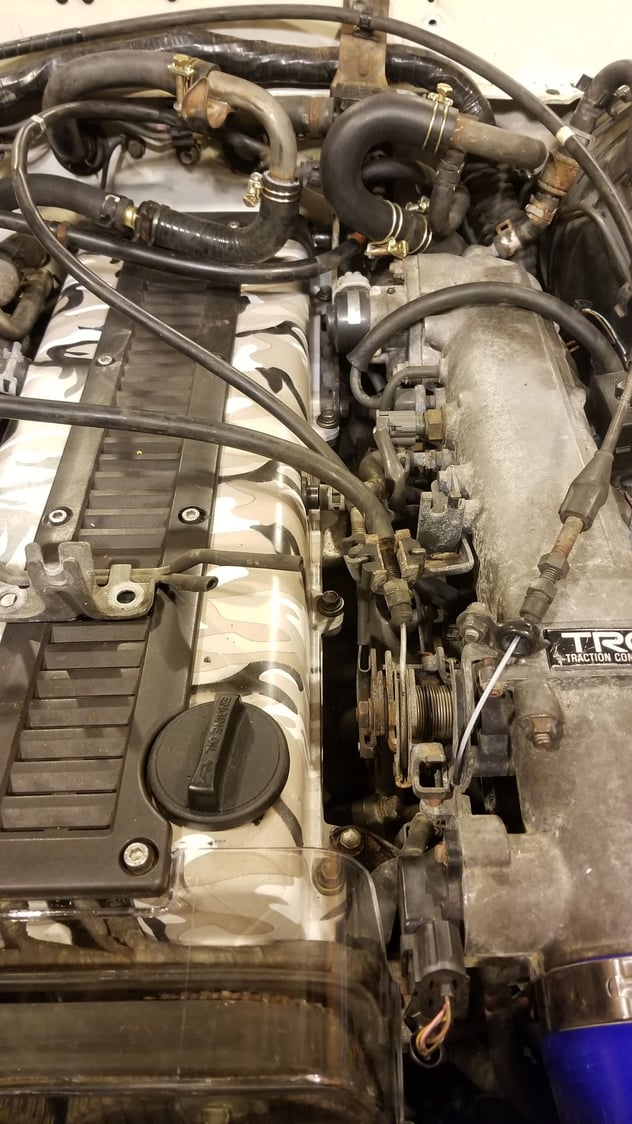
I had to do a slight modification in order for the curise control cable to be held properly.
Unbolted the bracket cut the one fork off moved it up next to throttle cable and tacked it place. Ouick sanding and shot of paint cant even tell i touched it
Old 04-22-2018, 04:31 AM
  #30  
Registered User
Thread Starter
 
8784 runner's Avatar
 
Join Date: May 2010
Location: Anne Arundel,MD
Posts: 311
Likes: 0
Received 3 Likes on 3 Posts
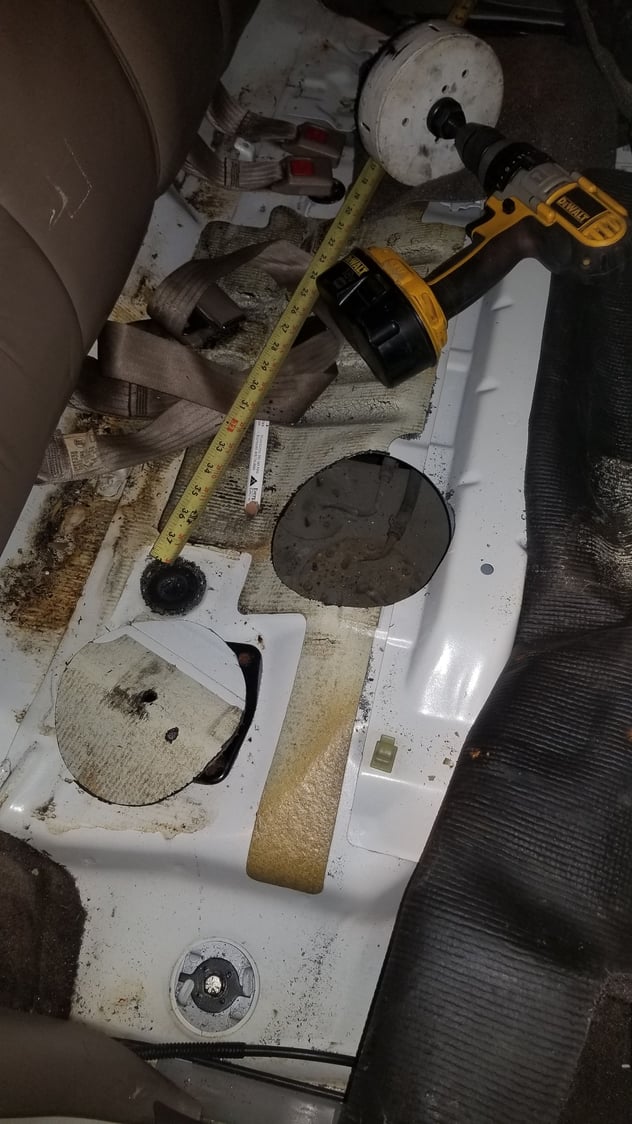
Stock fuel pump on right, walboro on the left
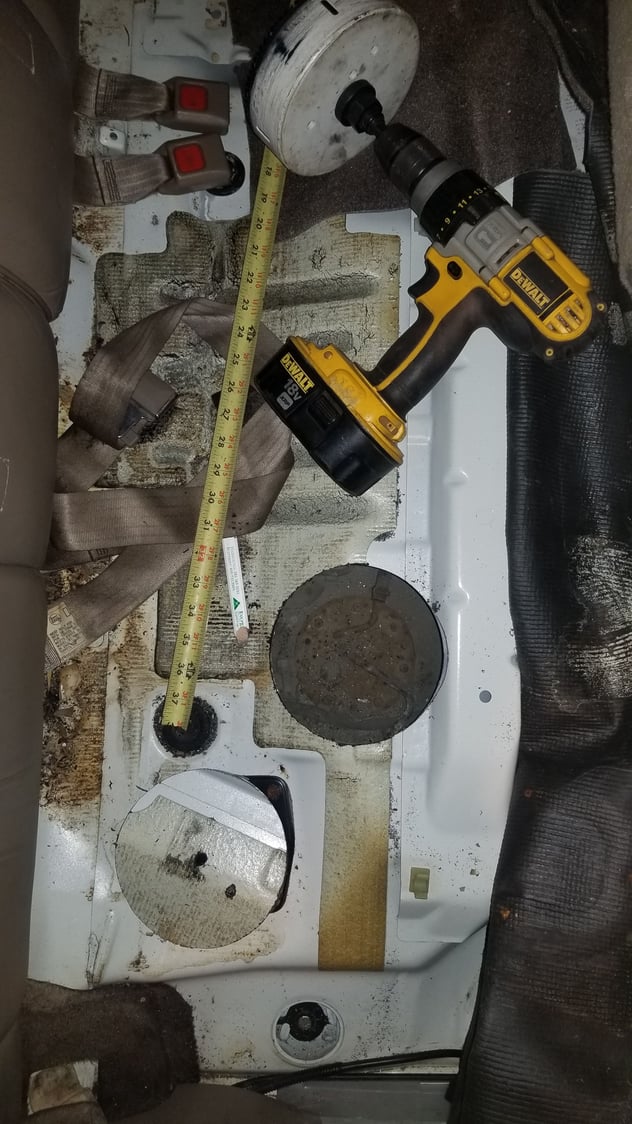
Since everything i do is bymyself crawling around the garage floor i decided i was NOT dropping the gas tank. So i used a 6inch holesaw to get to it instead. Far far eaisier and quicker
Cureently i sealed the metal edge with a hard set epoxy and then weath stripped a piece of aluminum over it. Pull the carpet back and you would never know it was thier
Old 04-22-2018, 04:36 AM
  #31  
Registered User
Thread Starter
 
8784 runner's Avatar
 
Join Date: May 2010
Location: Anne Arundel,MD
Posts: 311
Likes: 0
Received 3 Likes on 3 Posts
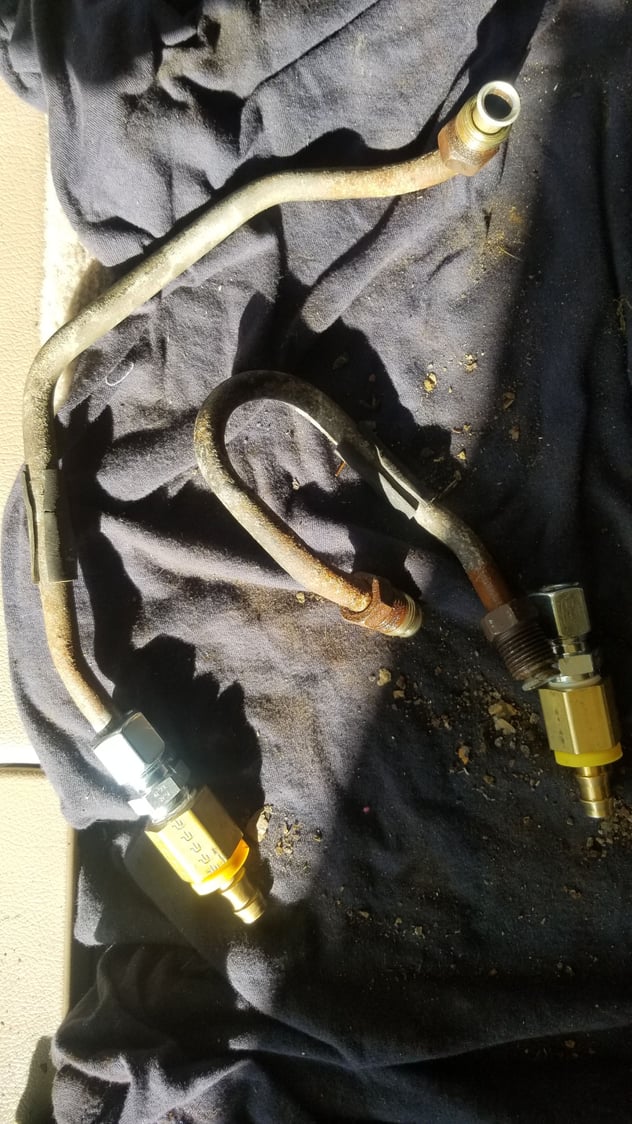
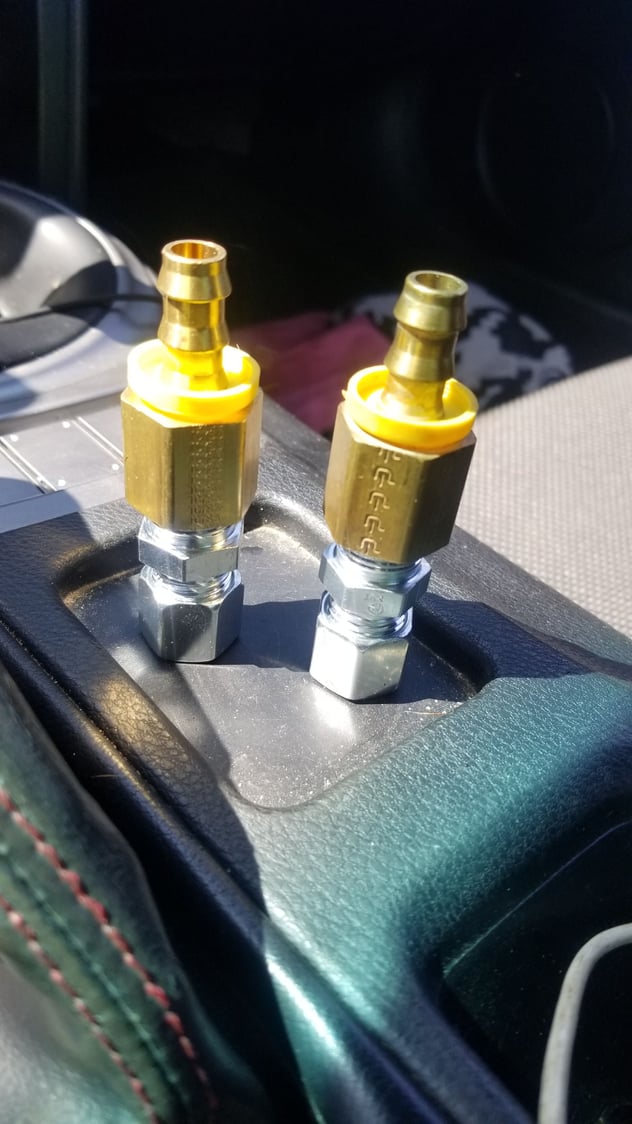
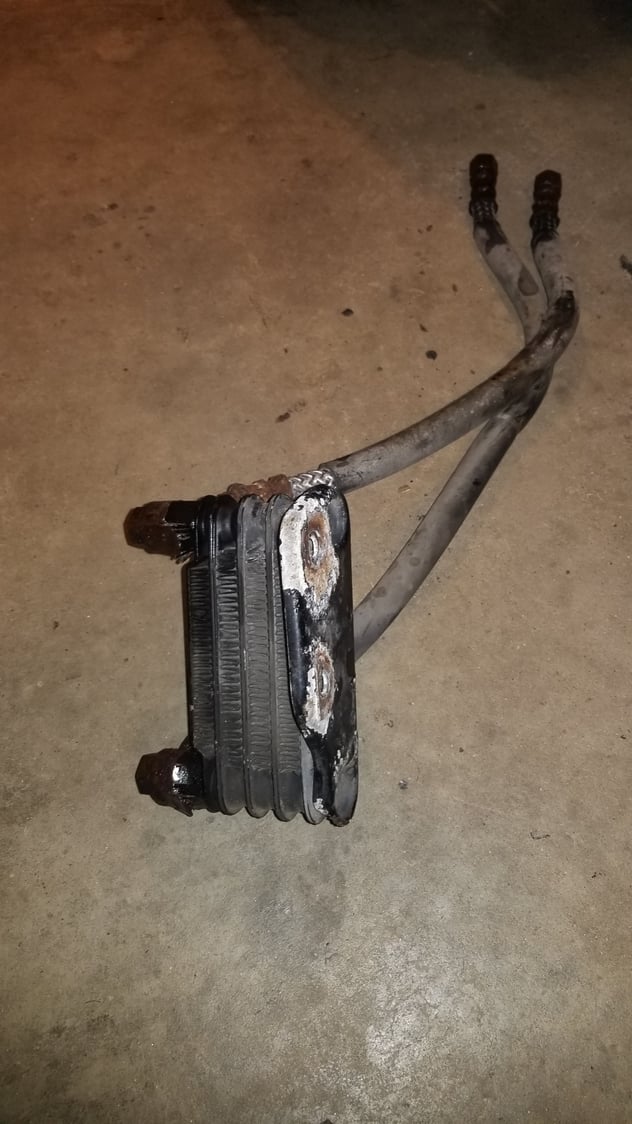
New transfer case cooler. The stock one was directly in route of where my exhaust needs to go and the stock hoses were to short to put it anywhere i liked.
I cut the factory flare fittings off with a cutoff wheel. Sanded and cleaned up the factory tubing before i put the compression fittings on.
Picked these up from hydraulic shop. 10mm compression to 3/8" ID hose barbed fittings
Stock tranfercase cooler
Old 04-22-2018, 04:40 AM
  #32  
Registered User
Thread Starter
 
8784 runner's Avatar
 
Join Date: May 2010
Location: Anne Arundel,MD
Posts: 311
Likes: 0
Received 3 Likes on 3 Posts

Luckily i checked rotation if my fan before the front end went one. I had wired backwards out of the fan relay. No big deal, cut and resolderd once they were switched around
Old 04-22-2018, 04:47 AM
  #33  
Registered User
Thread Starter
 
8784 runner's Avatar
 
Join Date: May 2010
Location: Anne Arundel,MD
Posts: 311
Likes: 0
Received 3 Likes on 3 Posts
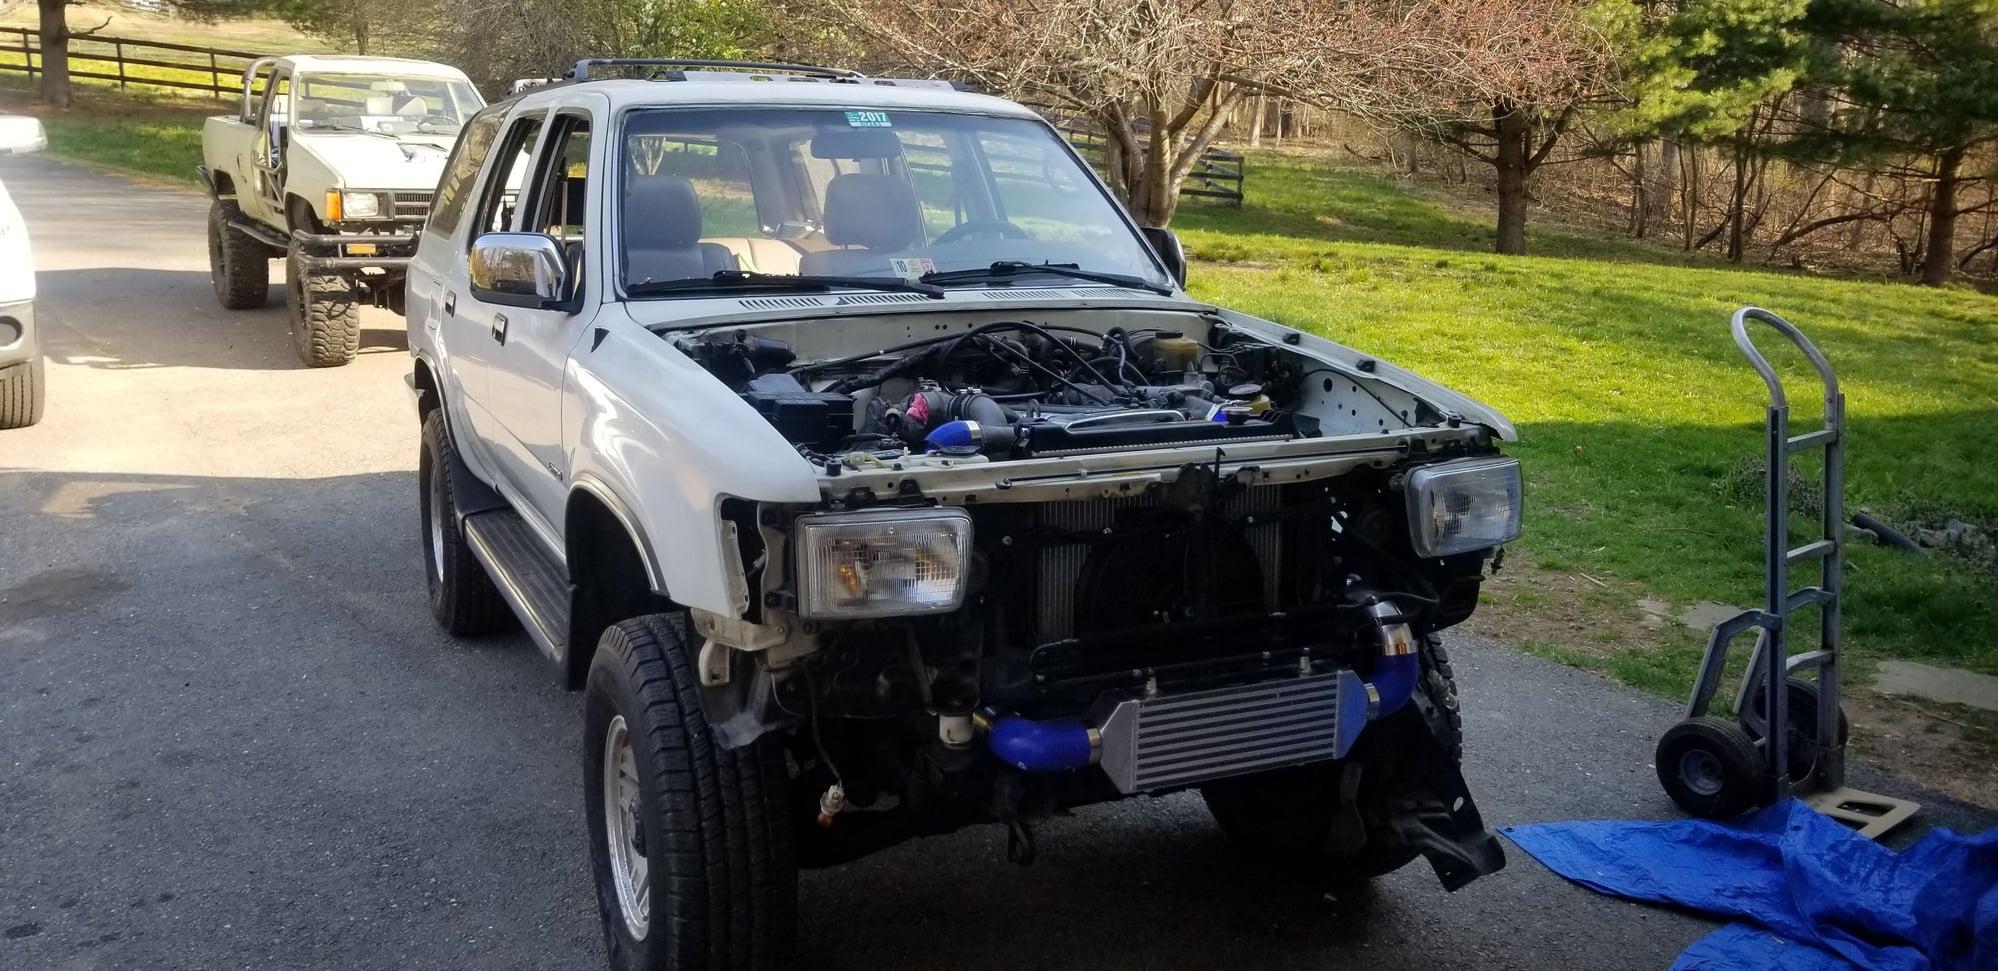
Front end completly assemnled finally.
The lower plastic valance to a good bit of grinding to clear and rubbing spots against the intercooler.
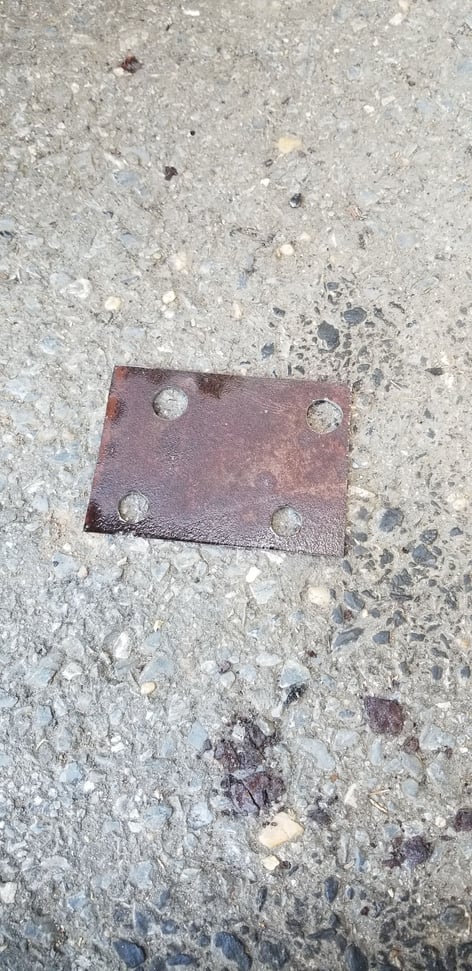
Here are the plates i made to bolt the bumper up. Just a plate with drilled holes to compensate for the body lift. You can notice they are off centerd. I did move the bumper forward just a hair to help with clearence on intercooler.
So the bumper did take slight modifuing to go on. Cause of the intercooler but mainly the body lift. Unfortunately i do not have a after pic of what this bracket looked like whenni was done in order for to go on. But about 1/4" below each hole i drew a straight line and had to cut off a chunk of the bracket in order for it to get to its stock location.
Old 04-22-2018, 04:51 AM
  #34  
Registered User
Thread Starter
 
8784 runner's Avatar
 
Join Date: May 2010
Location: Anne Arundel,MD
Posts: 311
Likes: 0
Received 3 Likes on 3 Posts
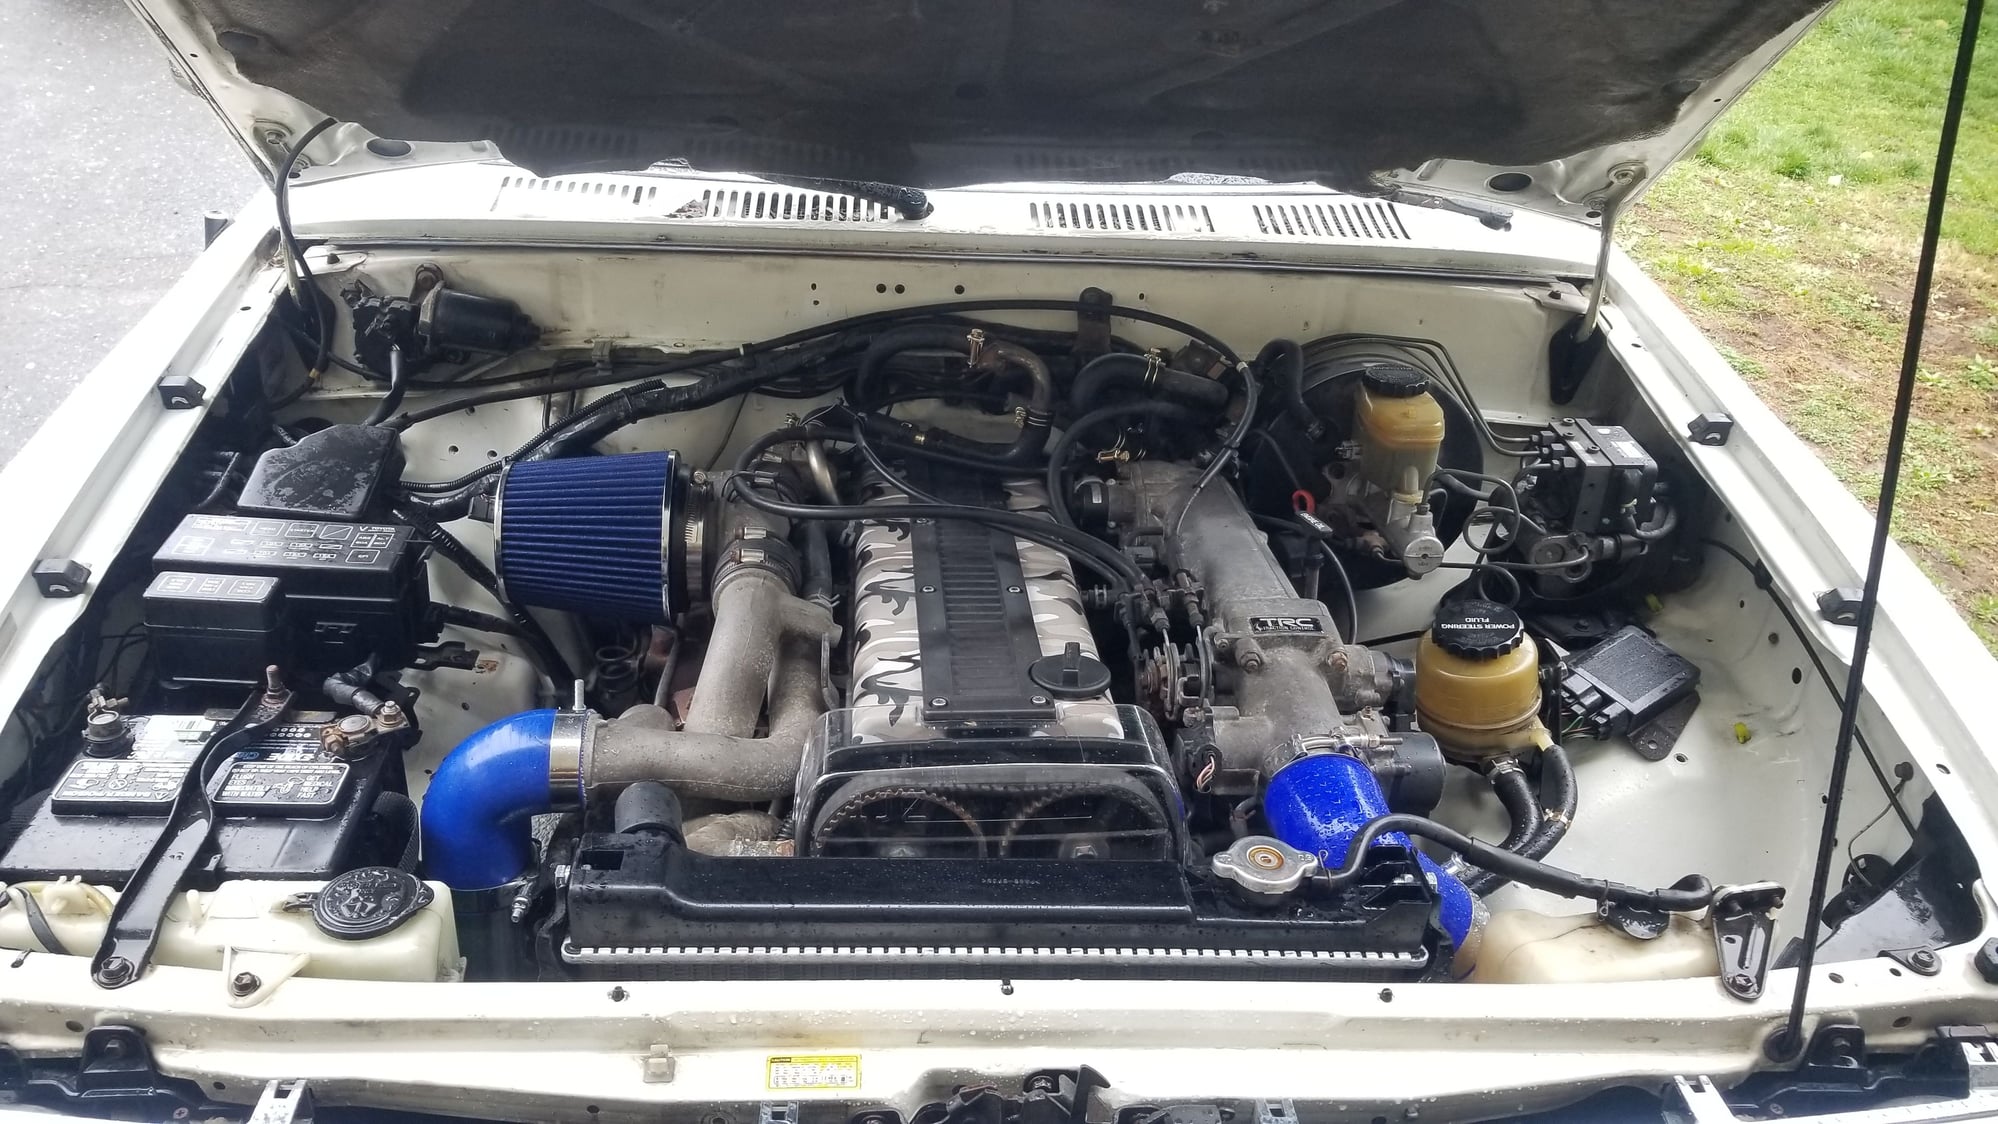
So this is currently as it sits 4/22/18.
Almost done, still have a little tig welding left in order for the top radiator connection to look good. Will have pics up and what was done when i do it. I did run a vacum line from the intake plenum to the stock vacum cannister. Started it and put it in 4wd and it actually actuated and worked lol. One more check off the wiring harness job.
Old 10-23-2018, 03:51 AM
  #35  
Registered User
 
suppra87's Avatar
 
Join Date: Nov 2011
Location: Annapolis, MD
Posts: 49
Likes: 0
Received 7 Likes on 7 Posts
6 Months later, got any updates Shawn? I need to make it down your way and check out your new creation. Wish I still had my 1j truck!
Old 10-27-2018, 08:35 AM
  #36  
Registered User
Thread Starter
 
8784 runner's Avatar
 
Join Date: May 2010
Location: Anne Arundel,MD
Posts: 311
Likes: 0
Received 3 Likes on 3 Posts
Lol yeah I know. I keep meaning to drive up to your place one of these weekends as well. Runs and drives, i think I've only put like 300 miles on it since the swap and tagged it. The auto goes down the road but it's not exactly what I wanted. I'm still waiting (4 months later) for your bell housing to come back. I sent it out to have a copy made. Hopefully get it back soon as I would really like to get the manual in it before winter. The auto works but it's just not what I thought it would be and you and i know how ruthless it can be with a manual behind it. On top of that this runner has factory 4:88's in it so with 31's it will have no problem smoking the tires at a red light
Old 10-27-2018, 08:56 AM
  #37  
Registered User
Thread Starter
 
8784 runner's Avatar
 
Join Date: May 2010
Location: Anne Arundel,MD
Posts: 311
Likes: 0
Received 3 Likes on 3 Posts

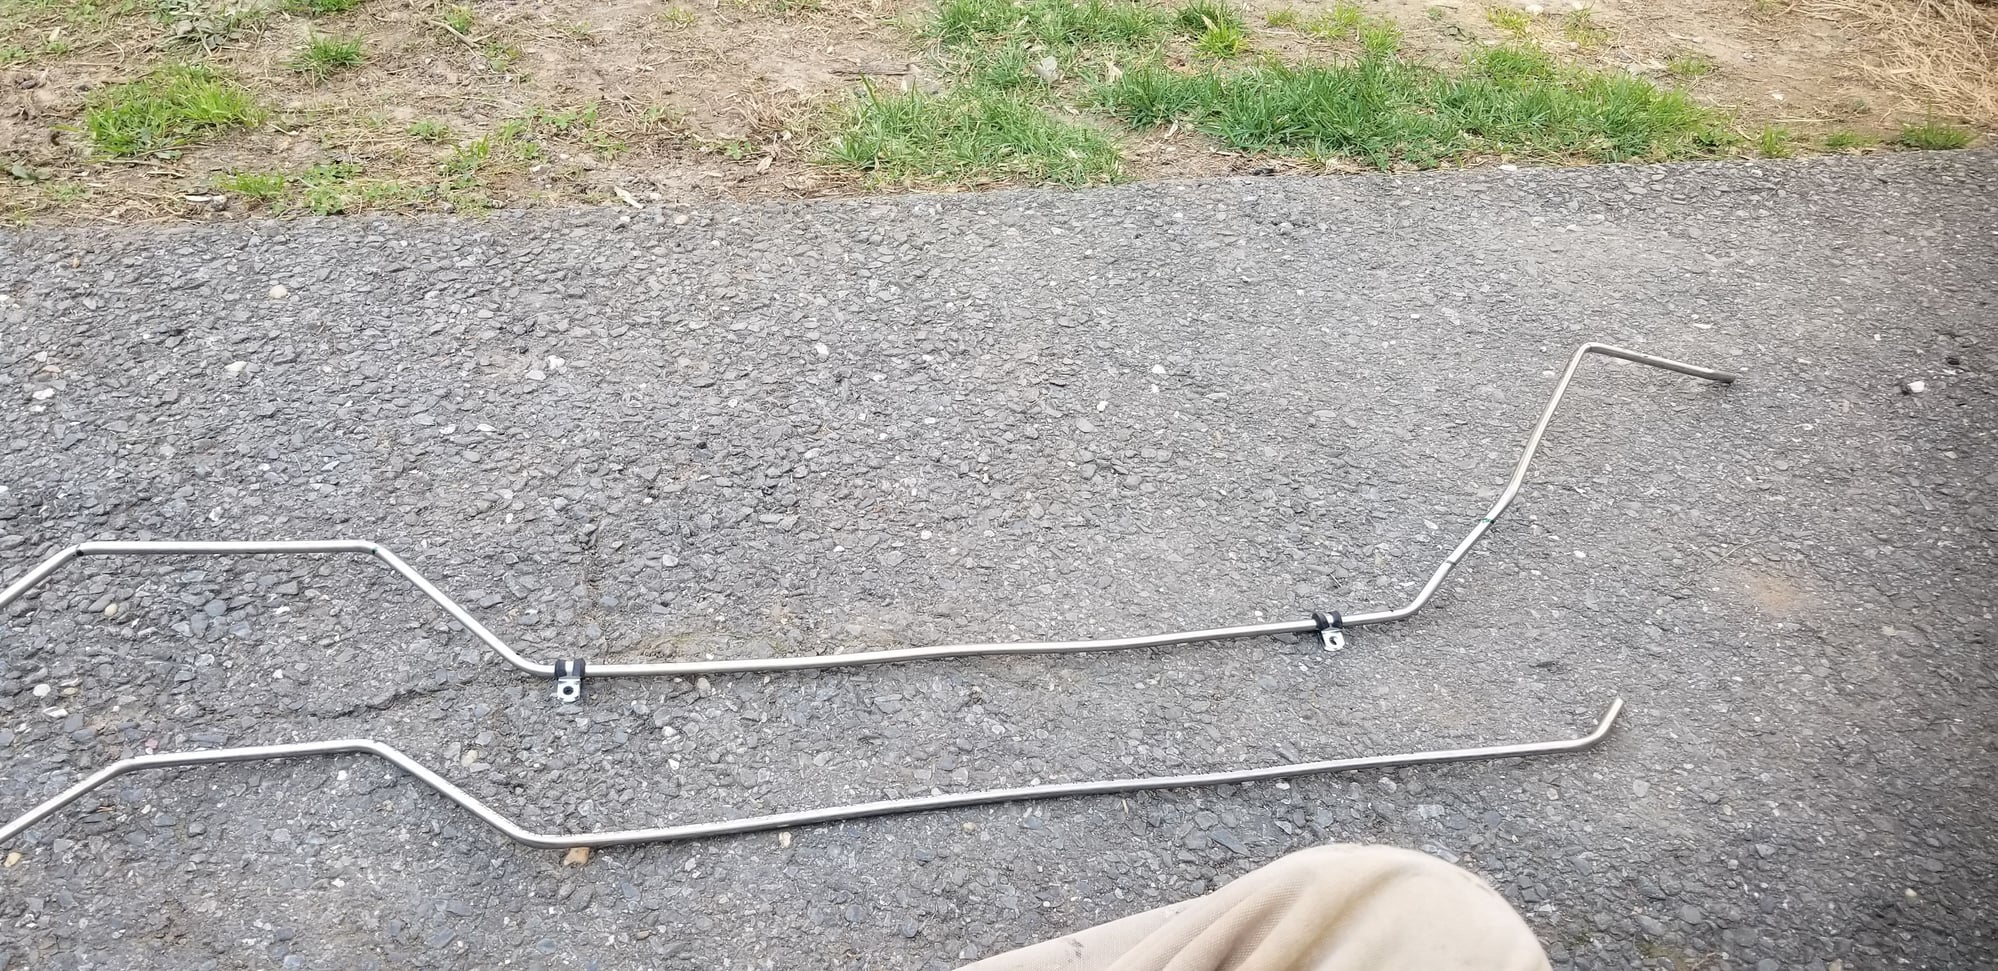
Pic of the stainless 5/16\" lines i bent, i drilled and tapped threads into the frame. They come down from motor run along frame and jump over the trosion bar mount then high pressure rubber hose from the pump. I started with reg fuel line at first but figured out while heading home luckily that they dont handle fuel pump pressure very well.
Old 10-27-2018, 09:00 AM
  #38  
Registered User
Thread Starter
 
8784 runner's Avatar
 
Join Date: May 2010
Location: Anne Arundel,MD
Posts: 311
Likes: 0
Received 3 Likes on 3 Posts

Since i removed the factory transfer case cooler i replaced it with this run. Fits very well against the frame. I was gonna build a small guard for it but i do not intend to whell this through the woods. I don't think the tire will kick anything up enoguh to damage it going down the road
Old 10-27-2018, 09:14 AM
  #39  
Registered User
Thread Starter
 
8784 runner's Avatar
 
Join Date: May 2010
Location: Anne Arundel,MD
Posts: 311
Likes: 0
Received 3 Likes on 3 Posts

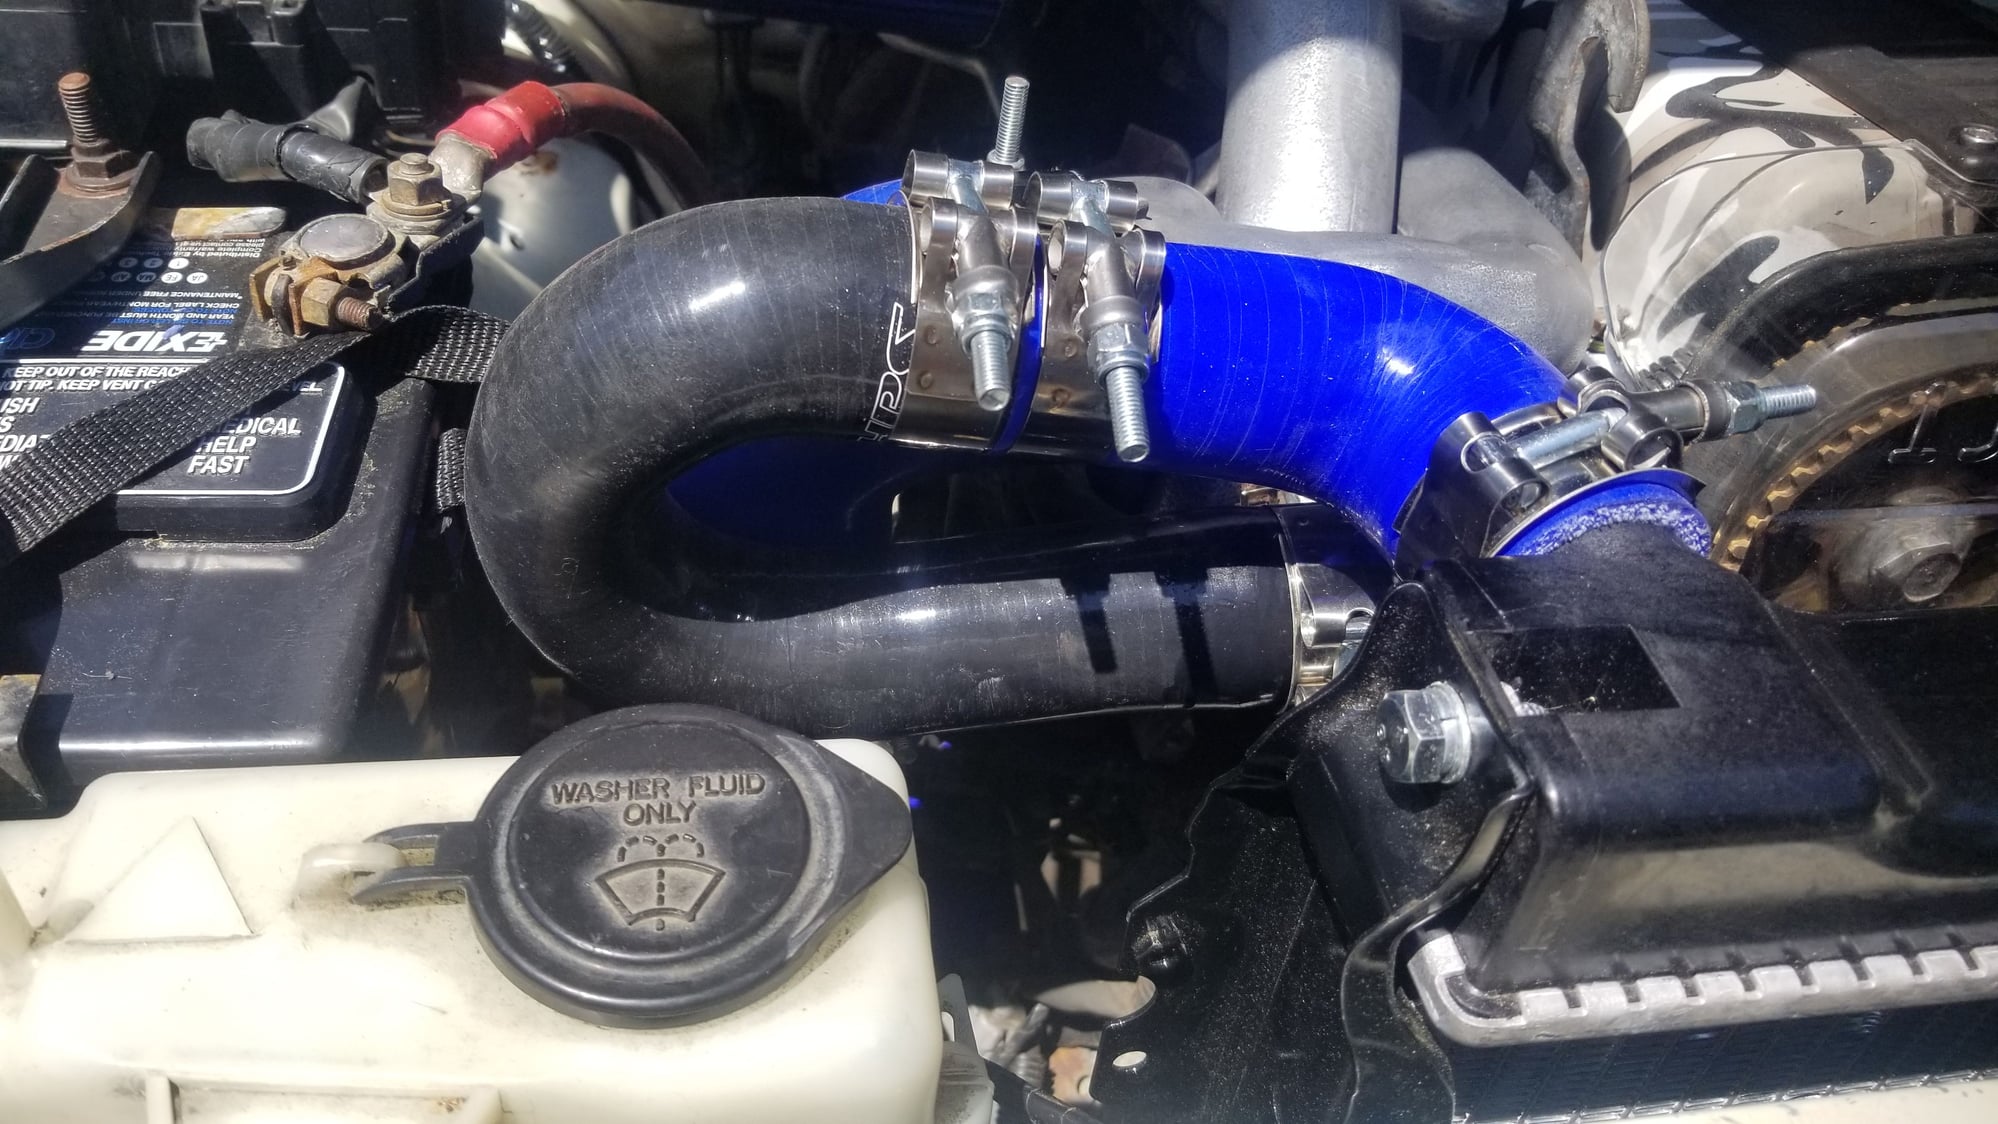
For the radiator it is the a brand new factory radiator. For the hook up i took the thermostat housing off the motor and cut the neck of it, rotated roughly 180° then welded back on. This puts it facing away from the motor and much eaisier to make the connection with no obstruction. Unfortunately i do not have a pic of the process. I orderd a 1 1/4\" 180° silicone Ubend. I cut it to fit and clamped everything together. I really do not like using hose clamps on anything pressure or visible.
Old 10-27-2018, 09:25 AM
  #40  
Registered User
Thread Starter
 
8784 runner's Avatar
 
Join Date: May 2010
Location: Anne Arundel,MD
Posts: 311
Likes: 0
Received 3 Likes on 3 Posts


The exhaust guy wanted $900 to bend and install with the mufflers I provided. I politely laughed and said I'll be back after I picked the runner up and took it back home. So I spent I think maybe $300 on fittings,pipe and Vbands from summit. I wanted eaisly removable for any reason mainly for trans removal when needed. There is a small flex to help get under trans. I wanted a quite as possible with obstruction of flow. So I did a small packed straight through mini bullet to a directional baffle to a 7 or 8inch round straight though glass pack. End result is almost exactly what i wanted. I did fibergals wrap everything with stainless ties. To avoid any heats exposure to lines or the trans since they are pretty close. With the Vbands once everything was welded,painted and wrapped I did final install of the exhaust in less then 10mins. Well with the extra money to have those


Quick Reply: 1jz gtte into 95 4runner


All times are GMT -8. The time now is 03:32 PM.