irab88 adds another liter: 22R-EC to 5VZ-FE
 07-26-2017, 06:35 AM
#281
It wouldn't be hard to do both. I'm thinking of situations where the engine needs to be revved a little bit for charging, a/c (eventually) while parked, or steering (since I removed the pressure switch). And since it's an electric valve, I can hook it into other systems as well, if needed.
The hand-throttle idea is something I've been wanting for a while. And not even for my truck- starting on steep hills with my Celica comes to mind.
The hand-throttle idea is something I've been wanting for a while. And not even for my truck- starting on steep hills with my Celica comes to mind.
 07-27-2017, 07:36 AM
#282
Last week I was at the beach. Really nice, got to do a lot.

Anyway, on with the show...
I got a bit more done last night, including power steering hoses, rag joint, and some cable re-routing. I used the original alternator wire as another body-to-frame ground, and mapped out the positive junction box. It's now just an 80A fused connection, so I might use it for smaller hings, where the Aux-Box will be used for high-current items.

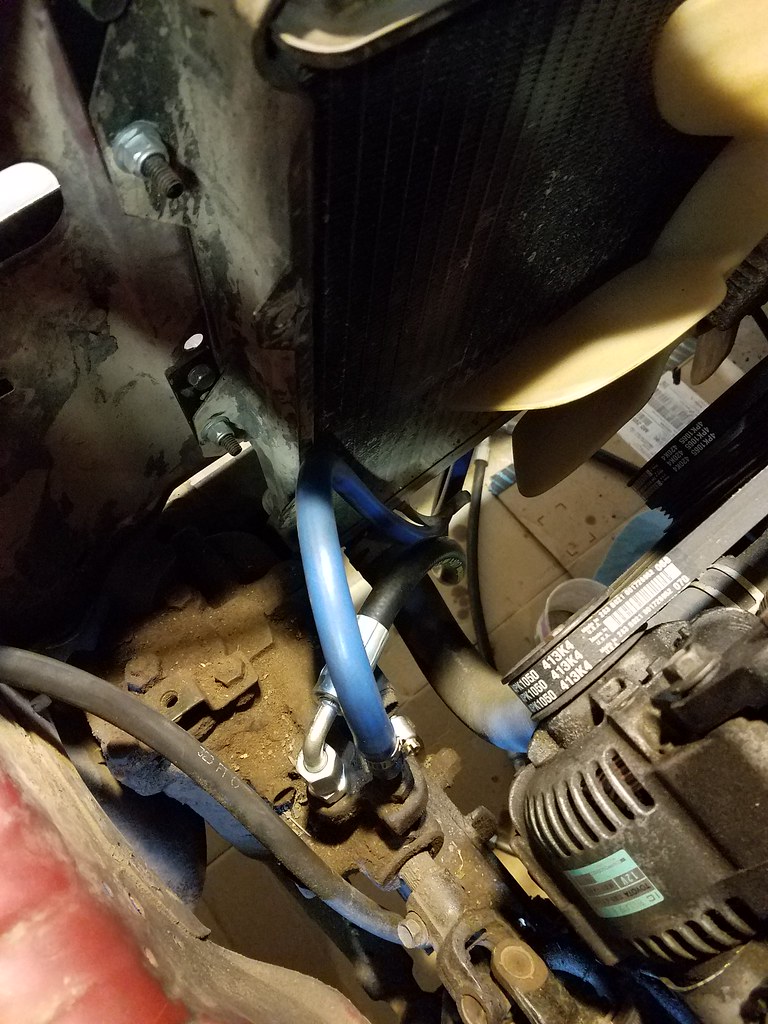
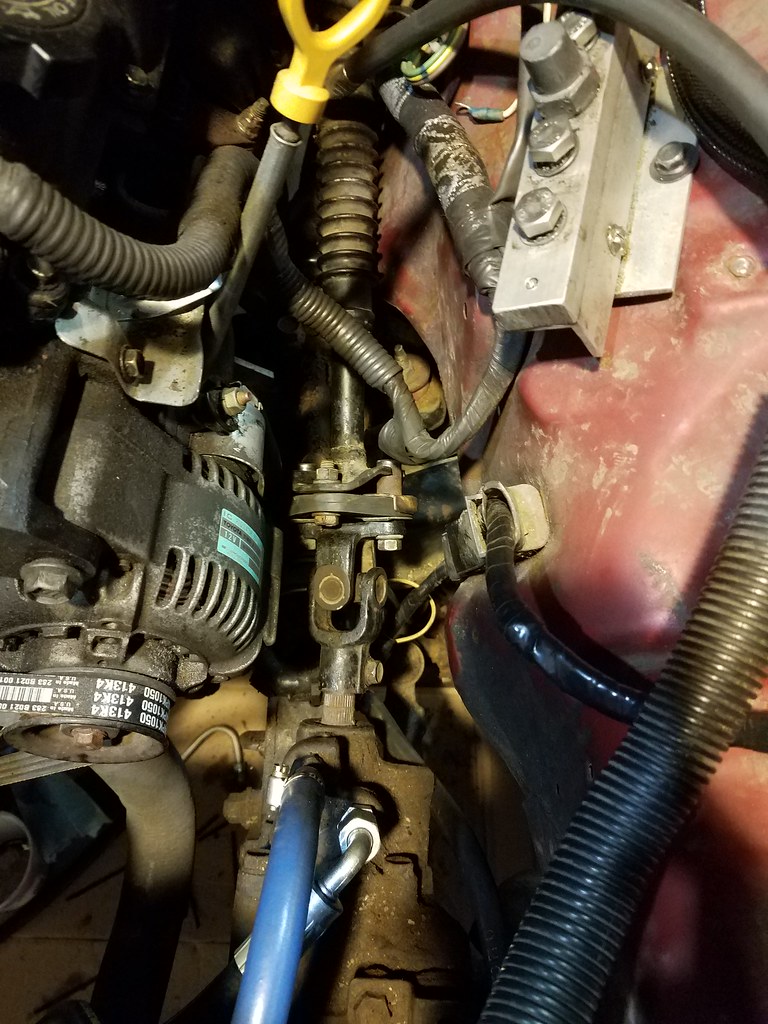
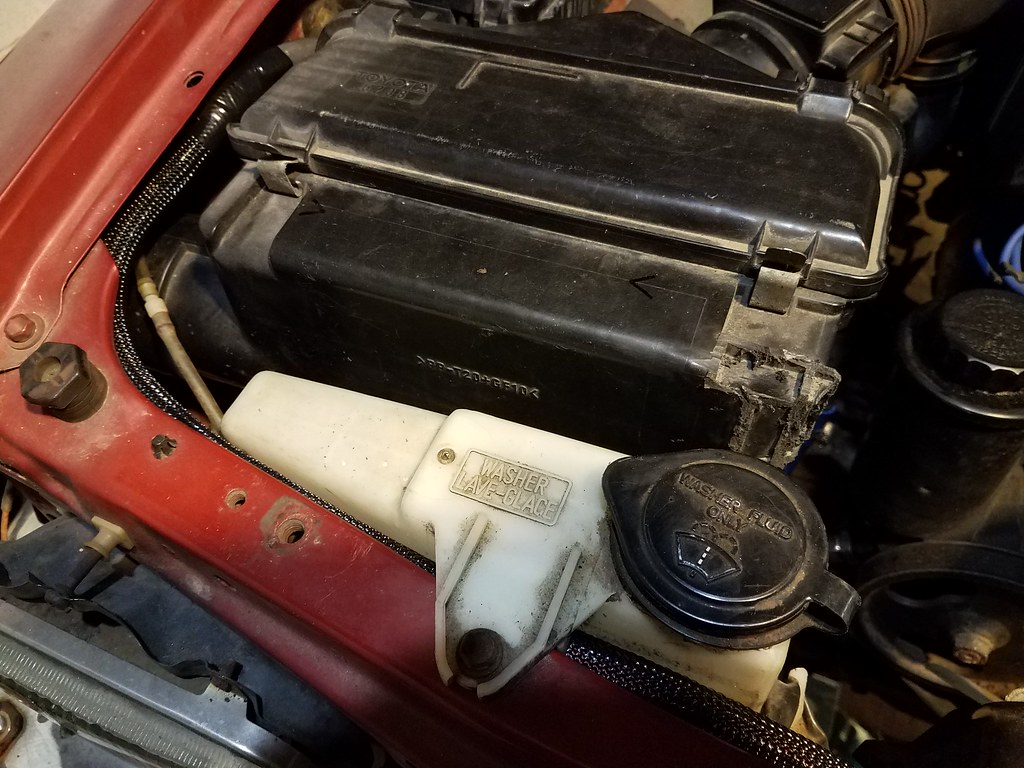
I also did another test-fit of the air box. I'm going to need to trim some more off, but not bad for using a hacksaw.


Anyway, on with the show...
I got a bit more done last night, including power steering hoses, rag joint, and some cable re-routing. I used the original alternator wire as another body-to-frame ground, and mapped out the positive junction box. It's now just an 80A fused connection, so I might use it for smaller hings, where the Aux-Box will be used for high-current items.
I also did another test-fit of the air box. I'm going to need to trim some more off, but not bad for using a hacksaw.
08-14-2017, 02:19 PM
#283
Whoa, it's been a while since I posted.
Well, one weekend of convention and one weekend of family outing took a hit on wrenching time, but it was all fun. I thought I had posted these photos, but I guess not.
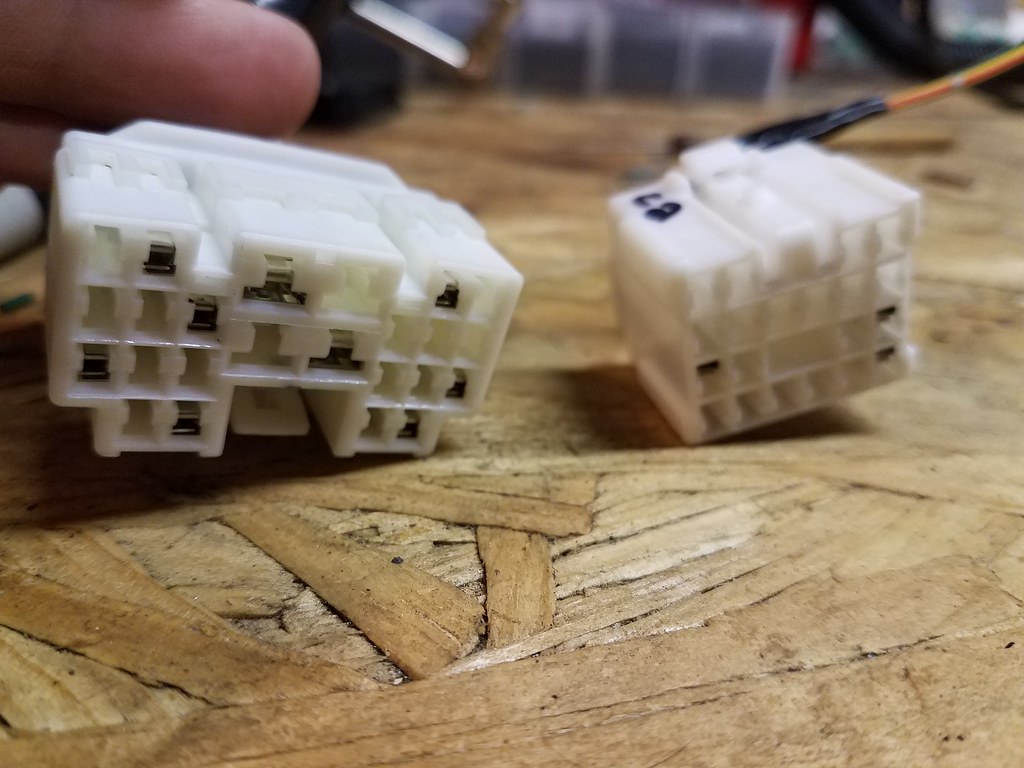
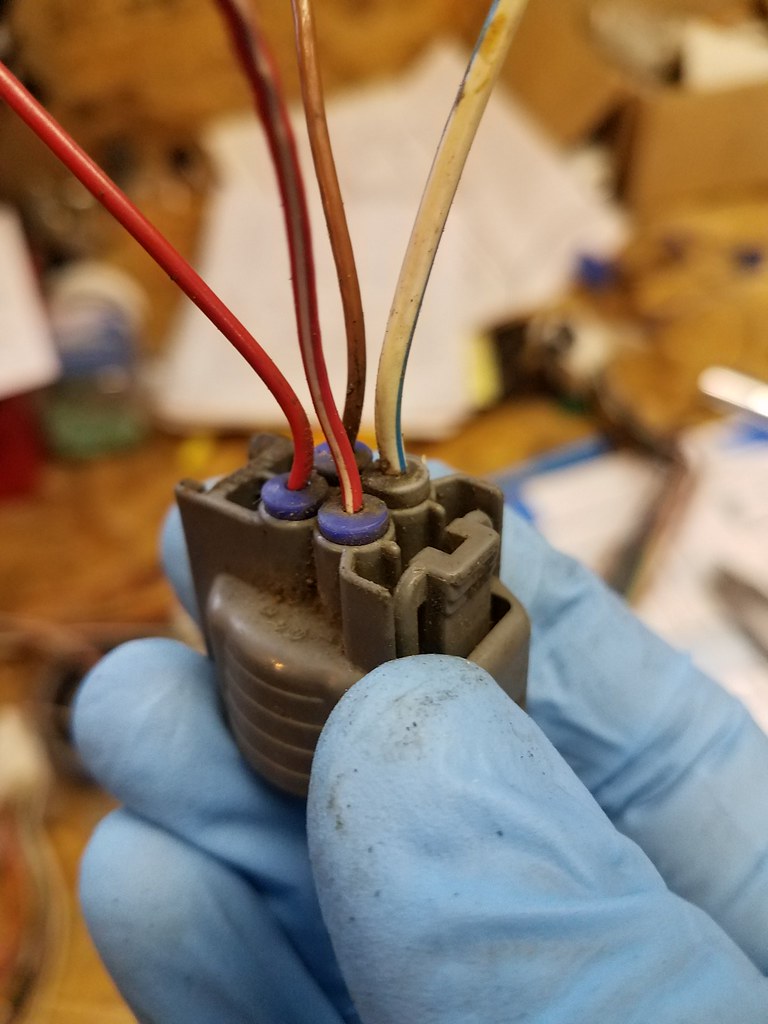
The 2 connectors I need to connect
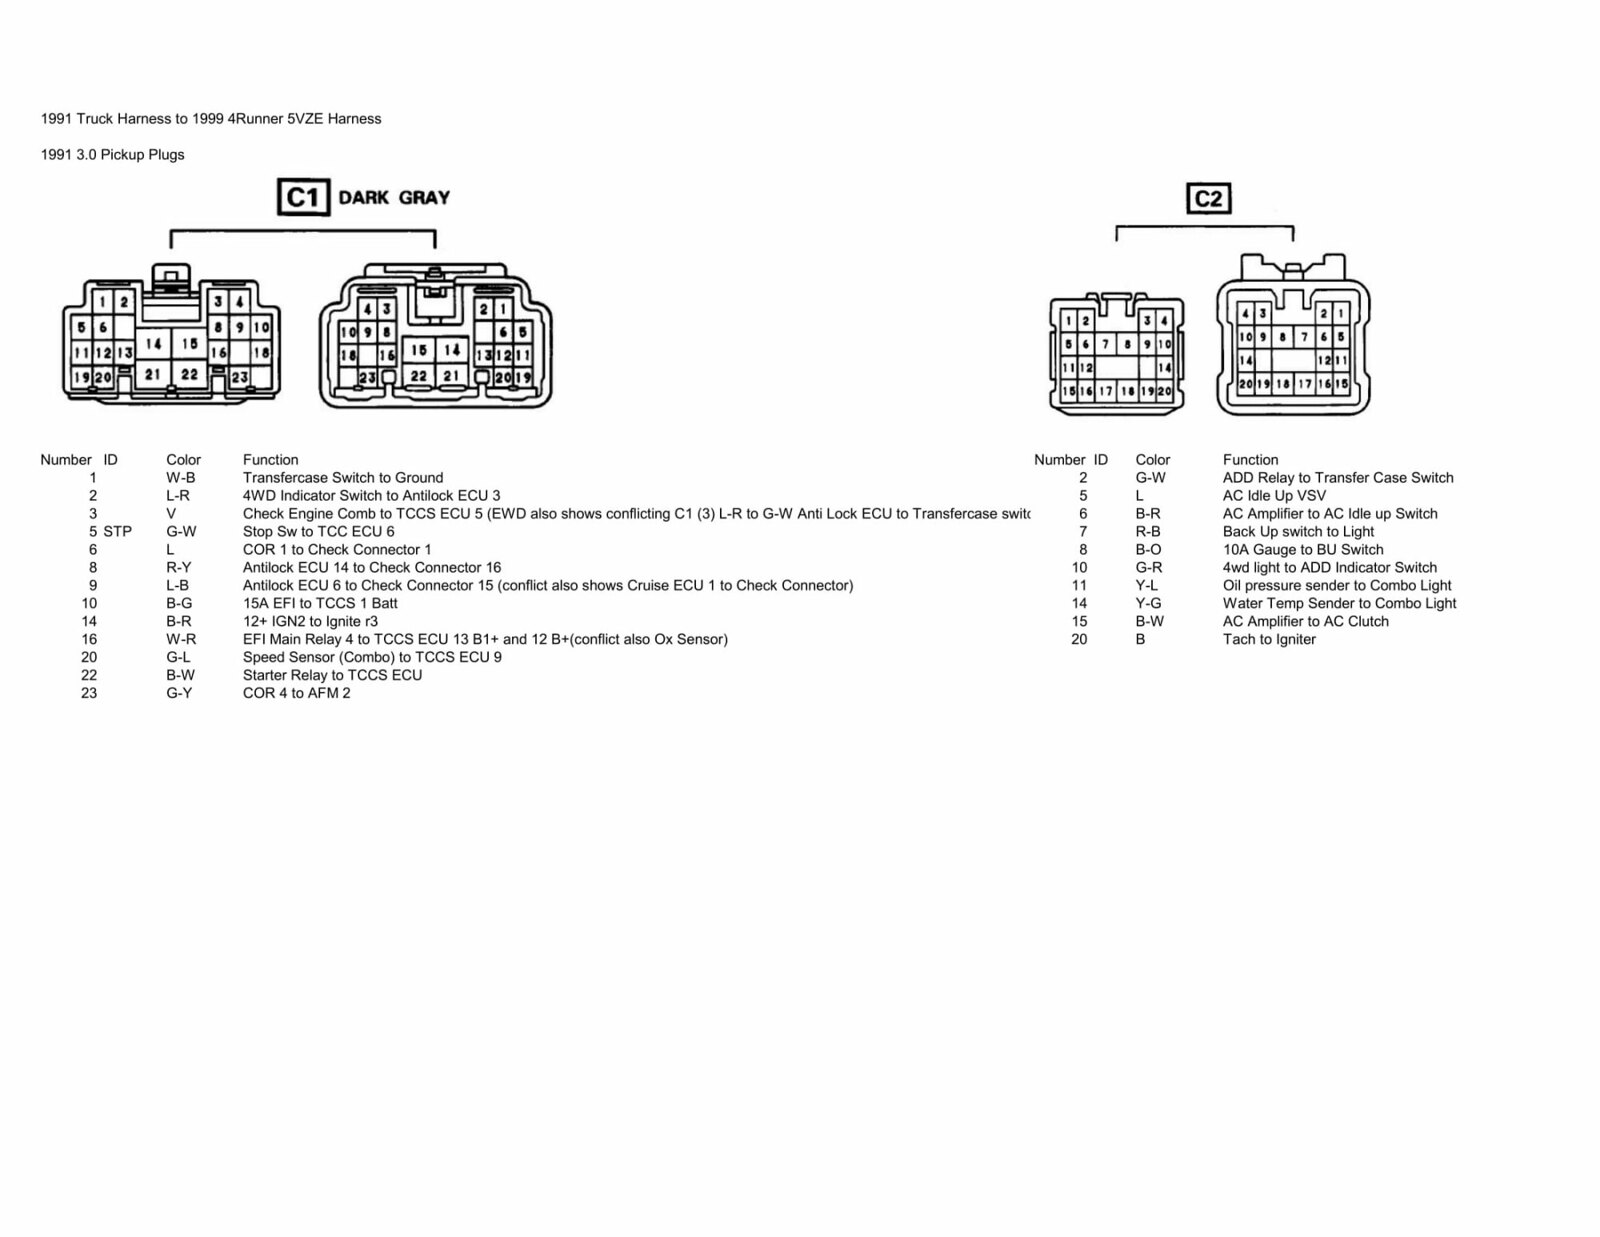
From the 3.4 to the 22R-E (II3 to C1 and C2)

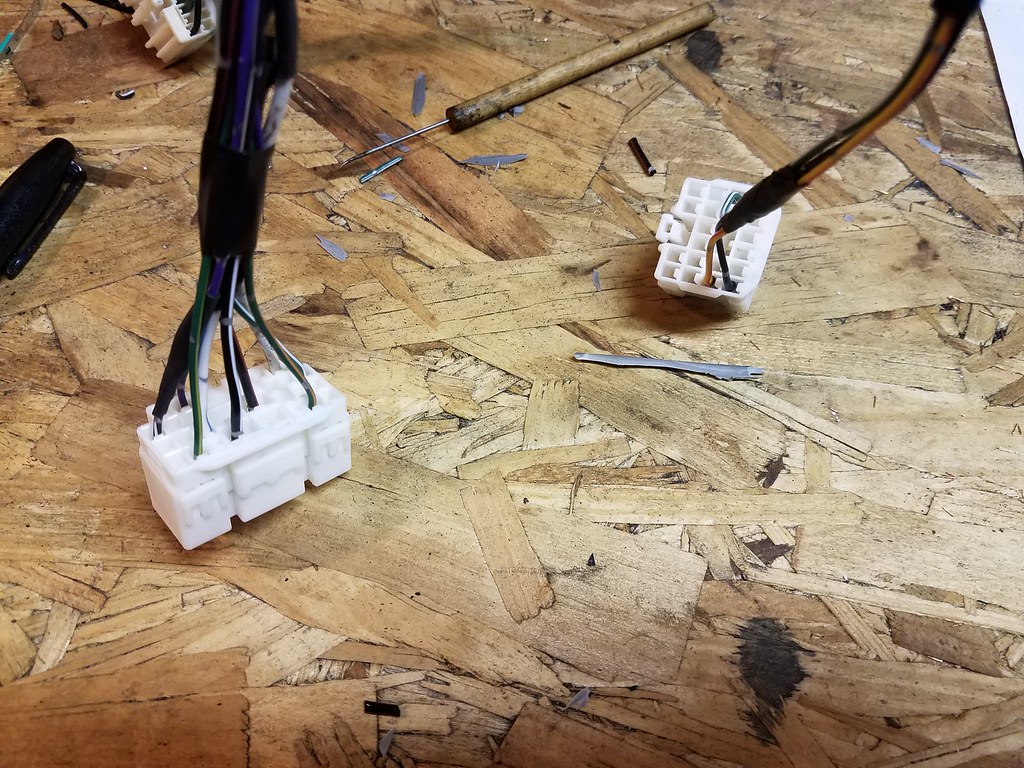
The "adapter harness", almost done. I was invited to dinner, so I had to put it on hold for a few weeks.

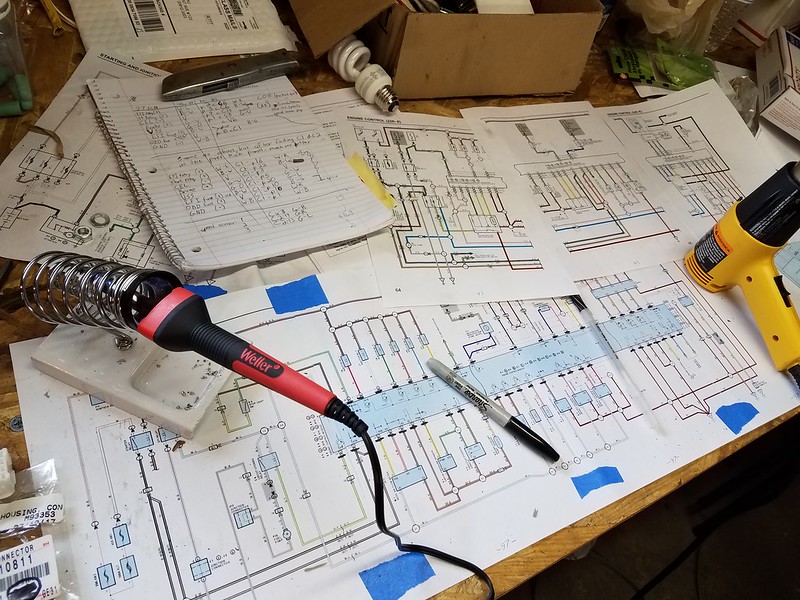
Just a few diagrams...
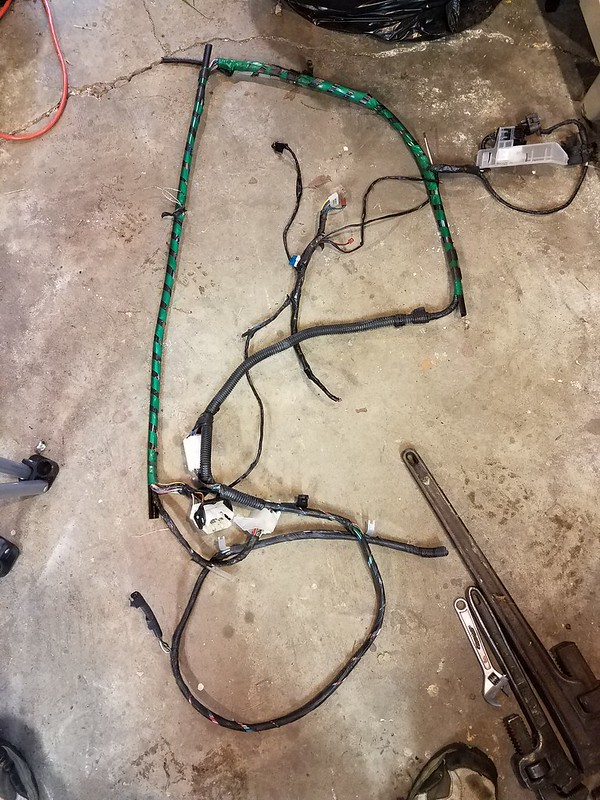
I'm using part of the 4Runner's rear wiring harness for spare wire. I haven't used any yet, but I'll need it for extending the rear o2 sensor.
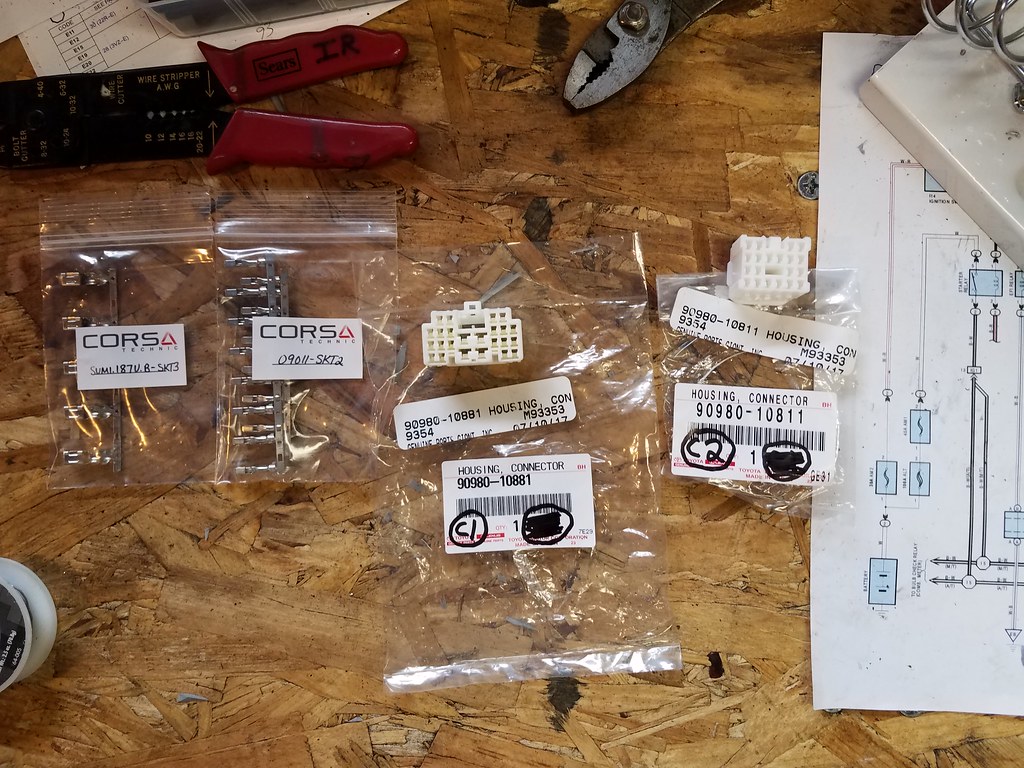
And the parts I'm using for the C1 and C2 connectors on the 93. Pins from the dealer were about $5 each... aw heck no. From Corsa: I think it was about $0.25 each. Aw heck yes.
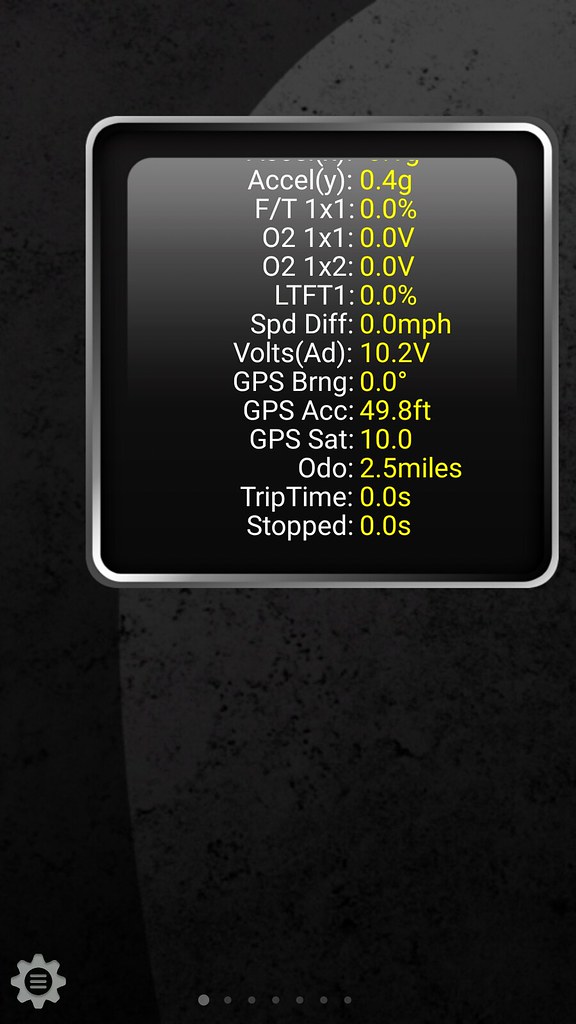
Tonight I hope to finish it up, and maybe read some of the data...
ALSO!
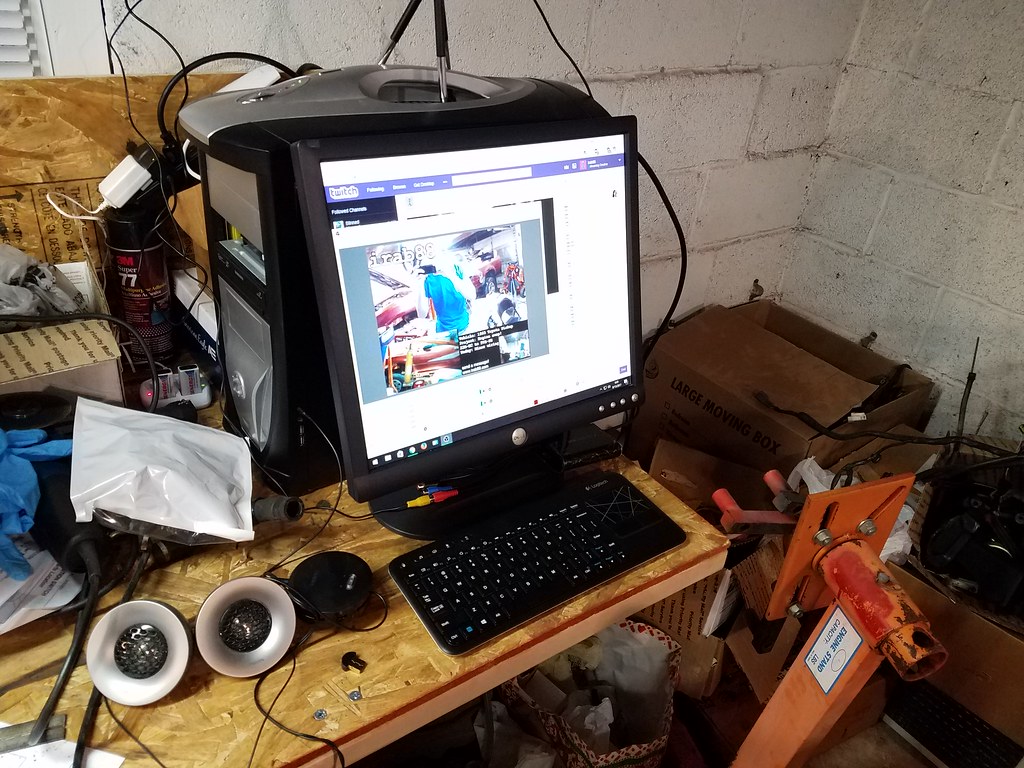
I have a live-stream of the garage! I'll try to keep it up, but it also lets you send messages in real-time!
convenient url is convenient: http://www.irab88.com
Come say Hi!
Well, one weekend of convention and one weekend of family outing took a hit on wrenching time, but it was all fun. I thought I had posted these photos, but I guess not.
The 2 connectors I need to connect
From the 3.4 to the 22R-E (II3 to C1 and C2)
The "adapter harness", almost done. I was invited to dinner, so I had to put it on hold for a few weeks.
Just a few diagrams...
I'm using part of the 4Runner's rear wiring harness for spare wire. I haven't used any yet, but I'll need it for extending the rear o2 sensor.
And the parts I'm using for the C1 and C2 connectors on the 93. Pins from the dealer were about $5 each... aw heck no. From Corsa: I think it was about $0.25 each. Aw heck yes.
Tonight I hope to finish it up, and maybe read some of the data...
ALSO!
I have a live-stream of the garage! I'll try to keep it up, but it also lets you send messages in real-time!
convenient url is convenient: http://www.irab88.com
Come say Hi!
Last edited by irab88; 08-14-2017 at 02:21 PM.
08-14-2017, 06:05 PM
#284
Tonight's progress was slower than I would have liked, but I got stuff done.
The finished C1 and C2 connectors (As I add 4WD and AC wires, I'll add in the 4 extra pins)
And then...
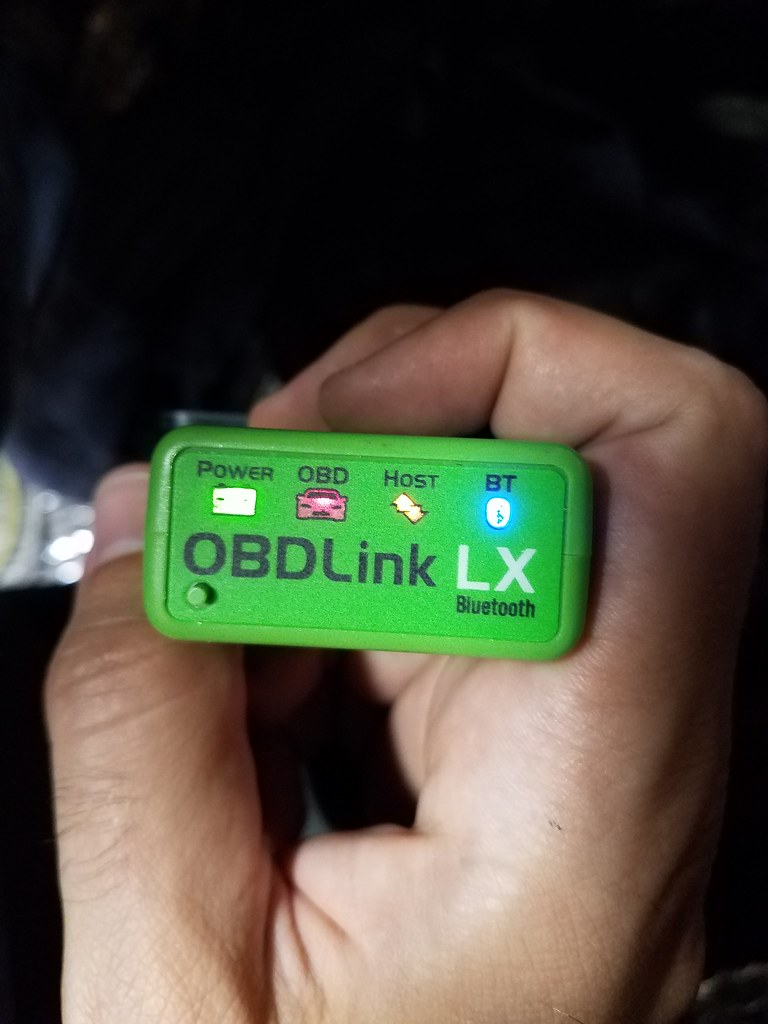
...there was a spark of life...
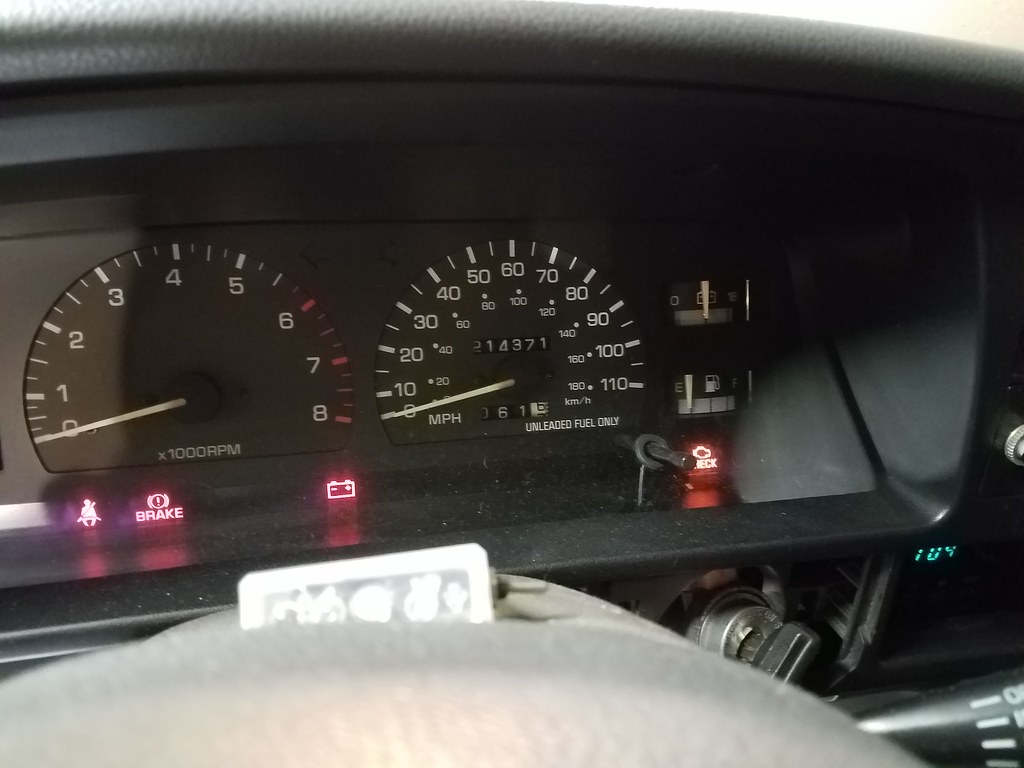
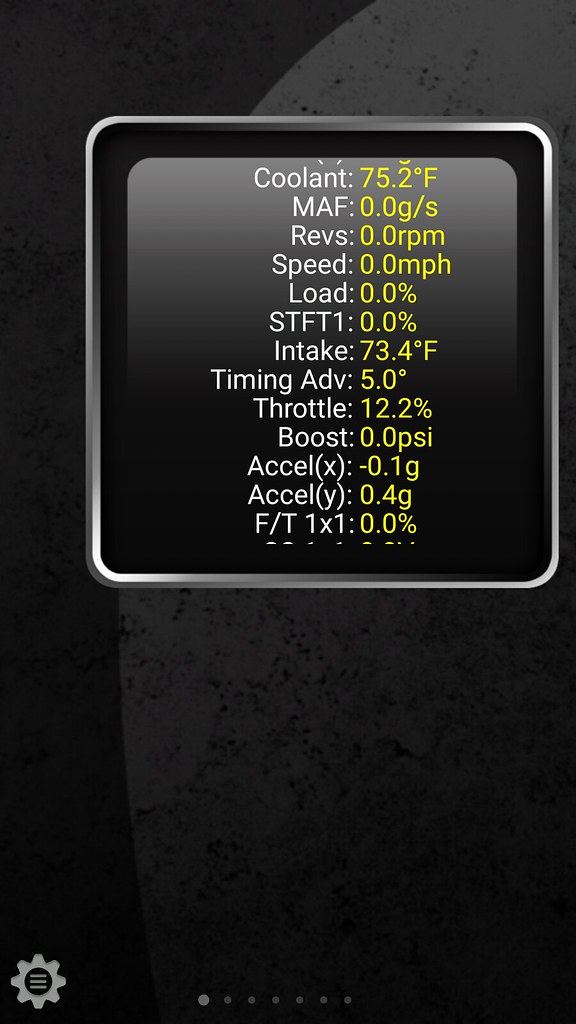
...and it began to talk to me...
...and after connecting a sensor...
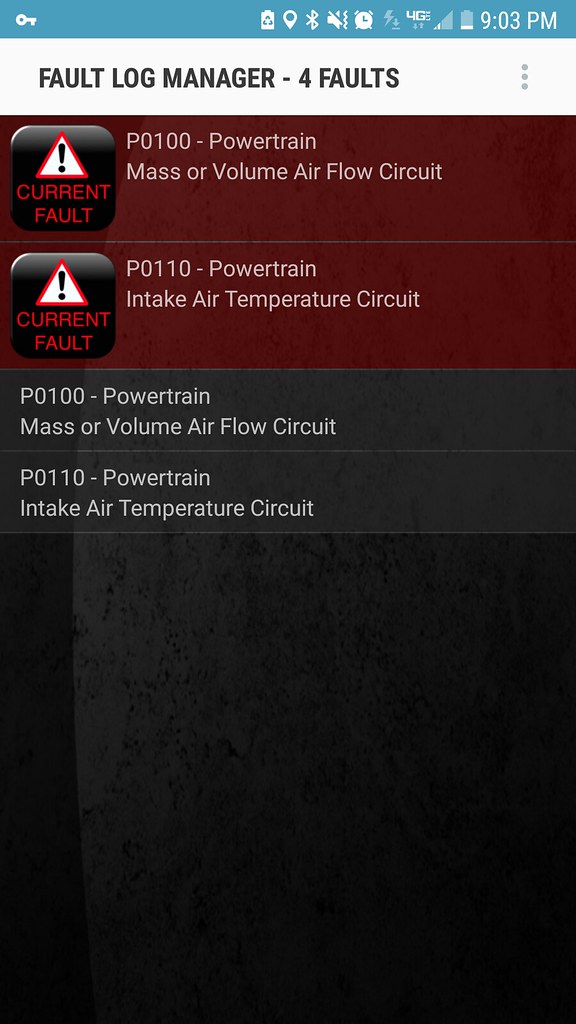

...success.
The electronics are 95% done. What's left:
-modify the tach (4cyl to 6cyl)
-mount battery
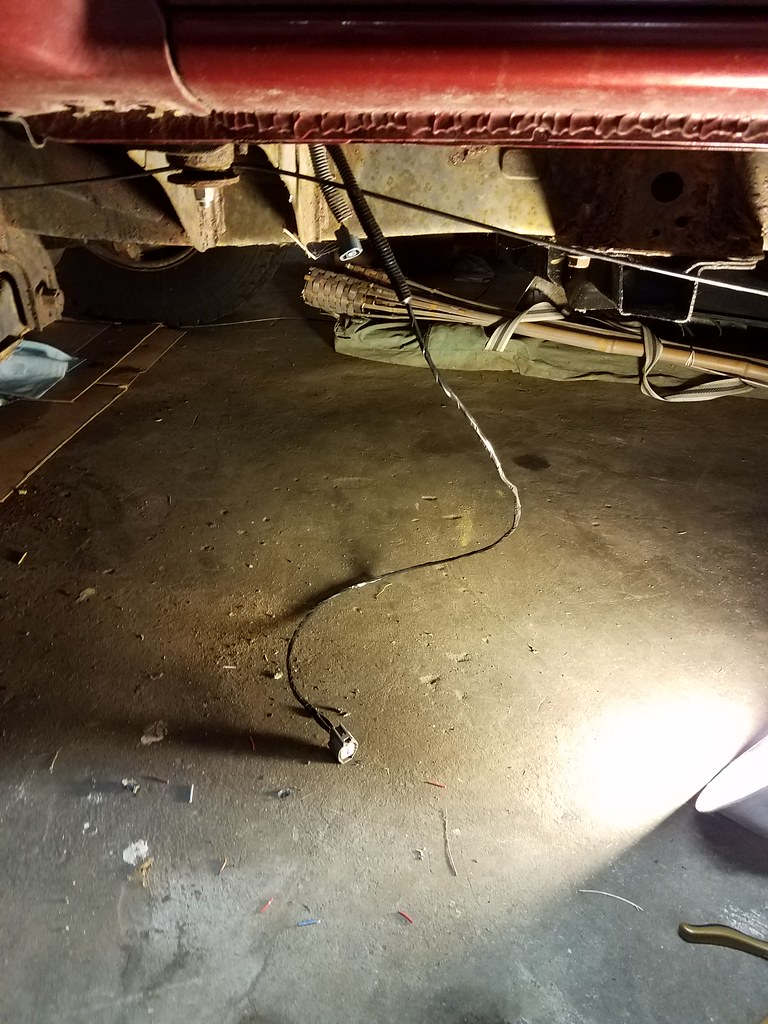
-extend rear O2 sensor wires
-add speedo/4wd/rev wiring
Things are looking good.
The finished C1 and C2 connectors (As I add 4WD and AC wires, I'll add in the 4 extra pins)
And then...
...there was a spark of life...
...and it began to talk to me...
...and after connecting a sensor...
...success.
The electronics are 95% done. What's left:
-modify the tach (4cyl to 6cyl)
-mount battery
-extend rear O2 sensor wires
-add speedo/4wd/rev wiring
Things are looking good.
Last edited by irab88; 08-14-2017 at 06:07 PM.
08-15-2017, 11:05 AM
#286
Thanks. It felt so good to turn the key and hear the seatbelt buzzer... I really wanted to crank it over, but knew better.
It was even better not seeing any smoke
I'm going to try streaming my garage in the evenings, so I can chat and work with all you cool dudes. http://www.twitch.tv/irab88
It was even better not seeing any smoke
I'm going to try streaming my garage in the evenings, so I can chat and work with all you cool dudes. http://www.twitch.tv/irab88
08-22-2017, 08:26 AM
#287
Some progress from last week:
-Got set up with my computer, so I can live-stream from the garage. Works well.
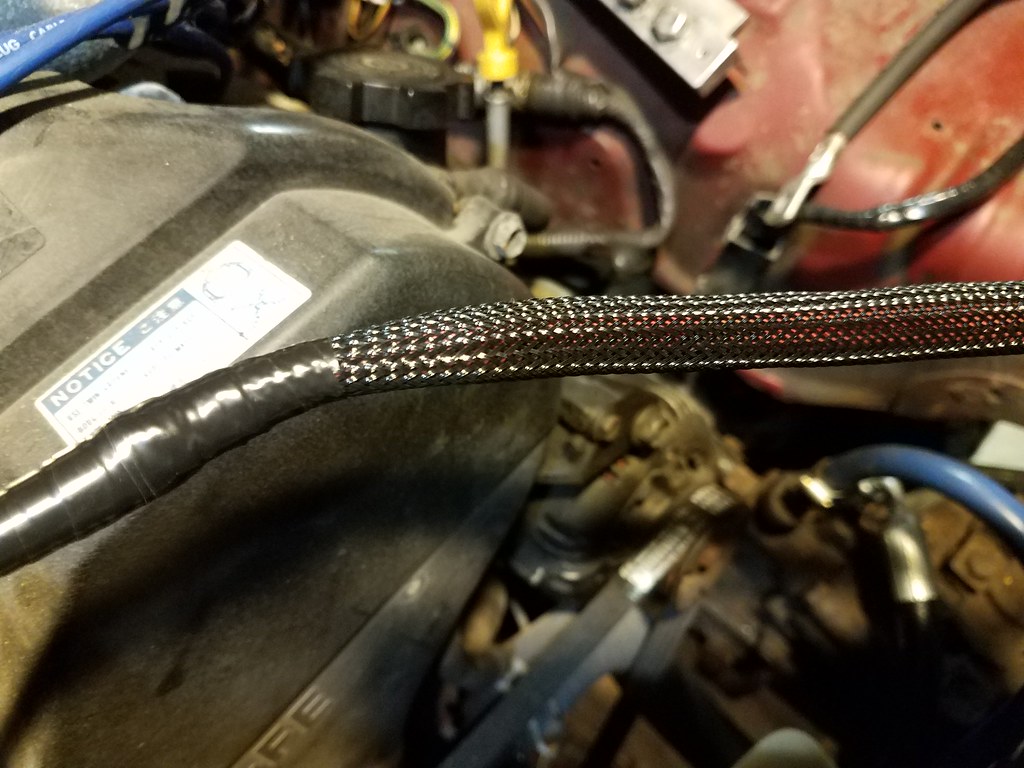
-re-wrapped the main power cable. It takes up a lot less room now.
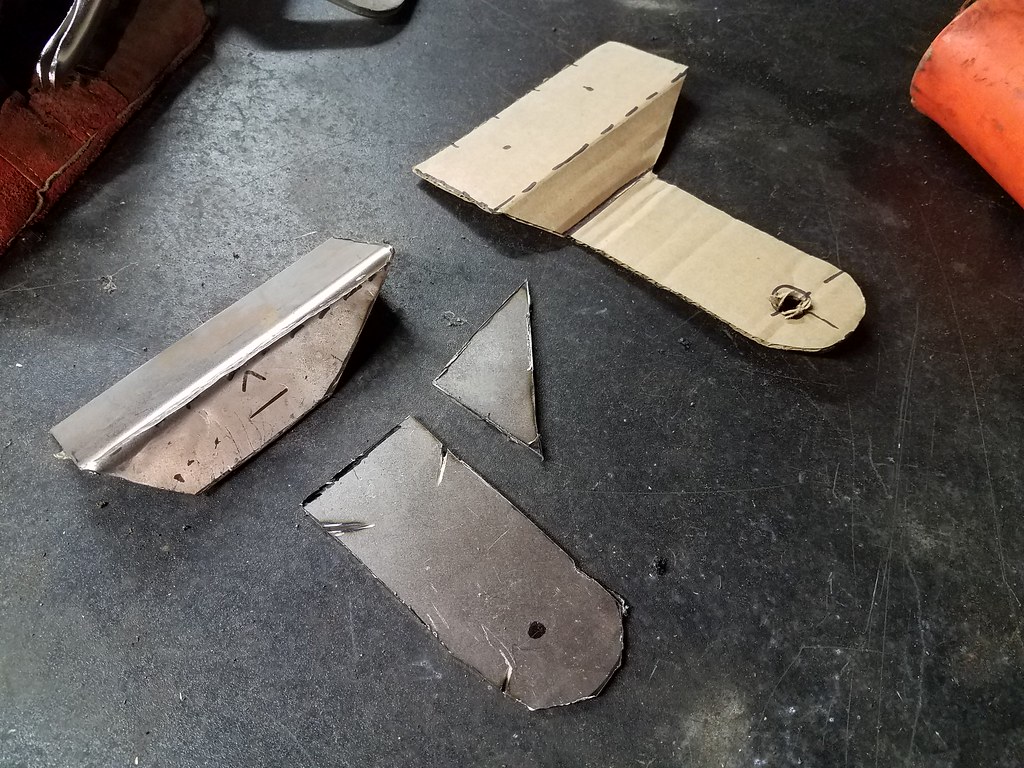
-measured and cut parts for my air box hold-down. I still need to weld and finish it, but it's all cut out now.
-extended my rear O2 sensor wires. I'll need to keep an eye on them, in case I need to shield the signal wire.
This week I have parts coming in. I also wired my welder breaker box, so I can get the bracket and exhaust done.
I'll still be streaming, so stop by and say hi!
http://www.twitch.tv/irab88
http://www.irab88.com
-Got set up with my computer, so I can live-stream from the garage. Works well.
-re-wrapped the main power cable. It takes up a lot less room now.
-measured and cut parts for my air box hold-down. I still need to weld and finish it, but it's all cut out now.
-extended my rear O2 sensor wires. I'll need to keep an eye on them, in case I need to shield the signal wire.
This week I have parts coming in. I also wired my welder breaker box, so I can get the bracket and exhaust done.
I'll still be streaming, so stop by and say hi!
http://www.twitch.tv/irab88
http://www.irab88.com
08-23-2017, 11:16 AM
#288
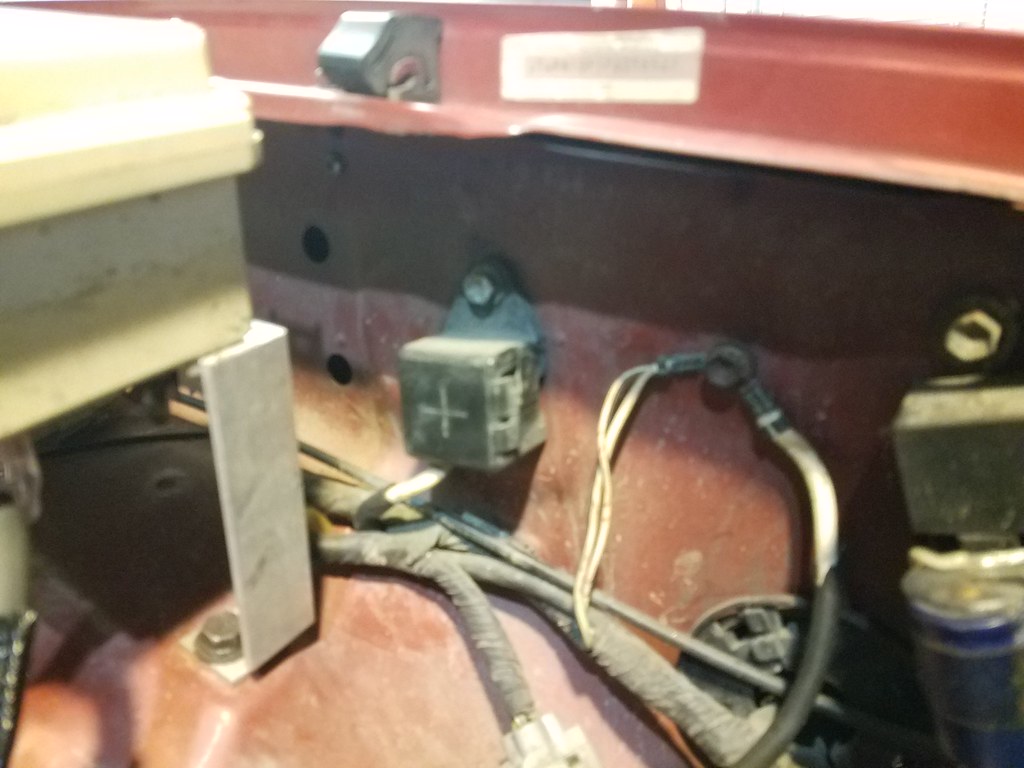
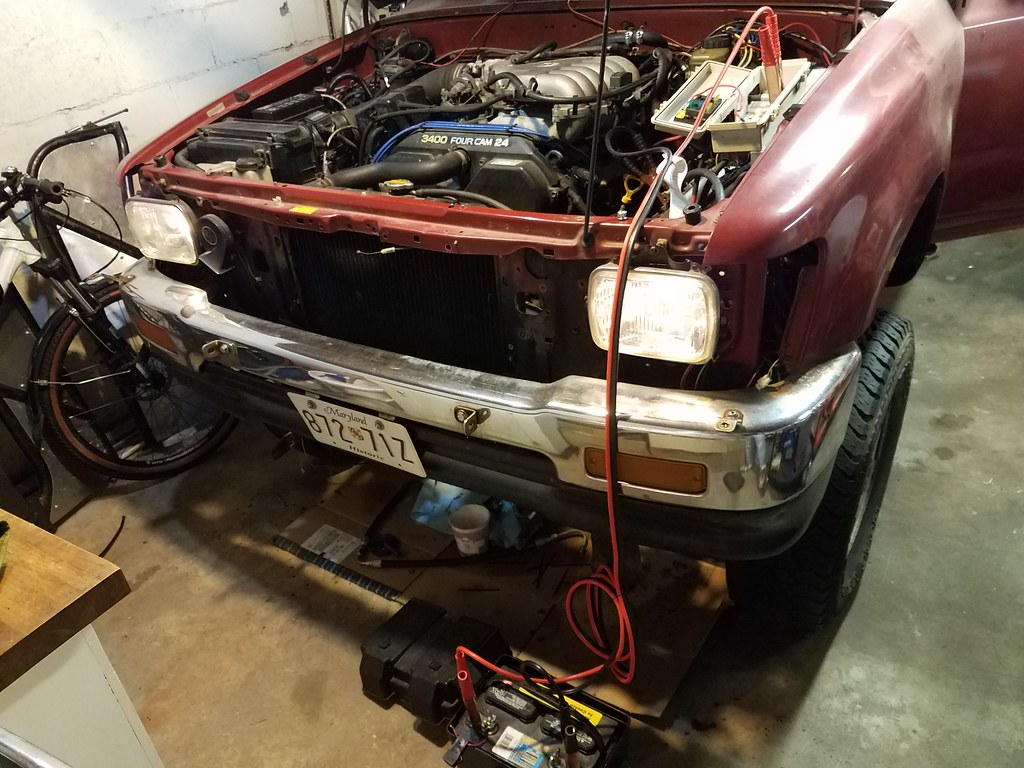
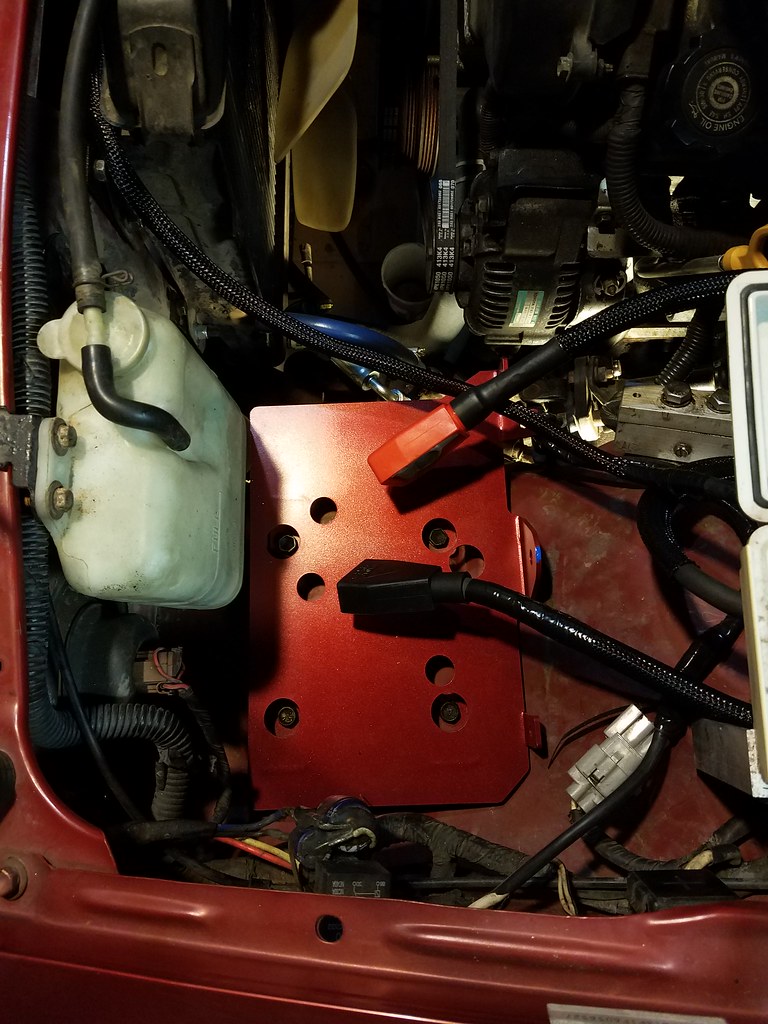
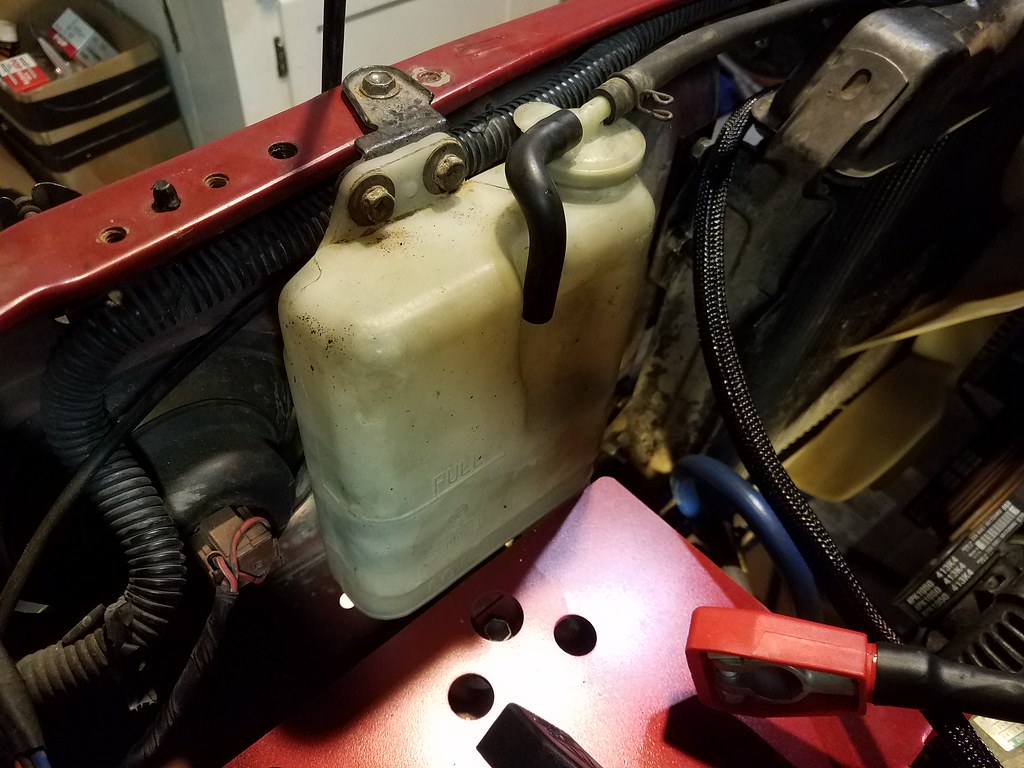
Last night I got the battery tray, battery cables, and coolant tank installed. I still need the plastic tray, but I have to find it first. I also need a hold-down and j-hook.
The blue paint is for rust protection.
]
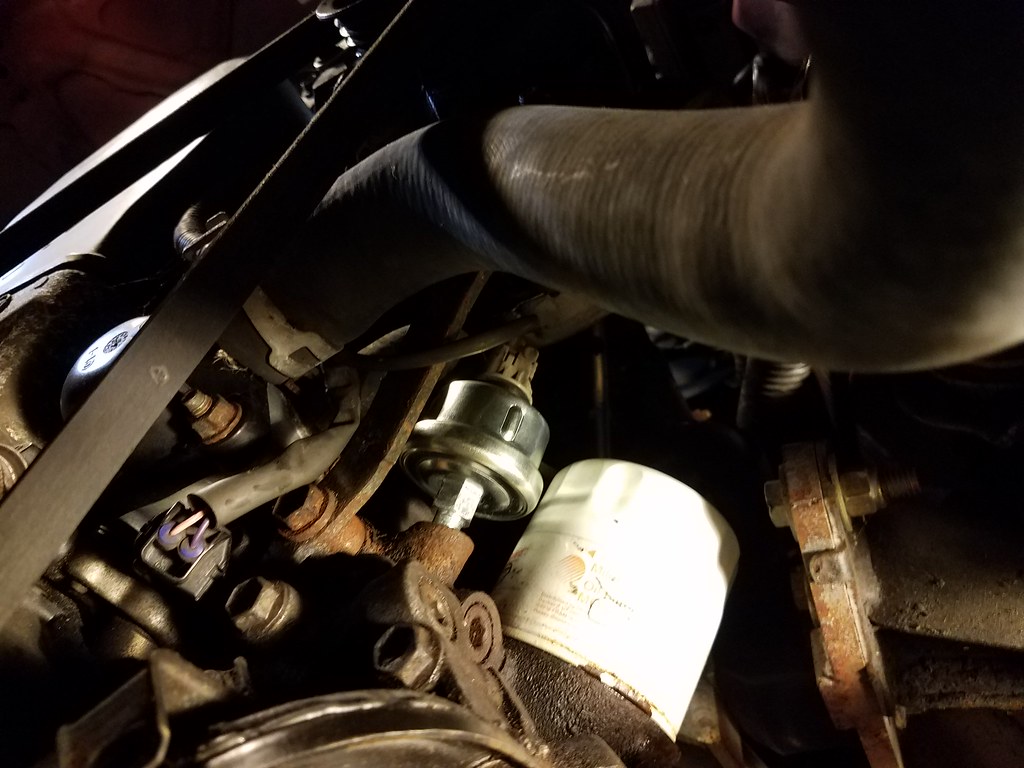
Tonight I have the oil pressure sender coming, to replace the sensor (switch). It is a direct swap, which makes my life easier. I also have the airbox bracket to weld, and exhaust to finish up.
Live stream (~6-9pm EST / ~3-6pm PST):
http://www.twitch.tv/irab88
http://www.irab88.com
The blue paint is for rust protection.
]
Tonight I have the oil pressure sender coming, to replace the sensor (switch). It is a direct swap, which makes my life easier. I also have the airbox bracket to weld, and exhaust to finish up.
Live stream (~6-9pm EST / ~3-6pm PST):
http://www.twitch.tv/irab88
http://www.irab88.com
Last edited by irab88; 08-23-2017 at 11:23 AM.
08-24-2017, 06:21 AM
#289
Last night I didn't do too much. I've been doing other household things, so progress is somewhat slow. But! It's progress, nonetheless.
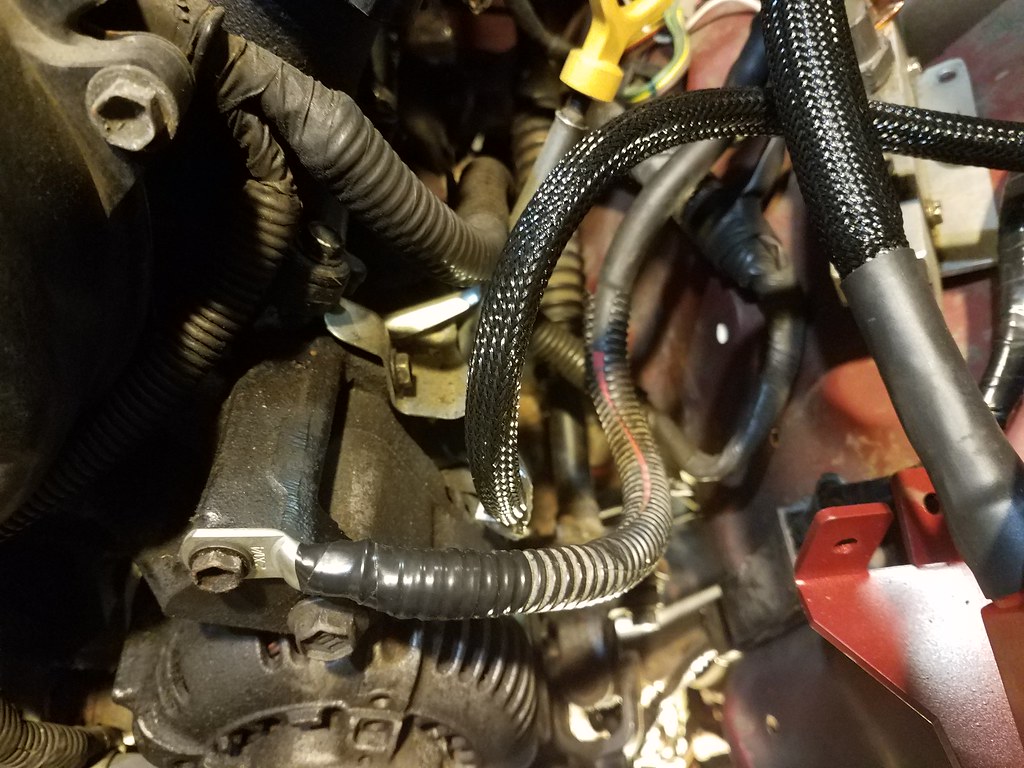
-Oil pressure sender installed
-Main alternator cables installed
-Airbox fixed (small crack from my poor handling)
-Removed passenger fender for air intake (need to print a tool for the antenna)
Tonight I'm not sure what I'll be doing. Hopefully the epoxy is dry and I can mount the airbox. I should probably also clean up the old battery tray area, and maybe put in some cushions. I also need to print out a tool to remove the antenna from the body panel.
Tune in, same as last night (~6-9pm EST / ~3-6pm PST):
http://www.twitch.tv/irab88
http://www.irab88.com
08-25-2017, 05:57 AM
#292
Thanks! If I buckled down, I could have it running in less than a week. I want to get the exhaust mostly done before that, so I don't fumigate the garage. The driveshafts are taking the longest... last time I use this guy...
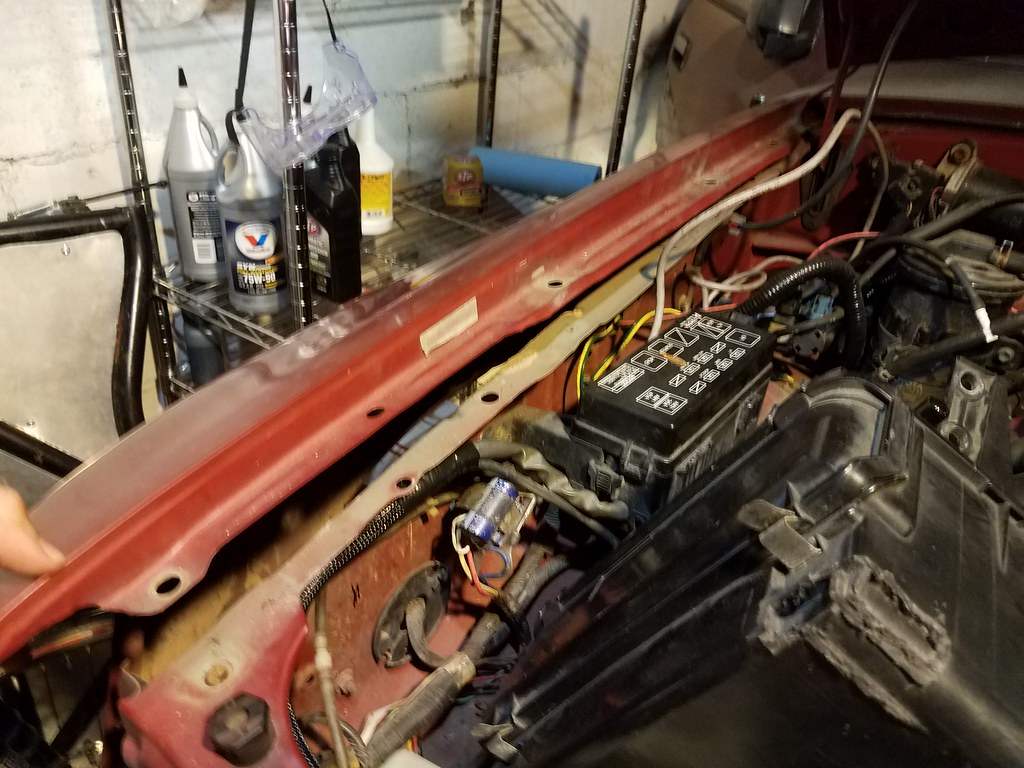
I wasn't really doing much last night, as I needed to print a tool for the antenna. So while it was printing, I decided to get rid of some of my old electrical items. After digging around, I realized how inexperienced I was at one point. I knew circuits, but it was not pretty under the dash. A lot of it's gone now, but the alarm is still a mess. I need to take care of that.
Other than that, I pulled the air intake elbow from the runner (ironic name now). I don't know if I'll install it or do something else.
09-06-2017, 10:34 AM
#293
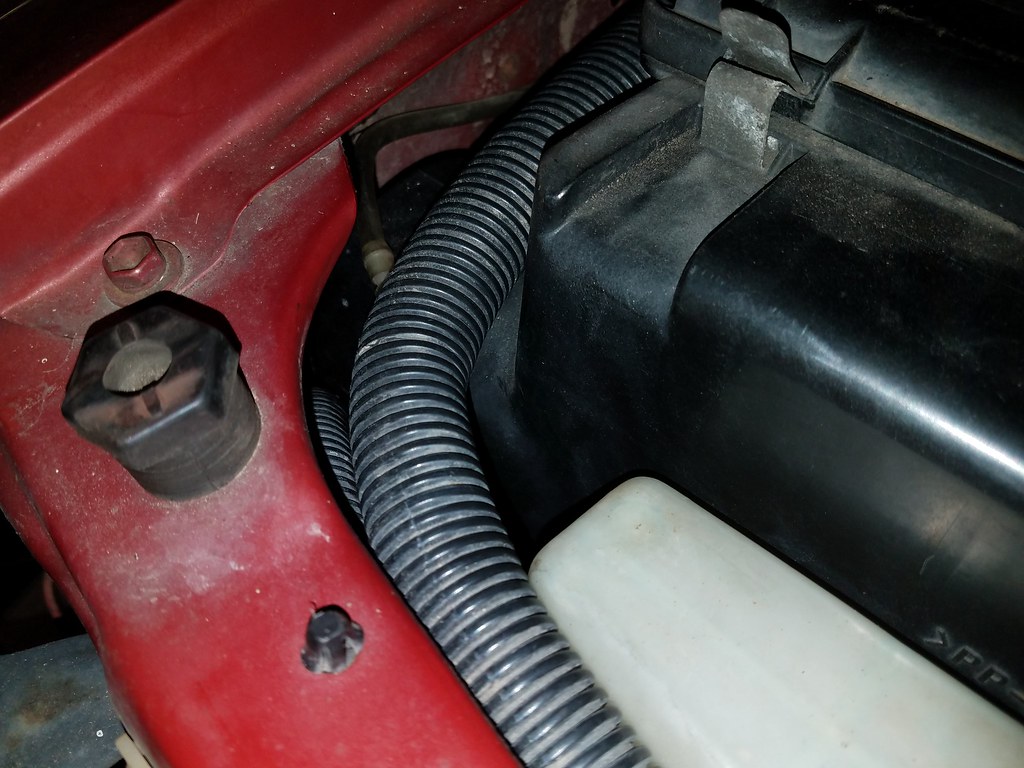
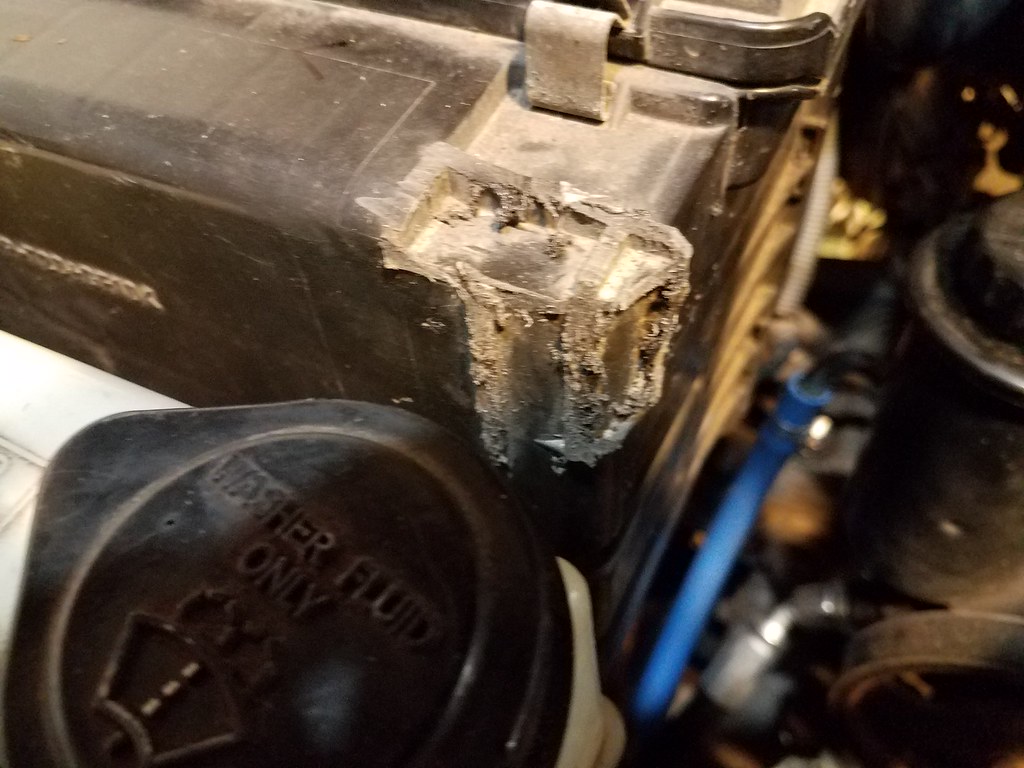
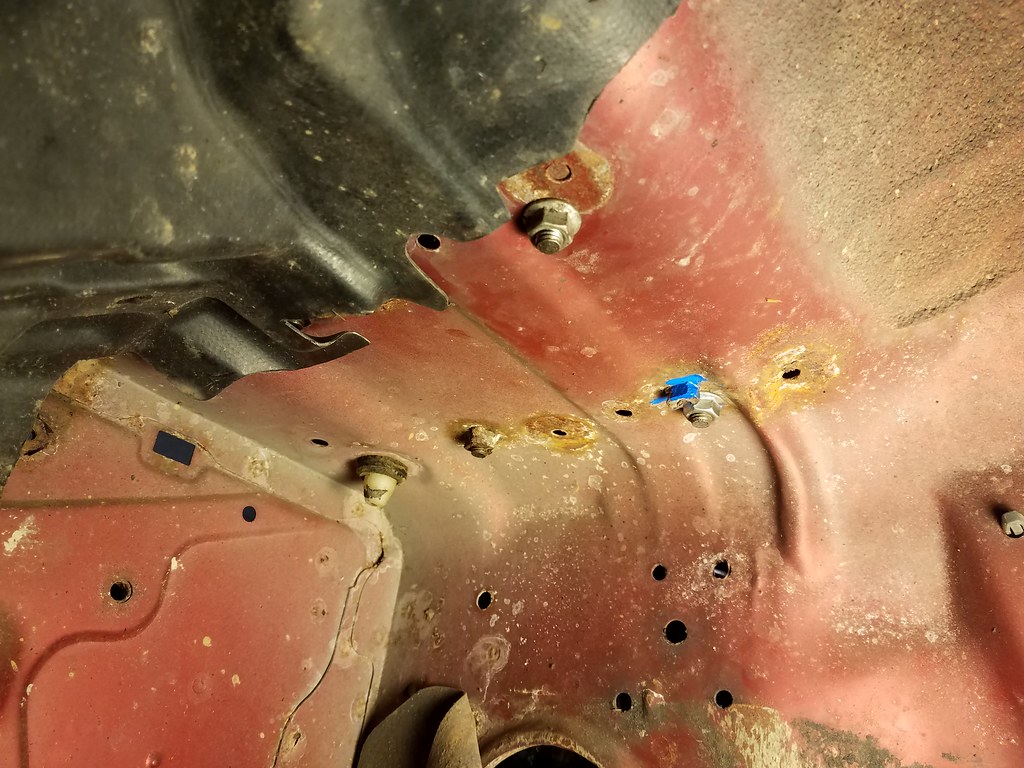
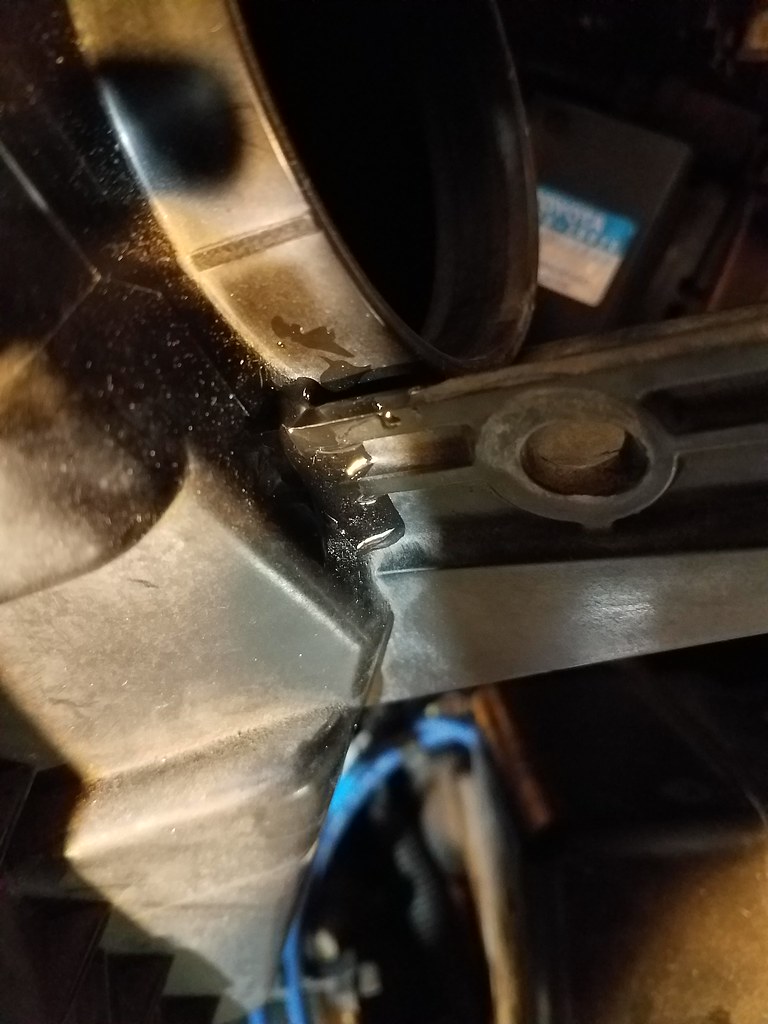
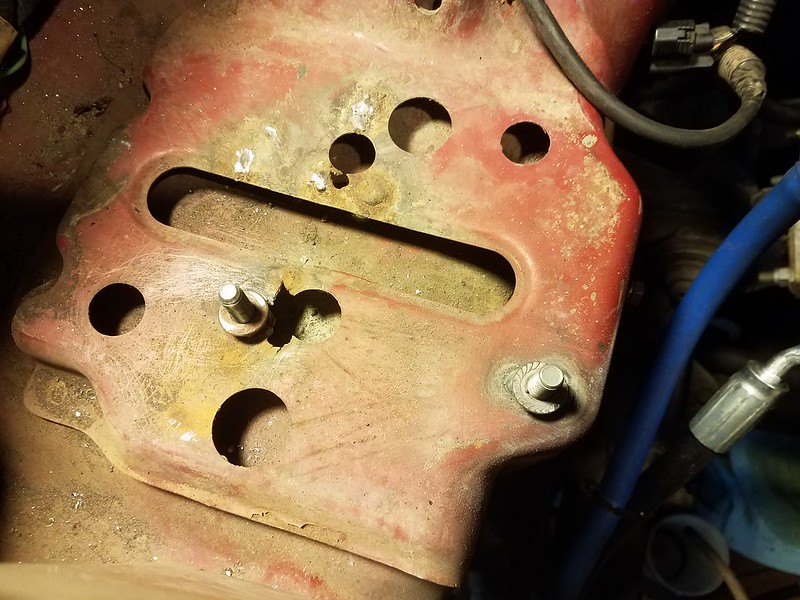
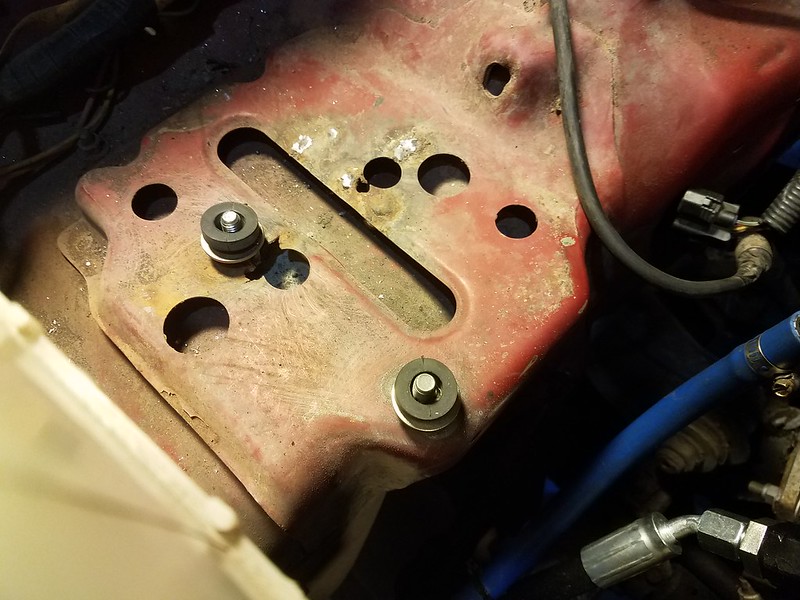
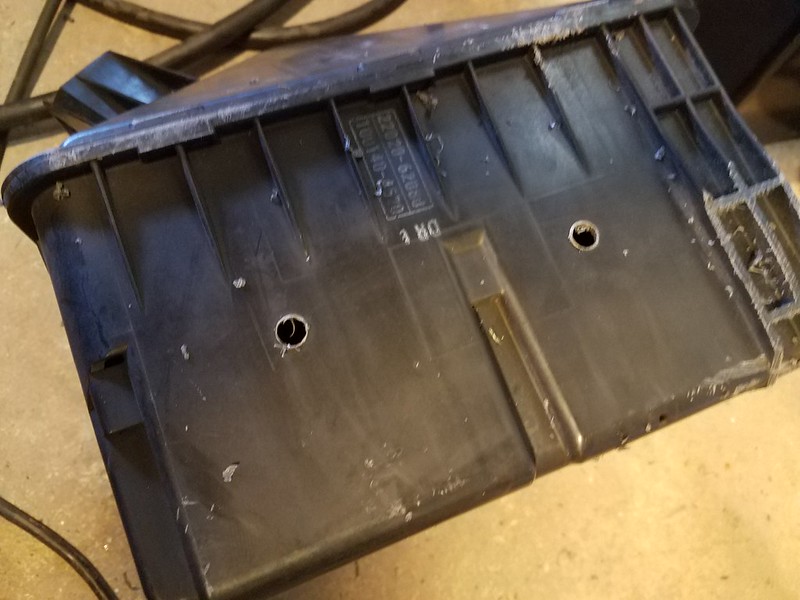
This past weekend I mostly relaxed. BUT, I also got a bit of work done on the air box. I got some studs welded in the old battery tray and cut out a hole in the inner fender for the air intake. I'm just going to have it pull from the fender, like on the 4runner. I may add some sort of vent on the outer fender, but this should work for now.
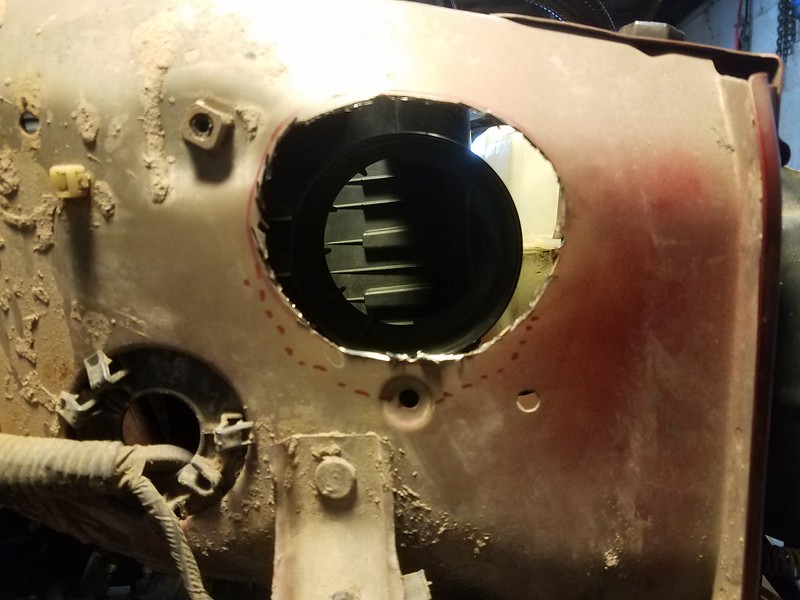
"heavy-duty" my ašš...
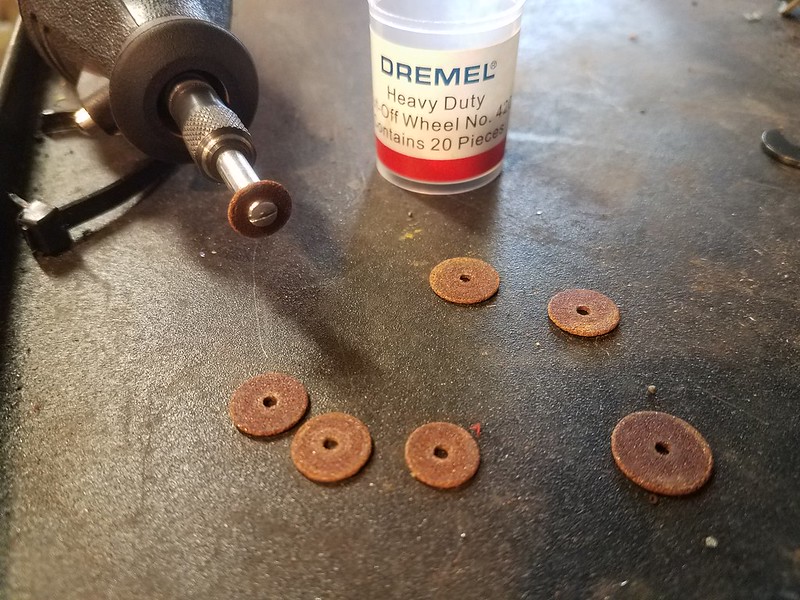
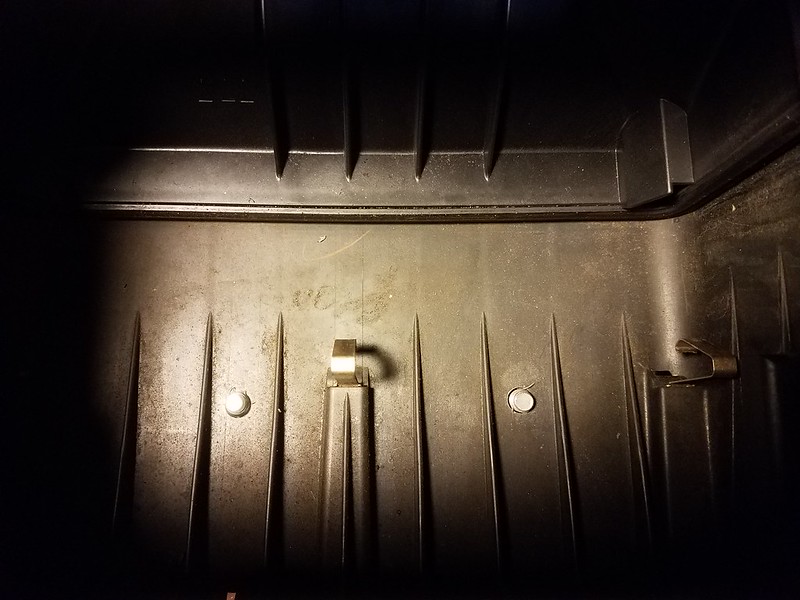
Now that I have the welding stuff out, I may work on the exhaust this week/end. It's only a hanger or two and 3 feet of piping, but it still should get done.
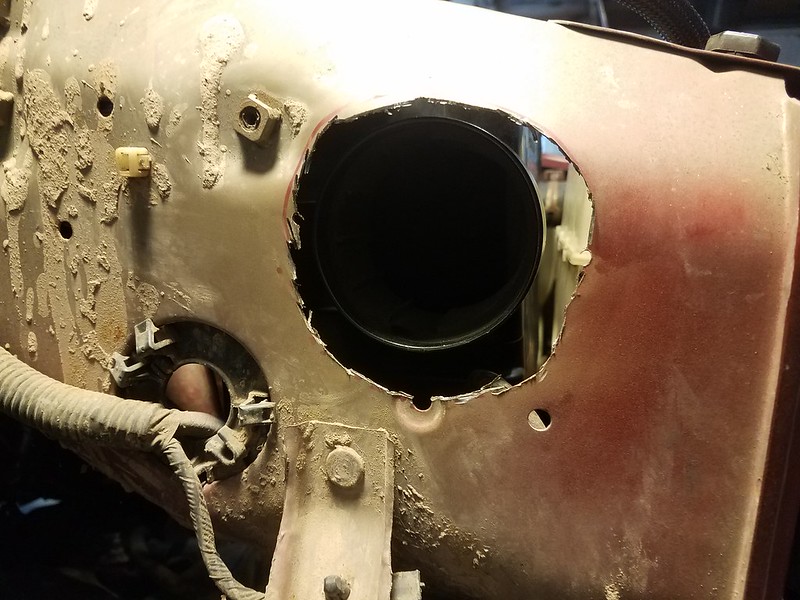
I'm also going to clean up the hole in the fender, and add some edge-trim. I have a silicone elbow to put in there (3.25" fits perfectly), and I'm not sure what I'll do inside the fender yet.
"heavy-duty" my ašš...
Now that I have the welding stuff out, I may work on the exhaust this week/end. It's only a hanger or two and 3 feet of piping, but it still should get done.
I'm also going to clean up the hole in the fender, and add some edge-trim. I have a silicone elbow to put in there (3.25" fits perfectly), and I'm not sure what I'll do inside the fender yet.
09-12-2017, 11:18 AM
#295
Yeah, even though it's out in the garage, it's still bothering me. I might look into getting a "nibbler" for future sheet-metal endeavors.
I got some parts in yesterday for mounting the battery. My old battery has about 11.9 volts left on it (a LOT higher than I was expecting), so I might be able to charge it back up.
I got some parts in yesterday for mounting the battery. My old battery has about 11.9 volts left on it (a LOT higher than I was expecting), so I might be able to charge it back up.
09-12-2017, 02:12 PM
#296
Registered User

You could take a hole saw and recut a slightly larger hole, just tack a piece of strapping behind it. Use the strapping to center the pilot hole for the hole saw.
Or maybe a large barrel sander on a drill.


