When you click on links to various merchants on this site and make a purchase, this can result in this site earning a commission. Affiliate programs and affiliations include, but are not limited to, the eBay Partner Network.
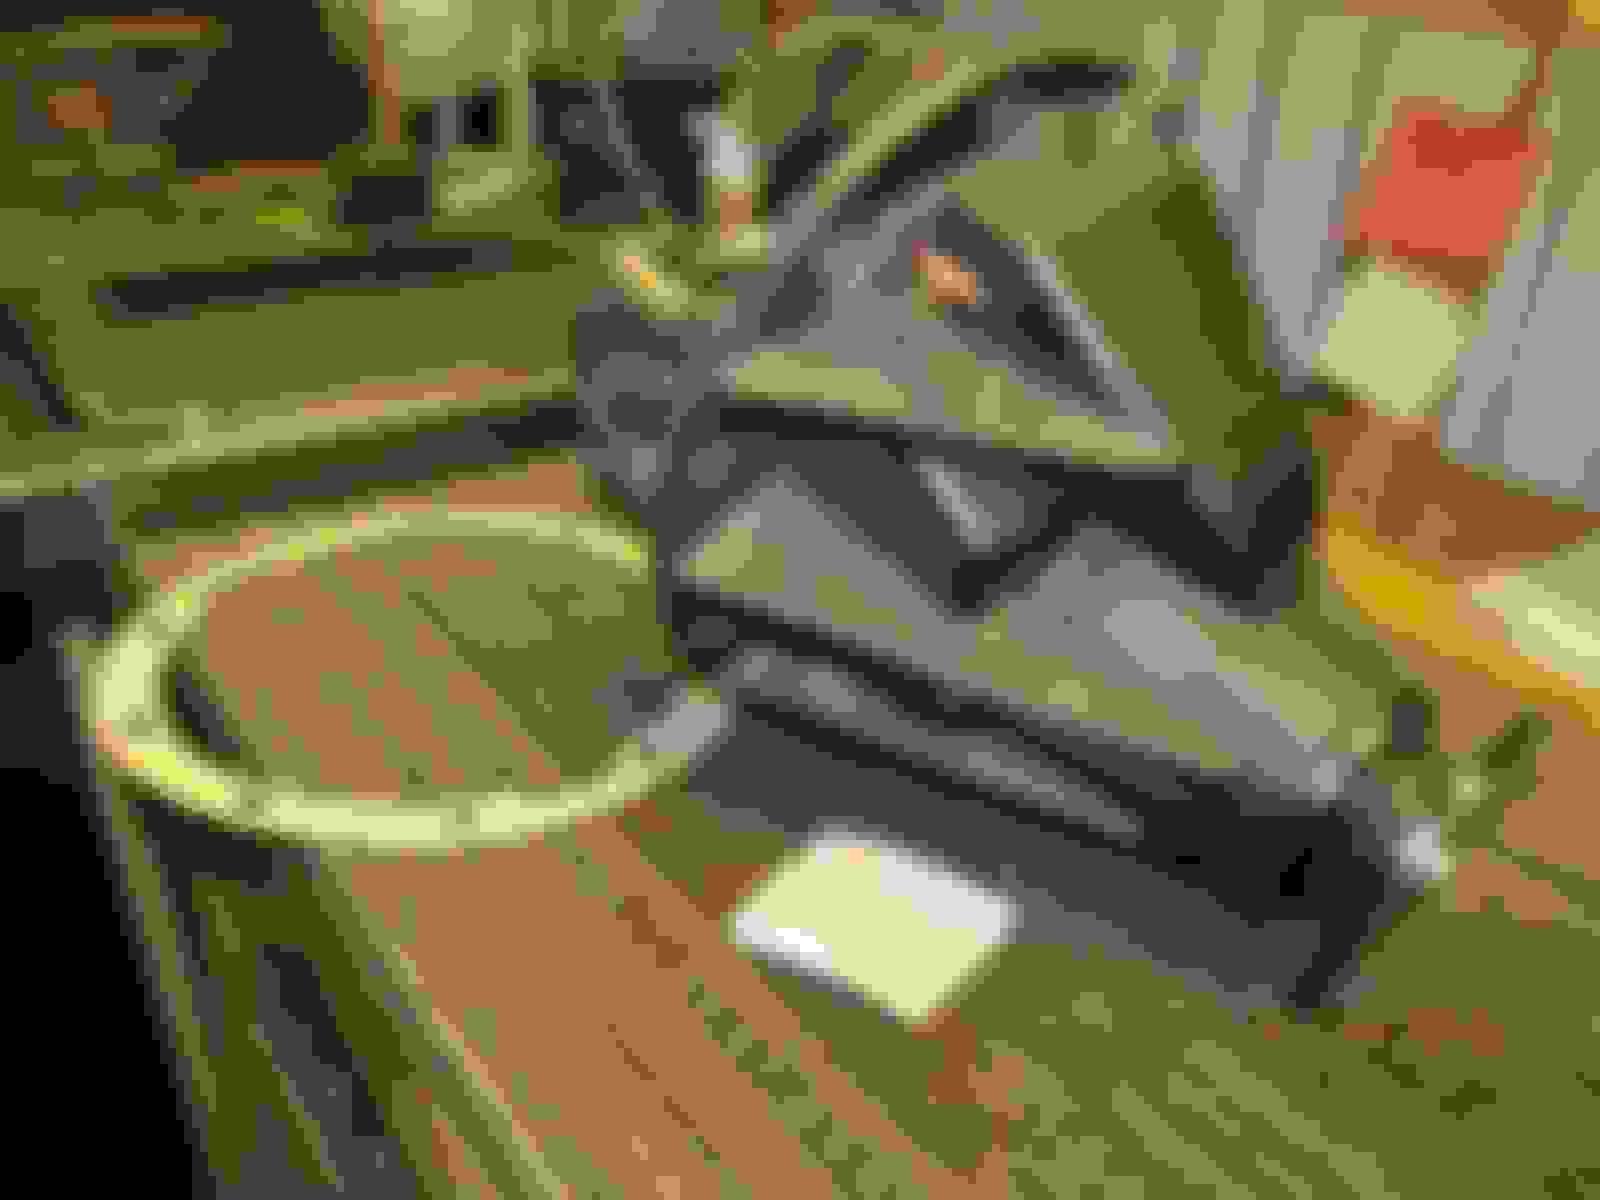
OK....I'm a little slow at taking the front 3rd out but who cares I mean tomorrow is Monday and I work for myself so pretty much make my own sced and the sced said to take it easy ...
This is the 70's that I remember
2 diffs taken out of my truck....the one on the left is a 9.5" 488 open......and the right one is soon to be 529 and keep that nice Harrop elocker in there.
I fogot that I used black RTV on the front 3rd......I guess I forgot what a PITA it was to break loose an rtv'd 3rd and clean both surfaces up. Never again. I'm sold on paper now.
So the 488 ring and pinion....probably with only 100 offroad miles on it....was removed and the 529 ring and pinion was swapped in its place.
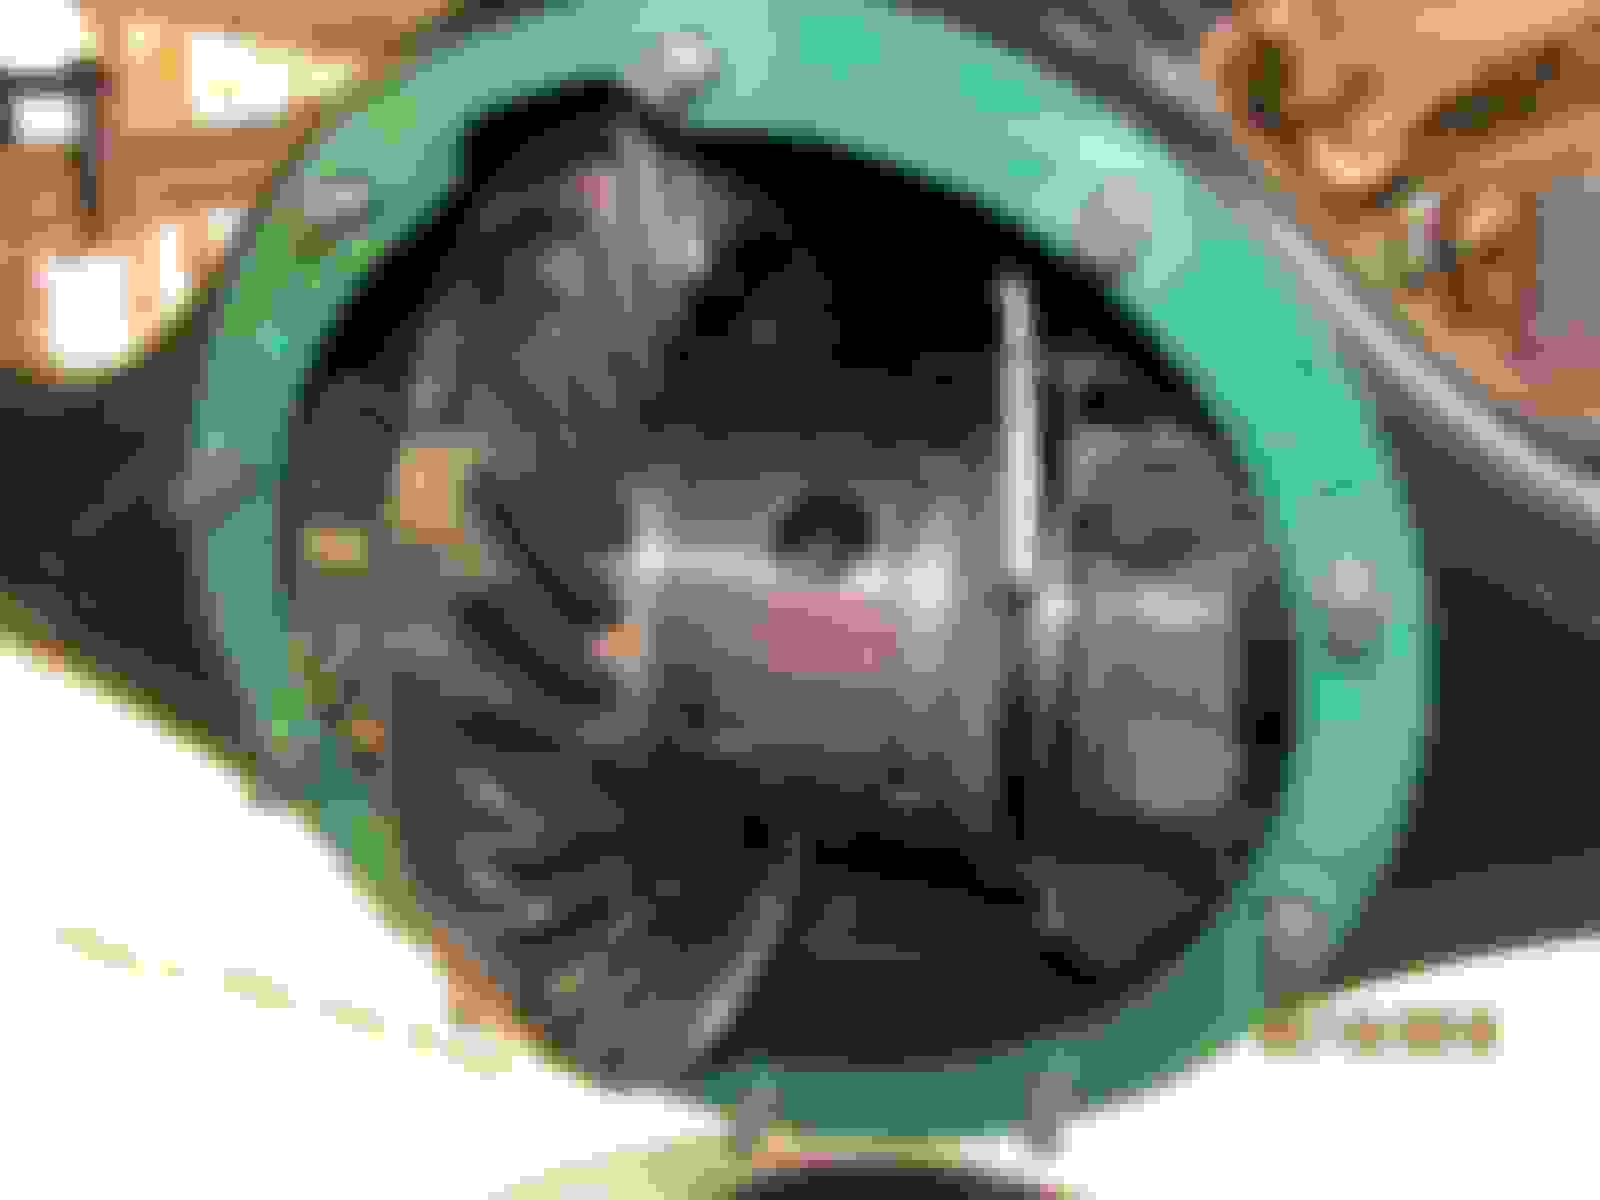
I used the same .060" pinion depth shim and as you can see from the drive side below, the pattern is slightly deep and that's the way I like to see them.
The reverse painted drive side shows a perfect picture. Funny how the reverse paints show it in a different light.
The pinion says to leave it alone and button it up so I did.
All done. Paper gasket this time. Will install it around noonish.
My install did not get a real page of documentation....just put the measured values on a scrap piece of paper.
Used a .060" shim....Marlin pinion seal of course....tightened the ring gear to 81 ft/lb....set the PPL to 7 inch/pounds start torque(used pinion bearings).....75 ft/lb for all 4 bearing caps.....set the CBPL to 14-7= 7 in/lb.....multiple checks around the ring gear and the minimum BL came in at .006"....the 2 tabs are set to 10++ in/lb.....I saw about 2mm of freeplay on the stop tabs of the elocker so that's the main specs and everything was tightened up and scribbled down.
So the 9.5" 529 with Harrop elocker has been loaded in place with just a paper gasket this go-around..
Drive shaft is bolted up.
Drivers side.....using the red sticky grease from Oreillys. Lots of red grease and when the birf was pushed in it made for some weird artistic patterns.
Driver side....uneventful. Went together with no real fanfare. Tightened up the 6 lug nuts with the electric impact which is a no no some say. It's important to know your impact.
Passenger side....mucho red greaso.
Oreillys MasterPro red stuff gets the thumbs up from me.
Just gooshed the birf in like this. Both birfs went in very nicely. I guess that means my axle housing is still straight.
I was excited now because I could see the end.....And then put everything else in and was truly done. No extra washers left over. Kool. Everything I took off was put back on and that doesn't always happen.
So I then put all the tools away and straightened up the carport mess that I made and went into the house to wash up and there on the countertop was 3 quarts of Valvoline waiting impatiently for me.
To think that I might have almost forgot to fill it with oil....what a way to ruin a perfectly good 529. I bet that never happened to anybody else.
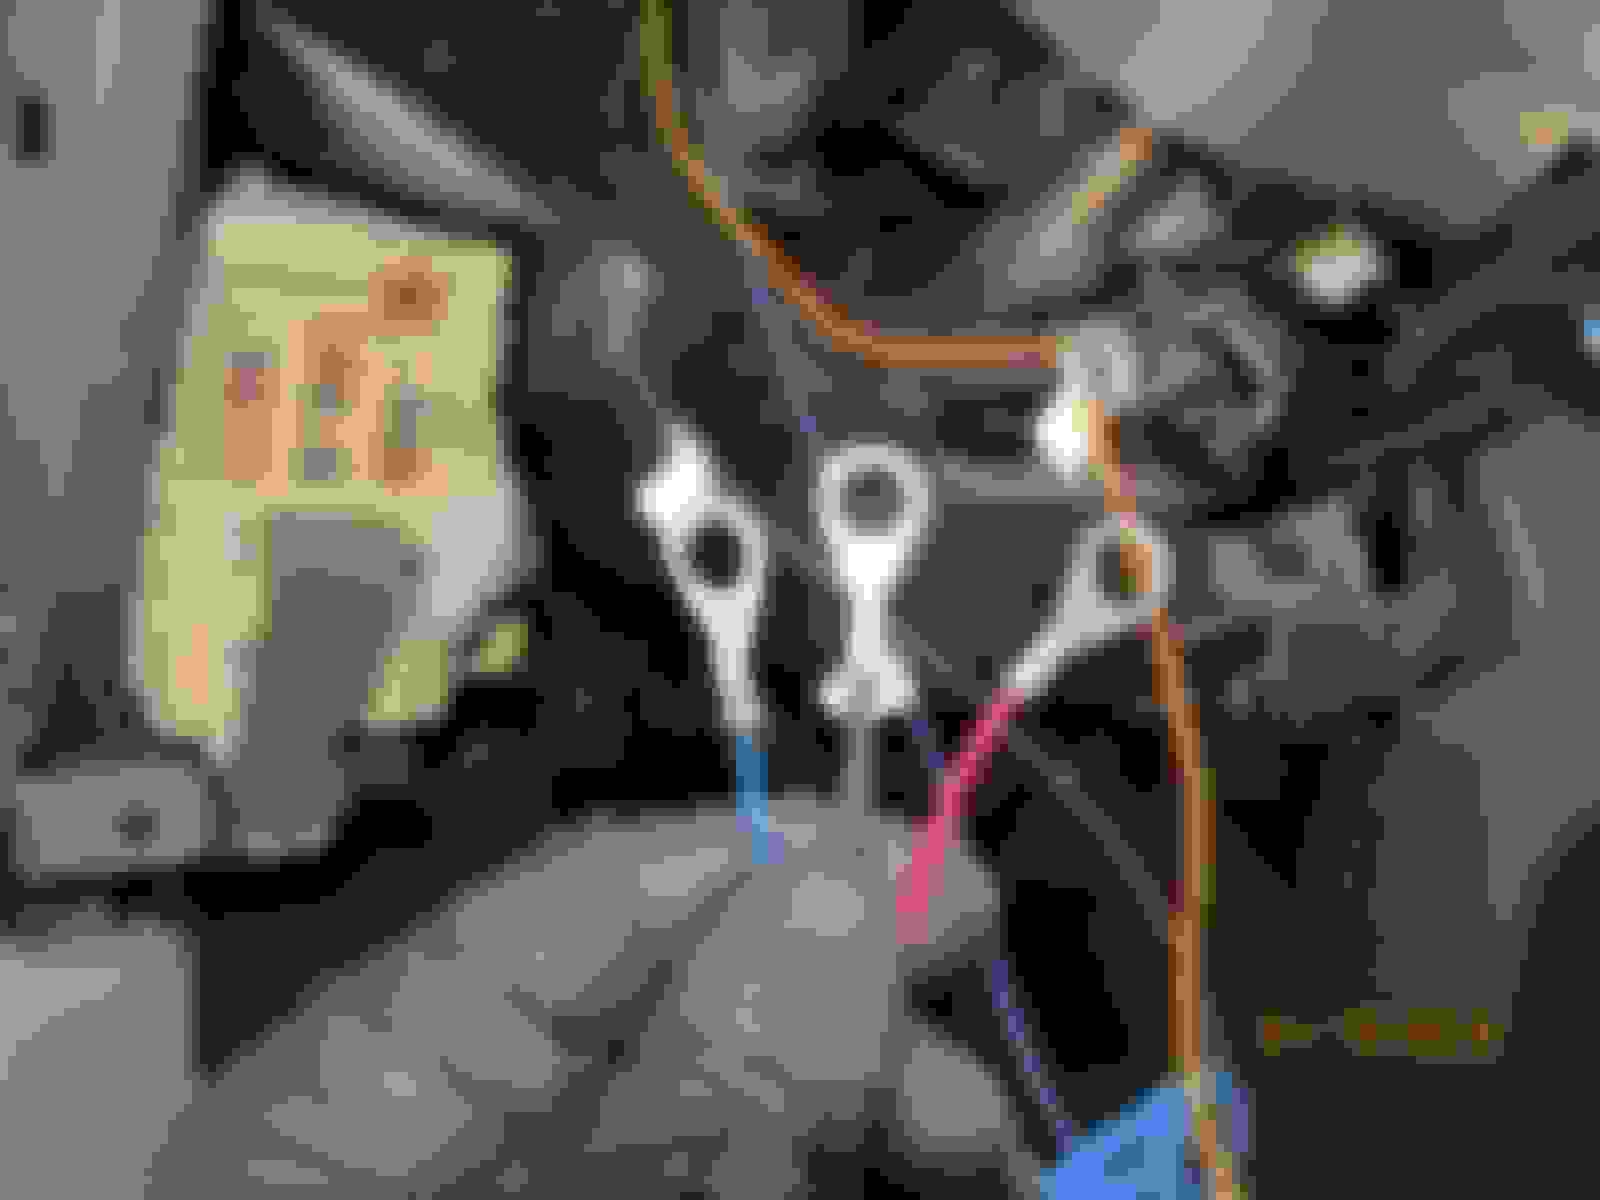
Taking a closer look at the supplied Harrop harness, I quickly realized that this thing really is pretty simple. Really it's just 3 connections....5 if you include the 2 non-polarized black wires going to the rear harrop.
You can see 3 connectors in the center of the pic.....red to battery +.......Blue to ignition......and the black spade to a good ground.
The remaining 2 connections are pretty straight forward....just run them to the rear elocker in a smart way. ......a way that tree branches can't snag it. It appears to be the best strategy to run these 2 black and brown wires last.
A snapshot from the supplied booklet shows the red and blue on left.....ground in lower middle..... and the 2 dark wires to the elocker on right.
I figure the bottom shroud has to come off to see things a little better.
The OEM locker switch was removed.
The Harrop switch comes very close to pushing right in the hole.
10 minutes later, a not so neat trimming.....
I should have used a straight file.
Attached the 3 wires back in the same spot.
It could have been neater...no exposed air cracks on the left side of the switch.....next time.
Using the file I mentioned earlier probably would have made for a very clean and professional look. oh well.
Only 3 wires to really hook up....ignition......ground....and red power.See the fuse box in the background.....Sure seems like I could keep it neater if I run the 2 wires directly to it.
The 7.5 amp fuse is ignition(the plastic cover said so) and the left side is the unfused side which is the side the blue wire is going to.
The red wire is going to the left side of an active yet unused fuse socket. I converted a spade hook to work for this application.
Had to conceal the harrop black relay someplace.....so tie-rapped it up high above the Toyota black box.
The black wires I ran to the ground bolt seen on the left side.
The remaining 2 connections to the e-locker are in a very handy spot.
Now to plug the connector shown into the elocker and route the thing......
I have no way to secure the cable along the axle tubes so just ran it up the gas tank for now. There is a good amount of extra cable on top of the gas tank and will decide on a final routing at a later date.
That other piece of telecom twin lead is for temperature monitoring of the nose cone temps during gear break-in. It's temporary.
So I engaged the rear elocker locker while backing out of the driveway and it works great! Not even a click or clunk noise. As I said before, this should be renamed the Stealth locker.
Unlike the factory elocker this one works in low range or high range.
The factory e-harness seems to be integrated into the harness that feeds the gastank so my guess is most all the early Tacomas have this connector on them even with the 8.4" diff. option.
All I did was put a slit in the rubber grommet and feed it thru to the cab(left of the driver seat).
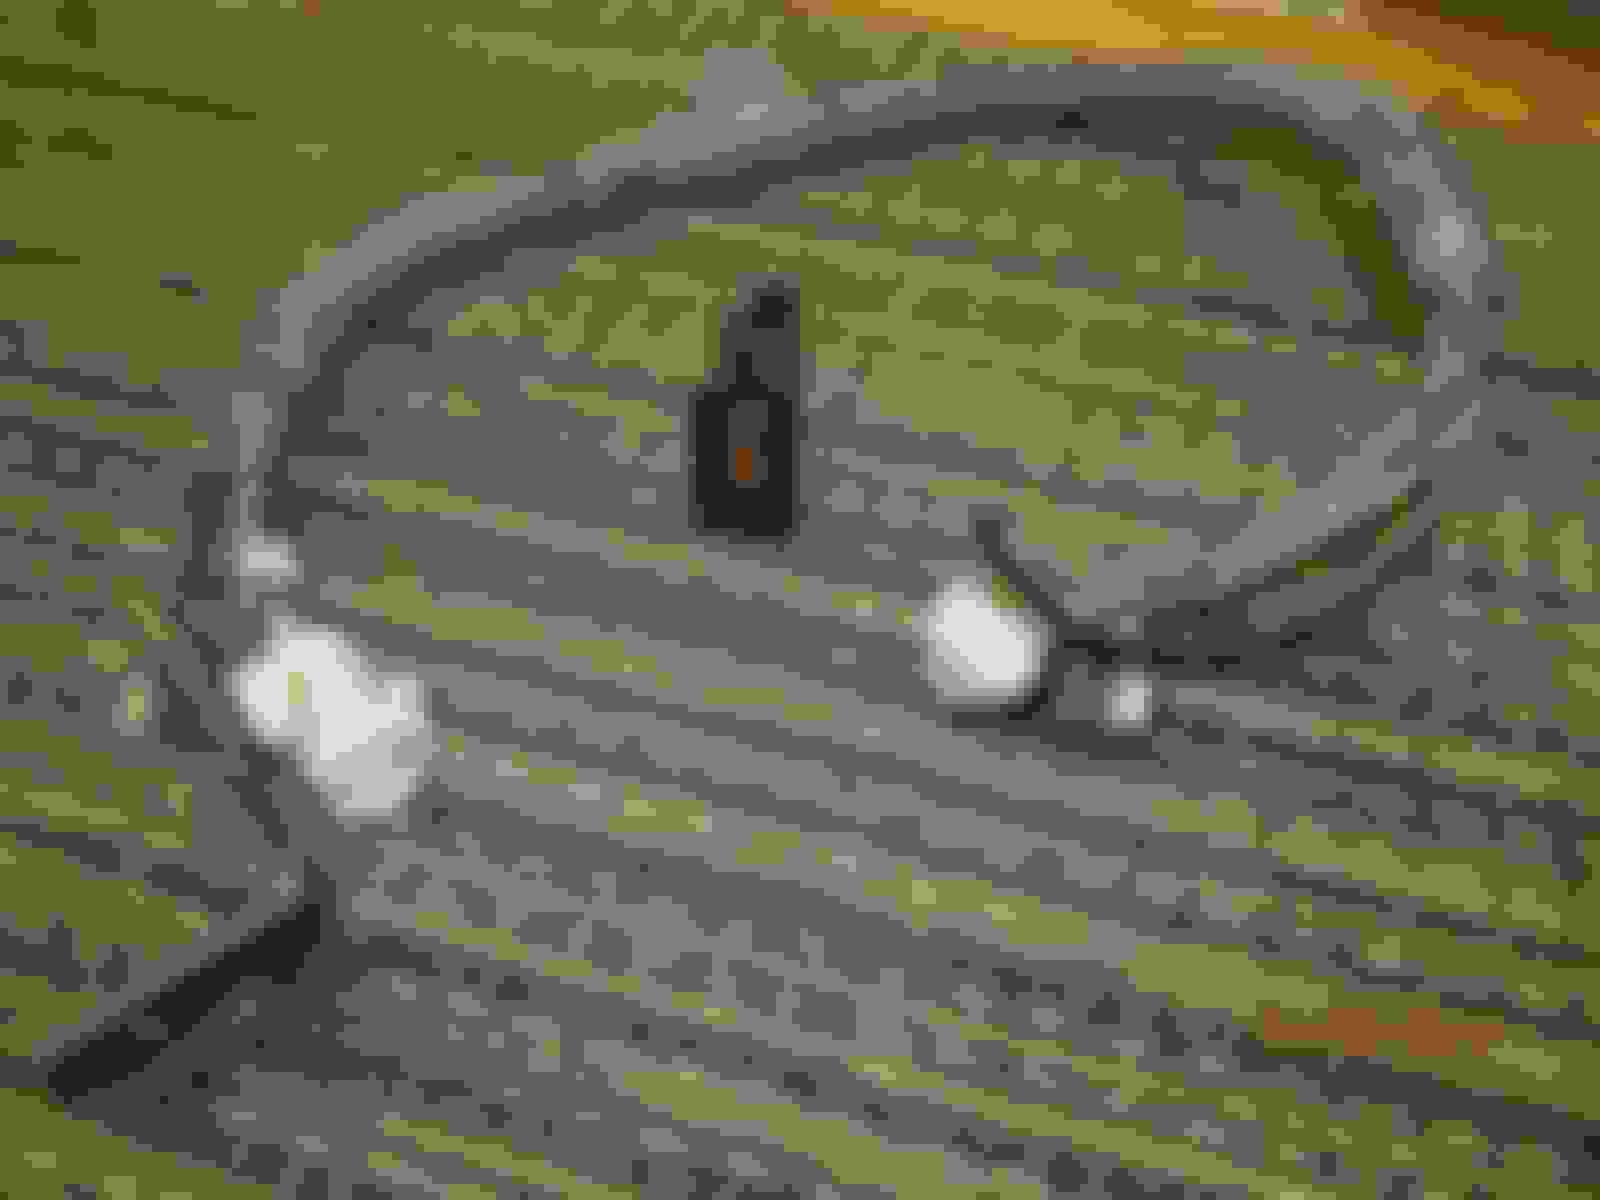
Here's the factory e-harness that used to go to the rear elocker 3rd.
And shown is the factory switch for the left side of the steering column. They are available for anybody that wants to install a factory elocker rearend and this chunk of harness should make everything so easy (With the switch of course).
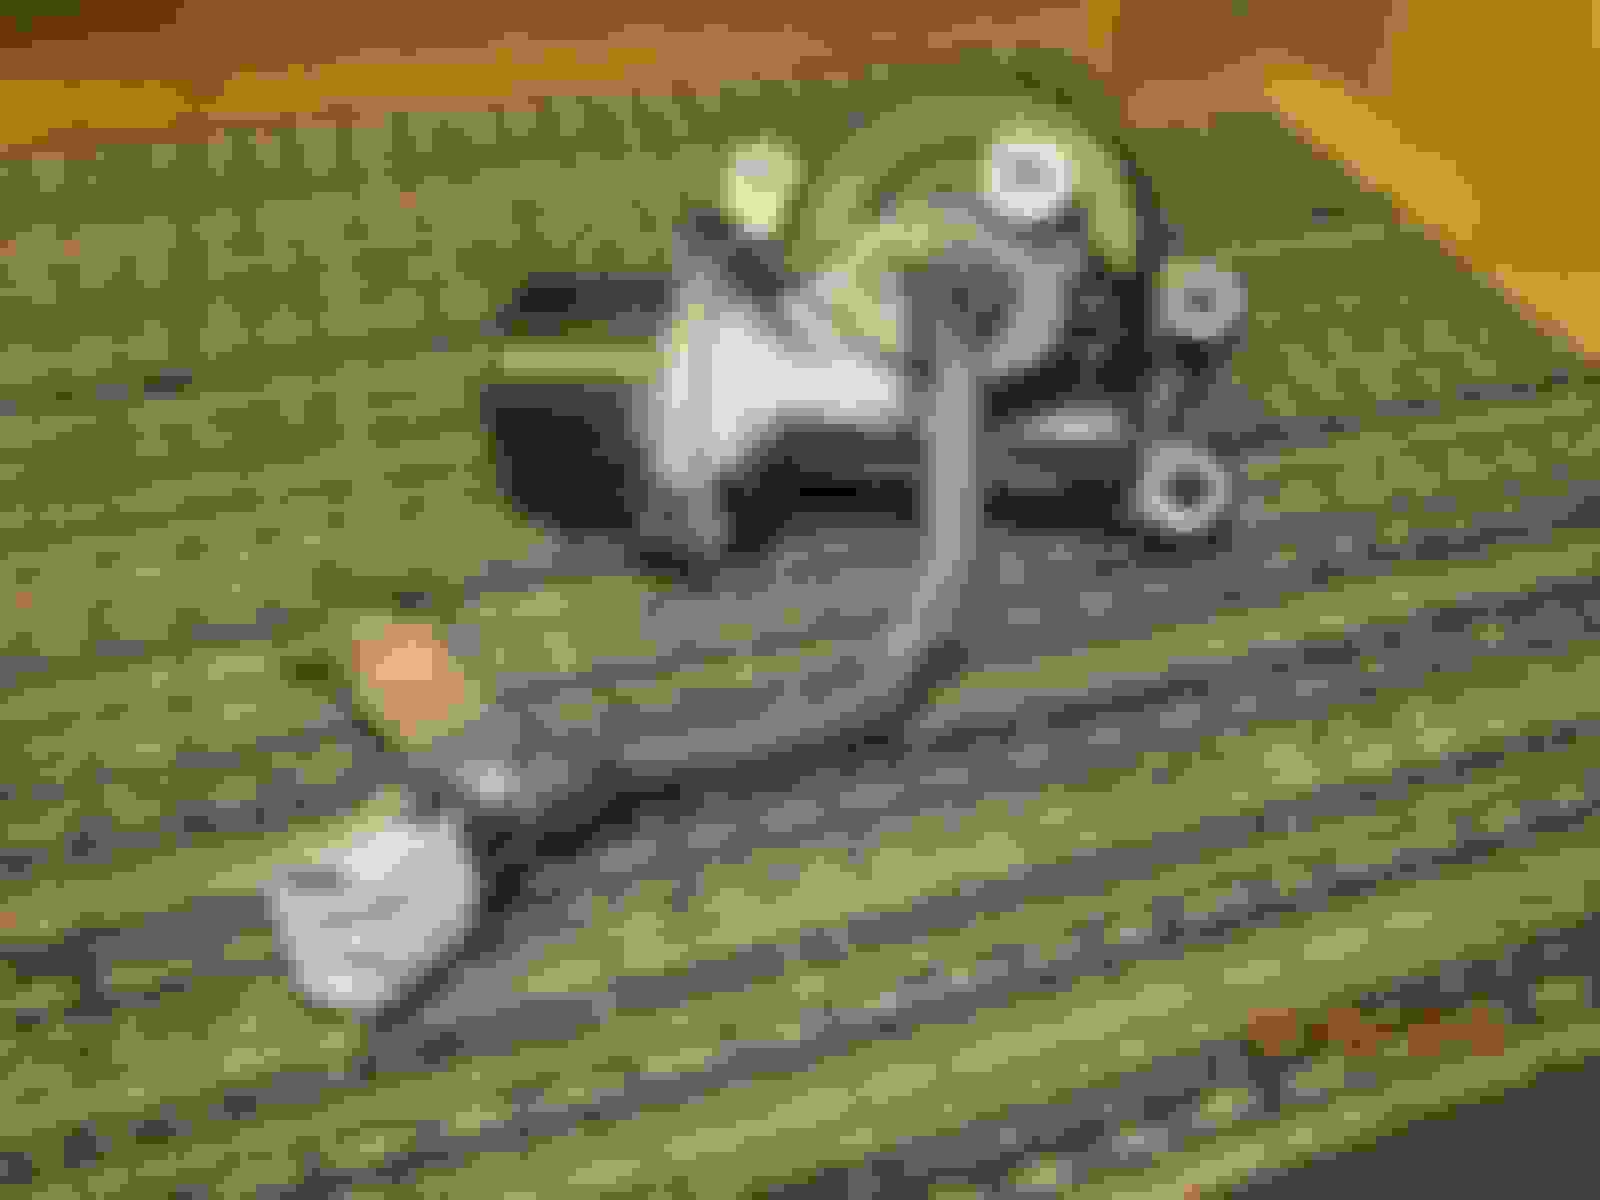
I have a spare AZ motor....no rust and it works fine.
So, I've been breaking in these Nitro gears with 75W-140 Valvoline synthetic(120 miles so far).....Only about 108 degrees as monitored from the cab.....I'm sure it will get quite a bit hotter if I were to ZOOM down the highway.
Just a simple thermocouple illegally long wire (type K) and aluminum tape
What a real 70mph looks like with 529 gears and new 35" tires(3.4L with auto).
To me, these kinds of numbers are just fine on the highway. Around town the 529 gears are nice and zippy.
I did get the diff temps up to 150 degrees which is still unbelievably "cool". Is it because of the synthetic 85W-140 Valvoline?
Who knows.
700 miles on new gear set, which is your recommended break in period gear oil change, and the man claims "only some fuzz on the magnet." If it wasn't Zuk I'd be calling bullshat! lol. The man knows his stuff, a legend (your welcome for the free commercial Zuk)
Last edited by ChinkTruck; 02-24-2018 at 09:18 PM.
700 miles on new gear set, which is your recommended break in period gear oil change, and the man claims "only some fuzz on the magnet." If it wasn't Zuk I'd be calling bullshat! lol. The man knows his stuff, a legend (your welcome for the free commercial Zuk)
Neat built, Nice seeing something different. I personally couldn't handle the wheel spacers. I saw you make mention to the widening of the axle housing. Hope to see you do that. Here is where I Did it to a mini truck axle years ago.
 01-14-2018, 01:48 PM
 I mean tomorrow is Monday and I work for myself so pretty much make my own sced and the sced said to take it easy ...


 (your welcome for the free commercial Zuk)


