When you click on links to various merchants on this site and make a purchase, this can result in this site earning a commission. Affiliate programs and affiliations include, but are not limited to, the eBay Partner Network.
Wanted to try .0315......
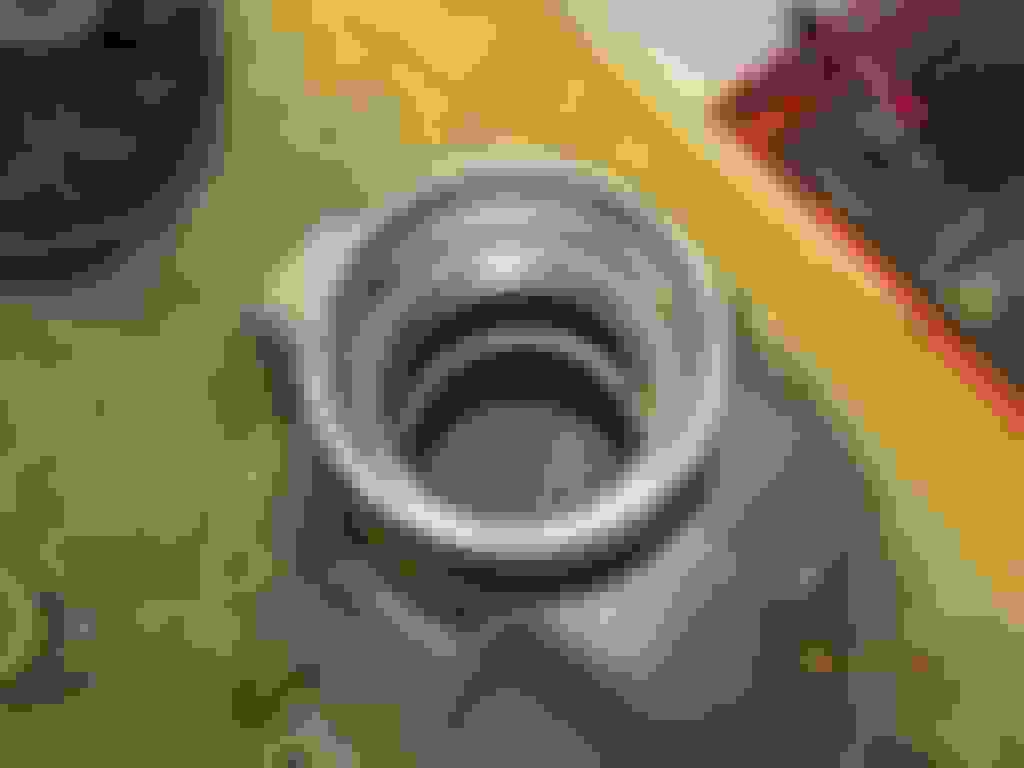
and here is the DRIVE side with 0315....I like this much better.
I have the backlash at the low end of the spec (.007) so this is
as close as it will get to the toe end of the tooth.
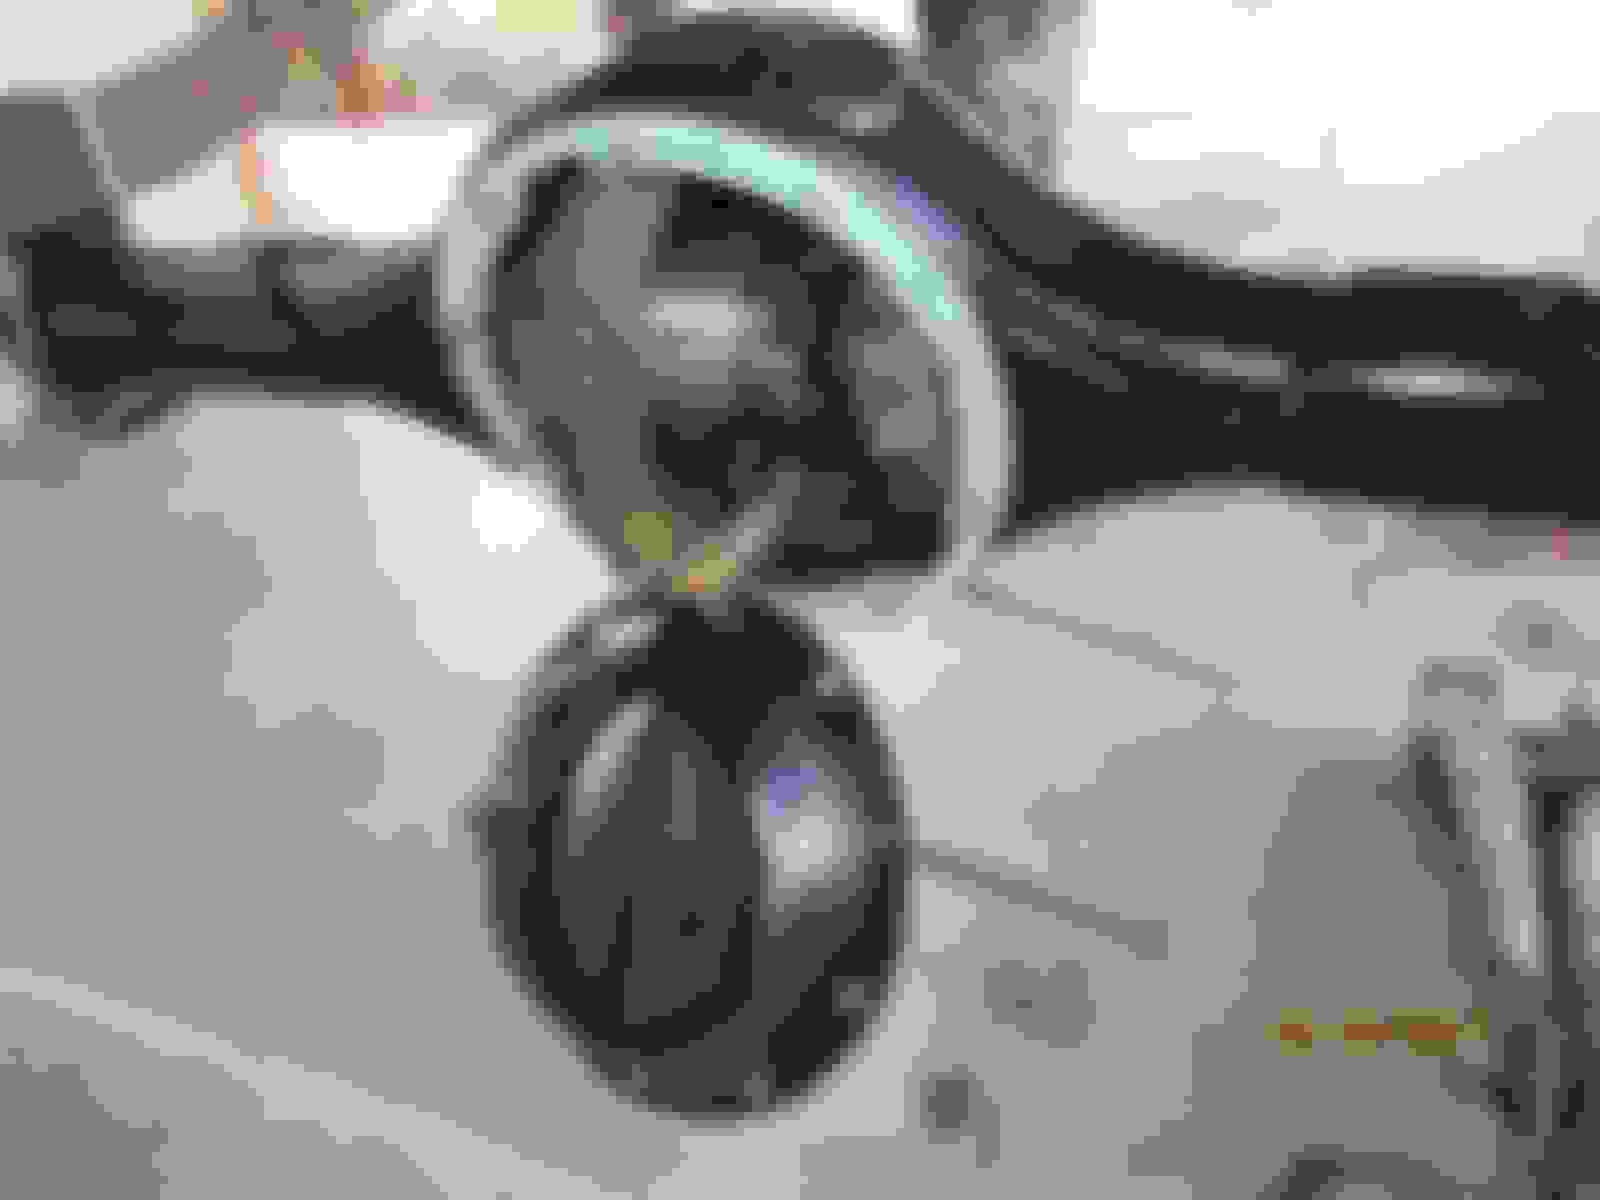
This is the paint of the drive tooth with the final .0315" shim
this too...
and this too. Notice the comet tail is in the center and possibly a tad too much to the outside.
Mine gets a brand new crush sleeve. My Taco is a mild 3.4L auto with mild 35" tires. The crush will be just fine for my useage.
A trick I learned from JT's. I used to think that this was not such a good practice but I have changed my mind on this one.
This precrushes most of the work needed to get the sleeve to the right length. Saves wear and tear on the threads.
2 aluminum hockey pucks support the pinion underneath. The 12 ton easily crushes the collar the perfect amount.
A Marlin eco seal for me.
New triple drilled flange. I recently started sanding all the flanges that I install with 1500 wet/dry and this one saw the 1500, too.
.
For me, a good used pinion flange nut will work just great.
Lots of anti-seize on the threads and also on the bottom of the flange washer surface.
The electric impact was just able to crush it the final 1/8 to 1/4 of turn.
10 in/lb start torque
70 ft/lb
Backlash checked and recorded on every 3rd tooth.
Right on the tightest part of the spec....007.
done.
Date coded.
Now to find the time to do the final removal of the rear housing and the cut n swap.
This weather in Chandler is a killer right now....115 to 120 degrees.
Dang it....I timed it wrong. The hot weather is here...late June, July, and August. It will be close to 100 degrees even in the morning.
More to come I think as soon as it moderates here.
Ken
Bonus points if you work through the scorching heat like a real man! Just kidding, I don't blame you. I lived in Tucson for a year and that ˟˟˟˟ is miserable!
HA! I lived there for about 12 years. Tucson is actually 4 or 5 degrees cooler on average. And they get at least twice as much rain as Phoenix/Chandler. That can be the tie breaker sometimes.
I welded some 8" steel extension onto the cast jackstand arms and those are questionable welds with a MIG welder. Can be seen is a vertical tab welded in the center of the steel. That way, even if the 2 cast fingers broke off at the same time.
the tab will fully rest in the center and easily support the load. Front tires are "choked" so no movement in the forward-backward direction.
I banged on the thick sides of the nose cone area and that 3rd was glued in there.....then I saw a spot that a chisel could get into. This worked for the elocker version.
Even with the 2 long 4" studs it was a piece of cake to crack it loose.
I forgot to lock the emotor in ahead of time so it was an easy matter of tapping the emotor off and pushing the locking fork in with a screwdriver.
The elocker dropped out easy then. That is Terry's elocker in the near future.
Those are the 2 long studs...more of a problem on the rigs that are in the salty winters and the corrosion welds them in the hole.
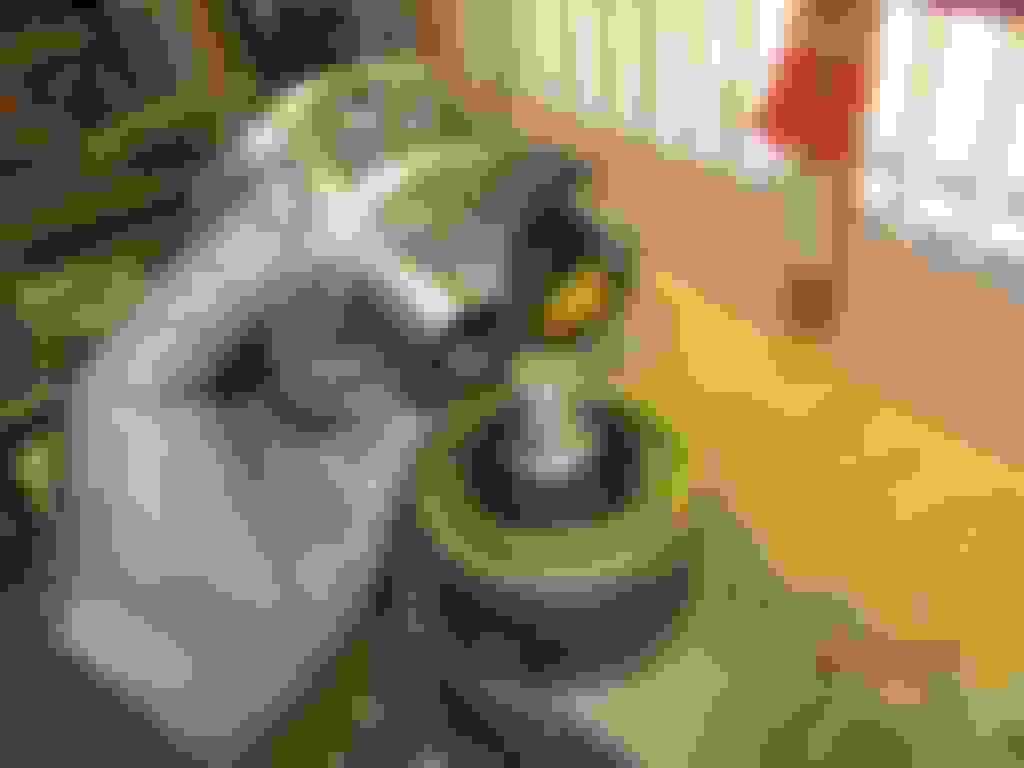
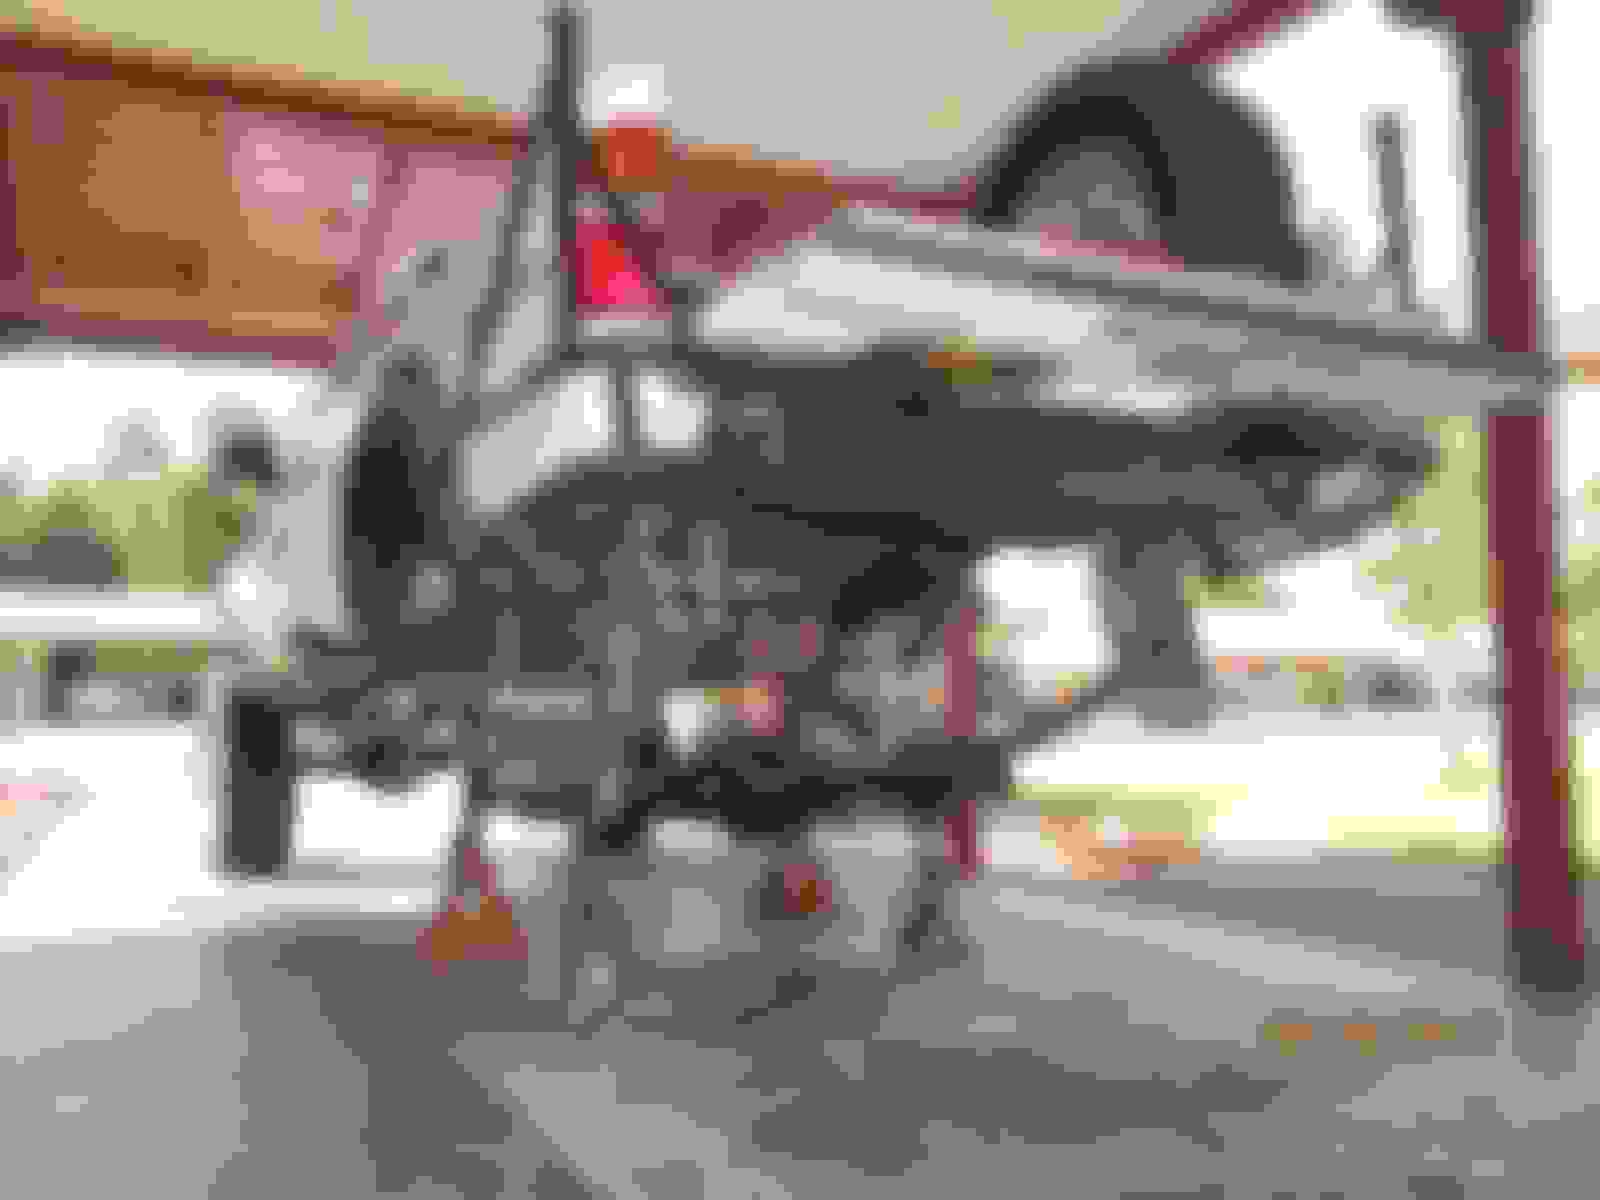
Axle housing coming out. Got the back-up safety support right on the hitch....just in case the cast welds on the jackstands give way.
Out
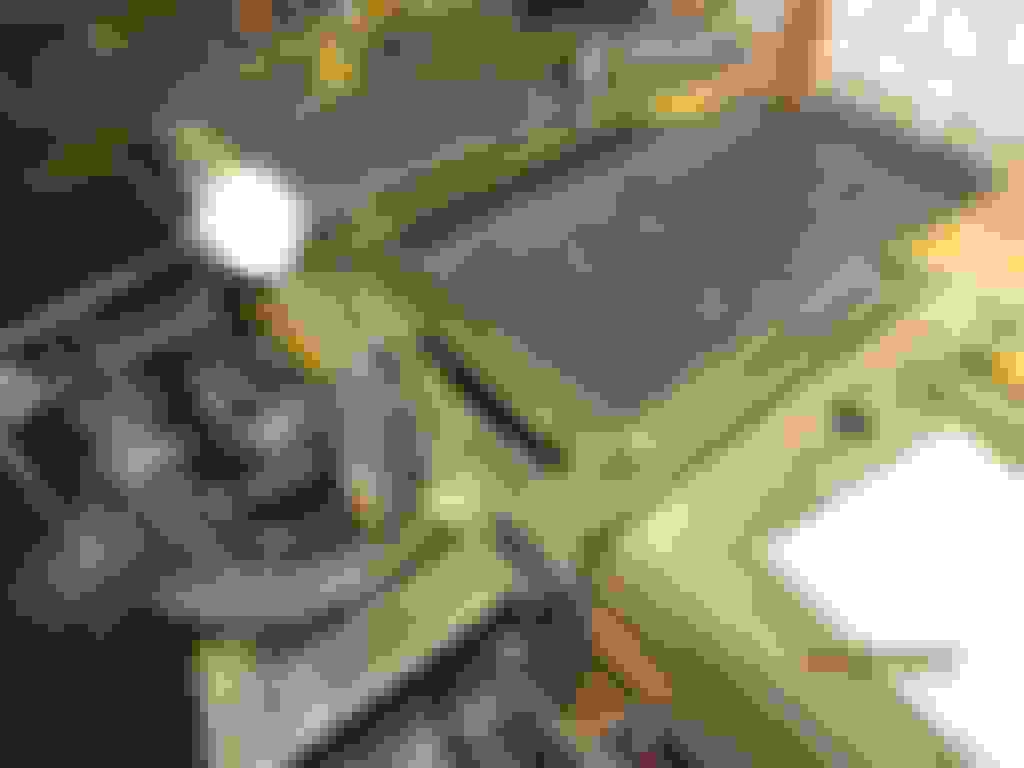
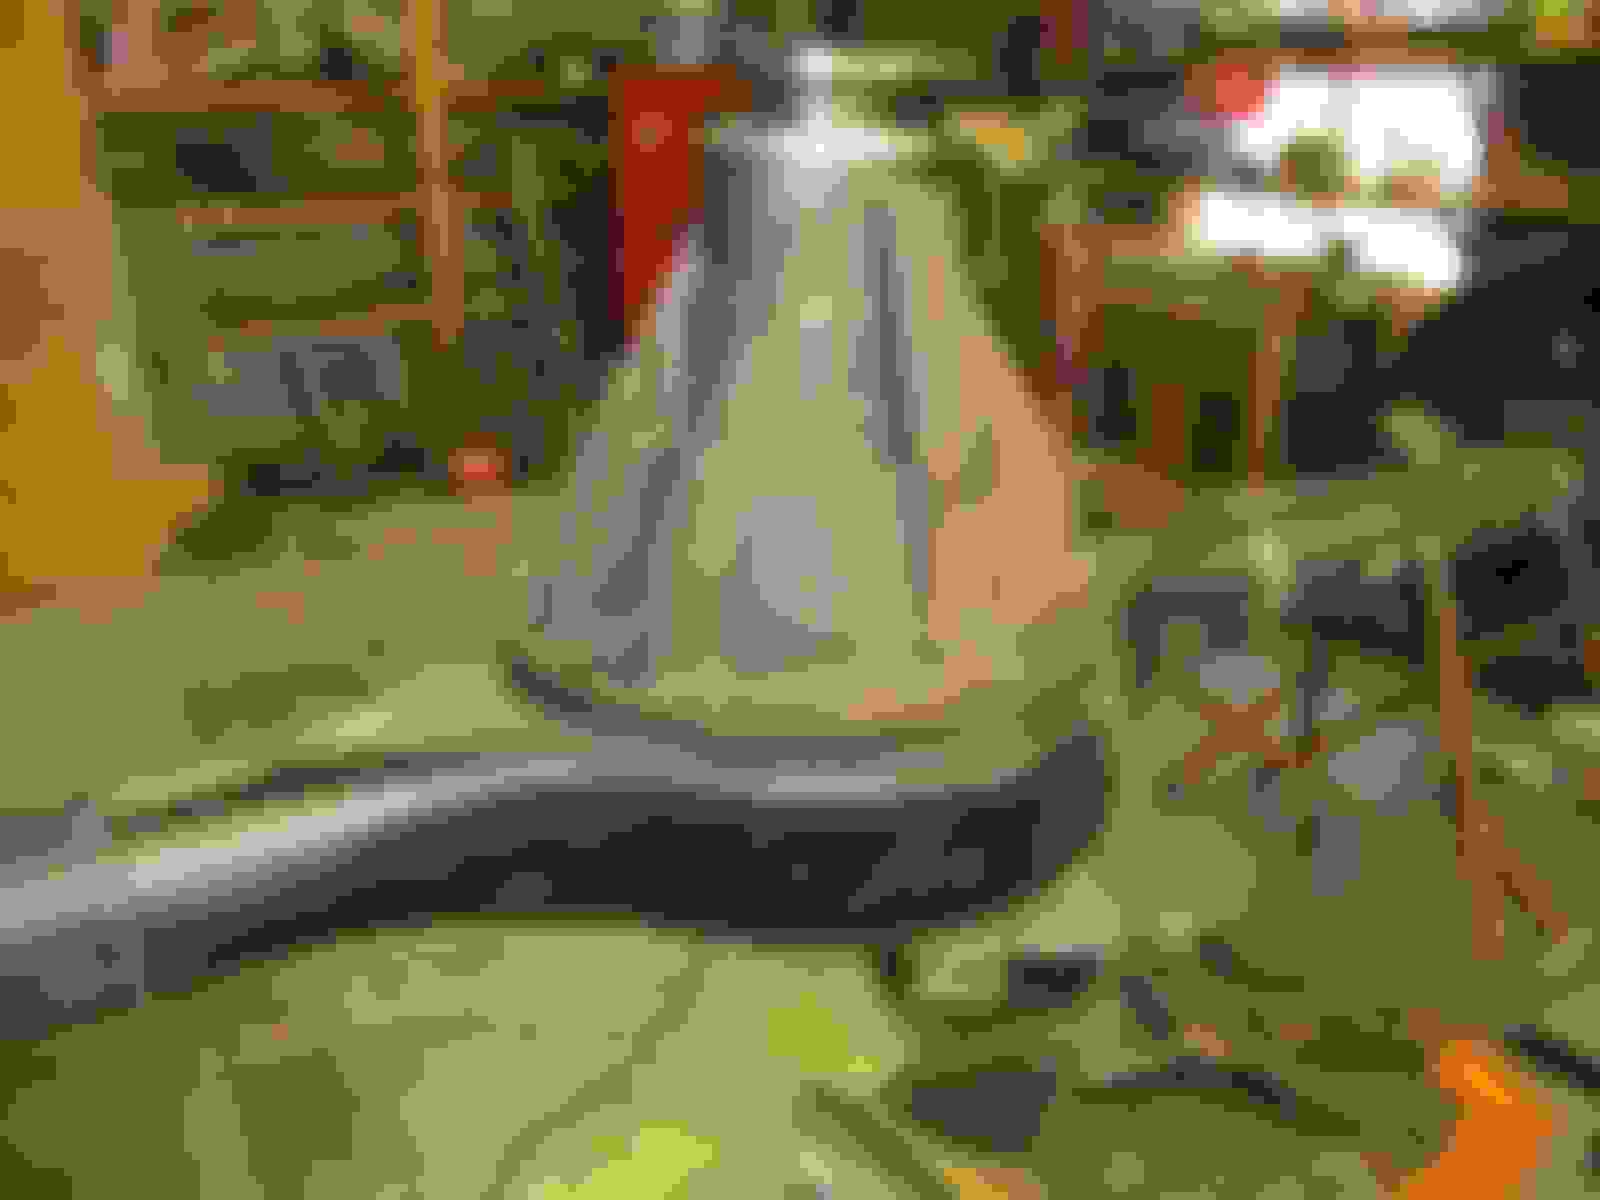
hmmmm. Suspend the housing over the metal bench and weld when perfectly level.
Plastic bucket did the trick.
It was leveled using the bubble in both directions.....perfectly flat. A reference surface that I can duplicate with the 9.5" in place. The Angle cube was not used in the end.
Zero'd in this direction also.
More braces welded.
Many directions. Now the center can be cut out and the tubes will stay stationary.
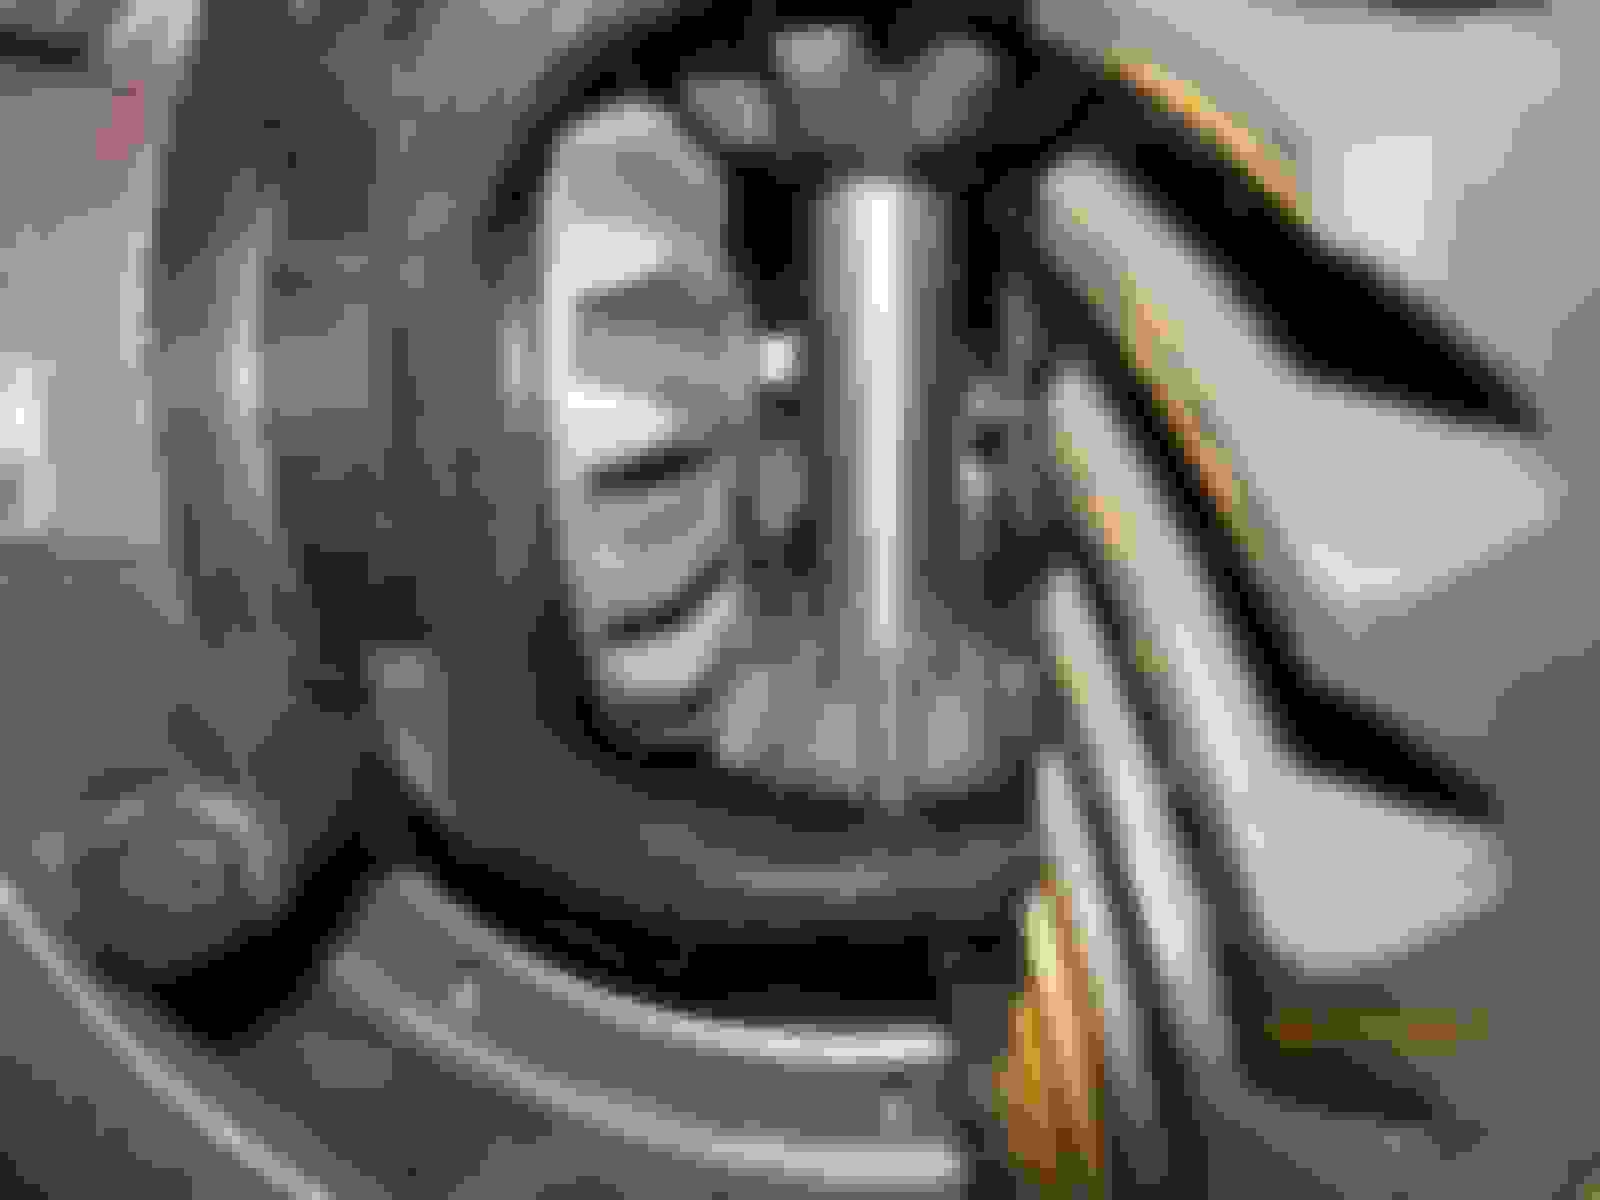
Cutting wheel to cut 95% around it.......
There was a convenient "weld band" right at where I'm cutting....another one on the other side....perfect symmetry.
........and finish the last 5% with the cordless sawzall.
Matching lengths between the 8" housing and the 9.5"....there is symmetry in the 10 bolt pattern....they mirror image each other on the 9.5" not only front to back but also left to right.
Hope I cut right.....
Using anything to prop it up close to the right height.
Beautiful.....Getting late so will wait to tack the section in place in the early morning.
The real test will be when I mount the 3rd in place(temp with 4 studs) and slide the axle in the tubes....will they pass fully thru the side gears and how close to the cross pin will they be? More on that in the morning.
Tapped as close as possible using the bubble leveler. I subtracted about 1 degree from the pinion angle such that the nose cone is pointing just a tad lower than it was before. That's where the digital angle gauge came in handy.
2 studs to locate the 9.5 open 3rd. It will have a coat of paint on it shortly.
Grabbed an axle....doesn't matter which one because they are the same length left and right.....and bolted it in place.
Cat hair.....hmmmm. As you can see, the axle sticks thru 100% and is basically flush with the side gear.
The plus side of having an open 2 pinion diff is that it's easy to see the side gear engagement. Not so easy with a locker. No visibility.
The open diff is only temporary. It will see a Harrop elocker just like the front one now enjoys.
Used the same axle and bolted it to the other side......and is fully engaged and sticking out about 1/8". So that means my error in the "axial direction" is about 1/16"....not too bad for eyeballing it mostly.
Just now looked at the weld gaps and IF I had really equalized the gaps it would have been perfect and we can't have that.
Can cat hair effect gear life?
Krylon gloss black
Last set of pics I expect in the morning. The new housing is already bolted to the leafpacks. Just have to push the 9.5" 3rd in place and put some Tacoma axles down the tubes. This is kinda exciting. Finally will have 9.5" diffs front AND rear. Camping trip Thurs night
The workbench somehow survived all the heavy tack welds.
ZUK - it's always a pleasure to watch your work. Neat idea leveling that axle and welding it to the table. I know you did it on purpose, but why did you put the drain plug on top? Is that just to keep from catching it on rocks?
coryc85---------ZUK - it's always a pleasure to watch your work. Neat idea leveling that axle and welding it to the table. I know you did it on purpose,
but why did you put the drain plug on top? Is that just to keep from catching it on rocks?
Hi Cory- That's exactly why I flipped and turned the center section around....to eliminate the drain and gain a fill.
The cover drops easy enough to drain it 100% and actually clean the very last dirty drop and certain unknown pieces of debri that the usual drain cannot do.
Here's the cool thing....the top here in the pic is normally the bottom....and the gasket surface shown here is normally what the 3rd member would be bolted to. So all I did was flip it and the turn it around.
Did not even have to grind any new notches for the ring gear. It all lined up due to perfect symmetry.Yes, I did "re-adjust" the paper gasket to fit properly at the ring gear corners ��
Breather vent was incorporated in the fill plug.
Actually took a smidge less than 2 quarts to fill it. Castrol 85-140 is sufficient. It's not so much the brand....it's the thin/thick relationship that I go for.....85W-140
These are new Nitro 488 gears so I have to keep it off the highway for a little while.
I used the top fill hole to pour the gear oil in and the middle hole to shine a light in to check the level.
Ready for a drive
I factored in a mild 1 degree of tilt-down because it was too close to straight-on before the mod.
 06-18-2017, 06:46 PM