W56 Top Shift Rebuild With Marlins Kit - Pics Along the Way
 09-03-2012, 05:20 PM
#61
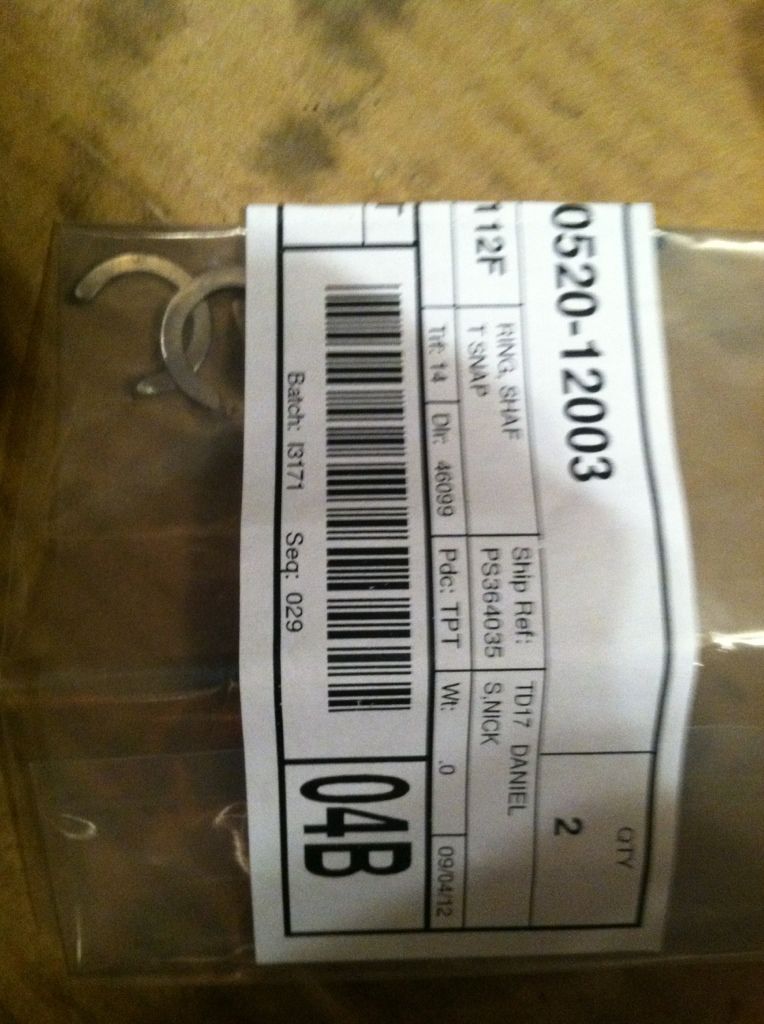
PNC 33244B SHAFT SNAP RING(FOR SHIFT FORK SHAFT)
part number 90520-12003. And it's still available for sale online from several OEM parts distributors for $.85-$.91 + shipping.

part number 90520-12003. And it's still available for sale online from several OEM parts distributors for $.85-$.91 + shipping.
Last edited by MudHippy; 09-03-2012 at 05:22 PM.
 09-03-2012, 06:44 PM
#62

Awesome!!! Thank you very much for the info. Which site did you pull that diagram from? I have seen parts sites with such diagrams in a couple places for my honda, but not for the yota. Thanks again for the info.
09-04-2012, 08:27 AM
#63
Perfect... I called up the dealer and they are going to have a couple of them in tomorrow. They wanted $2.07 for each one. Good enough for me. I ordered two in case I lose another somehow.
09-04-2012, 06:58 PM
#64
I'll have the "C" clip in the morning and will be sealing this transmission back up for the final time before it goes back into the truck the following day or so.
What is the final take on the gaskets between the cases and the center plate where the transmission is built/supported in? Same thing for the rear part of the case where the tranny mates up with the t-case as well. It seemed there were mixed opinions or maybe I just wasn't reading them correctly.
What is the final take on the gaskets between the cases and the center plate where the transmission is built/supported in? Same thing for the rear part of the case where the tranny mates up with the t-case as well. It seemed there were mixed opinions or maybe I just wasn't reading them correctly.
09-05-2012, 06:23 AM
#65
ToyotaPartsEast.com but the incomplete part numbers suck. So you can find those on Toyotapartszone.com
If it were mine I'd use just RTV/FIPG(no gasket). The types I would prefer to use would be Permatex gear oil RTV, Ultra Grey, Ultra Copper, or Toyota Seal Packing (1281) 00295-01281/Three Bond 1281. I wouldn't use Ultra Black, but that's the only type I wouldn't use. I've used Permatex High Temp Red RTV in lieu of Toyota Red FIPG/TB 1281 before on my transfer case and it worked great.
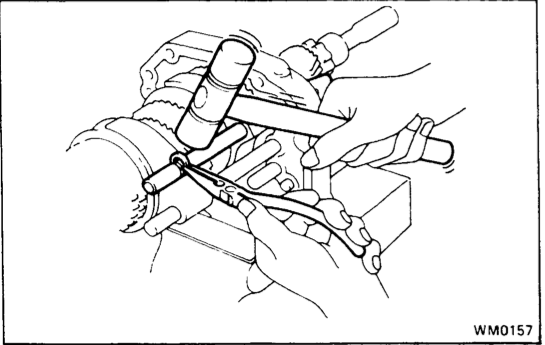
From pages 26 & 27 of OVERHAUL - W46, W55, W56 & W58 -1987 Toyota 4Runner
BTW, the correct term is intermediate plate,
From pages 26 & 27 of OVERHAUL - W46, W55, W56 & W58 -1987 Toyota 4Runner
NOTE:
This transmission uses no gasket between major housings; use Three Bond (1281) sealant. Assemble housing immediately after applying liquid gasket. Allow 30 minutes curing time before filling with oil.
This transmission uses no gasket between major housings; use Three Bond (1281) sealant. Assemble housing immediately after applying liquid gasket. Allow 30 minutes curing time before filling with oil.
Last edited by MudHippy; 09-05-2012 at 07:08 AM.
09-05-2012, 06:36 AM
#66
I would tend to agree with Mudhippy on this. I'm no expert and have very little experiance if any on taking apart any part of a tranny, but I've done some reading around the net and most people are not happy with the gaskets available. some RTV that aren't designed for Gear Oil seems to be a problem as well, that must be why Permatex created the Gear Oil RTV product. I would tend to lean on this as Permatex has been around for a while.
http://www.permatex.com/products/Aut...sket_maker.htm
http://www.permatex.com/products/Aut...sket_maker.htm
09-05-2012, 06:58 AM
#68
Thank all for the replies. I will go with the RED Toyota FPIG only and be sure the surfaces are nice and clean. I will hopefully be able to post up some more pics tonight.
 09-07-2012, 12:03 AM
#75
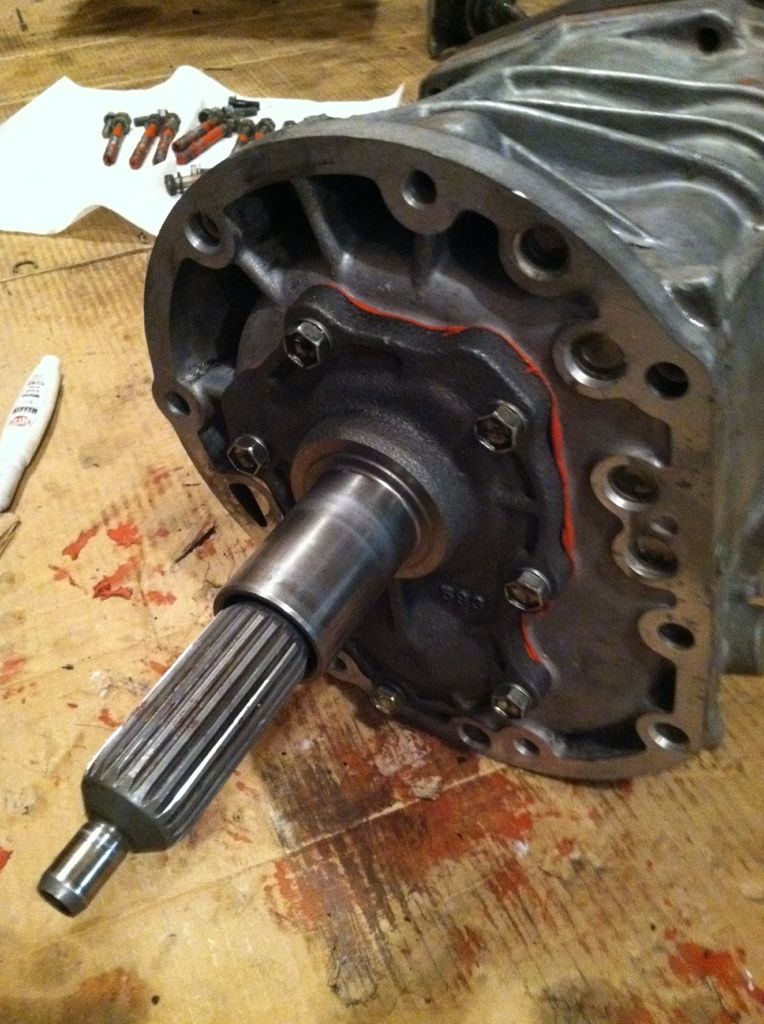
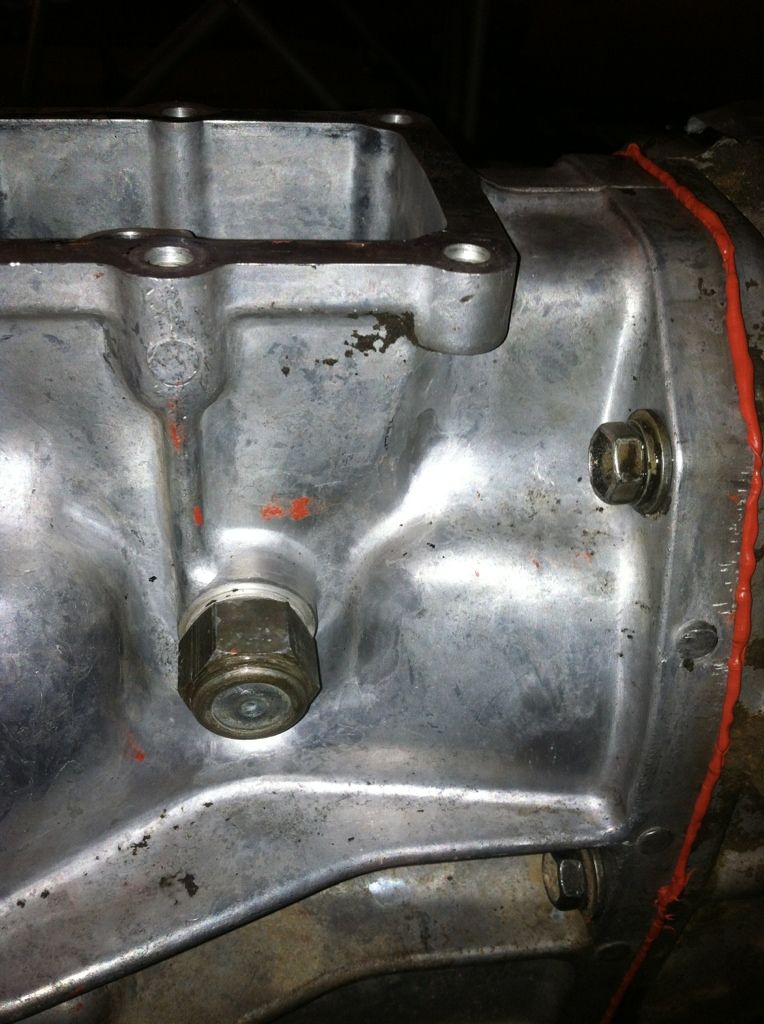
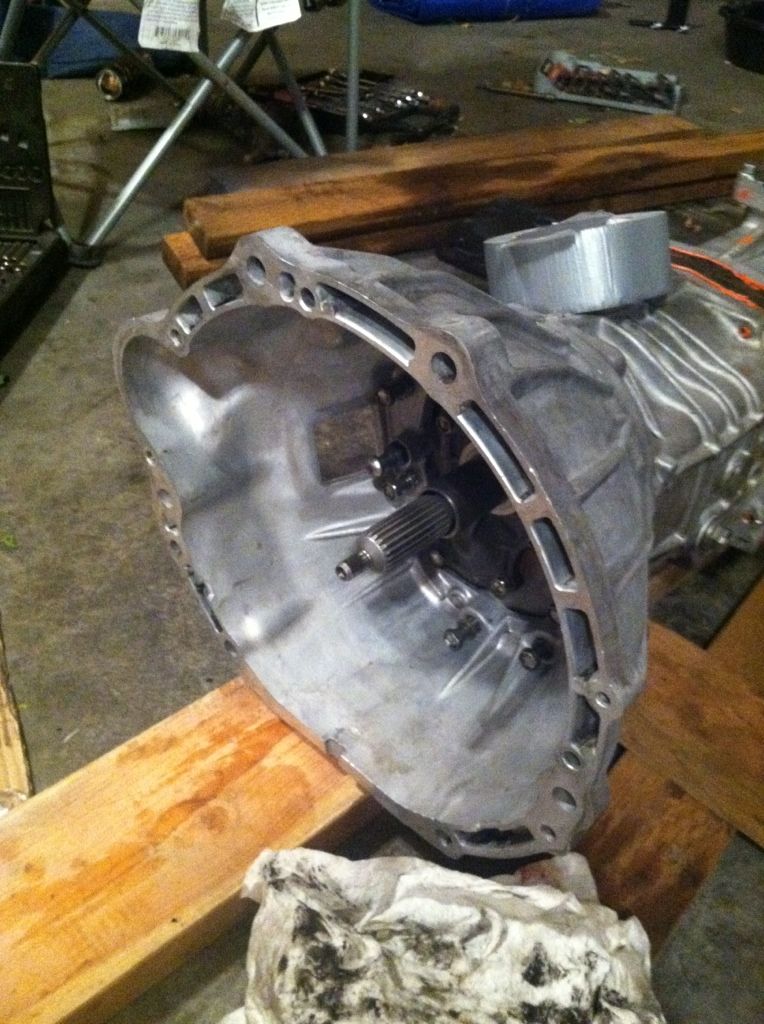
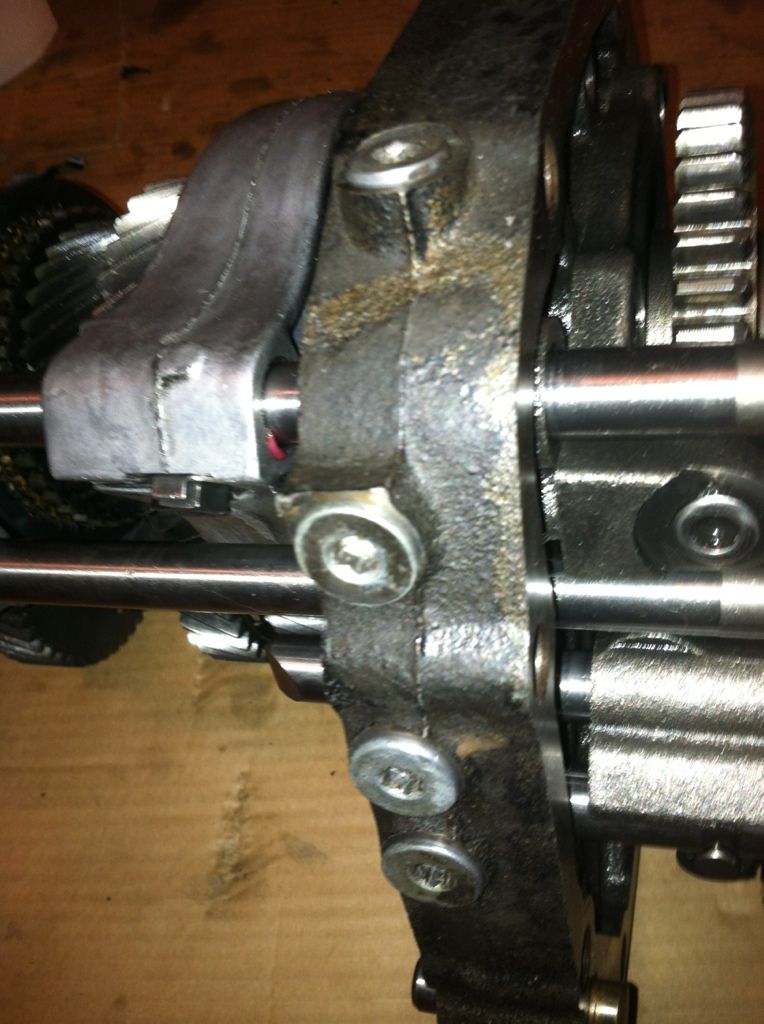
The cases getting put back on. At this stage or even before you put the gasket sealer on, you should put the rear case on only and then bolt the shifter on with a few bolts and test that it actually shifts correctly through all of the gears many times before proceeding.

Last edited by live4soccer7; 09-07-2012 at 12:14 AM.
09-07-2012, 12:05 AM
#76
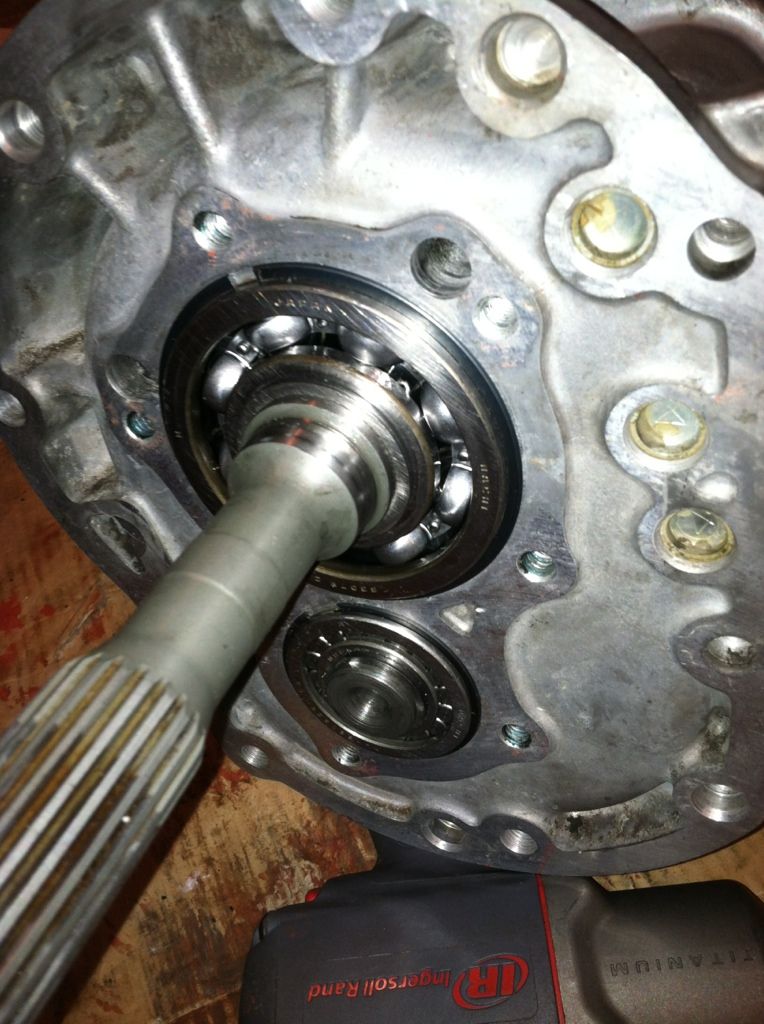
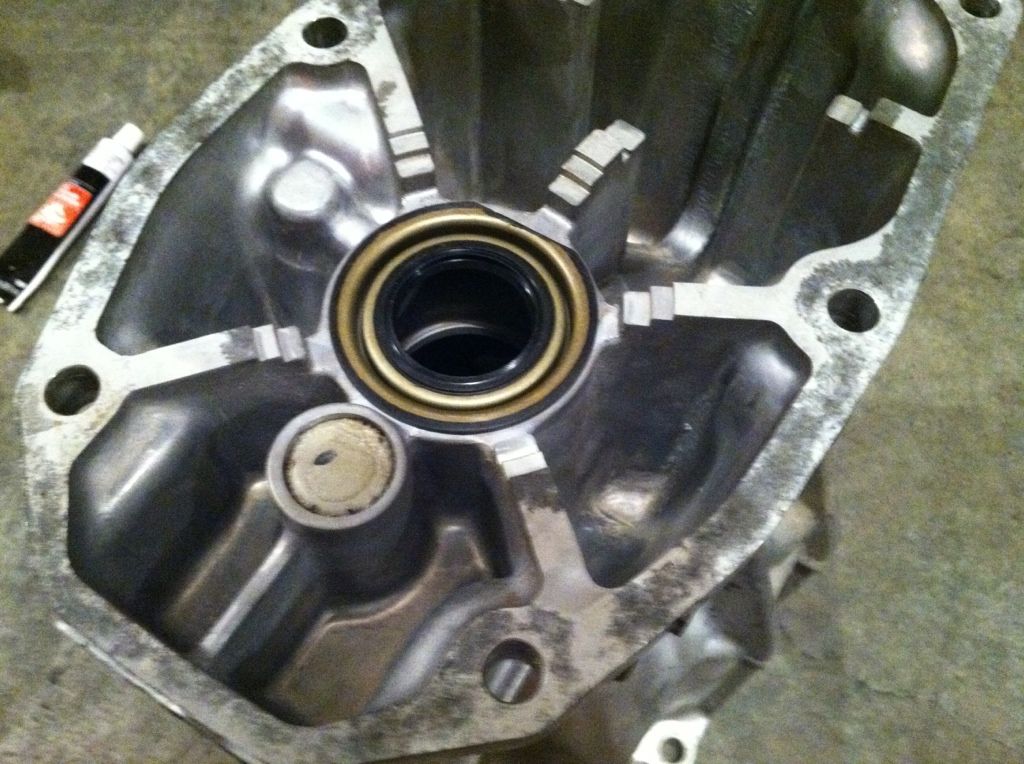
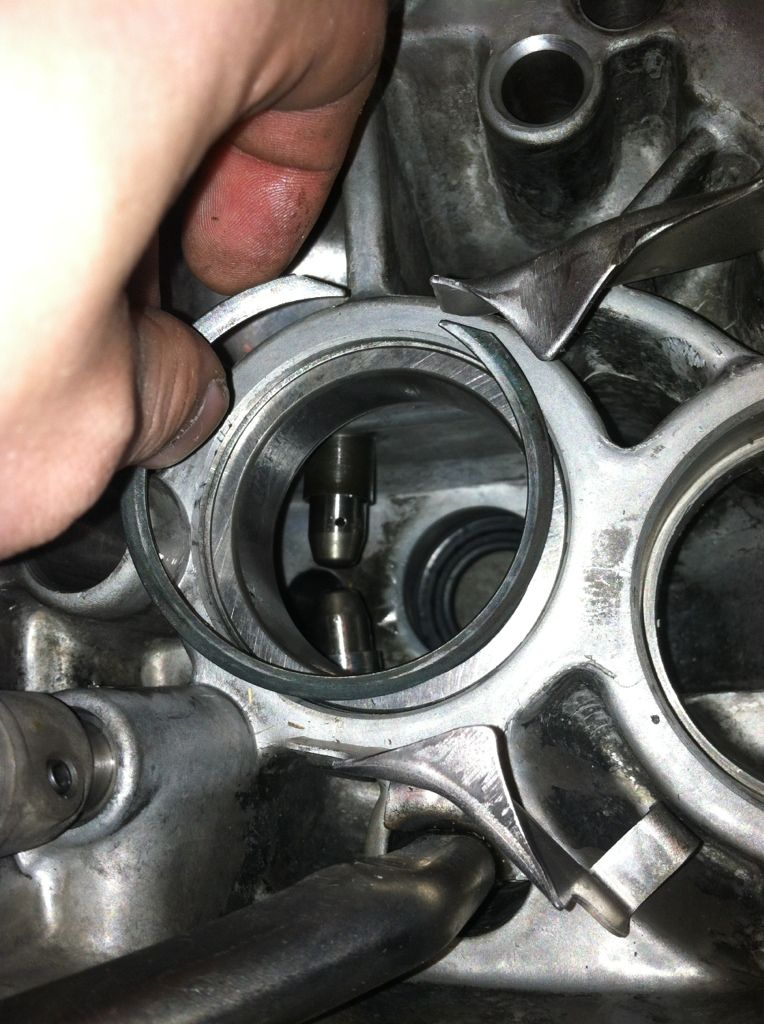
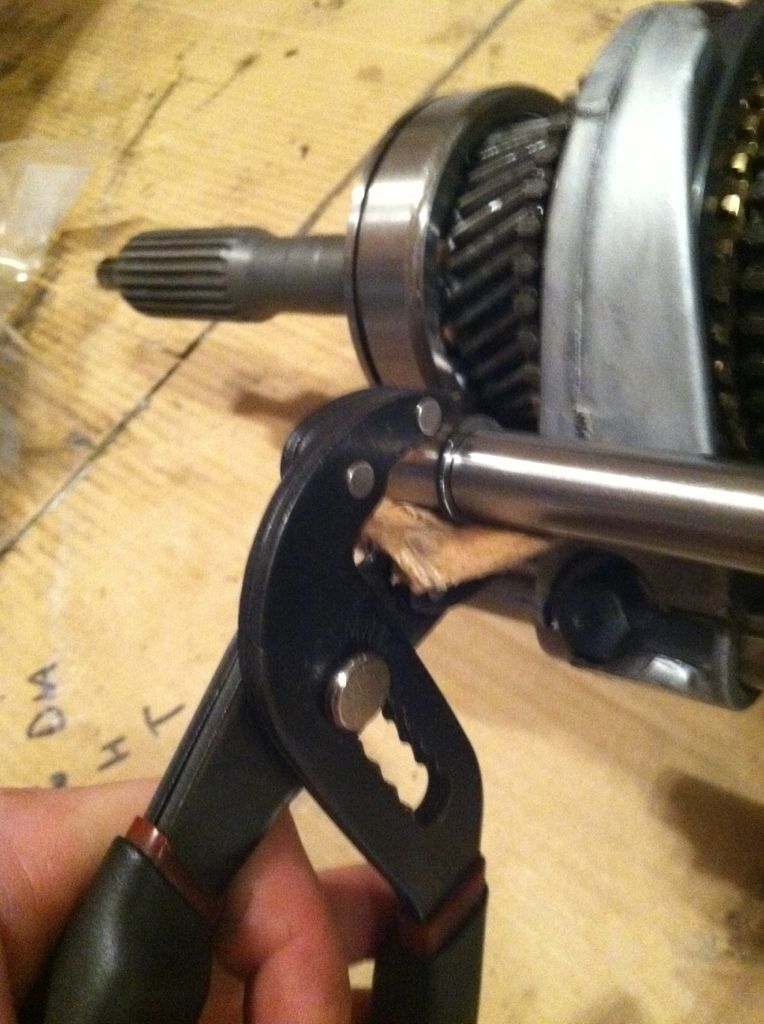
You can actually mess this up. You need to be careful the the syncro where the input shaft connects to the rest of it doesn't come out from the "notches" that are in the hub gear. It may or may not settle in when you drive. I was VERY careful here to be sure that the syncro was lined up properly when putting the front case on. I put the case on, then immediately the snap rings, and then the retainer as well so that the bearings and shaft could not move around.