
Lextreme's 94 V6 Pickup Resto/DD
 08-31-2013, 09:51 PM
#1
Registered User
Thread Starter

Join Date: Aug 2013
Location: Illinois
Posts: 30
Likes: 0
Received 0 Likes
on
0 Posts
Lextreme's 94 V6 Pickup Resto/DD
So this is my first post and I decided to make a build thread for my newly purchased 1994 Toyota Pickup Extended Cab V6 4x4. I'm not new to the Toyota pickup world, but am to this forum. I previously Owned a 1993 4cyl 5spd 4x4, but it wasn't the prettiest truck and needed a ton of body work(which i'm not the best at!). I'm a Lexus Technician, and my toy car is a 2001 Lexus IS300 turbo'd.....My family loves Toyota in general.... Mom- Avalon, Dad- 2013 Tacoma 4x4, Brother- 1995 Tacoma V6 4x4. I always wanted a nice looking, in good shape Toyota truck as my daily driver/winter vehicle. So here it begins.......
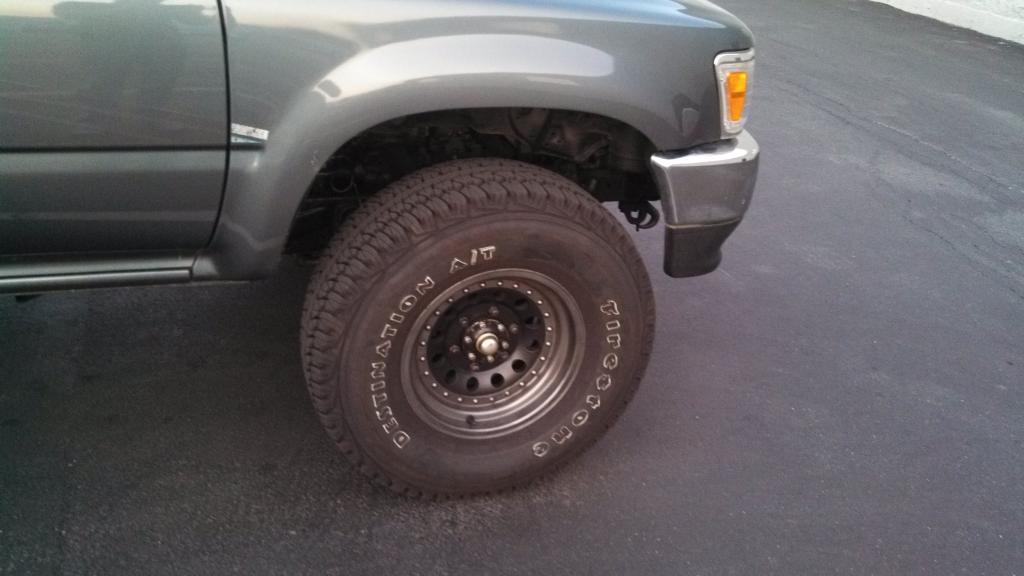
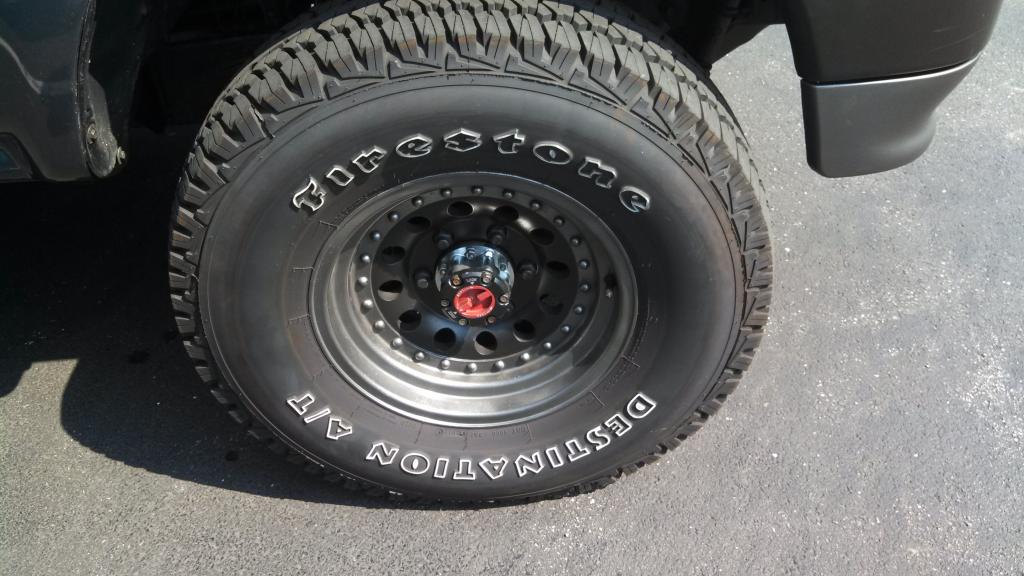
Started with my 1993 Toyota pickup 4cyl 5spd 4x4 standard cab DLX(code name- Richard Pryor). He wasn't the prettiest truck but he got the job done.. normal maintenance when I first purchased and the truck drove great as a daily driver, while my car was down. I decided to clean the wheels up and go with a bigger tire. So I cleaned and painted the wheels and installed 31x10.5R15 Firestone Destination A/T's. Loved how the truck sat with those tires and the new paint drew your attention away from the rust spots on the truck.
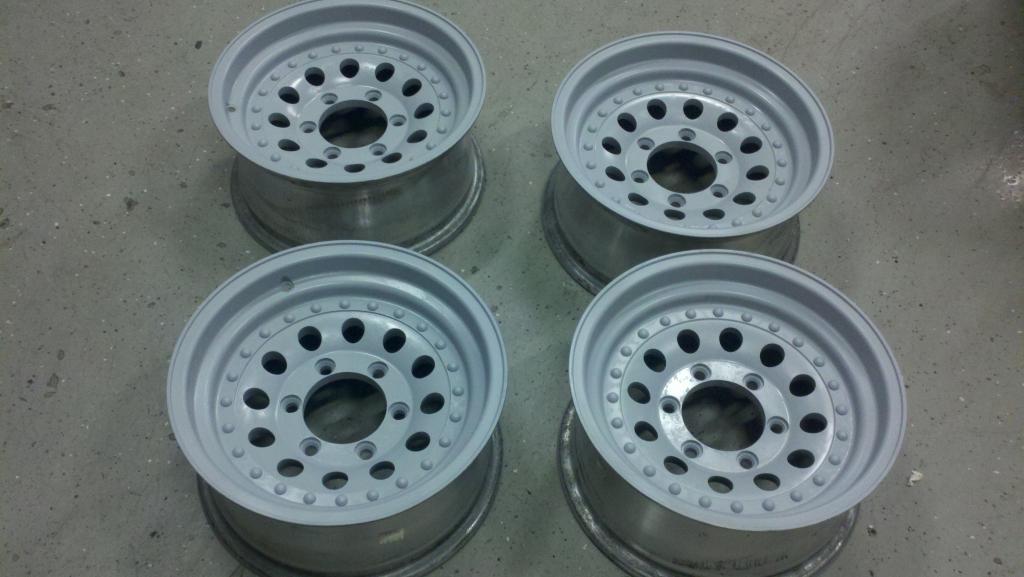

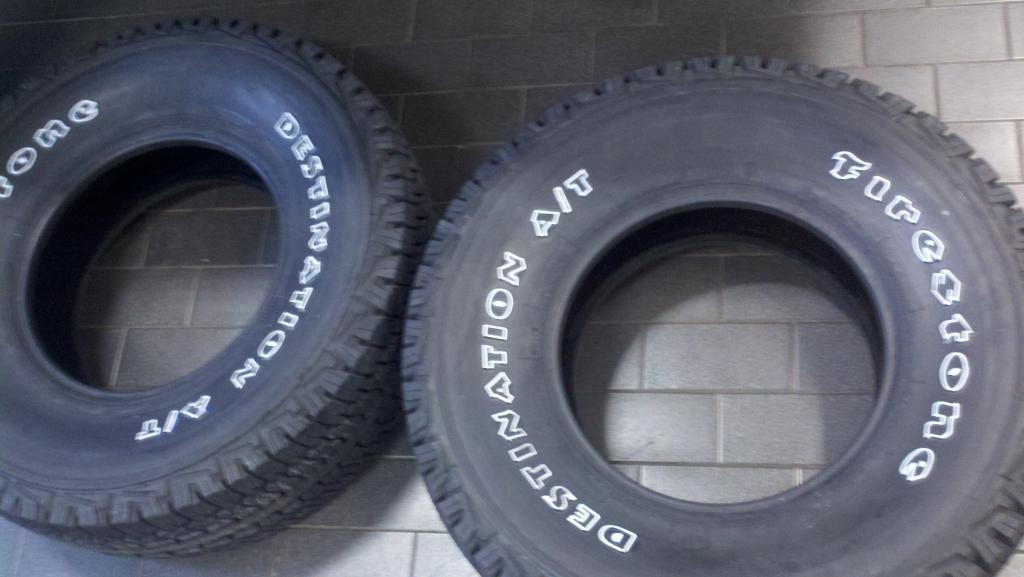
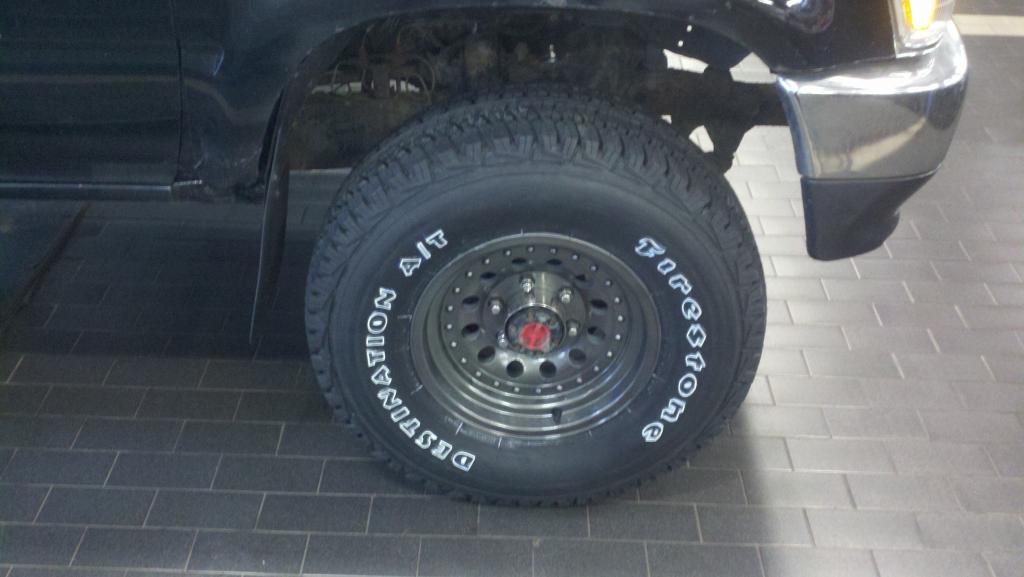
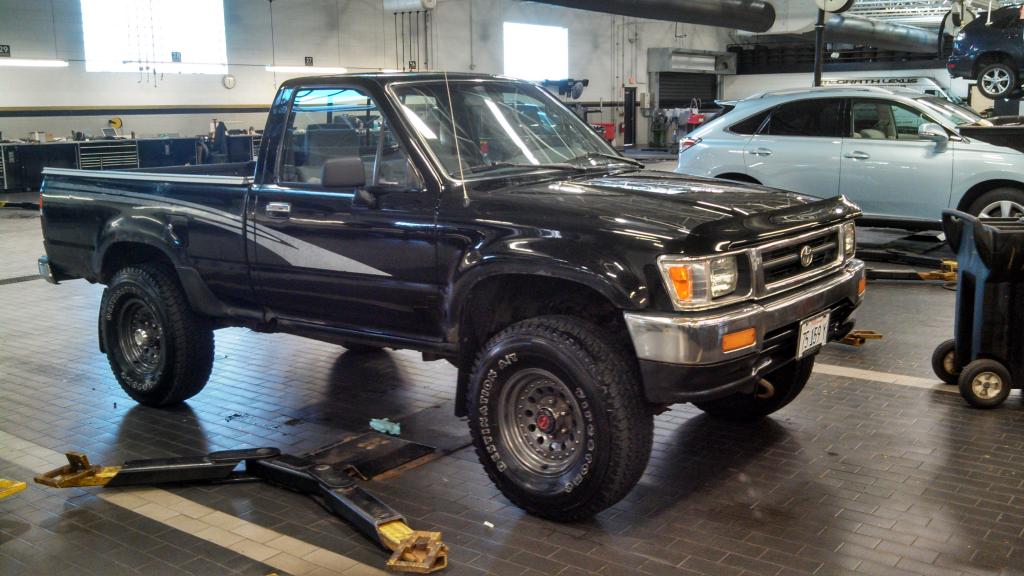
Started with my 1993 Toyota pickup 4cyl 5spd 4x4 standard cab DLX(code name- Richard Pryor). He wasn't the prettiest truck but he got the job done.. normal maintenance when I first purchased and the truck drove great as a daily driver, while my car was down. I decided to clean the wheels up and go with a bigger tire. So I cleaned and painted the wheels and installed 31x10.5R15 Firestone Destination A/T's. Loved how the truck sat with those tires and the new paint drew your attention away from the rust spots on the truck.


 08-31-2013, 10:11 PM
#2
Registered User
Thread Starter
Join Date: Aug 2013
Location: Illinois
Posts: 30
Likes: 0
Received 0 Likes
on
0 Posts
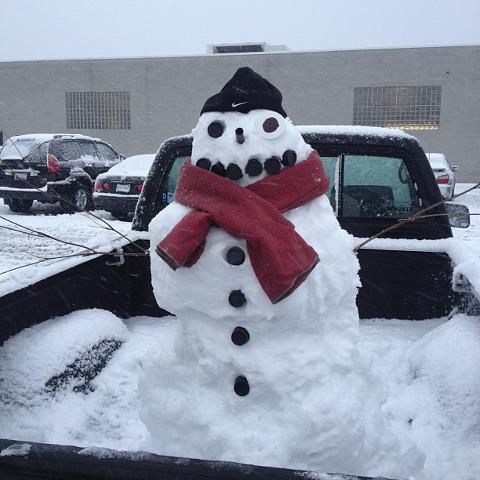
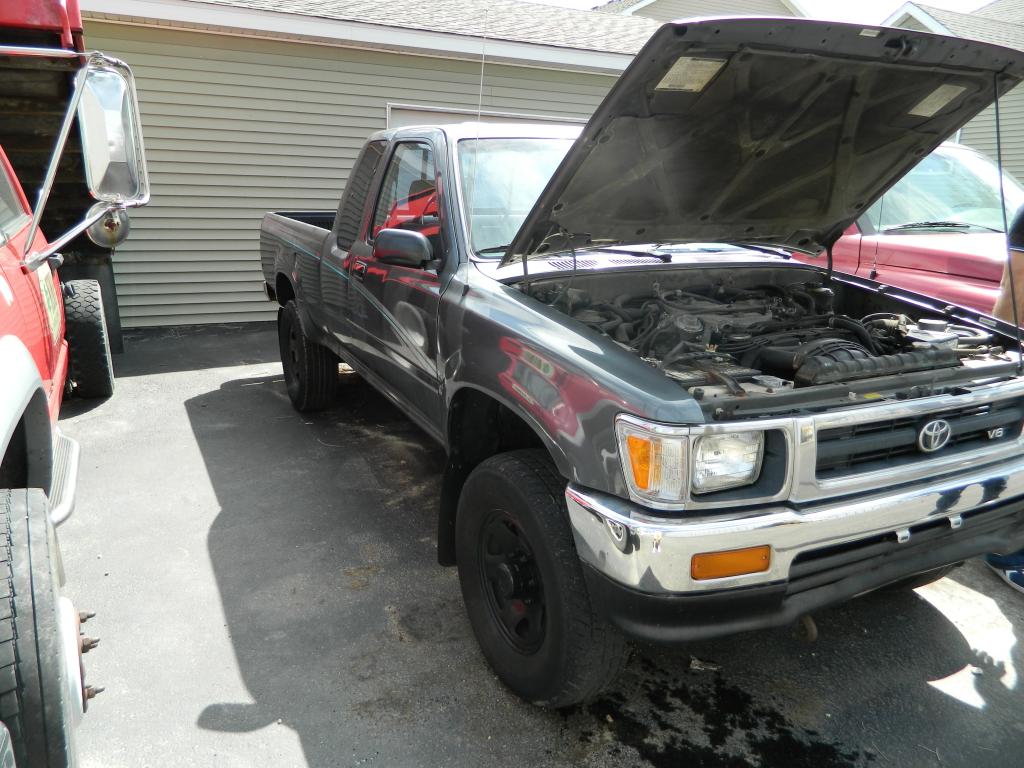
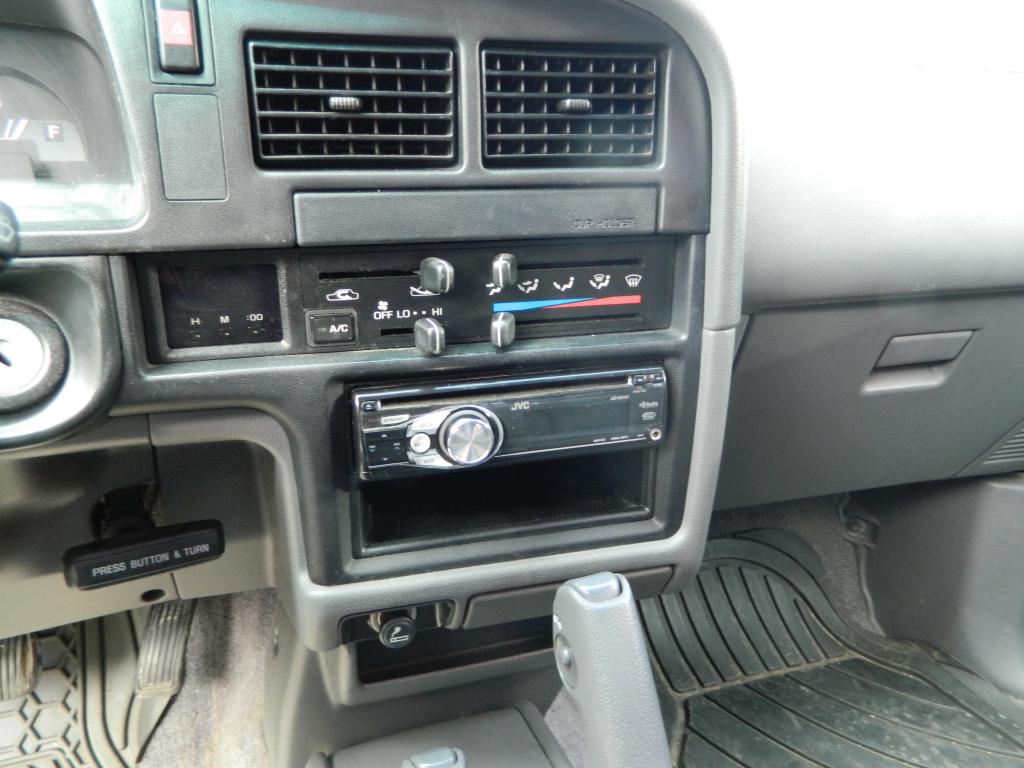
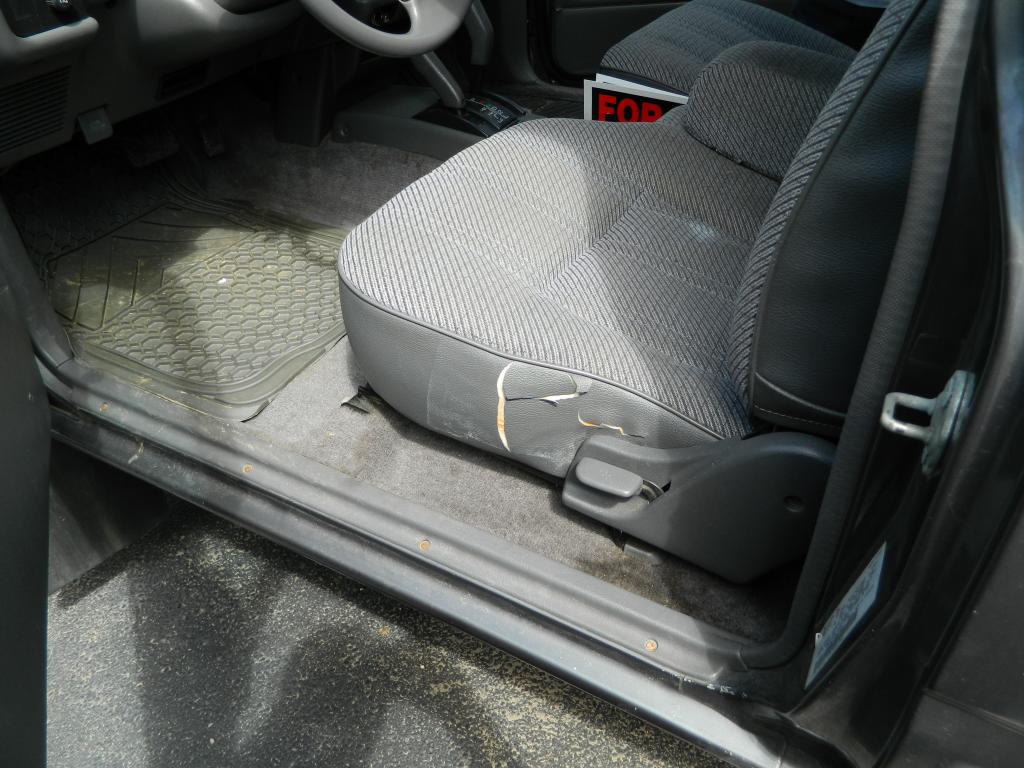
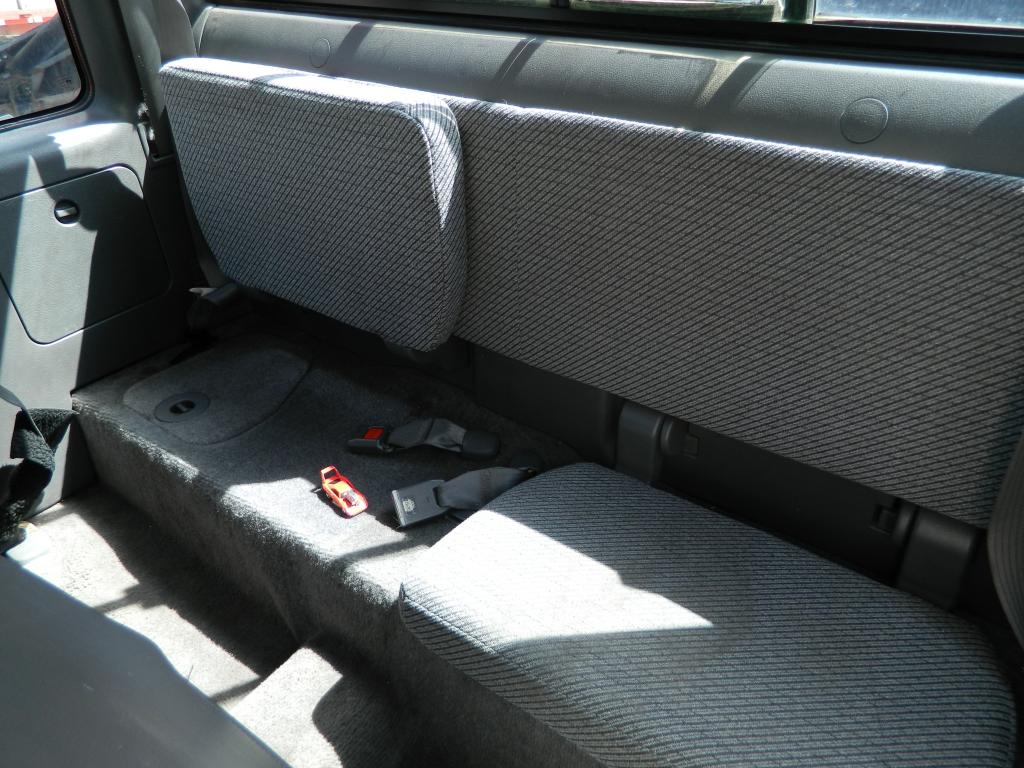
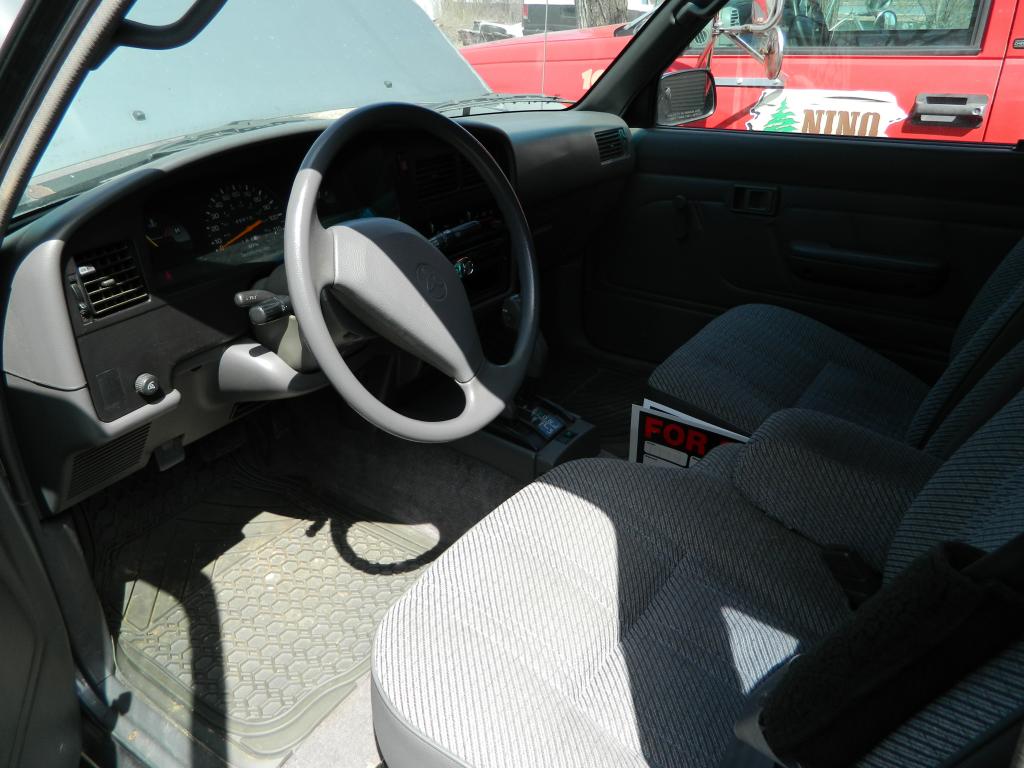
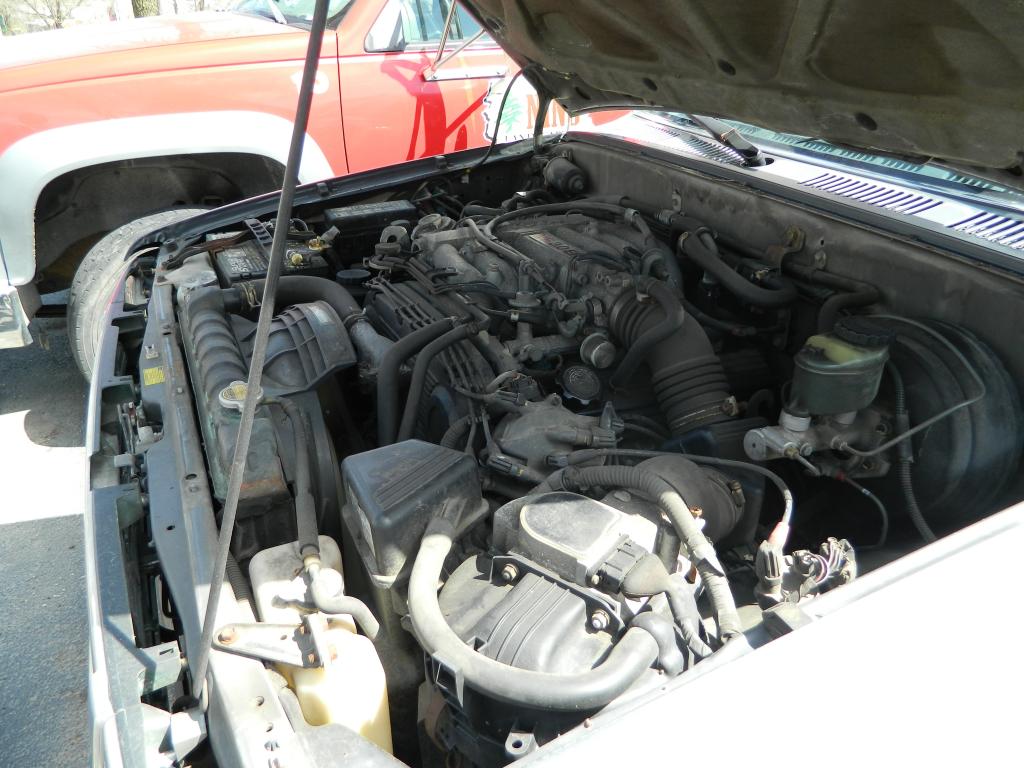
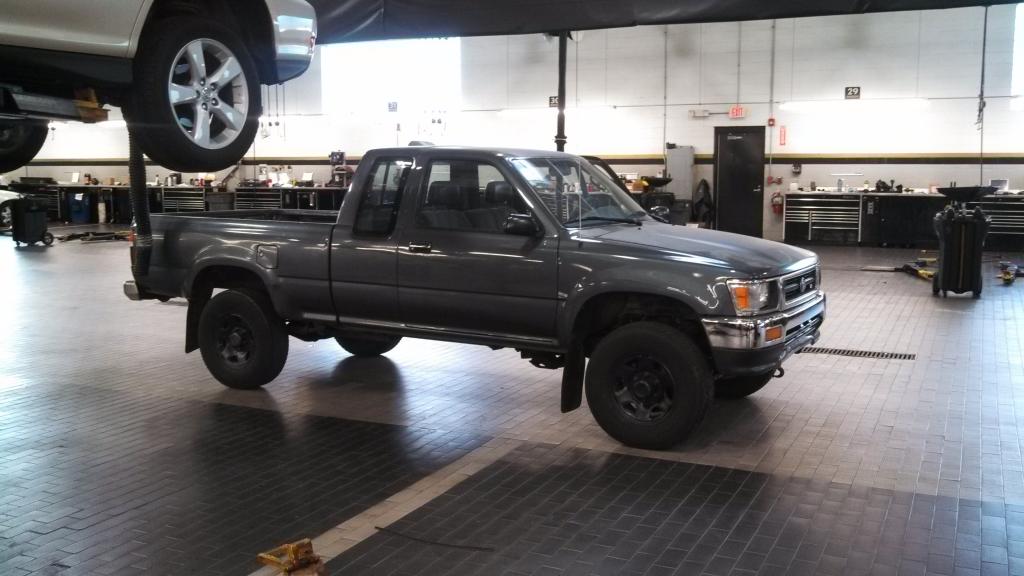
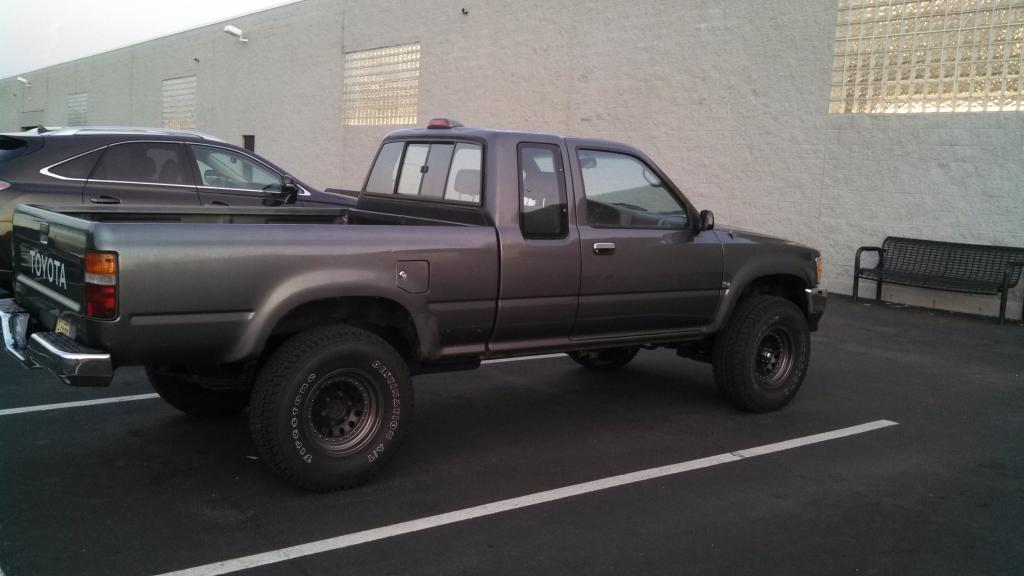
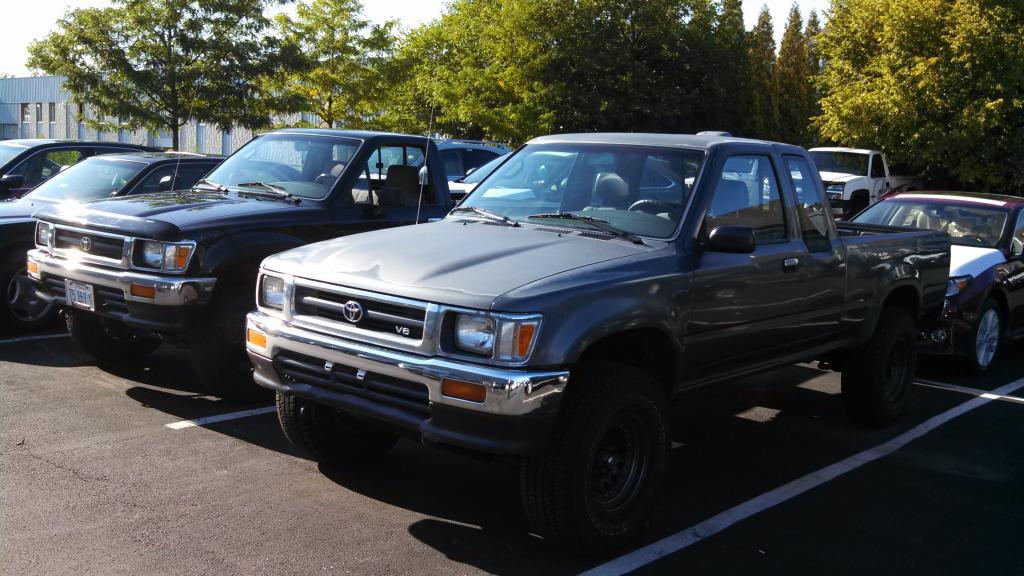
I drove that truck for 2 years straight daily driving it, and had zero issues, but was still looking out for a "in better shape" one. These trucks are not easy to find around chicagoland due to the high amounts of salt used in winter and the rust issues these trucks have(most weren't taking care of very well). I finally found one in amazing shape. Most of its life was in southern Illinois so less salt, and this thing was in great shape.. exactly what I was looking for. It was a 1994 Extended Cab Pickup 3vze Auto(so the GF could drive it) 4x4 with A/C. It had its issues but all much smaller than my 93. I purchased it and started to slowly fix some of the smaller issues. Here are some pics from when I purchased it.


 08-31-2013, 10:32 PM
#3
Registered User
Thread Starter
Join Date: Aug 2013
Location: Illinois
Posts: 30
Likes: 0
Received 0 Likes
on
0 Posts
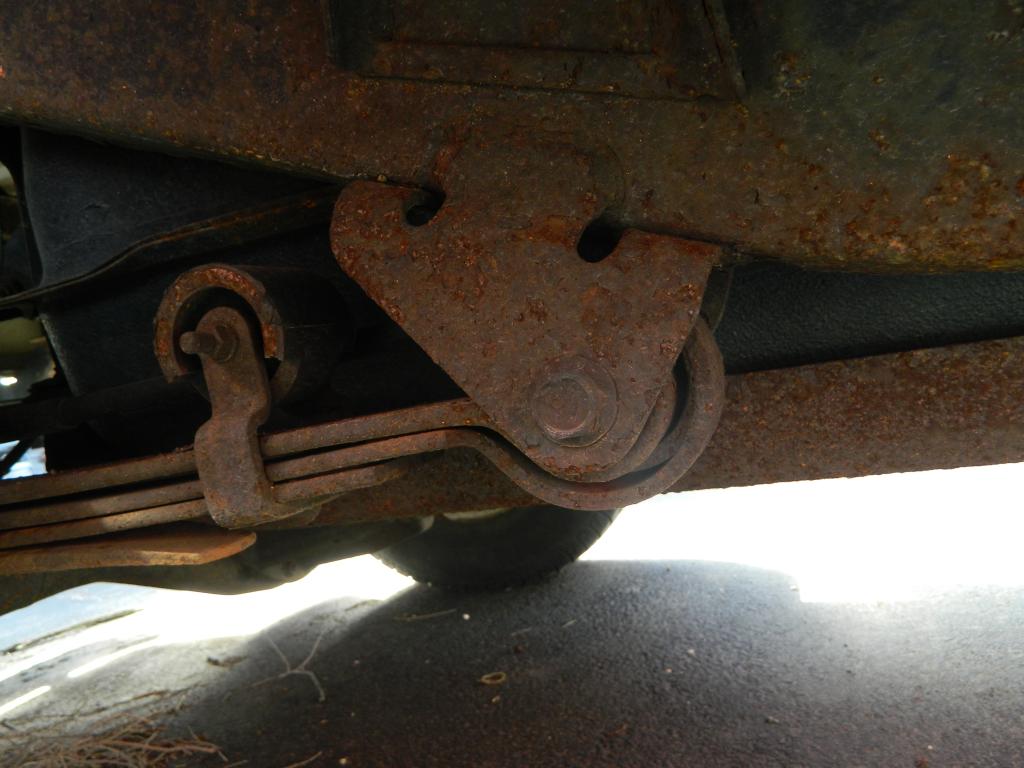
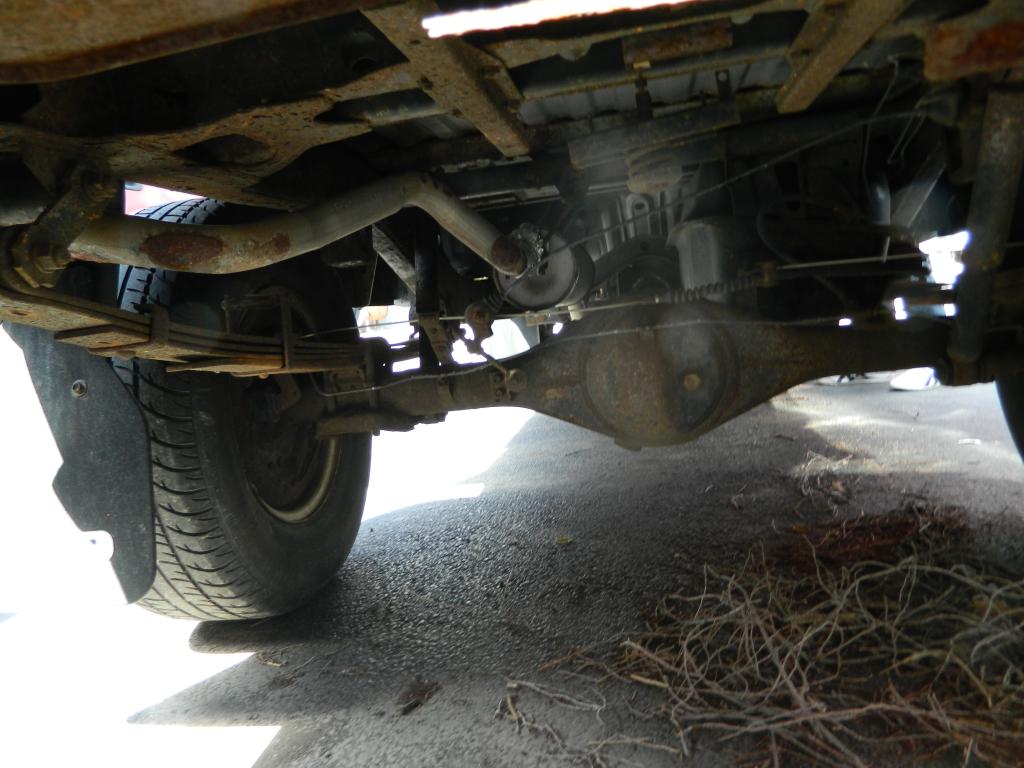
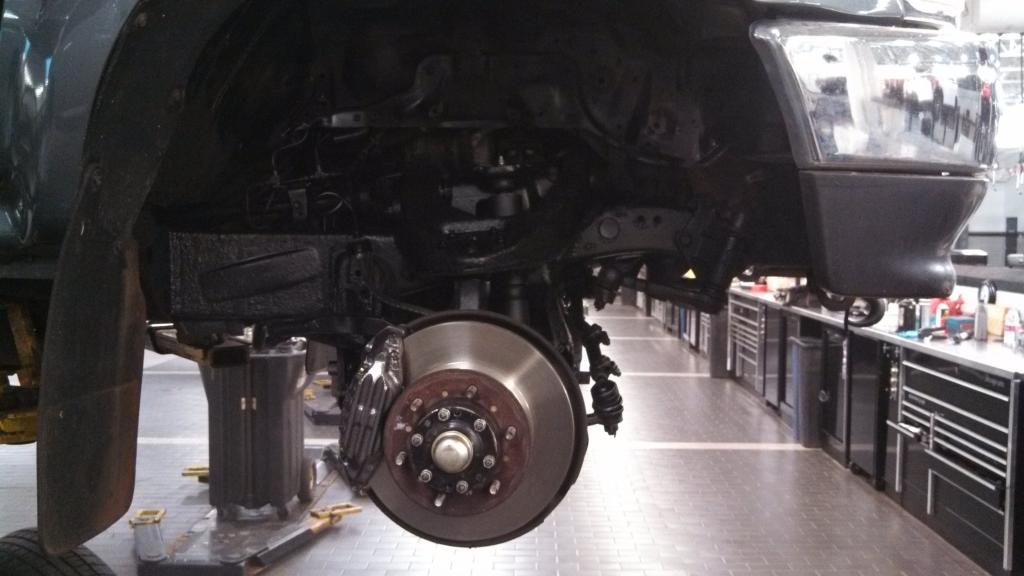
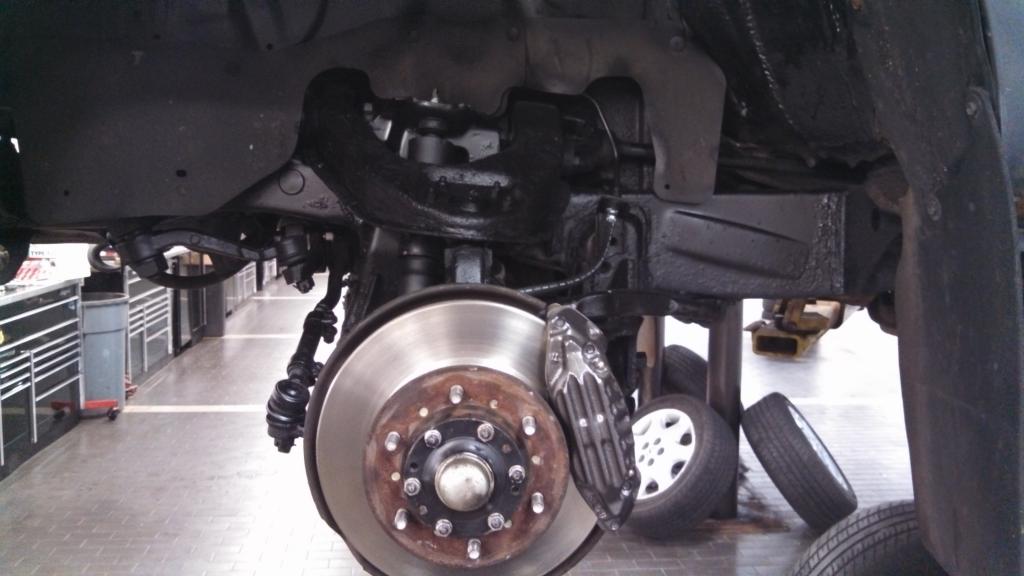
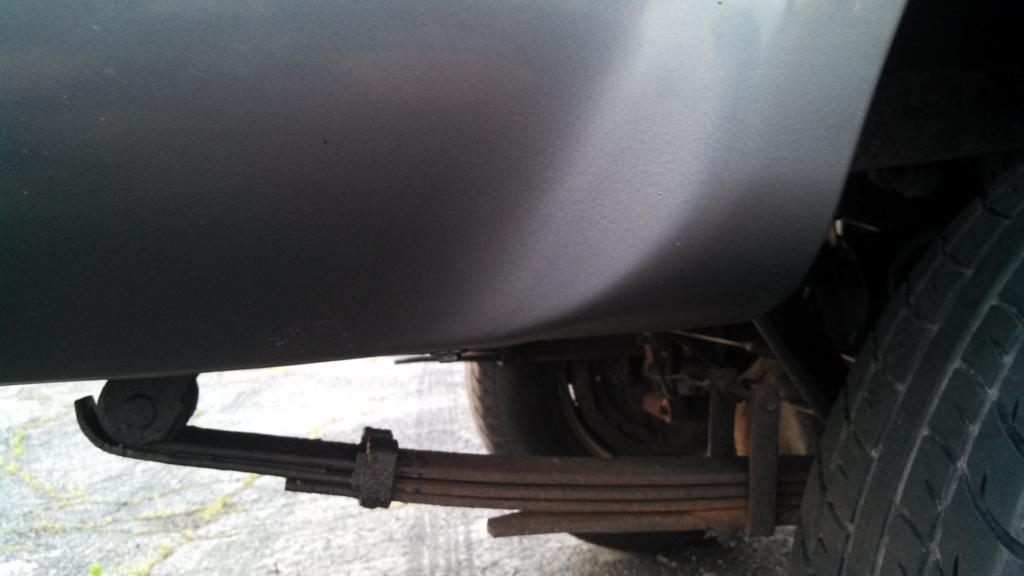
Next I started to Clean it up.. I first started with some of the suspension and brakes.. I Replaced all Ball joints, CV shafts, Brake Calipers, rotors, Hoses, Wheel Bearings, Rear drums and shoes, End links, steering stabilizer,and New shocks and while I was doing this I started Rust encapsulating the whole truck... here are some pics of the progress...
Also had an issue with the key cylinders. All were very hard to turn at times and I suspected they worn tumblers.. So I bought a Key cylinder set.

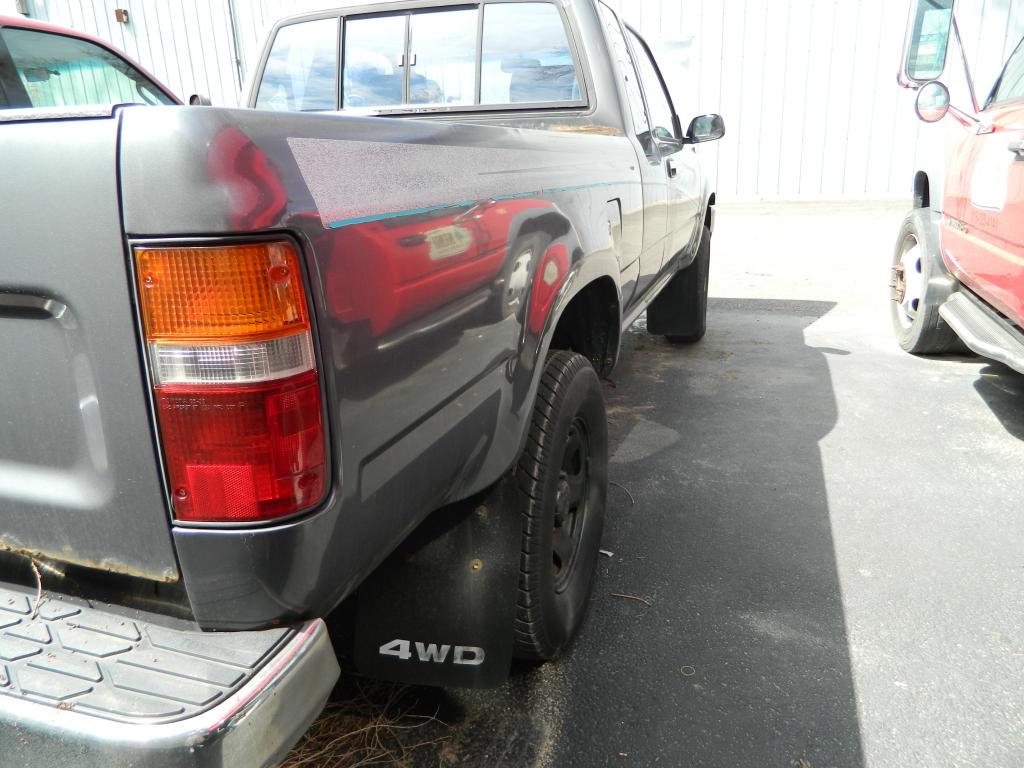
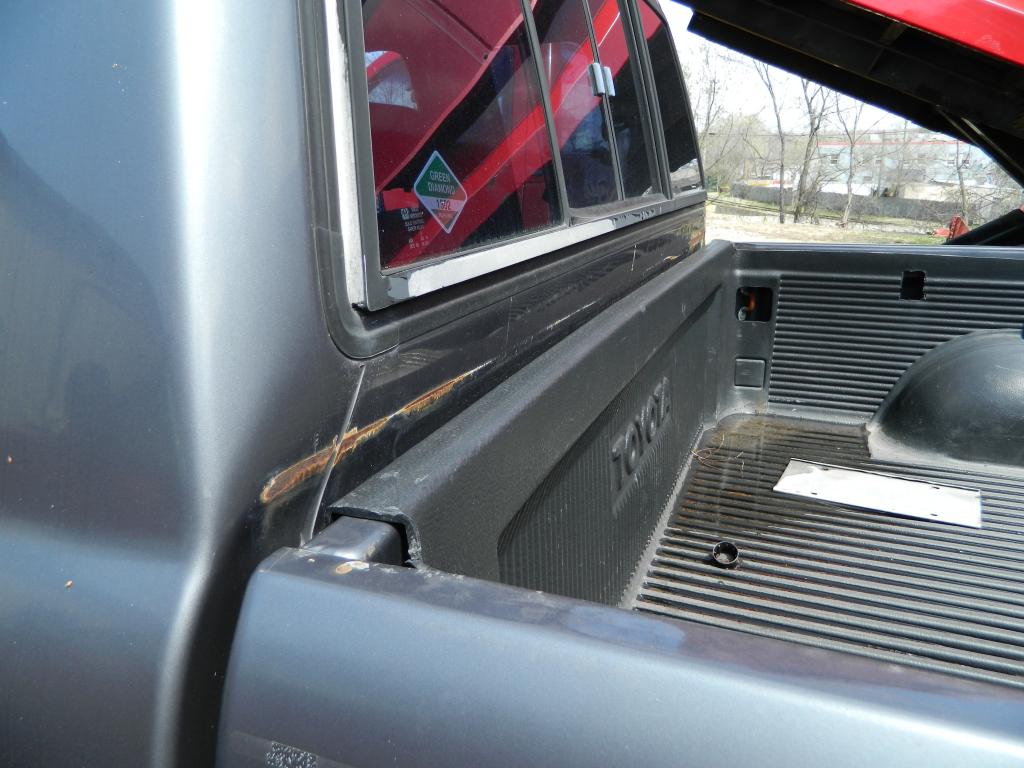
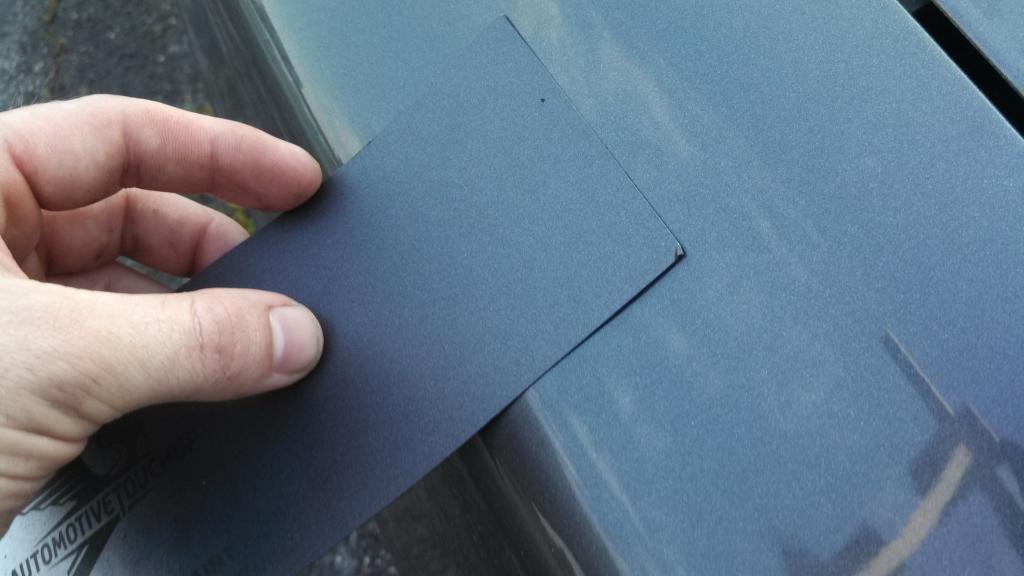
Onto the body.. the body wasn't perfect but just had some small spots of surface rust in normal locations for these trucks... first Previous owner had a toolbox and it rubbed against the cab.. So I sanded it down and painted it with a aerosol touch up paint.
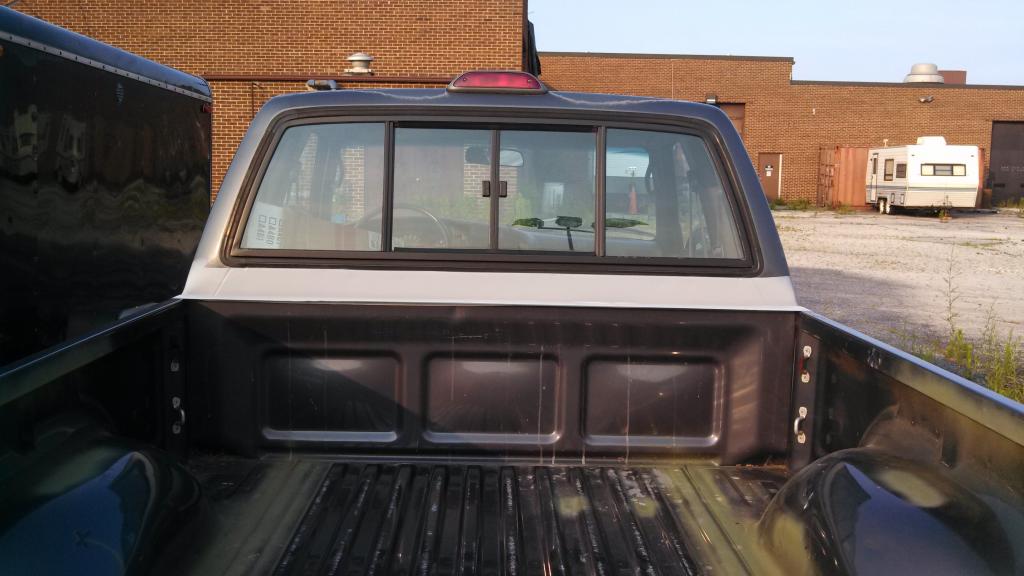
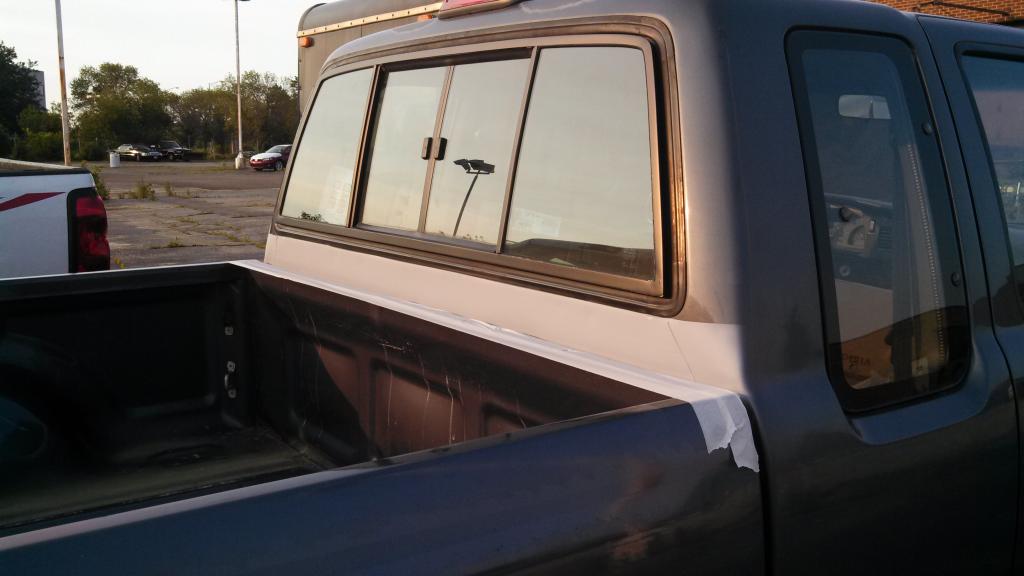
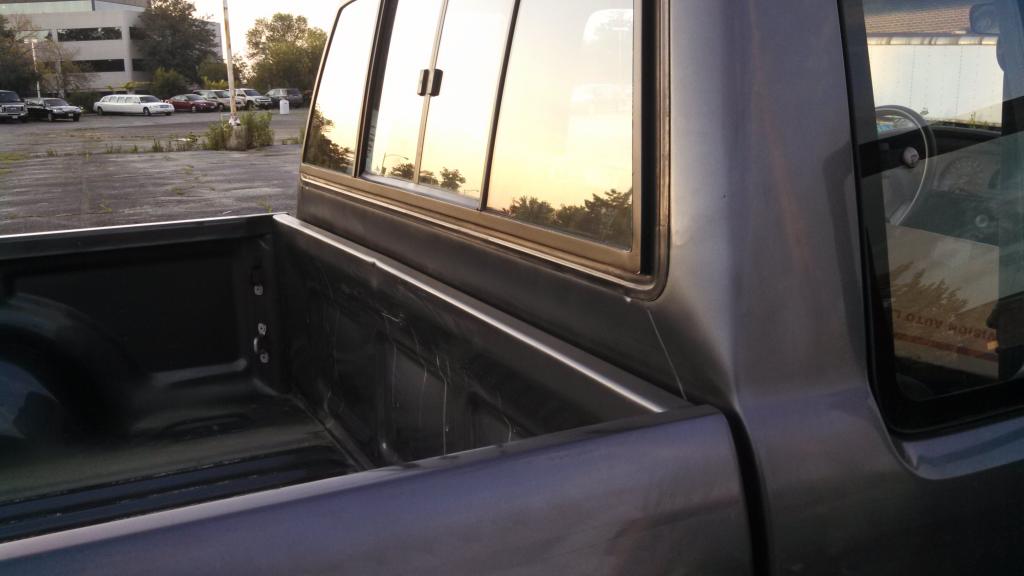
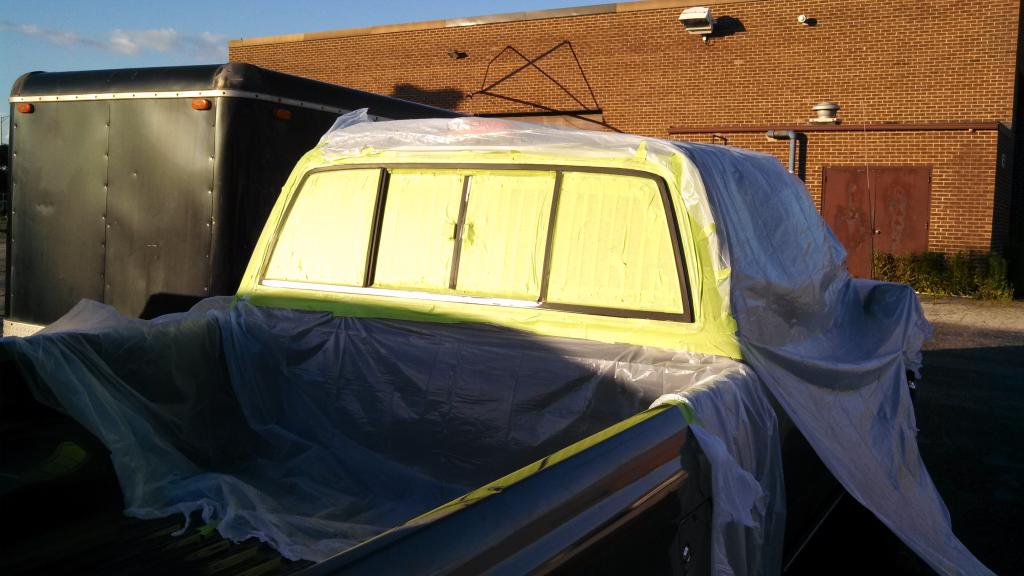
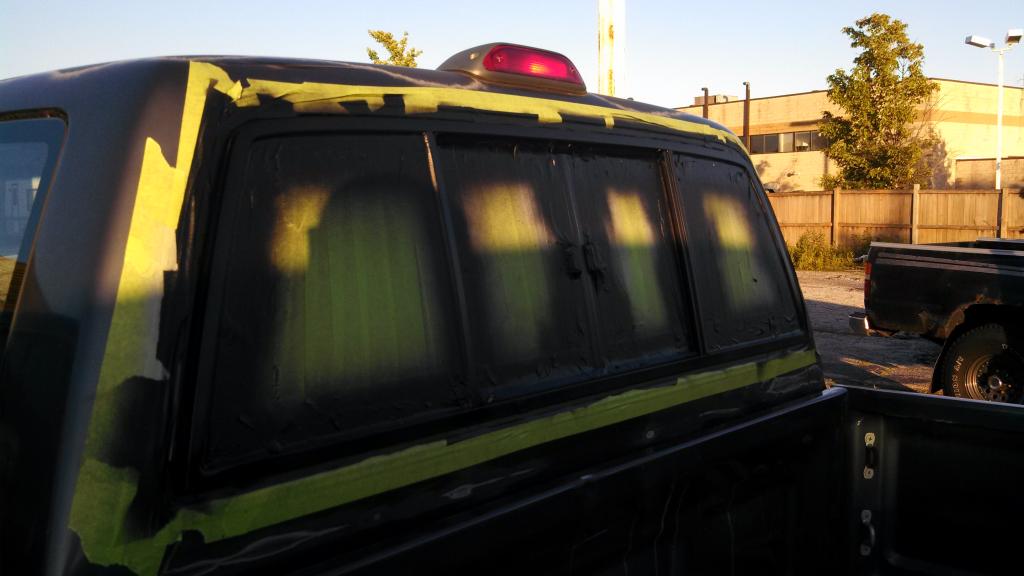
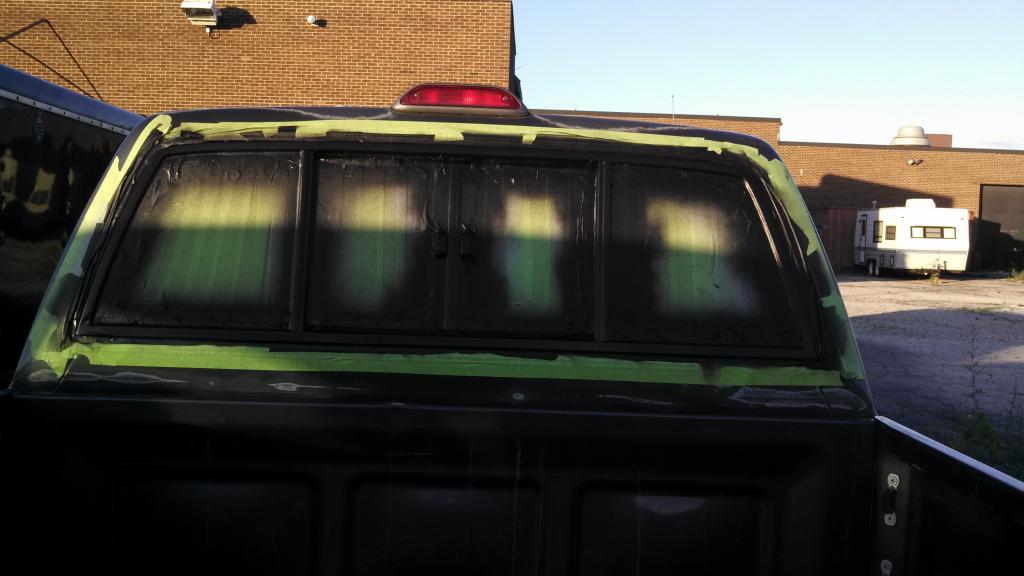
Next I Repainted the rear window trim black.
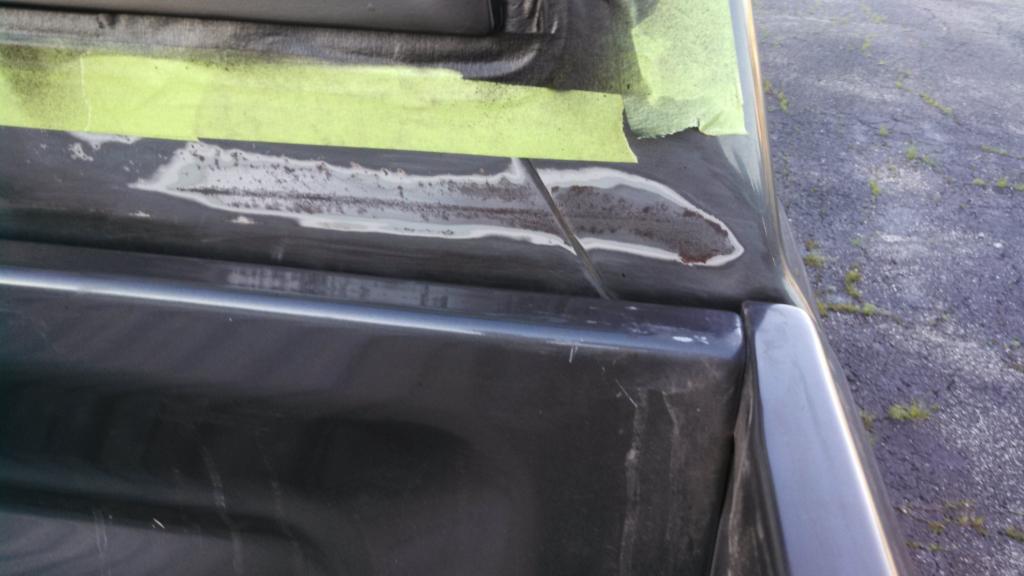
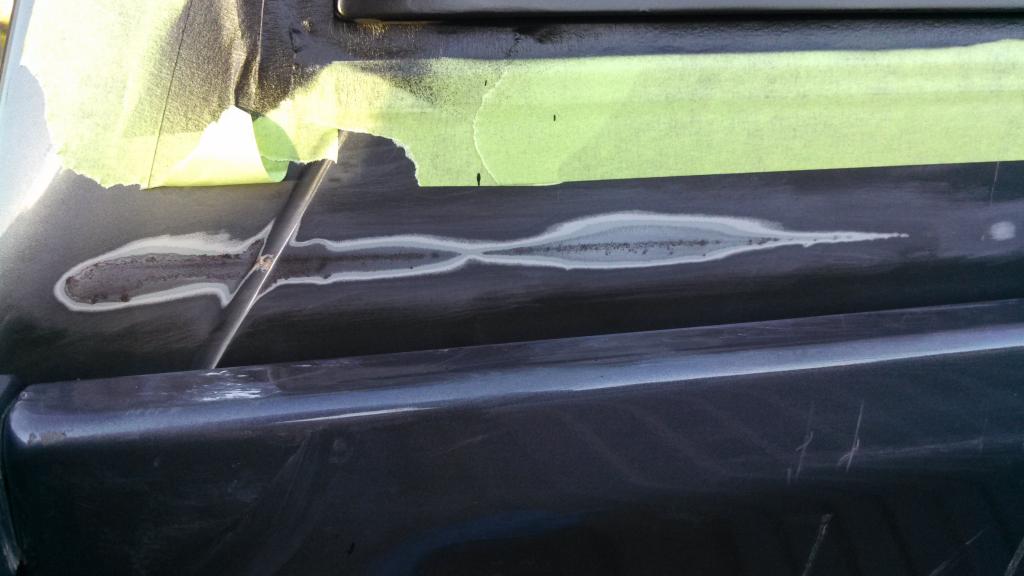
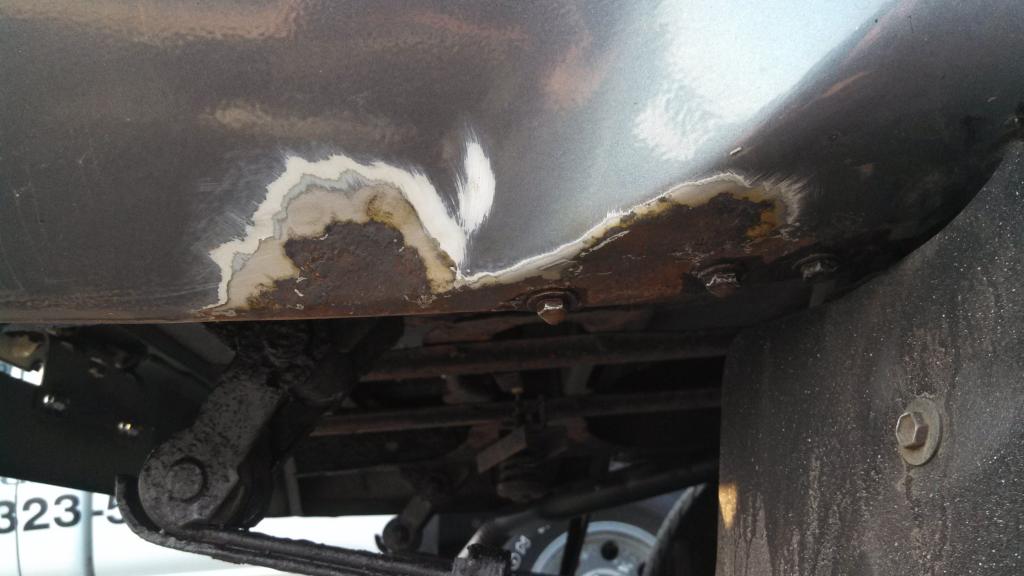
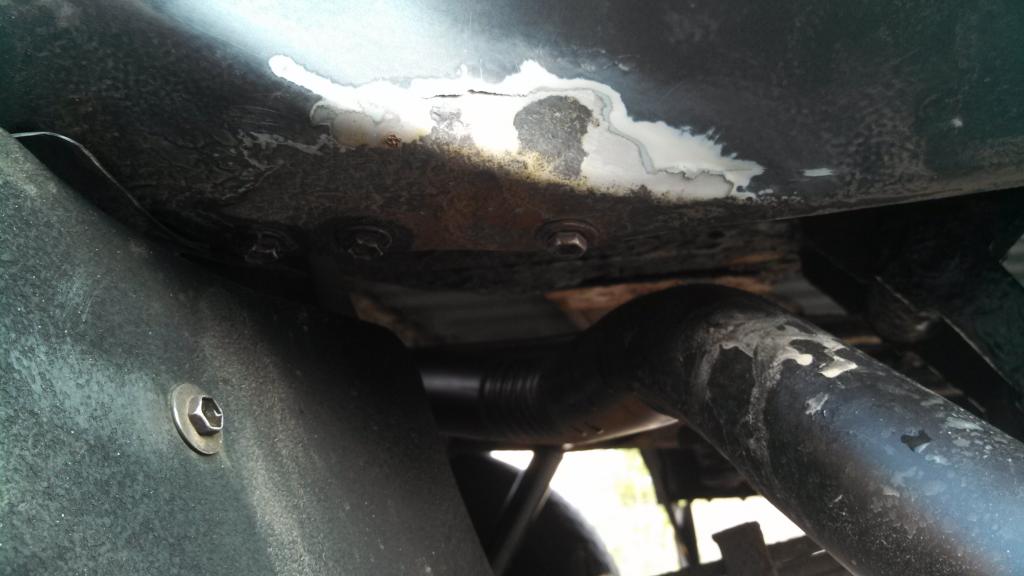
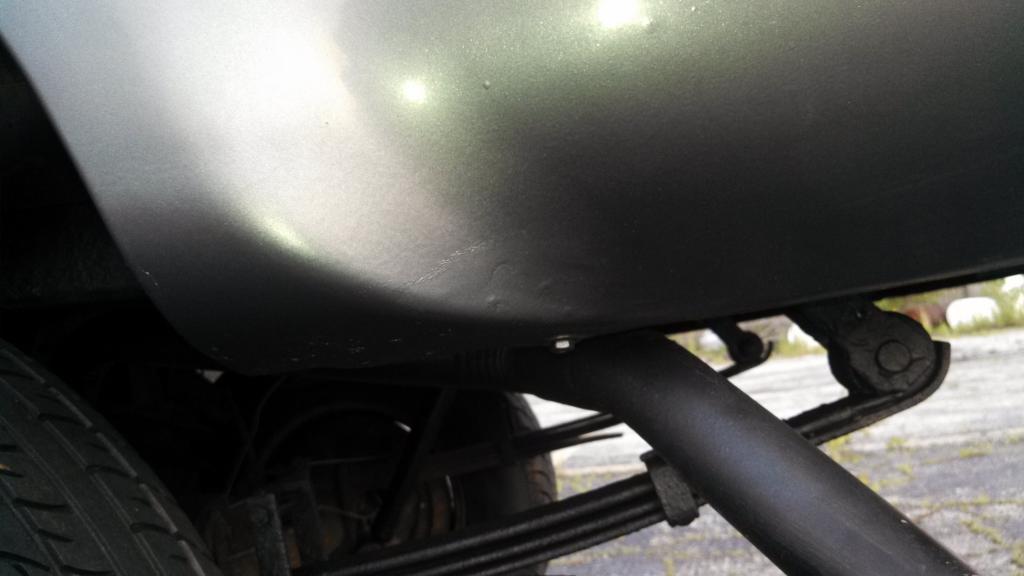
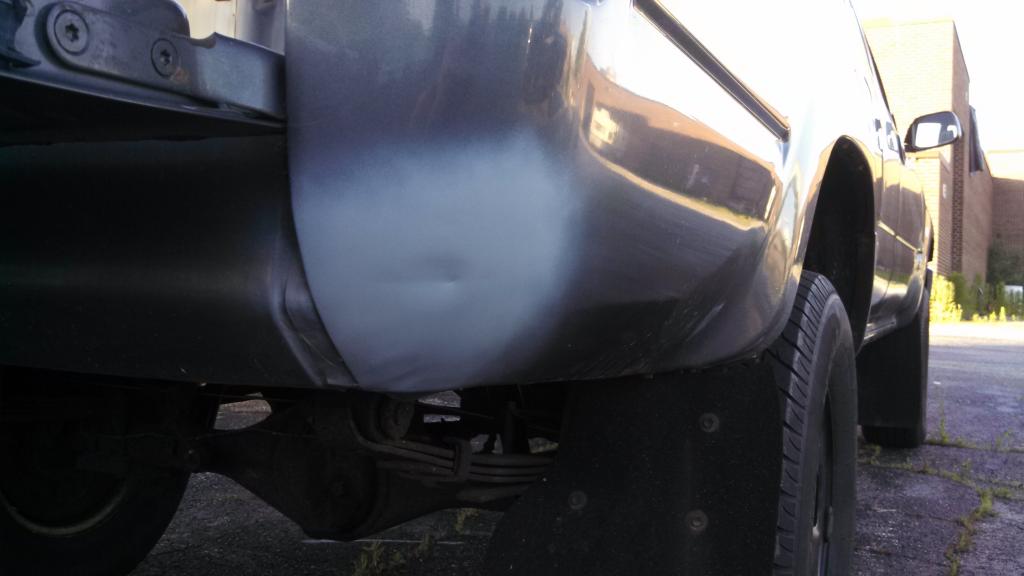
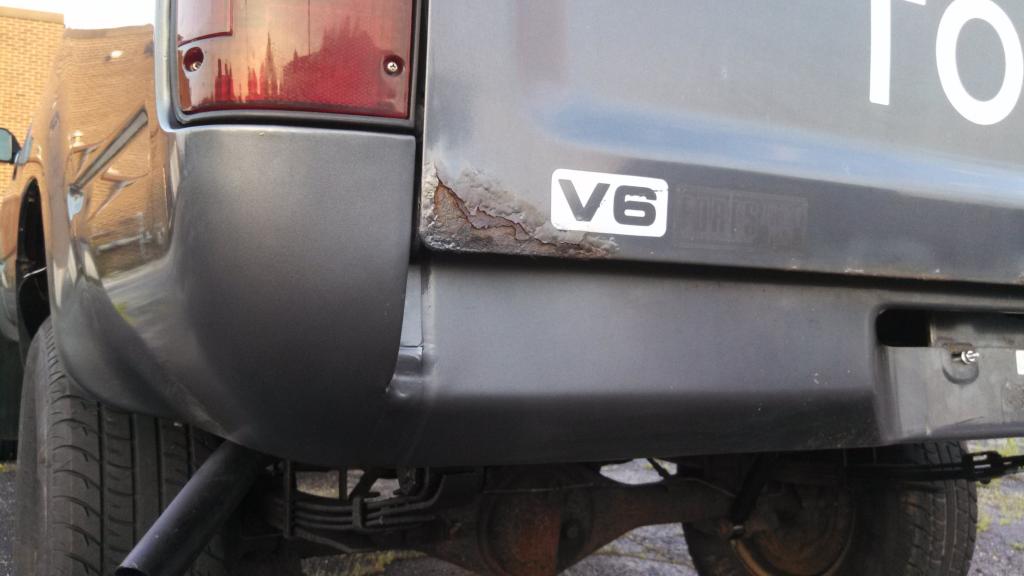
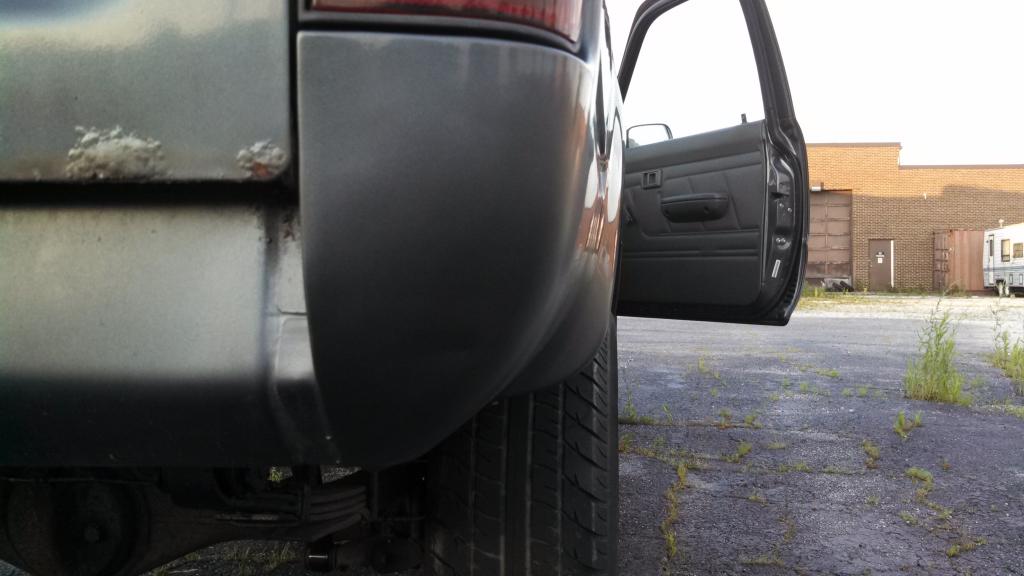
Then Wet sanded and fixed right behind the rear wheels on both sides.
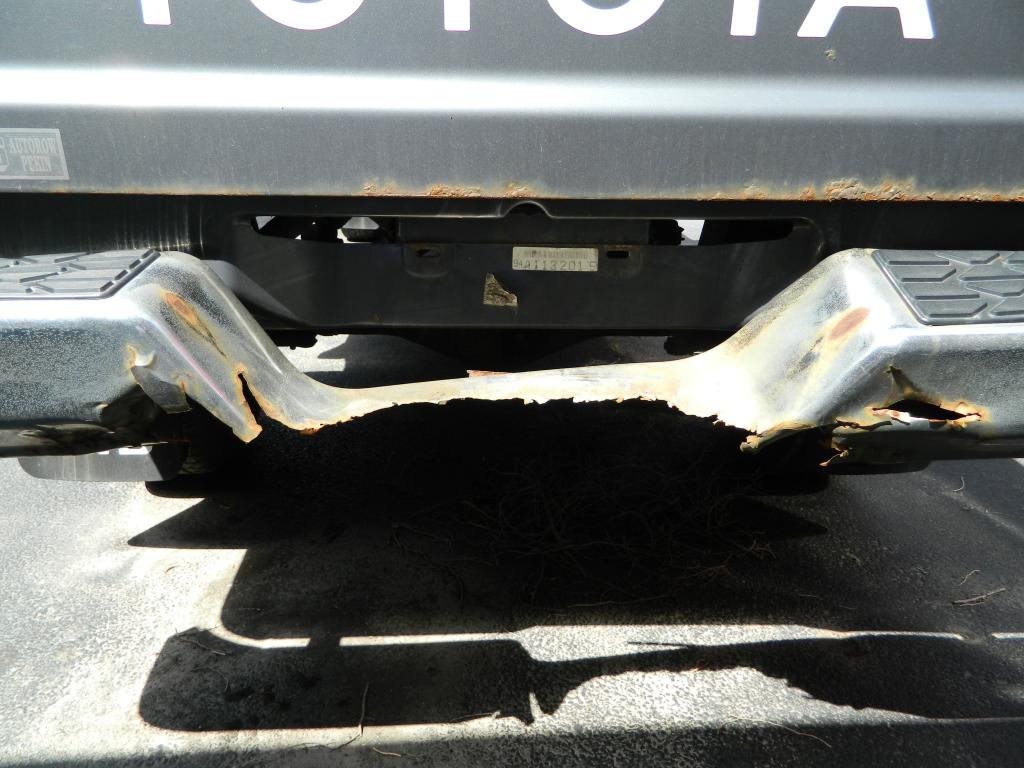
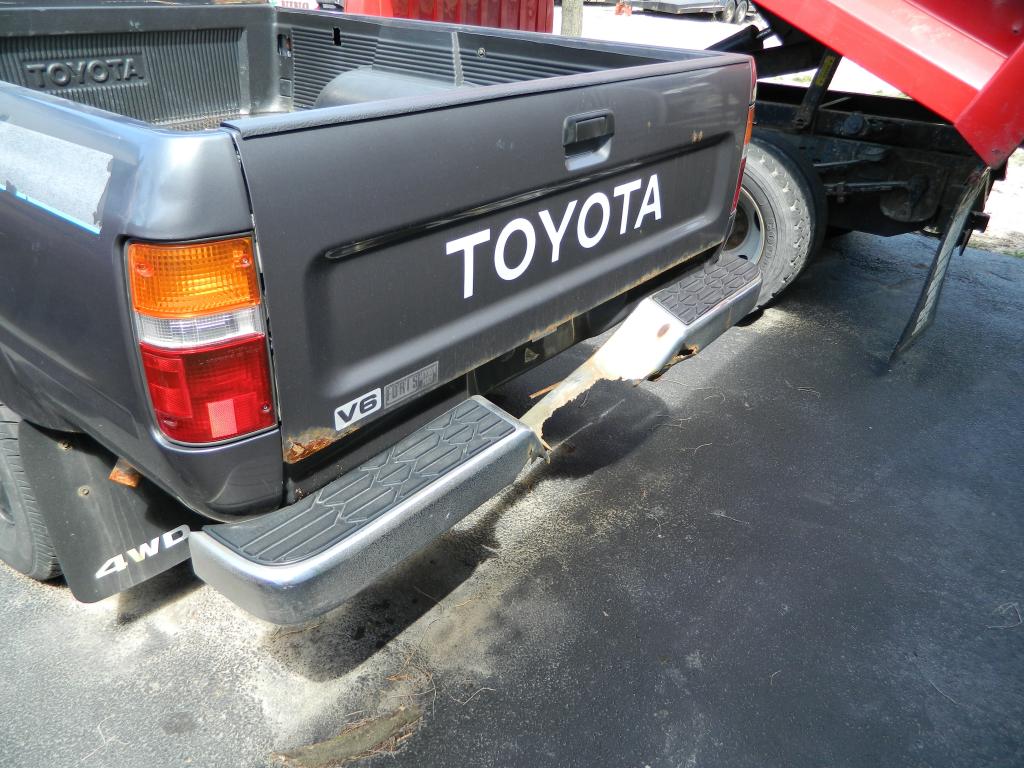
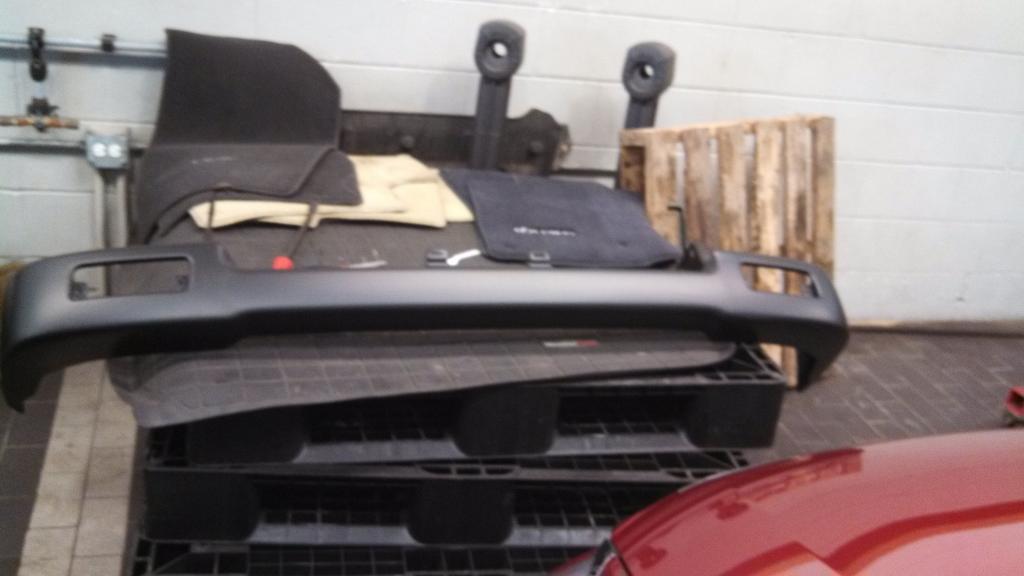
Then I removed the rear bumper(since there was nothing left of it).. From it moving around it rubbed the bed caps so I decided to wesand and paint them as well.


Also had an issue with the key cylinders. All were very hard to turn at times and I suspected they worn tumblers.. So I bought a Key cylinder set.

Onto the body.. the body wasn't perfect but just had some small spots of surface rust in normal locations for these trucks... first Previous owner had a toolbox and it rubbed against the cab.. So I sanded it down and painted it with a aerosol touch up paint.


Next I Repainted the rear window trim black.


Then Wet sanded and fixed right behind the rear wheels on both sides.


Then I removed the rear bumper(since there was nothing left of it).. From it moving around it rubbed the bed caps so I decided to wesand and paint them as well.


 08-31-2013, 10:38 PM
#4
Registered User
Thread Starter
Join Date: Aug 2013
Location: Illinois
Posts: 30
Likes: 0
Received 0 Likes
on
0 Posts
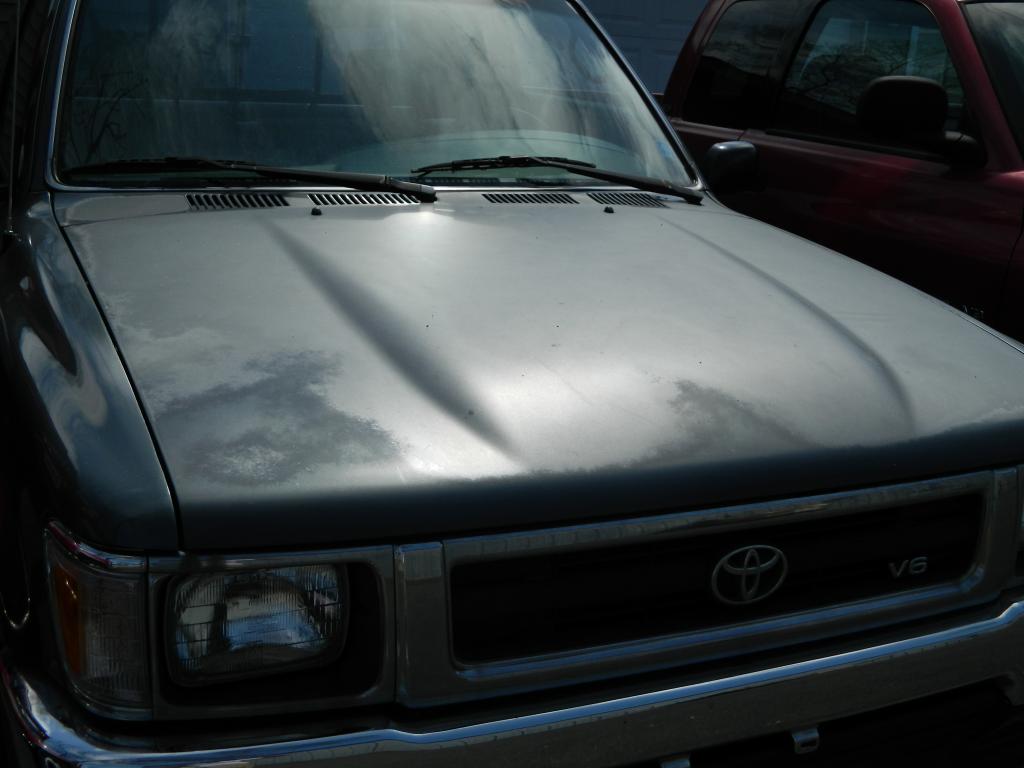
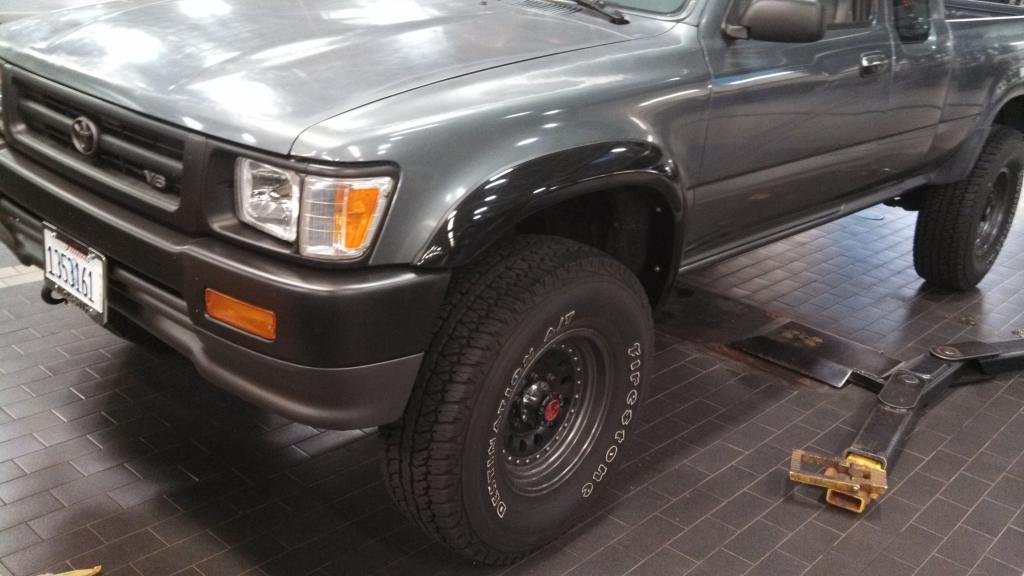
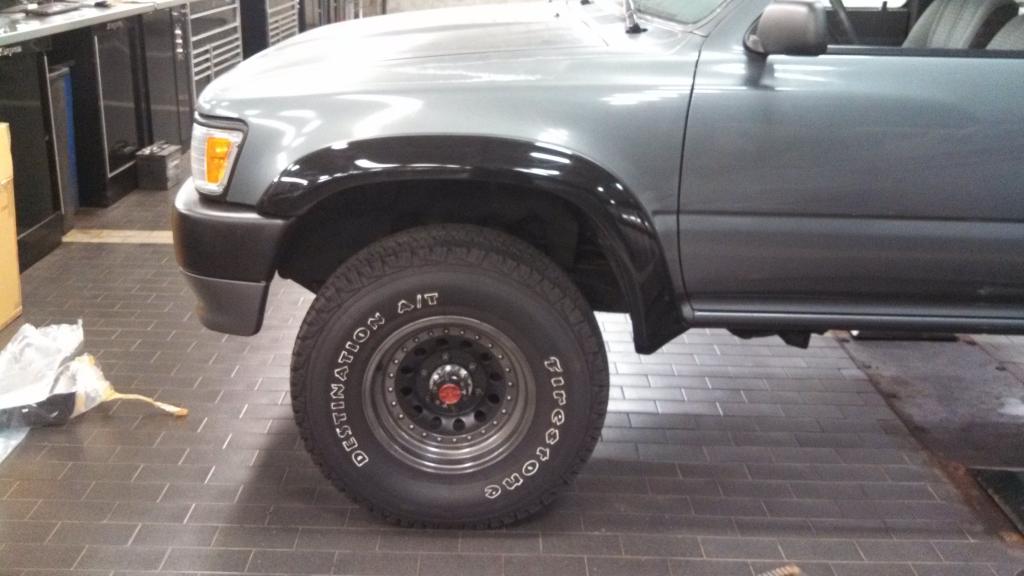
Decided to get rid of the chipping away side stripes.. .. here is the finished product.
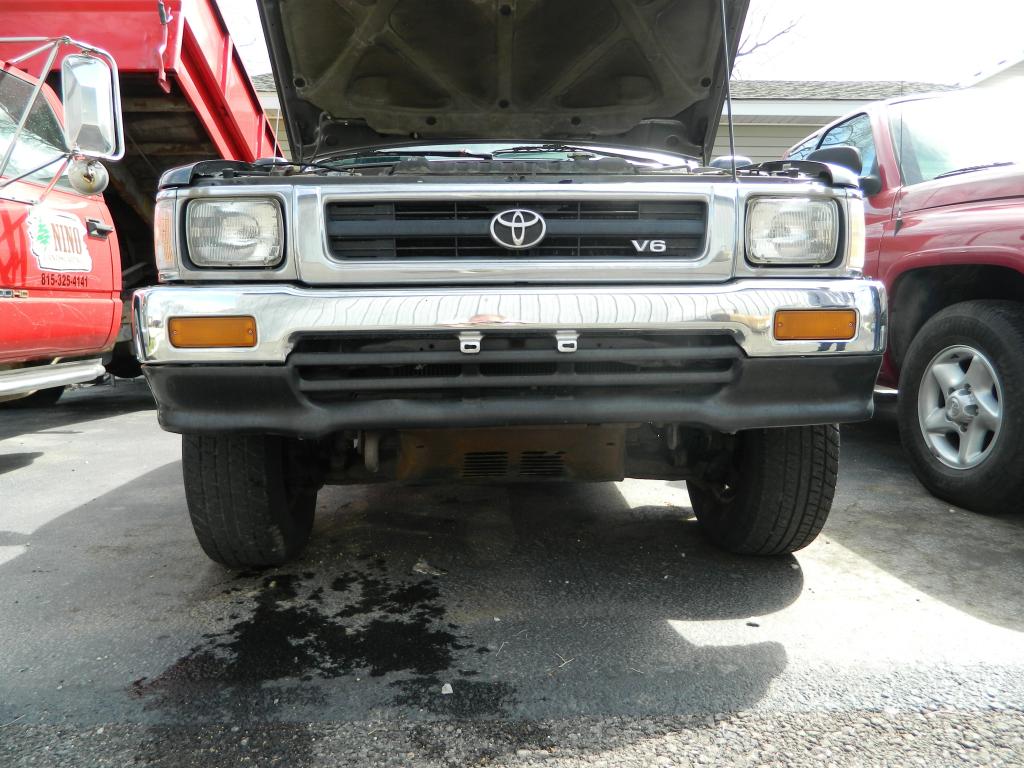
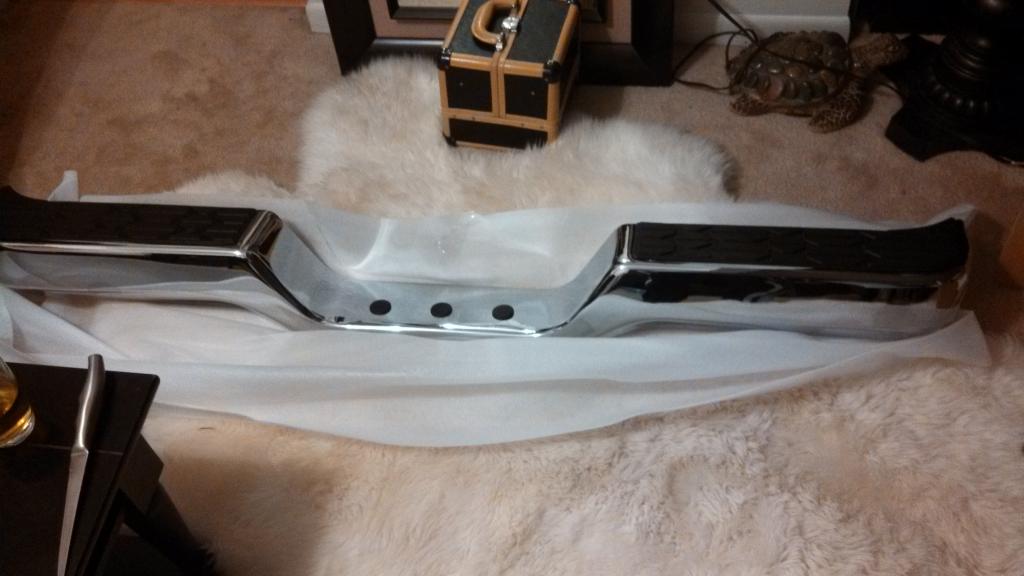
Bought an OEM looking Chrome bumper off ebay.
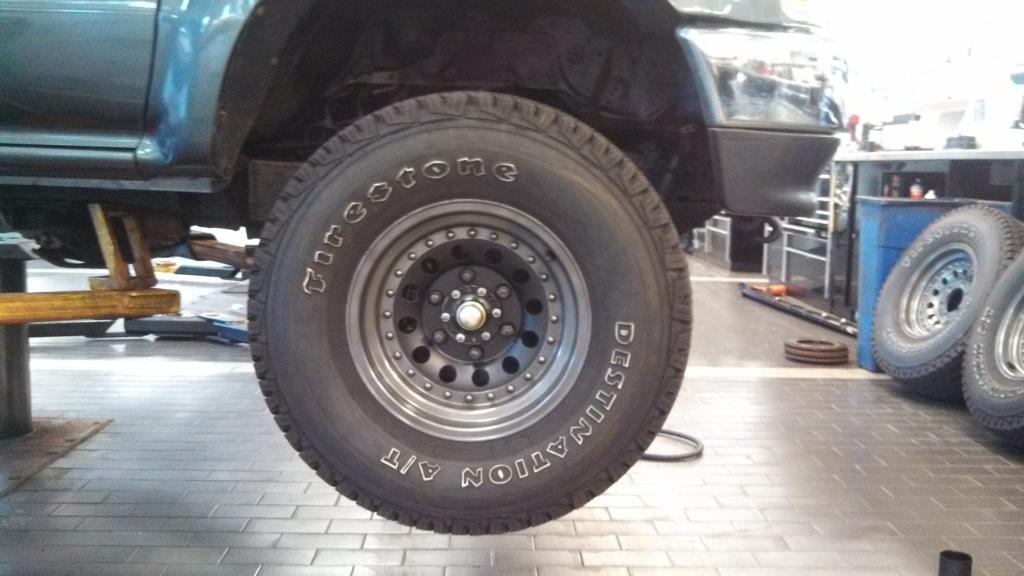
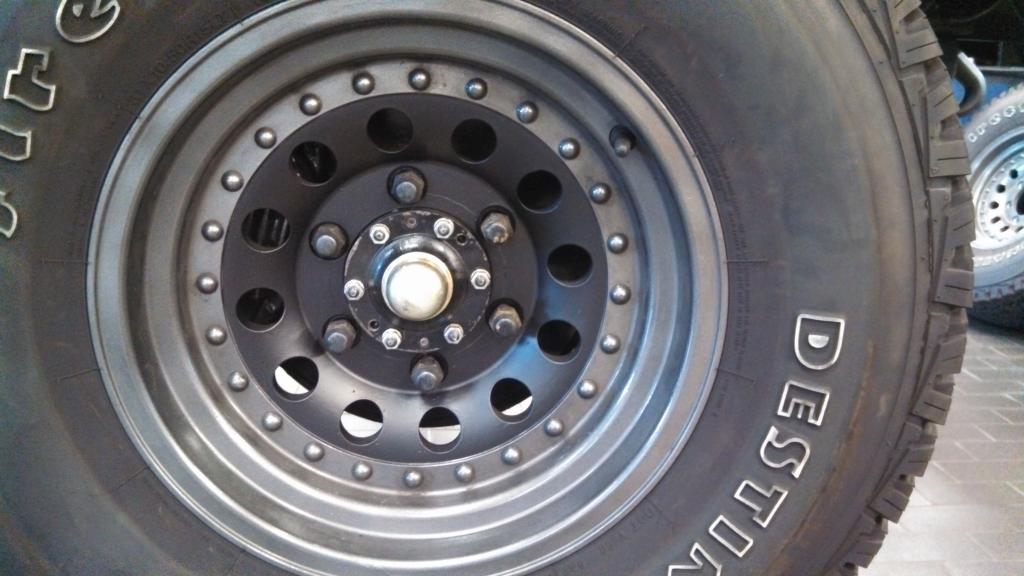
Needless to say I missed my 31's so I swapped my rims from my other truck and plastidipped the inside of them black and they turned out great!.

Bought an OEM looking Chrome bumper off ebay.

Needless to say I missed my 31's so I swapped my rims from my other truck and plastidipped the inside of them black and they turned out great!.


 08-31-2013, 10:56 PM
#5
Registered User
Thread Starter
Join Date: Aug 2013
Location: Illinois
Posts: 30
Likes: 0
Received 0 Likes
on
0 Posts
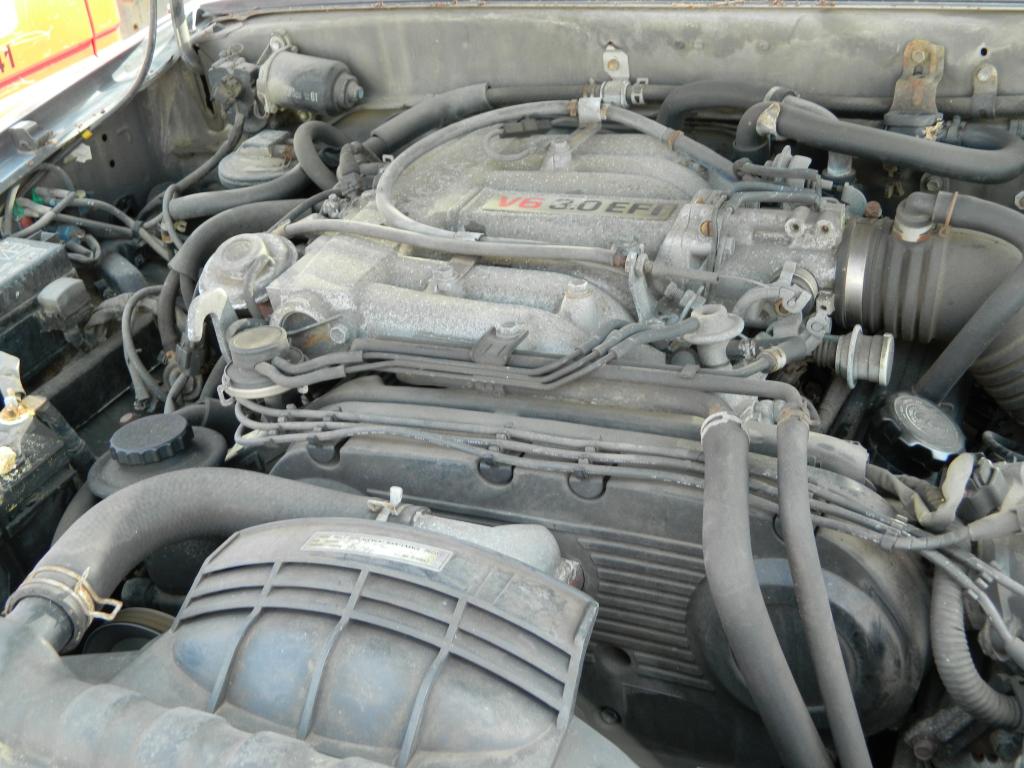
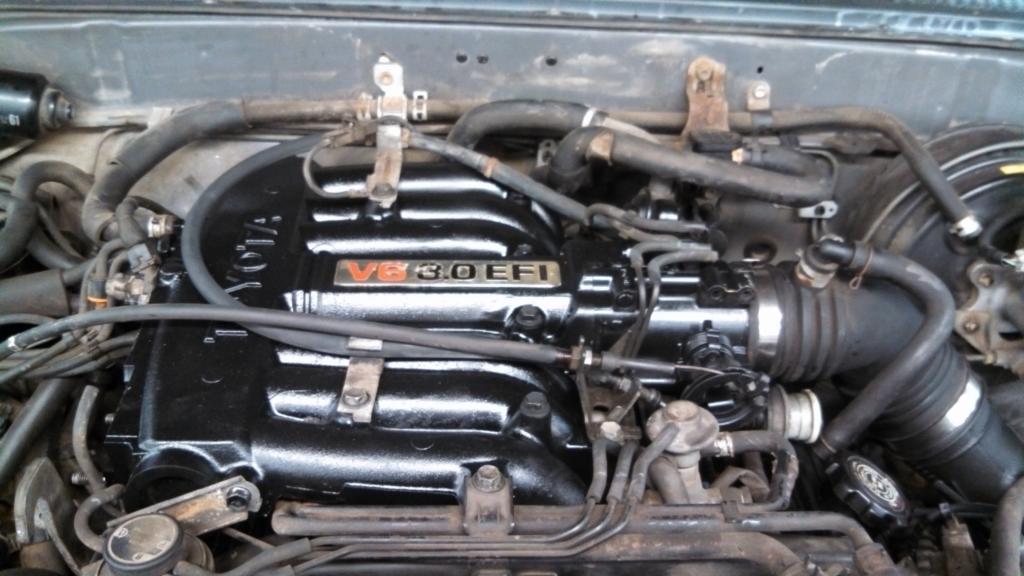
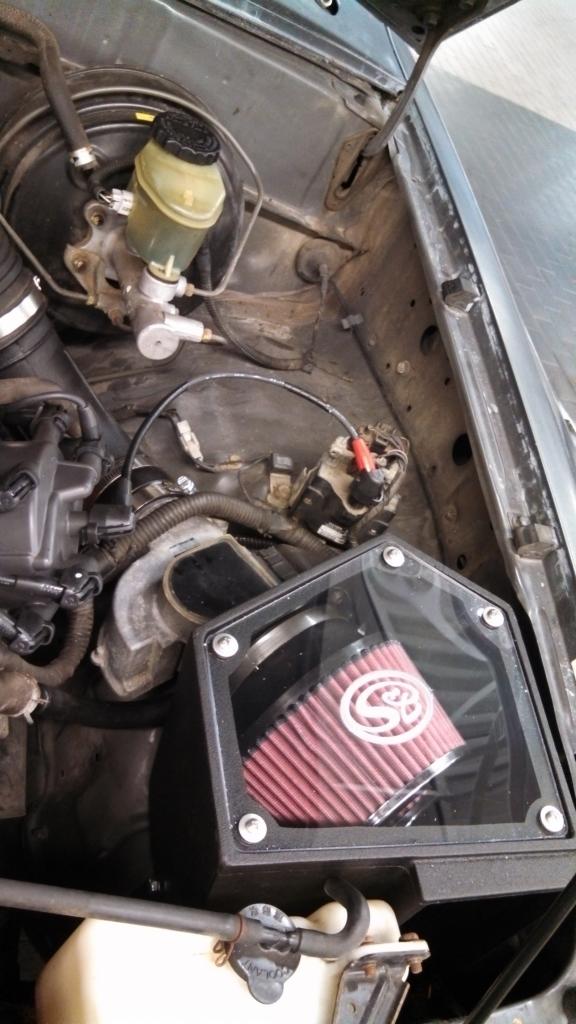
Finally had a day off to set aside to the truck so I did Spark plugs, wires, Cap and rotor, Valve cover gaskets, Intake manifold gaskets, Timing belt, Water pump, Idler Pulleys, Tbelt tensioner, accessory belts, battery, and a little toy I got for the the truck: S&B filters CAI!
Before:
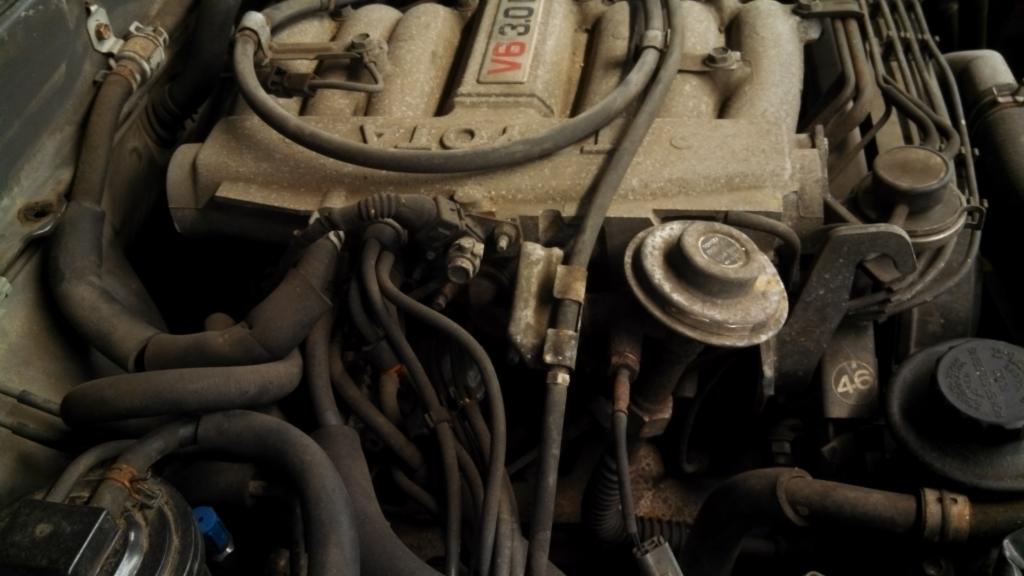
During:
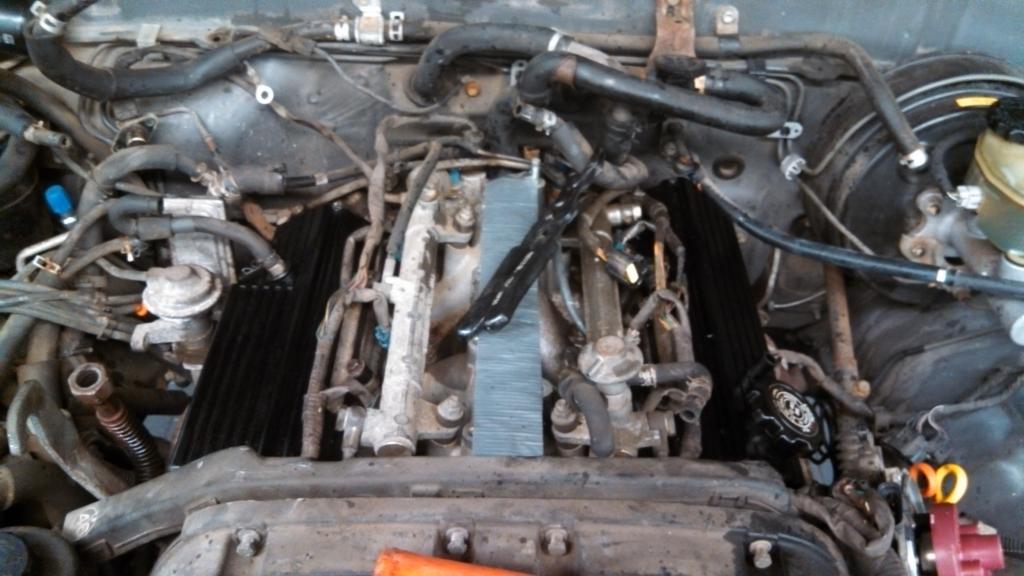
After:
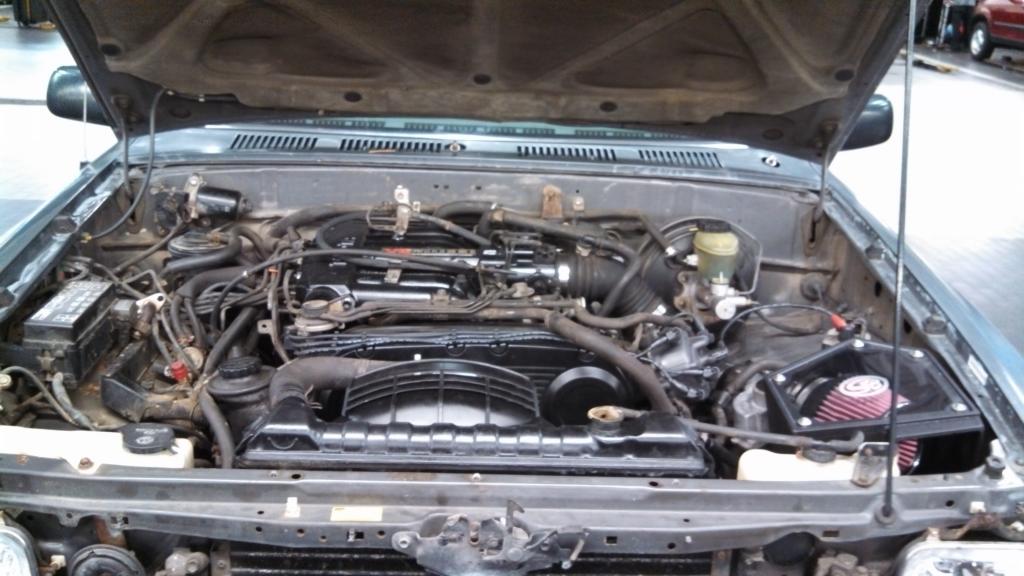

Before:


During:

After:


 08-31-2013, 11:02 PM
#6
Registered User
Thread Starter
Join Date: Aug 2013
Location: Illinois
Posts: 30
Likes: 0
Received 0 Likes
on
0 Posts
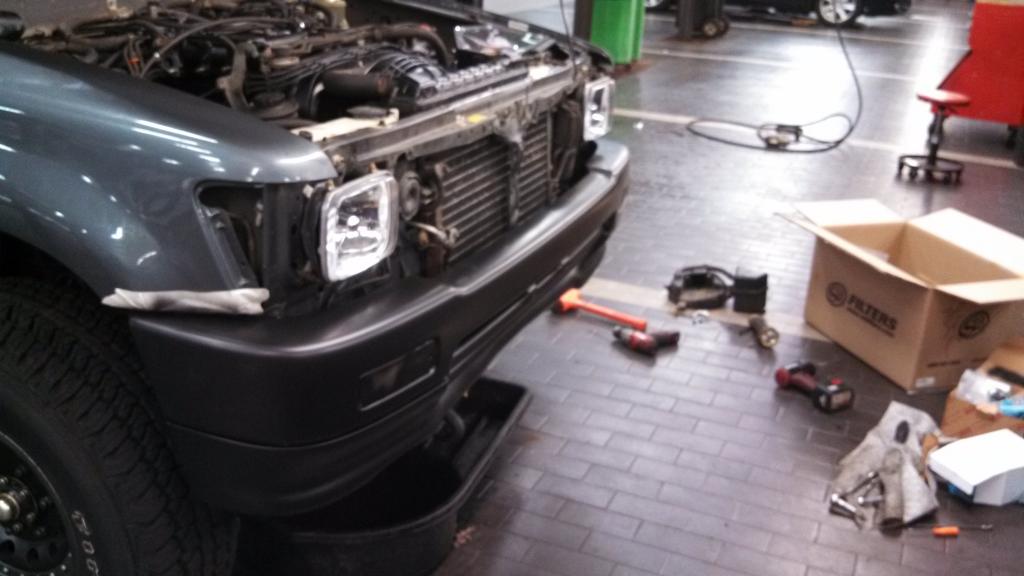
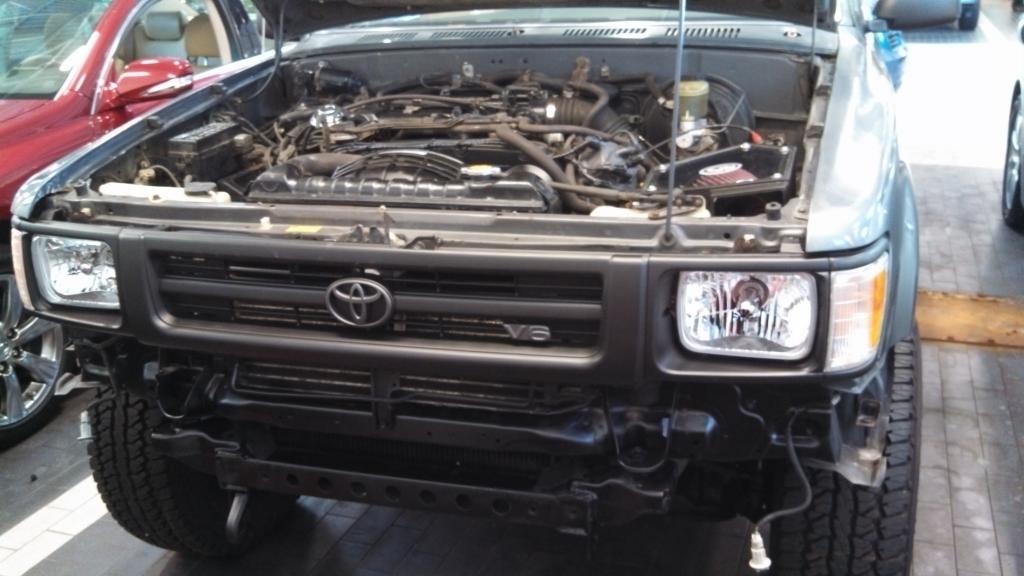
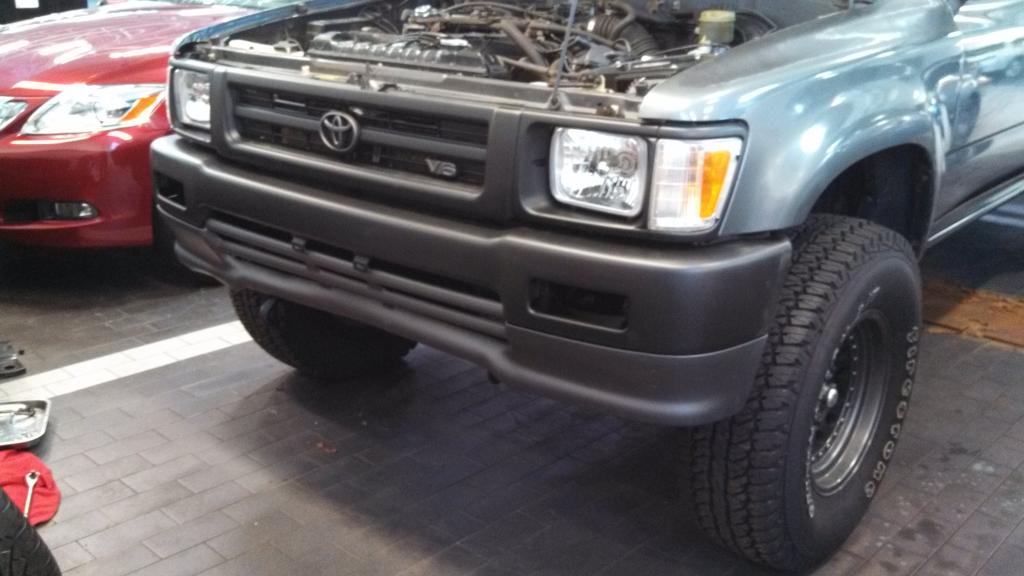
Also decided to upgrade the headlights. So I Purchased Roundeyes Headlight conversion. while I was there I decided to plastidip my front bumper and grille(not finished yet).
And that is how the truck sits for now. Here are the upcoming fixes/ upgrades for the truck in the next couple weeks.
To do List
-Find an Electric Speedo SR5 Cluster - Purchased!
-Jungle Fender Flares - Purchased and Plastidipped!
-Plastidip rear and front bumper and finish grille - Complete
-New Outer Mirror Assemblies - Complete
-Roll in bed liner
-Finish rust encapsulating
-Manual hub conversion - Complete
-EGR replacement(broke while removing intake) - Complete
-New Tailgate and Drivers fender(rust issues beyond repair)
-Plastidip complete truck(the color is a secret!!!)
Last edited by Lextreme; 09-21-2013 at 03:18 PM.
09-01-2013, 09:26 AM
#7
Registered User
Welcome to yotatech! Great looking trucks man and awesome write up so far I've never messed with plastidip and havent really heard anything about it, good or bad. Kinda wondering what the finish is like, is it relative scratch resistant like bedliner?
I've never messed with plastidip and havent really heard anything about it, good or bad. Kinda wondering what the finish is like, is it relative scratch resistant like bedliner?
Trending Topics
09-01-2013, 12:43 PM
#8
Registered User
Thread Starter
Join Date: Aug 2013
Location: Illinois
Posts: 30
Likes: 0
Received 0 Likes
on
0 Posts
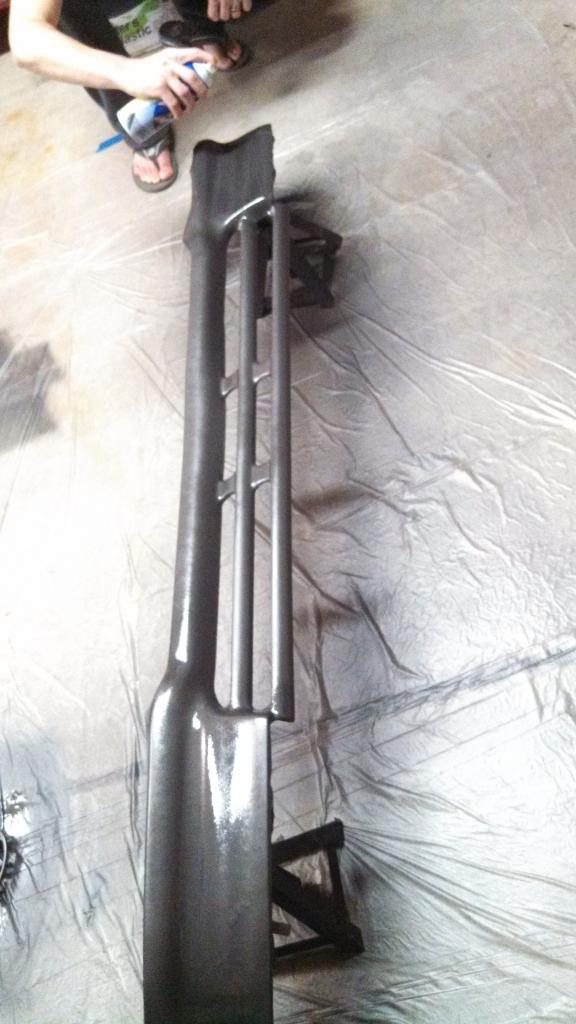
Its not as resilient as bedliner. I know it can withstand hundred of touch car washes without damage. If someone scraped my front bumper if would tear off and most probably no damage to the bumper.... Very easy spray on, easy to take care of and relatively cheap to do... I wasn't going to pay for a $4000 paintjob on a truck that I didn't pay that much for! plastidip is the way to go then... it will look nice without the price...and if I ever wanted to change it up, all I have to do is spray then next color right over the first color... easy as that... not that much prep. I will take plenty of pics when im doing the plastidipping to show what's all involved!
Last edited by Lextreme; 09-01-2013 at 12:45 PM.
09-01-2013, 01:35 PM
#9
Registered User
Thread Starter
Join Date: Aug 2013
Location: Illinois
Posts: 30
Likes: 0
Received 0 Likes
on
0 Posts
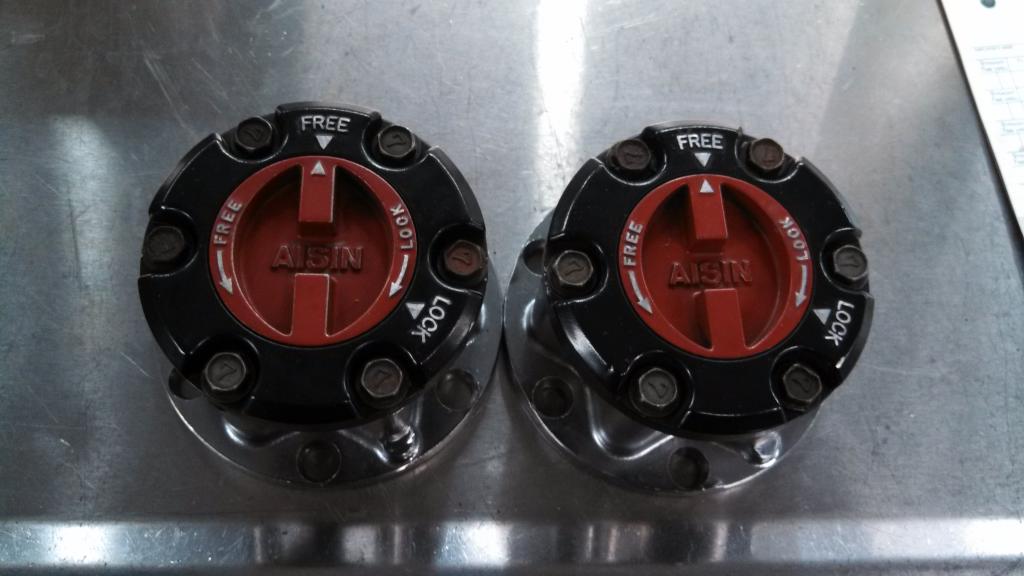
Forgot to post that I purchased a pair of rebuilt and cleaned Aisin Manual Hubs from a guy off toyotanation.com forum(SC T100).. Can't thank him enough.. great deal for these hubs...
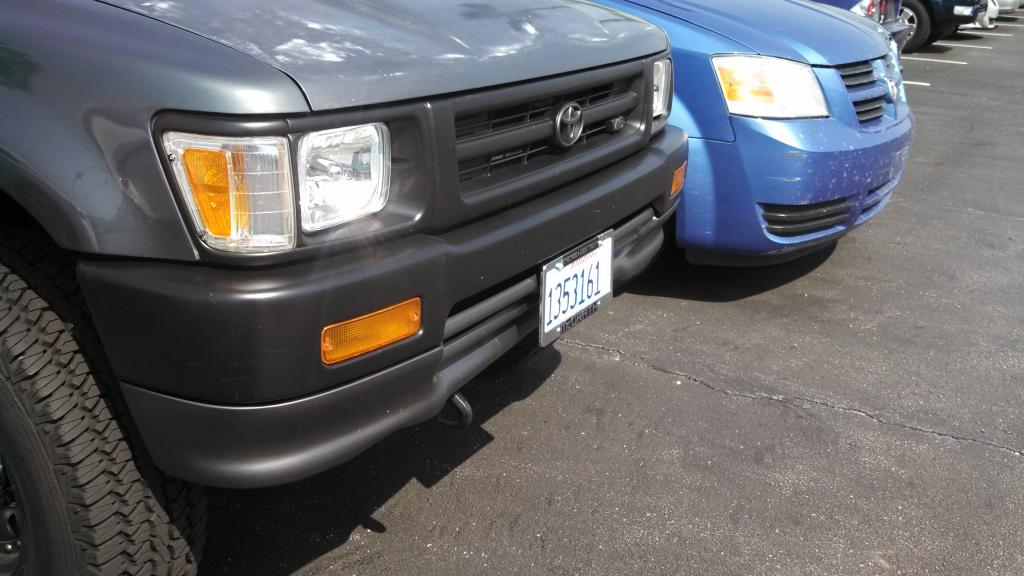
Also forgot to add that I did Sell the 1993 pickup I had...it's a sad day to see Richard pryor drive off but this new truck along with money from that sale will make this new one even better! Can not wait.... here are some pics of right before the 93 was sold with both truck side by side!
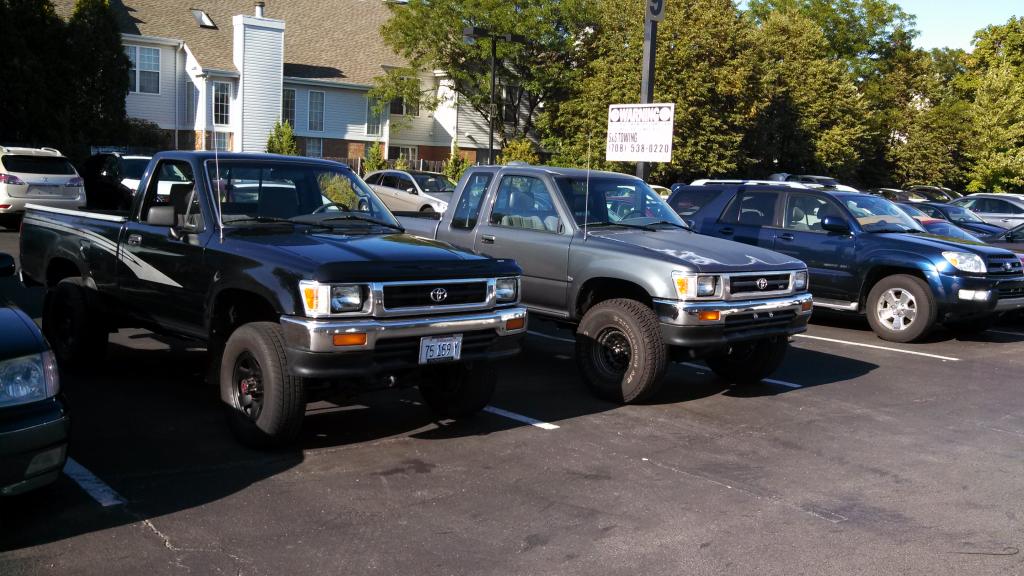

Also forgot to add that I did Sell the 1993 pickup I had...it's a sad day to see Richard pryor drive off but this new truck along with money from that sale will make this new one even better! Can not wait.... here are some pics of right before the 93 was sold with both truck side by side!

 09-02-2013, 06:41 AM
#11
Registered User
Thread Starter
Join Date: Aug 2013
Location: Illinois
Posts: 30
Likes: 0
Received 0 Likes
on
0 Posts
thanks for the compliment! I can't wait to finish this truck to see the end result either. Been trying to find a sr5 gauge cluster to slap in this thing. Does anyone know if there is an easy way of seeing if I have cable driven or electric speedo without pulling the whole dash apart? I know it helps to have it the same engine size and ive read tons about the different oil pressure sending unit, but I just don't wanna rip my dash out just to see if its electric or cable speedo.. lol.. thanks in advance!!
09-02-2013, 06:52 AM
#12
Registered User
You can tell by looking on the firewall (engine bay side) if its cable driven you'll be able to see a cable coming out and going to your trans. Im thinking that yours is probably electronic being a 94 v6 auto. But dont quote me on it haha. Oh ya thats right, I wanted to ask you how you liked your round eyes headlights? Big improvement?
09-02-2013, 07:33 AM
#13
Registered User
Thread Starter
Join Date: Aug 2013
Location: Illinois
Posts: 30
Likes: 0
Received 0 Likes
on
0 Posts
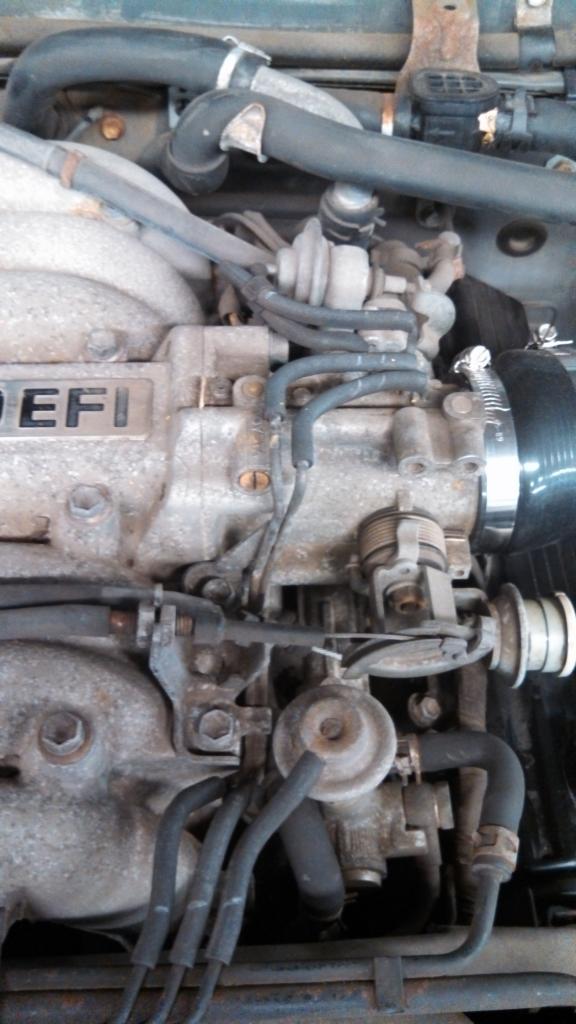
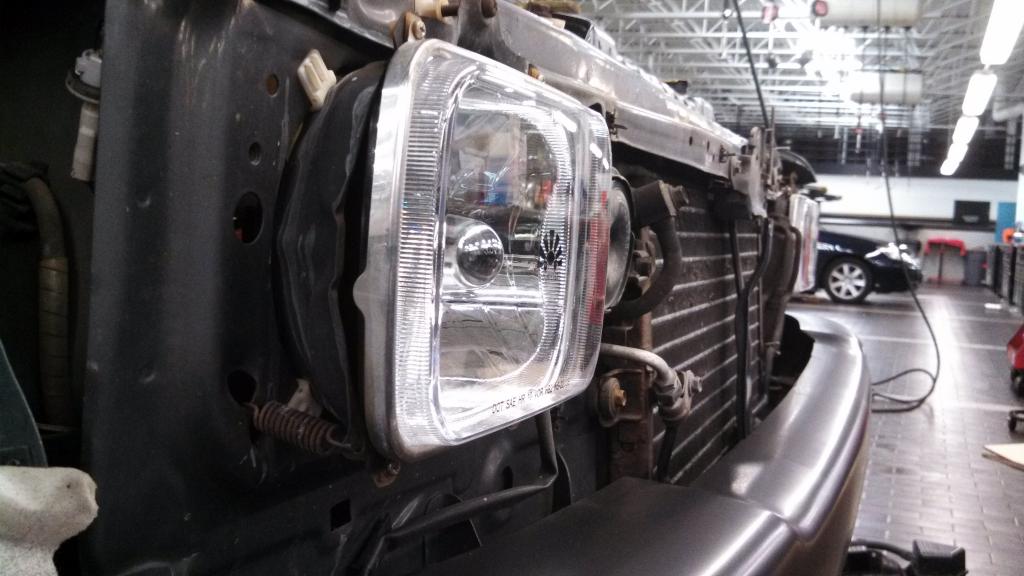
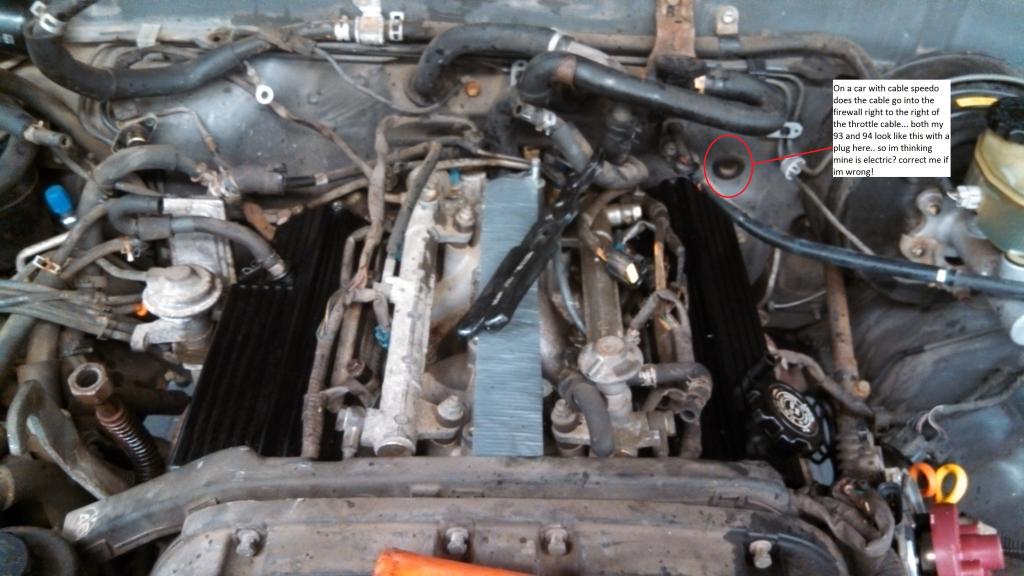
im looking at my pictures to see if I can see anything. My truck is at work right now so I cant go look at it but if I was a gambling man I would say that this plug in this pic is where the cable speedo would go through... basically right next to the throttle cable... correct me if im wrong.
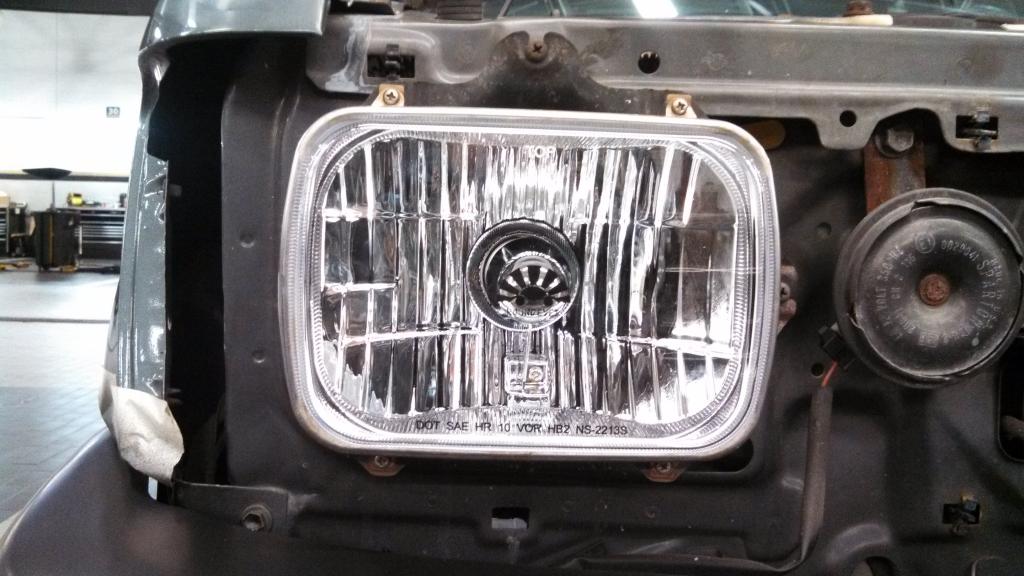
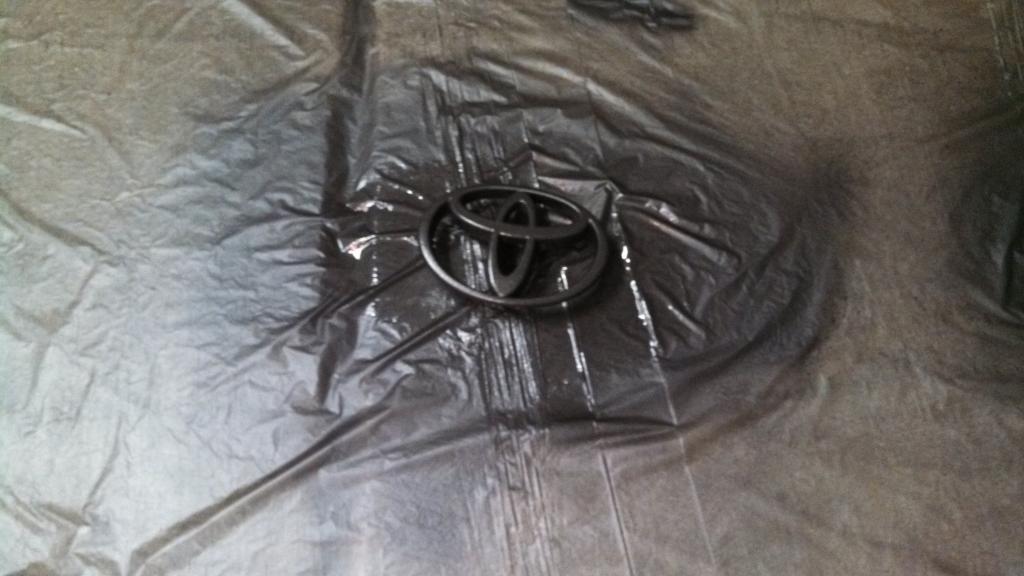
And also I was waiting for my EGR valve and everything to start the truck after all this so I haven't even turn the key yet so I don't know how the lights will be.. they better be way better than sealed beams!!!! LOL .... I was kinda upset that they put a black logo right in the middle of the glass of each headlight. It's just kinda annoying... if anything ill try and use my headlight restoration kit and try and buff them off!!!! LOL
Luke
09-02-2013, 10:08 AM
#14
Registered User
I'm thinking you'd be right in your assumption that thats the plug for the cable driven speedo. Again don't quote me but my understanding is that they did away with the cable for 93?
09-09-2013, 10:37 AM
#15
Registered User
Thread Starter
Join Date: Aug 2013
Location: Illinois
Posts: 30
Likes: 0
Received 0 Likes
on
0 Posts
that is what i'm reading, but i guess the 4runner is the exception to this because ive found numerous 94-95 clusters with cable driven when they come out of 4runners.... weird....... and your question about the roundeyes headlights.... they are amazing!!! Huge improvement from factory sealed beams.. only thing i was upset about was they decided to put their logo right in the center of the lens. it seems like i will be able to remove it with my headlight restoration kit but still an annoyance. you cant see it unless you look very closely at the light and it doesnt affect the light output either, just cosmetically displeasing.
09-09-2013, 10:48 AM
#16
Registered User
Thread Starter
Join Date: Aug 2013
Location: Illinois
Posts: 30
Likes: 0
Received 0 Likes
on
0 Posts
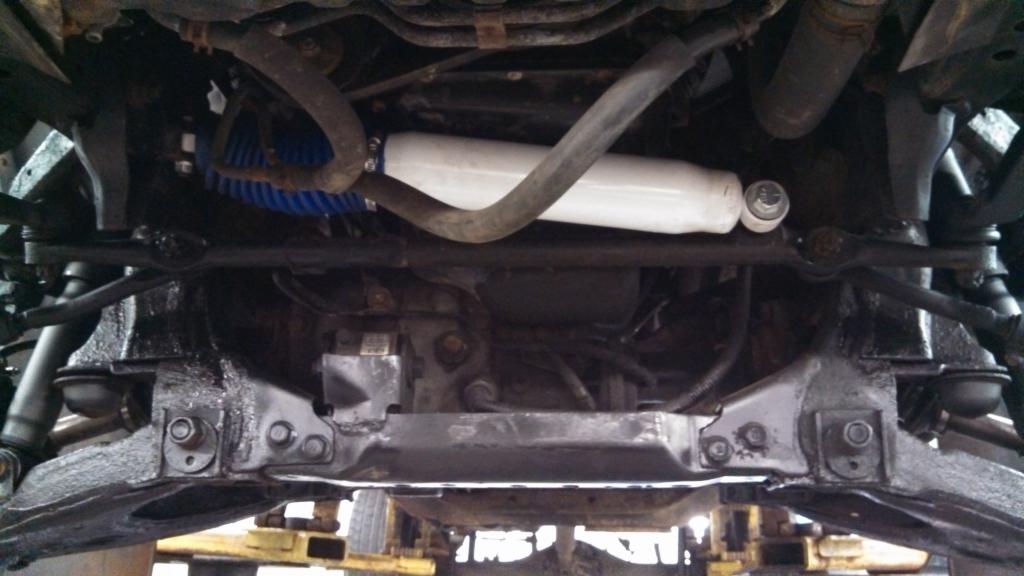
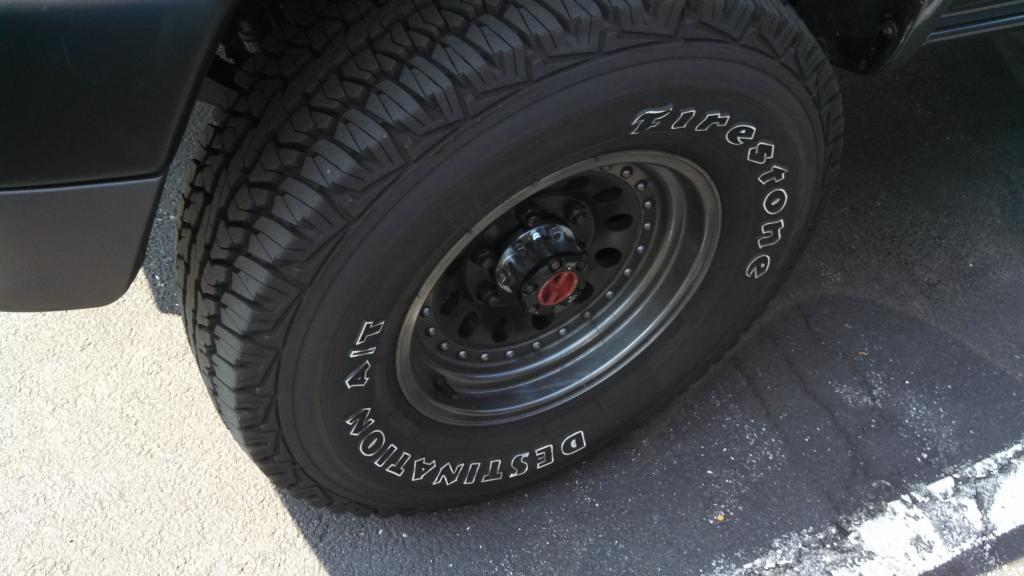
Also, I Converted/simplified my A.D.D. front diff and Installed my Aisin Manual hubs. I wanted to get rid of the vacuum system as much as possible. I just removed the vacuum line off the drivers side port on the front diff- plugged that port. Took the passenger side port and ran a vacuum line straight to constant vacuum. And removed vacuum source from the vsv/vacuum tank. So now my front axles are locked together at all times. So now if the manual hubs are in the free position - axles wont spin with wheel(less dirvetrain wear/fatigue). and in the lock position - axles will spin with wheels and Remaining A.D.D. system will still work properly. So 4 wheel drive on the fly(up to 45 mph) will still work properly as long as the hubs are locked. love simplifying things! Pics will be posted once i get home from work!!!
09-09-2013, 07:10 PM
#17
Registered User
Thread Starter
Join Date: Aug 2013
Location: Illinois
Posts: 30
Likes: 0
Received 0 Likes
on
0 Posts
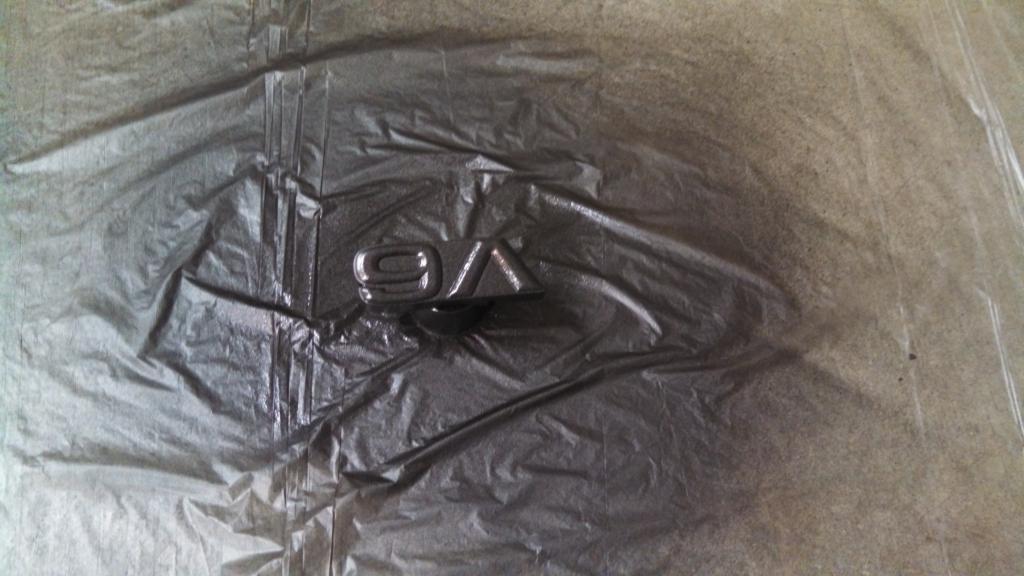
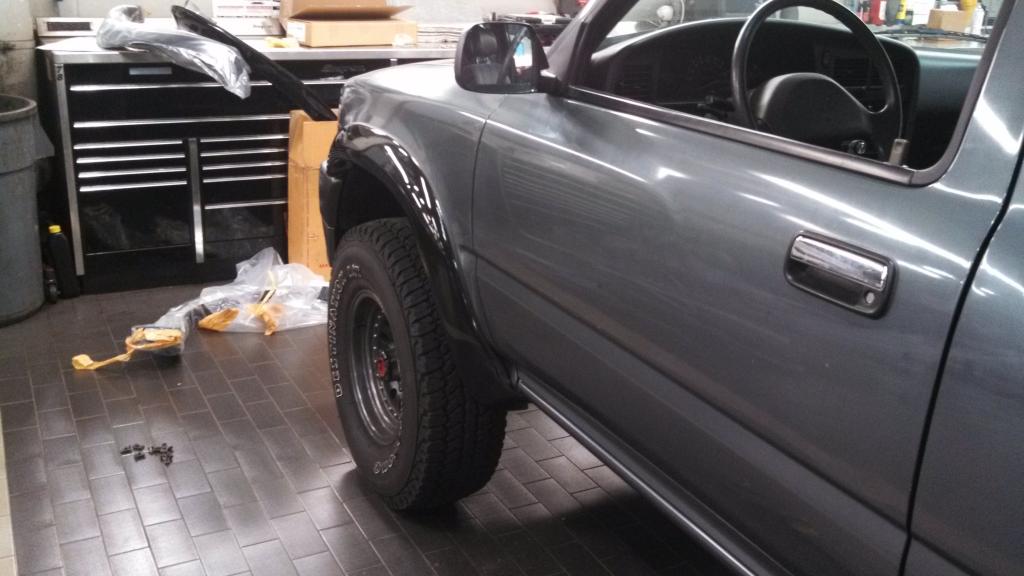
Here are some pics of my plastidipping process of the grille and front bumper! Also a couple of pics of the manual hubs.

On a side note: my Jungle fender flares came in today. I have to go pick them up from the post office tomorrow morning. Can't Wait!!!!


On a side note: my Jungle fender flares came in today. I have to go pick them up from the post office tomorrow morning. Can't Wait!!!!
09-21-2013, 05:17 AM
#18
Registered User
Thread Starter
Join Date: Aug 2013
Location: Illinois
Posts: 30
Likes: 0
Received 0 Likes
on
0 Posts
So I haven't updated this in a awhile.... got the fender flares and test fit one of the front ones.... kinda hard to do by yourself... was able to do the front one by myself but tried the rear and was next to impossible.... they will be plastidipped black today to match the bumpers. Also Next week getting the windows tinted 35%(Illinois legal limit). Still waiting on some body work to do the whole car plastdip job, but hopefully be done before October.
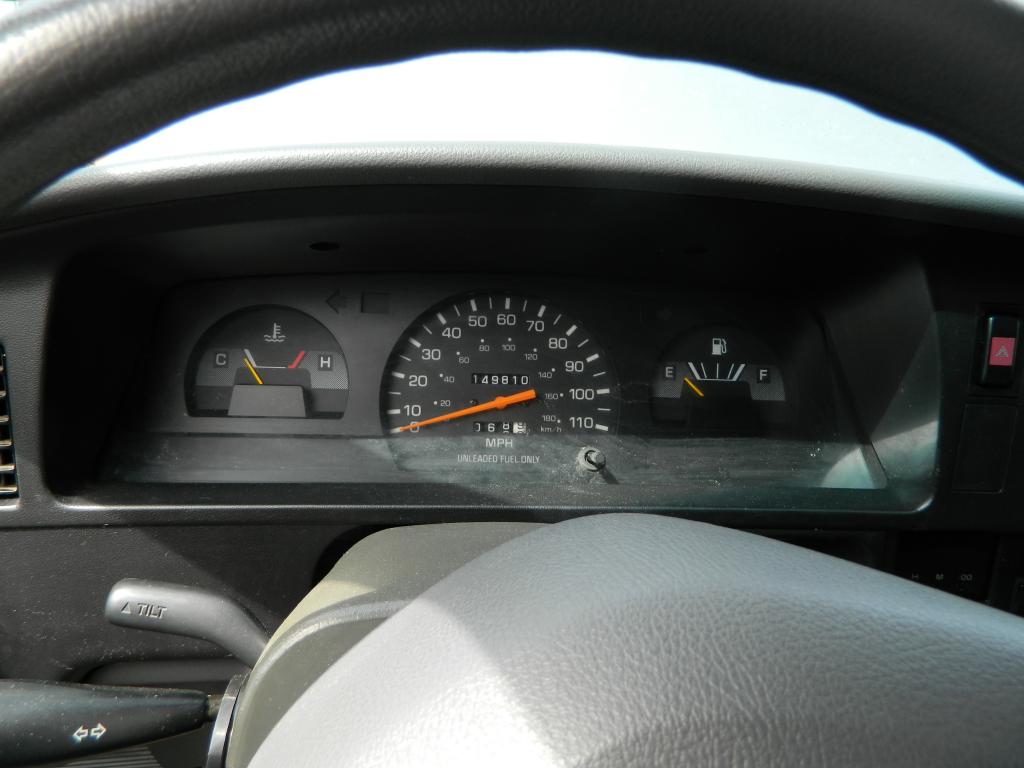
I have had one issue with the truck recently and maybe someone might be able to chime in with words of wisdom. I searched and searched on here and have gotten a lot of info but my issue seems a bit different than some... My electric driven speedo doesn't like to work for the first couple minutes of driving, But my odometer and trip works fine. then it just pops up and starts working like nothing ever happened...Temp gauge and fuel level gauge work fine as well when this happens. I tested the VSS in the trans(hot and cold) and it passed... Soo im thinking it is the gauge cluster itself. Could anyone share There wisdom on this?... I was planning on doing a SR5 Gauge cluster swap anyway but it is hard to find an electric speedo cluster(non-cable driven) except on ebay where they want $150 for a used cluster. thanks in advance!


I have had one issue with the truck recently and maybe someone might be able to chime in with words of wisdom. I searched and searched on here and have gotten a lot of info but my issue seems a bit different than some... My electric driven speedo doesn't like to work for the first couple minutes of driving, But my odometer and trip works fine. then it just pops up and starts working like nothing ever happened...Temp gauge and fuel level gauge work fine as well when this happens. I tested the VSS in the trans(hot and cold) and it passed... Soo im thinking it is the gauge cluster itself. Could anyone share There wisdom on this?... I was planning on doing a SR5 Gauge cluster swap anyway but it is hard to find an electric speedo cluster(non-cable driven) except on ebay where they want $150 for a used cluster. thanks in advance!
Last edited by Lextreme; 09-21-2013 at 05:25 AM.
09-21-2013, 02:21 PM
#19
Registered User
Thread Starter
Join Date: Aug 2013
Location: Illinois
Posts: 30
Likes: 0
Received 0 Likes
on
0 Posts
by pure luck I just bought an electric speedo sr5 gauge cluster from 85toyman on here... Cant wait to get this in the truck.. thanks again 85toyman!!!!
09-21-2013, 03:21 PM
#20
Registered User
Thread Starter
Join Date: Aug 2013
Location: Illinois
Posts: 30
Likes: 0
Received 0 Likes
on
0 Posts
Debating on doing a Flex a lite Electric fan setup.... anyone have any insight on doing this? Pros/Cons....It must be better cooling flow right? One thing I hate is my truck sounding like a school bus!!!!


