When you click on links to various merchants on this site and make a purchase, this can result in this site earning a commission. Affiliate programs and affiliations include, but are not limited to, the eBay Partner Network.
ive been lazy with posting updates again. Yes finally new shocks. Tried to fit the 5100s and the uptravel wasnt enough, so i stuck a set of oem length billis in and at full droop they fit in with no compression... so looks like thats where i am at the moment. Theres really a limited market on 0-2� lift shocks. The OME are too stiff imo. Rides like a log truck if you go their route.
I also finished up some interior work and put new carpet in the cargo area. I still have the headliner to replace and the tailgate carpet piece to come up with. The hilift mount is one of 4Crawlers, shes all for looks but a little bling never hurt.
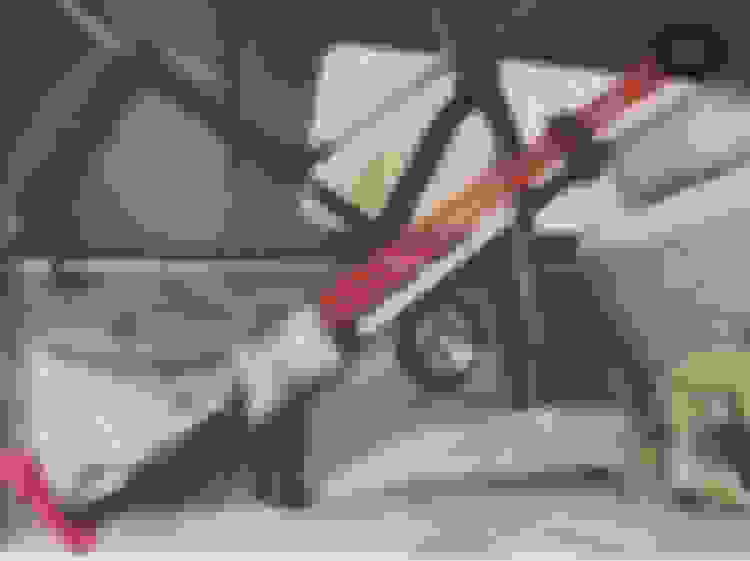
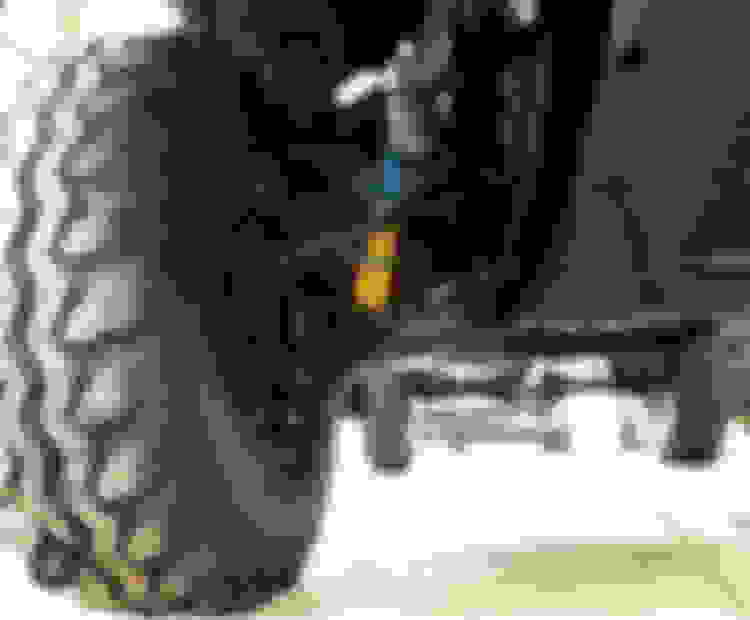
been stagnant on the project lately but I did manage to put on a little prerunner bar to hold some KC Daylighters. I gave up looking for an OEM trailer hitch and went with a Curt..which requires moving the spare tire, drilling a few extra holes, and light exhaust moving which I did when I put the headers on.
Nice!
The 33x10.50r15 Intercos look skinnier than the BFGoodrich All Terrain 33x10.50r15. I like them with the black OEM rims.
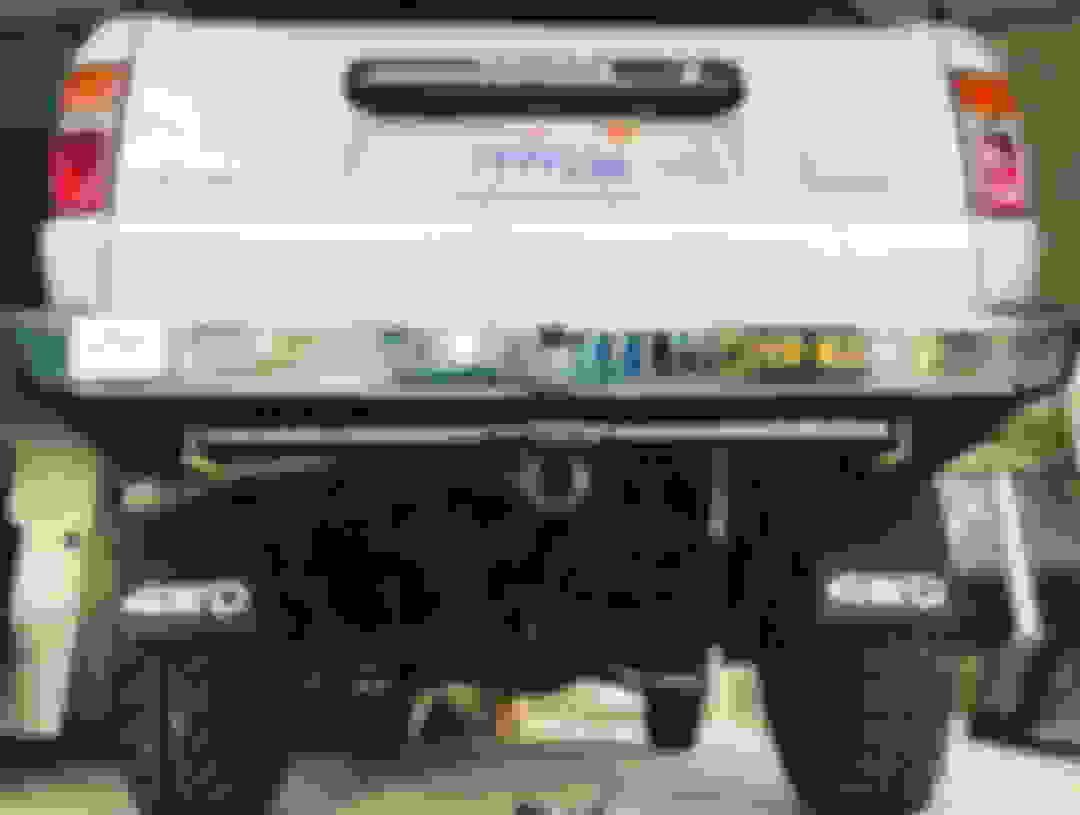
My trailer hitch's similar than yours, I thought it was the OEM one:
had some much in my clutch pedal lately, probably a combination of a 31 year old master and slave cylinder, water soaked fluid and a bubbled out soft line. so i replaced all of the above. ordered a steel braided line, Aisin master and slave cylinders from Marlin, and knocked it all out in about 2 hours this morning. its very straight forward, even if your not mechanically inclined. the biggest PITA were the clips that retain the soft line in the brakcets. a few tidbits that held me up, the flange on the original slave cylinder is slightly thinner than the new Aisin one i got, so when i ran the bolts in they bottomed out before it was tight, i had to clean the holes out with a scribe and run them back in. there were two of the bowed clips on my original soft line, one at each end, but the marlin crawler line would not take one at the top end, so i removed the c-clips from the original line and used it as a retainer for the top of the marlin line. and dont forget about the inspection panel in your wheel well! four 10mm bolts to get it off and it really help getting your line wrenches in. also heres a few pictures of the route i took with exhaust parts, magnaflow stuff behind LCE street headers.
rear axle work is underway. i got the new longfields pressed into the bearing assembly for both sides, and replaced the oem wheel cylinders with FJ60 1" bore, i plan to replace my OEM master cylinder with a 1" bore as well. used a new bearing kit from trail gear for the shafts, came with the bearings, c clips, inner seals, outer seals, the oring, and bearing retainers. i pulled the rear 3rd and preps for a spartan locker. while ordering the spartan from Marlin i went ahead and grabed new nuts and washers and a low profile drainplug for the 3rd. in case you missed an earlier post, the 3rd is NOT original to this truck, i replaced the original with a V6 3rd that was geared to 4.56. also finally picked up a full sized spare super swamper and got an oem spare steel wheel from rockauto (of all places). oh and hey pro tip, rockauto has oem refurbished wheels for anyone looking for a set. idk where they get them but they are legit toyota wheels that have been repainted. about 130 bucks if i remember.
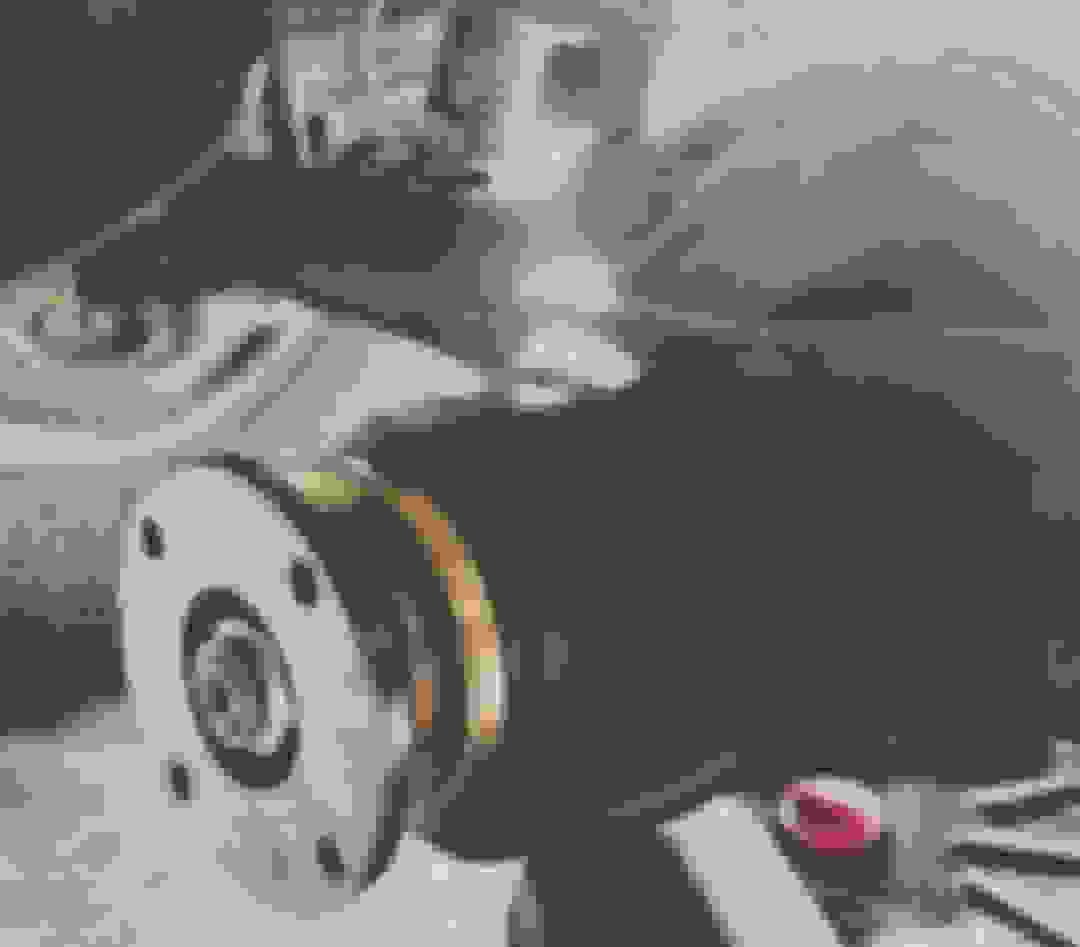
Install was was fairly straight forward, and this one my first time pulling a ring gear if that says anything. I already had my axles our for the chromo install, so I pulled the third and slapped a Spartan in it. Important to mark where everything goes. I like making a cardboard drawing with holes it in where the bolts go. Take off bearing caps, pop out the carrier. Take the 8 bolts that hold the ring gear in off. Remove the washers on either side of the side gears, remove spider gears and their washers. Install one half of spartan with springs and pins, out cross pin back in, put in other half of spartan with pins and springs. Bolt it all back together and torque to spec. There�s tons of write ups in this so I won�t go into detail. I set the backlash at .006� . Even if you mark where the adjusters were originally it�s difficult to get them back in the same position so I put them back in, torqued the bearing caps, and adjusted backlash. This is accomplished by tightening the gear side first, then the other side. Install the keepers and run with it. The pinion doesn�t need to be touched unless yours if fubar.
if you saw my post about having problems with my longfields/bearing noise, you noticed that i had to get the correct axles ha. trailgear sent me pre 86 axles so they were too narrow to seat in the carrier properly, as such i took my new correct length shafts with my new wrong length shafts (already in the rear brakes) to a machine shop in town that has the toyota service tool. i had also posted here asking about how important the rear drum dust shield was that sandwiches between the lug studs and the axle shafts with no response, so i went ahead without them. since i have extra time now, i decided i might as well do it the right way and was able to find the parts through the dealer. here are the toyota part numbers, will cost you ab out 40 bucks. the shields have a thin gasket as well.
The rear diff work caused my pinion seal to start leaking slightly so today I changed it out with a new eco seal from marlin crawler and a new dust shield because my old one was slightly warped and rubbing a spot on the casing. Straight forward, too many threads about it for me to post any step, getting the old dust shield off took a few hits with a hammer though.
Also got my sliders put on. Man the body line sits low on the frame with these things, not much room to mount.
The rebuild looks awesome! You have me considering not doing a resto on my 2nd gen and picking up a 1st gen instead. Looks like a perfect post military/retirement project. Thanks for documenting everything for the rest of us!
I made a post earlier about the door bumpers but I also did door seals. The originals were so flat and worn out that air and water was coming through on the aft end of the door on the top corner. I did not go dealer on these, just eBay specials but they are very nice quality and came with all the little plastic push clips in them.
I had reached a pretty happy point in my build, really only doing minor maintenance and fixes to keep her going. I enjoyed several trips in it and had no complaints. I started getting hard shifting into first gear and my clutch had slipped a few times due to the locker. I decided to tear into the clutch and when I pulled the transmission shifter I found quite a bit of brass flake and some pieces of some kinda of seal. I knew the transmission was on its way out the door so I bit the bullet and placed an order with Marlin for a rebuilt W56B. I have removed the transmission/tacse and pulled all of the clutch components. I am waiting on a new oem rear main seal to come in before I put the clutch components in. I ordered the seal from 22reperformance and got a 1200lb HD clutch kit from Marlin as well. I highly advise replacing the fuel filter with the tranny out, its very easy to get to since the starter has to come off before the tranny. I also ordered a new denso starter while I had the old one off. marlin quoted me 8 weeks for the transmission so now its a waiting game. I was missing the lower half of the dust cover for the cardan joint on my front dive shaft and was able to find a new one from Toyota overstock , the info for the part is (p/n 3771335041 $29.93 COVER, PROPELLER SHAFT DUST. NO.2) . the transmission removal was straight forward I wont bore with details, but the upper bolts are a pita to reach, I went in from the engine back and put the socket on for the driver side then stuck my extensions in through the shift hole. a little wiggling and tilting and it came out. I ordered a new tcase mount from rockauto for 20 bucks. I have cleaned and painted the crossmember, skidplate, and swaybar. I would like to rebuild the drive shafts before I reassemble, but the cardan joint rebuild sounds like a nightmare to be honest.
my near rear main came in just before the weekend kicked off so I replaced it along with the new clutch components, and unmated the tcase and transmission. I had planned on removing the piece that the rear main fits into, completely forgetting that the oil pan is snug up against a piece of 2x4, so I went the route of prying the old seal out with a small flat tip and tapping the new seal in. clutch install was cake, the new pressure setup should be a night and day difference.
old and busted new hotness little bit of paint new parts torque to spec started to polish up the tcase, and did get it divorced before i quit for the day.

 05-30-2018, 11:05 PM