When you click on links to various merchants on this site and make a purchase, this can result in this site earning a commission. Affiliate programs and affiliations include, but are not limited to, the eBay Partner Network.
Justin,
From reading your prior posts, you had to search out and invest some $'s in those headers, but out of curiosity, why not a custom header for the driver side vs what you have now?
Is the exhaust port spacing the same on the LT1 heads vs older standard type chevy head, ie like the old rectangular double humps?
Thanks Lybrium! Headed down the rabbit hole early.
Hi Andy, Well, because I already own them and they're tuned for the motor as a pair so any alteration or a mismatch (home made header on the left side) would defeat their whole purpose. Also, the long travel suspension was always going to happen, its just happening sooner rather than later. Yeah, it is a really nice kit. I don't own the arms just yet but I'm saving up for them.
Thanks again you guys!
Justin Its been in the works for a while. I bought the coil overs at least 5 years ago. The hoop kit I bought from a guy who had a change in plans. Well worth the 200 bucks I paid just for the brackets and tabs alone. Anyway A-Arms next... Justin
Last of the needed firewall reliefs...for now. Another problem this suspension change will fix: the shock hoop will also double as mount for the new steering shaft to work off of. At least the master cylinder/booster cleared. Thank god for small miracles; Take a win when I can. New section added for the needed header clearance. Just have to add a matching profile onto the cover to seal it back up. New profile patch with only a corner bolt to add back in. Capture nut and bolt added. Relief finished. Mocked up again and have the all clear. Onto the next deal. Thanks for looking! Justin
With the steel modifications complete I could now begin adding components back in. Left side modifications now in a coat of sealer and ready for a little black paint to finish the job. After some black paint a mosaic of Dynamat was added to replace the factory jute that was lost. I can now finally rebury this wall with components. Cleaned and reinstalled the factory sound mat. Leaving those bell housing access holes sealed over until if or when they are ever needed. Heater core back in for good. Had to cut a relief in the mat to make way for the A/C unit but nothing serious. Thanks for looking! Justin
Dash subframe and pedal cluster assemblywhere left raw from new and have since flash rusted through the years. Won't be seen once its all back together but it just bugged me to put it all back together rusty so a muratic acid bath was first. In primer after cleaning and neutralization. Shoot a little mat black paint next. Dash crossmember installed after paint along with the wiring harness. A quick mock up of the lower plastics to see if the new slightly foward shift tower position is going to clear. The heater core does sit back just a touch and the lower bracket off of the vertical runner was now crowding into it. A little trim and reweld to have it turn quicker was all it needed. Ohter than that, so far so good. The spacing between the levers is wider so a new leather boot will have to compensate for this but the console itself will be able to be reused without modification. Outside of the firewall now in a coat of color offically ending the modifications needed for this swap...at least for now. Begin adding the firewall components back on. Thanks for looking! Justin
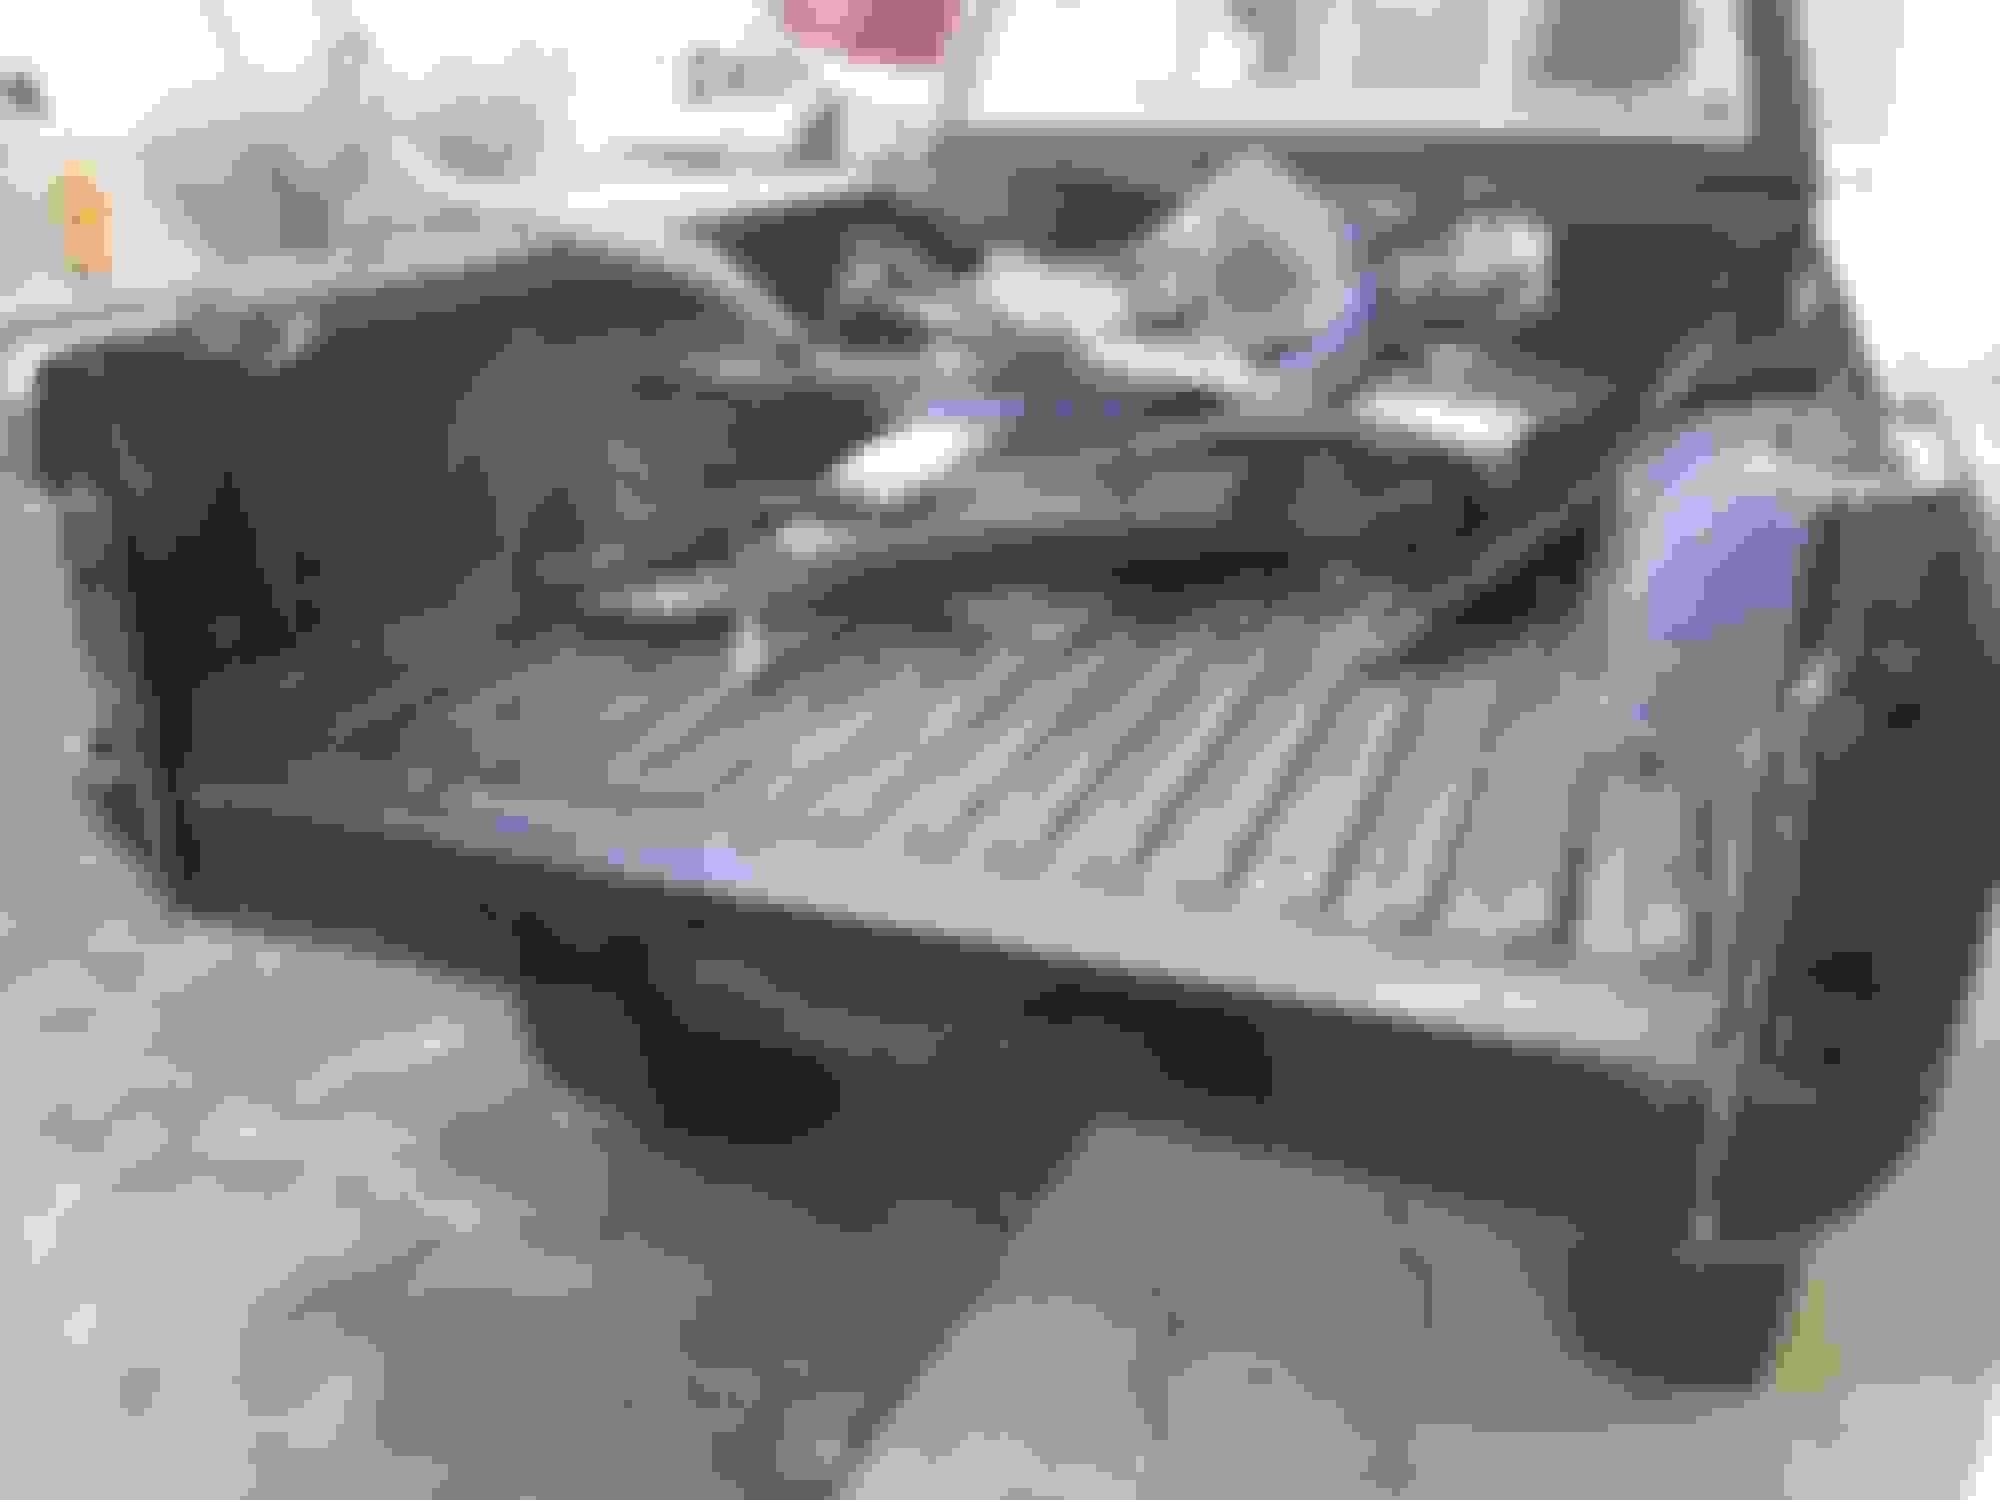
Skipping around a little as I wait on parts (and People) but it all has to be done so I'm knocking out what I can still do myself. I'm chopping a few inches out of the tail to tone down the stock overhang. This is strictly for aesthetics which is why I won't be bobbing it back to the spring shackles. I understand that is done for additional departure clearance but for me once the back half of the bed becomes shorter than the front side of it the trucks overall body profile just starts looking weird to me. At least for my personal taste and for this project anyway. I want to maintain symmetry but give it a slightly custom look. Took a little time to plan and map out where it would be initially cut free. Staggered the cuts up the side to keep my options open for an interlocking fit once I removed the excess. At this point I was thinking of chopping out 3 inches for starters. Main concern was preserving the threshold and the tapered rib ends so the final result will still seem as though its stock. Chose to cut the floor at the center of the cross member flange to both reinforce and conceal the final weld joint. More of this later... Thanks for looking! Justin
Decided to stay conservative for starters by removing only 3 inches. I was initially thinking 2 inches but that wouldn't make a dent the more I looked at it.
Mocked up here with 3 inches chopped out. Looked okay but another inch could stand to come out.
With the decision of at least 4 inches now it became clear that the final cut line had to go forward to stay clear of the tapered end detail of the ribs down at the threshold. This meant that the weld joint was now going to overshoot the crossmember. The fix was to turn the crossmember around backwards moving the flange forward to catch that new weld joint now an inch more forward. Stock bolt holes in the chassis could still be used. Mock up with 4 inches out. I am good with it here. Looks and feels right for me. Overhang softened , still seems stock at first glance but there is something different about it. The look I was shooting for. Trimming the removed inner wall to backfill that hole. It'll be seamless once its all over. Jigsawing this next. Thanks for looking! Justin
Thanks a lot Andy! My plan is to return this truck to the street as driver with all the drivetrain, suspension and mild body modifications I've been dreaming of for well over a decade now. The original plan was just to get the new motor in it and drive but as with all my other projects things just begin to snowball. Justin
Inner bed wall modifications: Took as much width out of this raised relief as I could which was about an 1 1/2 and still have both ends mirror one another for a clean final shape. Another 2.5 inches yet to go and fortunately the second relief shape had enough width in it. Final cut line established here. Floor only needed one weld joint but the relief shapes on the walls required two. Once its all welded, dressed and repainted you'll be hard pressed to tell it was ever shortened. Of course there was still some more prep, fine trimming and alignment issues but it was just about ready to go back on for good here. Thanks for looking! Justin
Know what you mean with the snowball effect, still have a 91 mustang that I pulled off the road many many many moons ago to install a TT kit on and it snowballed into a never ending project. One day.................
Hey Andy! Some progress but as you said Its been "snowballing" a little more. Just like your Mustang project; starts out as "Just going to make a small change here." " you know while its down I'll do this thing too". "you know what I've come this far so it makes no sense to put it back together now so I might as well make that other change while I'm here" and so on to the next can of worms. You know exactly how this goes.
I have it tacked back together. But ran out of motivation to seam weld it up. I'm going to try to set a goal of welding at least a foot at a time per session to get it moving forward again. Here's where the snowball effect is coming back into play again. I've always preferred the look of the flush mounted Gen2 Forerunner headlamp units so I'm switching out my old standard headlamp core support. I had purchased a complete Gen 2 front end group years ago thinking they'd just go on my old core support but soon discovered they where just different enough. I have the bumper and valance assembly too though I probably won't be able to use them with my tire and suspension choice. So instead of welding up the bed I've been prepping this new core support I bought a few months ago to go on. I'm jumping around but it all has to be done. At least that's my justification for not staying focused. LOL Thanks again Andy! Justin
Freed the original fender aprons from the old core support now fitting the new one to the truck and the old aprons. Figuring out best average fit. by using the factory alignment markings and several of the old spot welds that lined up. Only this slight relief needed for the change in headlamps. Clamped in just about the best adjusted position I'm going to get. Sheet metal screwing it together next for a quick mock up to double check before I commit to welding. Cut and rolled the edges of the splash shield for a tube bumper option. Screwed together for a headlamp and grille mock up. Some slight adjustments to make but its close. Welding it up next. Thanks for looking! Justin
Progress has ground to a halt as of late but I did finally take delivery of my new LT kit from Total Chaos: Stepped up a bit more and purchased the boxed lower control arm upgrade. couldn't be happier with the build quality of the kit. Going to track a lot wider than stock which will be cool. Already planning the rear axle swap that will match this additional track width. This kit is designed to be a direct bolt-on conversion but due to the engine swap and header choice this will not be an option. The plan is to move the pivot points down and out about an inch so new pivot points will have to be fabricated. This is out of my wheel house so to speak so I'm having a friend who specializes in this sort of thing help me along here. The trouble is he's a few months out from being able to take it on. He's worth the wait though and will have updates once this work begins. thanks for looking! Justin
Thanks jbtvt, I waited for my buddy as long as I could but decided about a year ago that I needed to just go ahead make my mistakes and do the install it myself. Catching this old thread up below. Justin
Front hub and spindle clean up and restoration:
Began with cleaning up the flash rust on the front hub assemblies. This truck has lived its life in the high desert so heavy scaley rust is not an issue. A quick dip in acid made short work of the old surface rust.
Once the acid was neutralized a black oxide solution was applied.
These units are not really paint friendly so final "skillet" coating was applied using old crankcase oil and some torch heat. This will keep it from flash rusting for a good while.
Locking cap restoration next.
Then it was time to spend some more money. All the new bearings and related seals from Yotashop.
Stock rotors would have sufficed but once I saw these I had to have them...
Front hub assemblies ready.
Spindle cleaned and repainted but jumped the gun painting them a bit as few modifications would be in store.
Hey Andy, good to hear from you. I waited over 2 years from my buddy to help me out but it just wasn't going to happen so I just had to plow ahead.
Thanks again you guys! Justin
Spindle mods and Upper control arm assembly:
Spindles had to go off to the machine shop to have the upper ball joint hole enlarged.
About a week later they were ready to accept the new bolts.
Next was harvesting the cross-shafts out of my stock upper control arms to begin assembly of the new ones.
That last items needed to complete the assembly was the metal sleeves out of the rear bushings. Stripping off the vulcanized rubber here.
Old sleeves inserted into the new Urethane bushings.
New arms ready for final assembly.
I used the supplied assembly lube but they all fit super tight and would not seat with dead blow hammer. Had to resort to drawing them in with a bolt.
It took some doing but the cross shafts were finally assembled into the new arms.
Ready for mock ups on the truck. Onto the next deal...
Thanks for looking!
Justin
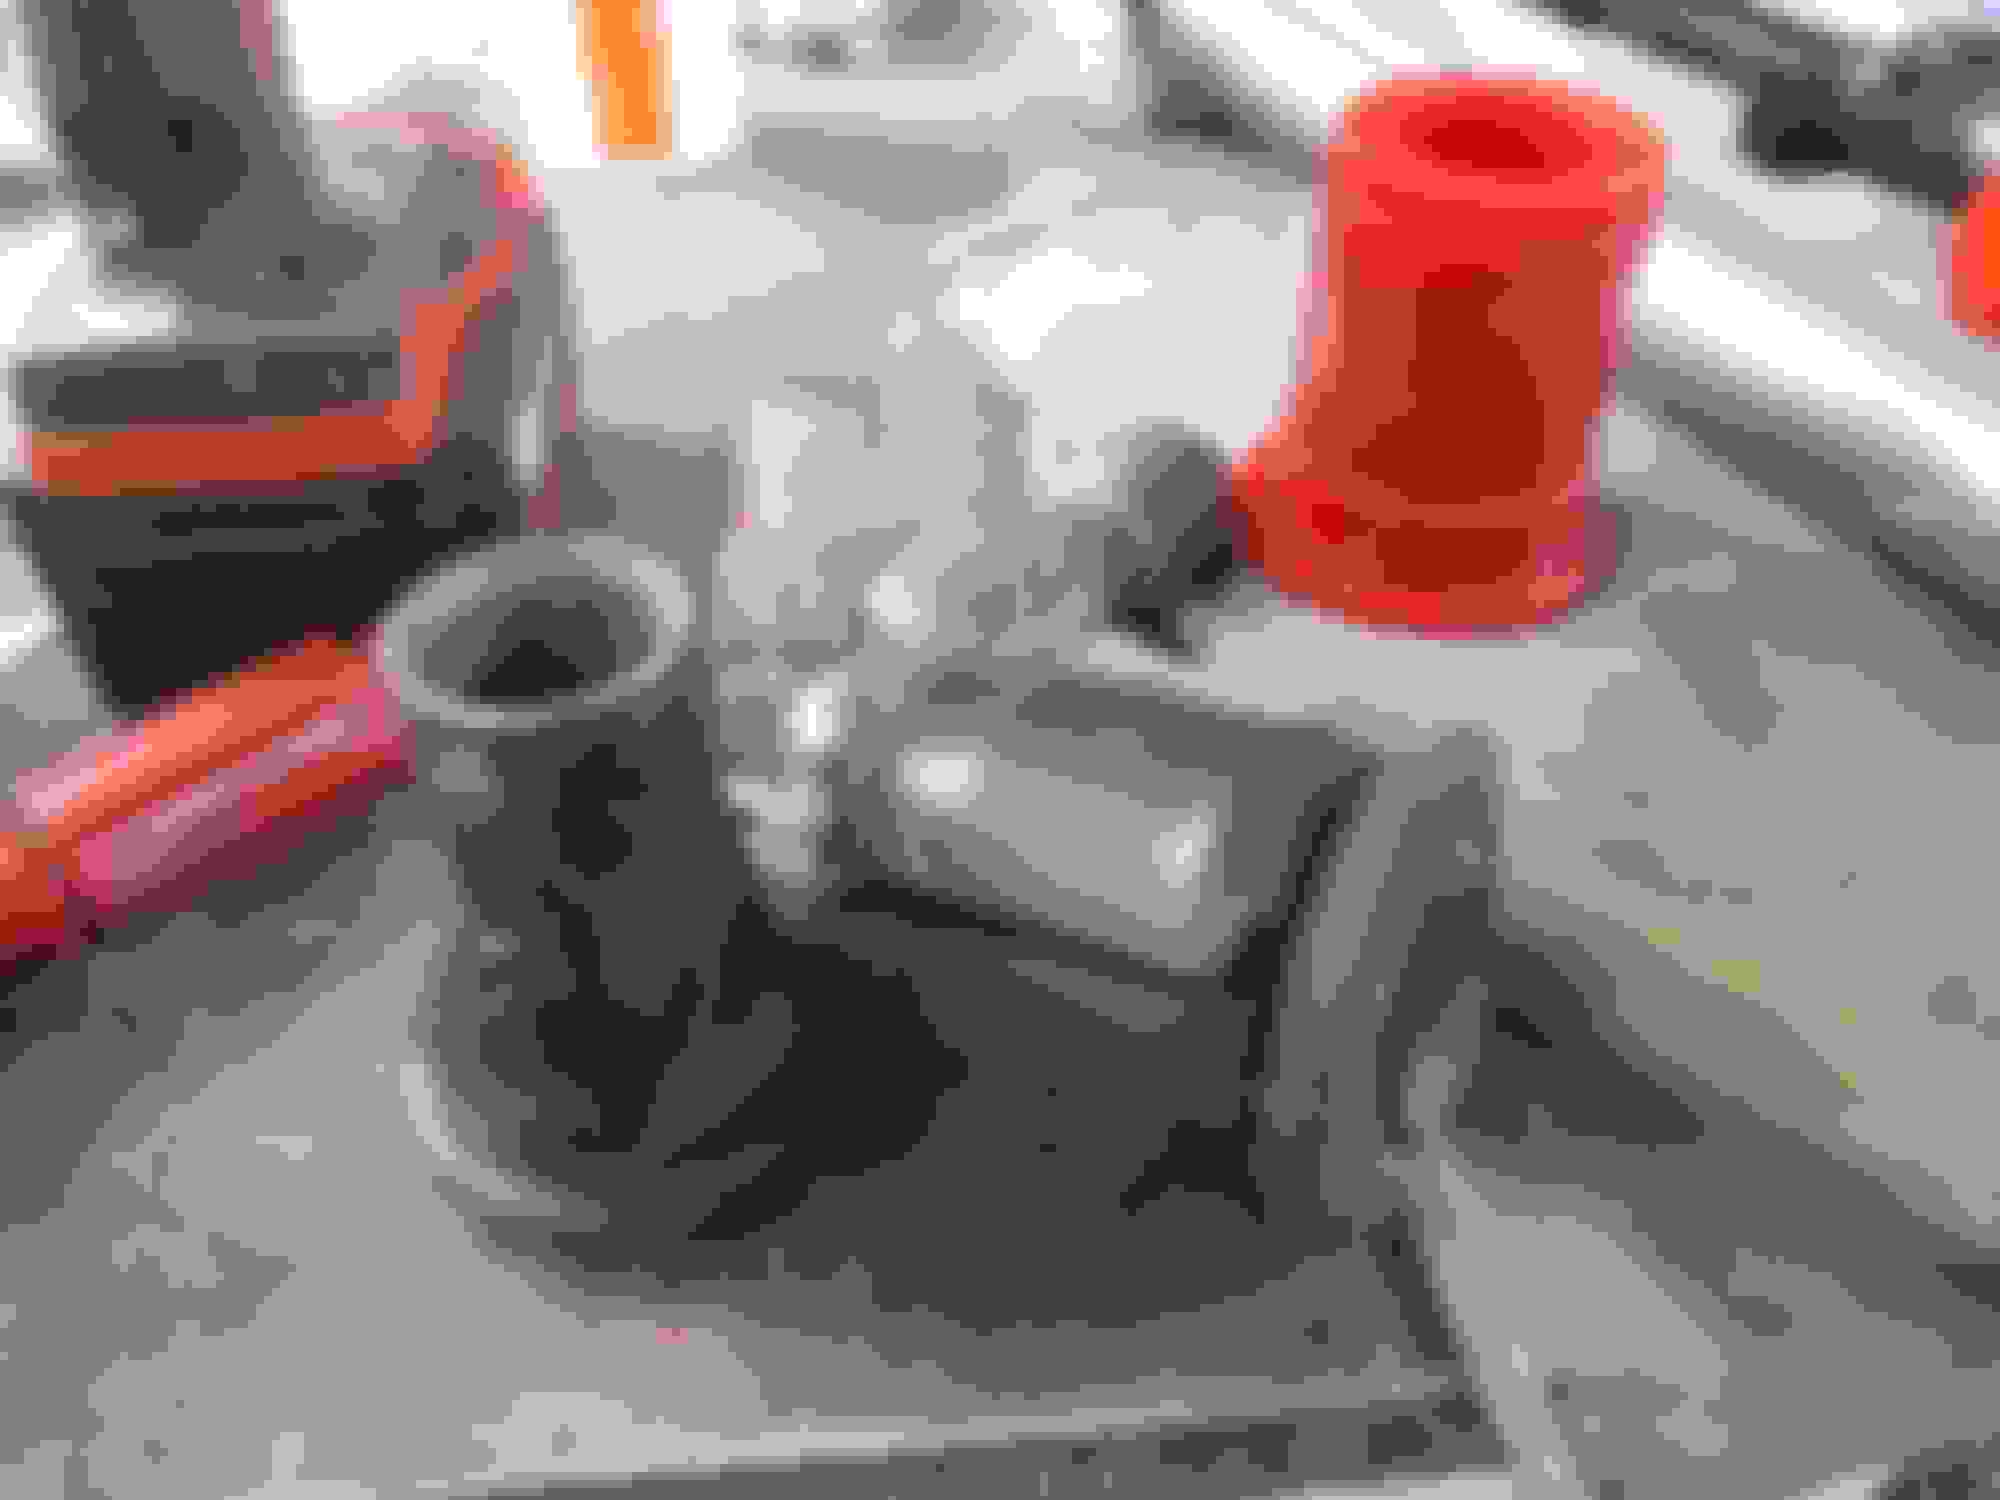
Dust shield delete:
Going to run without the dust shield so I bought the seal spacers from Marlin crawler but none of the holes matched. These must be for the earlier solid axle version. If anyone can use these let me know.
Ended up harvesting the rings from the OG dust shields.
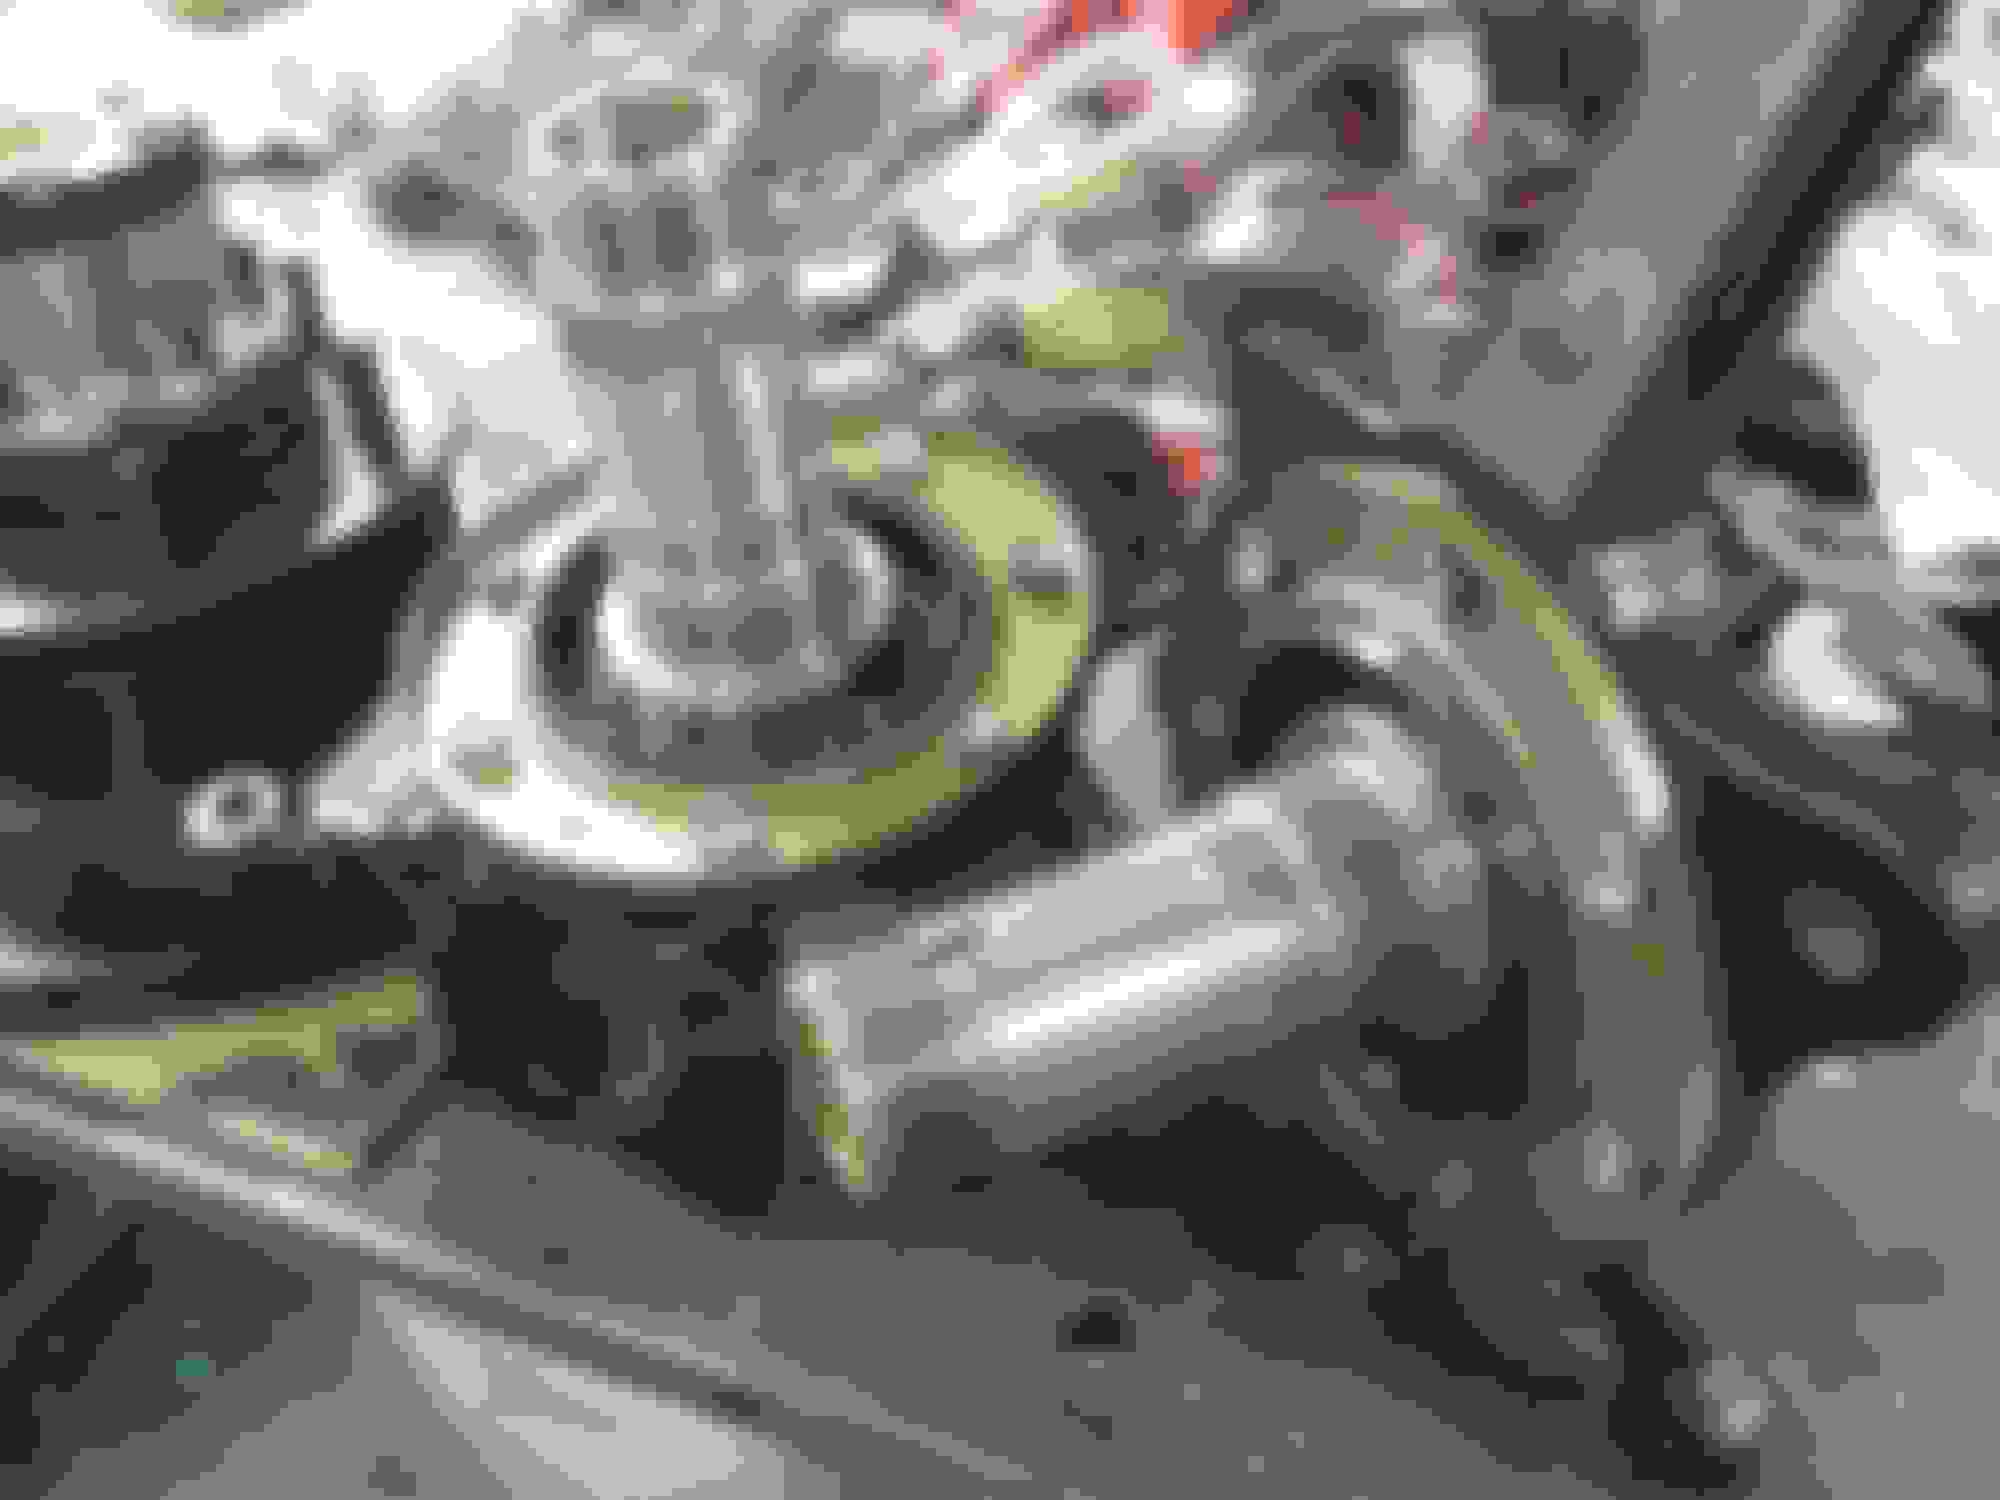
Though the seal will sit the thickness of the now missing shield itself lower...
There is ample surface area on the hub for the new seal to ride on. Slightly improved maybe as that MM difference means a fresh contact surface.
inner hub seals set with dust shields deleted. BTW: these seals where surprisingly expensive!
Thanks for looking!


 03-05-2019, 09:18 PM