1st Gen 4Runner ZUK Mod DIY/How to (Lots 'o' photos!)

 06-04-2010, 04:30 PM
#62
Registered User
Join Date: Mar 2010
Location: Fresno, California
Posts: 594
Likes: 0
Received 0 Likes
on
0 Posts
philbert, I have a 89 runner that I put the 14" 100# coild in, stock leafs its in my build thread, I now have a slight vibration when I first take off until I get going then it goes away. I am thinking its the pinion angle. You dont have any problems with your setup??
I like all the pics great write up. The ride is nice and soft like a caddy but i just worry about the vibration now.
I like all the pics great write up. The ride is nice and soft like a caddy but i just worry about the vibration now.
06-05-2010, 06:13 PM
#63
Registered User
Thread Starter
iTrader: (2)
Join Date: Dec 2009
Location: Pleasanton, CA - SF Bay Area
Posts: 2,159
Likes: 0
Received 7 Likes
on
5 Posts
philbert, I have a 89 runner that I put the 14" 100# coild in, stock leafs its in my build thread, I now have a slight vibration when I first take off until I get going then it goes away. I am thinking its the pinion angle. You dont have any problems with your setup??
I like all the pics great write up. The ride is nice and soft like a caddy but i just worry about the vibration now.
I like all the pics great write up. The ride is nice and soft like a caddy but i just worry about the vibration now.
I don't notice any vibrations other than the creak/groan at low speeds, which I attribute to the metal on metal contact of the springs/bump stops.
For me, my pinion angle didn't change much since I had the 4" blocks in there before - I mostly increased the travel between the springs/axles and frame.
Sorry, don't really have any ideas on this one - good luck!
06-05-2010, 08:53 PM
#64
Registered User
Join Date: Mar 2010
Location: Fresno, California
Posts: 594
Likes: 0
Received 0 Likes
on
0 Posts
yea I think my pinion angle is a little off, I cut the springs to 12inches and its a little better but still off some. It had somesort of helper spring in the back that i think pulled the pinion down a little so when i took it off the pinion went up some here are a couple pics of the helper

I was able to simulate this by putting a c-clamp on the rear to pull the load spring up to the leaf pak and it did tilt the pinion down some. just wonder if that helper being on there maybe bent the load spring over time so that without it the pinion wants to go up a bit. I guess I need to get a angle shim put in there. here is a flex pic I took today after I shortened the springs. still flexes pretty good with the ZUK mod.


I knew that motorcycle jack would come in handy. by the way I used your weldless method on the spring install. works great and ride is soft.
I was able to simulate this by putting a c-clamp on the rear to pull the load spring up to the leaf pak and it did tilt the pinion down some. just wonder if that helper being on there maybe bent the load spring over time so that without it the pinion wants to go up a bit. I guess I need to get a angle shim put in there. here is a flex pic I took today after I shortened the springs. still flexes pretty good with the ZUK mod.
I knew that motorcycle jack would come in handy. by the way I used your weldless method on the spring install. works great and ride is soft.
07-21-2010, 02:02 PM
#65
Registered User
Thread Starter
iTrader: (2)
Join Date: Dec 2009
Location: Pleasanton, CA - SF Bay Area
Posts: 2,159
Likes: 0
Received 7 Likes
on
5 Posts
Finally more level
Well, I got around to installing the $5 lock nut for the passenger side torsion bar, and lowering them pretty much all the way (so that the lock nuts were flush with the top of the bolt).
Here's the final result:
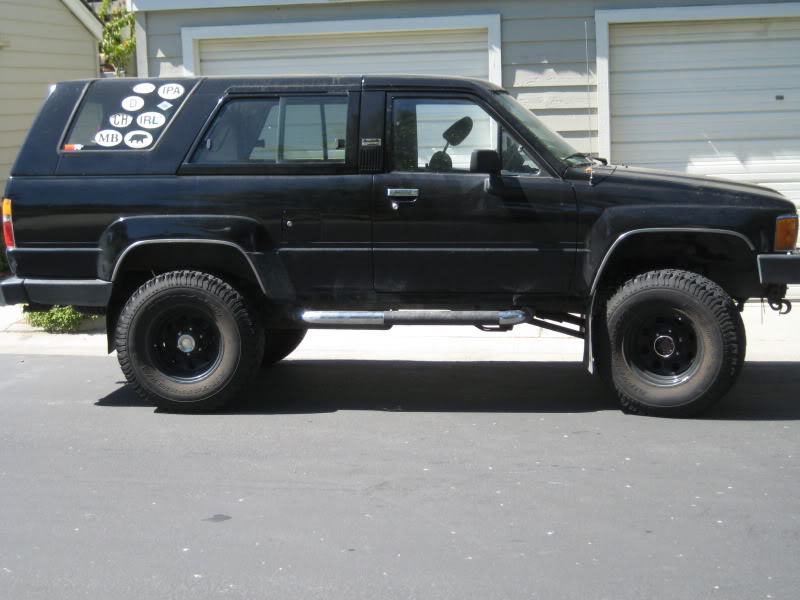
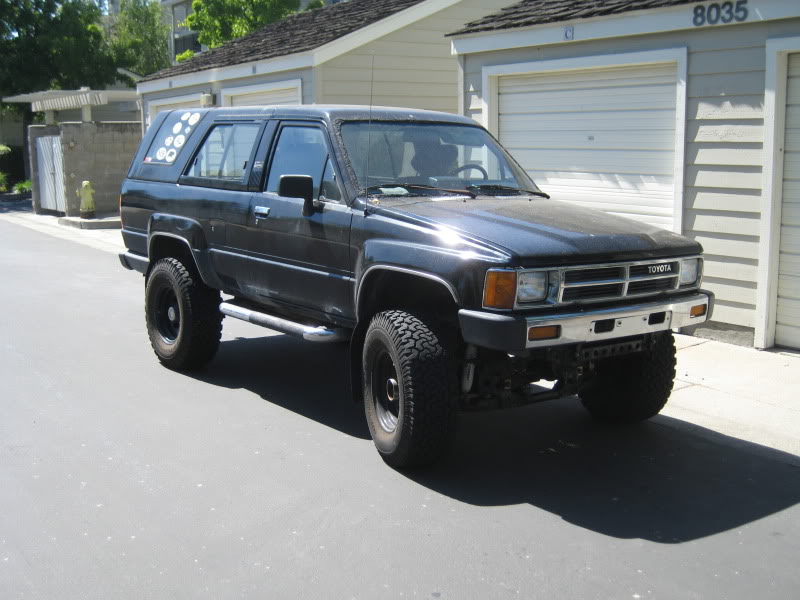
Looks great, but the ride up front is pretty harsh...ah well...
Here's the final result:
Looks great, but the ride up front is pretty harsh...ah well...
07-25-2010, 09:33 PM
#66
Registered User
Thread Starter
iTrader: (2)
Join Date: Dec 2009
Location: Pleasanton, CA - SF Bay Area
Posts: 2,159
Likes: 0
Received 7 Likes
on
5 Posts
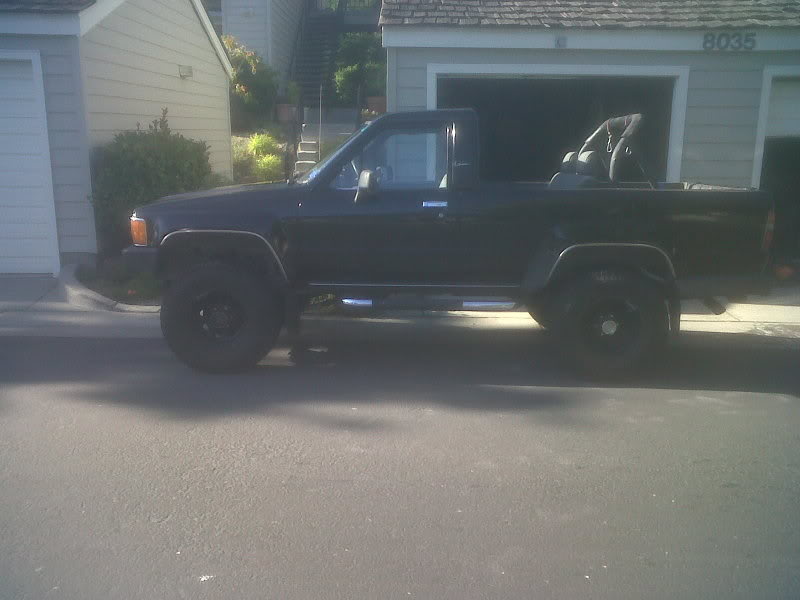
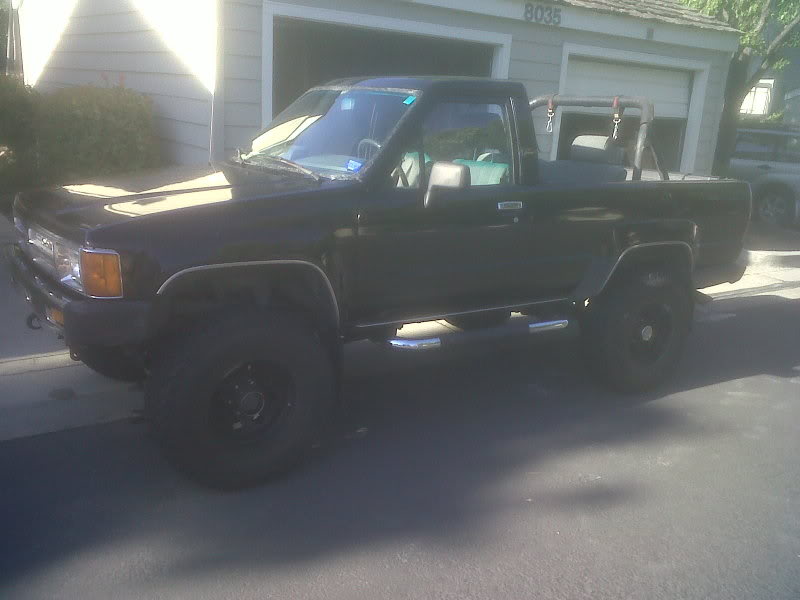
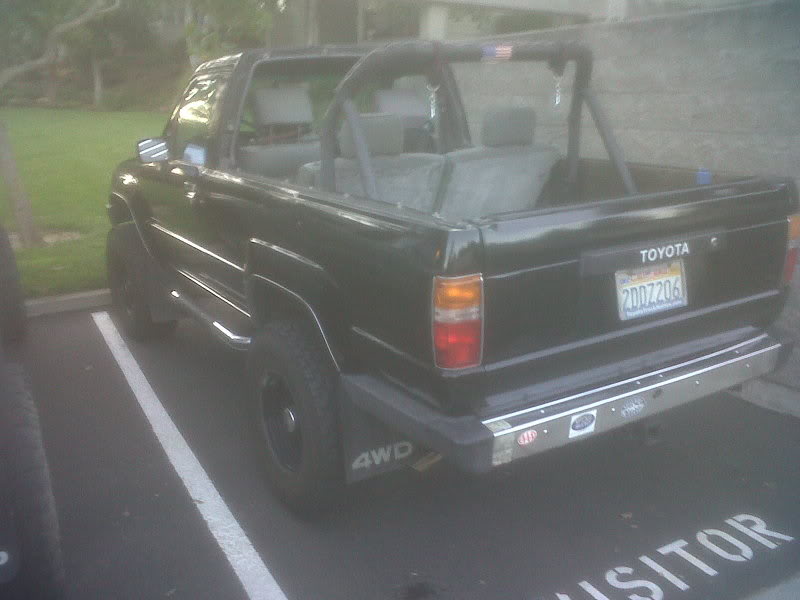
Topless!
I finally got around to
1) washing my truck this summer
2) taking off the top!
It's an adventure with 1 person but doable. Having a creeper helped to move it around!
I've been wanting to get this thing off because it leaks in the winter and I want to replace the gaskets, plus I wanted to chase the threads on the 14 8x1.25 (in case anyone wondered the size...) bolt holes because I didn't get a really good deal last time. And, I live in CA, so I've got to take advantage of the convertible factor. It's been about 4 years since I last had it off - can't wait to drive it tomorrow!
(and, in relevance to the thread, it takes some weight off ther rear, so it looks even more level)
Apologies for the cell phone quality photos....
07-26-2010, 01:00 PM
#67
Hey Philbert-
Looks good without the top Both of my Runners had no top and that's the way I liked it. I didn't realize that you took 4" blocks out....that neutralizes the gains of the 14" coils but I certainly understand that getting rid of the blocks is a good thing....you can get even more lift out of the back with quality 6~7" eye/eye shackles and/or a 2 inch spacer on the coil....sorta like what Brent from Kentucky did here near the end of this link
http://gearinstalls.com/dc.htm
Looks good without the top
Both of my Runners had no top and that's the way I liked it. I didn't realize that you took 4" blocks out....that neutralizes the gains of the 14" coils but I certainly understand that getting rid of the blocks is a good thing....you can get even more lift out of the back with quality 6~7" eye/eye shackles and/or a 2 inch spacer on the coil....sorta like what Brent from Kentucky did here near the end of this linkhttp://gearinstalls.com/dc.htm
07-26-2010, 01:11 PM
#68
Registered User
Thread Starter
iTrader: (2)
Join Date: Dec 2009
Location: Pleasanton, CA - SF Bay Area
Posts: 2,159
Likes: 0
Received 7 Likes
on
5 Posts
Thanks ZUK - really like it, and the exhaust fumes are gone now (used to creep in the back window if down at all).
I've thought about shackles in the back too, but my exhaust pokes out JUST behand the stock shackles so I'm not sure if that's goine to work.
I have a fantasy of learning to weld and some day just doing the Chevy mod, with shackles and some BJ's up front (don't think I could tackle SAS), but that's a year or two away.....I need a real garage for that too!
Thanks for the good wishes and the help along the way with this project!
08-07-2010, 02:52 PM
#69
Registered User
Join Date: Jul 2010
Location: Tennessee
Posts: 4
Likes: 0
Received 0 Likes
on
0 Posts
here's my coil spring mod. I took the no cutting route with used Jeep front coils that were $10 a piece from 4wheel parts! I am super stoked. Now its time for bigger tires. Oh and I got rid of the old man running boards
 10-13-2010, 02:10 PM
#71
Registered User

Join Date: Jul 2010
Location: Fresno, Ca
Posts: 184
Likes: 0
Received 0 Likes
on
0 Posts
So if I went with this mod along with the 14 #125 plus 1 1/2 BJ spacers in the front, this would level out almost perfectly? Or would I have any issues? I just want to correct the saggy-rear-end-syndrome from my 88' 4runner.
10-13-2010, 02:29 PM
#72
Registered User
Thread Starter
iTrader: (2)
Join Date: Dec 2009
Location: Pleasanton, CA - SF Bay Area
Posts: 2,159
Likes: 0
Received 7 Likes
on
5 Posts
I'd recommend doing the rears first (like you're planning) and then seeing how it sits. If it's too much of a "rake" for you, then get the BJ spacers to even it out.
10-13-2010, 03:06 PM
#73
Registered User
Join Date: Jul 2010
Location: Fresno, Ca
Posts: 184
Likes: 0
Received 0 Likes
on
0 Posts
know once I install them. Btw, I wouldn't have to do any other mods beside what you have shown from the earlier installation such as extending brake lines and new shocks right?
10-13-2010, 03:24 PM
#74
Brakelines will be ok.....shocks might be close to topping out so you need to see how "centered" the shock is after the coils are in. You can take 1 inch of lift away by cutting 2" off the coil length if you feel it's too high.
The BJ spacers do sound like a good upgrade....
ZUK
The BJ spacers do sound like a good upgrade....
ZUK
10-30-2010, 03:39 PM
#75
Registered User

Join Date: Oct 2010
Location: Knoxville, TN
Posts: 87
Likes: 0
Received 0 Likes
on
0 Posts
I've got some Land Rover Discovery springs I might attempt this with soon. They're 14.5" front and 15" rear, and look big enough to go over the hump in the frame for the bumpstop
11-17-2010, 05:33 AM
#76
Registered User
Join Date: Feb 2010
Location: Fayetteville, AR
Posts: 56
Likes: 0
Received 0 Likes
on
0 Posts
Do you have any part number or place that I could grab some too?
01-11-2011, 01:16 PM
#77
Registered User
Join Date: Sep 2009
Location: Louisville, KY
Posts: 11
Likes: 0
Received 0 Likes
on
0 Posts
Sorry to bring up a rather dead thread but how does the truck flex with the added coil, and with the bumpstop mod, what keeps the top of the coil attached to the truck while it flexes.
01-12-2011, 06:56 AM
#78
Good morning cloudedjudgment-
I have helped a couple of the guys locally here install some 12" and 14" coils. I seem to remember that even with the wheel dropped down as far as it will go that the coil was still a minor pain to get into position.
I'd sure like to have a couple of the guys here on this thread post a pic of their wheel extended all the way and showing how tight/loose the coil is.
I'm fairly certain that flex is "enhanced" for the typical coil install.
Check this out....here's some cool mounts that capture the coils for those that have too much wheel travel. These mounts have been around for some time and I finally got around to linking them. Some minor fab work (a few cuts and welds) may be needed to mount them to the frame/leafpacks.
http://gearinstalls.com/coilmount.htm
ZUK
01-12-2011, 07:01 AM
#79
Registered User
https://www.yotatech.com/forums/f116...k-mods-213013/
Last edited by xxxtreme22r; 01-12-2011 at 07:05 AM.
01-16-2011, 06:55 PM
#80
Registered User
Join Date: Oct 2010
Location: GA
Posts: 13
Likes: 0
Received 0 Likes
on
0 Posts
I am thinking about using the Zuk mod to restore my stock '87 Runner to factory ride height in the rear. I don't want any rake to the stance. Do stock TJ springs need to be cut down a couple coils to do this? And also, front or rear TJ coils?
Thanks guys
Thanks guys


