$150 paint job
 09-01-2008, 12:22 PM
#21
Registered User
Join Date: Mar 2008
Location: Temecula Valley, CA
Posts: 12,723
Likes: 0
Received 4 Likes
on
4 Posts
Sorry to go slightly off-topic, but have you considered color matching on top of that with something to go with the interior, maybe a rustoleum plastic paint? It looks tough enough, but just a bit out of place, if you know what I mean.
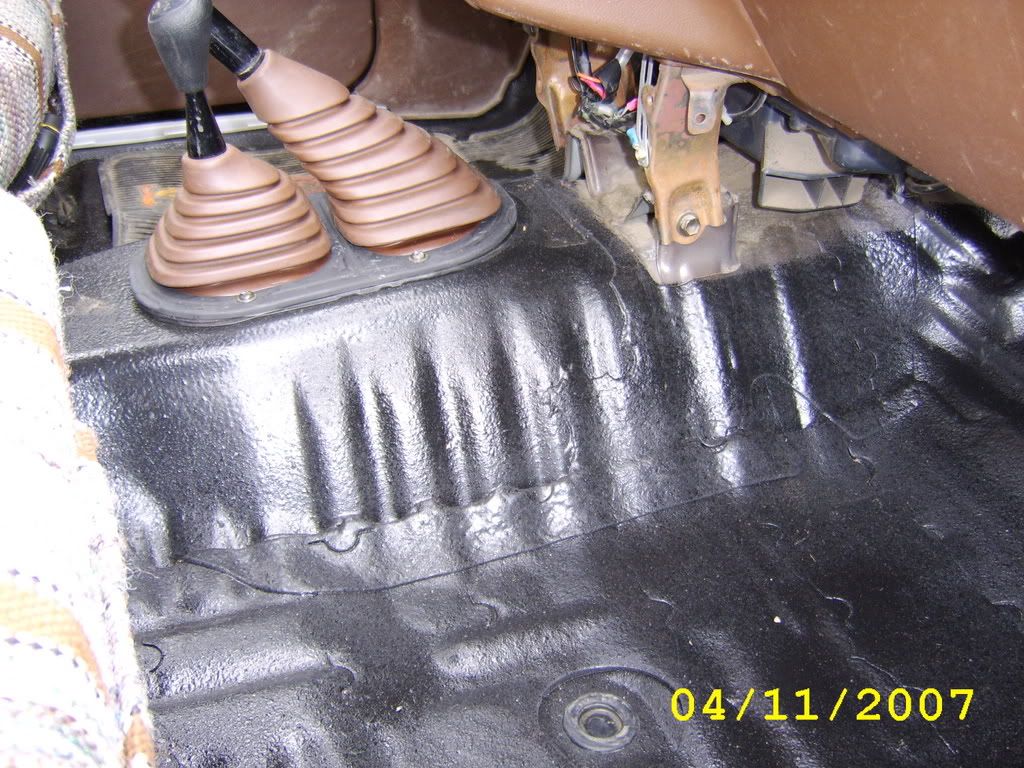
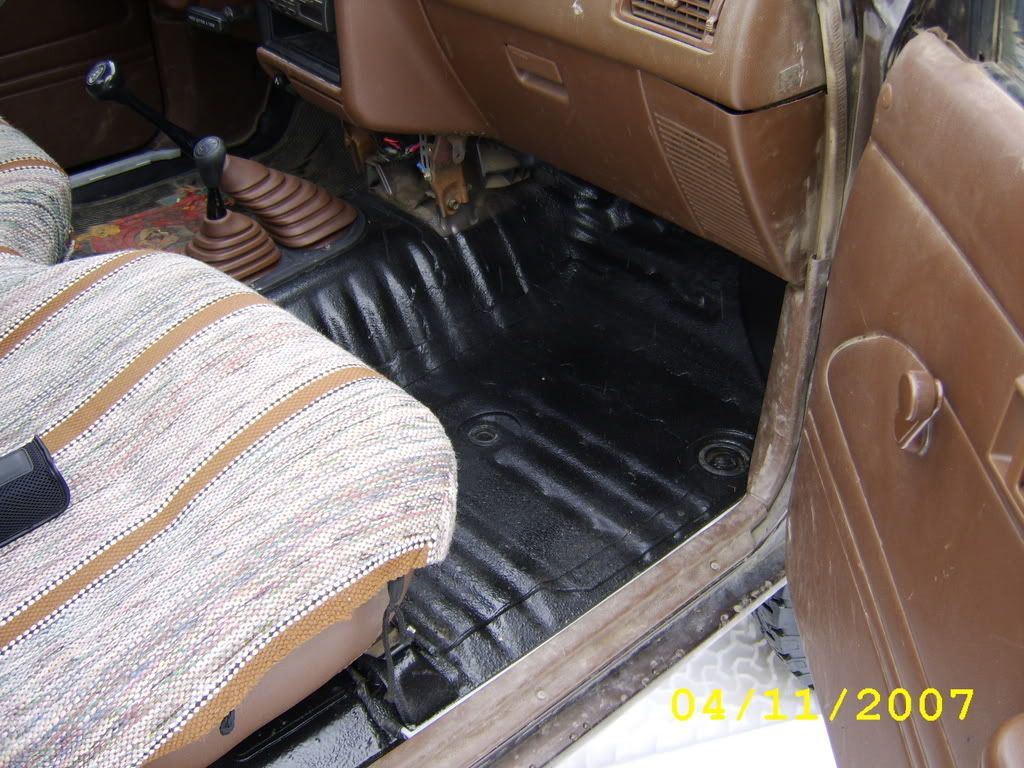
I sprayed the cab floor with dupli-color last spring and it has really seemed to hold up nicely, but there i prepped the out of it and sprayed it on with a body shutz gun. turned out really nice and keeps the noise down on the highway. I wanted to do durabak but that stuff is $120 a gallon
 09-01-2008, 09:01 PM
#23
Registered User
Thread Starter
Join Date: Oct 2007
Location: Bismarck, ND
Posts: 296
Likes: 0
Received 0 Likes
on
0 Posts
I used por-15 on the front axle I'm rebuilding for my sas and it turned out really nice. definitely a good product well worth the money.
09-10-2008, 04:09 PM
#24
Registered User
Thread Starter
Join Date: Oct 2007
Location: Bismarck, ND
Posts: 296
Likes: 0
Received 0 Likes
on
0 Posts
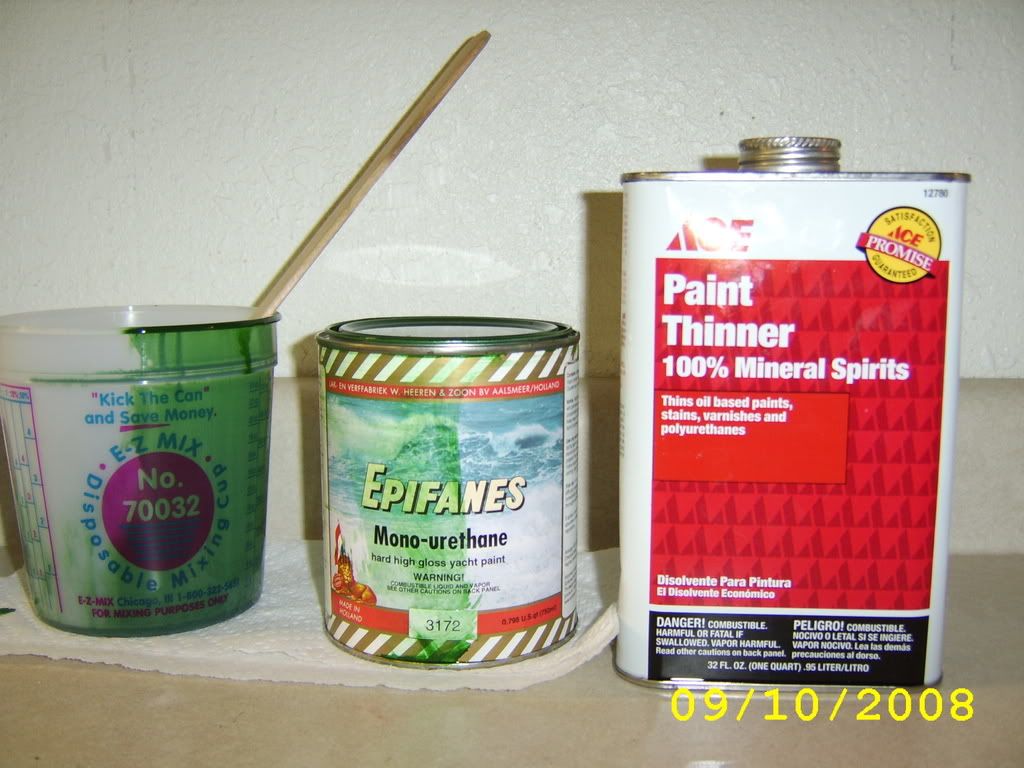
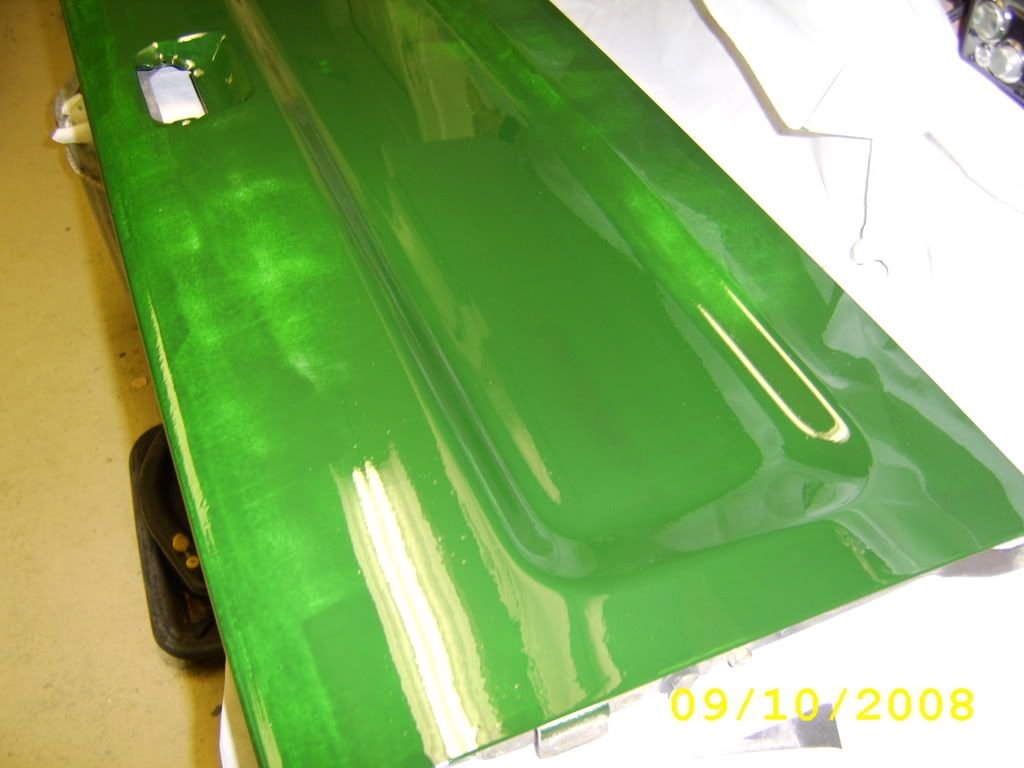
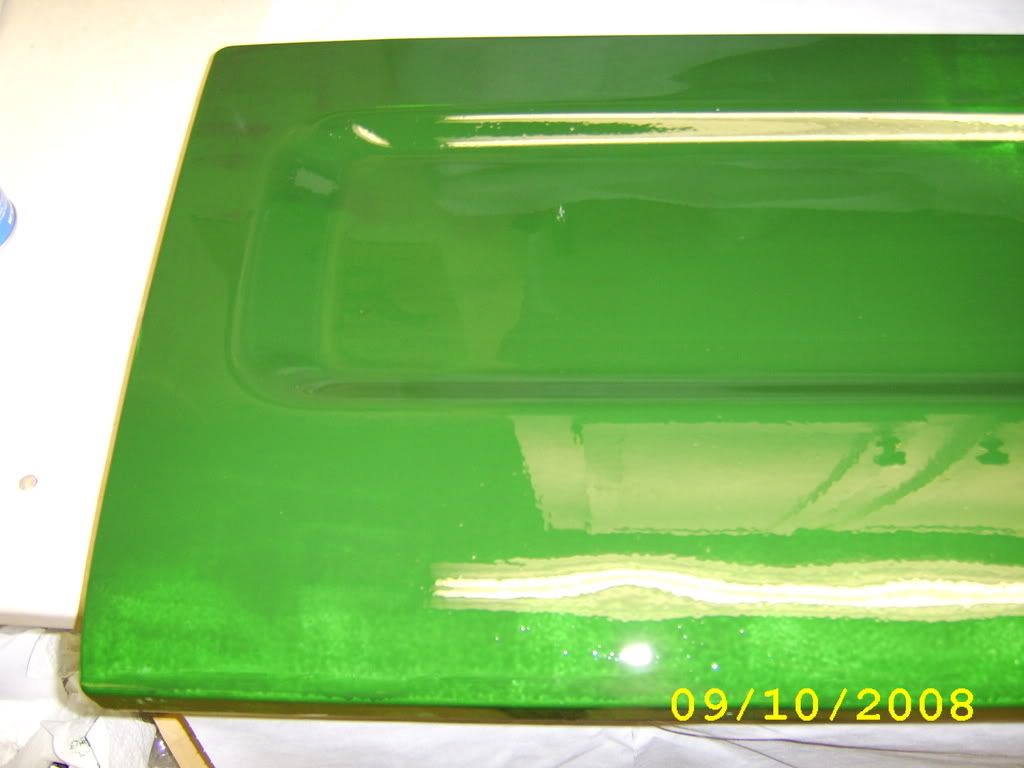
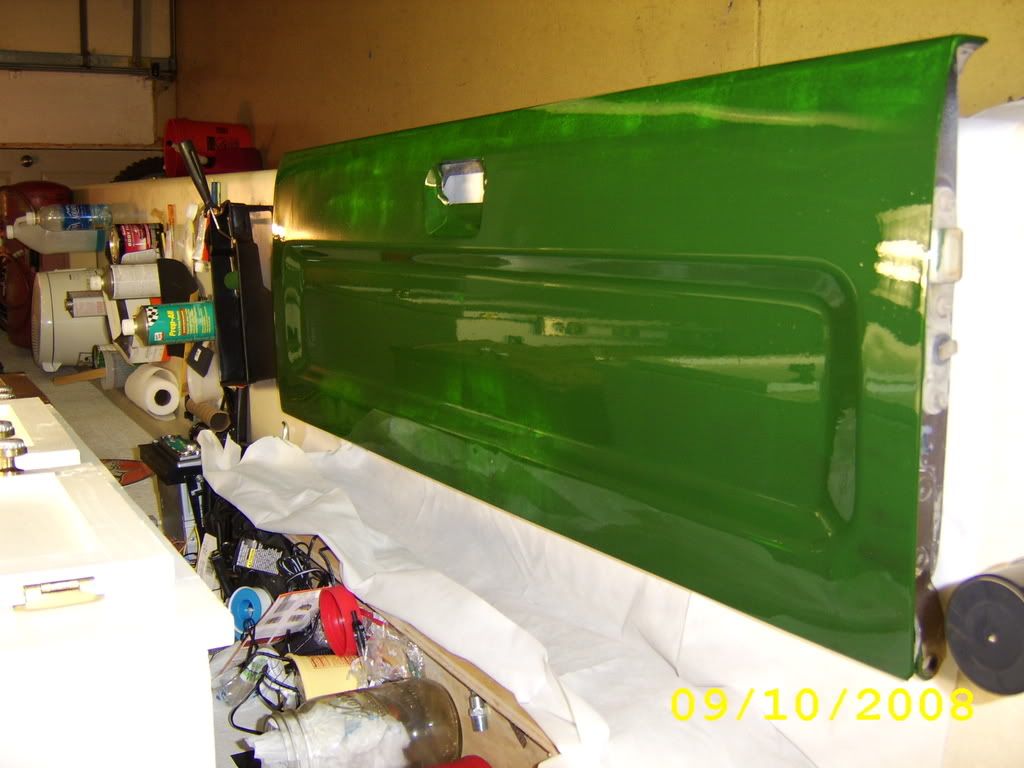
Got a little bit done on my truck tonight, I bondoed some dents in the tail gate and painted it and bondoed a dent on the box. Its been slow going as of late im starting to miss my truck.
Not sure about the color yet, i don't know if i like but oh well. The self leveling agent in the paint really works well, I would roll on some and it would look terrible and within 2 minutes it was smooth. Really easy to do, i think the painting will be the easy part.
Ill post some more pics in a bit
09-10-2008, 04:16 PM
#25
Registered User
Join Date: Mar 2008
Location: Temecula Valley, CA
Posts: 12,723
Likes: 0
Received 4 Likes
on
4 Posts
sorry, but I think the idea of roll-on paint is just 'funny'. it may work, but being as old as I am, it's just strange: my grandfather painted his 72 LTD with powder blue latex when I was a young lad, and I just can't get the image out of my mind.
09-10-2008, 04:36 PM
#26
Registered User
Never heard of that paint before. I read a similar thread on another forum using Tremclad.
http://board.moparts.org/ubbthreads/...0&fpart=1&vc=1
Can't get it in USA though or I'd use it. Rustoleum owns the Tremclad. I wished they shipped it to USA or I knew someone to send me some. I will look for that brand of paint.
Looks like you're doing what I'm doing. Keep up the good work and keep us posted about how it goes on, if your satisfied with it, how you prep and wet sand. I know I'd like to know these things having never done body work or paint before.
What all did you buy for paint, how many quarts, any thinners, regular bondo or special bondo?
Thanks for experimenting and doing it yourself.
Phil
Last edited by phildelfino; 09-10-2008 at 04:44 PM.
09-10-2008, 05:21 PM
#27
Registered User
Thread Starter
Join Date: Oct 2007
Location: Bismarck, ND
Posts: 296
Likes: 0
Received 0 Likes
on
0 Posts
Never heard of that paint before. I read a similar thread on another forum using Tremclad.
http://board.moparts.org/ubbthreads/...0&fpart=1&vc=1
Can't get it in USA though or I'd use it. Rustoleum owns the Tremclad. I wished they shipped it to USA or I knew someone to send me some. I will look for that brand of paint.
Looks like you're doing what I'm doing. Keep up the good work and keep us posted about how it goes on, if your satisfied with it, how you prep and wet sand. I know I'd like to know these things having never done body work or paint before.
What all did you buy for paint, how many quarts, any thinners, regular bondo or special bondo?
Thanks for experimenting and doing it yourself.
Phil
http://board.moparts.org/ubbthreads/...0&fpart=1&vc=1
Can't get it in USA though or I'd use it. Rustoleum owns the Tremclad. I wished they shipped it to USA or I knew someone to send me some. I will look for that brand of paint.
Looks like you're doing what I'm doing. Keep up the good work and keep us posted about how it goes on, if your satisfied with it, how you prep and wet sand. I know I'd like to know these things having never done body work or paint before.
What all did you buy for paint, how many quarts, any thinners, regular bondo or special bondo?
Thanks for experimenting and doing it yourself.
Phil
 09-26-2008, 02:53 PM
#33
Registered User
Thread Starter
Join Date: Oct 2007
Location: Bismarck, ND
Posts: 296
Likes: 0
Received 0 Likes
on
0 Posts
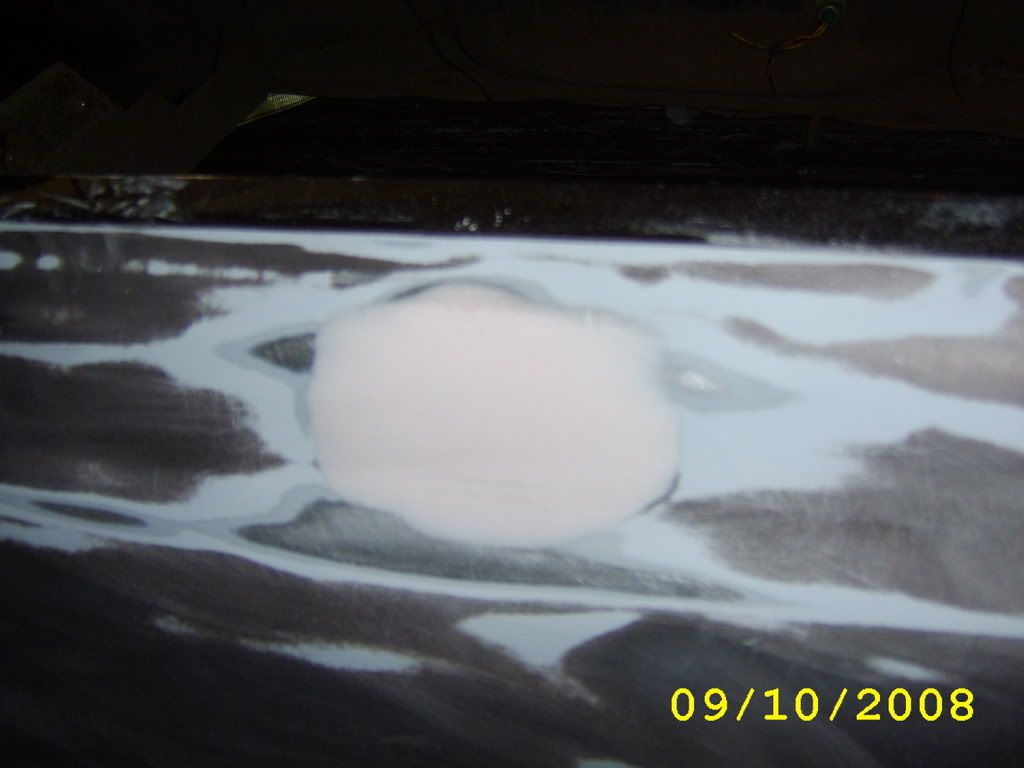
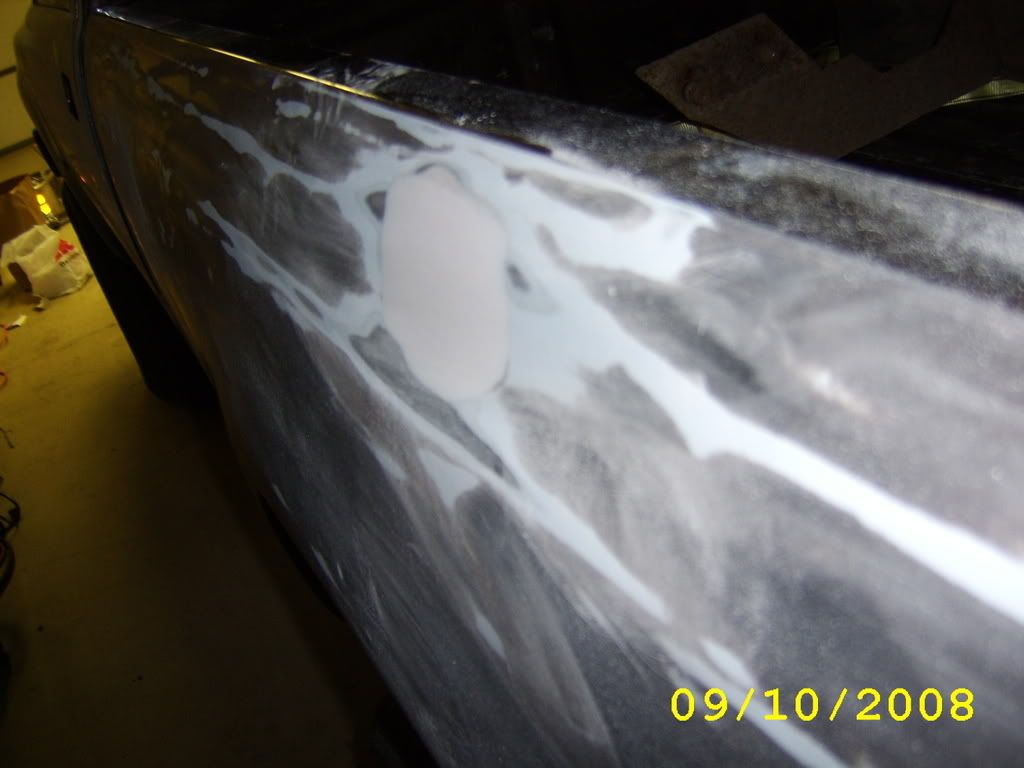
well i have been really busy lately, haven't had time to work on my truck. I got some bondoing done on the bed and i hope to get the first coat on by the end of this weekend.
09-26-2008, 03:07 PM
#34
Registered User
Join Date: Sep 2008
Location: puget sound ,wa
Posts: 93
Likes: 0
Received 0 Likes
on
0 Posts
wow! i really like your truck..very solid looking...and i gotta say that if i was you i would be painting it also and be damn excited about it.
i like the way it looked brown or w/e but after awhile it would get to me...the green is gonna be sooo smokin!!
good werk ,keep it comin..tx
i like the way it looked brown or w/e but after awhile it would get to me...the green is gonna be sooo smokin!!
good werk ,keep it comin..tx
10-02-2008, 06:42 AM
#36
Registered User
Thread Starter
Join Date: Oct 2007
Location: Bismarck, ND
Posts: 296
Likes: 0
Received 0 Likes
on
0 Posts
got a question for you guys who have done this before, i got almost all the sanding done and was using final wipe to wipe down before painting, i dont know if the flash on the final wipe im using is to fast because i would do the same spot 2-3 times and when it dried it would still have swirl makes from sanding dust.
how could i remedy this problem? i washed the truck with water before wiping it down im not sure what to do now, im using rags in a box maybe they are not picking up the sanding dust. any tips or direction would be greatly appreciated
how could i remedy this problem? i washed the truck with water before wiping it down im not sure what to do now, im using rags in a box maybe they are not picking up the sanding dust. any tips or direction would be greatly appreciated
10-02-2008, 07:21 AM
#37
Registered User
Join Date: Sep 2008
Location: new baltimore ny
Posts: 184
Likes: 0
Received 0 Likes
on
0 Posts
The best trick I was ever taught for auto body is if you can feel it, youll see it. Using filler I always go way bigger than what im patching and taper it up gradually so its a slow smooth transition into the repair. Filling spots here and there are really tough to hide, especially in darker colors.


