When you click on links to various merchants on this site and make a purchase, this can result in this site earning a commission. Affiliate programs and affiliations include, but are not limited to, the eBay Partner Network.
this is the repair section as the pant dries yesterday.
today I got the support welded back on. No photos of it yet because I wasn't in the mood to celebrate the victory when I noticed a big crack coming down the windshield . Arrg , well no worries about breaking it to take it out to fix the rusted frame now.
No, I didn't take it well. I was gunna just walk away and not finish welding what I had left but completed it anyhow. This makes 3 for 3.
this was during installation at completion of Herbie. We payed a glass installer to put the next on in and I learned how to do it right.
Then I installed the next one in my 66 no problem but when it came time to paint the car I broke it trying to take it out .
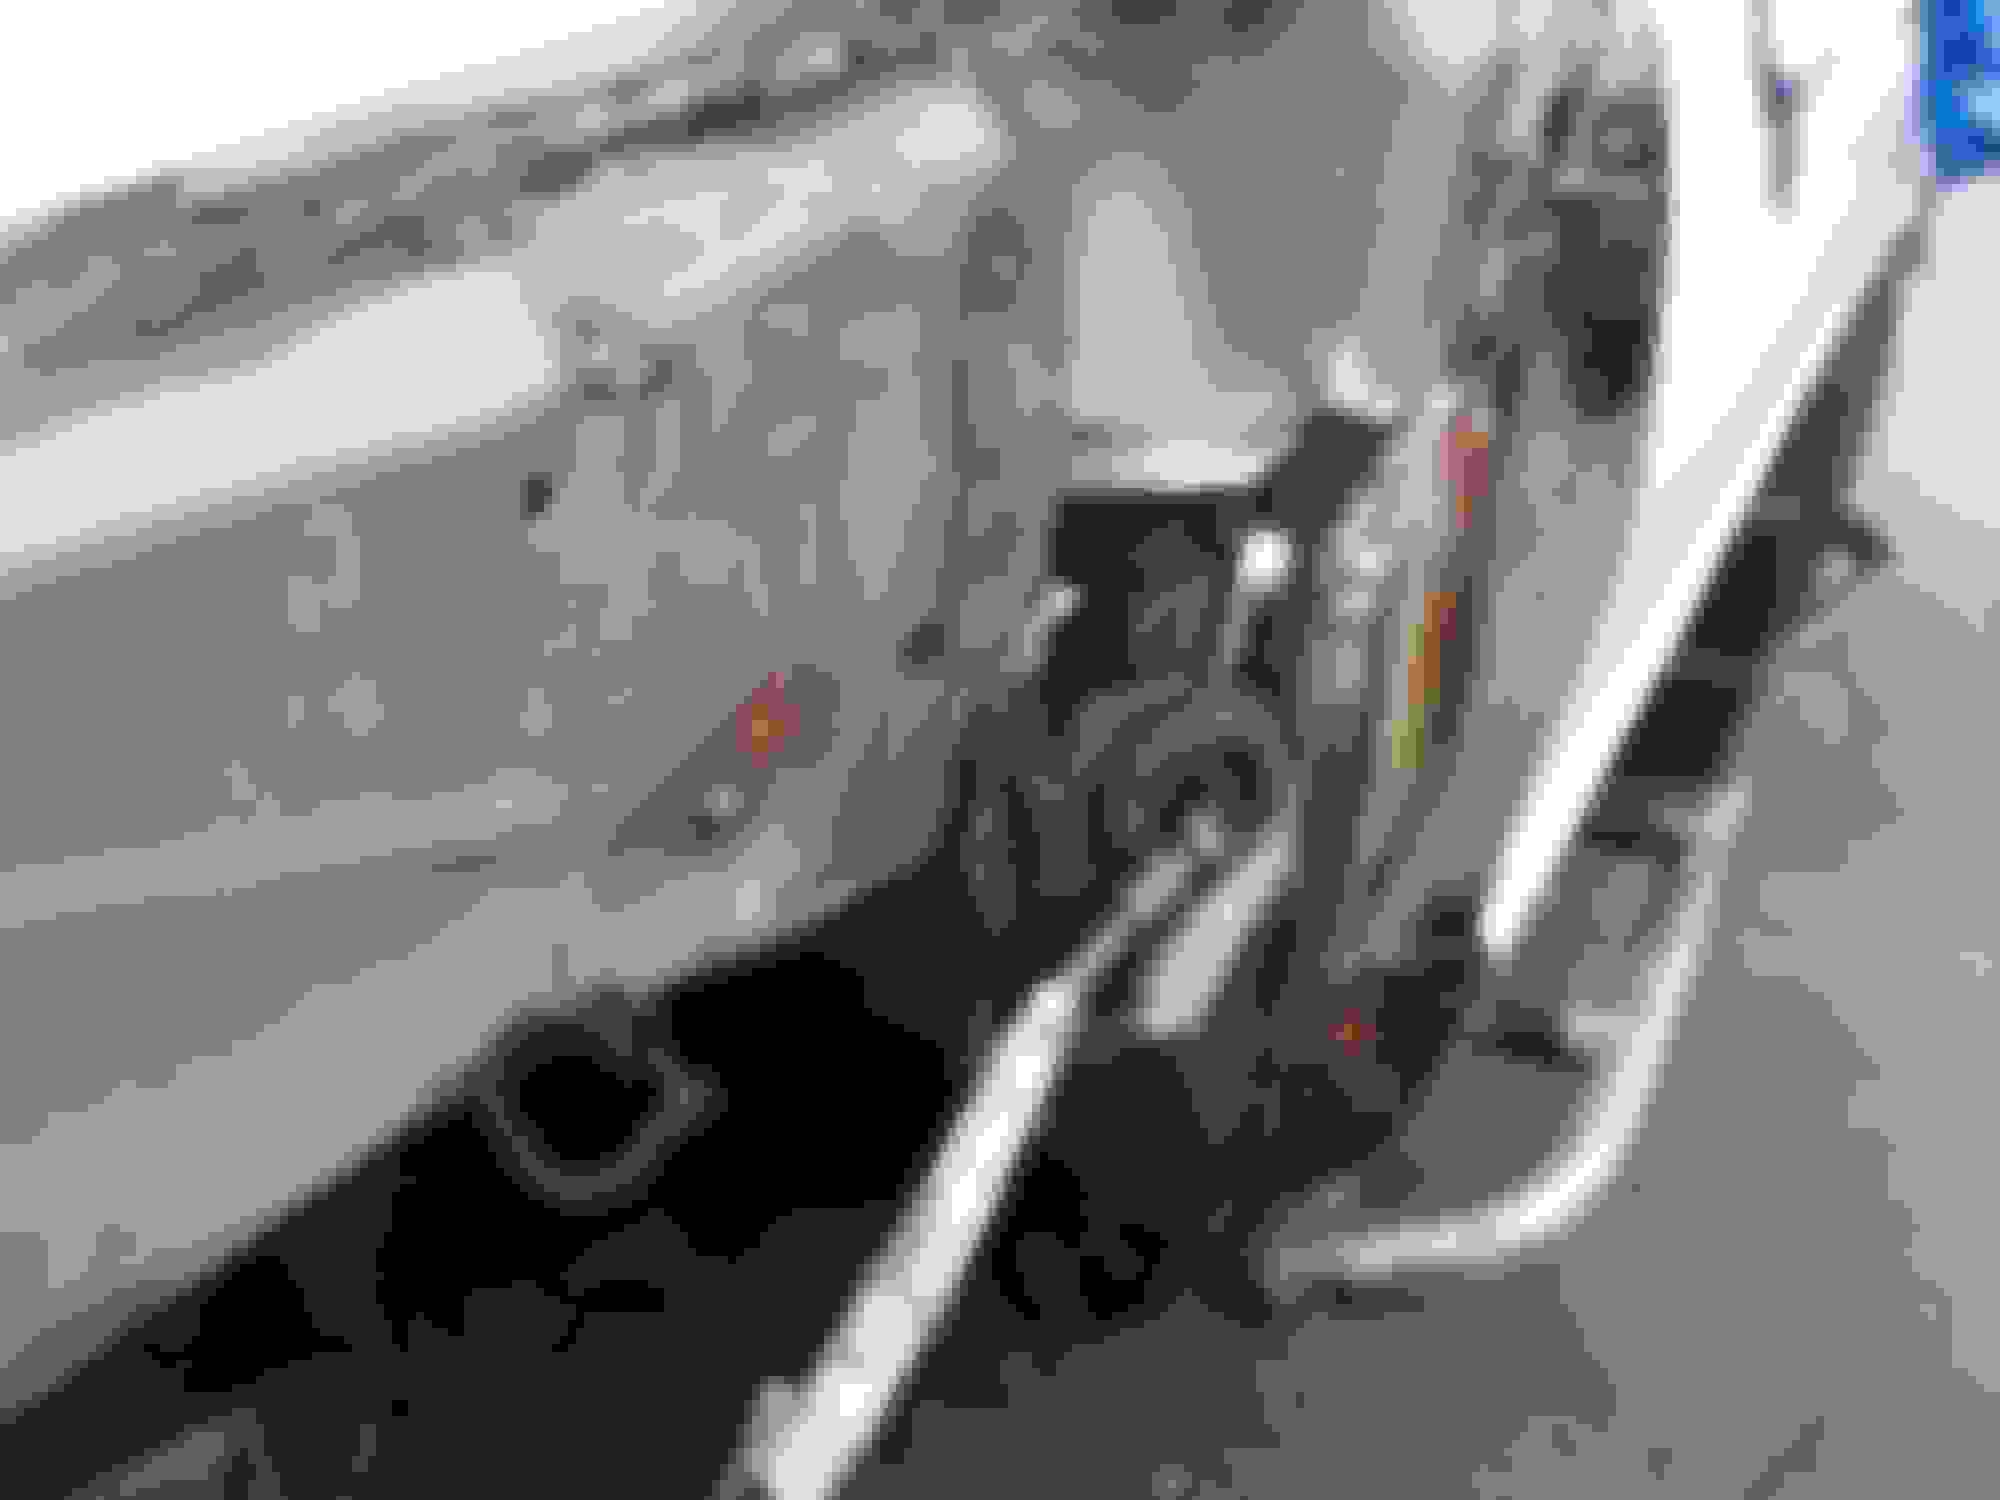
Just a little teaser photo. In between welds I've been working on making the windshield frame solid again. Since I'm not taking the windshield out of it yet, that'll be something to do later. The windshield really does need to come out of this thing like a lot of them there is a lot of rust on the frame lots of holes to fix and the windshield slightly diagonal and looks like it moved while the adhesive was setting on some replacement at some time in its life. But that would be something when I do the full restoration. Right now we just want to drive it. So I didn't take a whole lot of pictures to show the process I wouldn't recommend it but if you are low on money J-B Weld can be some great stuff.
maybe this wasn't such a brilant plan after all. I wire brushed the rust off JB welded the holes, added rust encapsulator , seam sealer then tractor paint with hardener and reducer. All that so I wouldn't brake the windshield taking it out. My luck with windshields it would have broke.
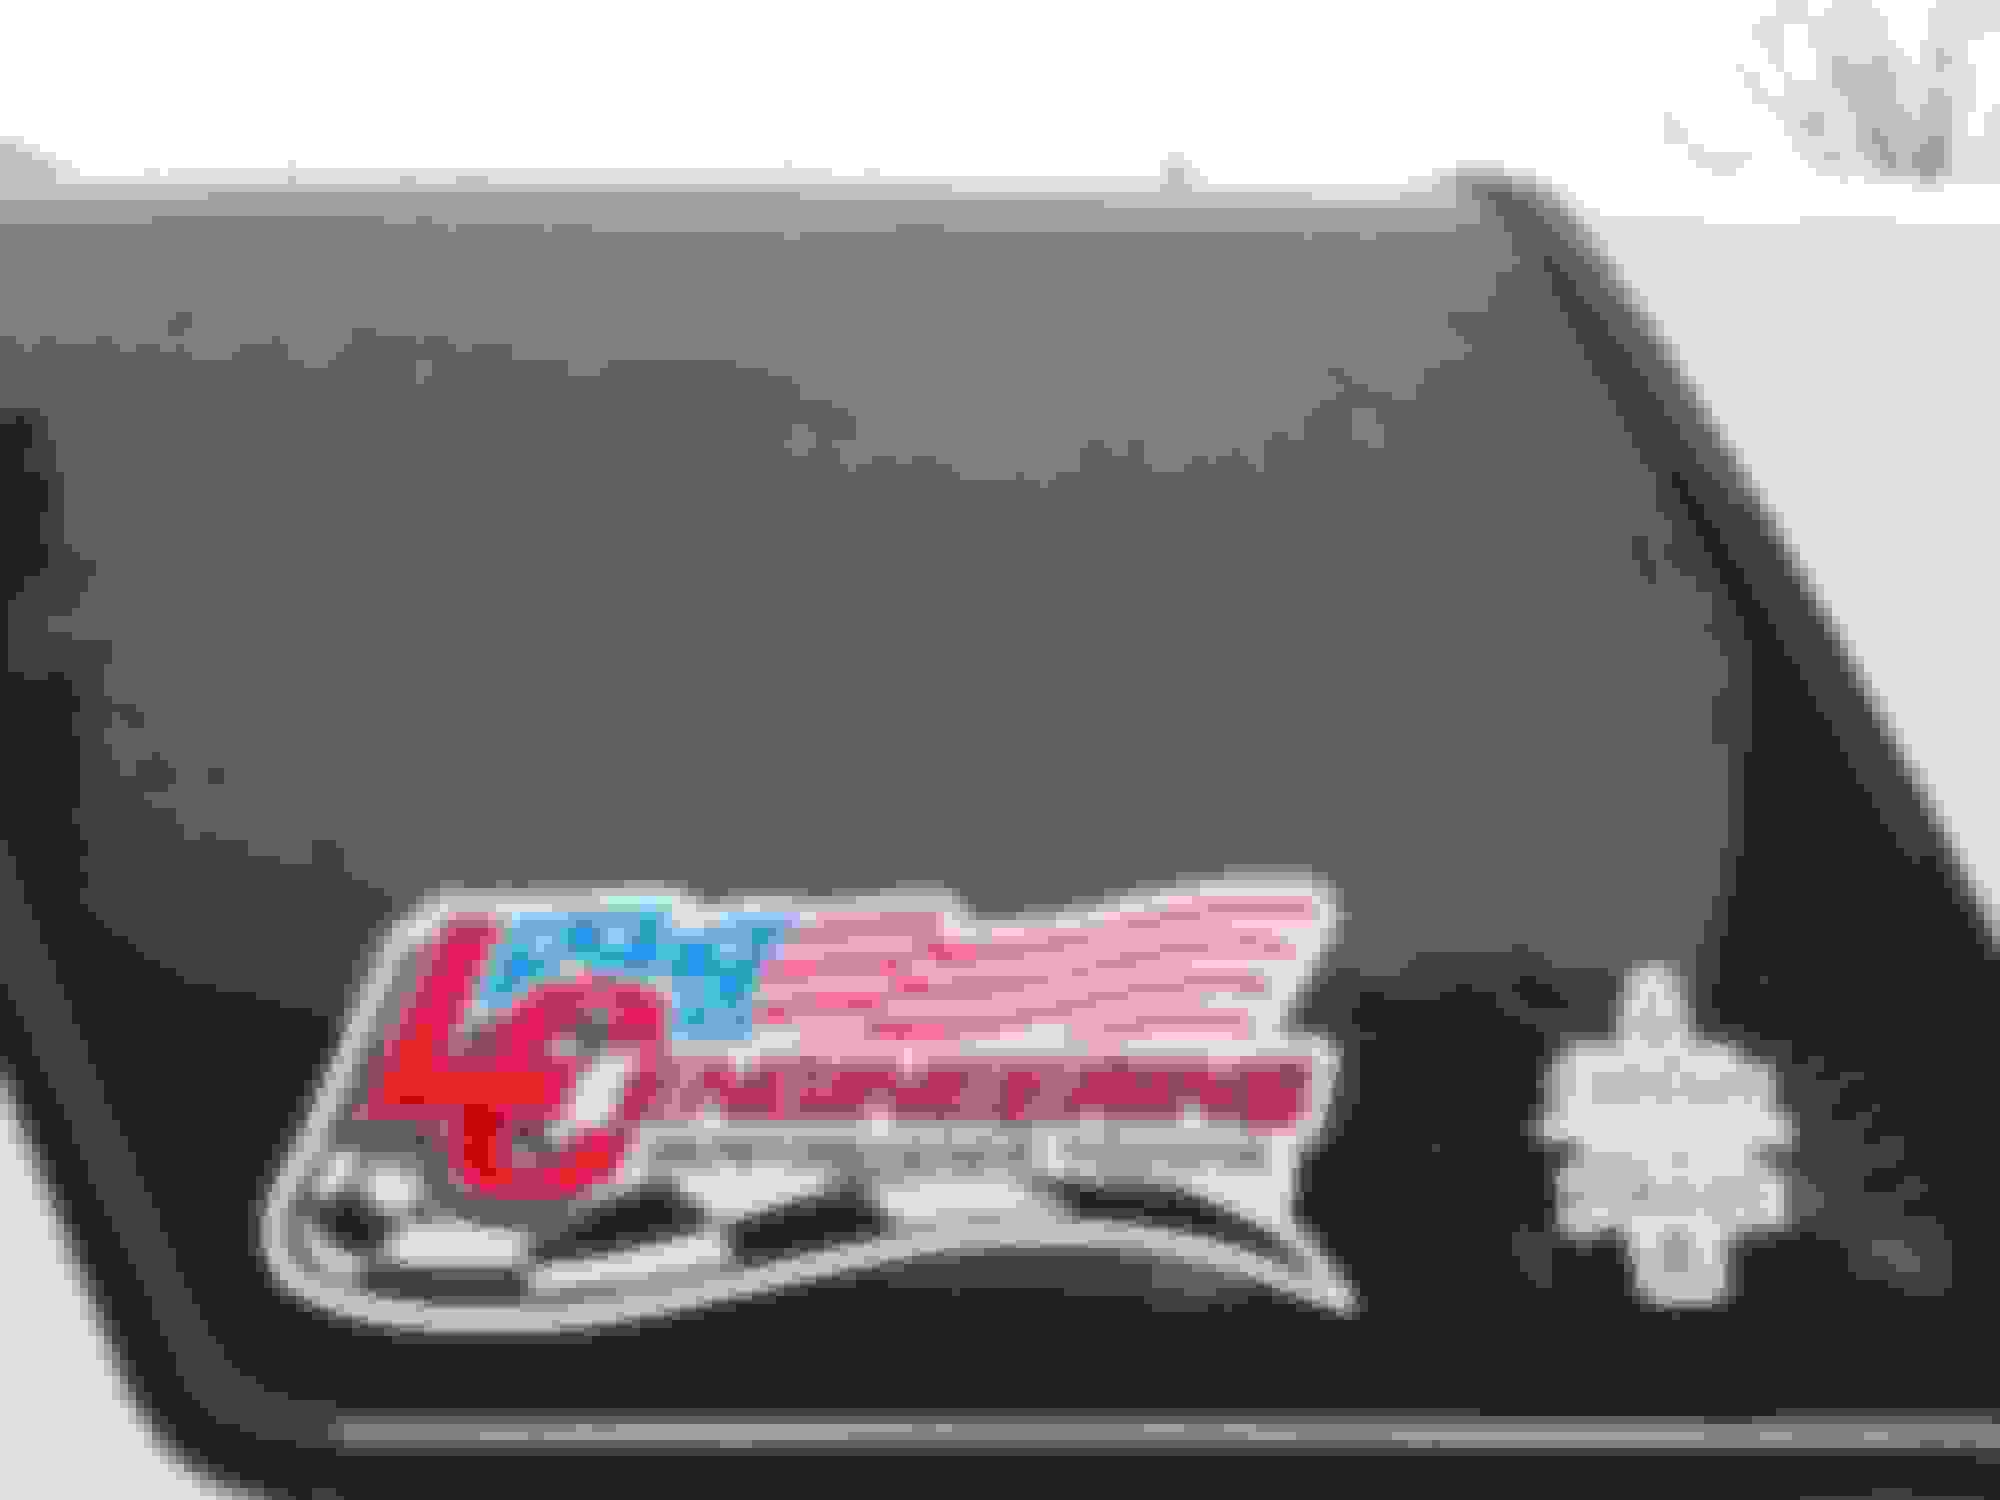
anyway somebody asked about the seatbelts I put in for now. Here's some photos.
They are from Wolfsburg West (origanly from Herbie) but the original 4runner belts wouldn't lock. Once I took them out of the truck they worked but now I'm not sure if I trust them . I plan to send em out to be repaired. I also plan on installing the Wolfsburg West seat belts in the back. The shoulder strap bolt fits in the roll bar.
I Was able to install the other seat belt for the back seat today and one thing I did notice was who ever installed the lap belts didn't use automotive grade bolts. These seat belts came with the correct bolts.
Wow, Spring fever if you've got the top off already!
I drove mine to work today but enjoying the relative quiet on the highway with the hard top in place.
I think I'll wait until May to put the soft top back on.
Wow, Spring fever if you've got the top off already!
I drove mine to work today but enjoying the relative quiet on the highway with the hard top in place.
I think I'll wait until May to put the soft top back on.
h
Spring fever for sure! Long term forecast for Saturday was supposed to be 70 and sunny so top off was the plan, even though I don't believe long term forecast much. This was the first time our son ever rode in a convertible. By afternoon the top was back on. We've had off three times already and back on quickly but I was gunna just park it in my portable garage for the rain. The wife wanted to take it to work Monday and didn't want to go out in 30 degrees that way😂 I don't mind tho. Good thing really because we were out in the rain Sunday coming back from Soapstone mountain in Somers CT. First time in the rain. All the work in the inner cowl paid off. No more rain on the floor now. The windshield still has a small leak but it has to come out anyway.
Glad your out in yours already! Good idea to leave the top on now. Too soon really but we're dieng to try it. Any long driving on the highway wouldn't be much fun without the top. We were on the highway for a short bit Saturday and it's rough.
Although it's still a work in progress, I came up with a way to remove the top alone by using my son's old swing set. Origanly I thought it was too low I decided to dig out trenches to lower the 4runner down enough to go under. I also had to move some of the support poles to make it wide enough too.
and the new model name my son came up with 😂
Ha! I love the creative repurposing of the swingset.
i get 2 neighbors and my son to help with my top.
That's a good way to go! It's such a diferent top unlike a regular cap so you can't just put 2by 4s under it and drive away because of that roll bar. I'm still working on ideas for the swing set.
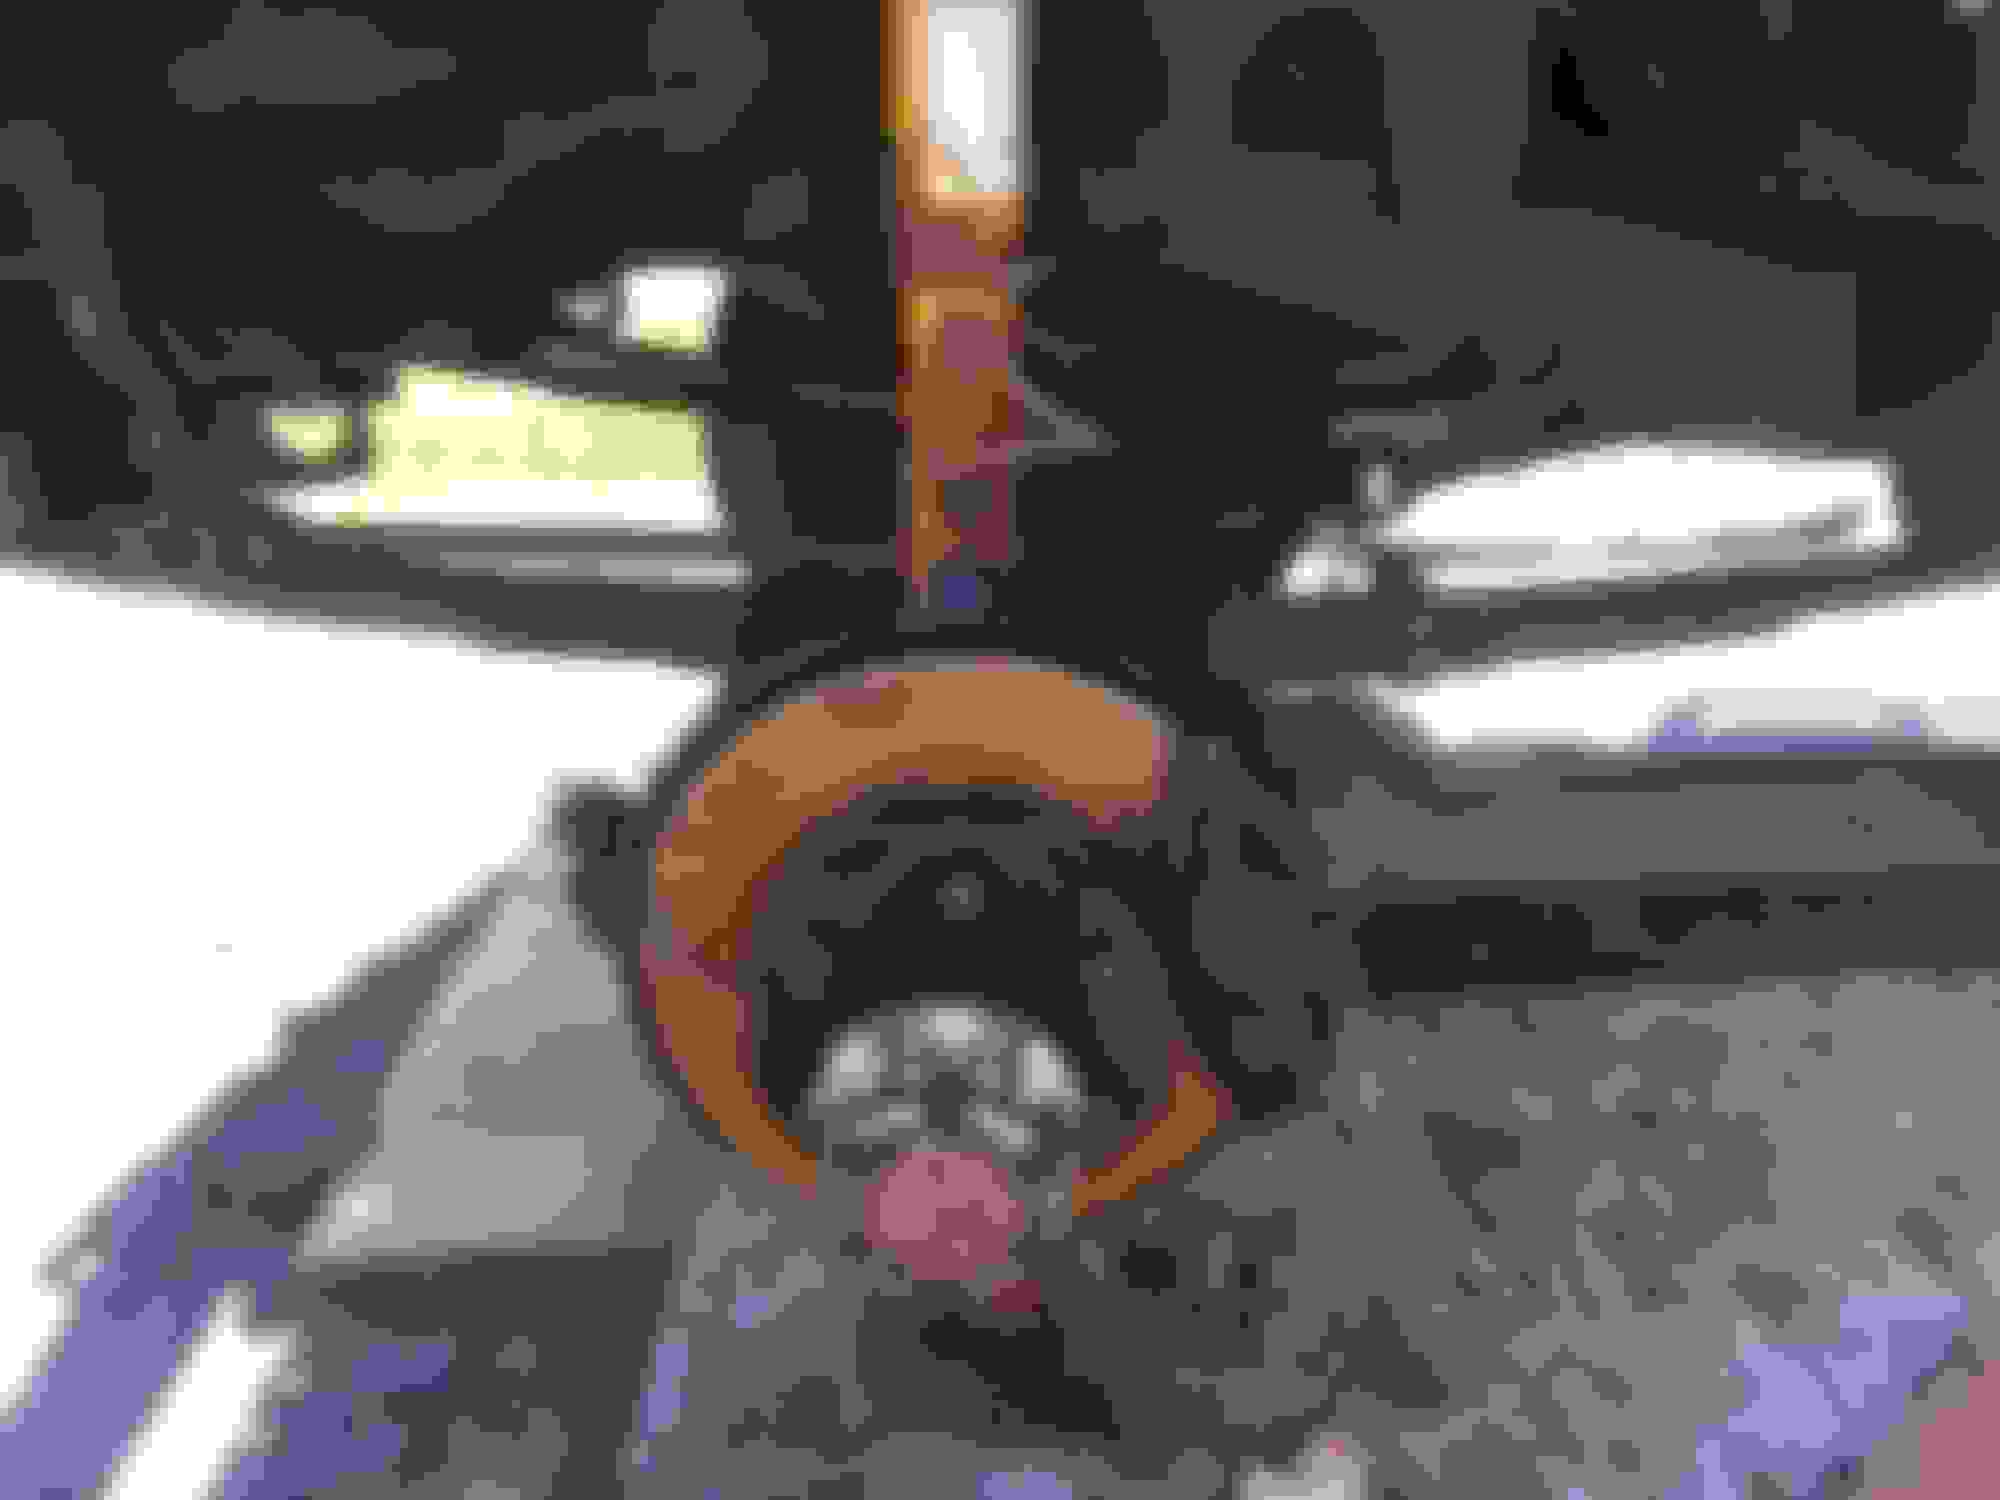
We took advantage of the gorgeous day yesterday and I've started the process of rebuilding the front axle, replacing the seals.
Since I'm rebuilding the front axle I decided to swap front and rear differentials at the same time. The rear has a lunch box locker and since most of the driving with this will be on road, for now. 😂 I think we will like it better up front.
today I spent a good amount of time just cleaning up the hardware I removed so far. Besides the FSM I found these videos to be a big help in the process.
Playing with fish scales, lol. Setting the steering preload. All new steering bearings are installed and new axle seals. Yesterday I reinstalled the berfields.
Lots of rain today so no working on the 4runner but I was able to install the seals, backing plates and spindles yesterday. I can't believe what good shape the backing plates are in. My 08 FJ has less backing plates left..... Anyhow this is a good time to mention LC Engineering, I'm sure a lot of you know them a lot better than me. I've even heard of them in the FJ world. Great company ! They are the place I got that fish scale from plus my 54mm socket. I went through them because I know they are fast. Everything I've ordered through them shipped out quick and is packaged well.
 03-14-2019, 02:31 PM