When you click on links to various merchants on this site and make a purchase, this can result in this site earning a commission. Affiliate programs and affiliations include, but are not limited to, the eBay Partner Network.
Some photos of destruction, for your viewing pleasure:
Removing the canvas was tedious. Lots of staples. The floor under the carpet is a sheet of metal. Cutting replacement wood pieces from treated plywood.
Here are some more photos of the interior progress:
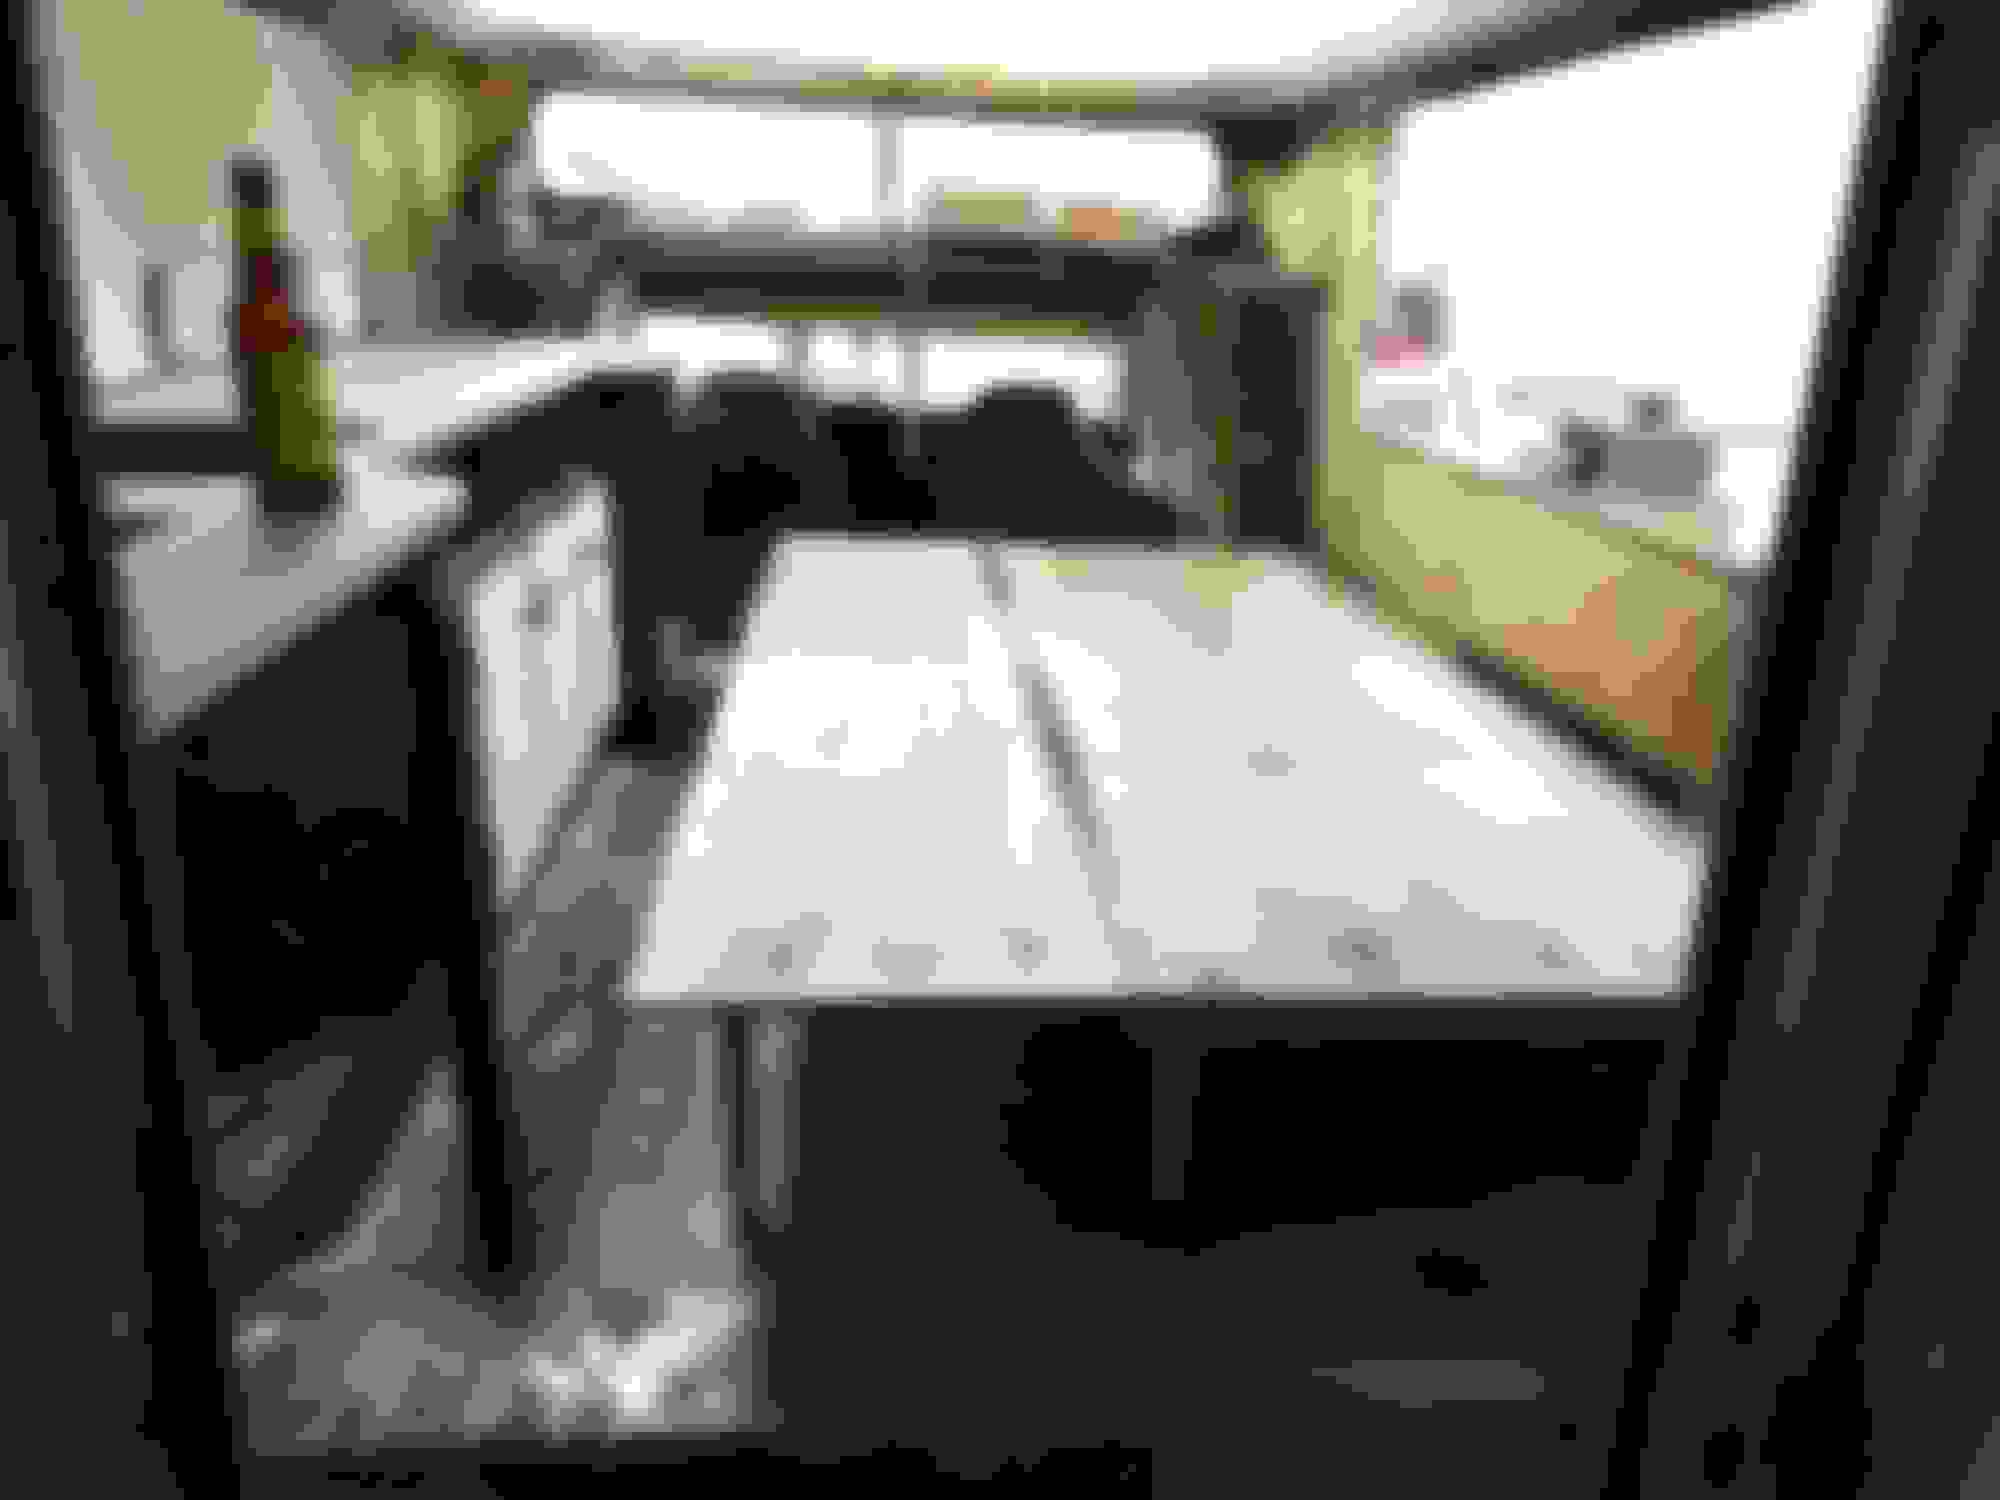
I pulled up the original laminate and filled the holes with body filler. First laminate work I've done. Pretty happy with it. Bench mode with legs screwed in. Bed mode.
I'm in the Portland area. We're really pushing the pace on this project to to try and get it ready for some trips this fall. Paint and body might have to wait until next summer.
Progress on the roof and bed, plus fixing the saggy back.
Below are some shots showing recent work. We're getting dangerously close to being able to reseal the top and button it back up enough to make it watertight. Next up is upholstering the wooden upper support pieces in the front and back, replacing the window and seal in the front overhang area, and then finishing the upholstered wooden pieces between the cab and coach body. Then it will be ready for carpet, which I'm really, really excited for!
Drawer slides to replace the shot originals. I replaced the original, bent and/or broken, cross beams with open aluminum bars. Construction poly to hold the top to the bars and a piece of wood down the middle. I later also filled parts of the aluminum with wood strips to have something to screw the headliner and handles to. Topside boat paint to clean up the inside of the top.
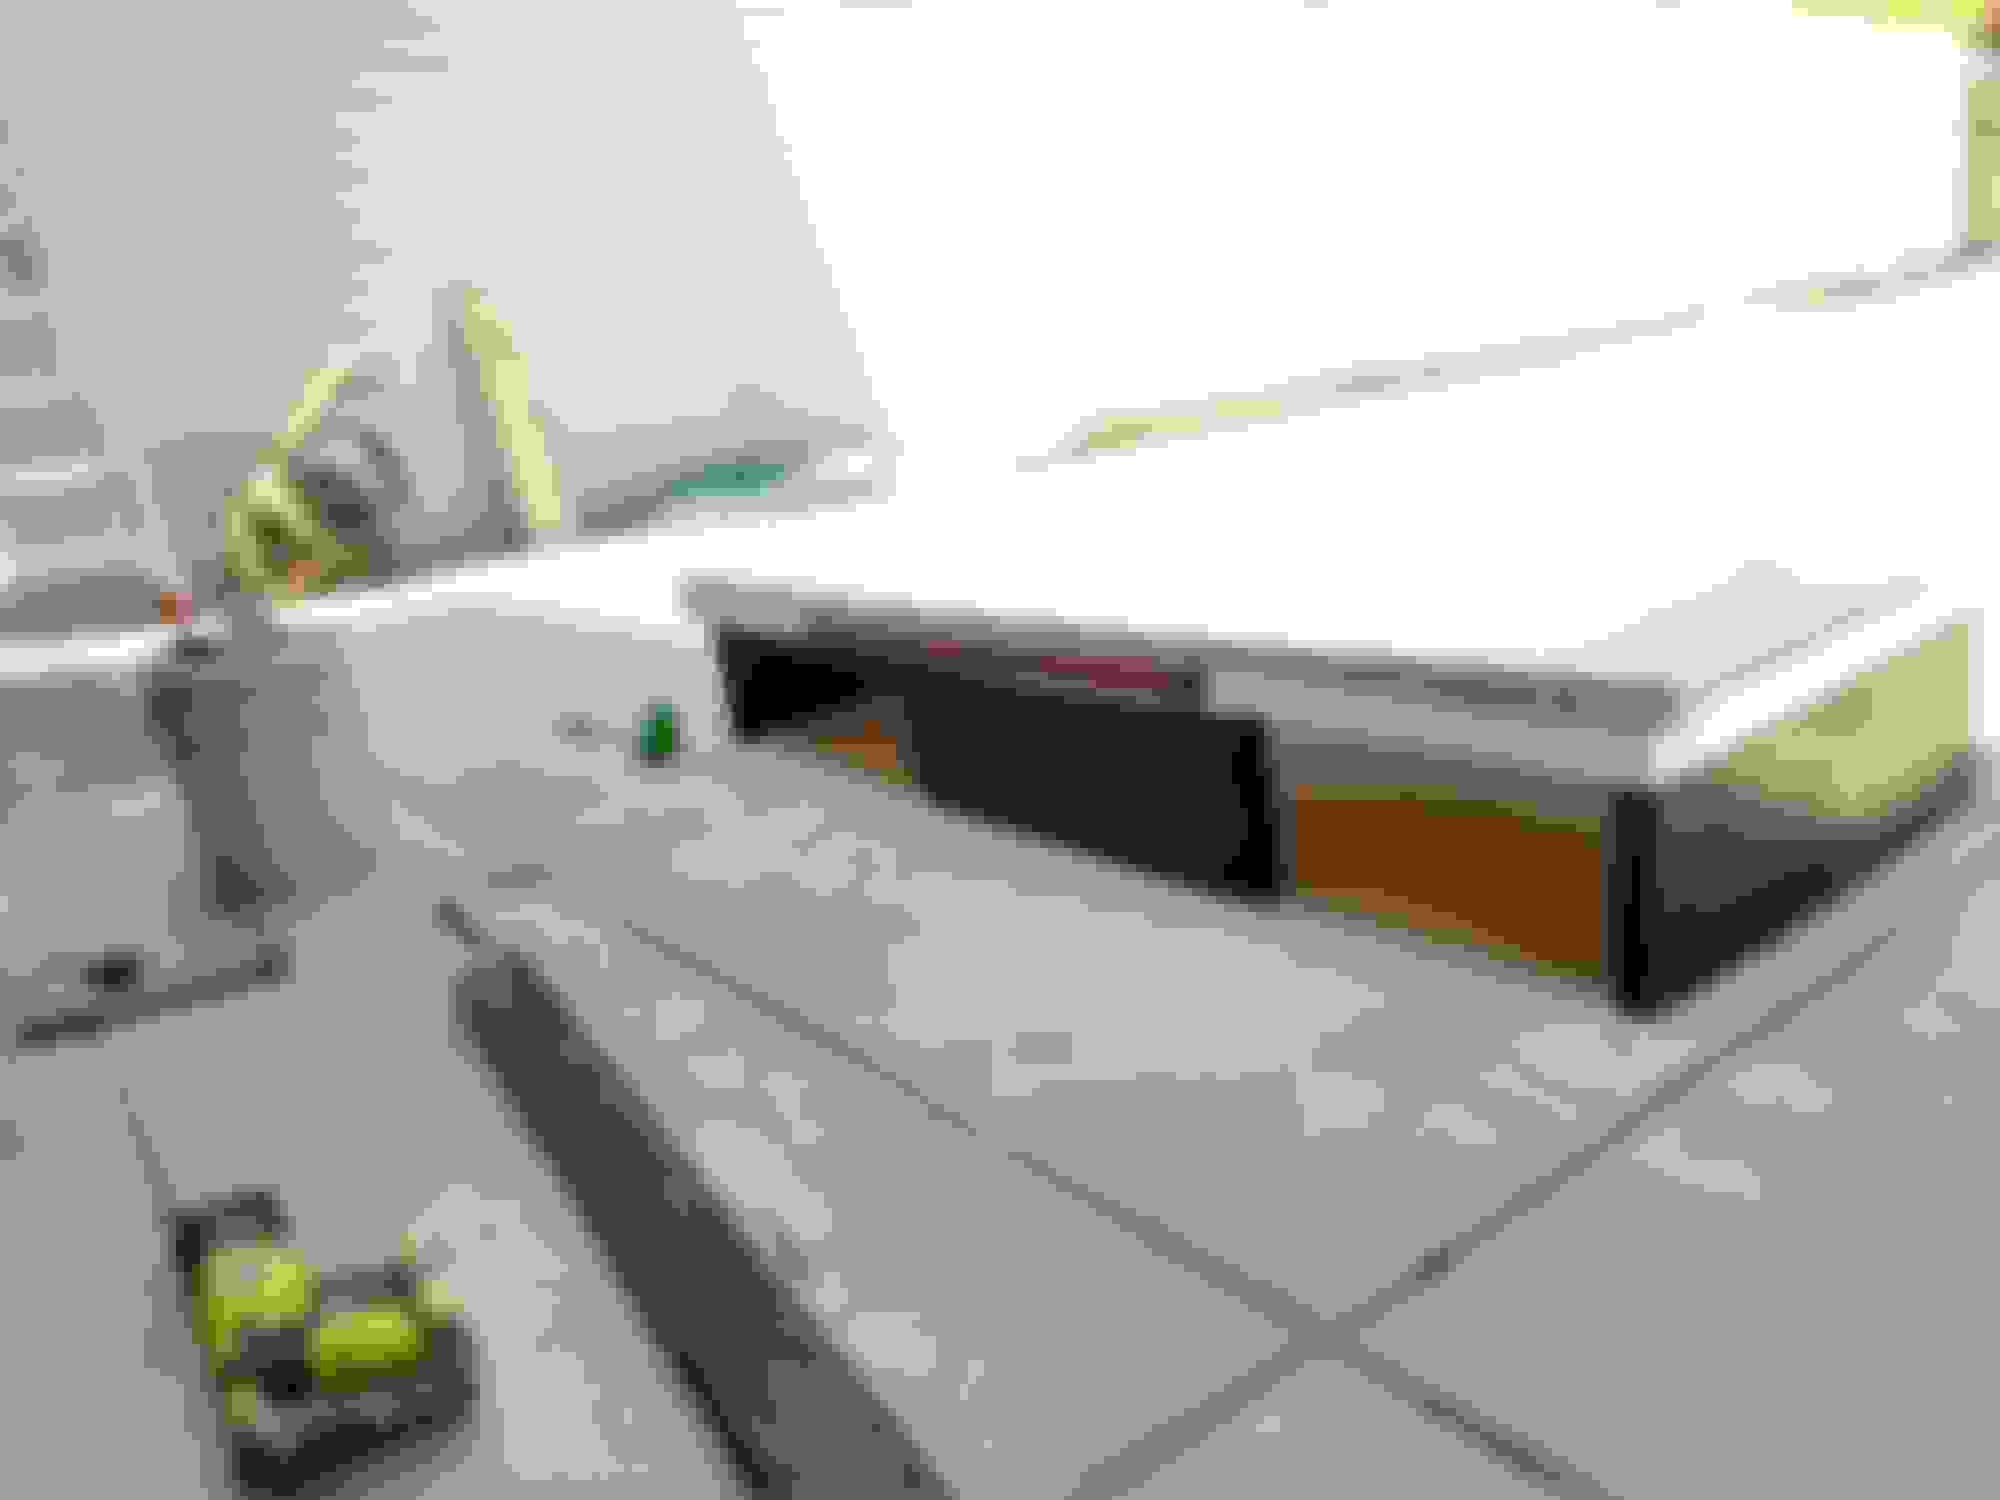
The roof area after bolting the aluminum in. I put a dab of gutter silicon under each washer to help seal the bolt holes. The screws you see further down go into the treated plywood. I later painted this area with boat paint. The rain rail also came off, was cleaned, and then was fastened down with new screws and a seam of gutter seal. This is the top sitting on it for fitting and bolting. Pretty tedious and fiddly. Note the long piece of aluminum angle that we made to brace the top rail, which on the 72 was completely unsupported in the original design. It is now very stiff and should give the top a nice firm base to mount to. It will also help prevent rainwater from sitting in there and seeping into the coach. Finishing touches on the bed, which Jillian (my wife and project partner) painted up nicely. We sealed the plywood with spar varnish and then painted with topside boat paint, my new favorite product. The offset of the center piece is to make room for the wheel well. The frame had punched up through the floor of the coach and was largely being supported by the thin metal top sheet. Here you can see how it's all warped after I bolted it down to a steel plate. This long steel plate runs between two frame bolt positions to add strength and prevent the frame from punching up through again. Chinook simply stacked up pieces of plywood to level it. Someday, maybe, I'll improve on this system. But for today, the plate is good enough.
Last edited by Jason Hess; 08-07-2019 at 11:48 AM.
I'm in the Portland area. We're really pushing the pace on this project to to try and get it ready for some trips this fall. Paint and body might have to wait until next summer.
Sounds a lot like my goal. I'm also getting it ready for summer, and fall trips. Unfortunately paint will have to wait until next year.
This long steel plate runs between two frame bolt positions to add strength and prevent the frame from punching up through again. Chinook simply stacked up pieces of plywood to level it. Someday, maybe, I'll improve on this system. But for today, the plate is good enough.
Awesome work on the interior so far. I really like how you resolved the issue with the sag in the camper top. I'll also need to address this at some point.
How did adding that flat steel piece work out? Was there a noticeable different? I know removing the camper would be the correct way to fix this but I was wondering if I ran square tubing across the bottom of the camper shell if this would correct the slight sag on the ends? I believe there are 6 mounting bolts? I was thinking I would run a length of steel tubing from left to right using the original mounting points. Basically removing as much of the old wooden spacers as I can to make up the difference.
I think that the steel plate did help quite a bit, but angle iron or boxes like you're thinking of would work better! I went with the steel because of the ease of slipping it in. I got the aluminum for the top of the Chinook for free, but the steel was retail, so cost was also a factor for me. I have some load adjuster shocks for the back, too, so I'm hoping that the combination will be enough to eliminate the sag. I'll update here once I have taken it out on the road to test it out.
I think that the steel plate did help quite a bit, but angle iron or boxes like you're thinking of would work better! I went with the steel because of the ease of slipping it in. I got the aluminum for the top of the Chinook for free, but the steel was retail, so cost was also a factor for me. I have some load adjuster shocks for the back, too, so I'm hoping that the combination will be enough to eliminate the sag. I'll update here once I have taken it out on the road to test it out.
Which load adjusting shocks did you get for the rear? I haven't looked into upgrading the suspension until I take it out a few times, but I'm sure I'll want to upgrade them.
Which load adjusting shocks did you get for the rear? I haven't looked into upgrading the suspension until I take it out a few times, but I'm sure I'll want to upgrade them.
I bought these NAPA ones (NS 58567 ), which seem like a good deal. I would double check to make sure that they will fit your truck, though. I haven't installed them yet, but they are designed to handle a little extra weight, so I have high hoped for them.
Here are some shots of recent work. The upholstery work that goes into finishing the top is pretty tedious, but we're nearly done. The top is all bolted down and ready to go, though I may add another pass-through bolt on both sides to pull the wooden supports, aluminum, and fiberglass body together. My next project is finishing the front windshield over the cab. I have a new seal for it, but I broke the plexiglass when removing it, so I need to see to that and then be really gentle when I am replacing it. We'll see how it goes.
The process of fitting this fabric, which is a soft, cloth-like vinyl stuff (I got it at a scrap store, so who knows what it really is) was pretty tedious and I don't recommend it. There is foam under the fabric, a combination of the original, underlayment left over from doing the cab carpet, and stuff from a scrap craft store in Portland. This photo makes it look worse than it is. It looks pretty smooth. We used a high quality headliner contact adhesive to hold this up. Both 3M and Permatex make products that will work well for this. A shot of the whole thing. The front wood support was covered in foam and then the fabric was stapled to the back. Stainless screws and washers hold the wood in place, along with two bolts that pass through the aluminum side support, the wood, and the fiberglass body of the coach. I broke this front window when I removed it, so I'm trying to glue it with a special cement for this type of plexi. I have my doubts that it will be strong enough, so I'm also going to put a layer of super clear Gorilla tape over it as well.
I spent most of Sunday wrestling plexiglass windshield into place. Don't replace your own windshield.
Still, a few pictures of last weekend's progress:
We decided to make the old board work for the above cab area. We coated the bottom in a couple coats of spar varnish to help hold the rotten bits together and prevent more damage from water. We also braced the side supports and front lip with wood glue and L-brackets. We also added a support piece of treated plywood, which is held down with wood glue and screws. It stiffened this old piece up nicely. We then stretched, glued, and stapled new fabric over the old yellow vinyl. Here is the recovered piece sitting in place. Installing this repaired plexi windshield and new rubber took most of a day. I don't recommend trying to do this on your own. If you do, be sure to use lots of soapy water and patience. Installing the locking strip using a special tool. Don't even try this without the special tool. Here is a shot of our work space at night. It's a great spot, but it's in the next town over and we have one car, so getting out here is a feat of schedule juggling.


 07-11-2019, 10:59 AM