When you click on links to various merchants on this site and make a purchase, this can result in this site earning a commission. Affiliate programs and affiliations include, but are not limited to, the eBay Partner Network.
I'm about to start my 1980 Hilux build. I currently have a 22R with a blown head gasket and just purchased a 2TR FE motor from a 2006 Tacoma for a swap. I know one other person has completed this swap lately with a 1987 4runner on this site. I am also posting this build thread on Tacoma world. Some rust in the usual places (i.e. Floor Board). But was a solid runner before I blew the head gasket! :/
Last edited by fj40pinobilt; 01-24-2019 at 11:30 AM.
I finally found a good 2TR-FE from a 2006 Tacoma and had it rebuilt from Alex at RAM Engines in Imperial Beach, CA. He is a solid dude who has supplied a couple of my friends with engine rebuilds. The bore is .020" over so I expect it to have a little bit more torque than stock. The motor also came with a intake and exhaust manifolds and an automatic belt tensioner pulley. I'm gonna have to source the water pump, alternator, power steering pump, ignition coils and the throttle body. I usually get my parts from Rock Auto, so I guess it's off to the internet to start sourcing parts! The paint is a lizard green that I saw on an old Porsche motor, I just wanted to do something different with the engine color.
Very cool project!
What transmission are you going to run behind it?
What made you go with this extensive swap vs. replacing the head gasket in the 22R?
And what made you choose the 2TR over say a 2RZ or 3RZ?
Hey Punjab, Thanks! I am going to run the R151F, still looking for a good one for a decent price. These suckers are hard to find! I am going to run the gear driven transfer case from my current transmission on the R151F with the help of an adapor from Marlin Crawler. I wanted to see if I could get better MPG, torque and hp without having to go with a heavily modified 22r or 22re. I almost went with the 3RZ swap but then I decided to go with the 2TR because of the VVti. Just wanted to try something different, I have never seen a 2TR swap into a 3rd generation Hilux!
Slow progress, but I got the first part in the mail, Aisin Water Pump, there's a small premium for Aisin parts but I figured its worth it if the part lasts as long as all the other Toyota parts I have had in the past.
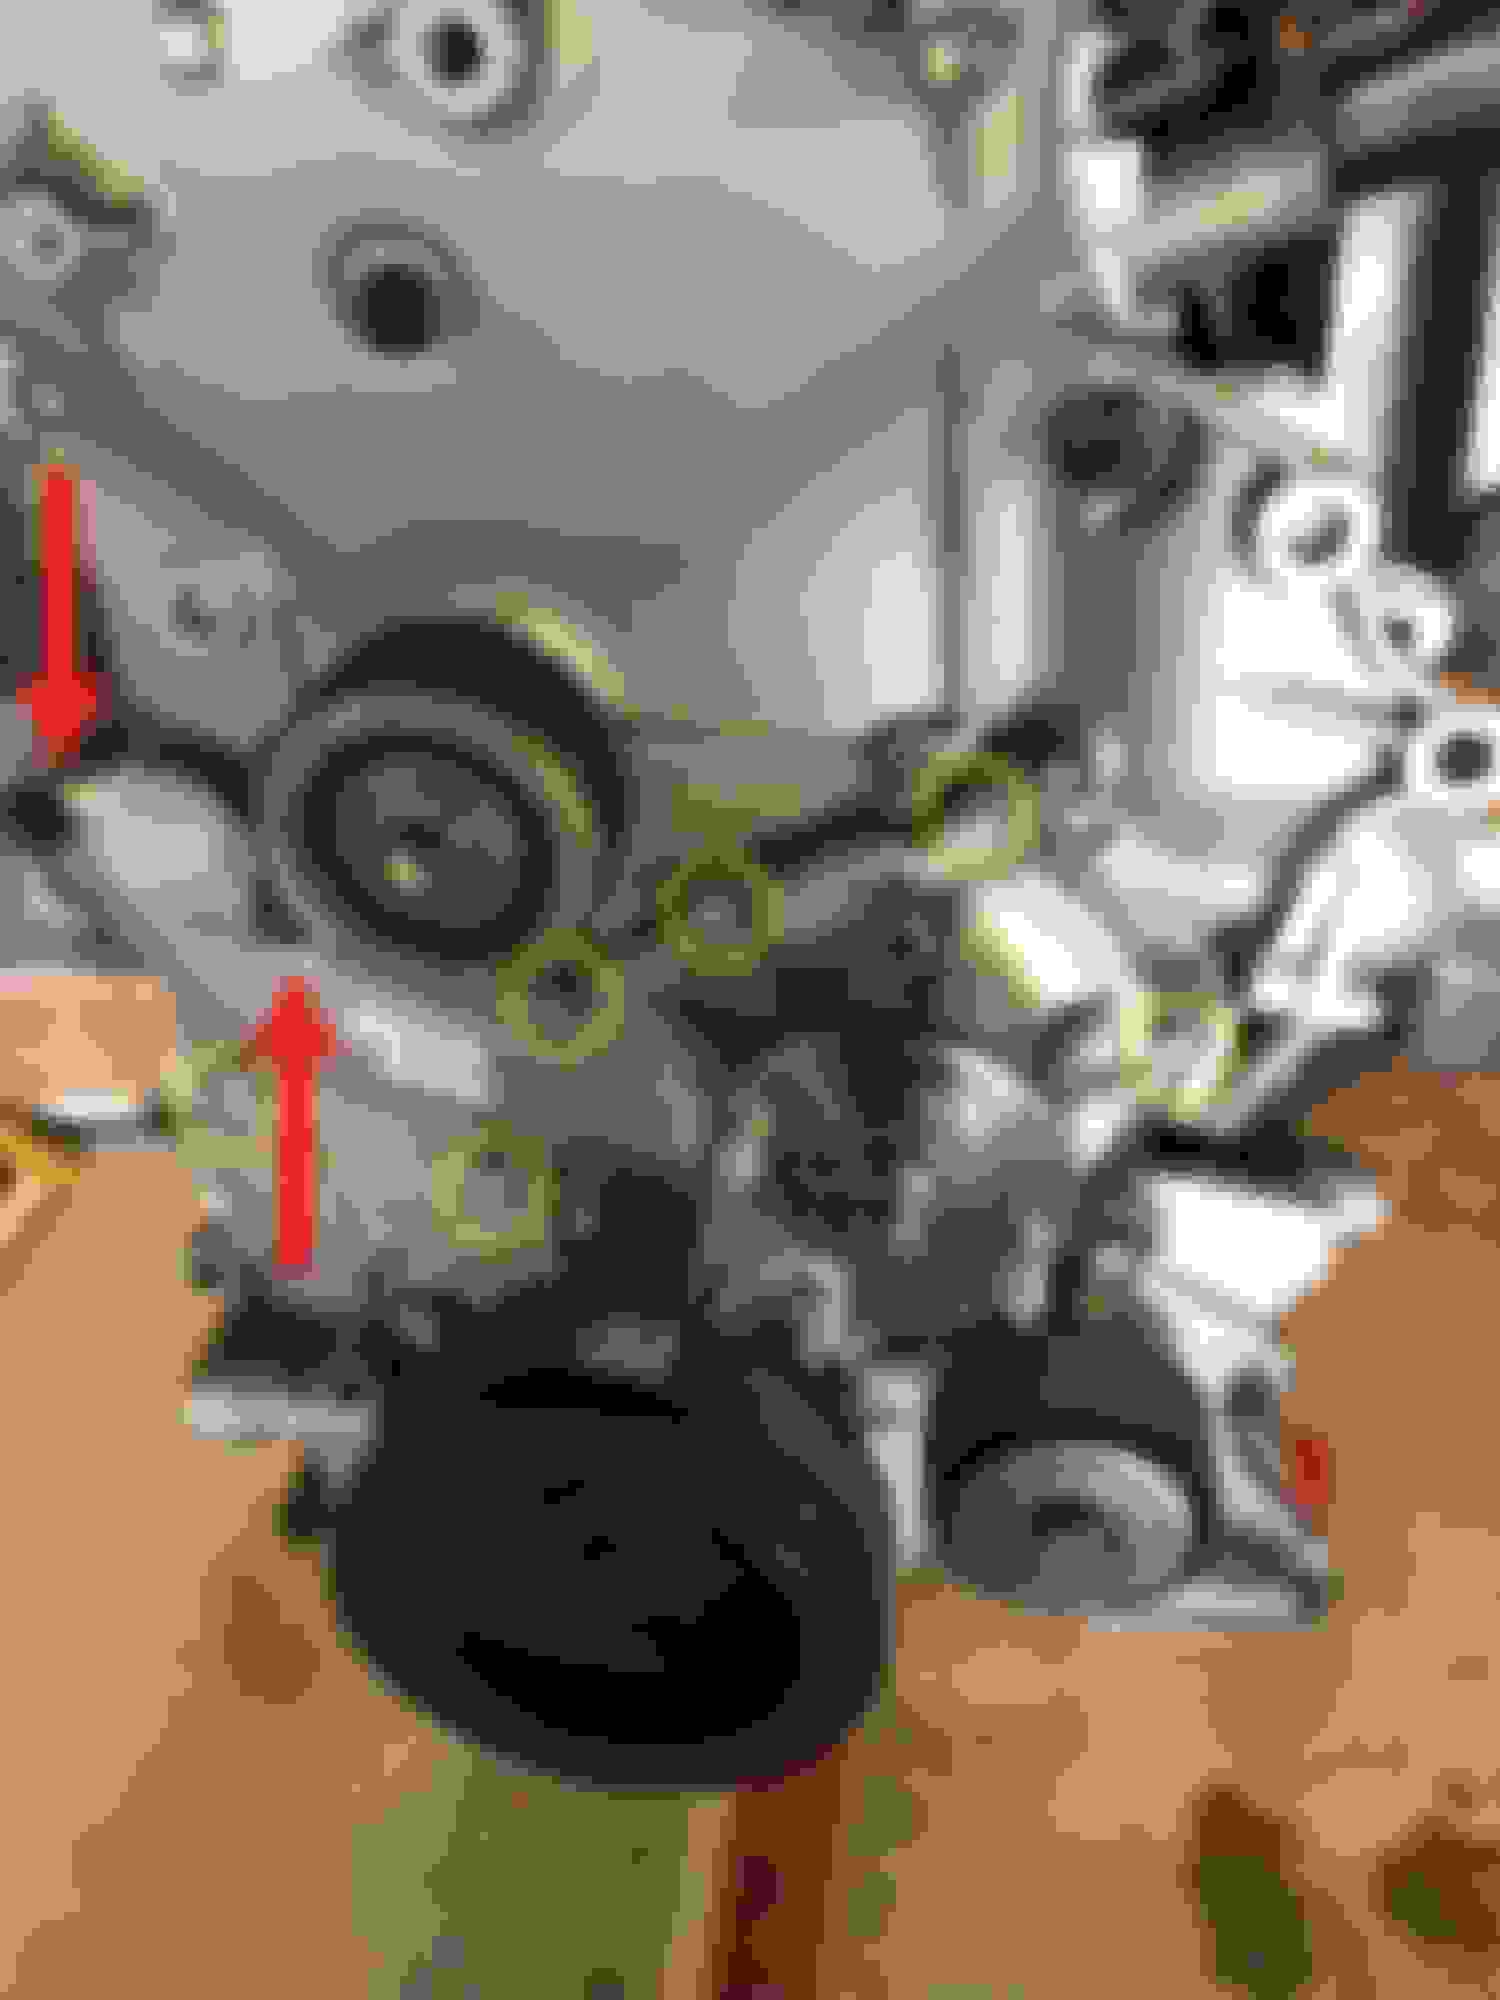
I read up on the torque specs for the water pump bolts and found the 2006 Tacoma FSM. Installed water pump gasket and then water pump and torqued the bolts to spec. The two red arrows indicate 2 big bolts that need to be tightened to 15ft/lbs. The smaller ones circled in yellow need to be torqued to 80in/lbs. (There are two more small bolts under the fan pulley that are not in the pic. I will take better pics in the future.)
Last edited by fj40pinobilt; 03-23-2019 at 01:40 PM.
I have the stock harness from a 2006 tacoma. TheTacoma harness comes in three main pieces. When they are all together, it's a huge pile of wires! I have two parts of the harness, mainly, the two parts of the harness that sit in the engine. The third piece of the harness is all the non-engine/ interior stuff from a Tacoma and I don't have that piece. Once I get the rest of the engine parts bolted in, I am going to see how much of the harness plugs right in. From there, I plan to get the motor running before I start "cleaning up" the harness by getting rid of all the stuff that is useless. I just got some more parts in the mail. I will be posting an update this weekend. Slow progress but nonetheless progress!!
Next up, I order an alternator. Once again, progress is slow because money is tight bear with me. Alternator was an easy install 2 bolts and it dropped right in. Makes it even easier when installing it on an engine stand. Torque spec for two bolts is 32 ft*lb
Next up is the power steering reservoir and pump. Purchased a complete one off Ebay for $90. Not sure what brand it is, but the OEM ones run beaucoup bucks! Looked all over junkyards here in San Diego and 2006 Tacoma junkyard parts are hard to find. Two bolts 32 ft*lbs each bolt. The best way tighten the bolts is to get a deep socket wrench with an extension and go thru extrusions on the pulley wheel.
As I the rebuilt motor did not come with a throttle, I bought a new one from Rock Auto. Throttle install was pretty straight forward, except for the bolts. I could not find the bolts in my bolt stash that were long enough and skinny enough to fit properly. I had to run around town but finally found them! There are qty: 2 (10mm bolts) and qty: 2 (10mm nuts) required. I also used locking and regular washers for the nuts and bolts. FSM torque spec is 80 in*lbs. There is also a gasket that you need to install before installing the throttle. I forgot about it until, I started writing this up. The gasket looks like this:
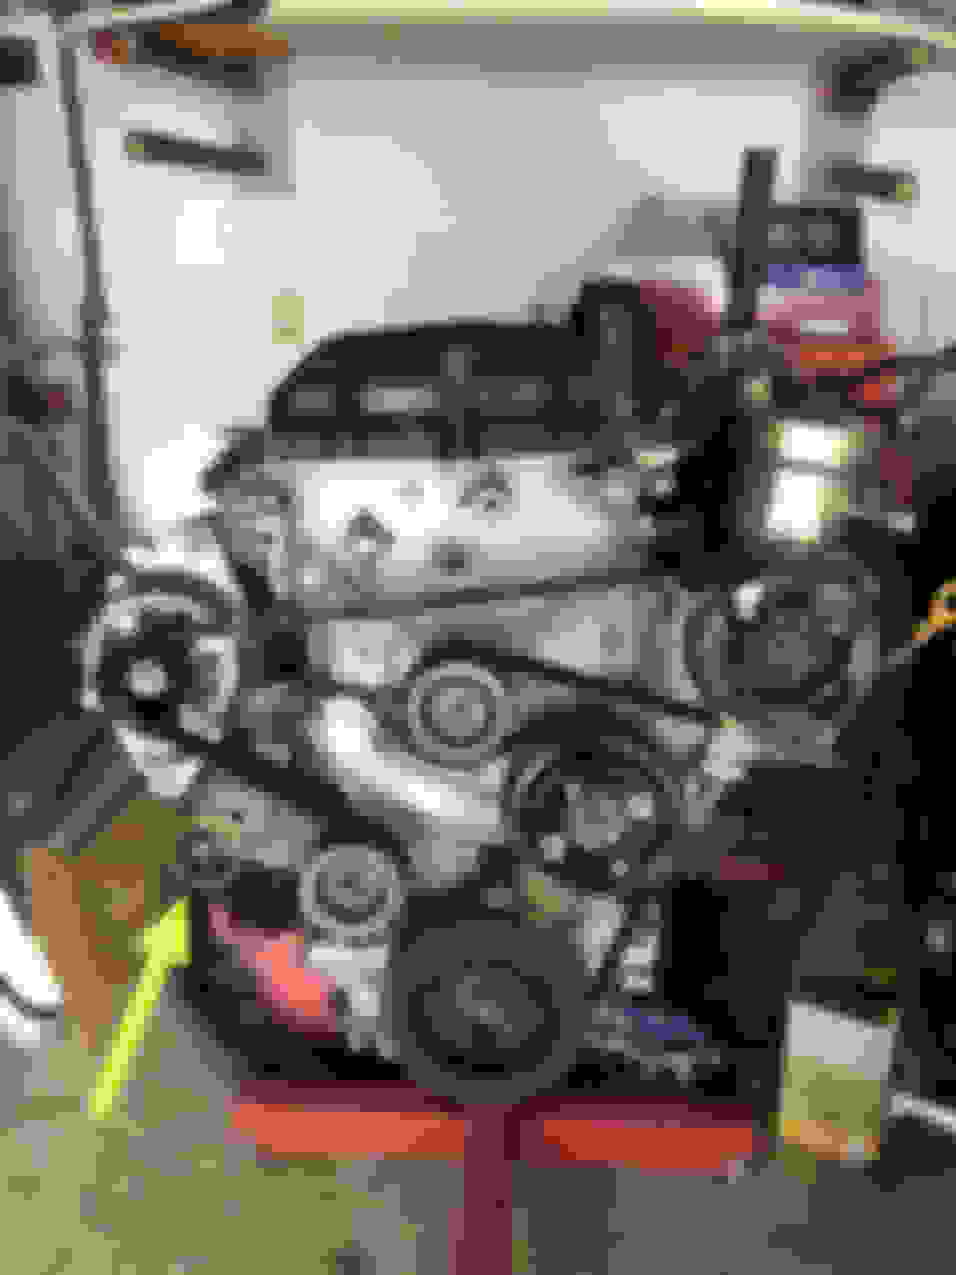
So, in the tradition of keeping it oooooold skool. I am not running the A/C unit. Rather than having an empty bracket and an extra pulley there, I decided to remove it and free up more engine space for god knows what else. I figure as the build progresses, it’s going to be one less clearance issue that I am going to have to deal with? Not sure, but just in case I change my mind, I’m going to keep this around. Removal was easy, just 5 bolts and voila!
Installed the serpentine belt. I got the one without extra length for the A/C.
ABH 7K735
AC Delco Serpentine Belt w/o A/C
Installing the belt was easy. Just one belt! Not like my old 22R motor. There were 3 belts. I got a 14mm socket and pulled counter clockwise on the “nut head” on the pulley tensioner. (nut head is hight-lighted in yellow) This is what the front of the engine looks like so far. As you can see I got a belt that fits without the a/c.
Last edited by fj40pinobilt; 03-23-2019 at 12:55 PM.
Reason: Wrong pic
Nice progress. Are you sourcing those random engine bolts from Toyota or a hardware store? I found buying the OEM bolts for my 3rz-in-a-box was minimally (like pennies) more than Ace hardware, and sometimes cheaper. Plus all the Japan bolts have the correct head sizes (no 13mm, etc).
did you get the fan& clutch from the new engine as well?
Hey toy_tek, sorry for the delay. Had to take a pause from the project for a bit cuz of traveling for work. I got some of the bolts from Toyota. The ones that were odd length that the hardware store did not have. There's a really cool local hardware store in my area that sells nuts and bolts individually and they are super cheap. I found that some of the Toyota bolts can be pricey...not all but some. I have decided to delete the fan clutch and go with an LCE performance fan. I will be posting the install of that soon! I want to squeeze as much HP out of this as possible without going nuts with cams and headers, etc. Just simple mods and tweaks without changing the Toyota-ness of the motor.
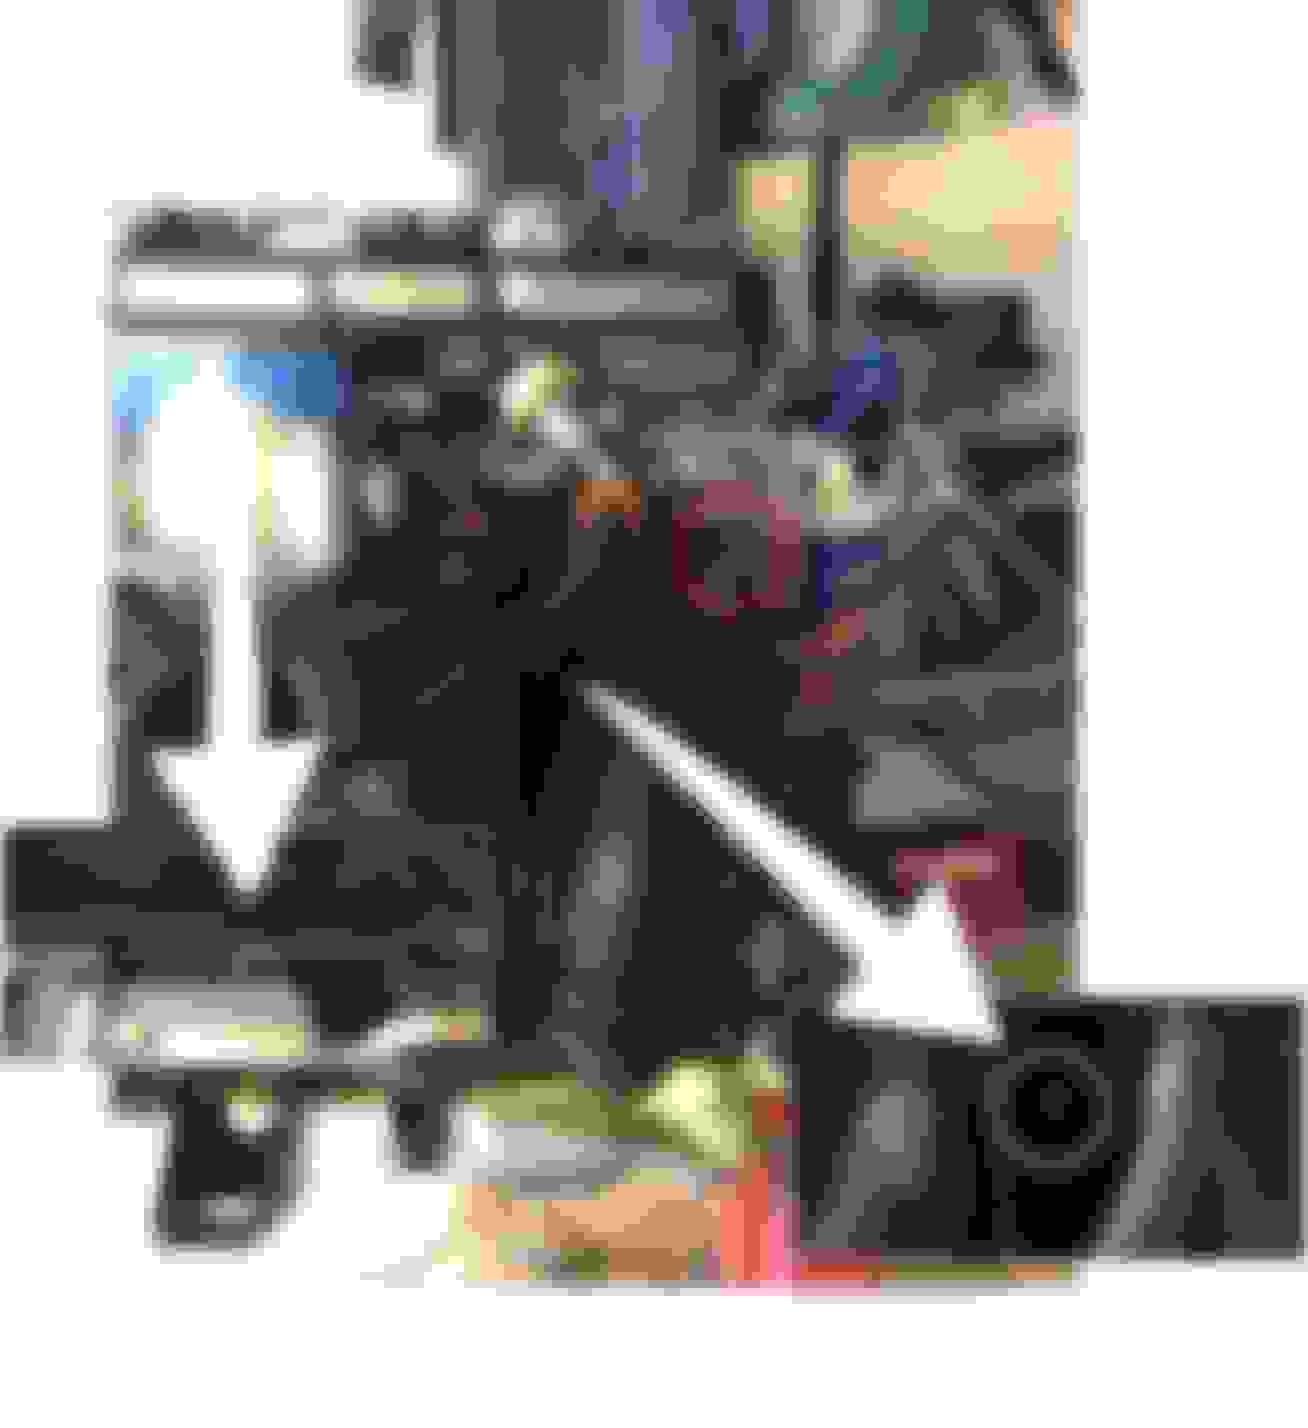
Next on the long list of to-dos the coolant bypass tube. Before installing the tube, the intake manifold has to be removed. This is done with the removal of 6 bolts and 2 nuts, using a 12mm socket. The two nuts are circled in red and the bolts are circled in white. There is a bolt located behind the throttle body and you need to remove the throttle body in order to reach this bolt. You can barely see the head of the bold circled in white in one of the pics. Removal of the throttle body is pretty easy. Just remove two nuts and two bolts.
Nut circled in red. Bolts indicated with white arrows and circles. Nut circled in red. Bolts indicated with white arrows and circles.
Intake manifold removed.
Last edited by fj40pinobilt; 05-17-2019 at 10:08 PM.
After reading the article on this thread: https://www.tacomaworld.com/threads/....201053/page-4
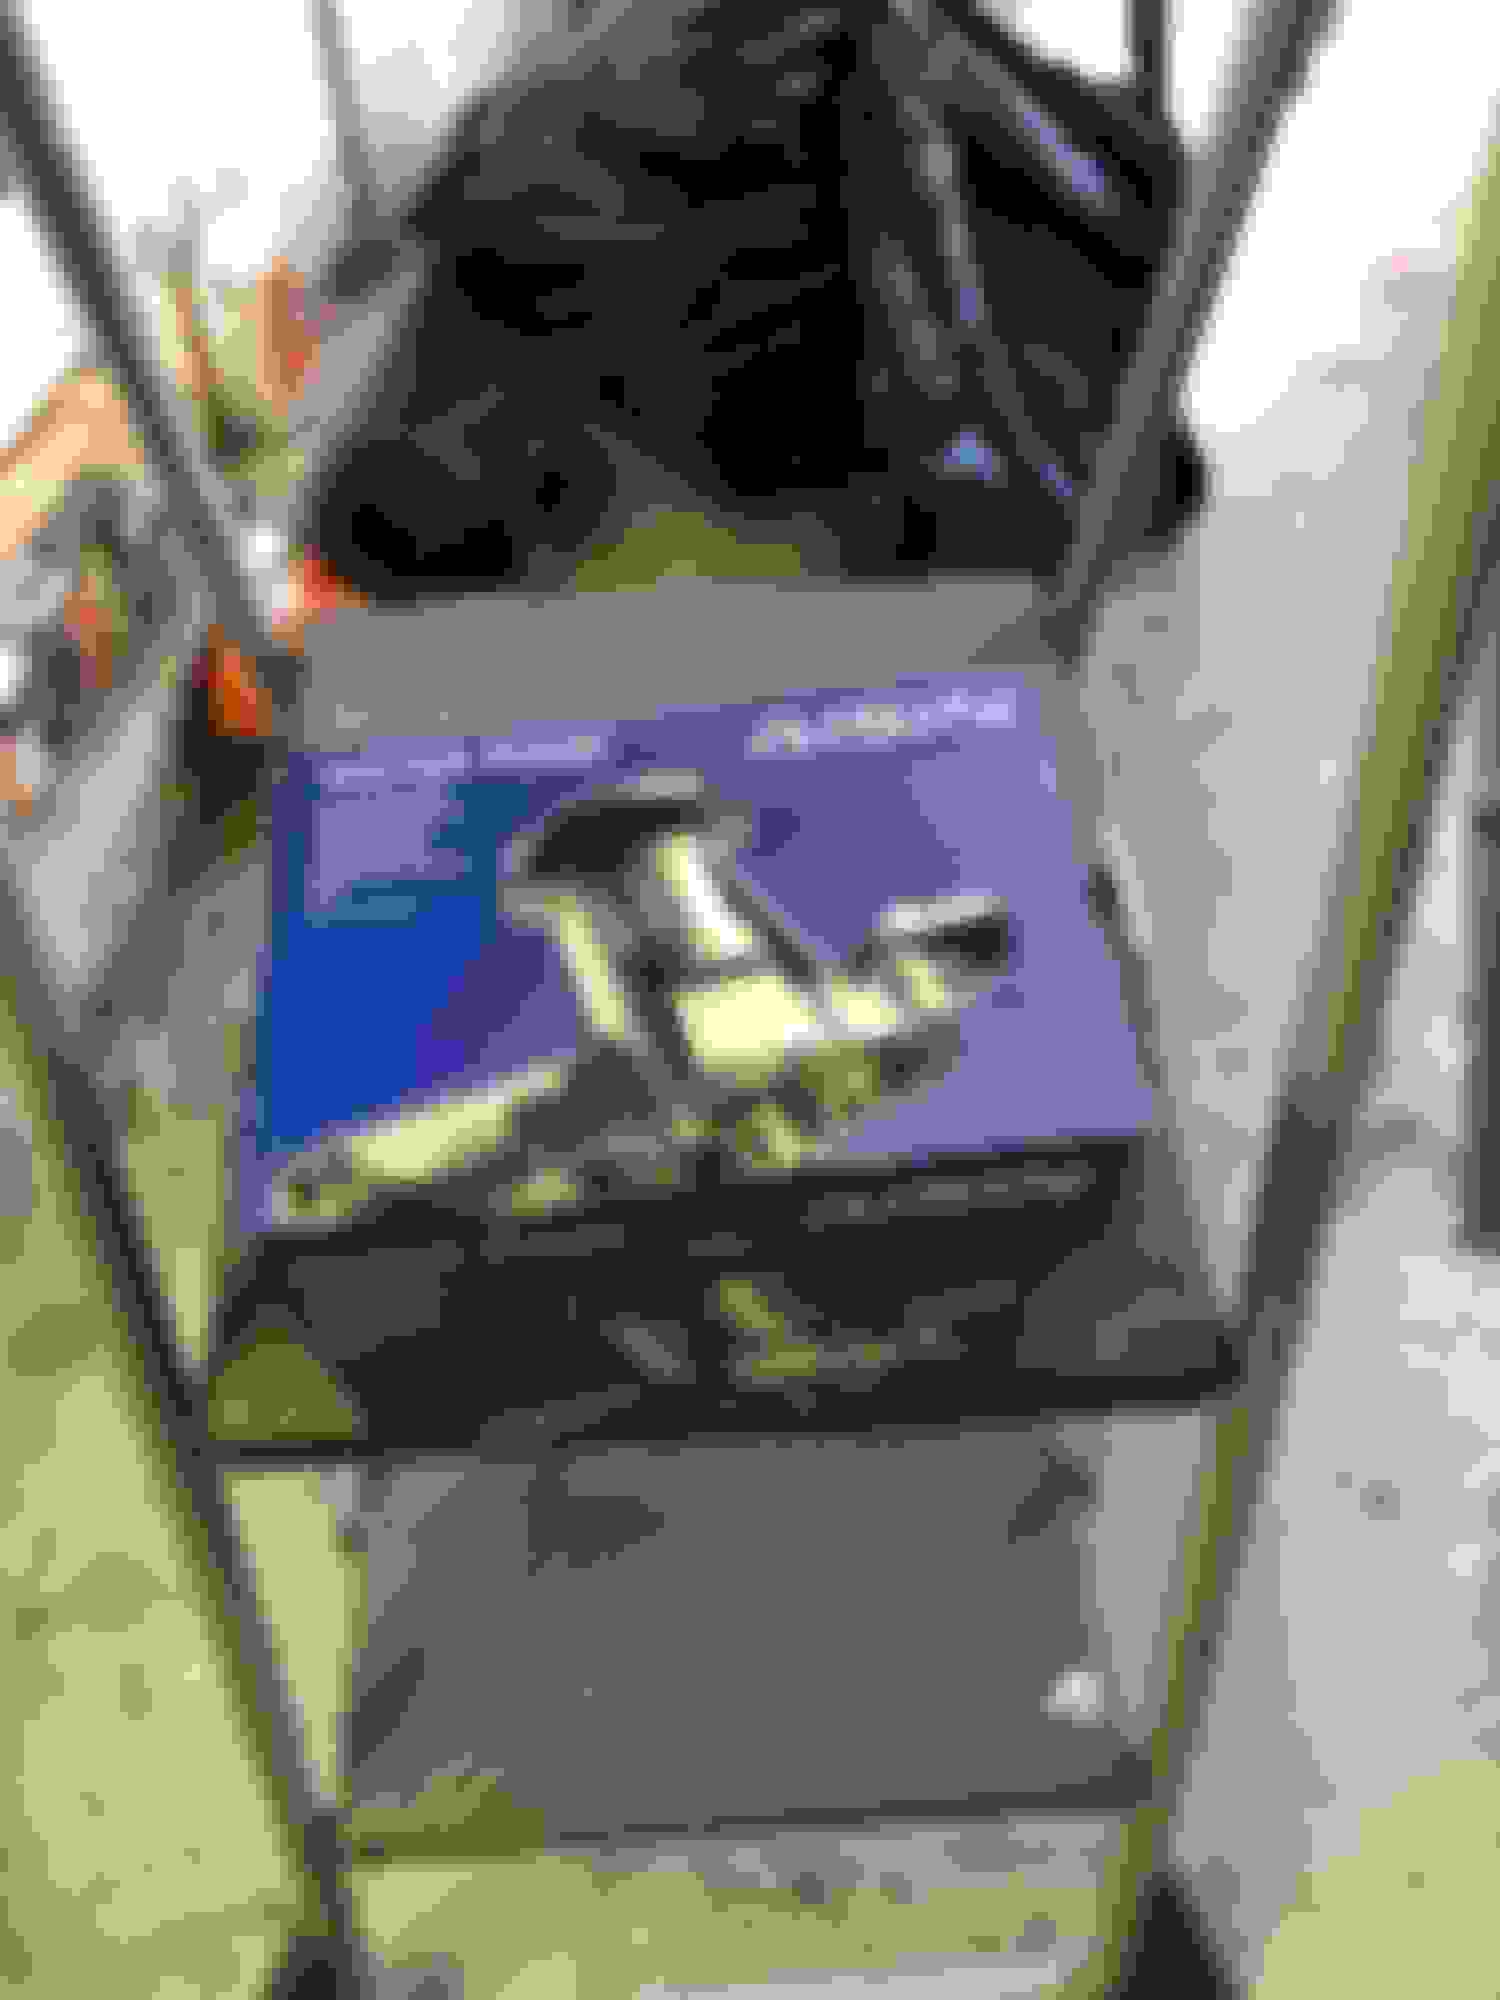
I decided to buy a knock off part from Amazon $30 with free shipping. That was a big mistake, even though I ordered the correct part number, when I tried to fit the part, I realized that not only was the flange too thin (the white arrow in the pic shows the space between the end of the thread and part, this would not allow the flange to be tightened properly) but the part was so poorly made the flange was tapered on one end (indicated by the black arrows).
The top part of the flange is tapered and thinner than the bottom part. Also the overall thickness of the flange is too thin. Crappy Part in black. OEM part on bottom. Just look at the differences in the flange thickness
Last edited by fj40pinobilt; 05-17-2019 at 09:39 PM.
The coolant bypass tube also requires that a metal gasket be installed. As you can see from the photos one side has a raised surface and the other has a depressioned surface. Not sure which side faces the engine block and which faces the flange. Not even sure if it matters, anyone have any thoughts on this? I ended up mounting the depressioned surface to the engine block.
 01-24-2019, 11:29 AM