Clarion anyone???
 02-01-2010, 12:35 AM
#21
Registered User
Thread Starter

Join Date: Sep 2009
Posts: 259
Likes: 0
Received 0 Likes
on
0 Posts
I have some fatmat on order to put on the quarter panel.
 02-01-2010, 03:02 PM
#23
Registered User
Thread Starter
Join Date: Sep 2009
Posts: 259
Likes: 0
Received 0 Likes
on
0 Posts
If you have the required tools to do so and know basic math then you could easily do it. All you really need to know is how to get the volume of the box and that's it. It is all really basic stuff.
02-06-2010, 03:36 PM
#24
Registered User
Thread Starter
Join Date: Sep 2009
Posts: 259
Likes: 0
Received 0 Likes
on
0 Posts
Update: Got a few things done today.
FatMat'd the space
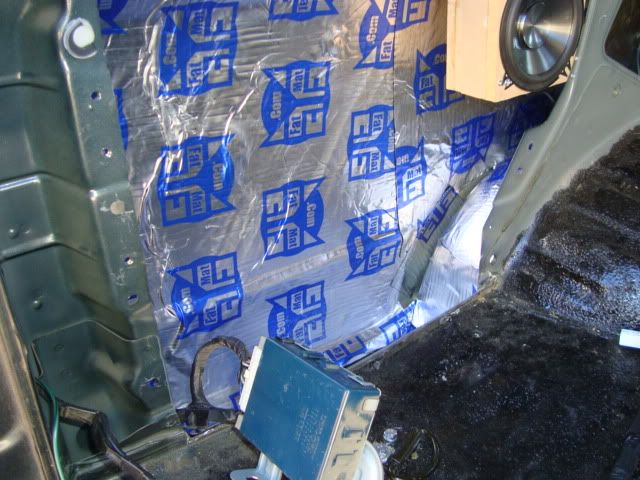
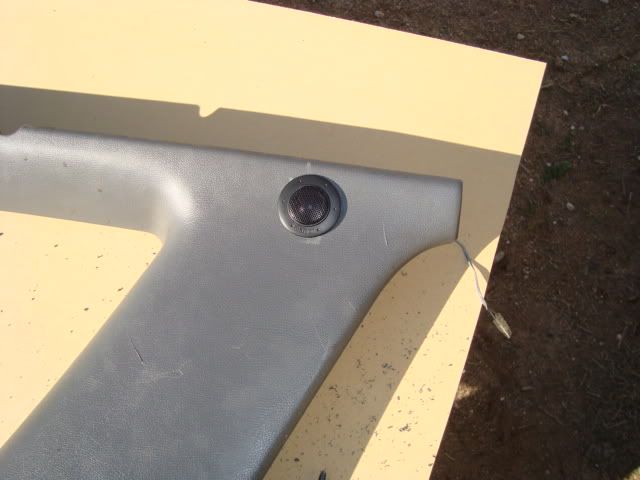
Mounted one of the rear tweeters
Painted the box

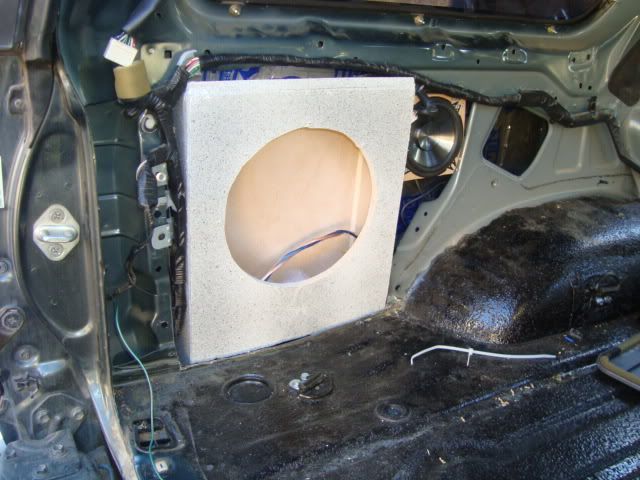
Box mounted in the space
I am currently letting the second coat of paint dry on the box and am almost tempted to either paint it with the black stone/speckle paint or carpet it which I don't want to do but it may look better against the panel. If the weather holds off I will be doing more tomorrow so stay tuned
FatMat'd the space
Mounted one of the rear tweeters
Painted the box
Box mounted in the space
I am currently letting the second coat of paint dry on the box and am almost tempted to either paint it with the black stone/speckle paint or carpet it which I don't want to do but it may look better against the panel. If the weather holds off I will be doing more tomorrow so stay tuned
02-06-2010, 03:43 PM
#26
Registered User
Thread Starter
Join Date: Sep 2009
Posts: 259
Likes: 0
Received 0 Likes
on
0 Posts
02-06-2010, 03:54 PM
#28
Registered User
Thread Starter
Join Date: Sep 2009
Posts: 259
Likes: 0
Received 0 Likes
on
0 Posts
02-11-2010, 10:47 AM
#29
Registered User
aw man! this is coming along great. i need a sub box just like that. i like the little box for the right rear midrange. good job, man!
hold it now. amp on the back seat? you don't need the ability to fold flat? i do...that's my hangup. i'm considering putting the amp overhead just to preserve this function.
still, looking good so far man.
if you have spare scraps of the fat mat, stick it all over the plastic factory boxes on your front speakers. give that plastic a little more structural integrity.
02-11-2010, 03:28 PM
#30
Registered User
Thread Starter
Join Date: Sep 2009
Posts: 259
Likes: 0
Received 0 Likes
on
0 Posts
aw man! this is coming along great. i need a sub box just like that. i like the little box for the right rear midrange. good job, man!
hold it now. amp on the back seat? you don't need the ability to fold flat? i do...that's my hangup. i'm considering putting the amp overhead just to preserve this function.
still, looking good so far man.
if you have spare scraps of the fat mat, stick it all over the plastic factory boxes on your front speakers. give that plastic a little more structural integrity.
hold it now. amp on the back seat? you don't need the ability to fold flat? i do...that's my hangup. i'm considering putting the amp overhead just to preserve this function.
still, looking good so far man.
if you have spare scraps of the fat mat, stick it all over the plastic factory boxes on your front speakers. give that plastic a little more structural integrity.
I have tons of FatMat left and am going to use it in other places but not sure where.
Thanks for the comments.
 02-14-2010, 03:15 PM
#32
Registered User
Thread Starter
Join Date: Sep 2009
Posts: 259
Likes: 0
Received 0 Likes
on
0 Posts
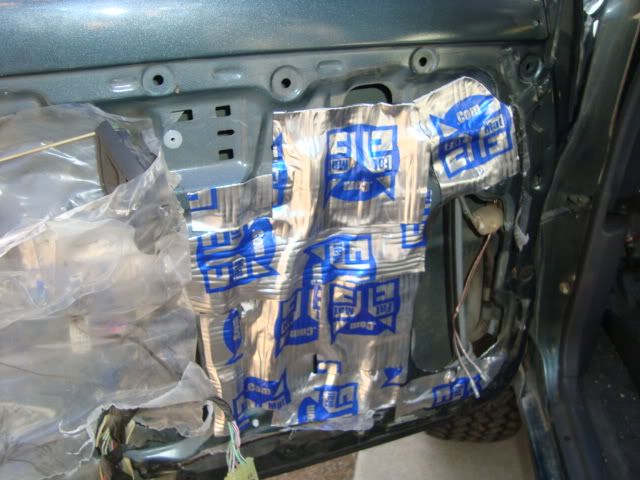
More updates: Today I started to add my additional set of components in the front doors.
First, I trimmed some metal and laid FatMat
Then I fitted the speaker and the trimmed pocket
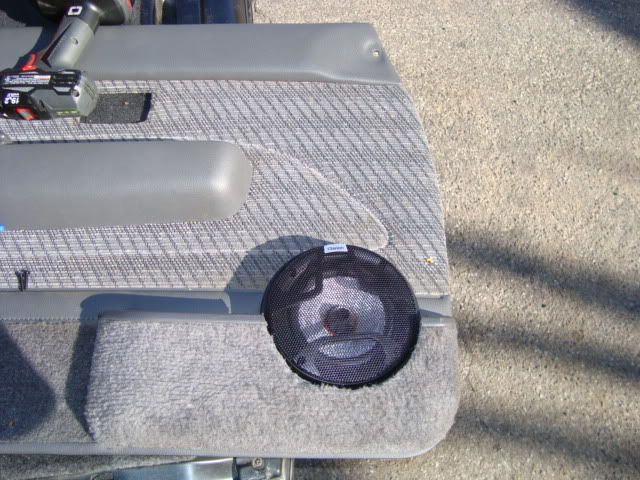
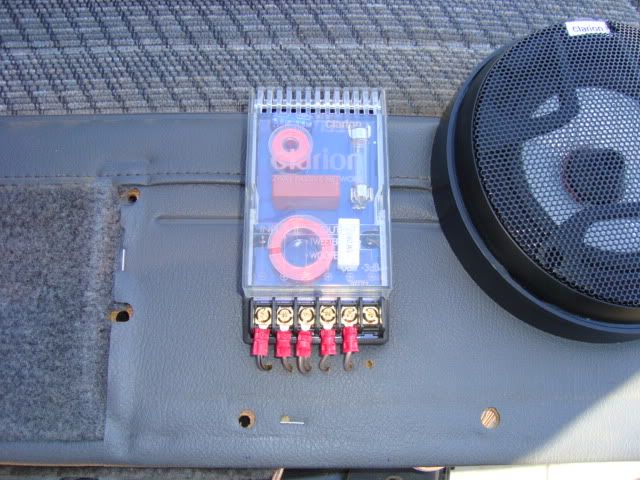
After that I mounted the crossover
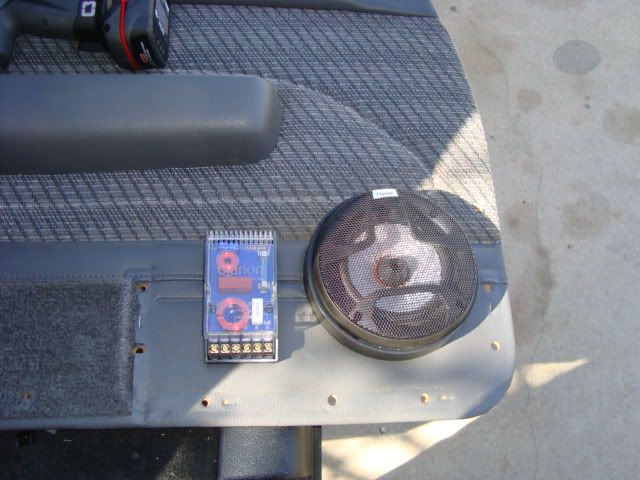
Then wired the crossover to the speaker and the tweeter
Test fitted the pocket
Reinstalled the door panel
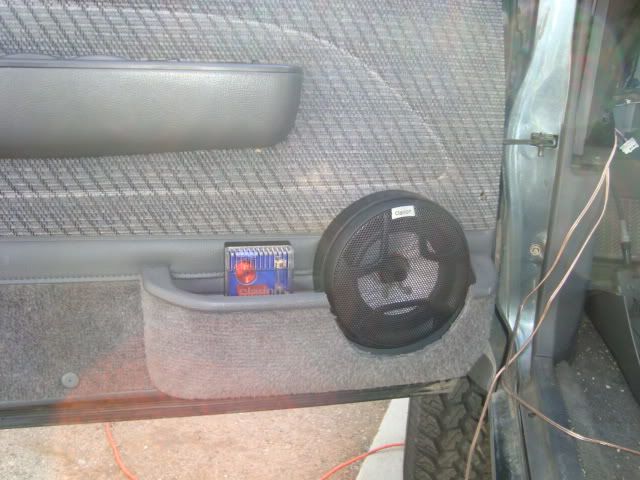
Then I mounted the tweeter
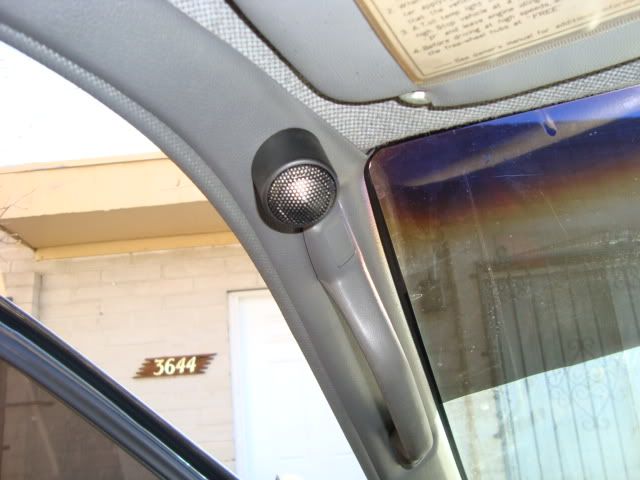
More to come tomorrow. Now that I know what approach I am going to take as far as mounting the speakers and tweeters and how to wire them, I should finish much quicker and hopefully get to mounting the amps and wiring them for the most part.
First, I trimmed some metal and laid FatMat
Then I fitted the speaker and the trimmed pocket
After that I mounted the crossover
Then wired the crossover to the speaker and the tweeter
Test fitted the pocket
Reinstalled the door panel
Then I mounted the tweeter
More to come tomorrow. Now that I know what approach I am going to take as far as mounting the speakers and tweeters and how to wire them, I should finish much quicker and hopefully get to mounting the amps and wiring them for the most part.
Last edited by airkewld4life; 02-14-2010 at 03:17 PM.
02-15-2010, 04:03 PM
#33
Registered User
Thread Starter
Join Date: Sep 2009
Posts: 259
Likes: 0
Received 0 Likes
on
0 Posts
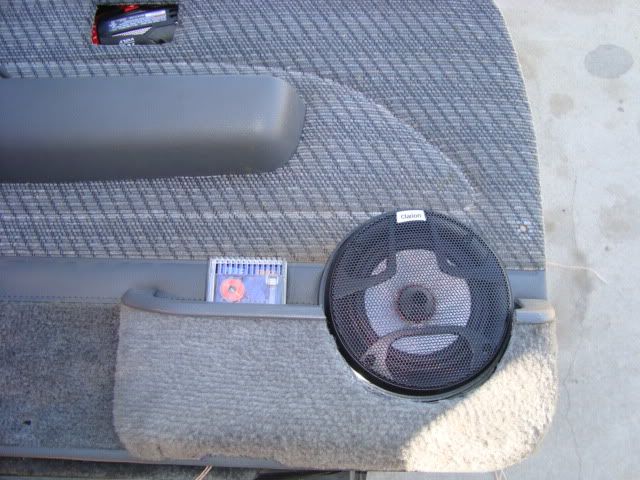
Today was pretty productive. I finished the install of the components on the other door and routed the wires. I also started on a new box. I didn't like the way the other one fit so I built a different one.
Here is the other door and components
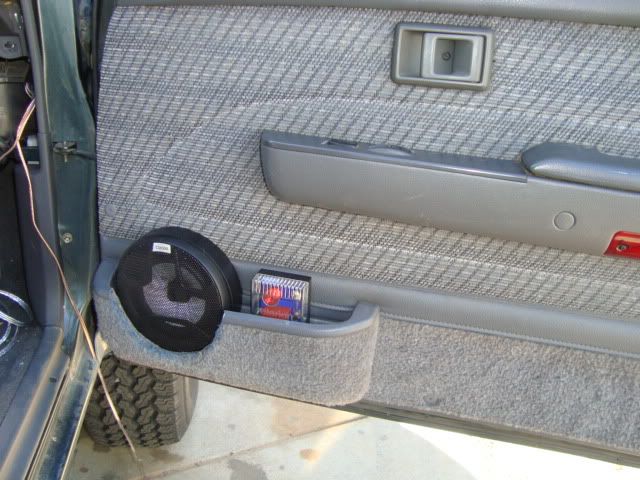
Here is the new box being test fitted behind the panel. I had to trim the panel about 1/4" all the way around but the box fits nice and snug down in there
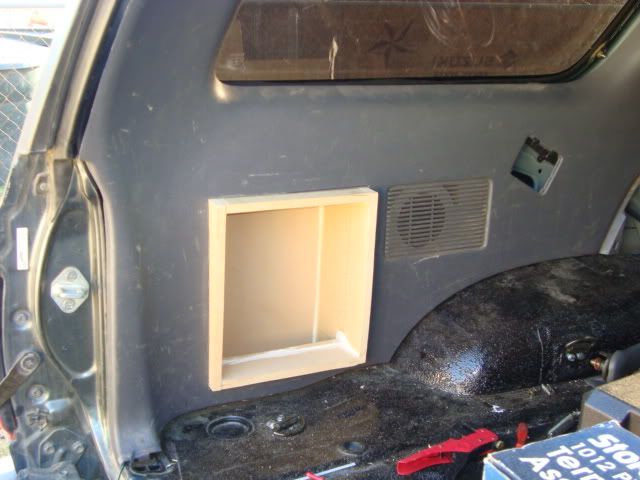
Let me know what you think. I should be finished up by next weekend.
Here is the other door and components
Here is the new box being test fitted behind the panel. I had to trim the panel about 1/4" all the way around but the box fits nice and snug down in there
Let me know what you think. I should be finished up by next weekend.
02-23-2010, 09:16 AM
#34
Registered User
Very nice work. Any updates. You've got me wanting to finish my system. Take a look at ArcAudio's MINI series amps. You can fit them under the seats. Keep up the good work.
02-23-2010, 04:25 PM
#35
Registered User
Thread Starter
Join Date: Sep 2009
Posts: 259
Likes: 0
Received 0 Likes
on
0 Posts
Stay posted.
Last edited by airkewld4life; 02-23-2010 at 04:27 PM.
02-23-2010, 06:33 PM
#37
Registered User
Thread Starter
Join Date: Sep 2009
Posts: 259
Likes: 0
Received 0 Likes
on
0 Posts
02-25-2010, 03:35 PM
#38
Registered User
Thread Starter
Join Date: Sep 2009
Posts: 259
Likes: 0
Received 0 Likes
on
0 Posts
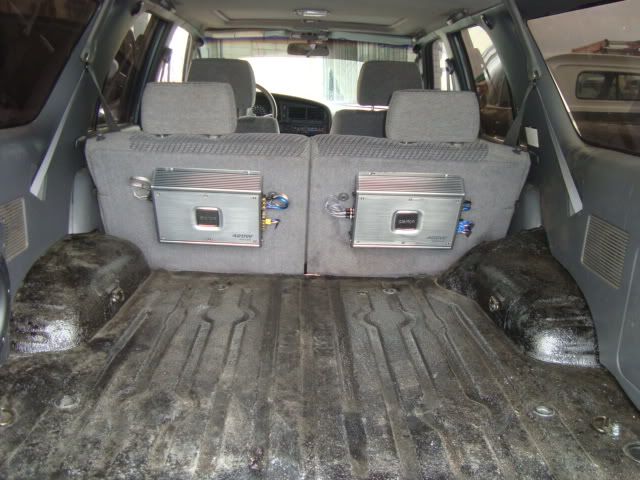
Well, my hard work has finally paid off and I can now officially call this a wrap. I woke up early today (about 4pm, I work late nights) to finish some wiring issues I had, finished them up, turned the key and voila, everything works. Now I just have to fine tune the amps, put panels all the way back on, clean out the 4Runner and enjoy.
Here is some pics. I'll post more when I have the Runner cleaned up so you can see the final install.
Enjoy
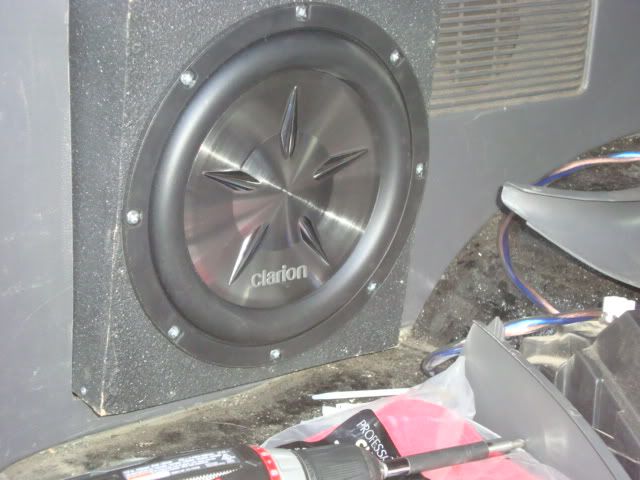
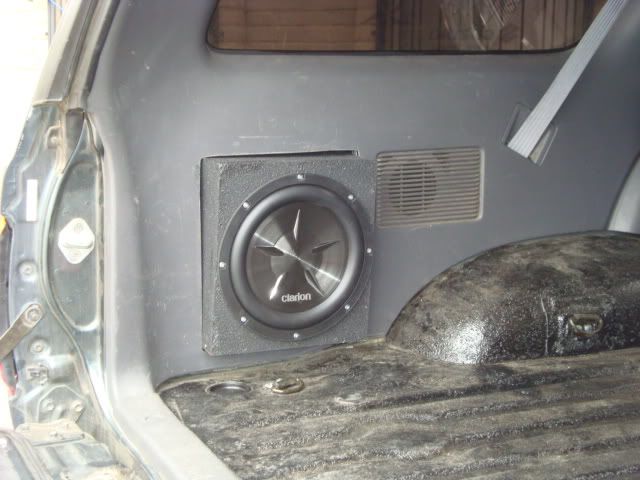
Here is the sub mounted in the box I built
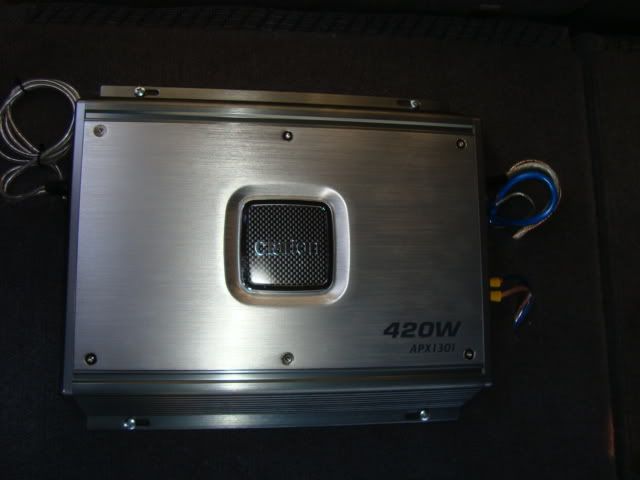
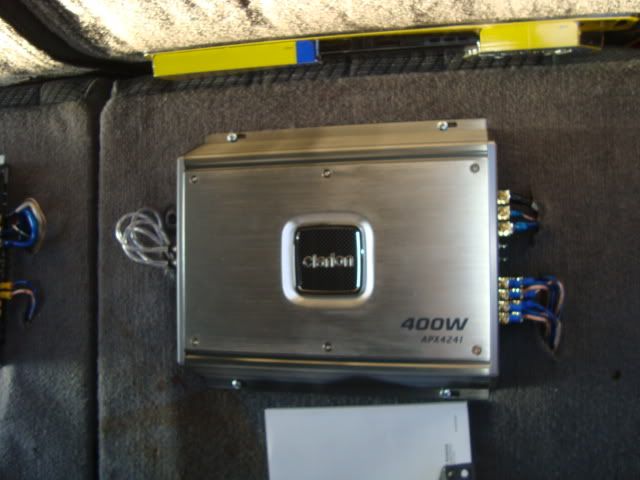
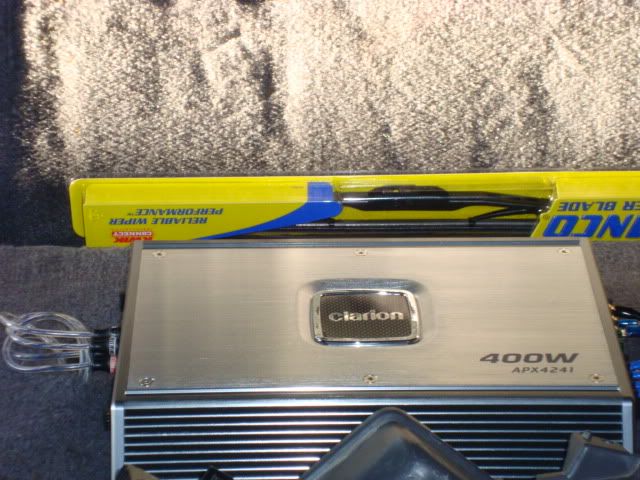
Just some amp and wiring shots

Here is some pics. I'll post more when I have the Runner cleaned up so you can see the final install.
Enjoy
Here is the sub mounted in the box I built
Just some amp and wiring shots
 02-27-2010, 10:49 AM
#40
Contributing Member
Join Date: Jun 2009
Location: Virginia Beach, VA
Posts: 332
Likes: 0
Received 0 Likes
on
0 Posts
well you could get some of that rubber stuff thats used around the doors and put it around the edge of the panel and it would give it that pro look, idk where you would get rubber lining like tho. but all in all its a very nice system!


