When you click on links to various merchants on this site and make a purchase, this can result in this site earning a commission. Affiliate programs and affiliations include, but are not limited to, the eBay Partner Network.
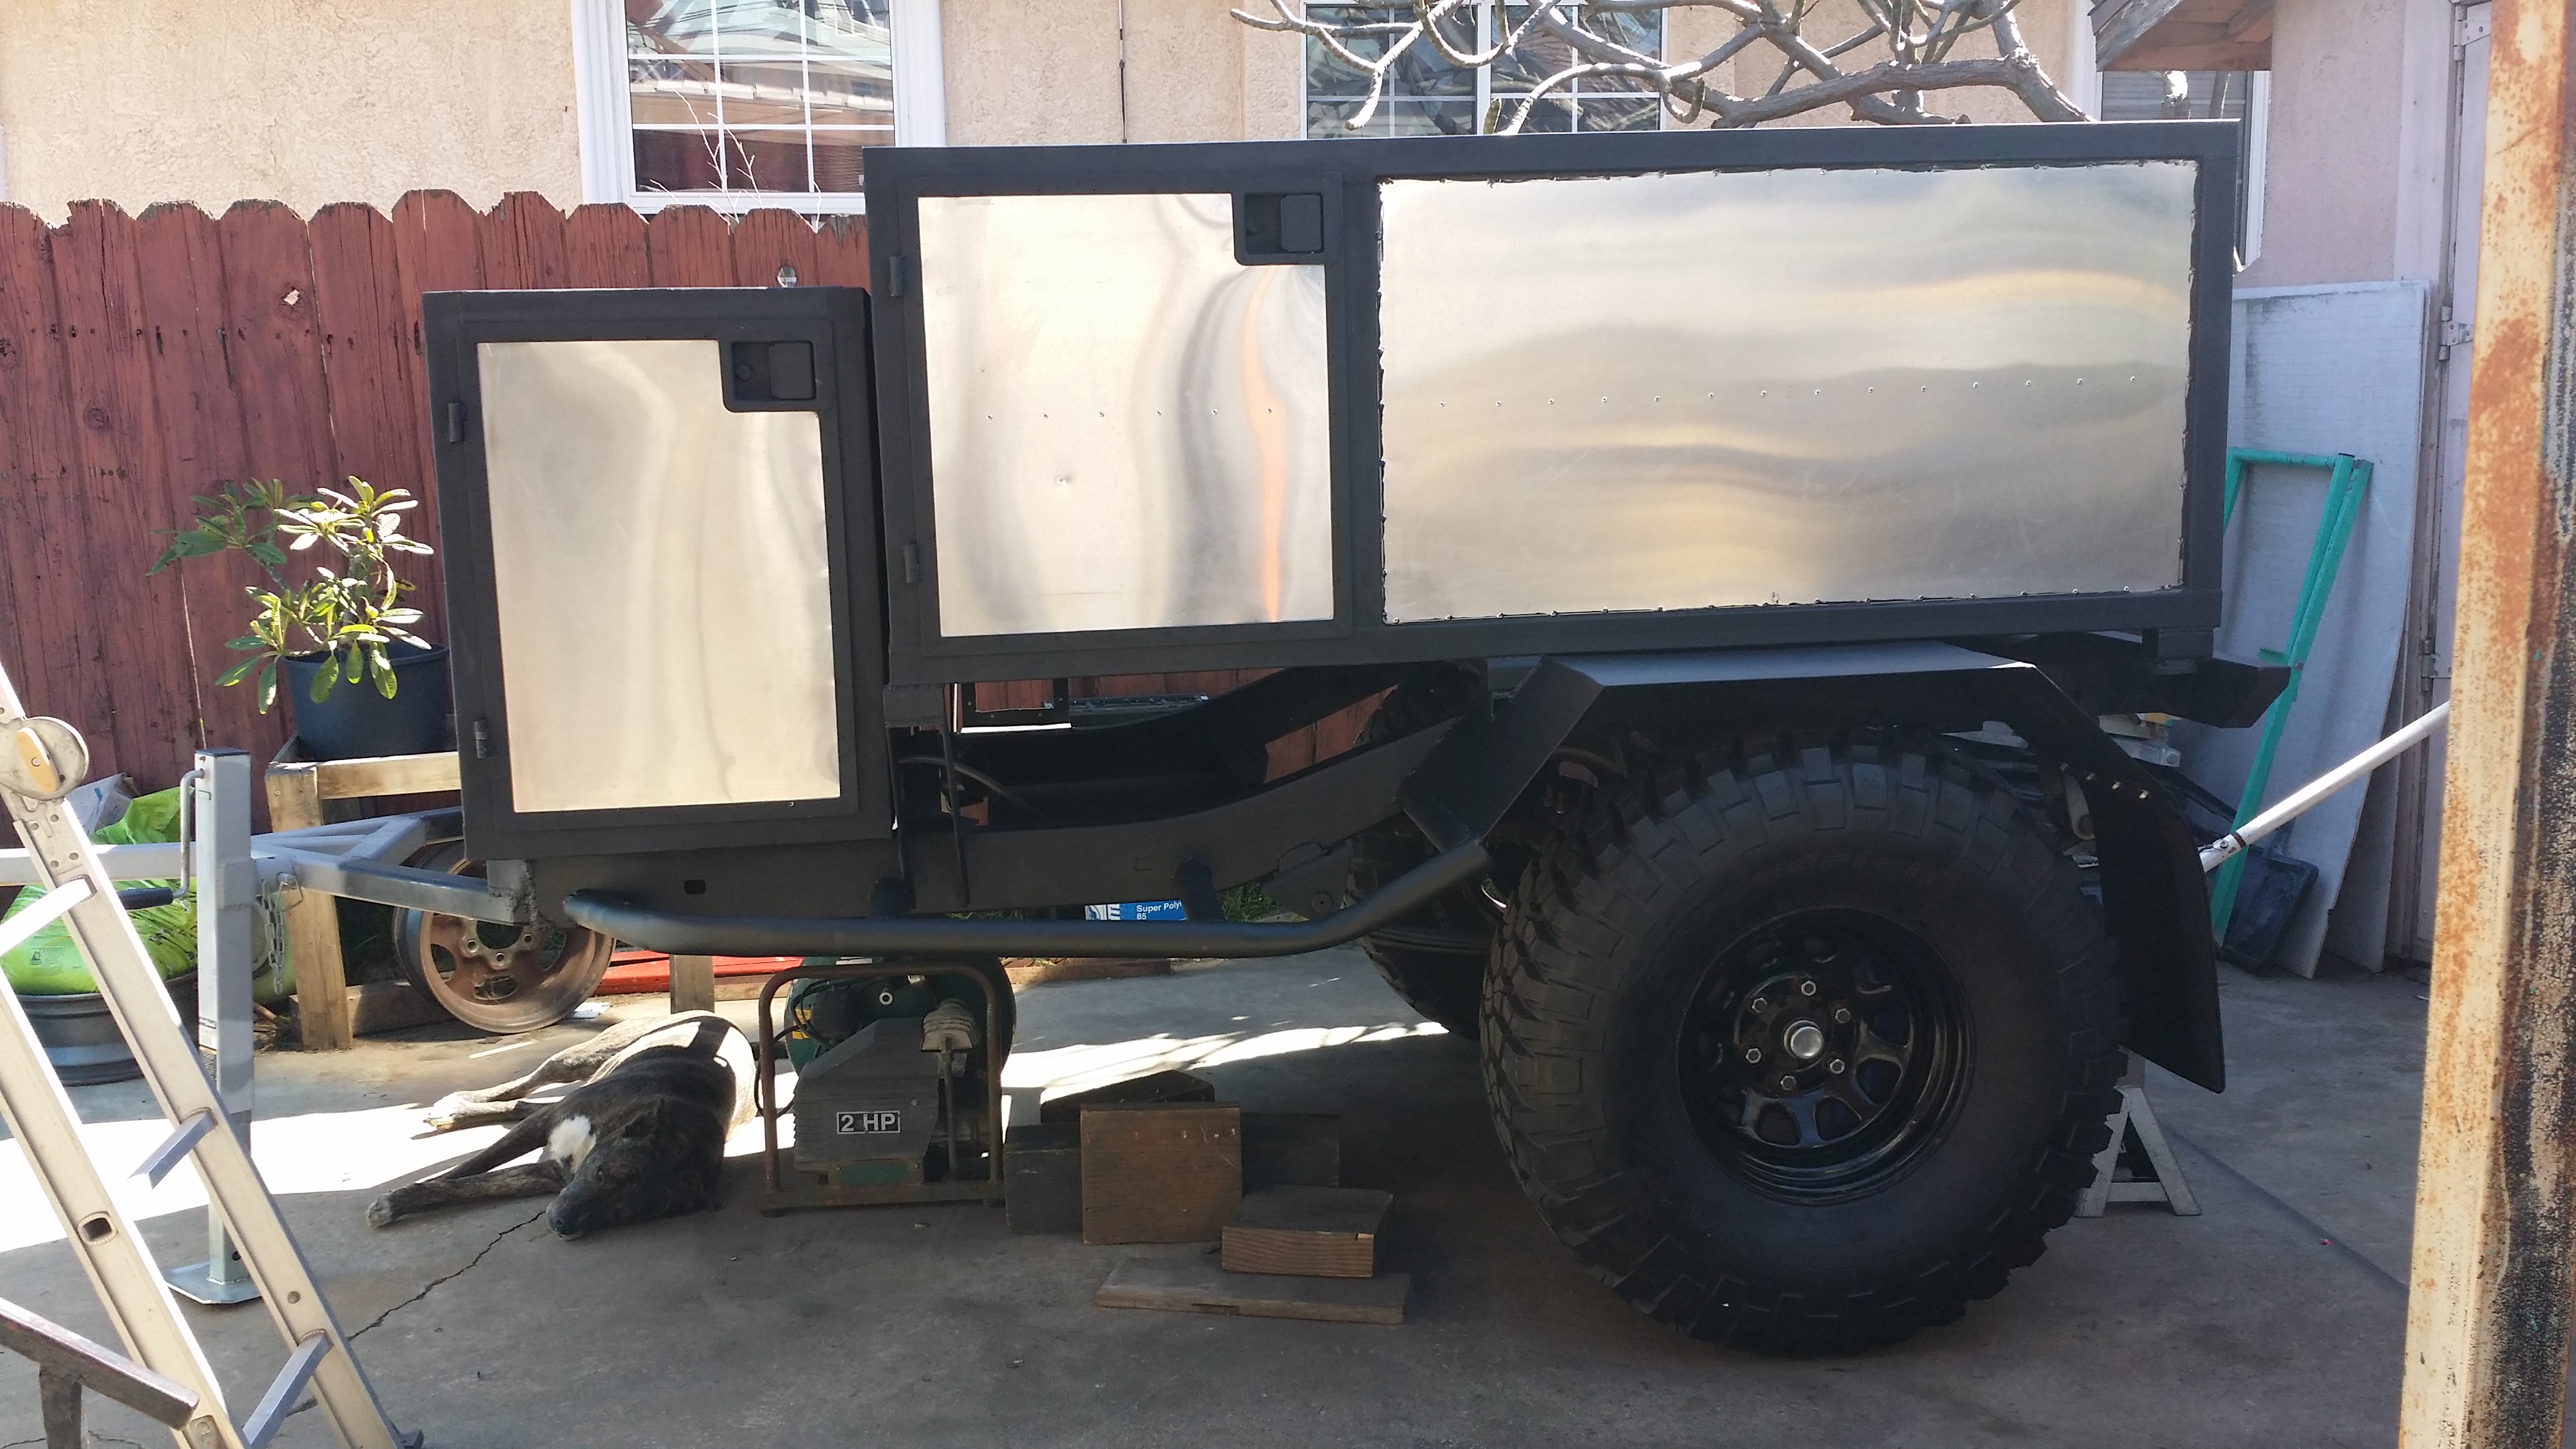
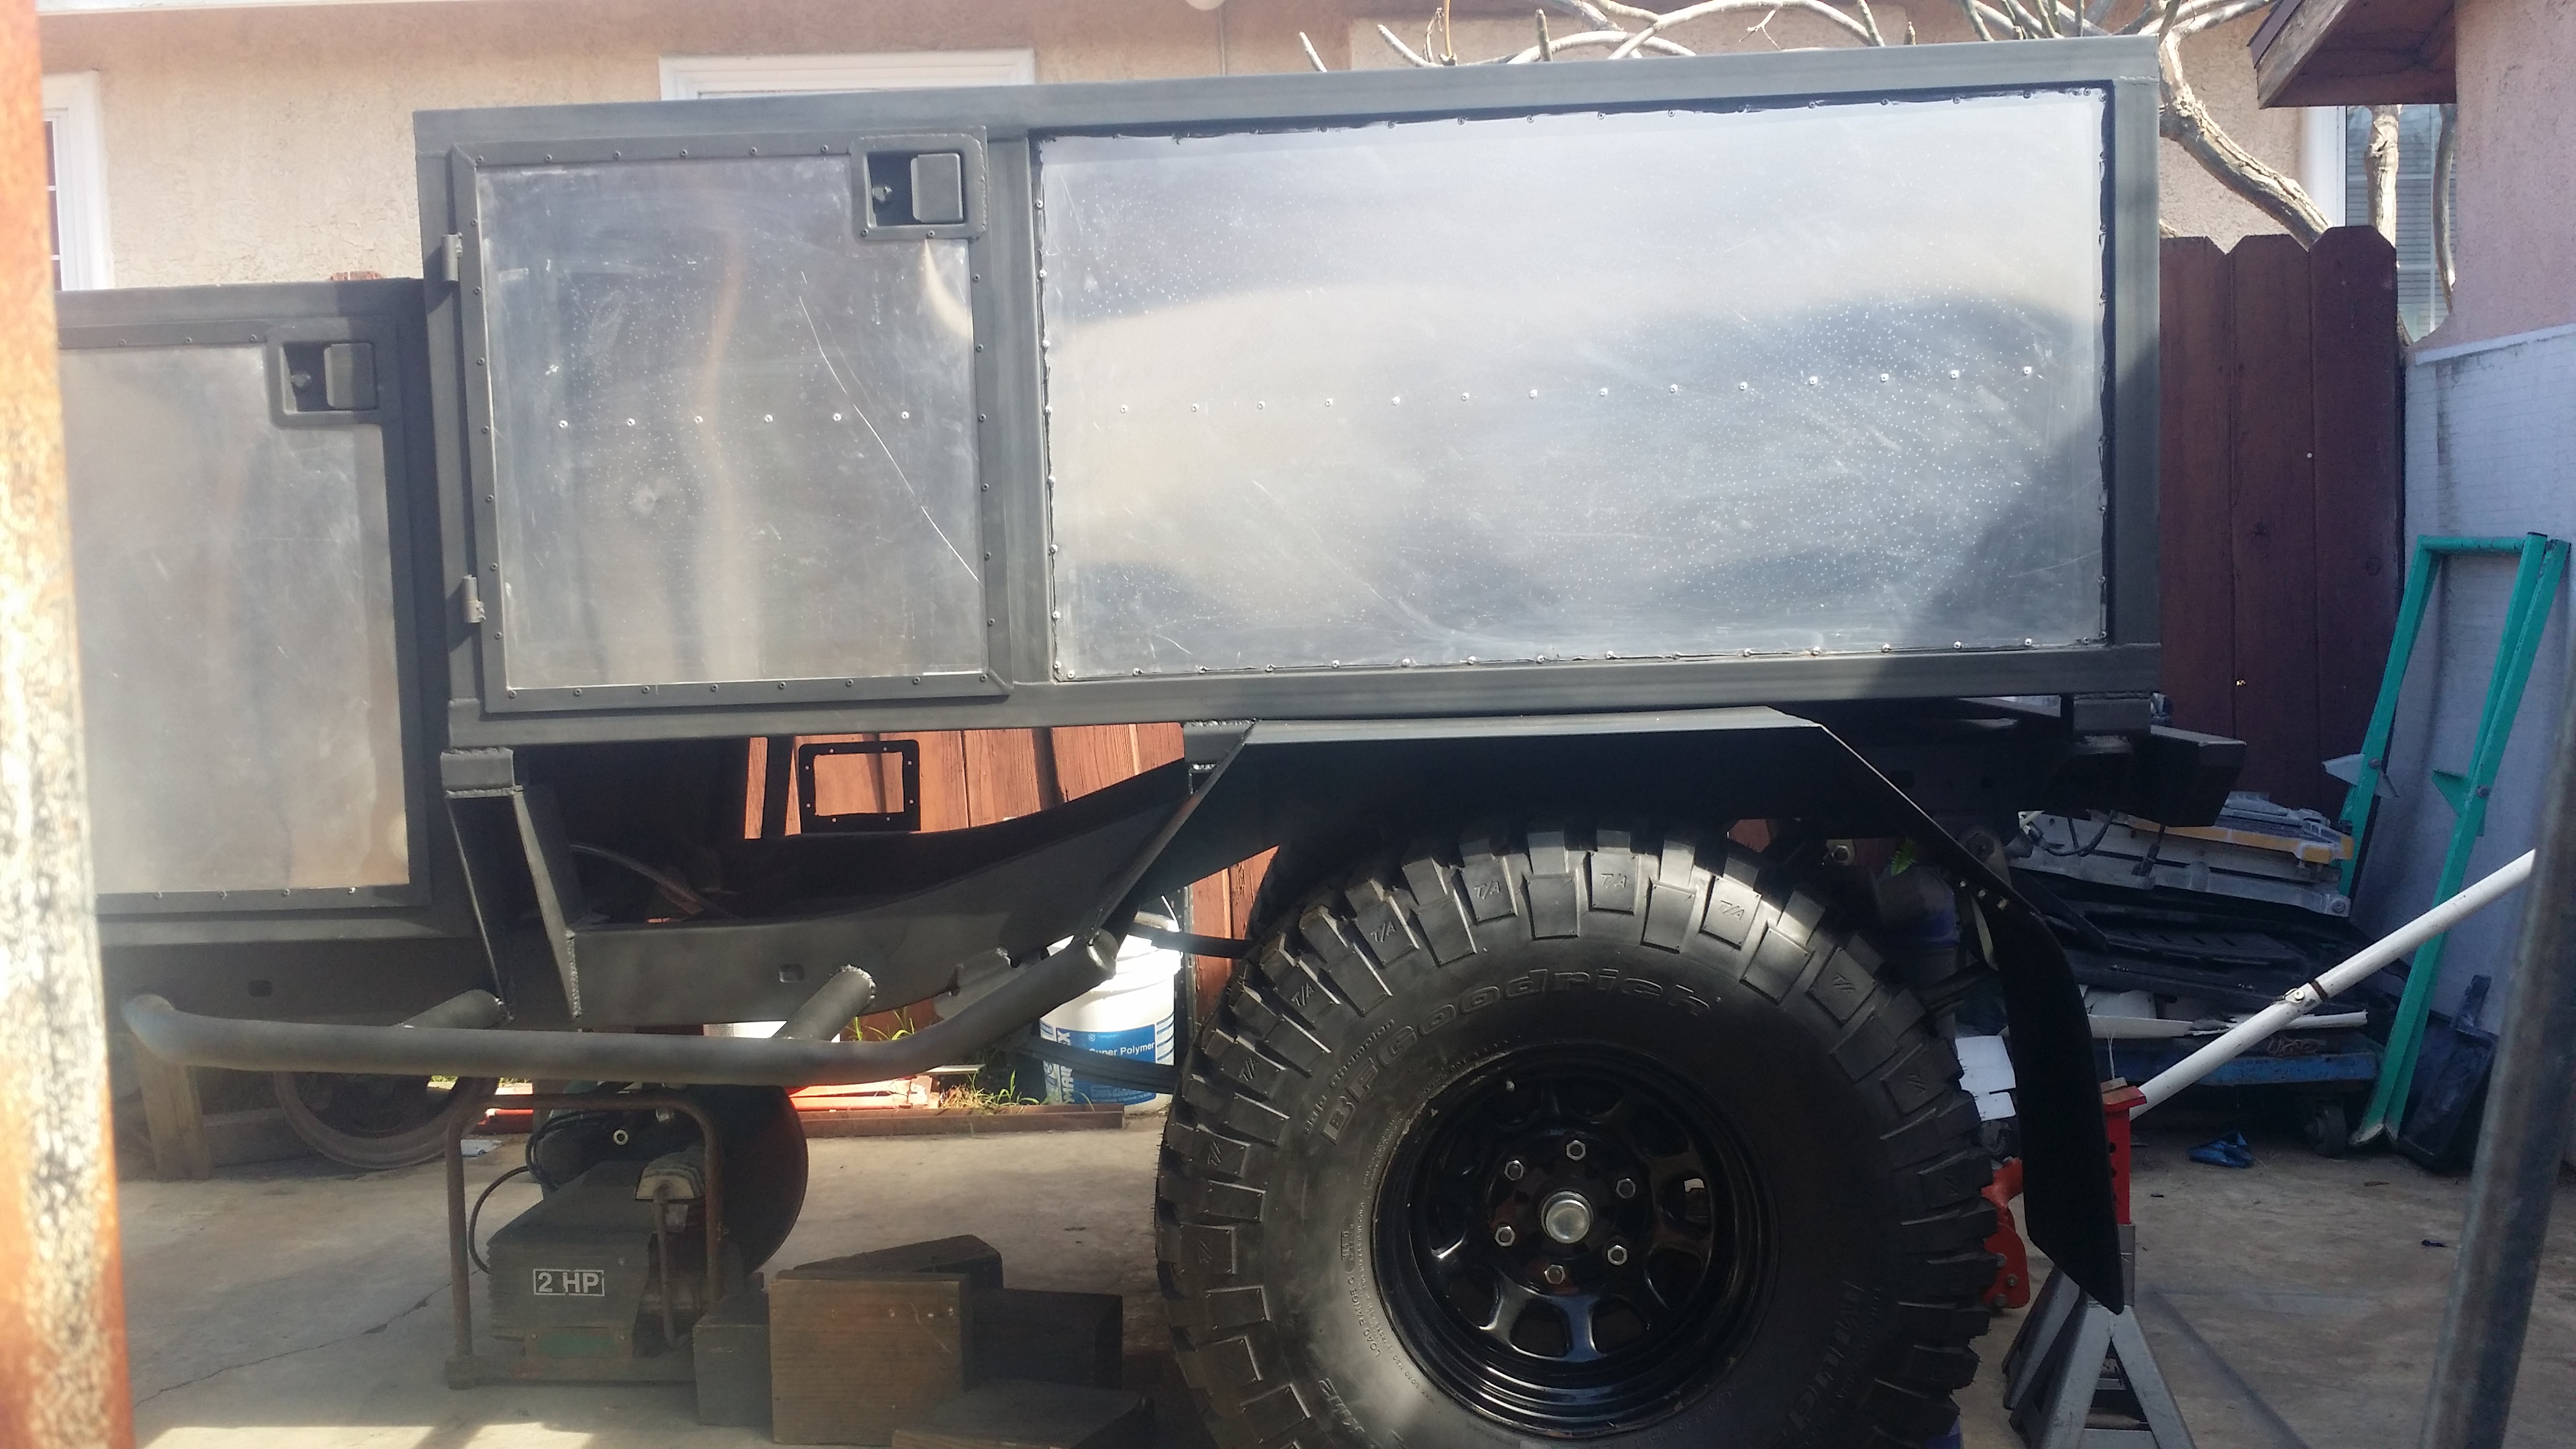
i didnt get much time to do work in on the trailer these past 2 weeks due to the rain but i did get some stuff accomplished.
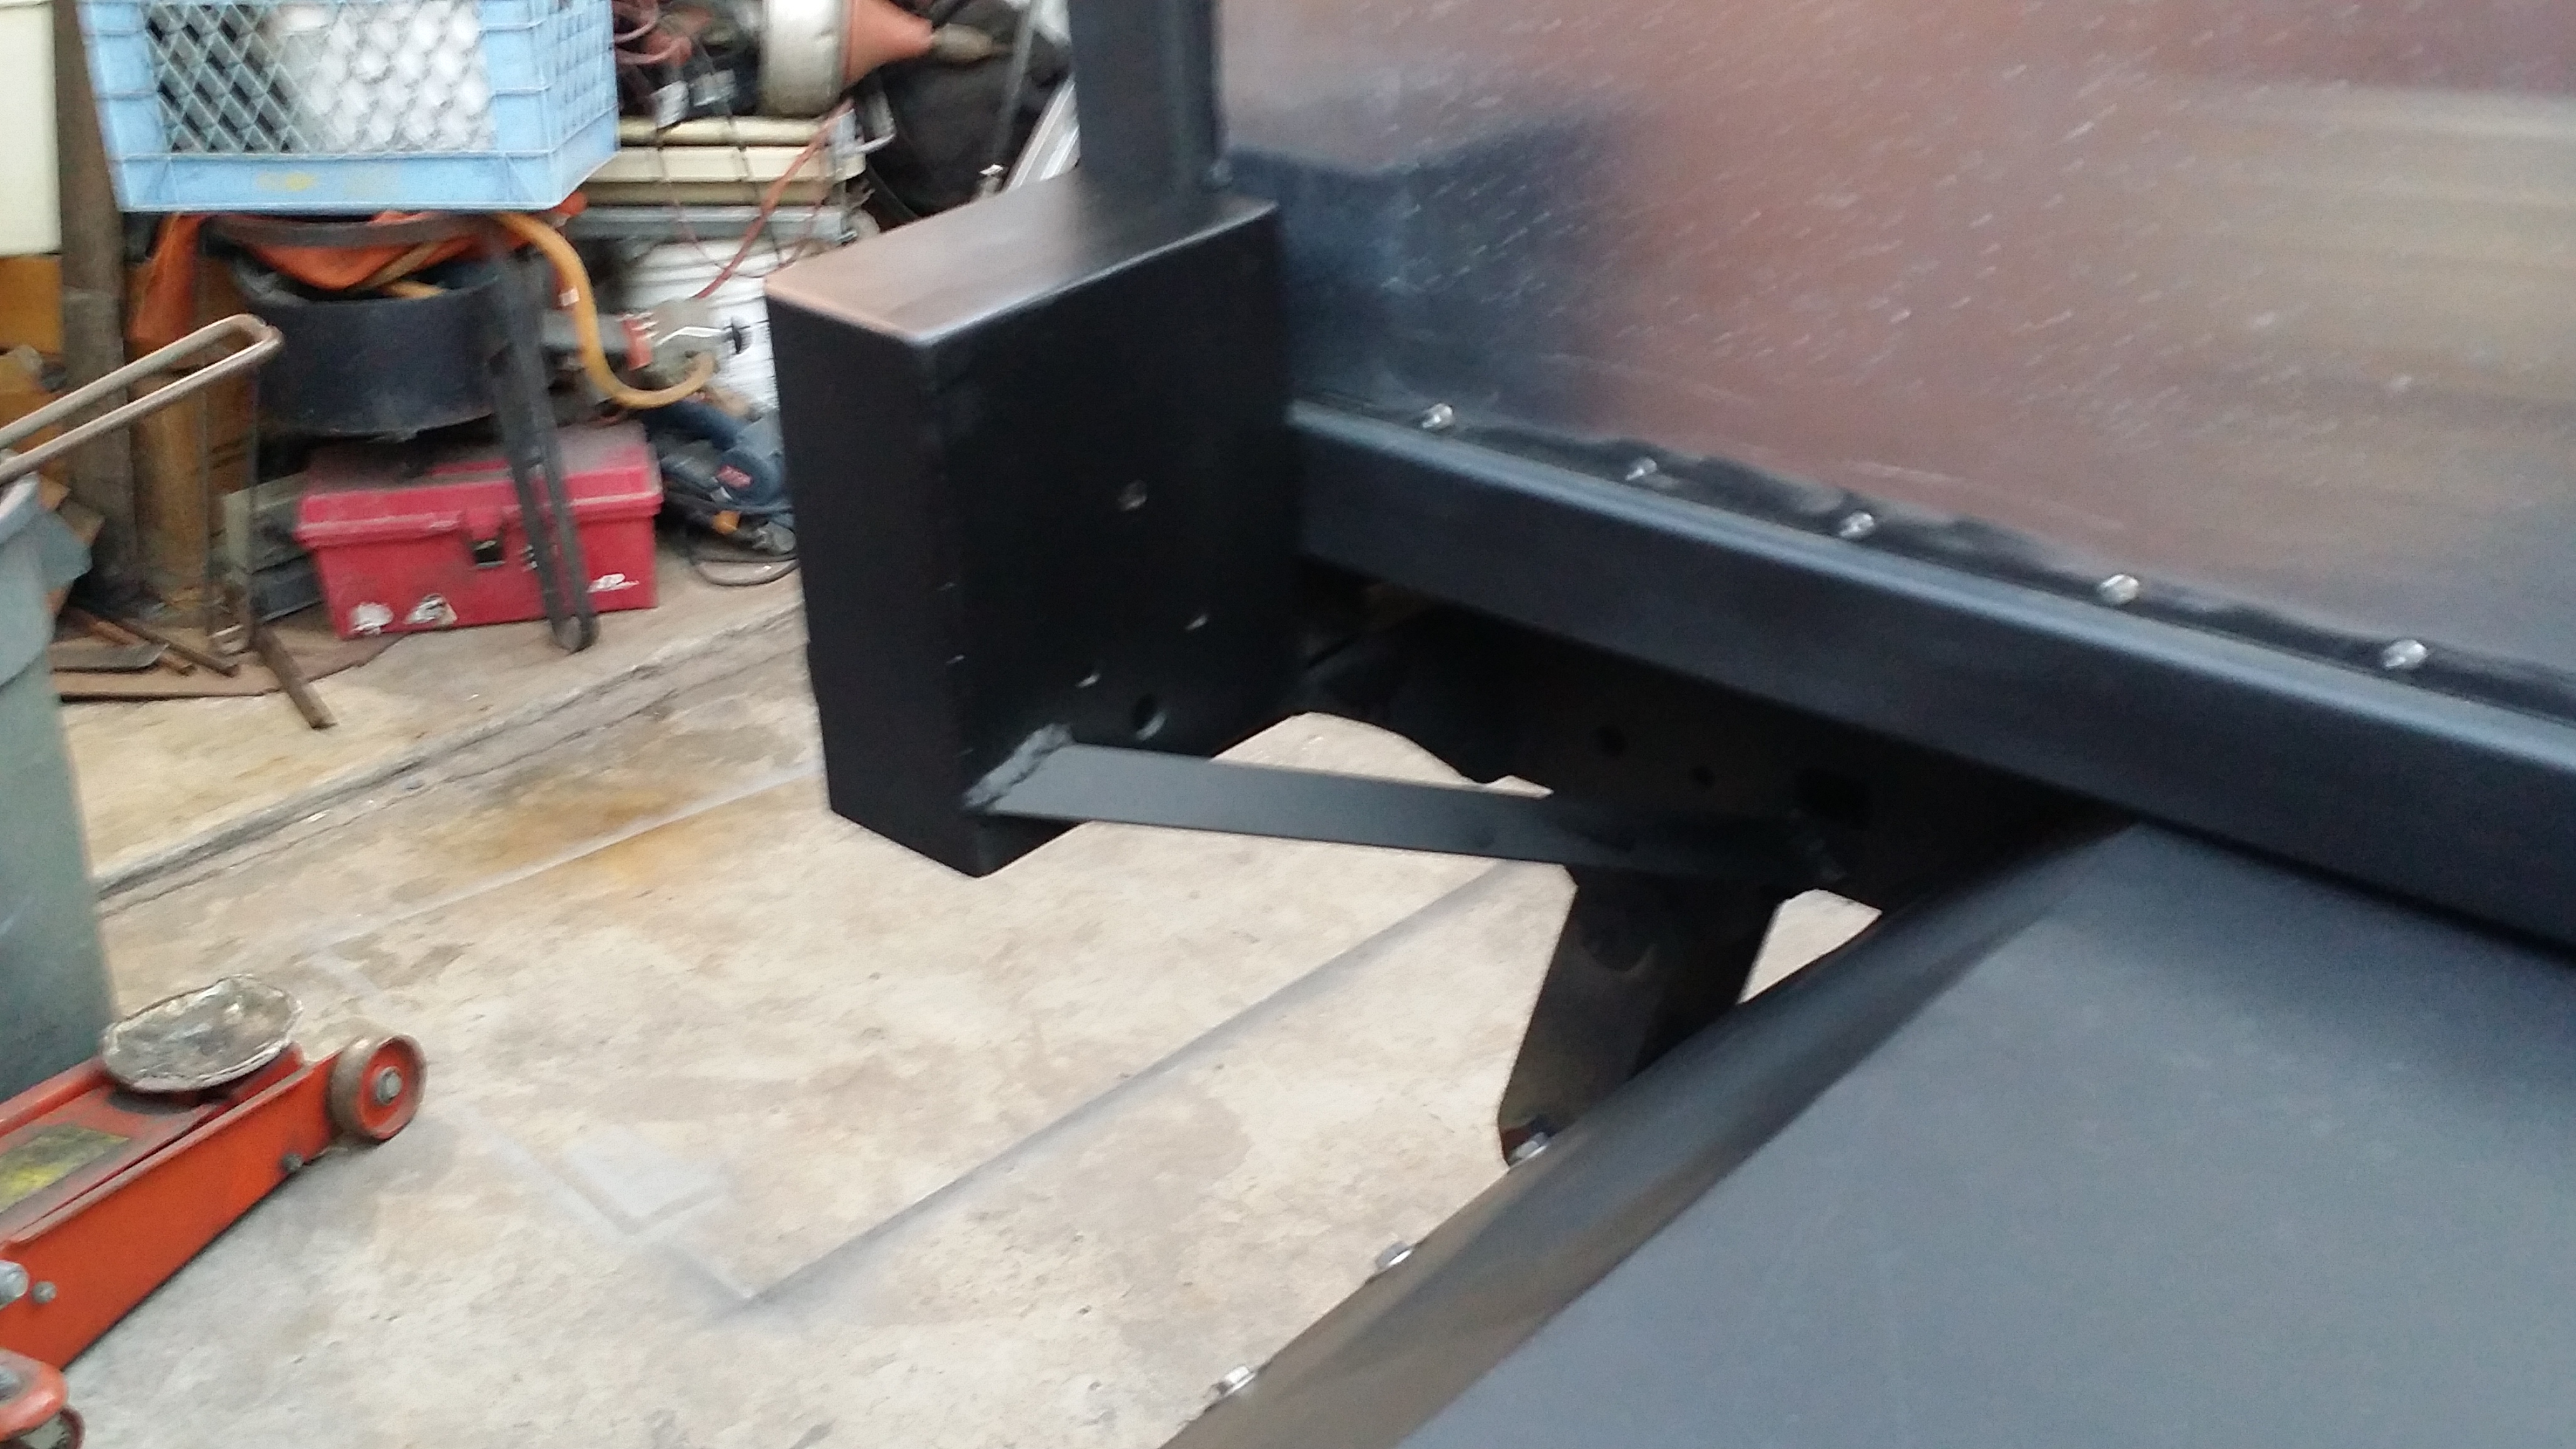
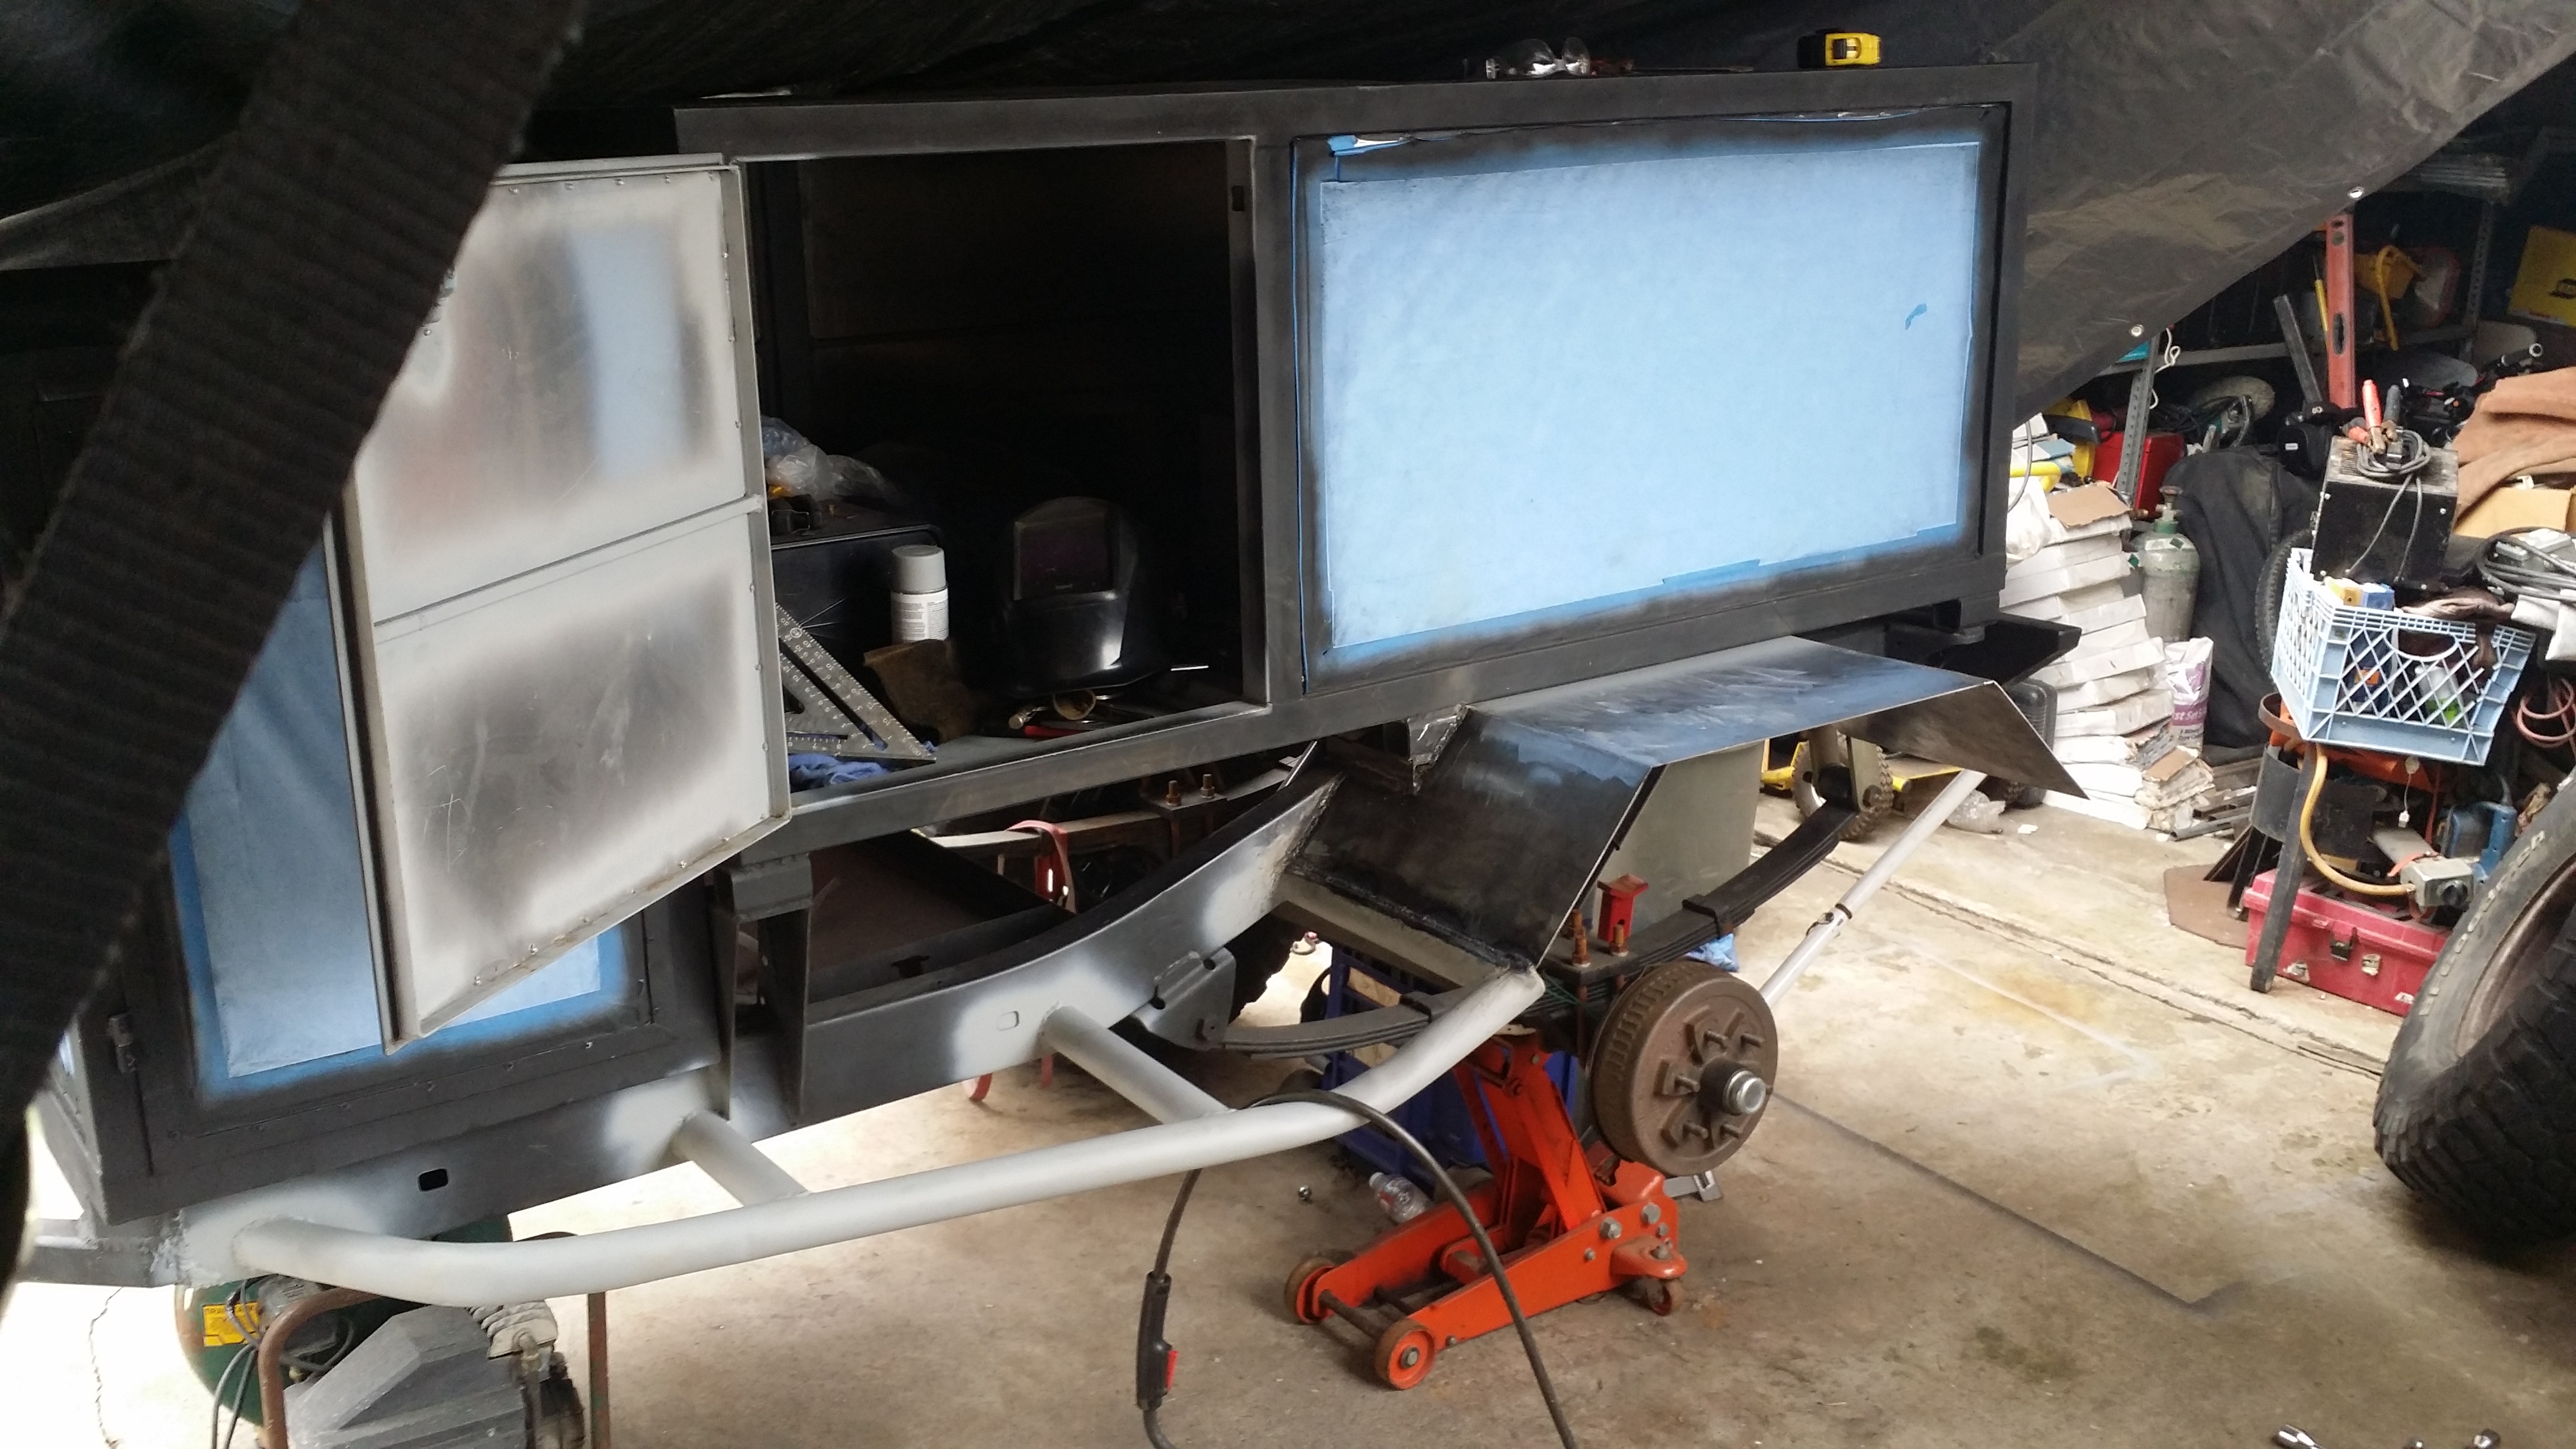
Here I've got the sliders tacked onto the chassis for a test fitment of where they would say and what they'd look like on the trailer.
After i liked how everything sat i removed them and did the final welds and attaching it to the chassis then priming it o prevent surface rust.
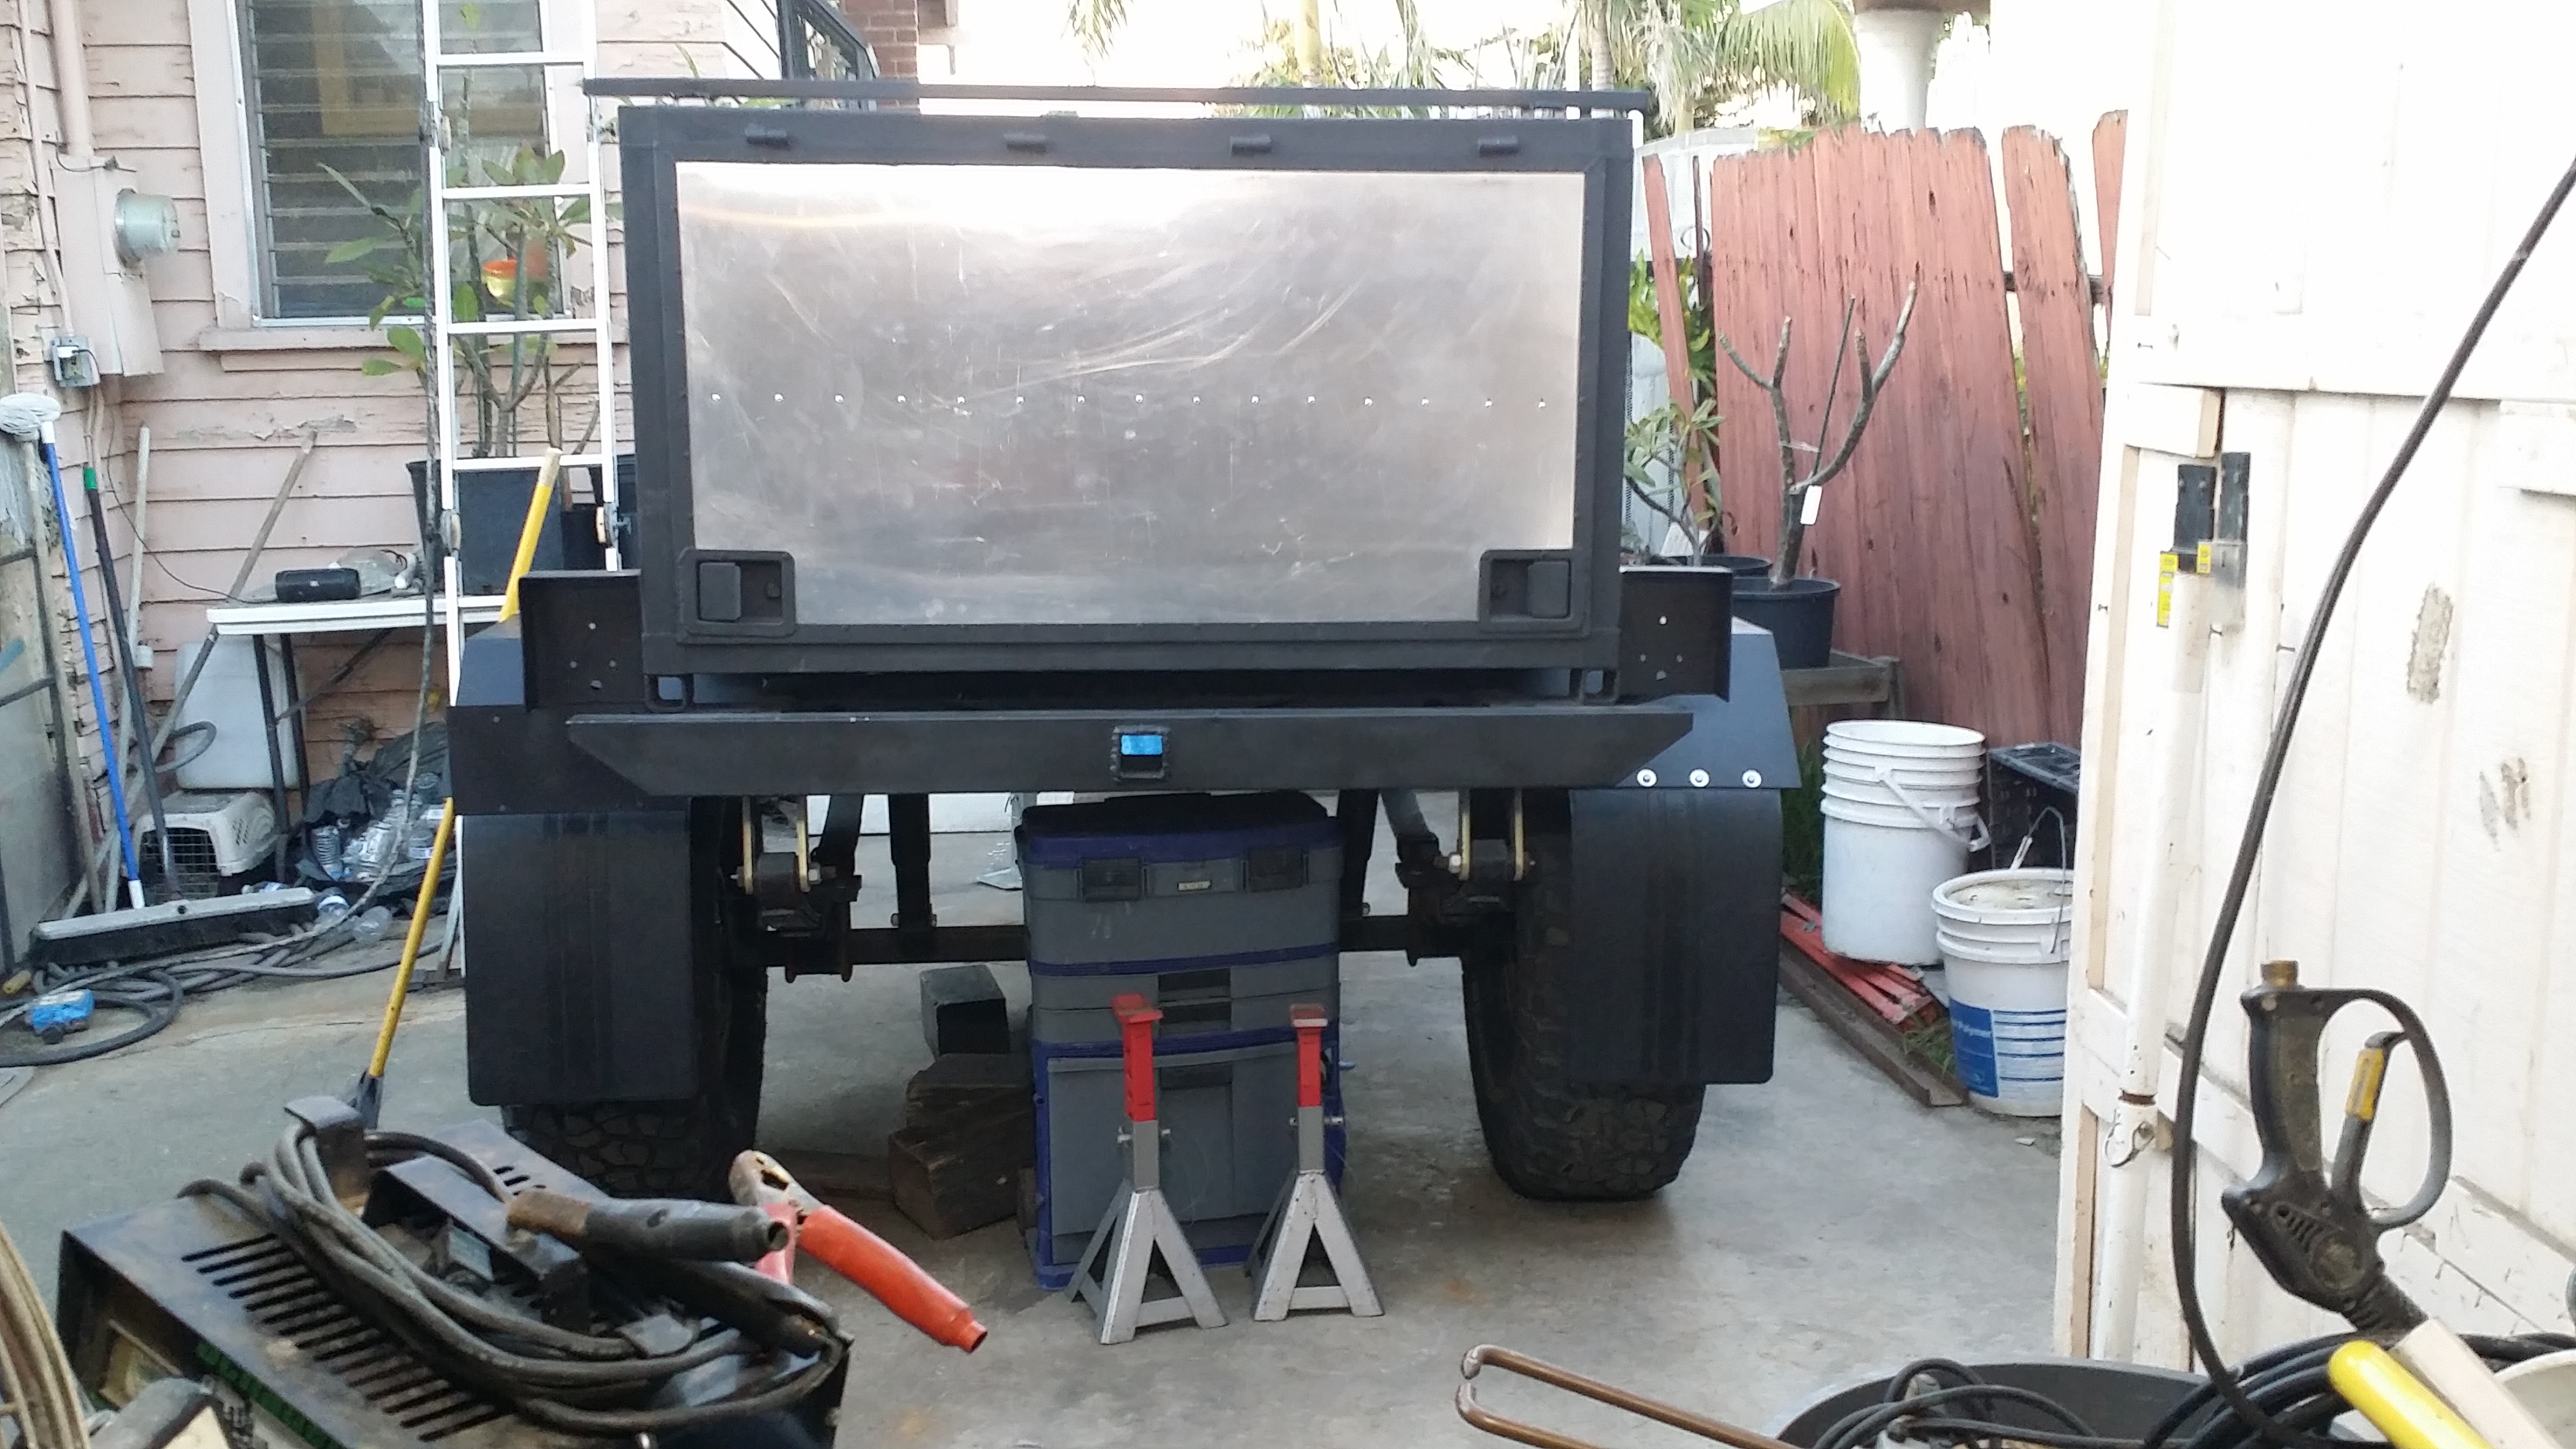
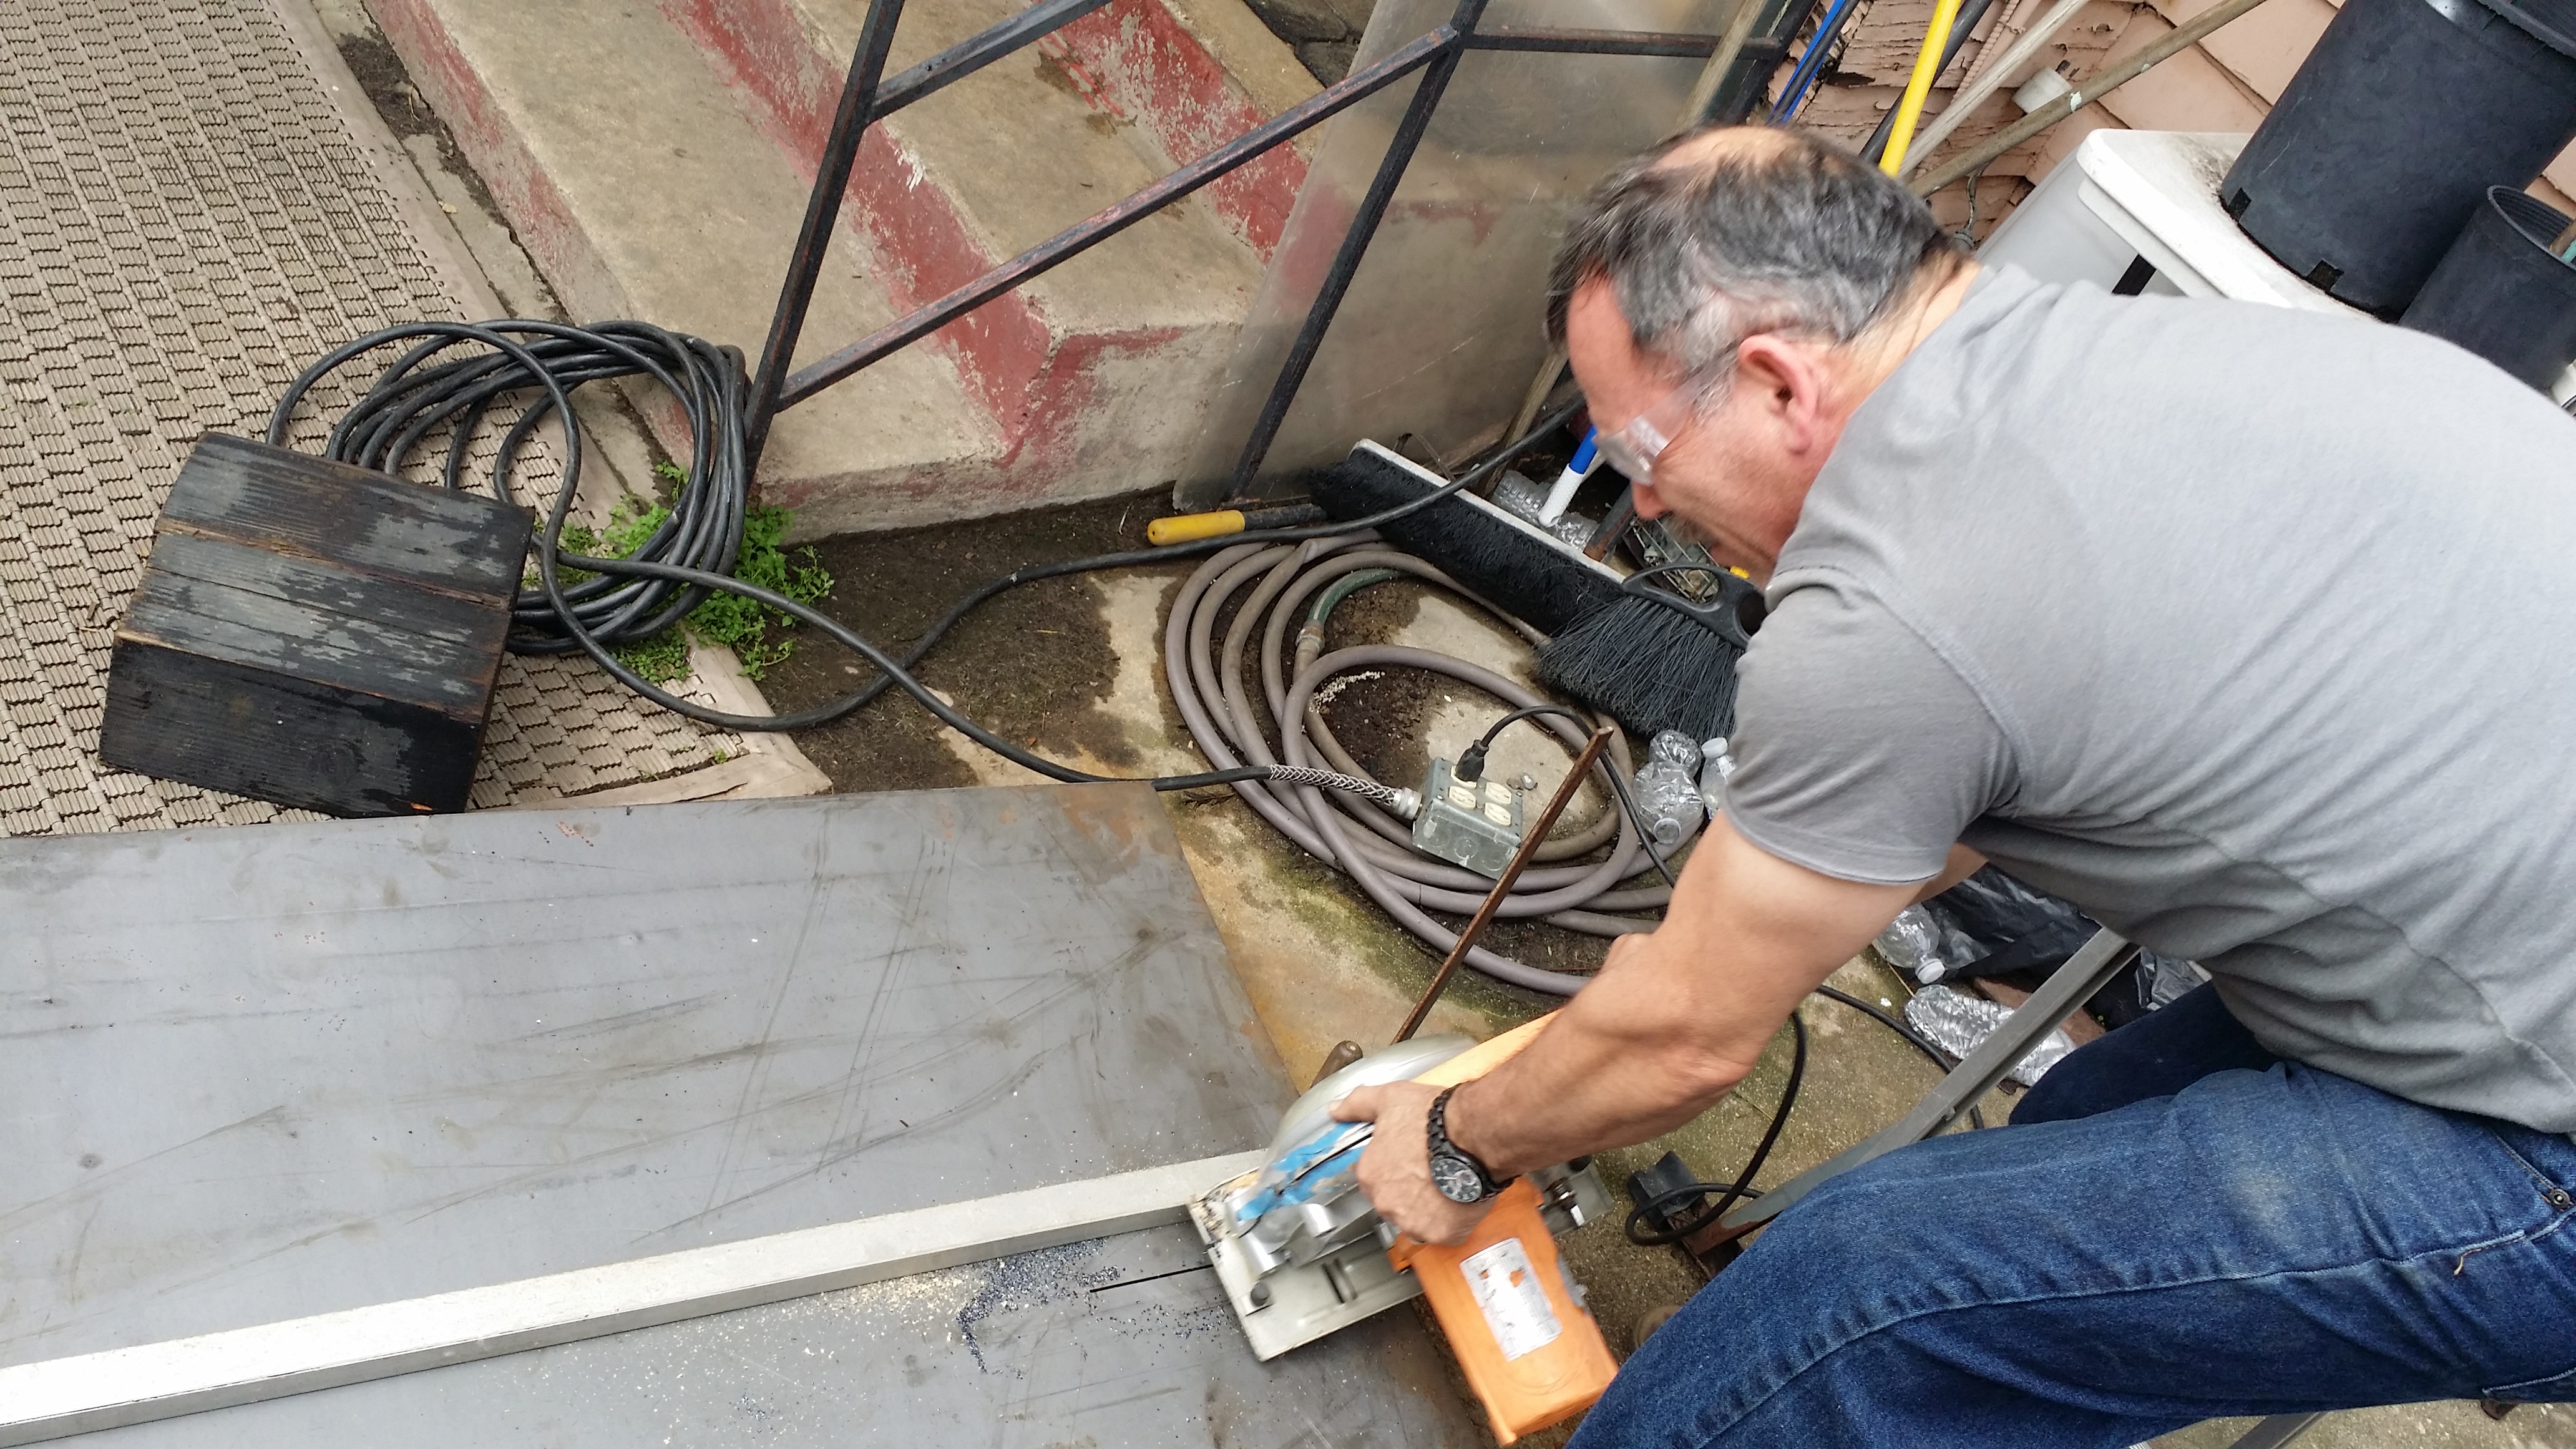
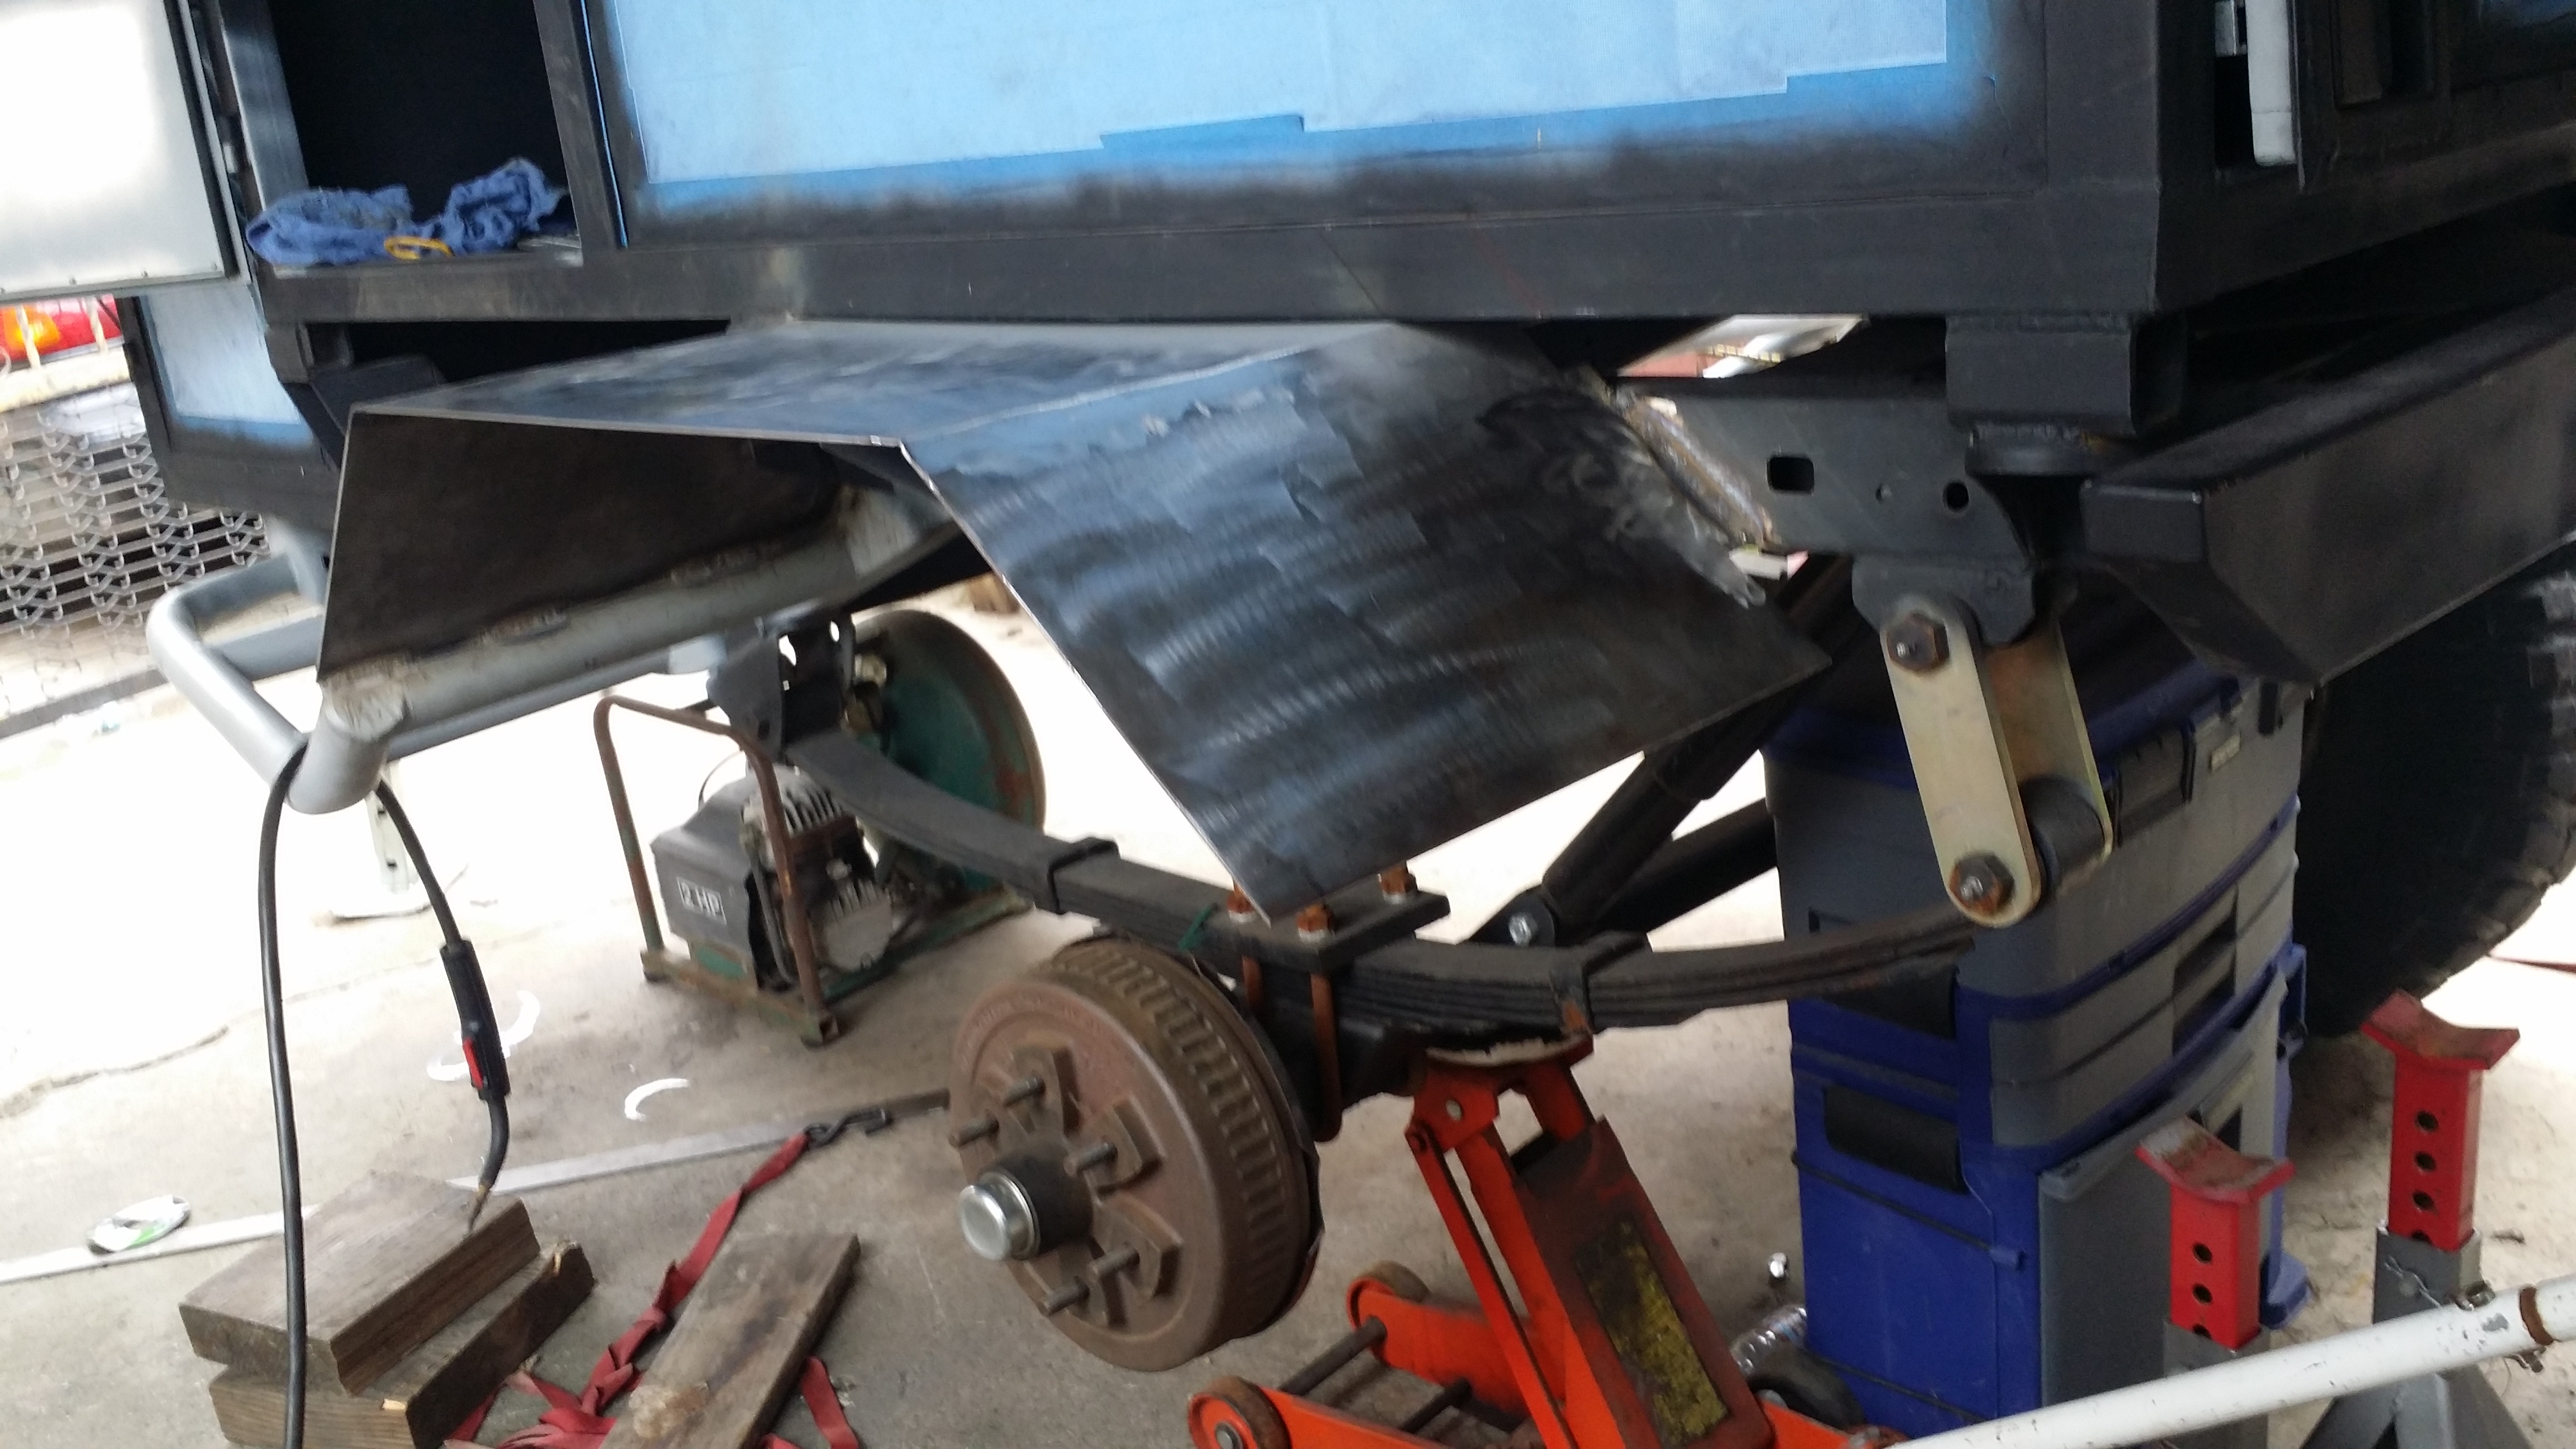
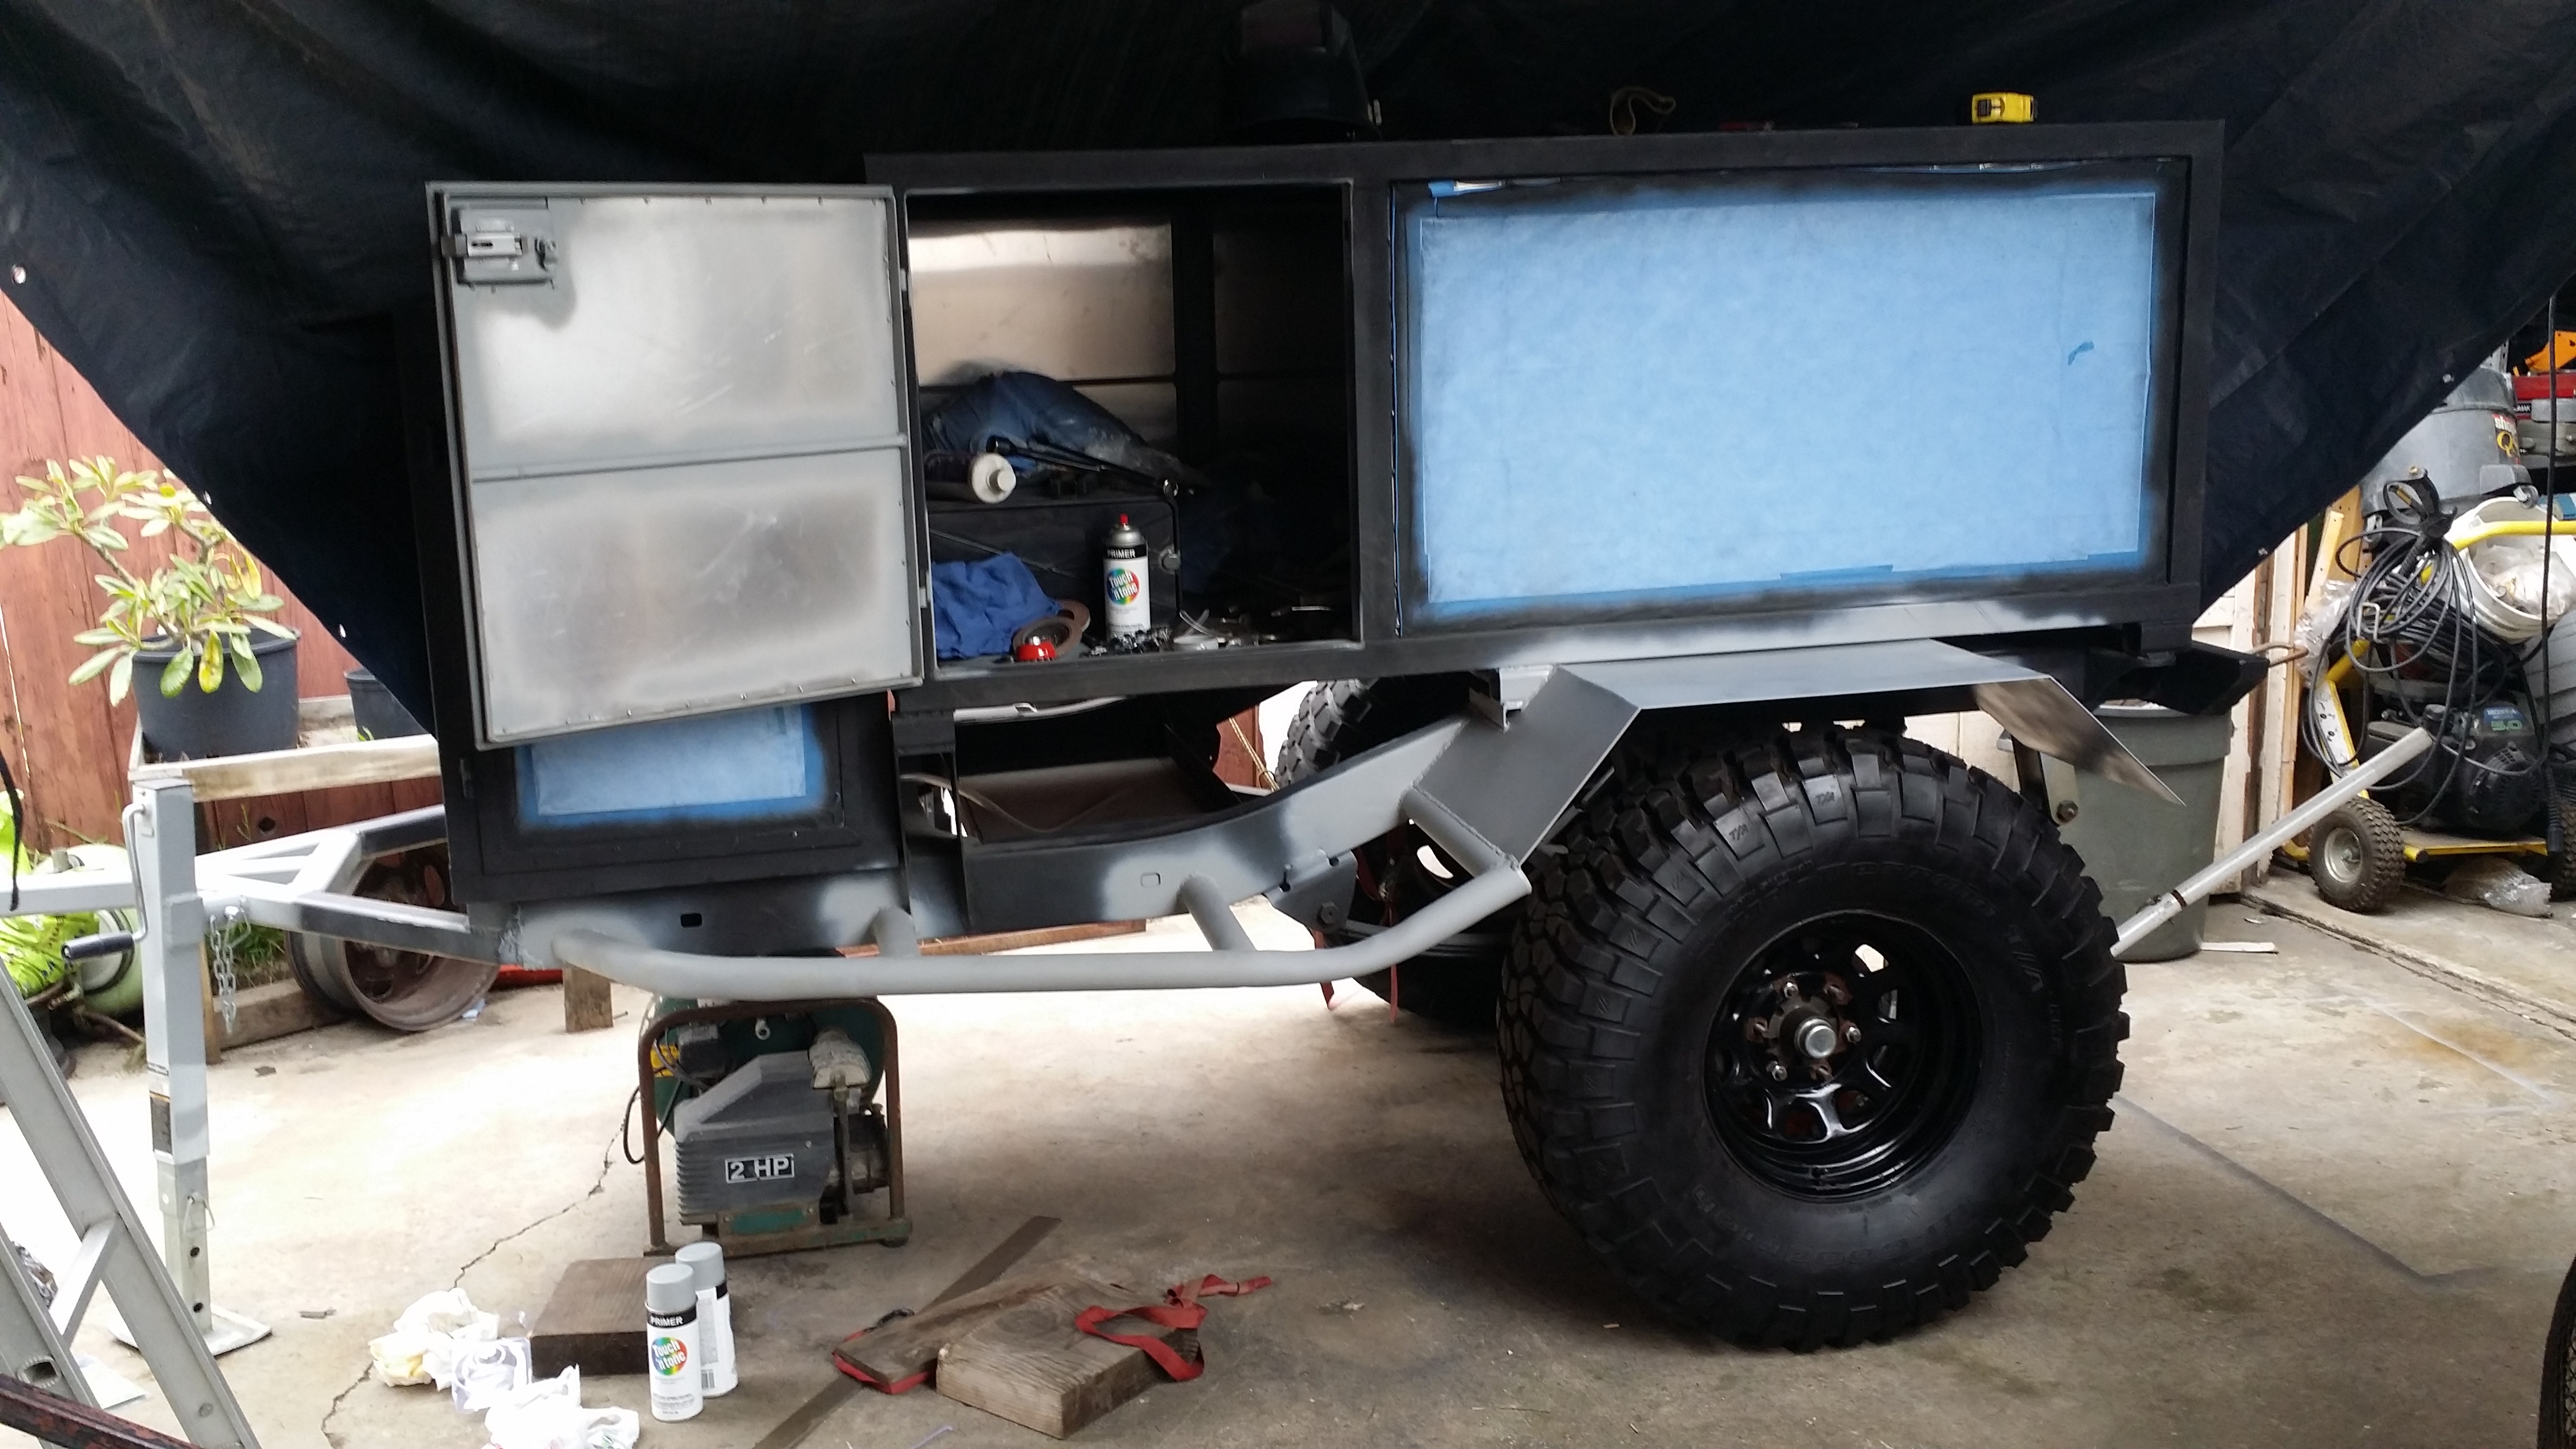
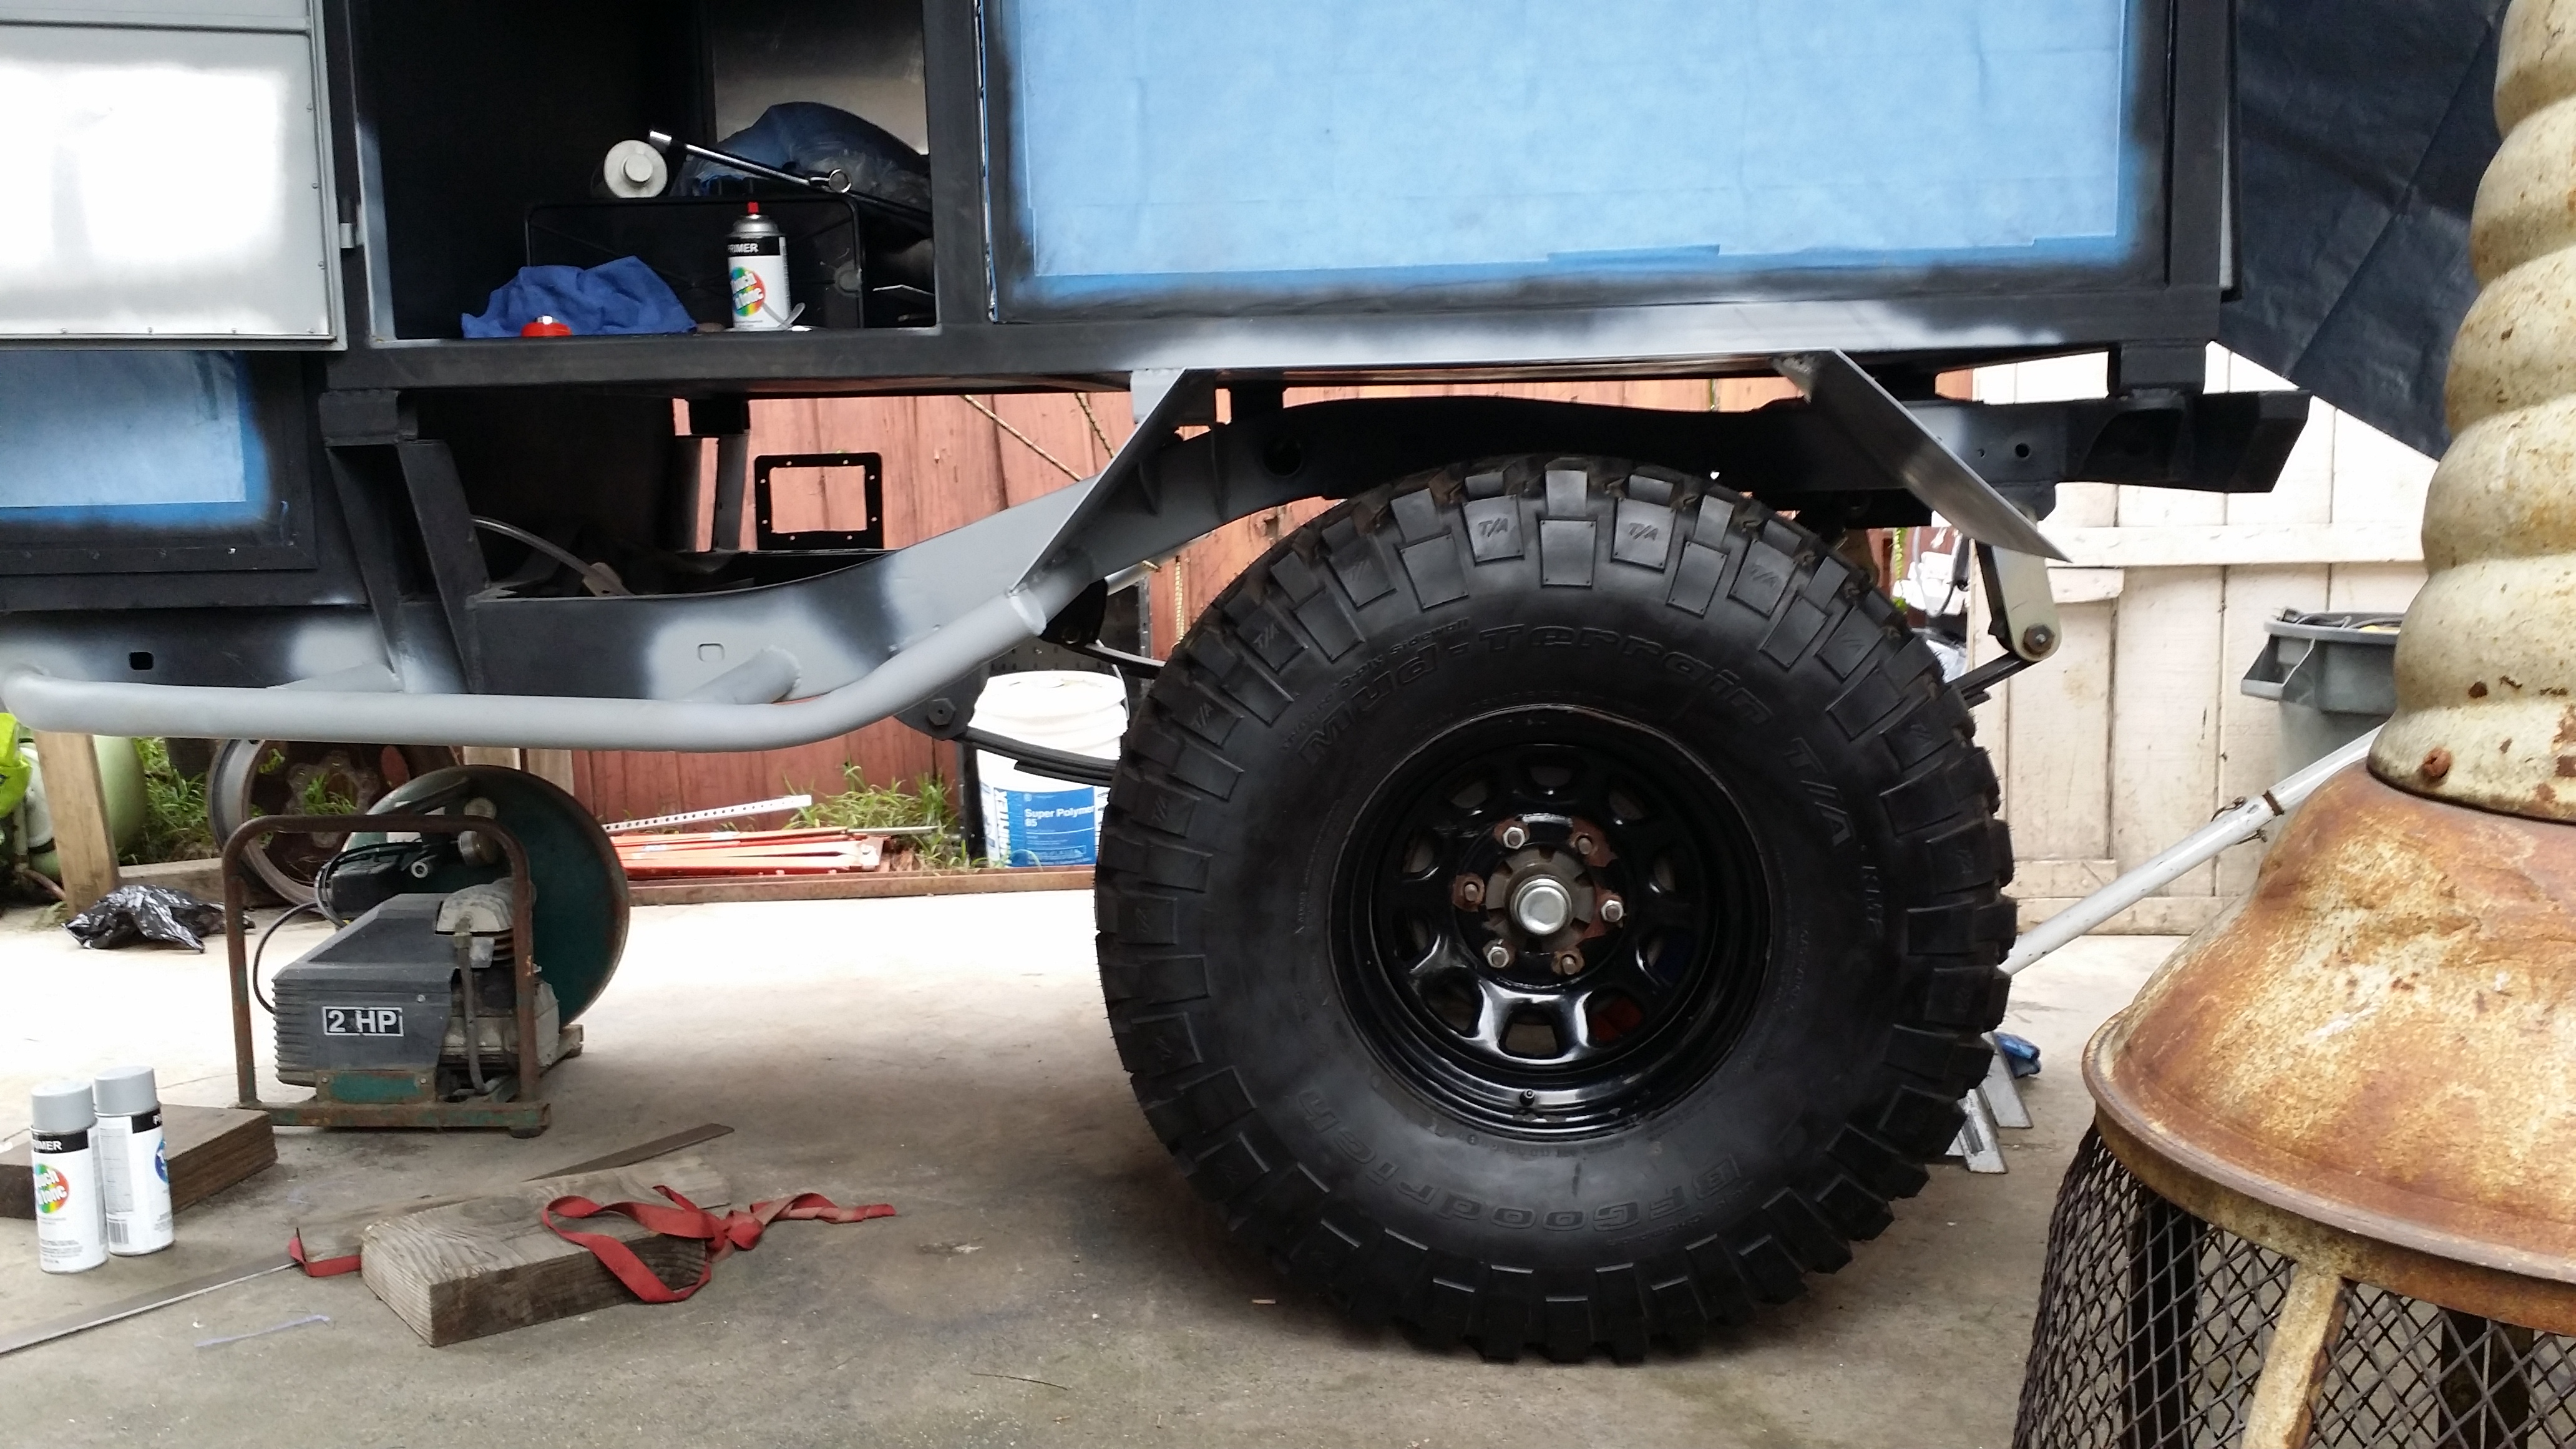
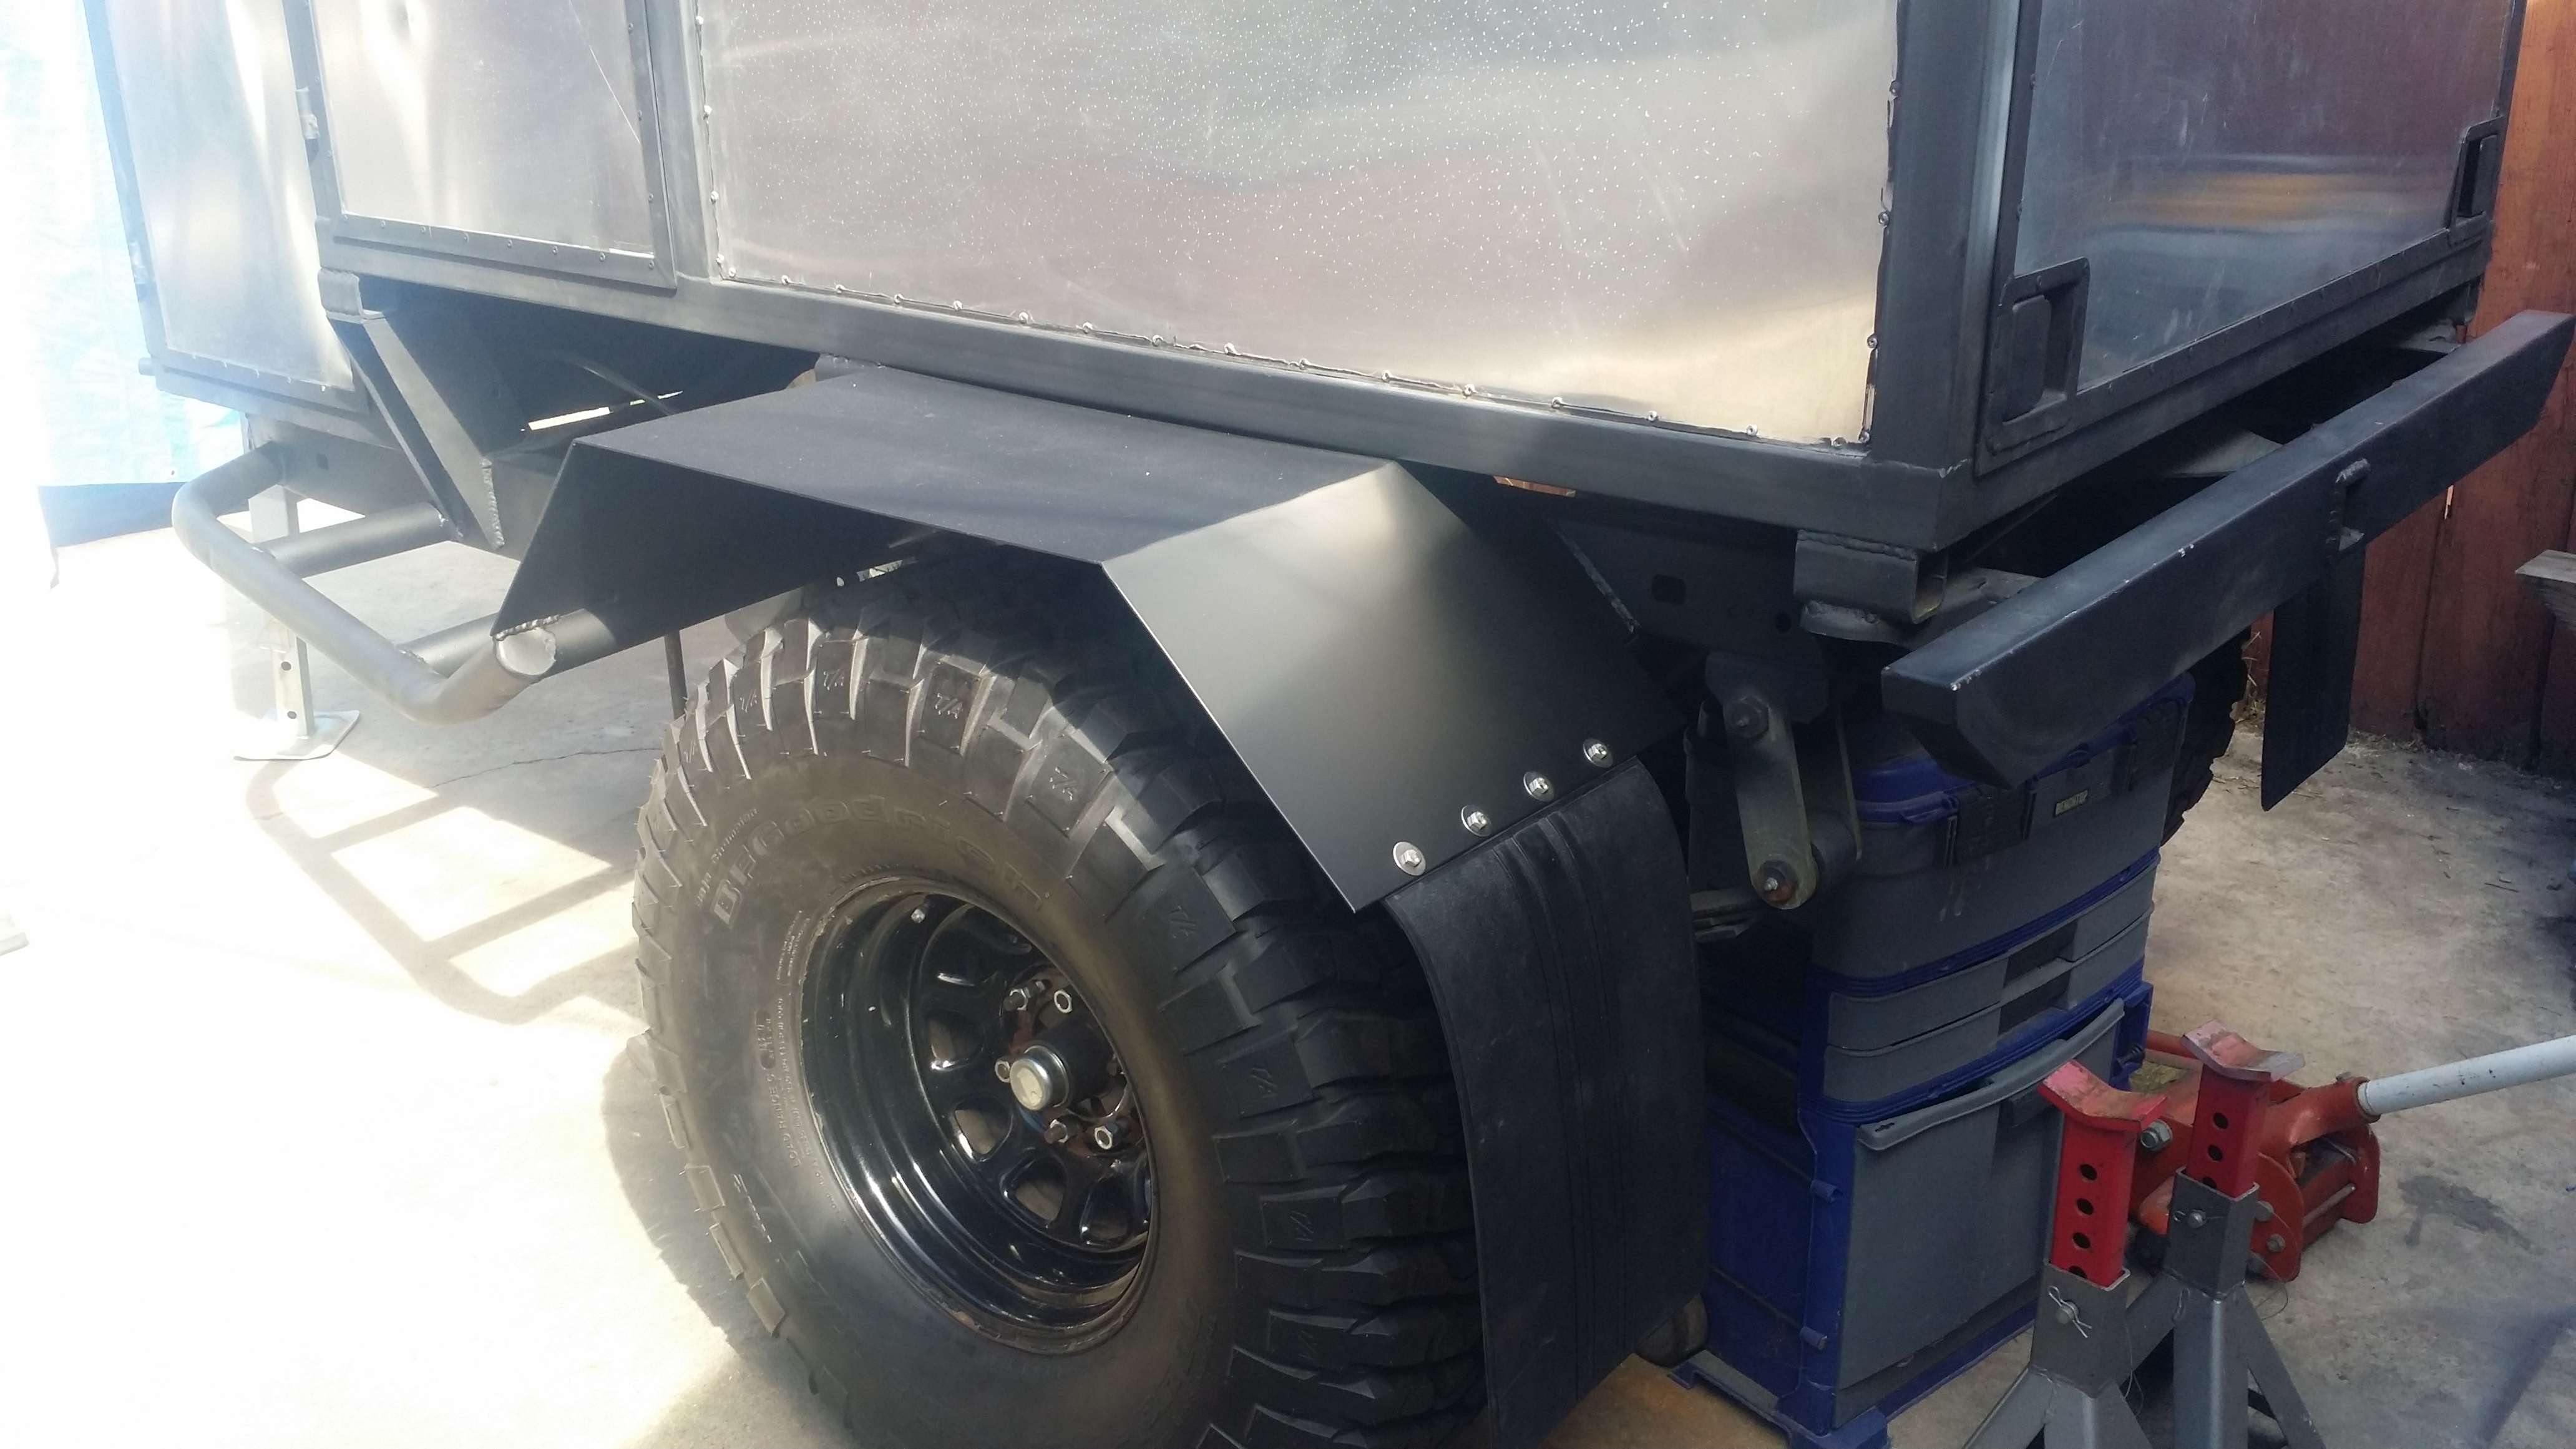
Then this past weekend we had a short window of cloudy weather when the rain had stopped for a few hours. So my dad and i got to work on cutting the pieces for the fenders. If you remember from the earlier pages i had planned to use prebent 1/16" fenders but they were too thin and i wanted the ability to stand on my fenders when loading up the trailer for whatever reasons they may be. So i sold the fenders and decided to make my own out of 1/8" thick steel. These fenders will be attaching to the sliders go around the tire and be a total of 5 inches away from the tire the whole way around the tires. I'm hoping that my tires wont ever need to flex upward 5" on the trail but you never know lol. Either way the current shocks i have on there will only allow for a total of 4.25" up-travel and 4.25" down-travel. After all I'm not building a trailer to go rock crawling like i do in my truck so i should be perfectly fine. I may just have to add a bump stop at some point if i find i am bottoming out the shocks but i don't think it will be necessary to add.
So here is my dad helping me out cut the steel.
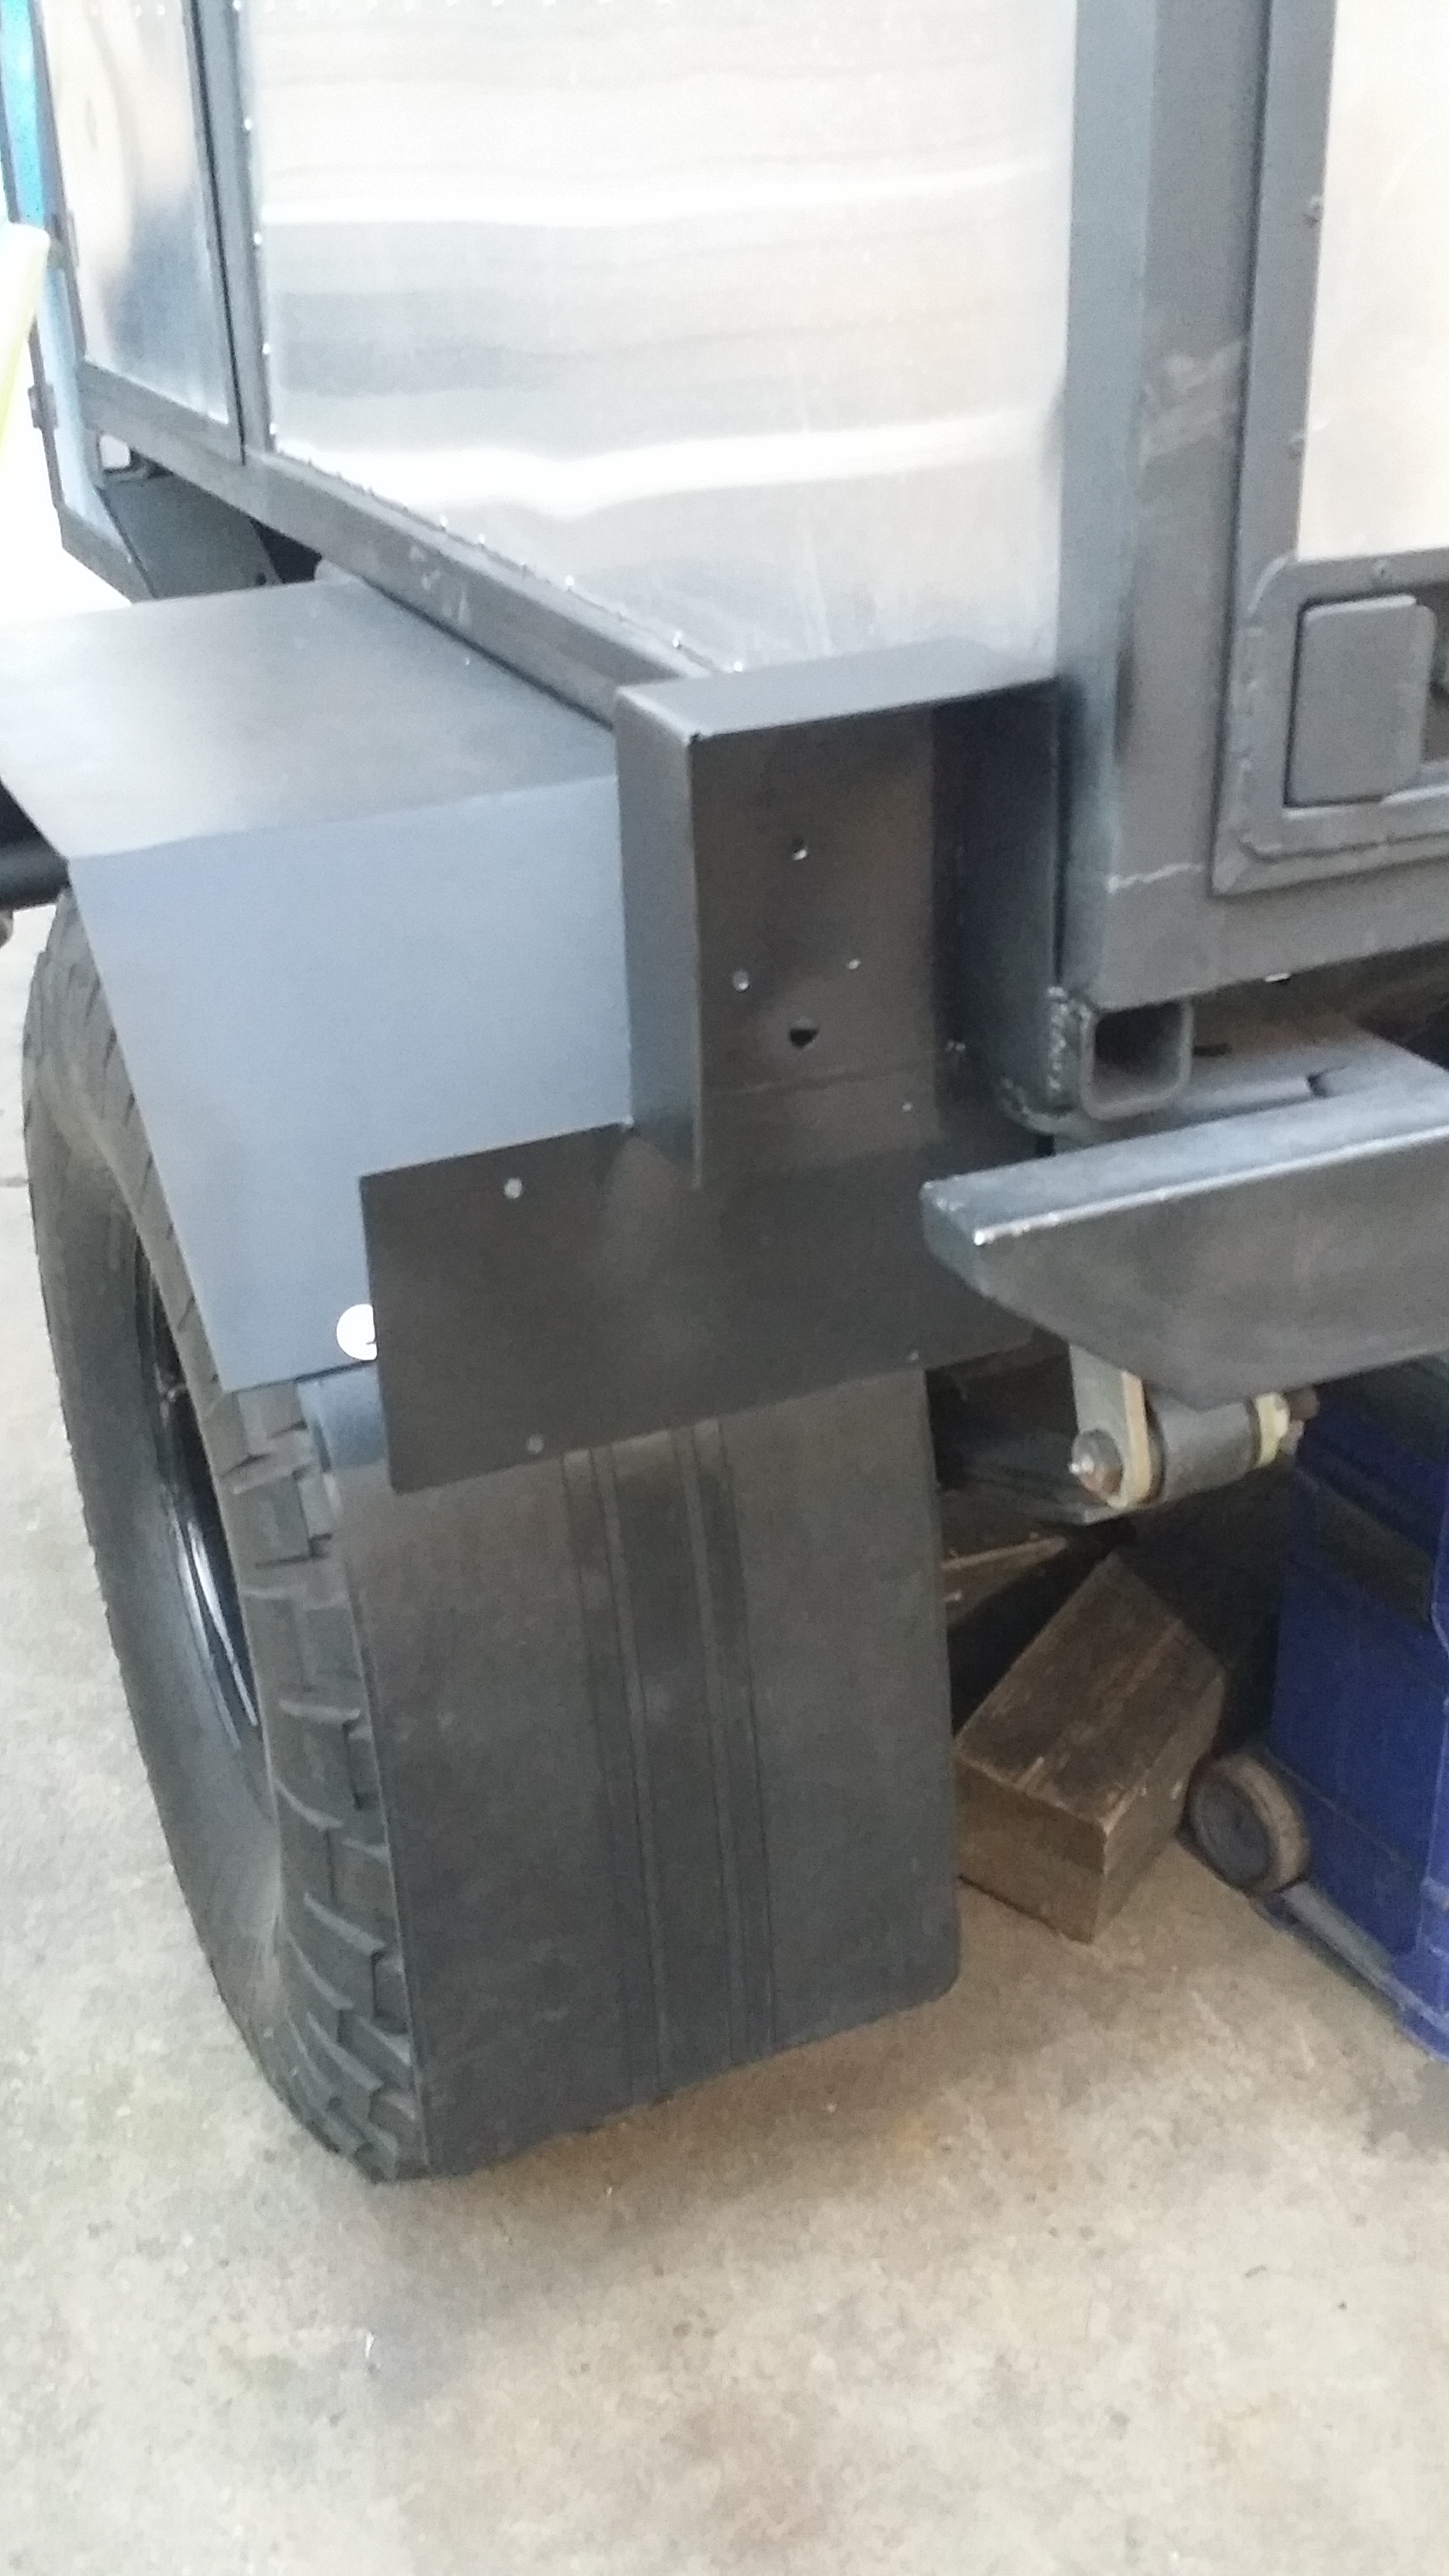
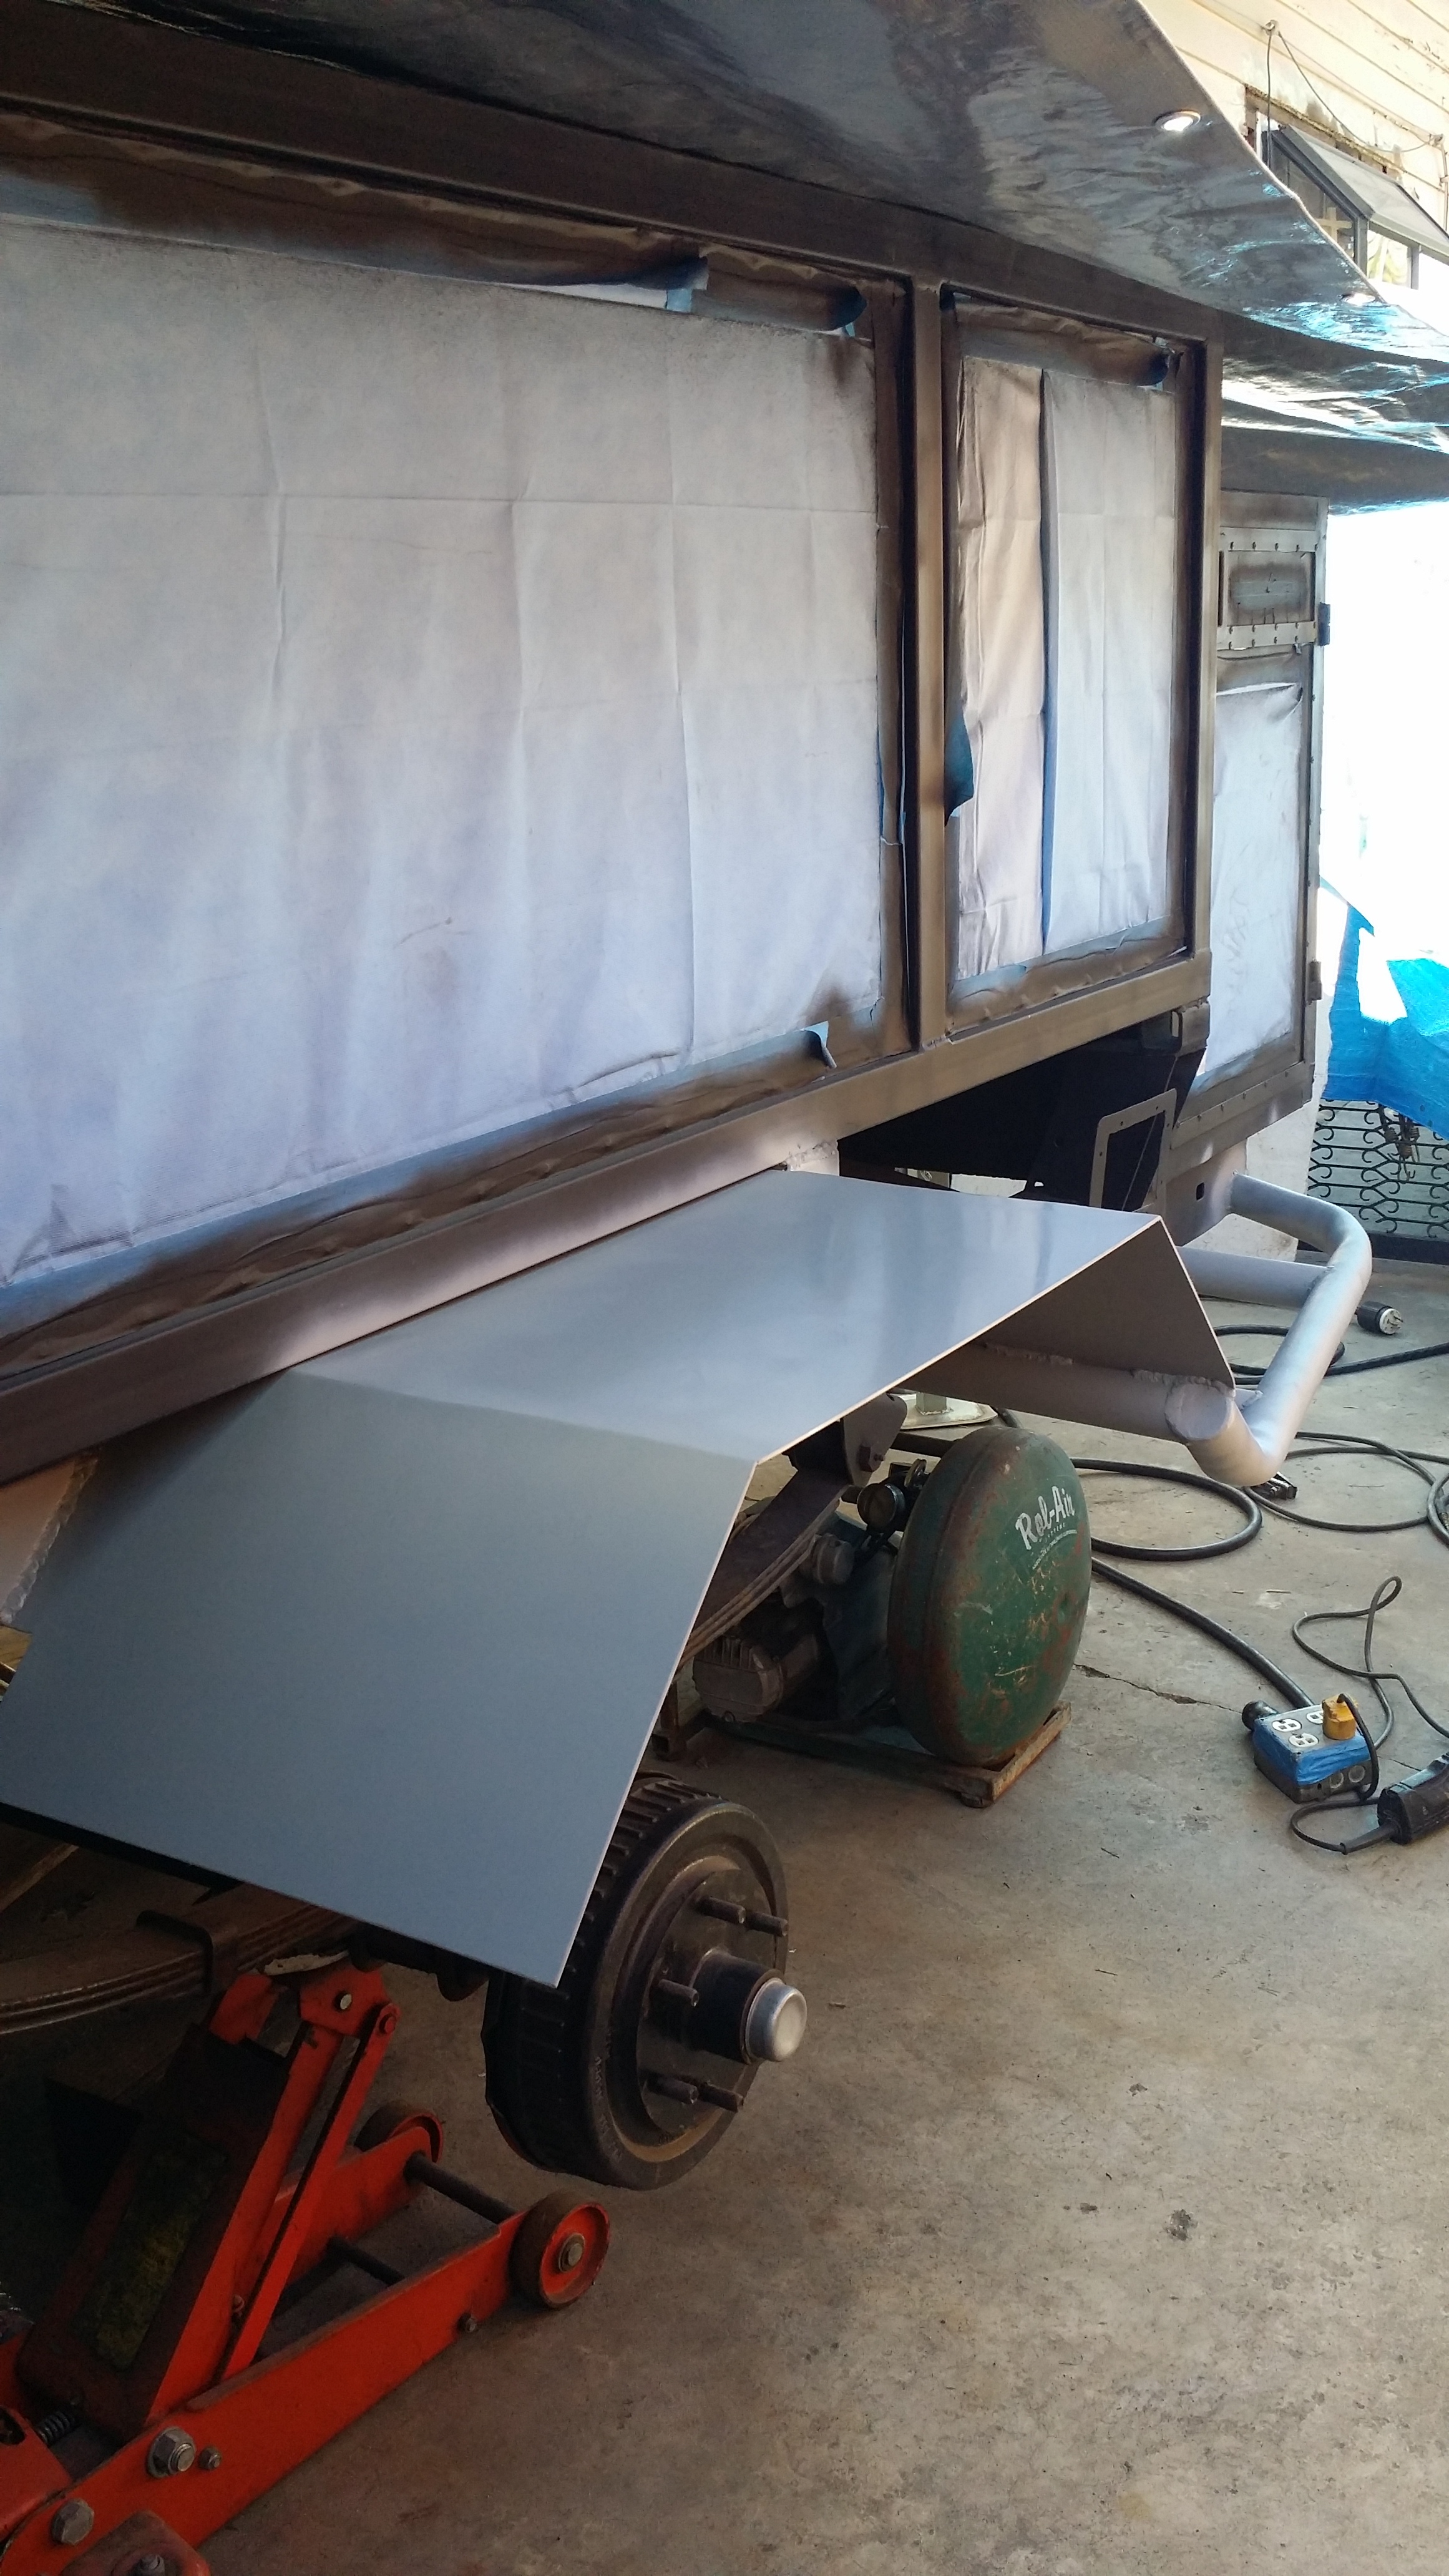
This is just a mock up for now but the fenders will basically sit like this. The mock up fender is already tack welded in place
The mock up fender is already tack welded in place. the only difference is that rear porion of the fender will be made shorter a few inches so it doesnt hang down so low on the rear. From the slider to the top of the fender i have 10" distance. but on the rear side from the top to the bottom i had 17" lol and it just looked ridiculous. So i shortened the length to 11" to give it a more coherent look now it looks normal but i didn't have time to weld it in place once it was cut because it began to rain again. Hoping to get some time to work on the fenders this weekend. It'd be really nice to actually finish it up and add the mudflaps finally. Till then his is all i have to update.
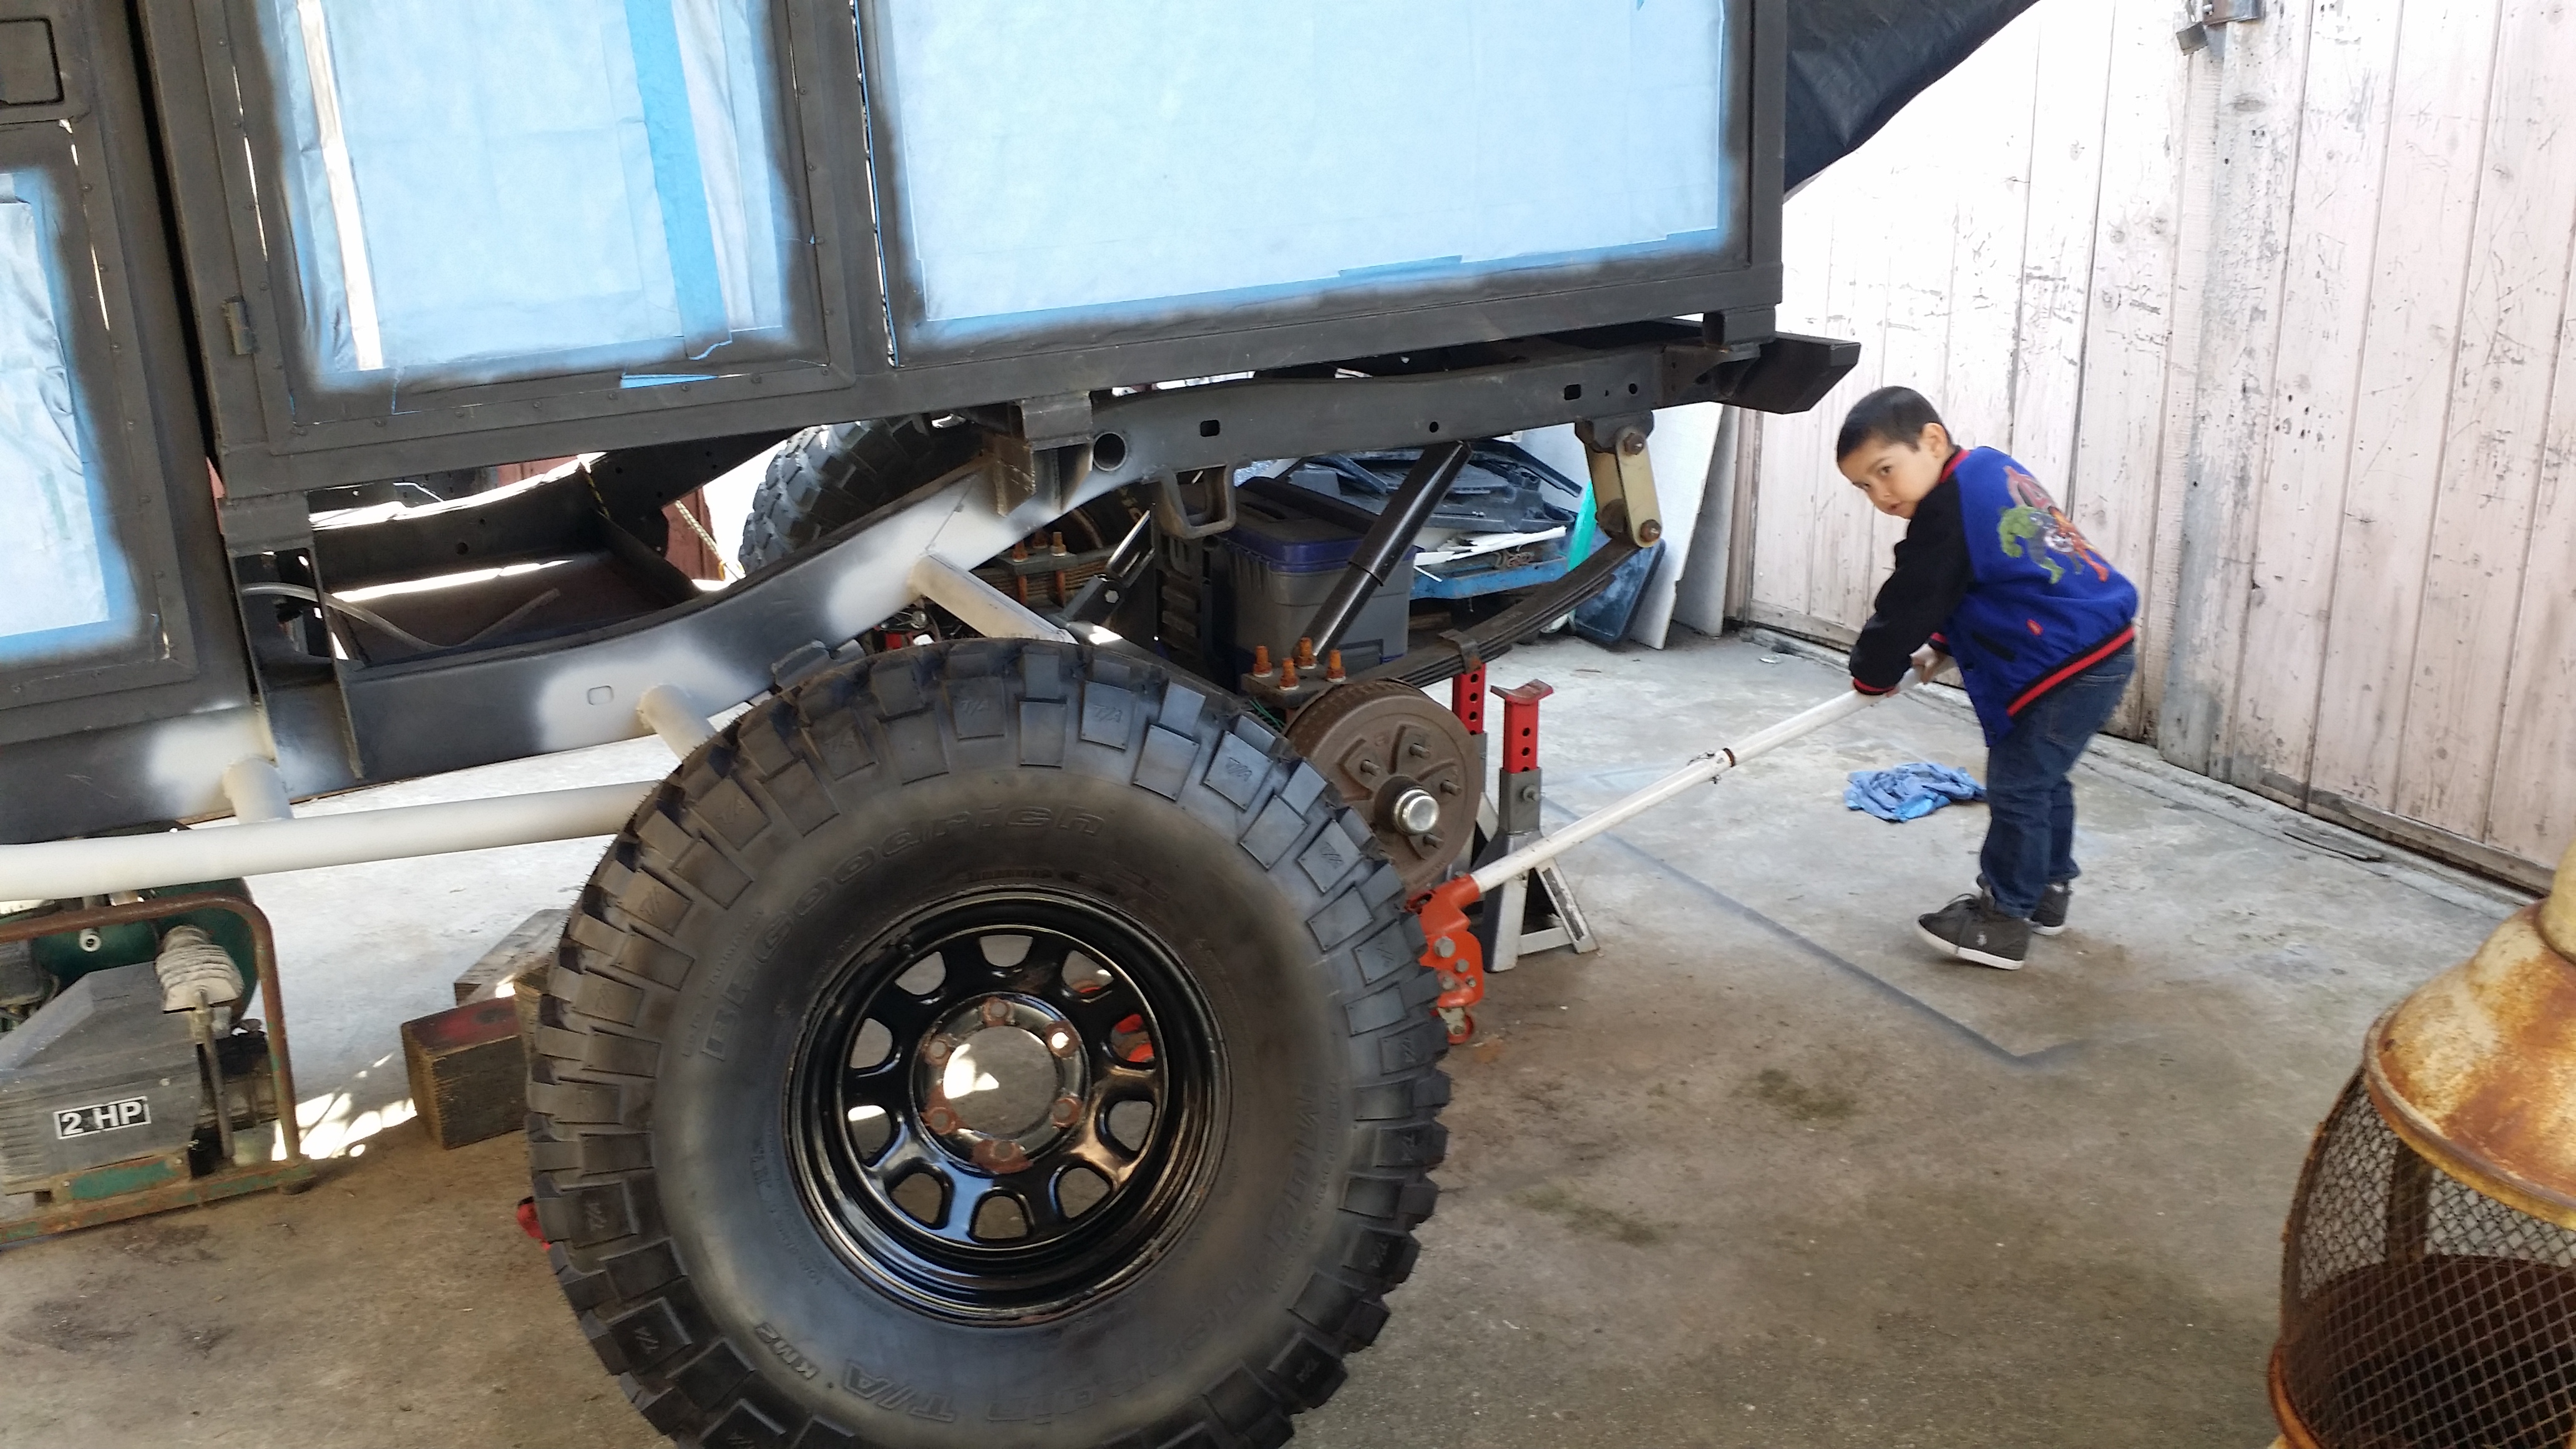
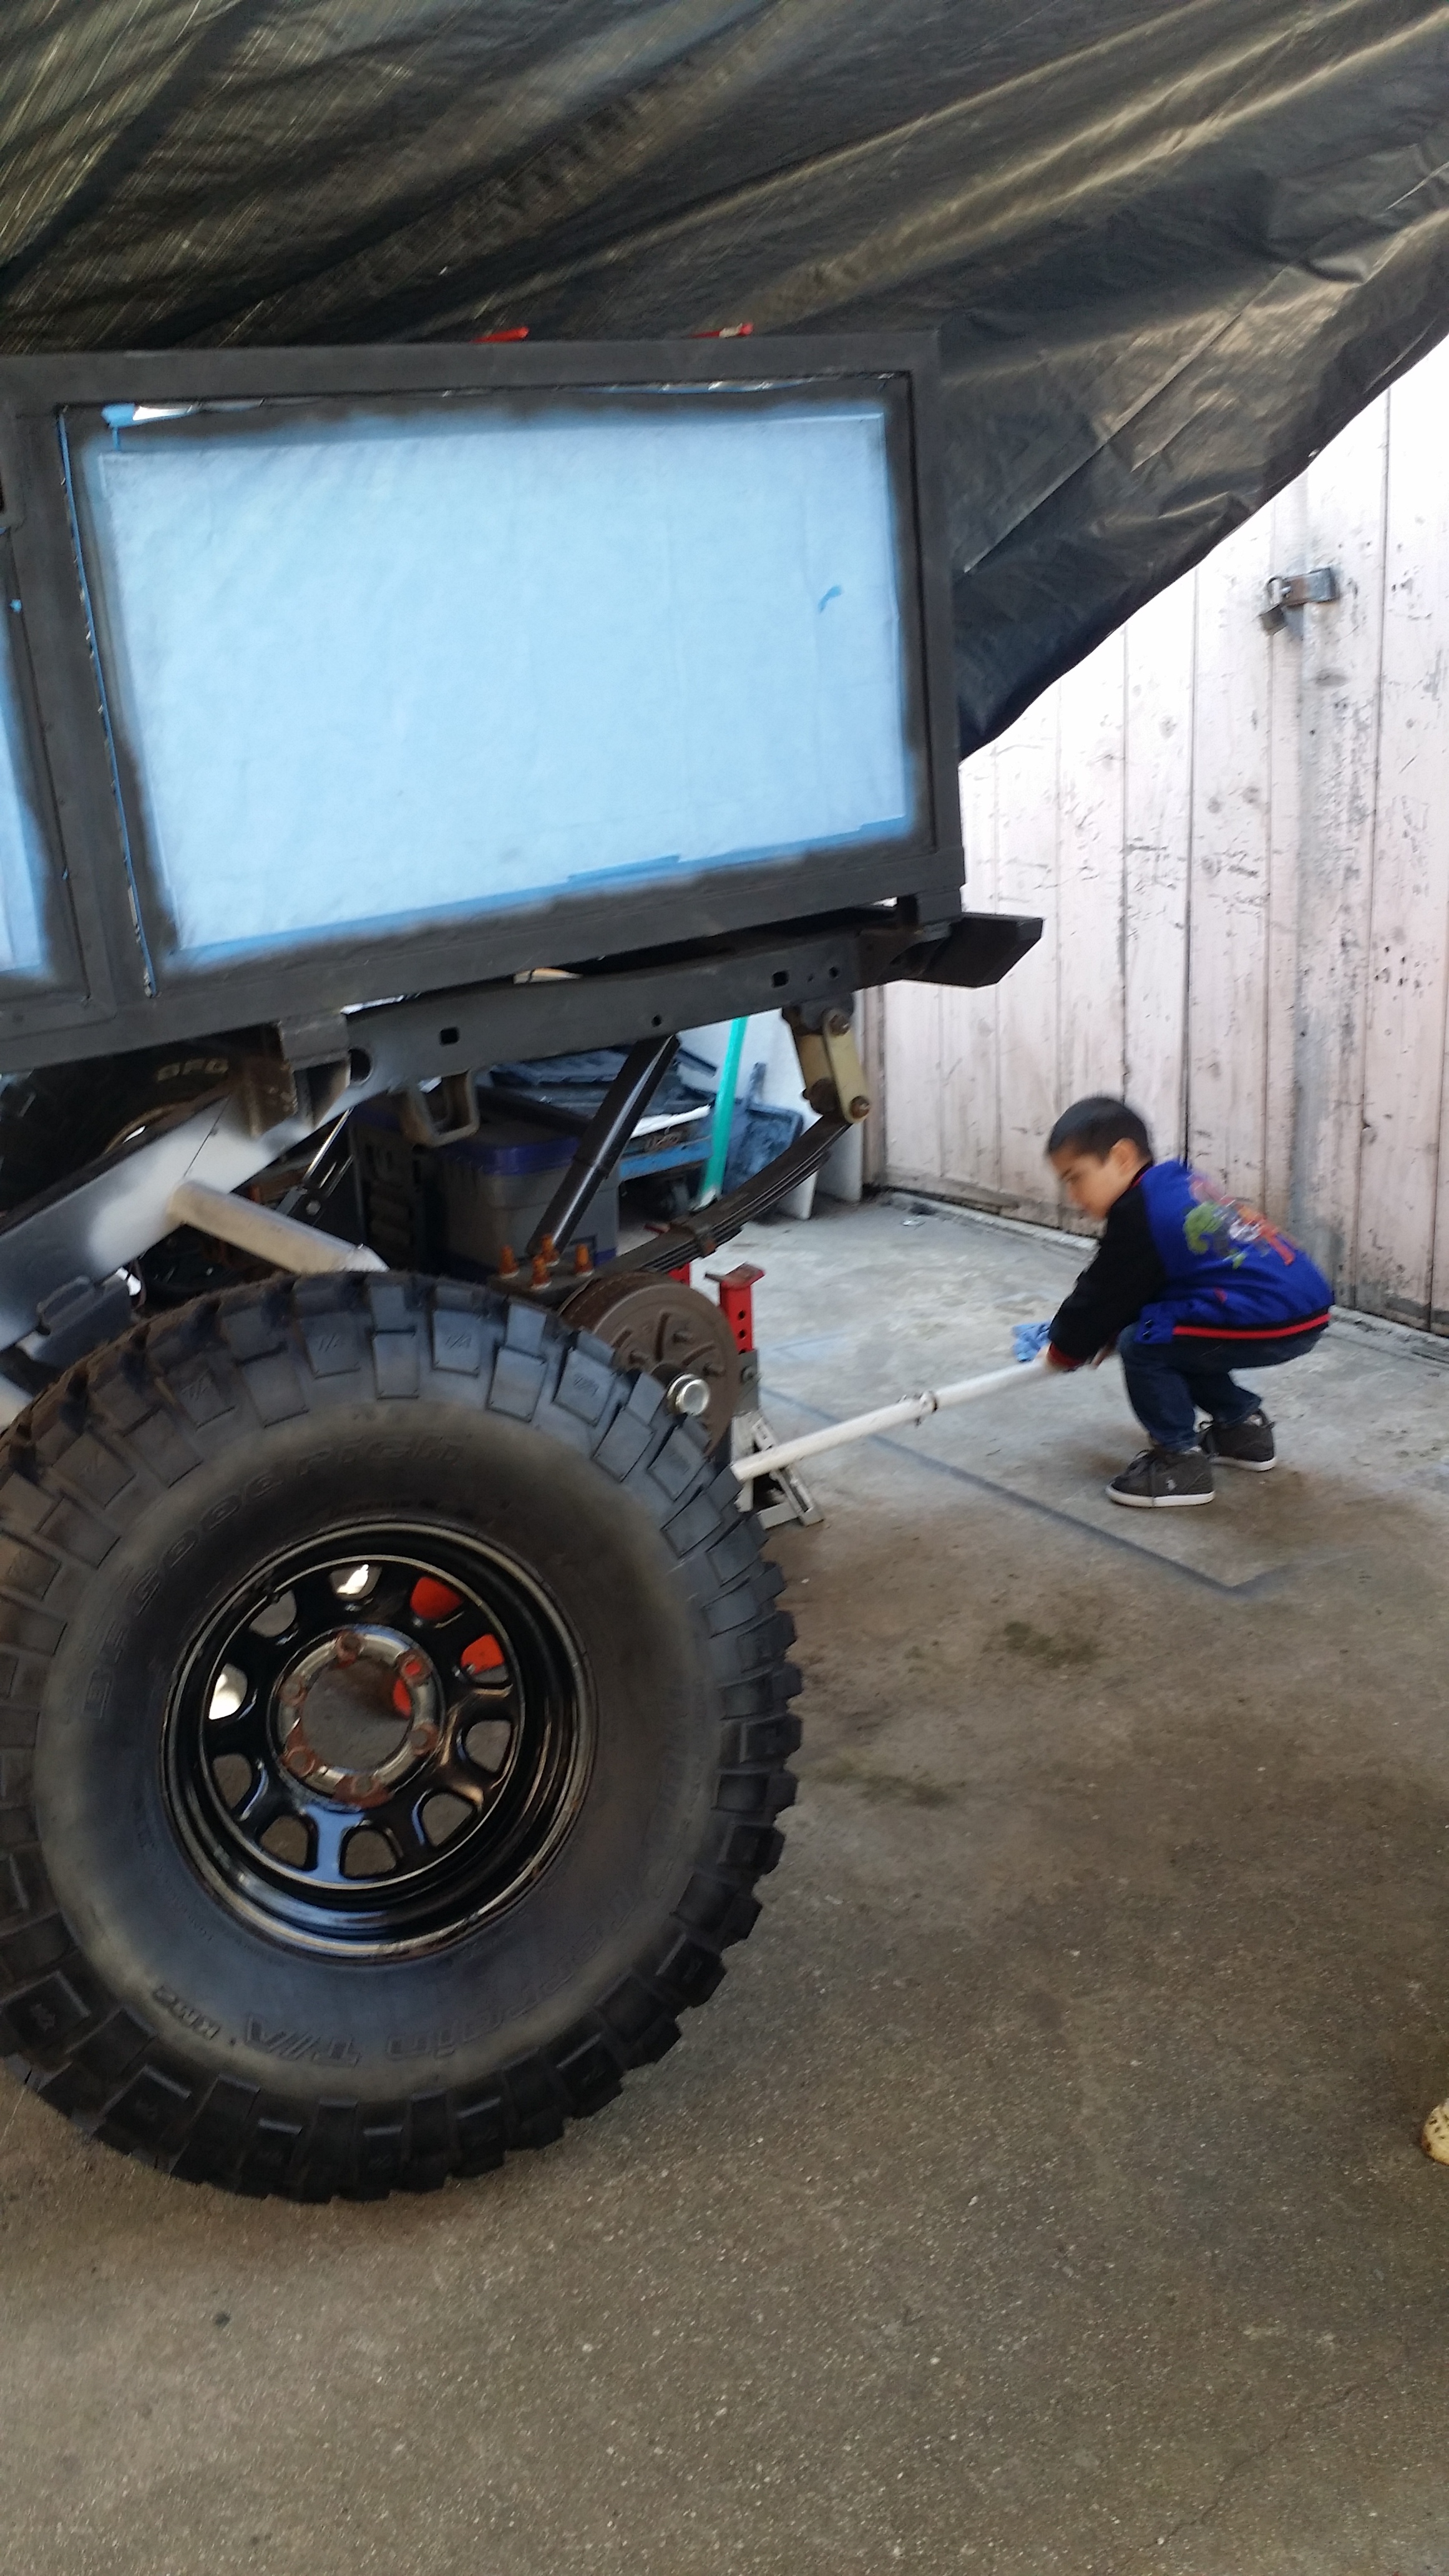
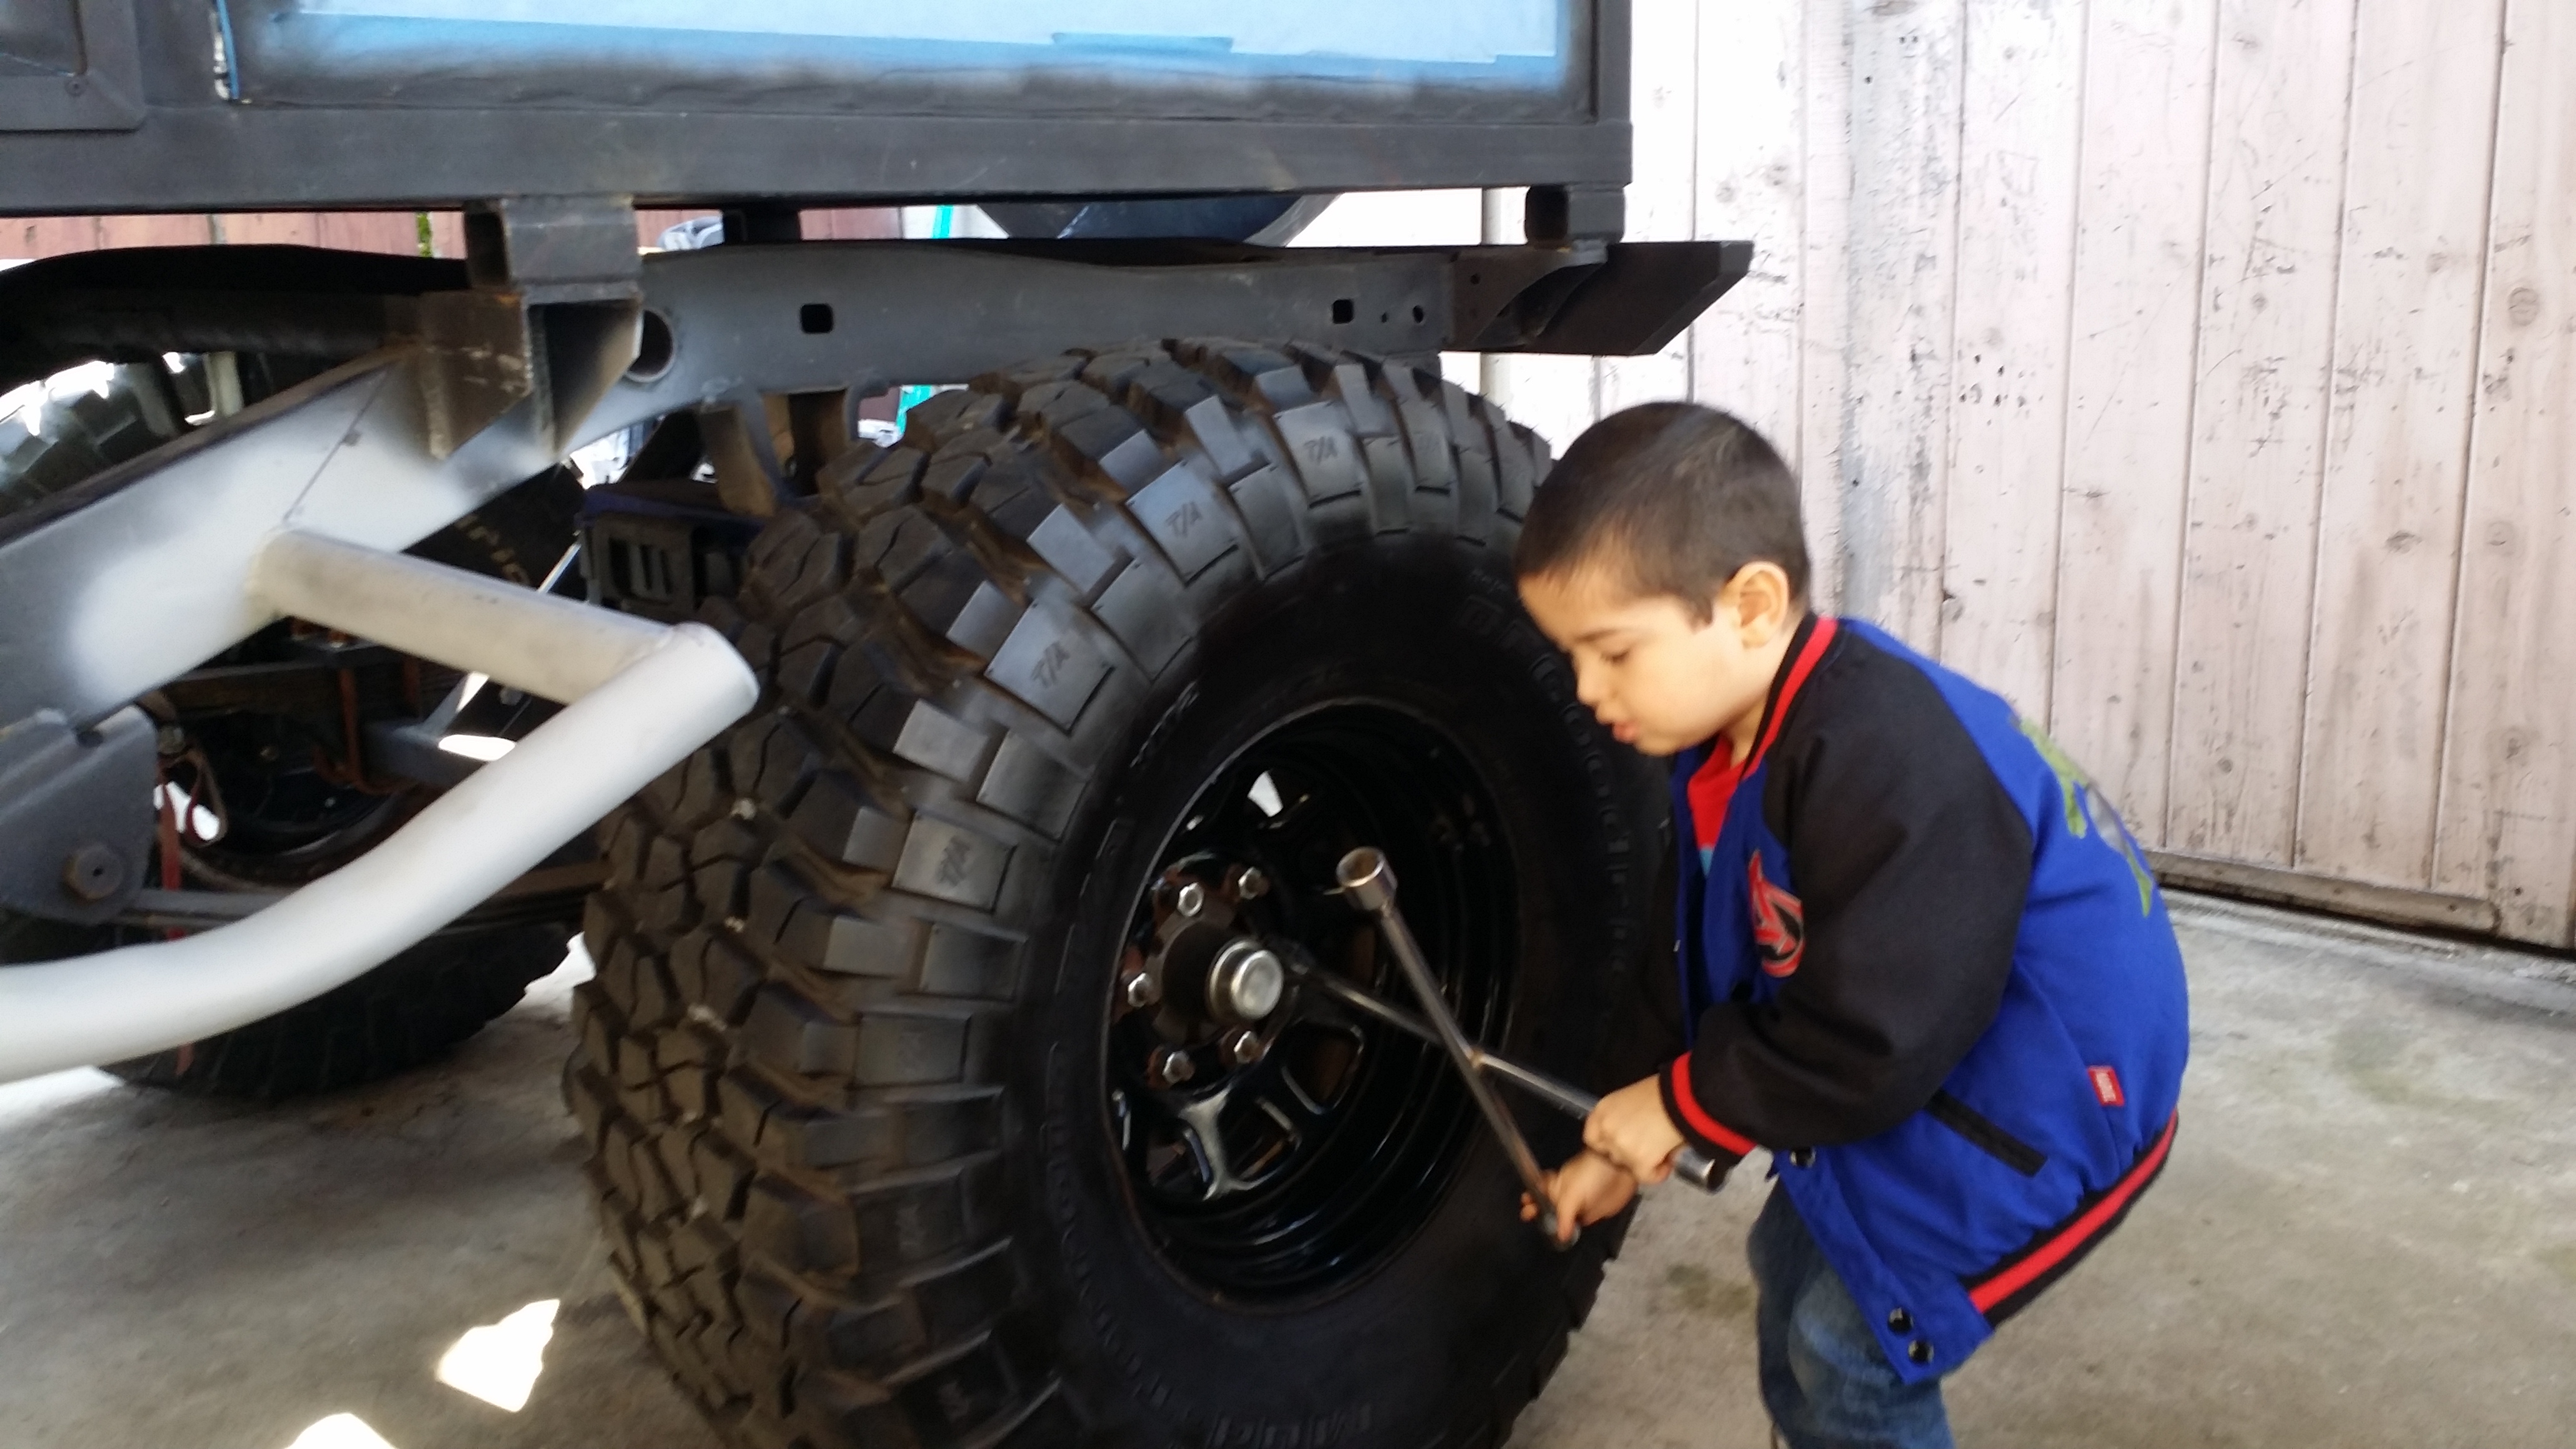
I started getting things ready to work on the trailer this weekend and my girlfriend's 3 year old son, Isaac, was eager to help me out. So I put him to work. Woooo free child labor lol jk.
Here he is jacking up the trailer.
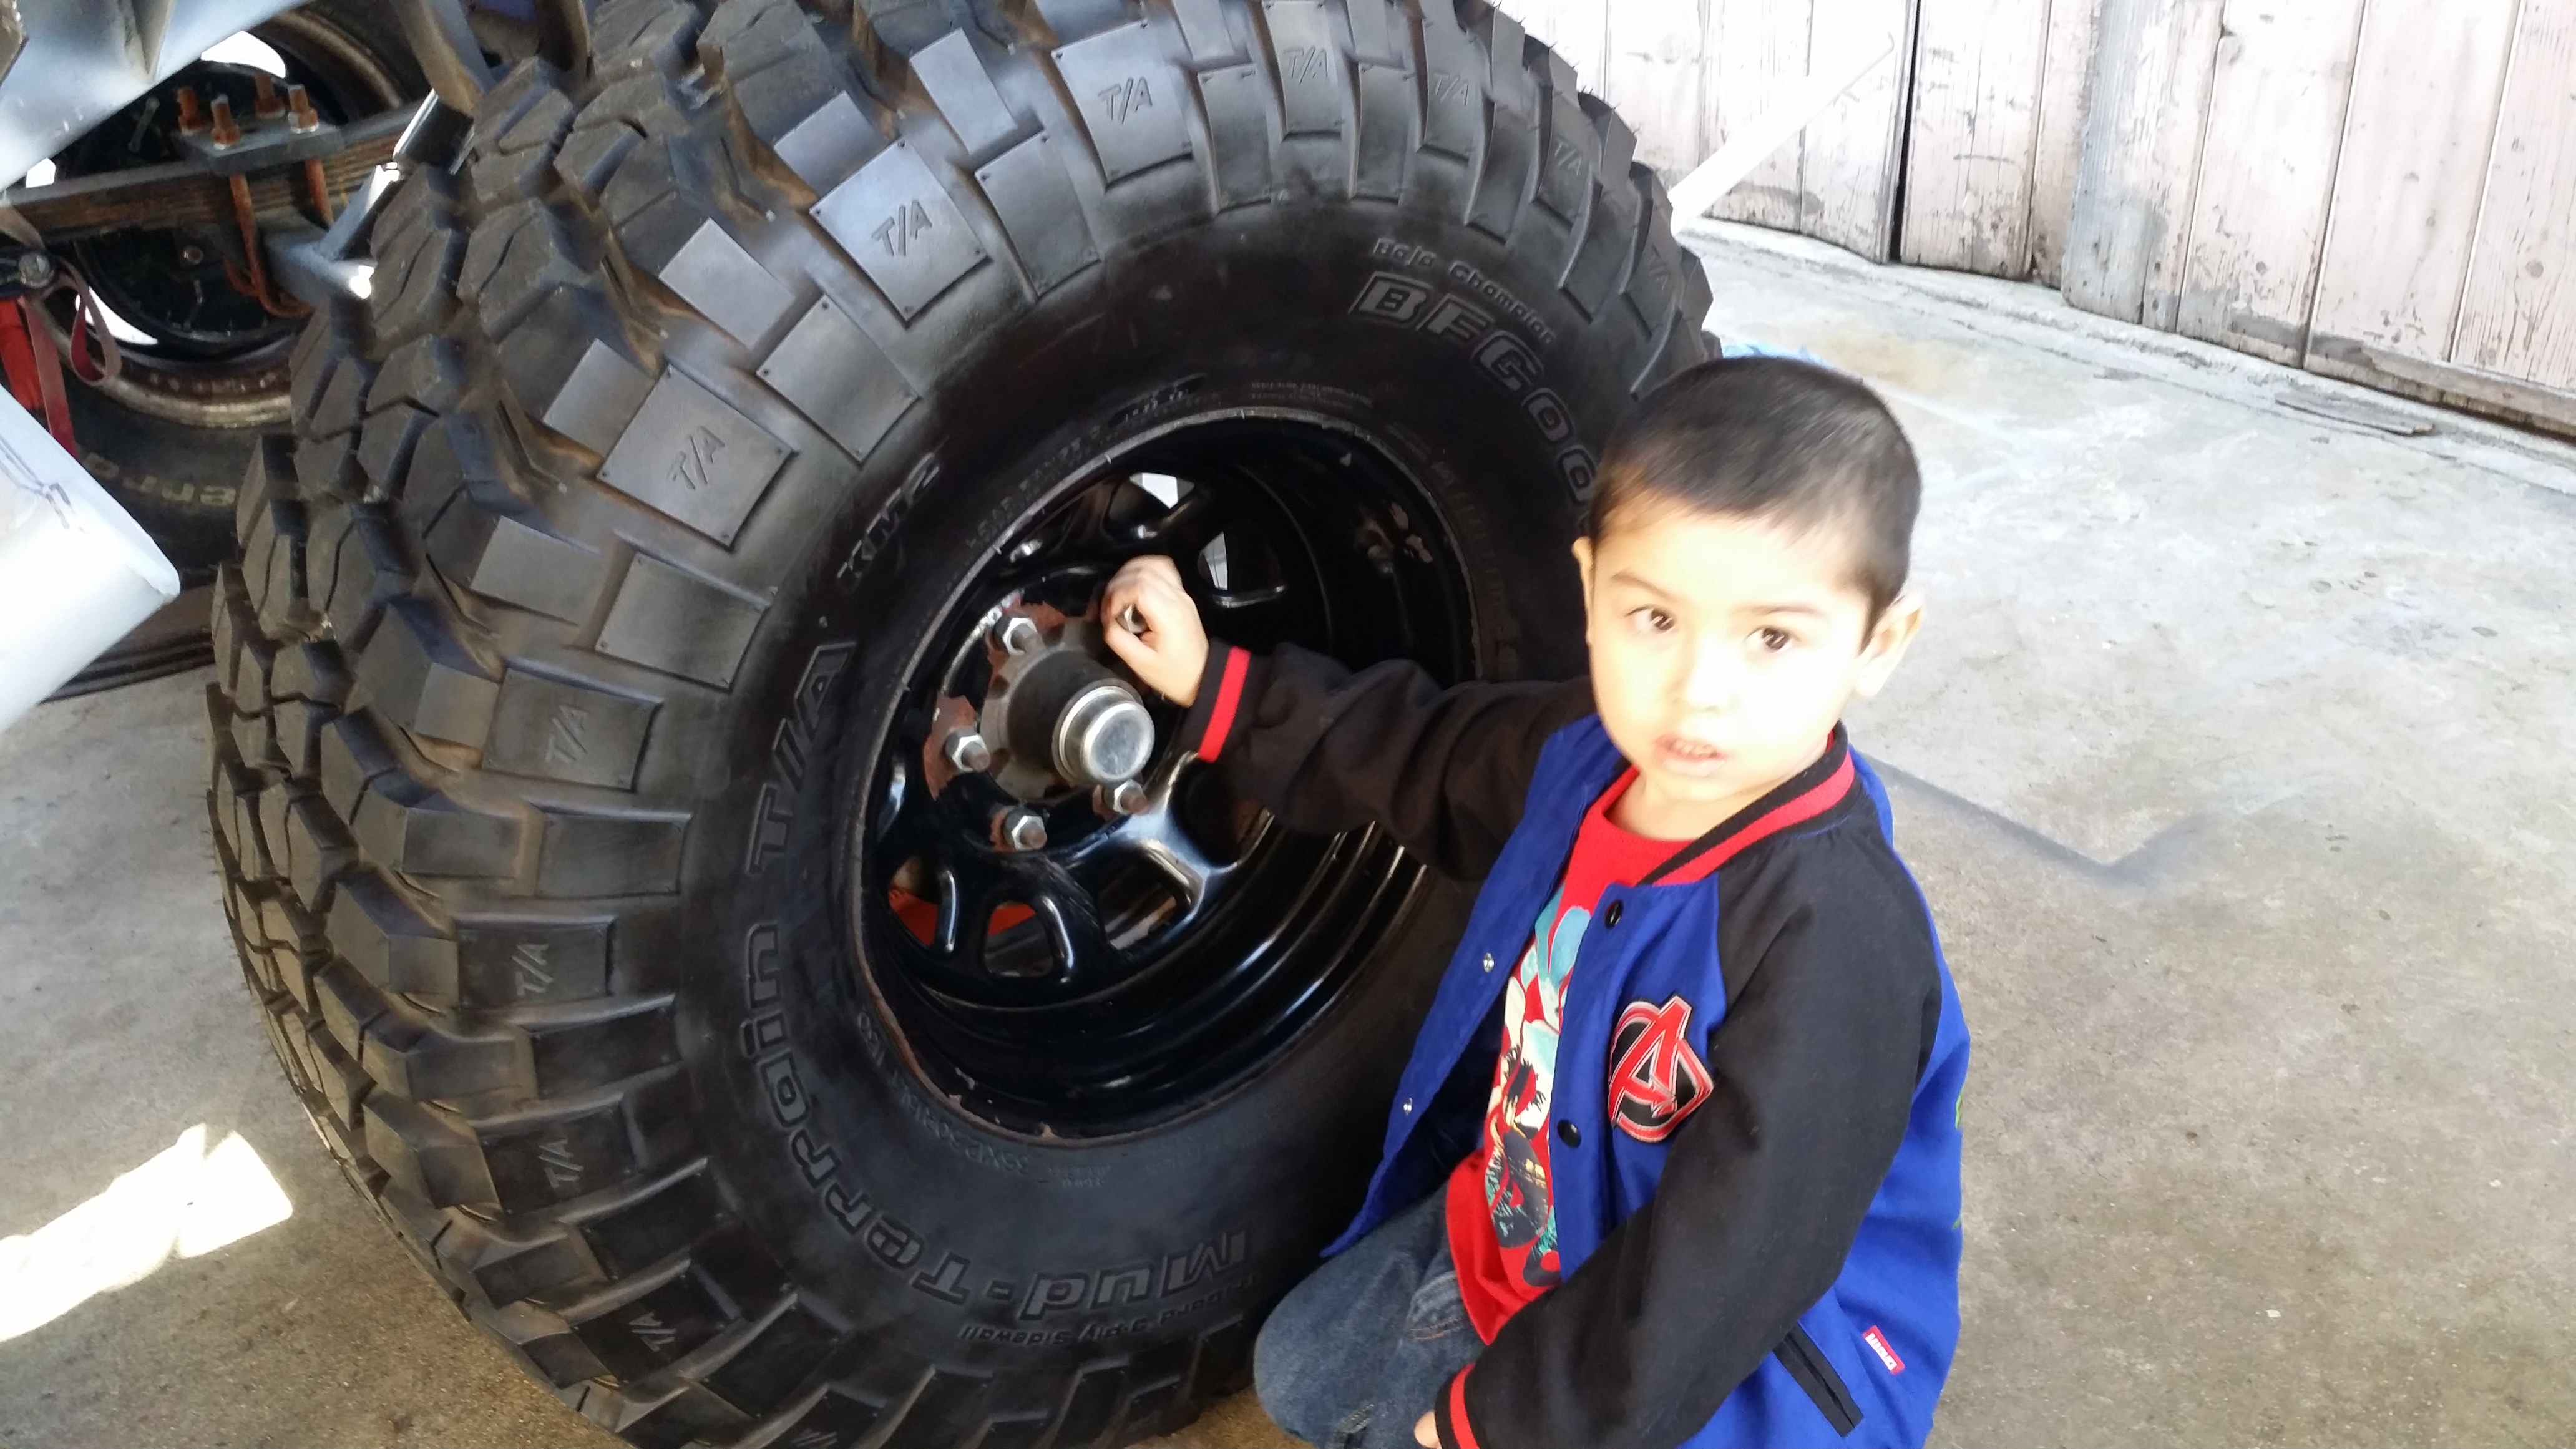
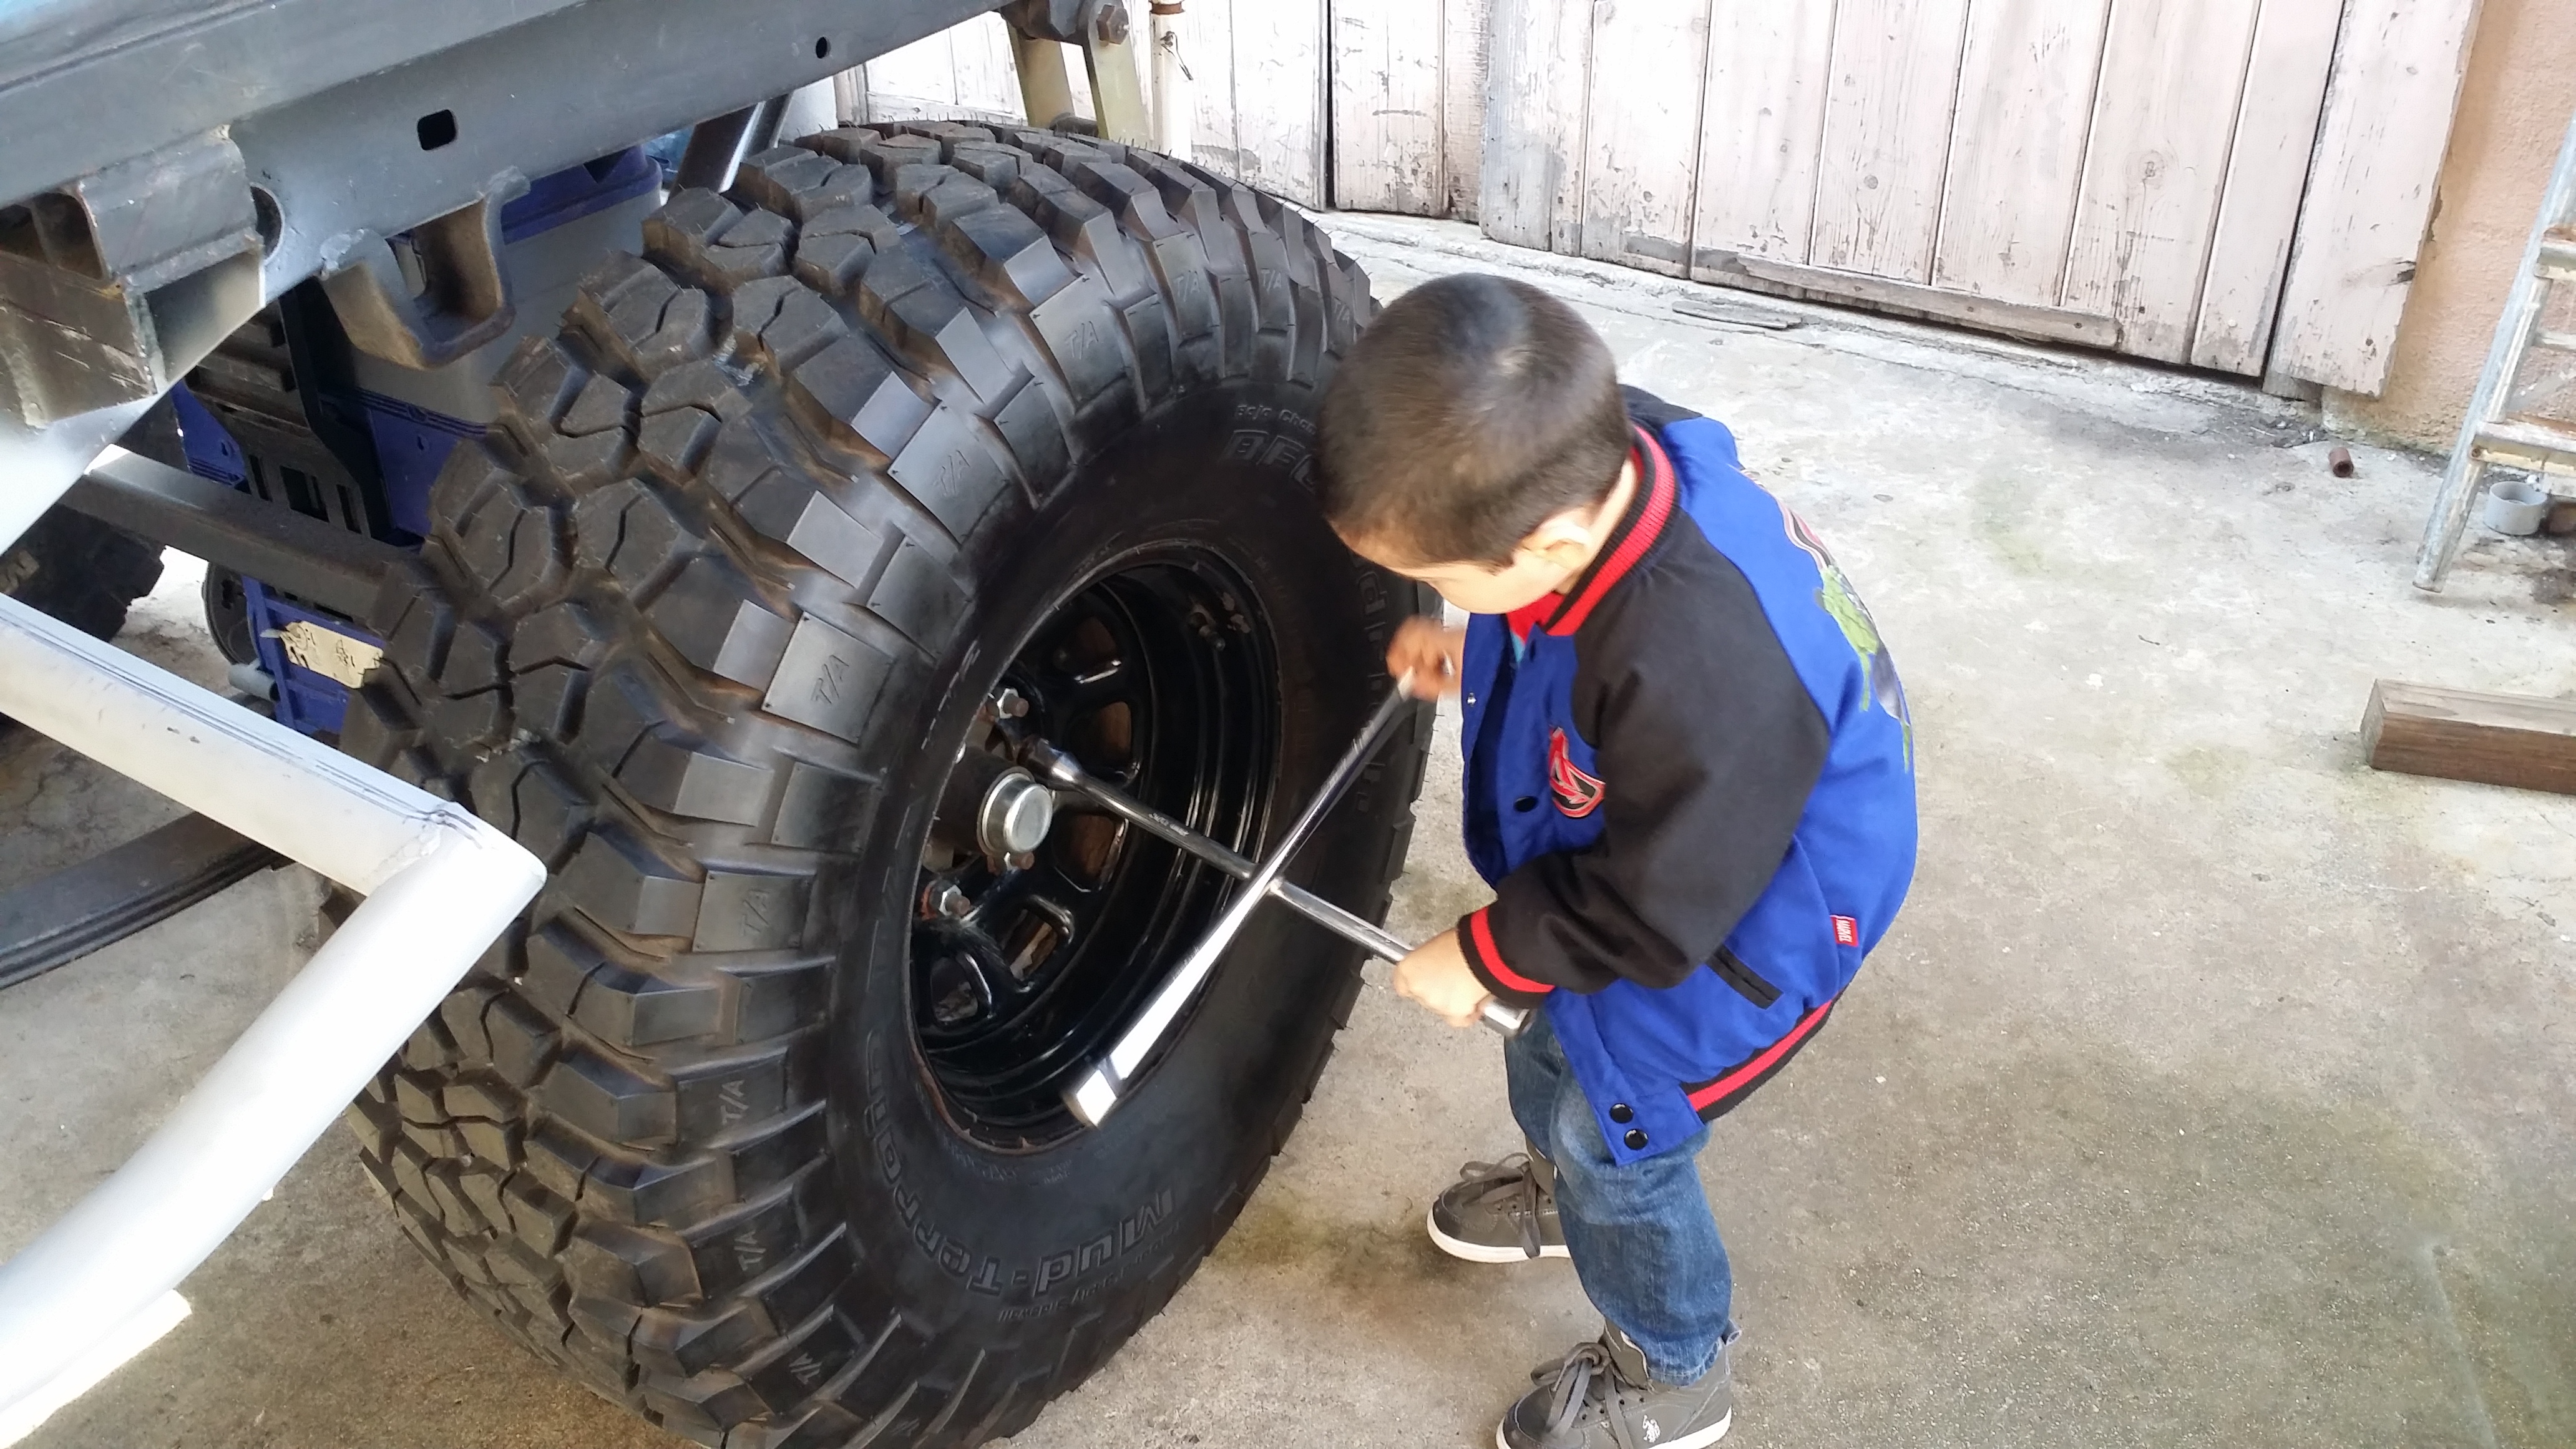
Then we put my truck's spare 35" BFG KM2 onto the axle hub. He insisted on helping lol I couldn't turn him down. Plus this is too adorable not to post. lol
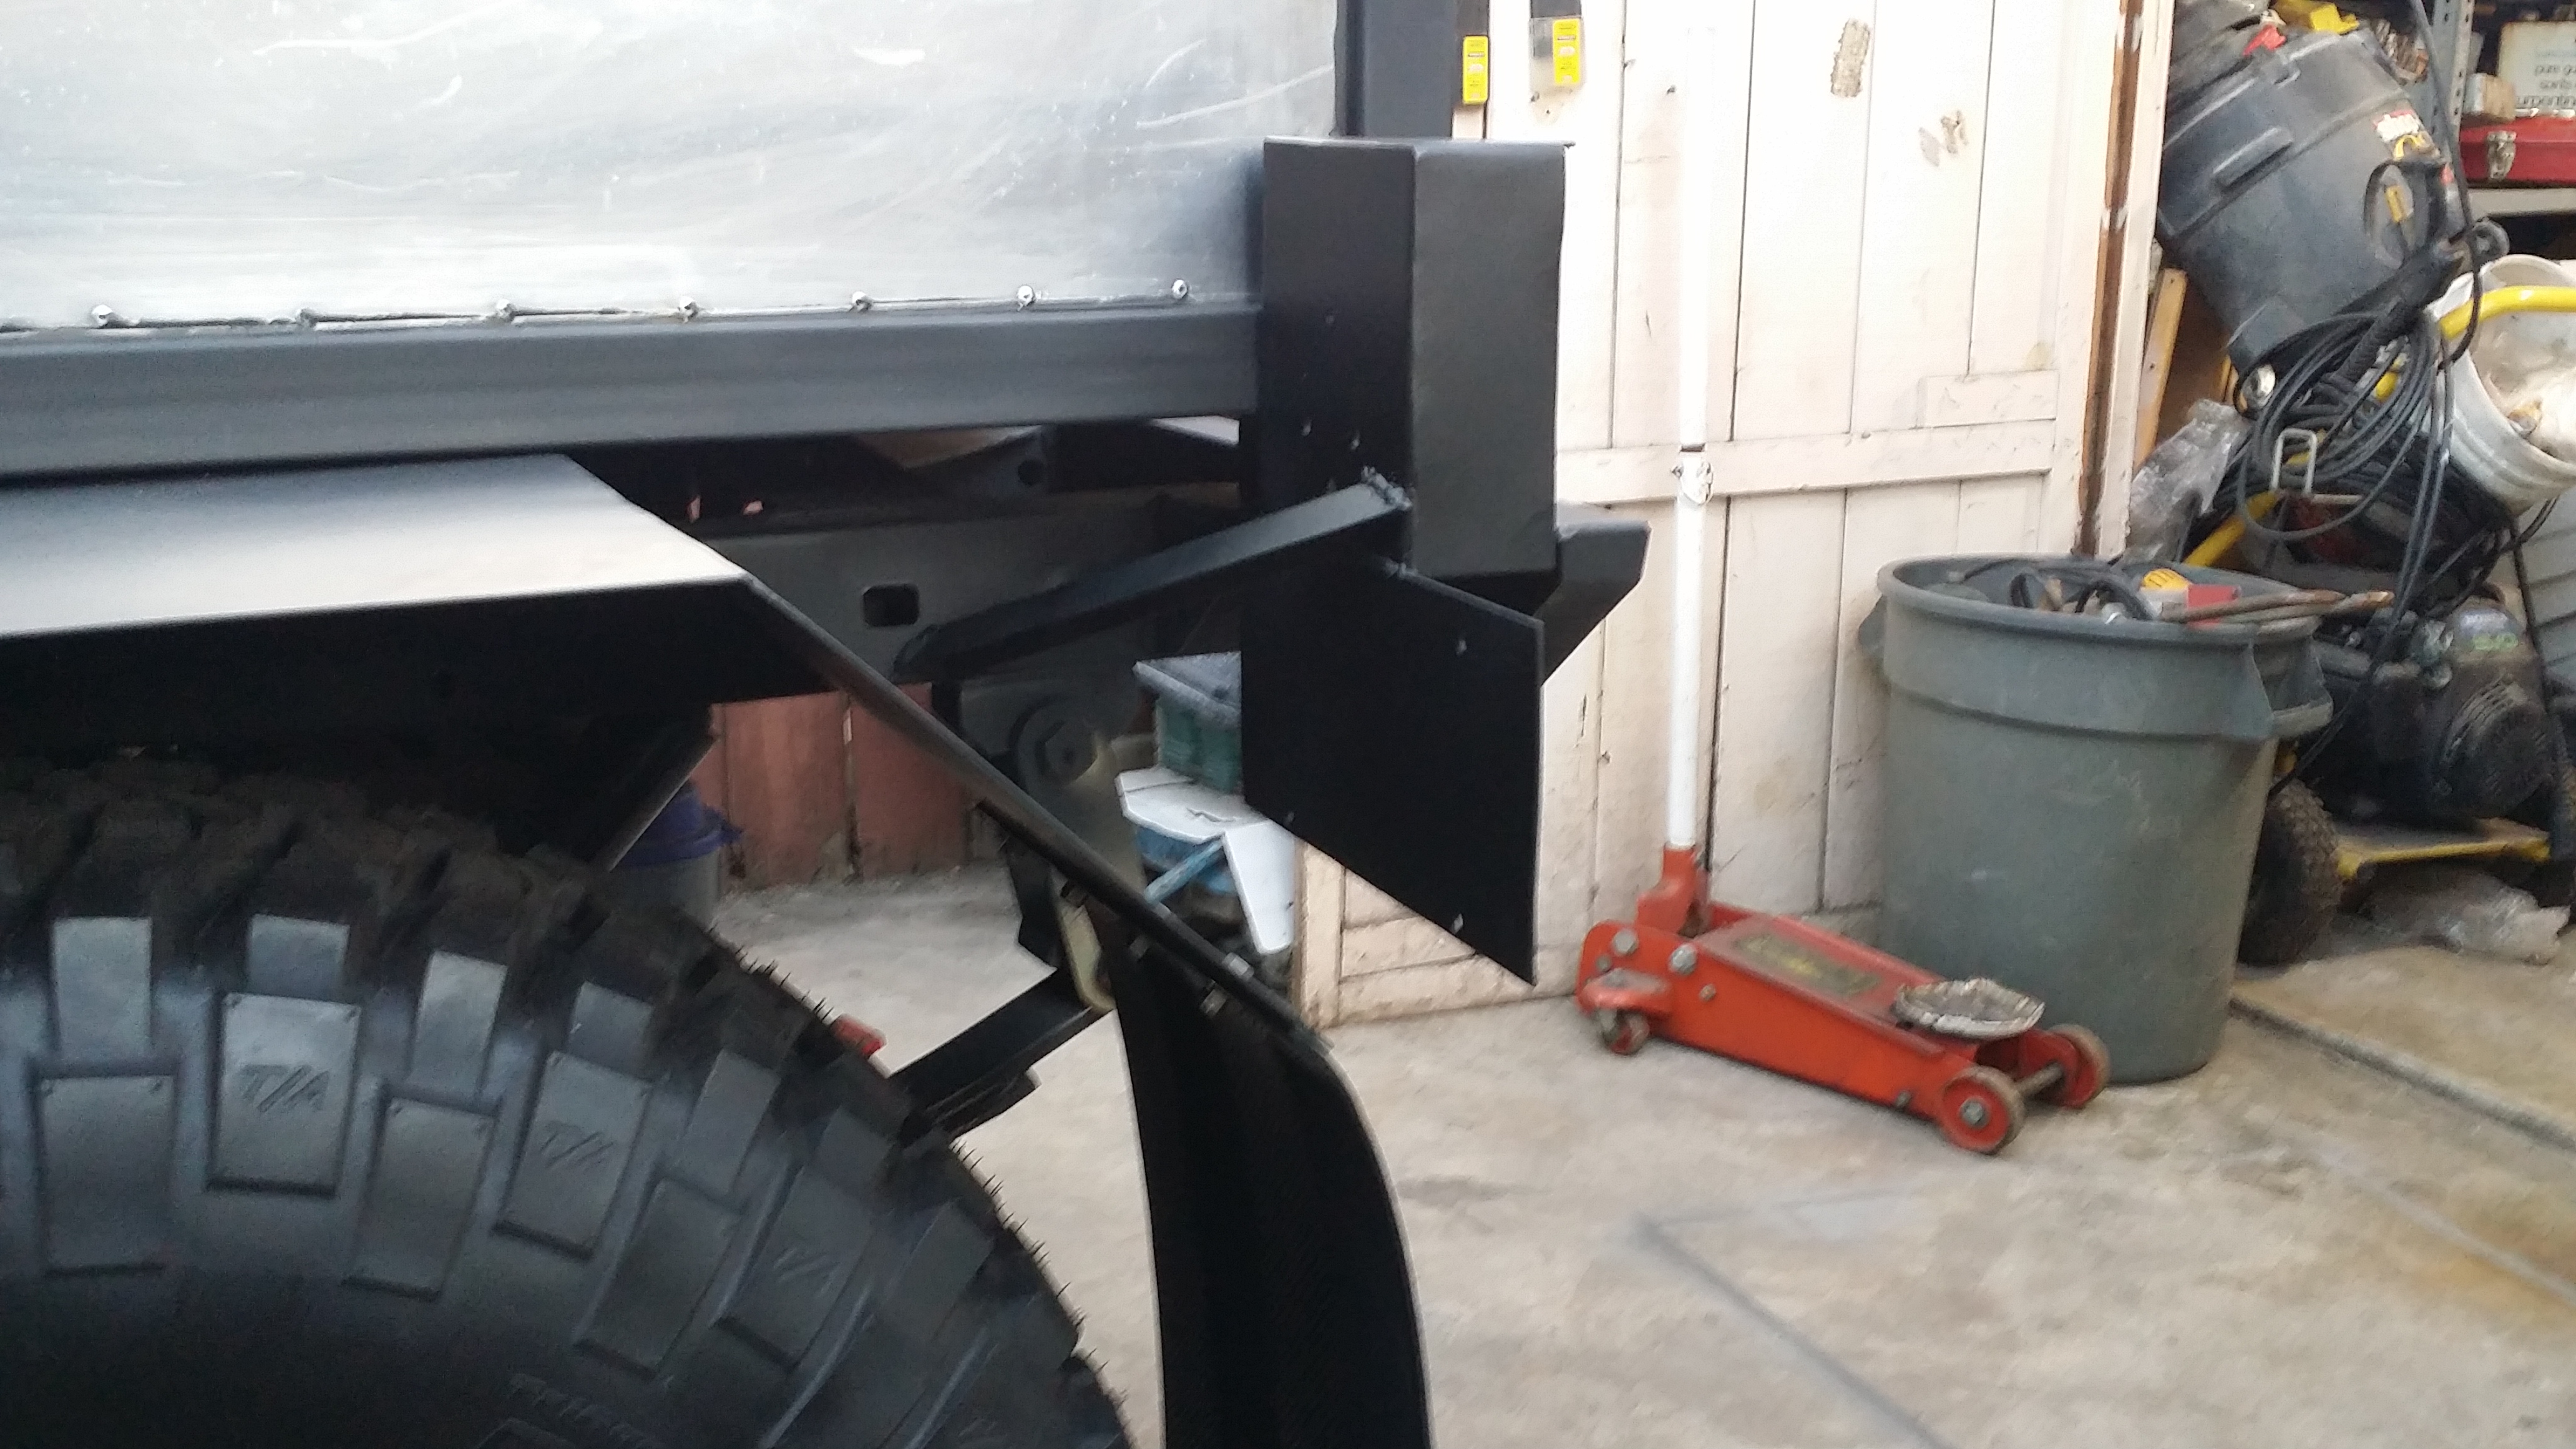
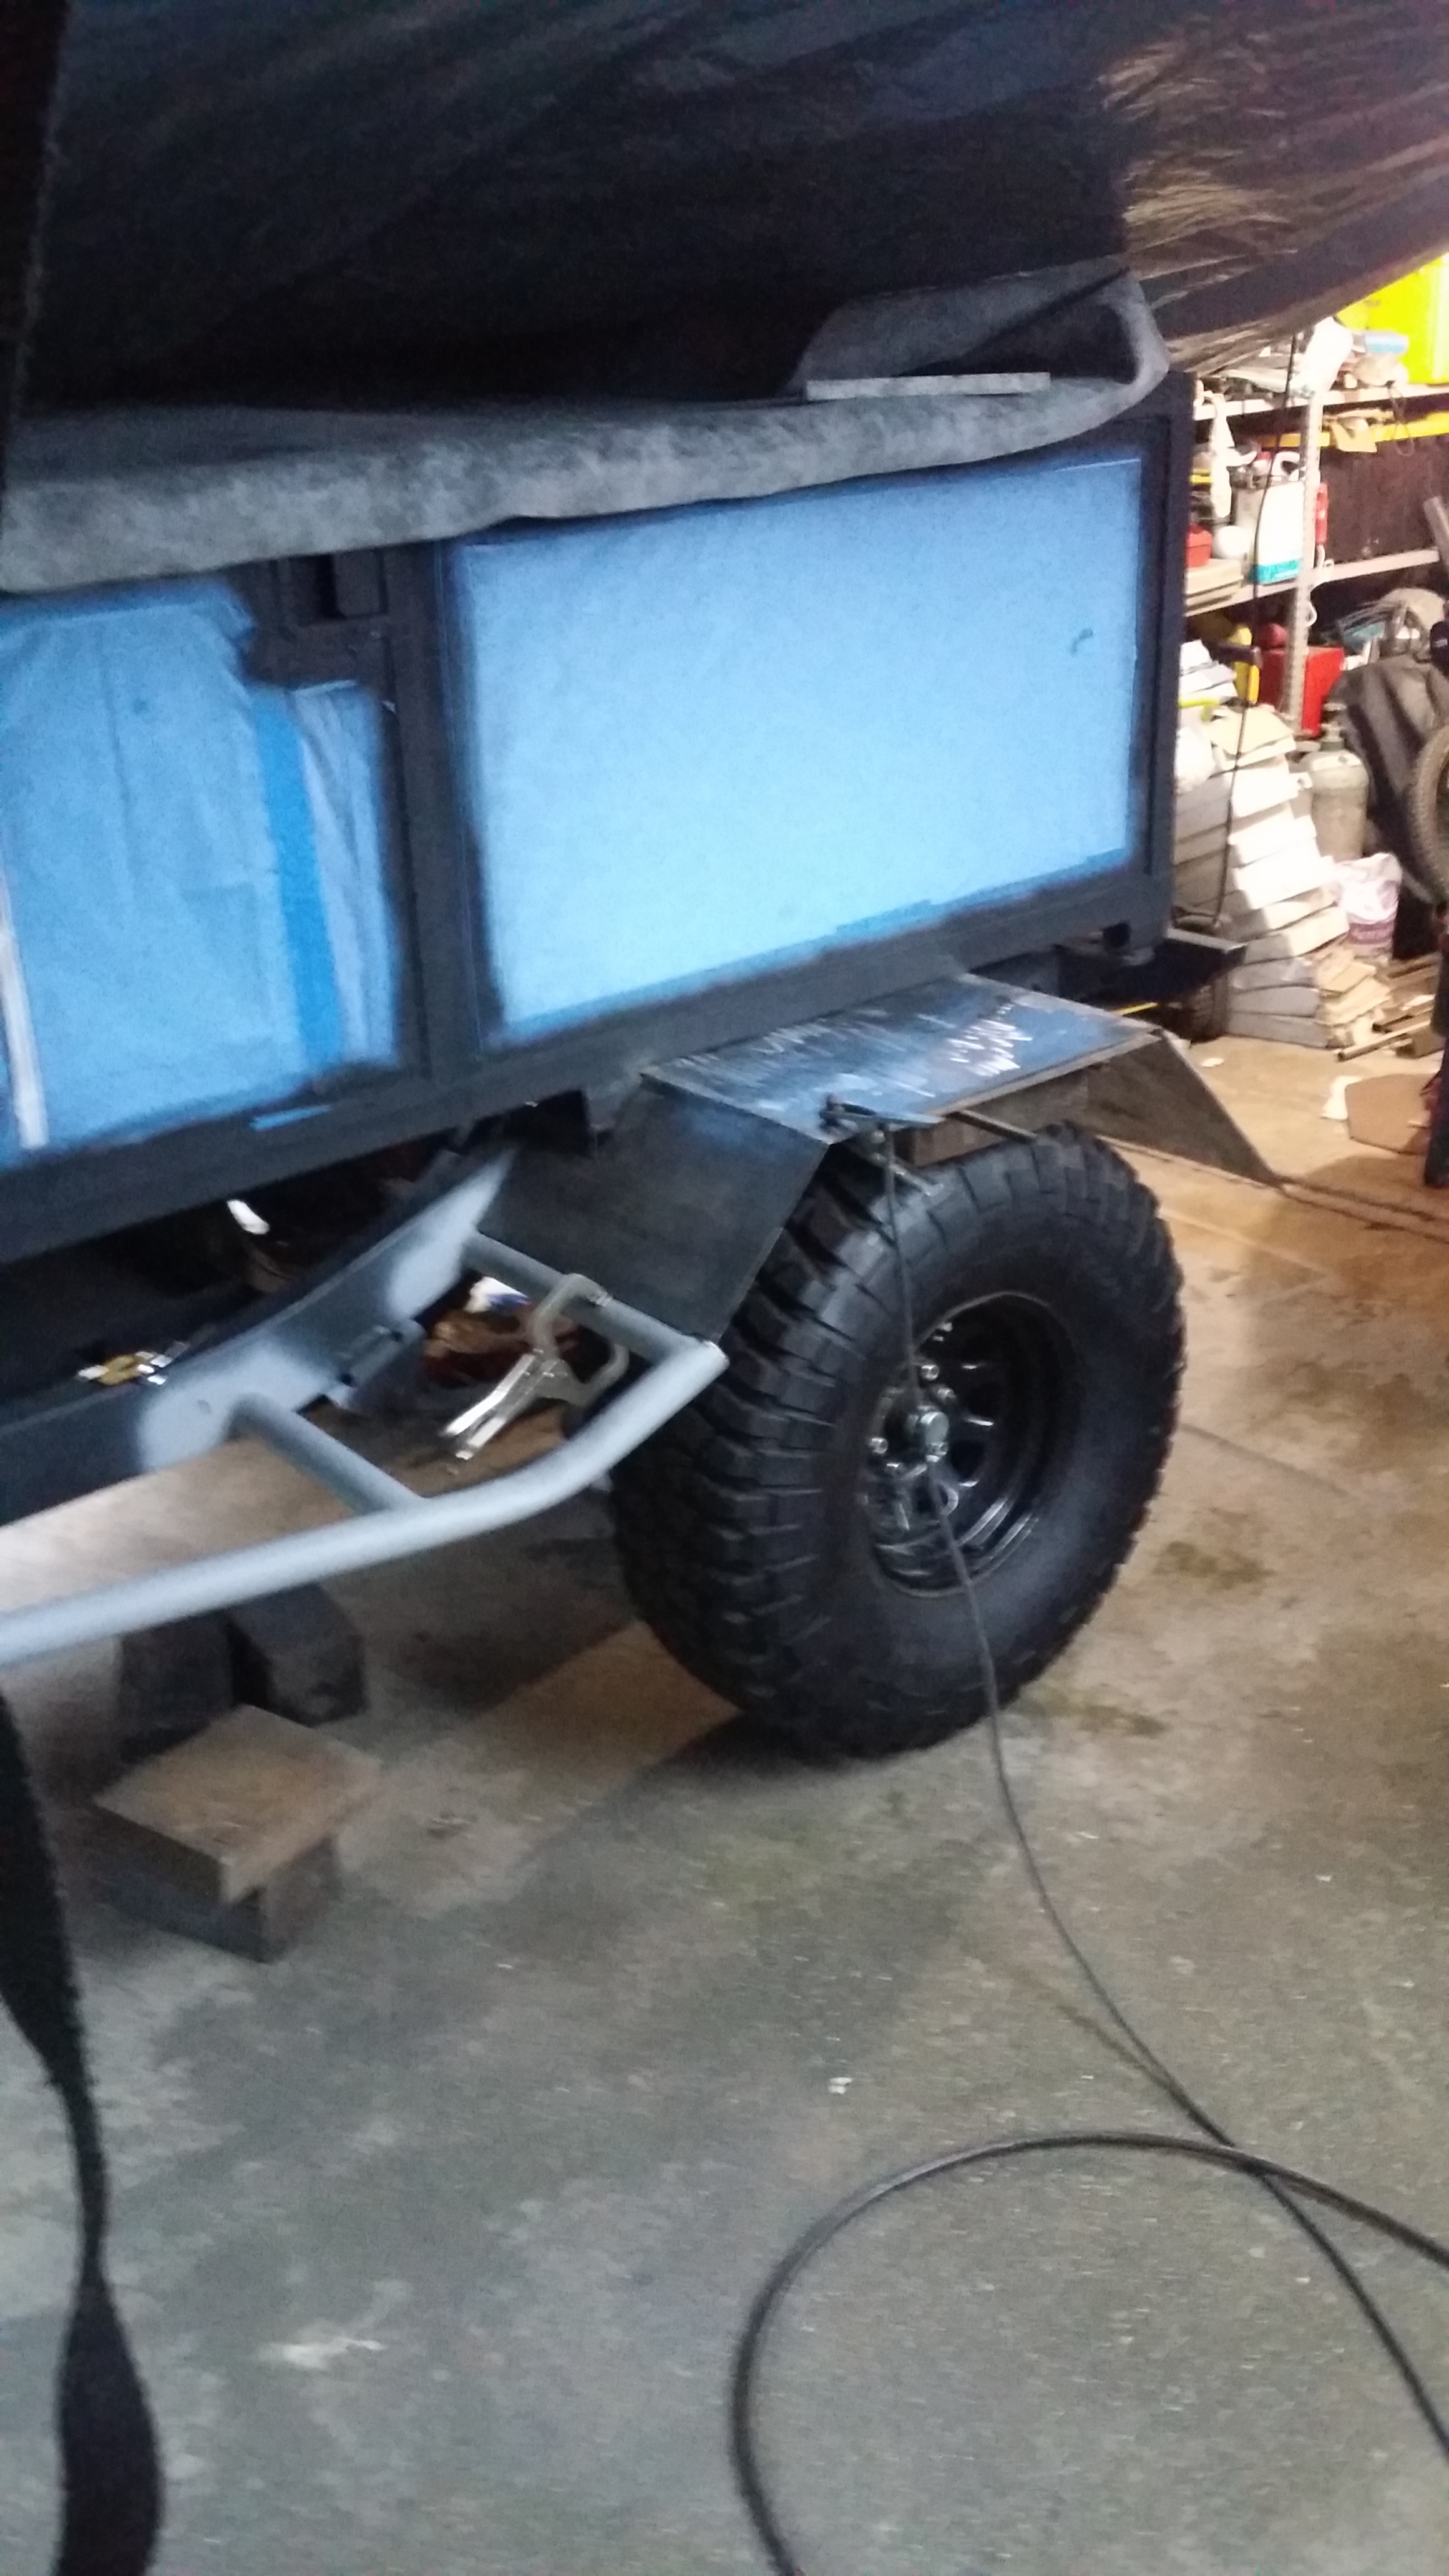
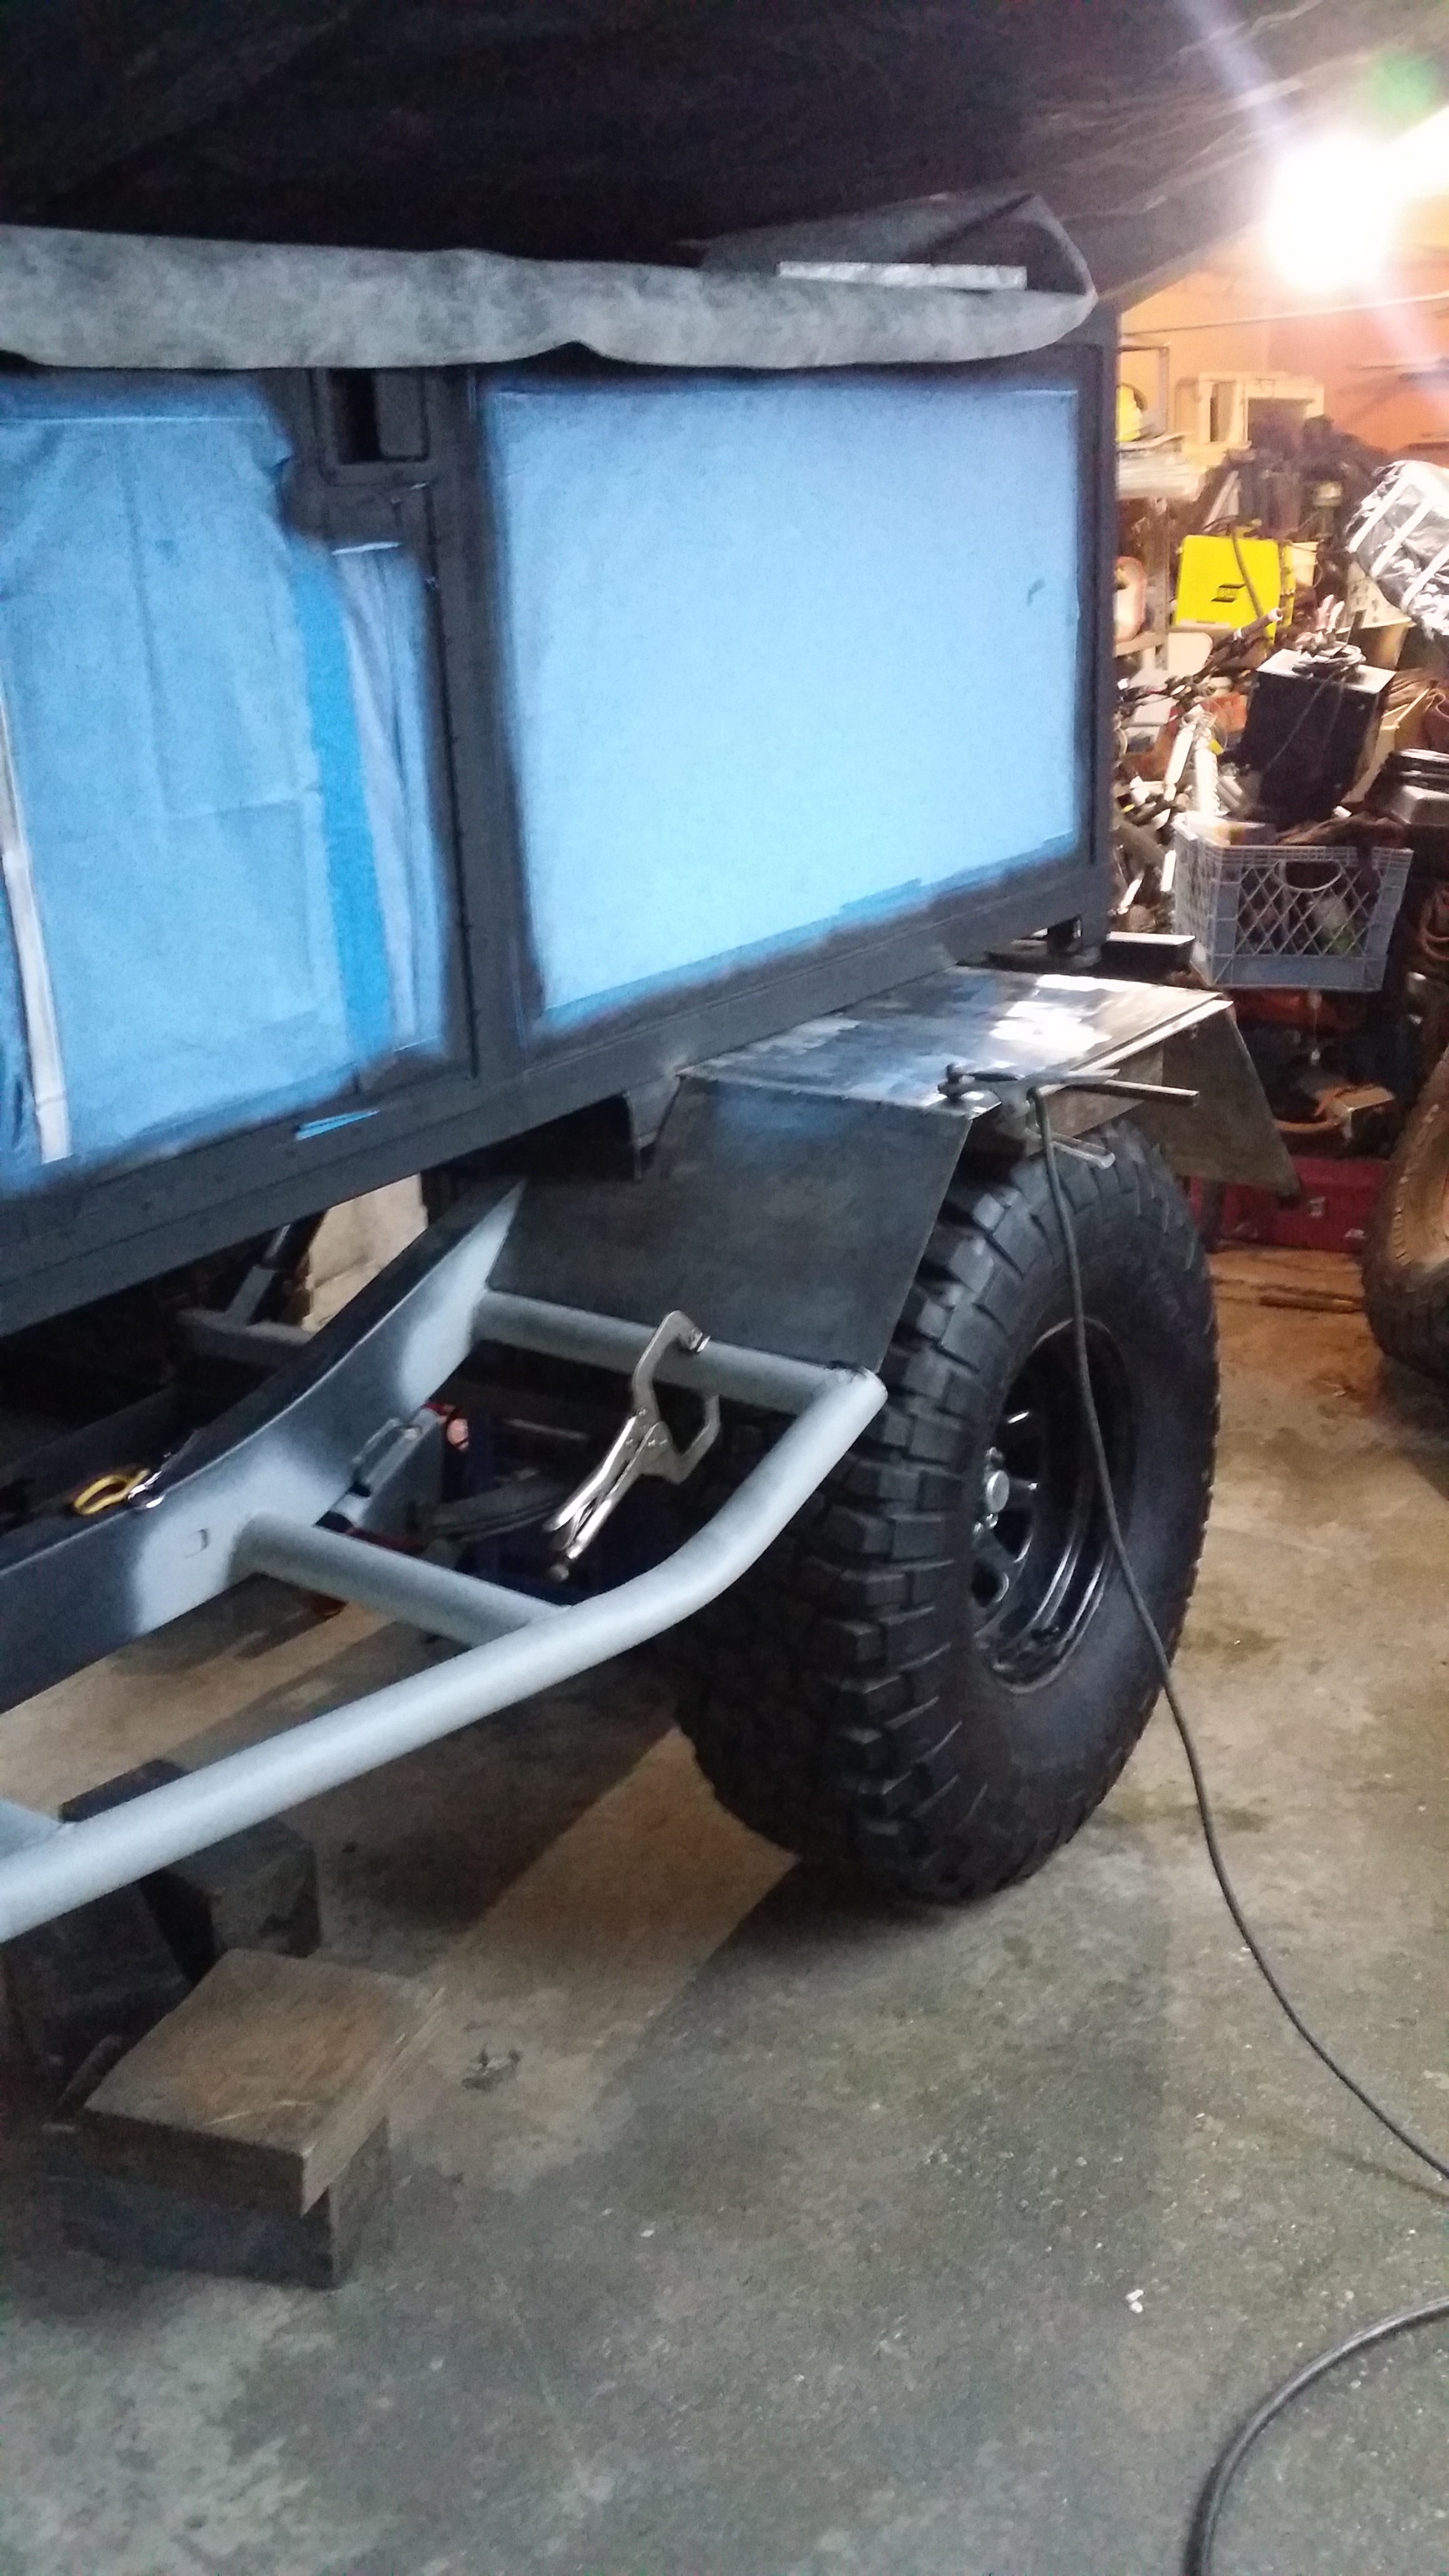
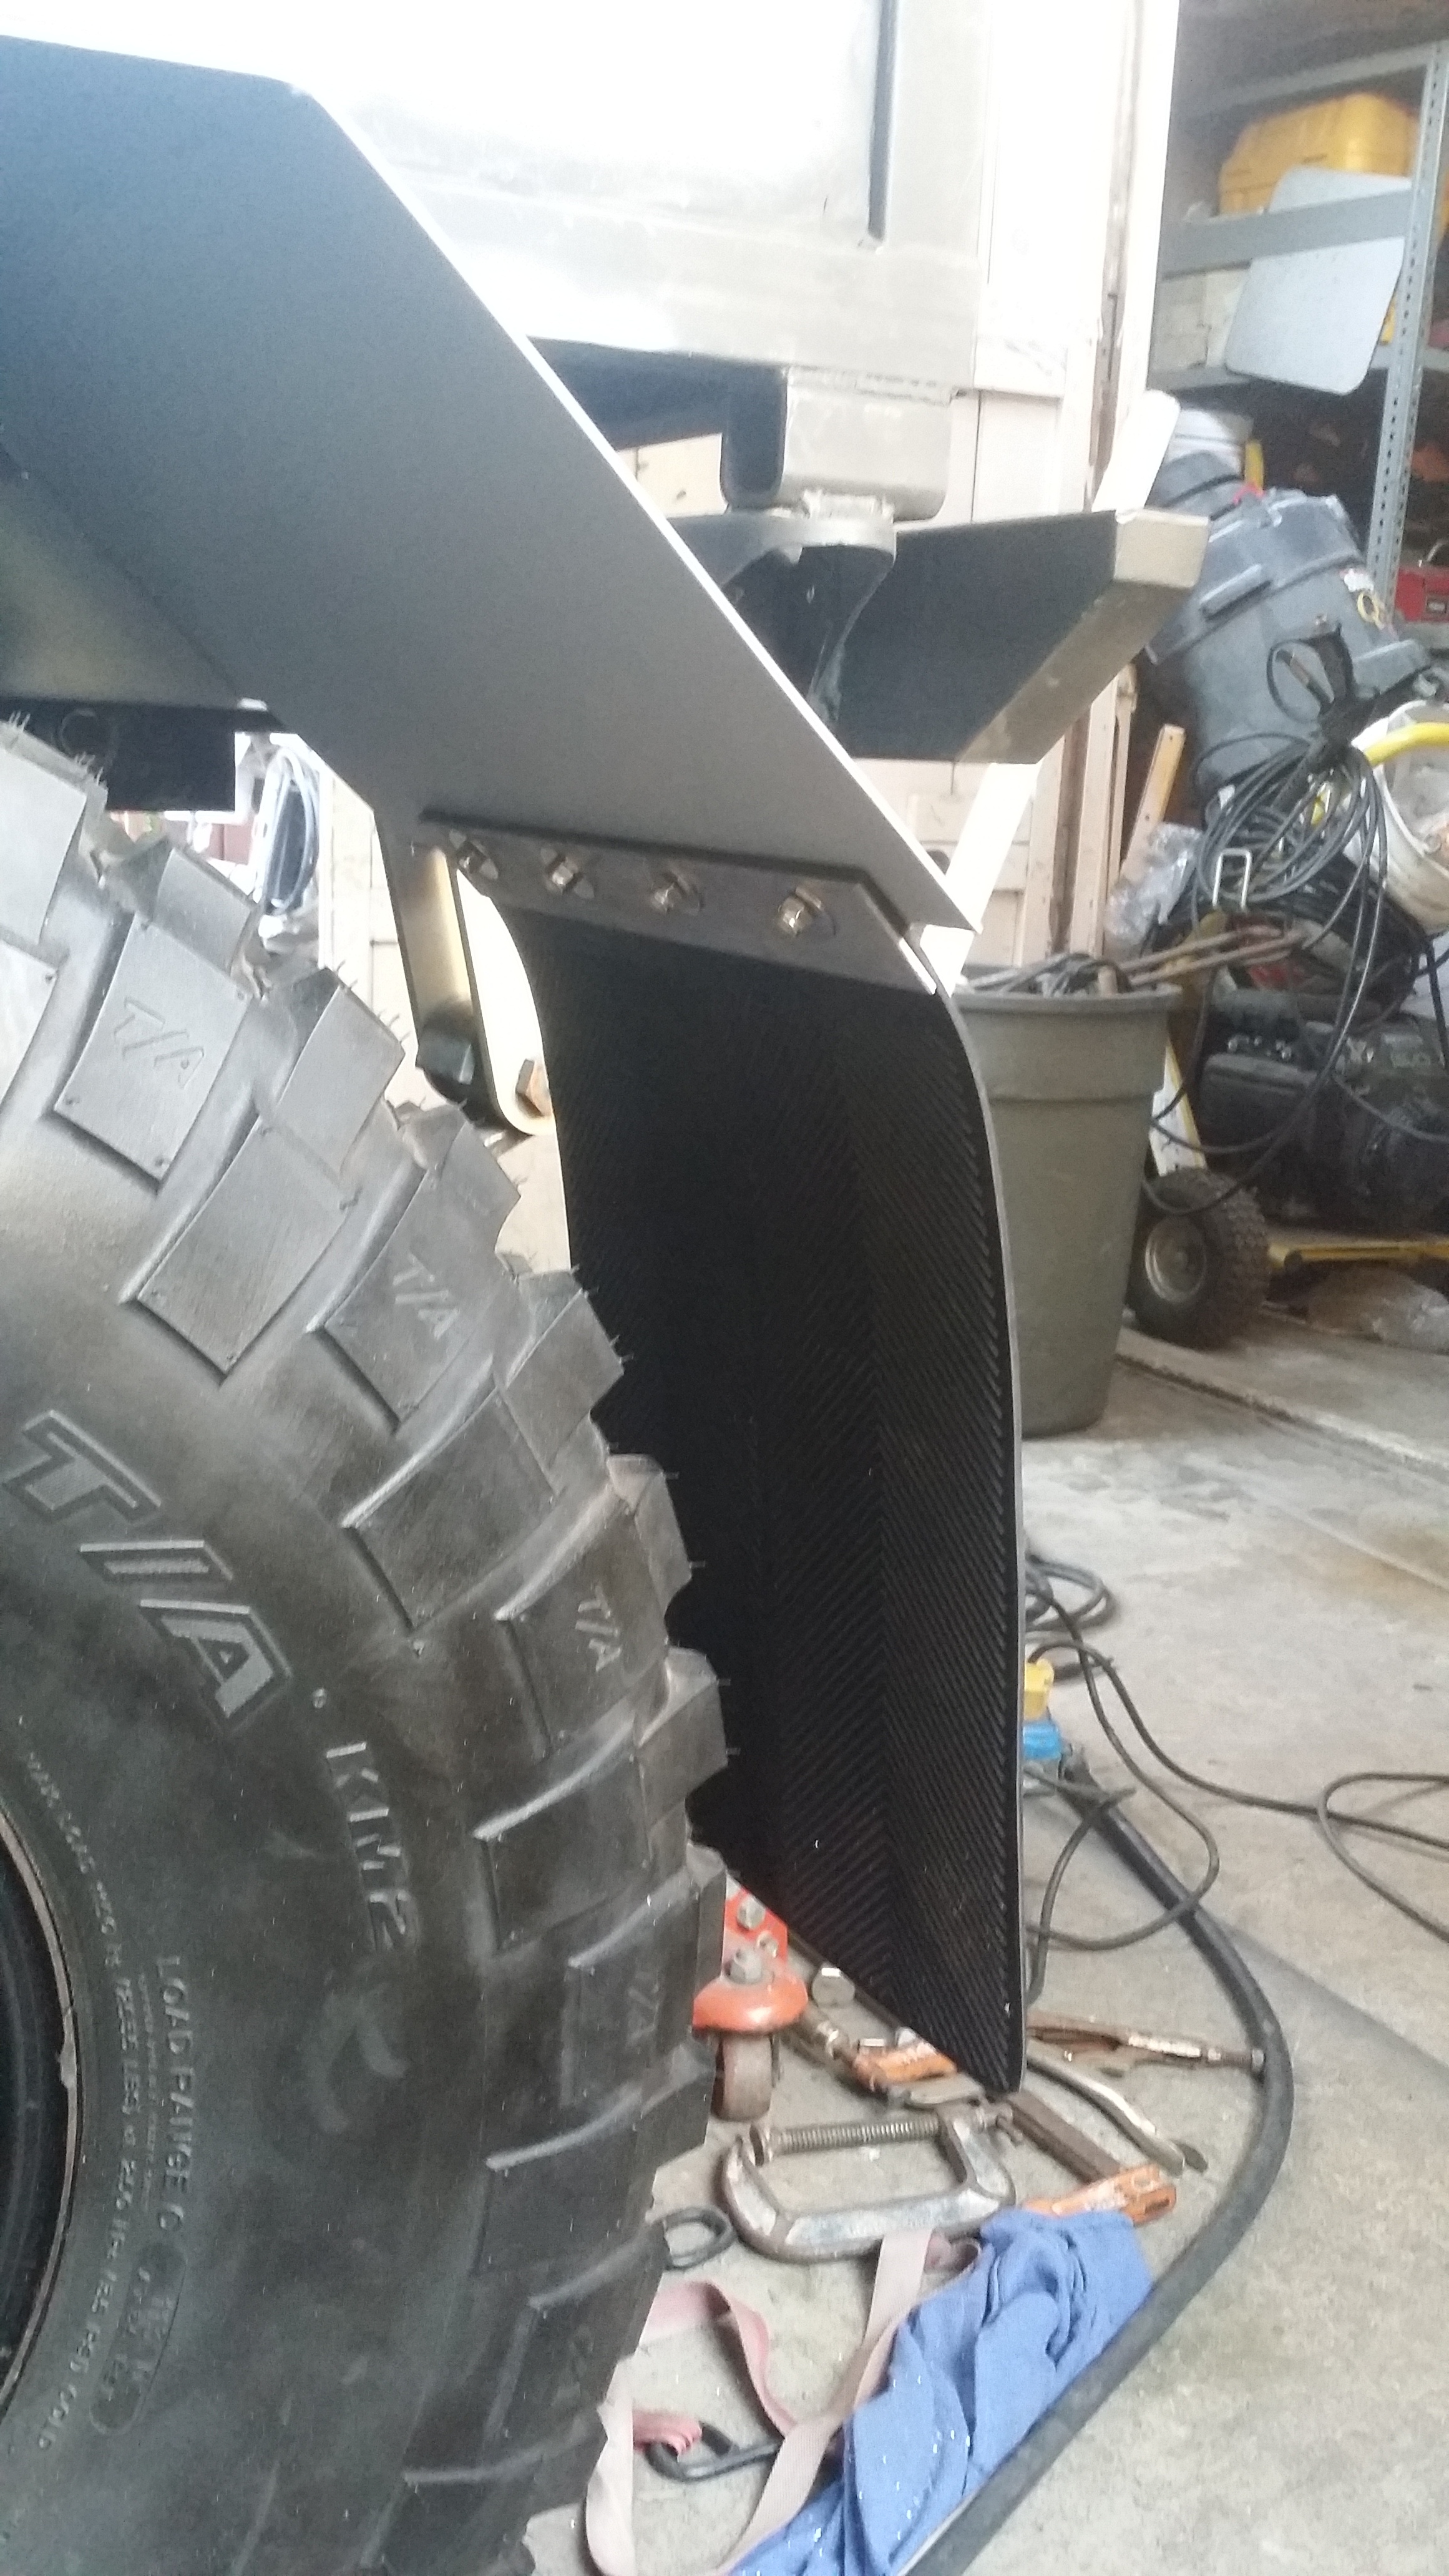
So This is on the rear of the fender. Note the shackle bolts. I had to cut 1" off to clear the bolt in the case that the shackles would move back and forth. My mistake is that i made the cut the entire length rather then just the section i wanted cut off. So i had to reweld a 5" piece back on lol It's all good, nothing a bit of welding cant fix. You can't even tell i had messed up lol
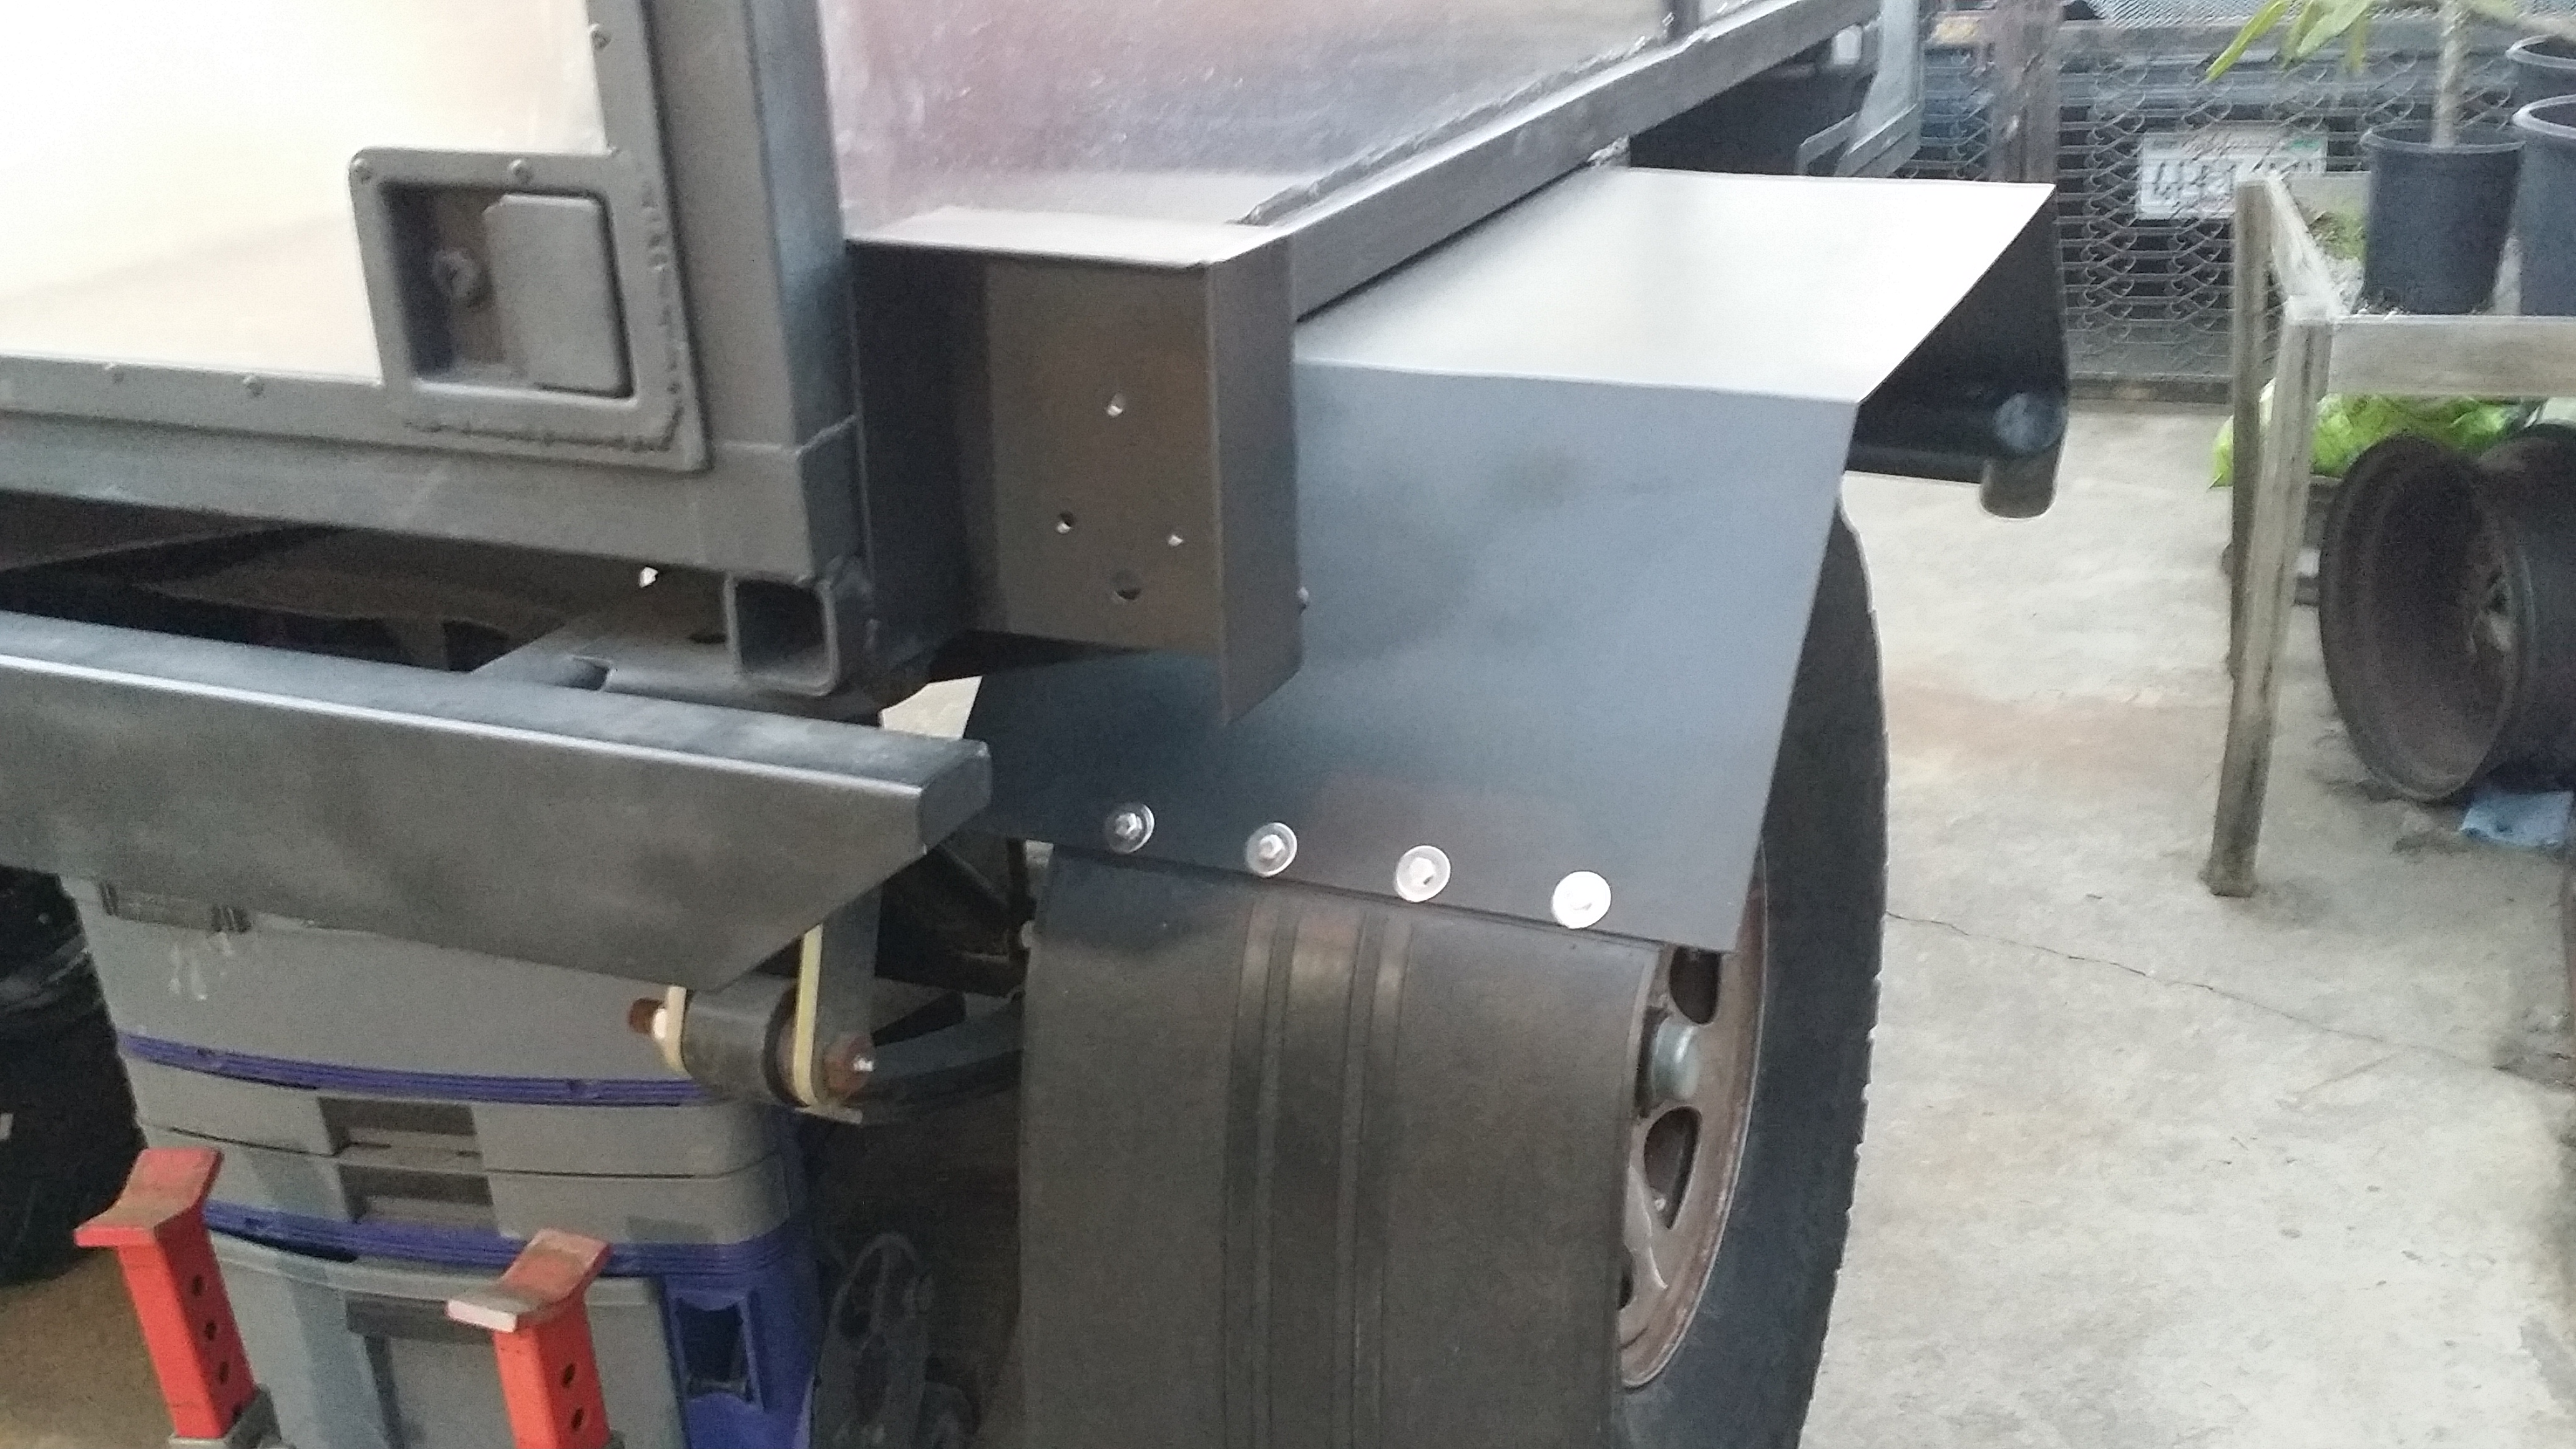
Here the fender is welded to the frame. just had to make a quick run to Harbor freight for 2 new wire wheels to clean off the flux core residue from the welds.
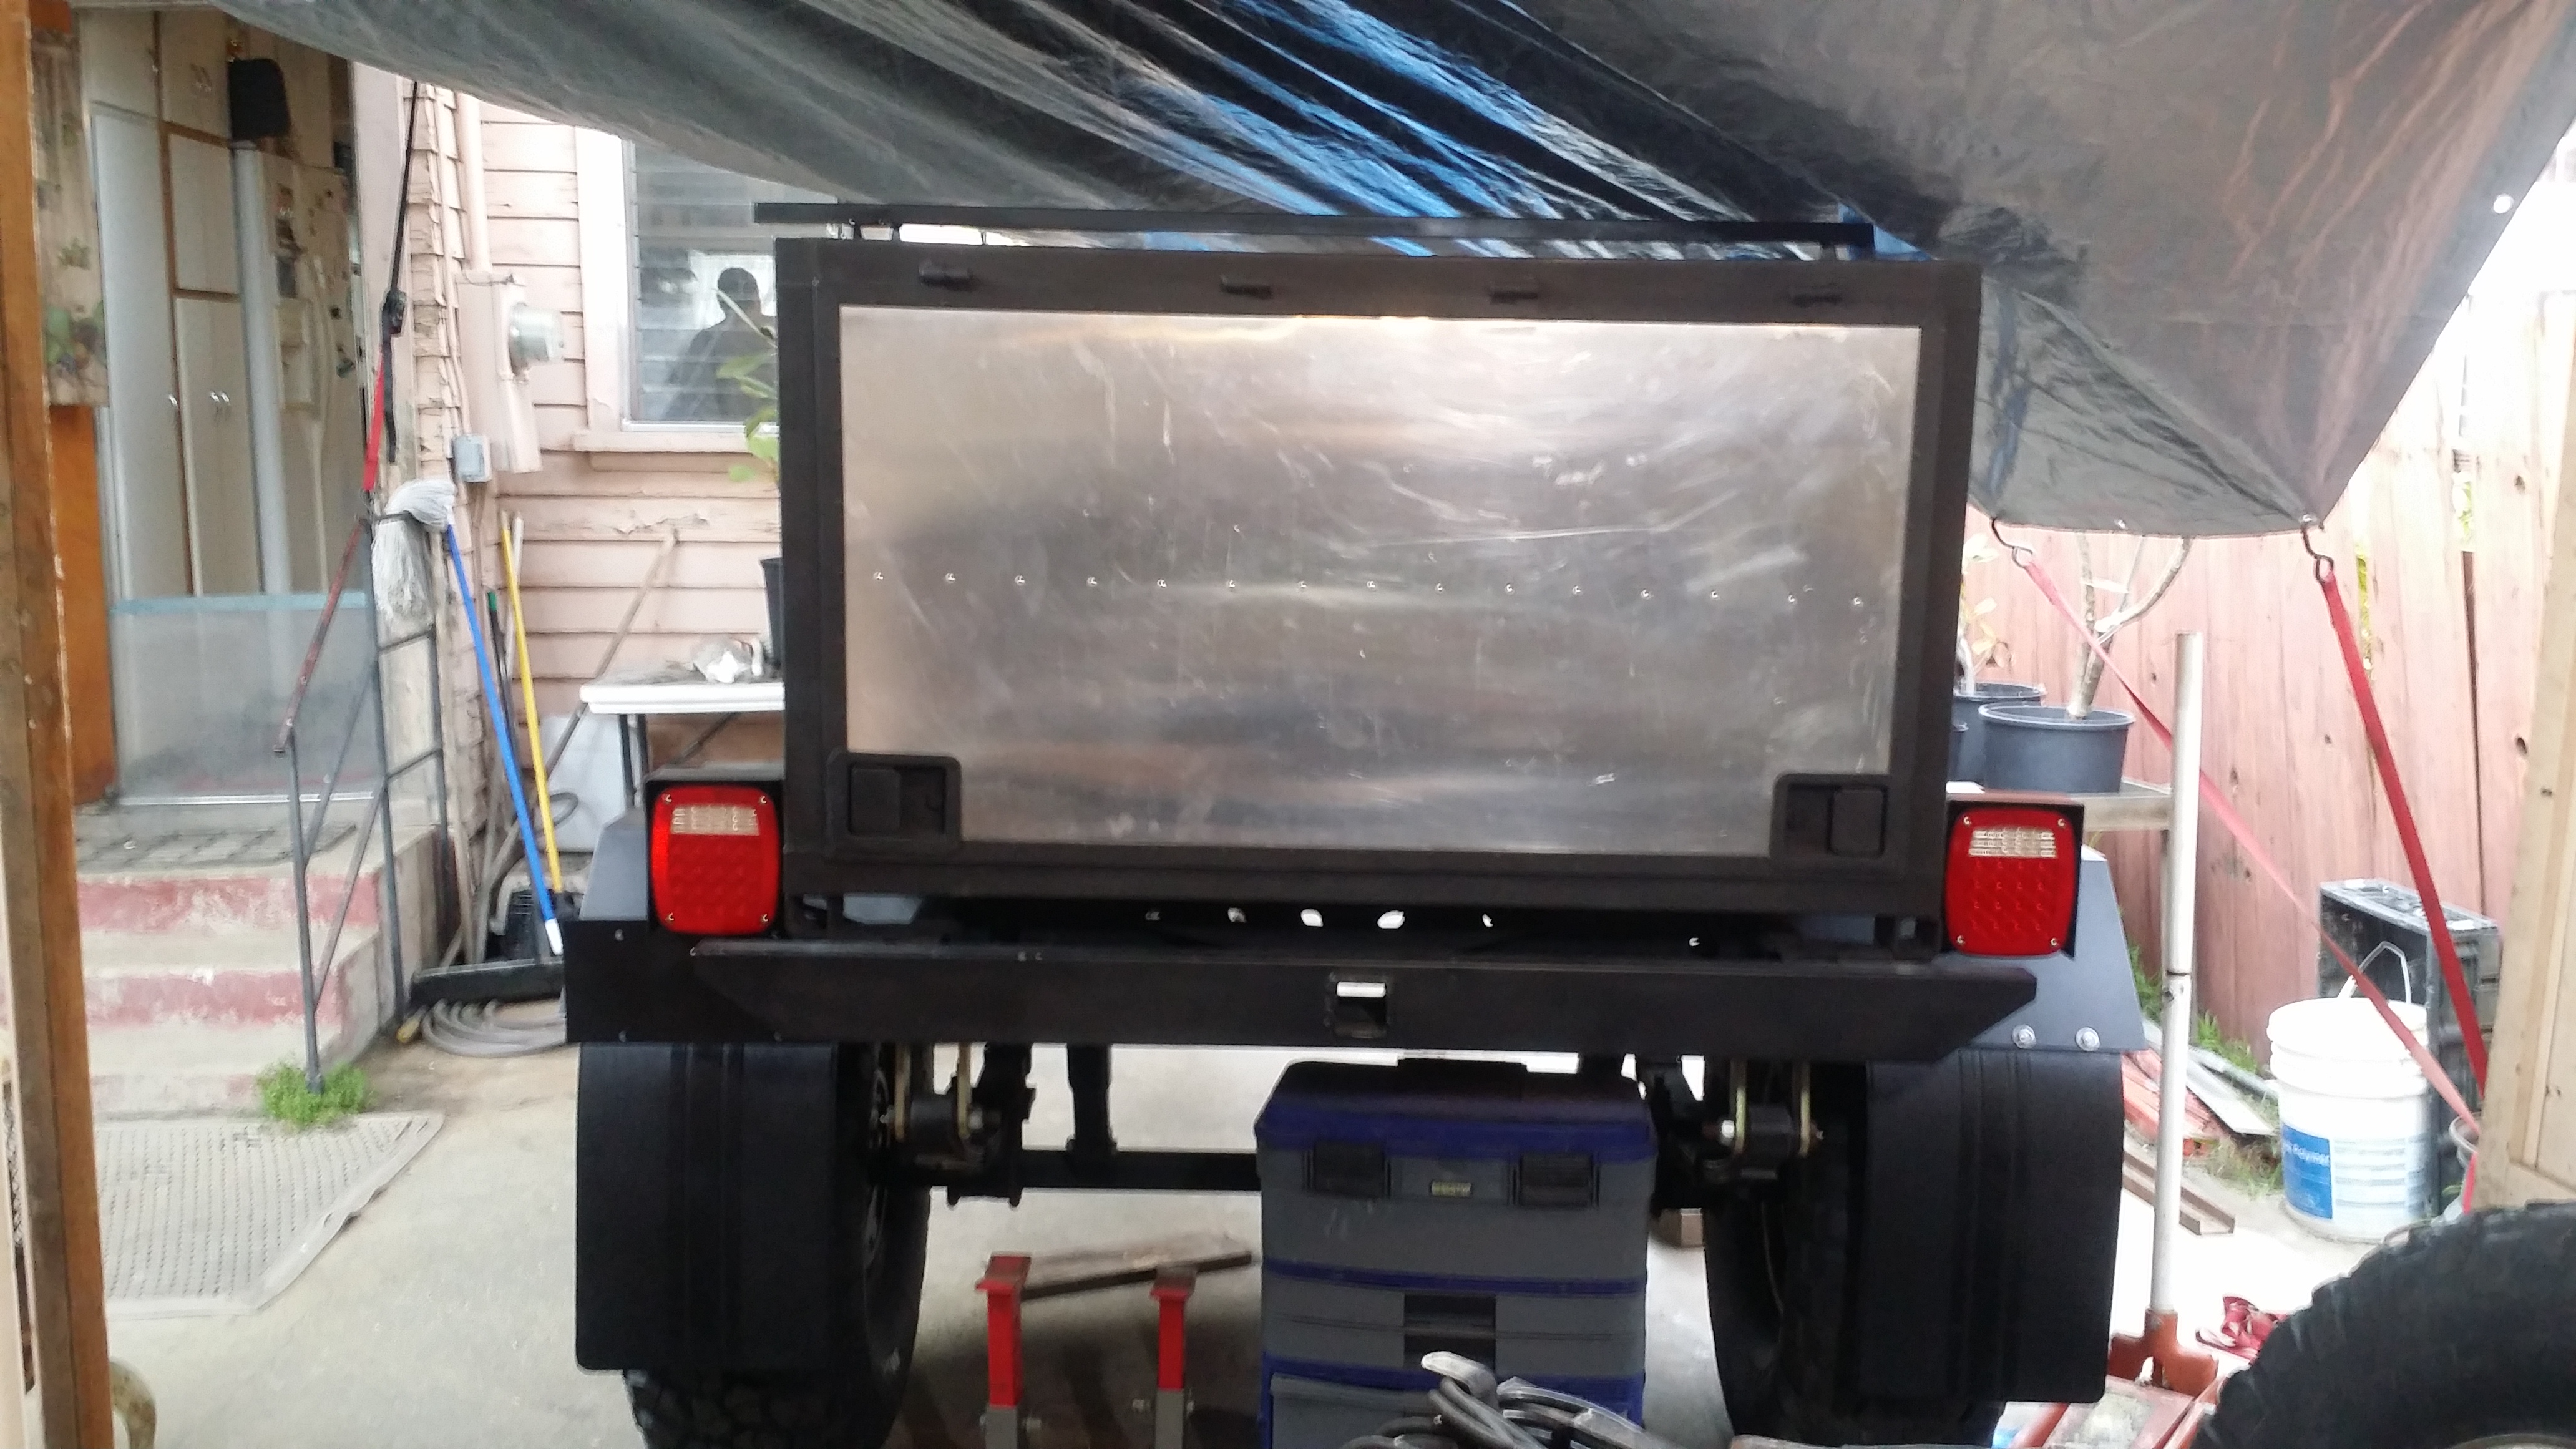
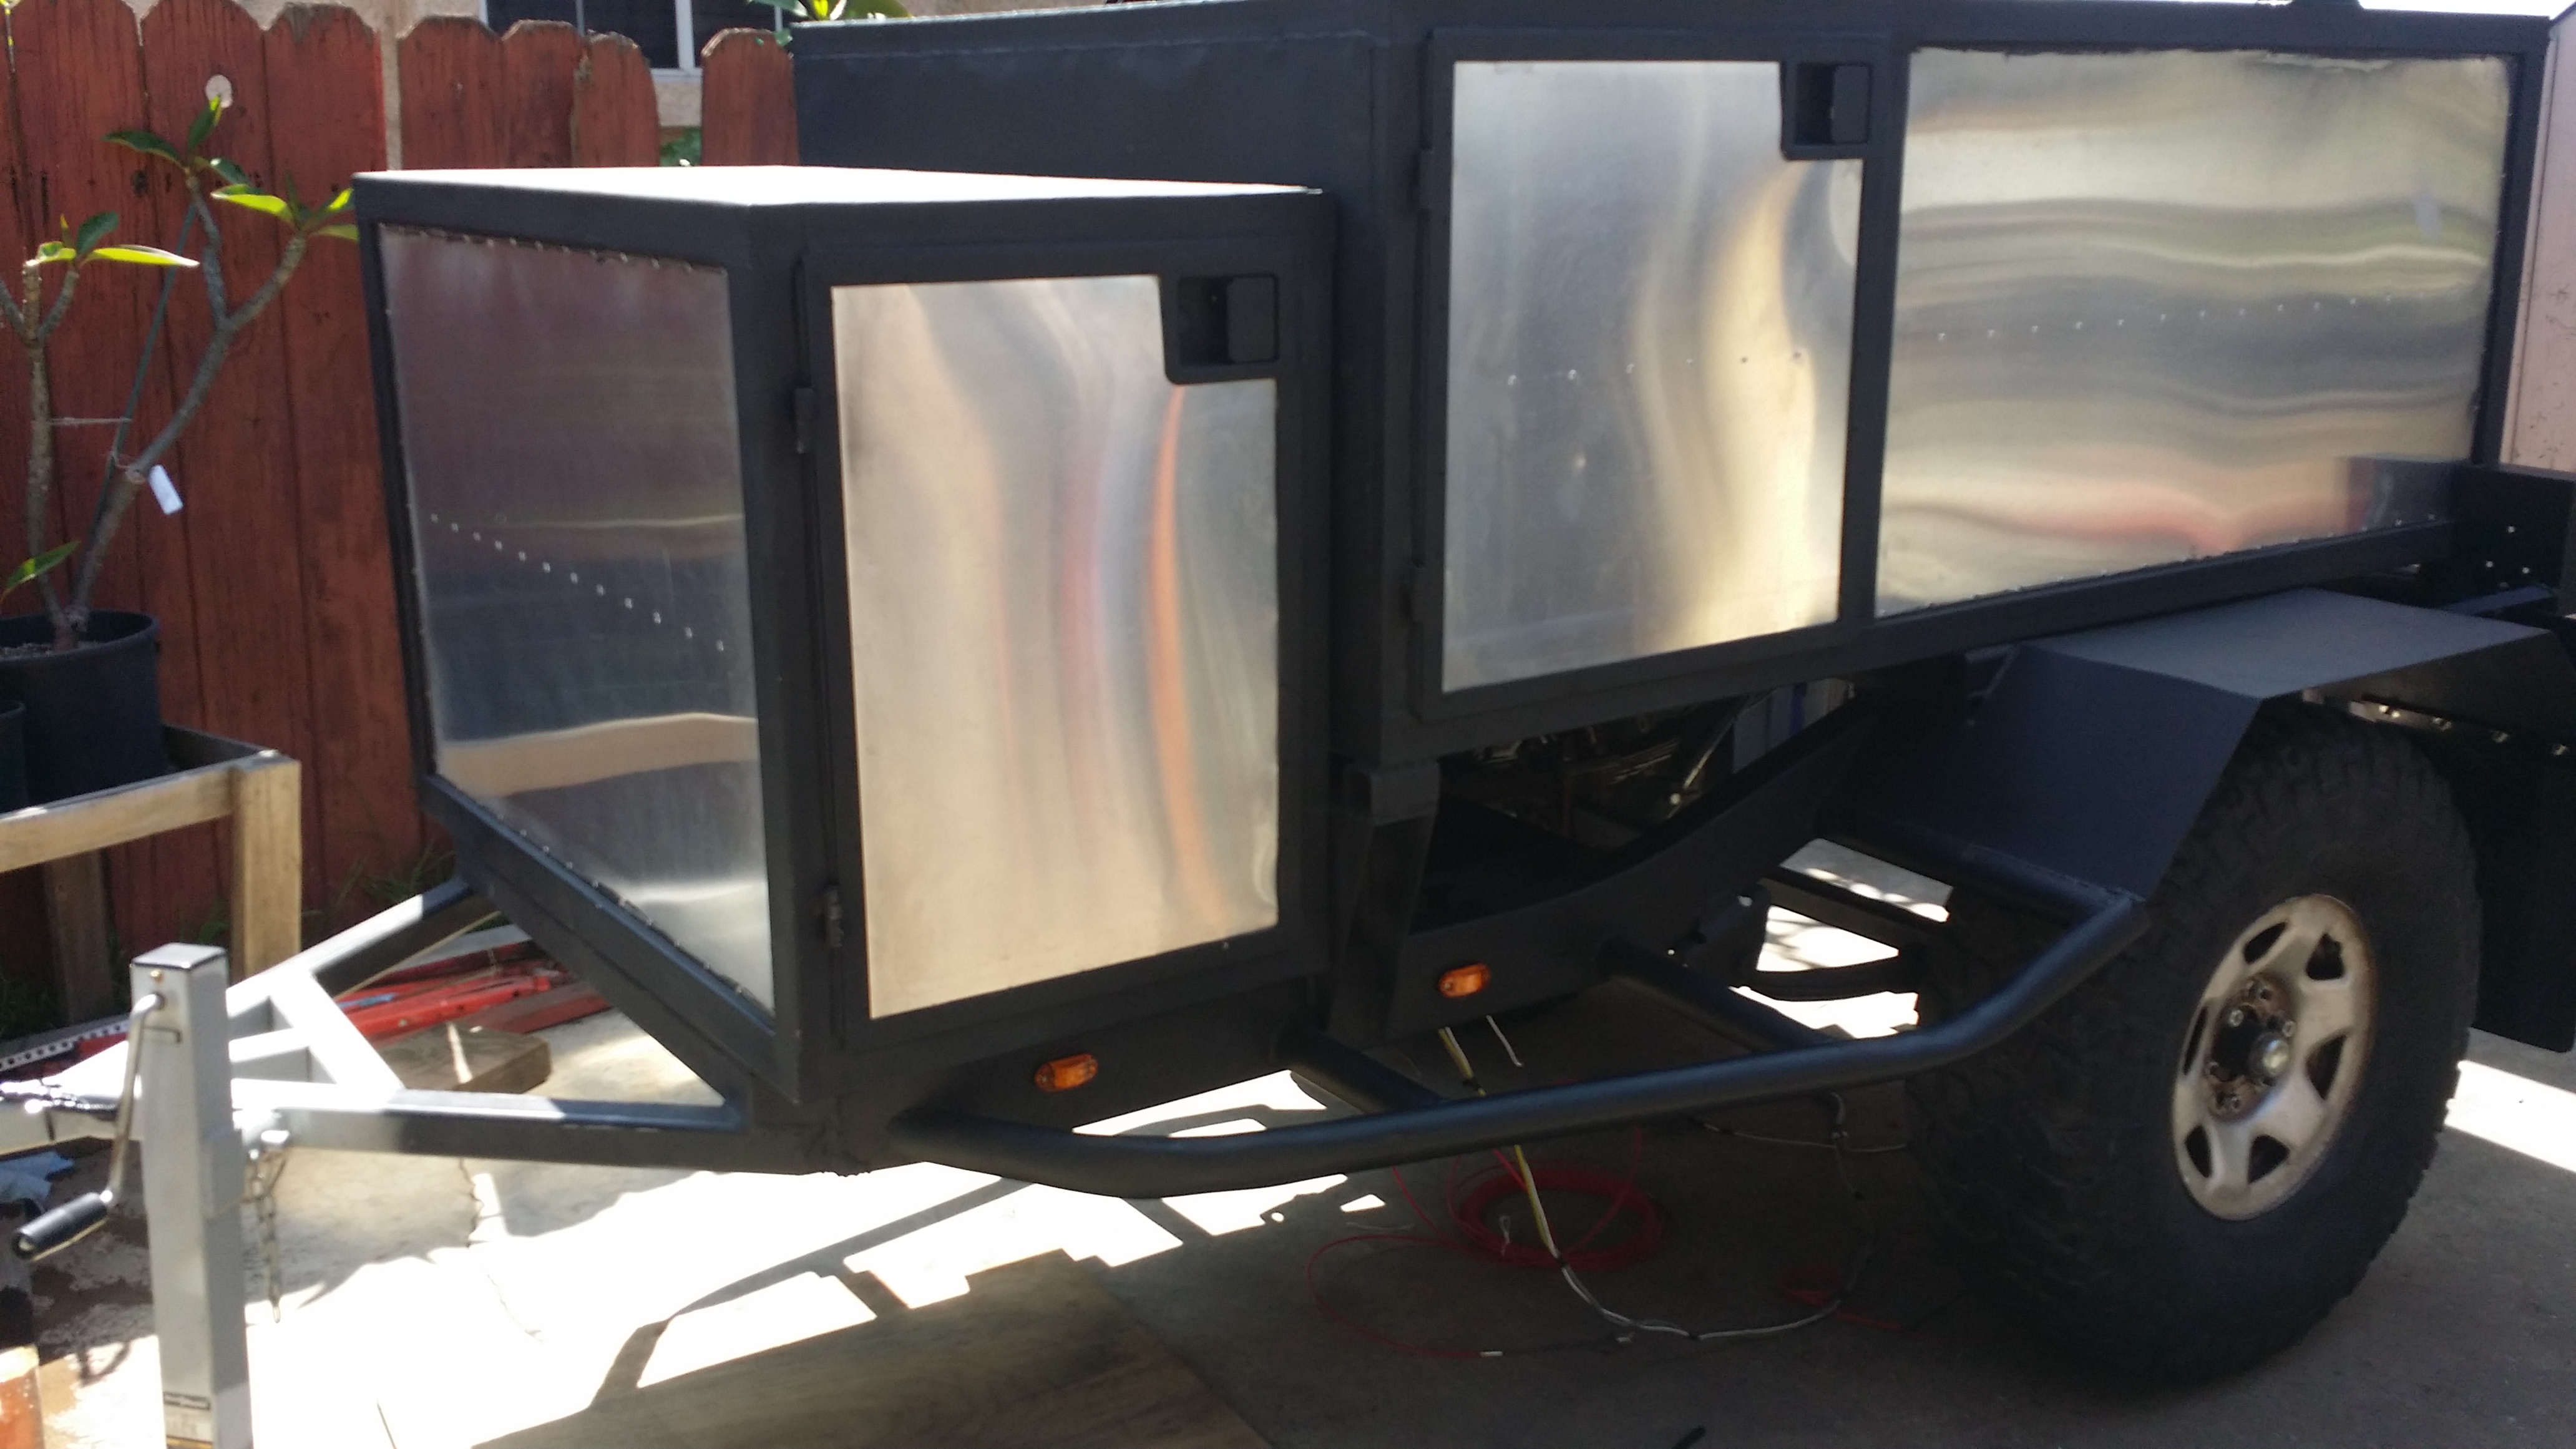
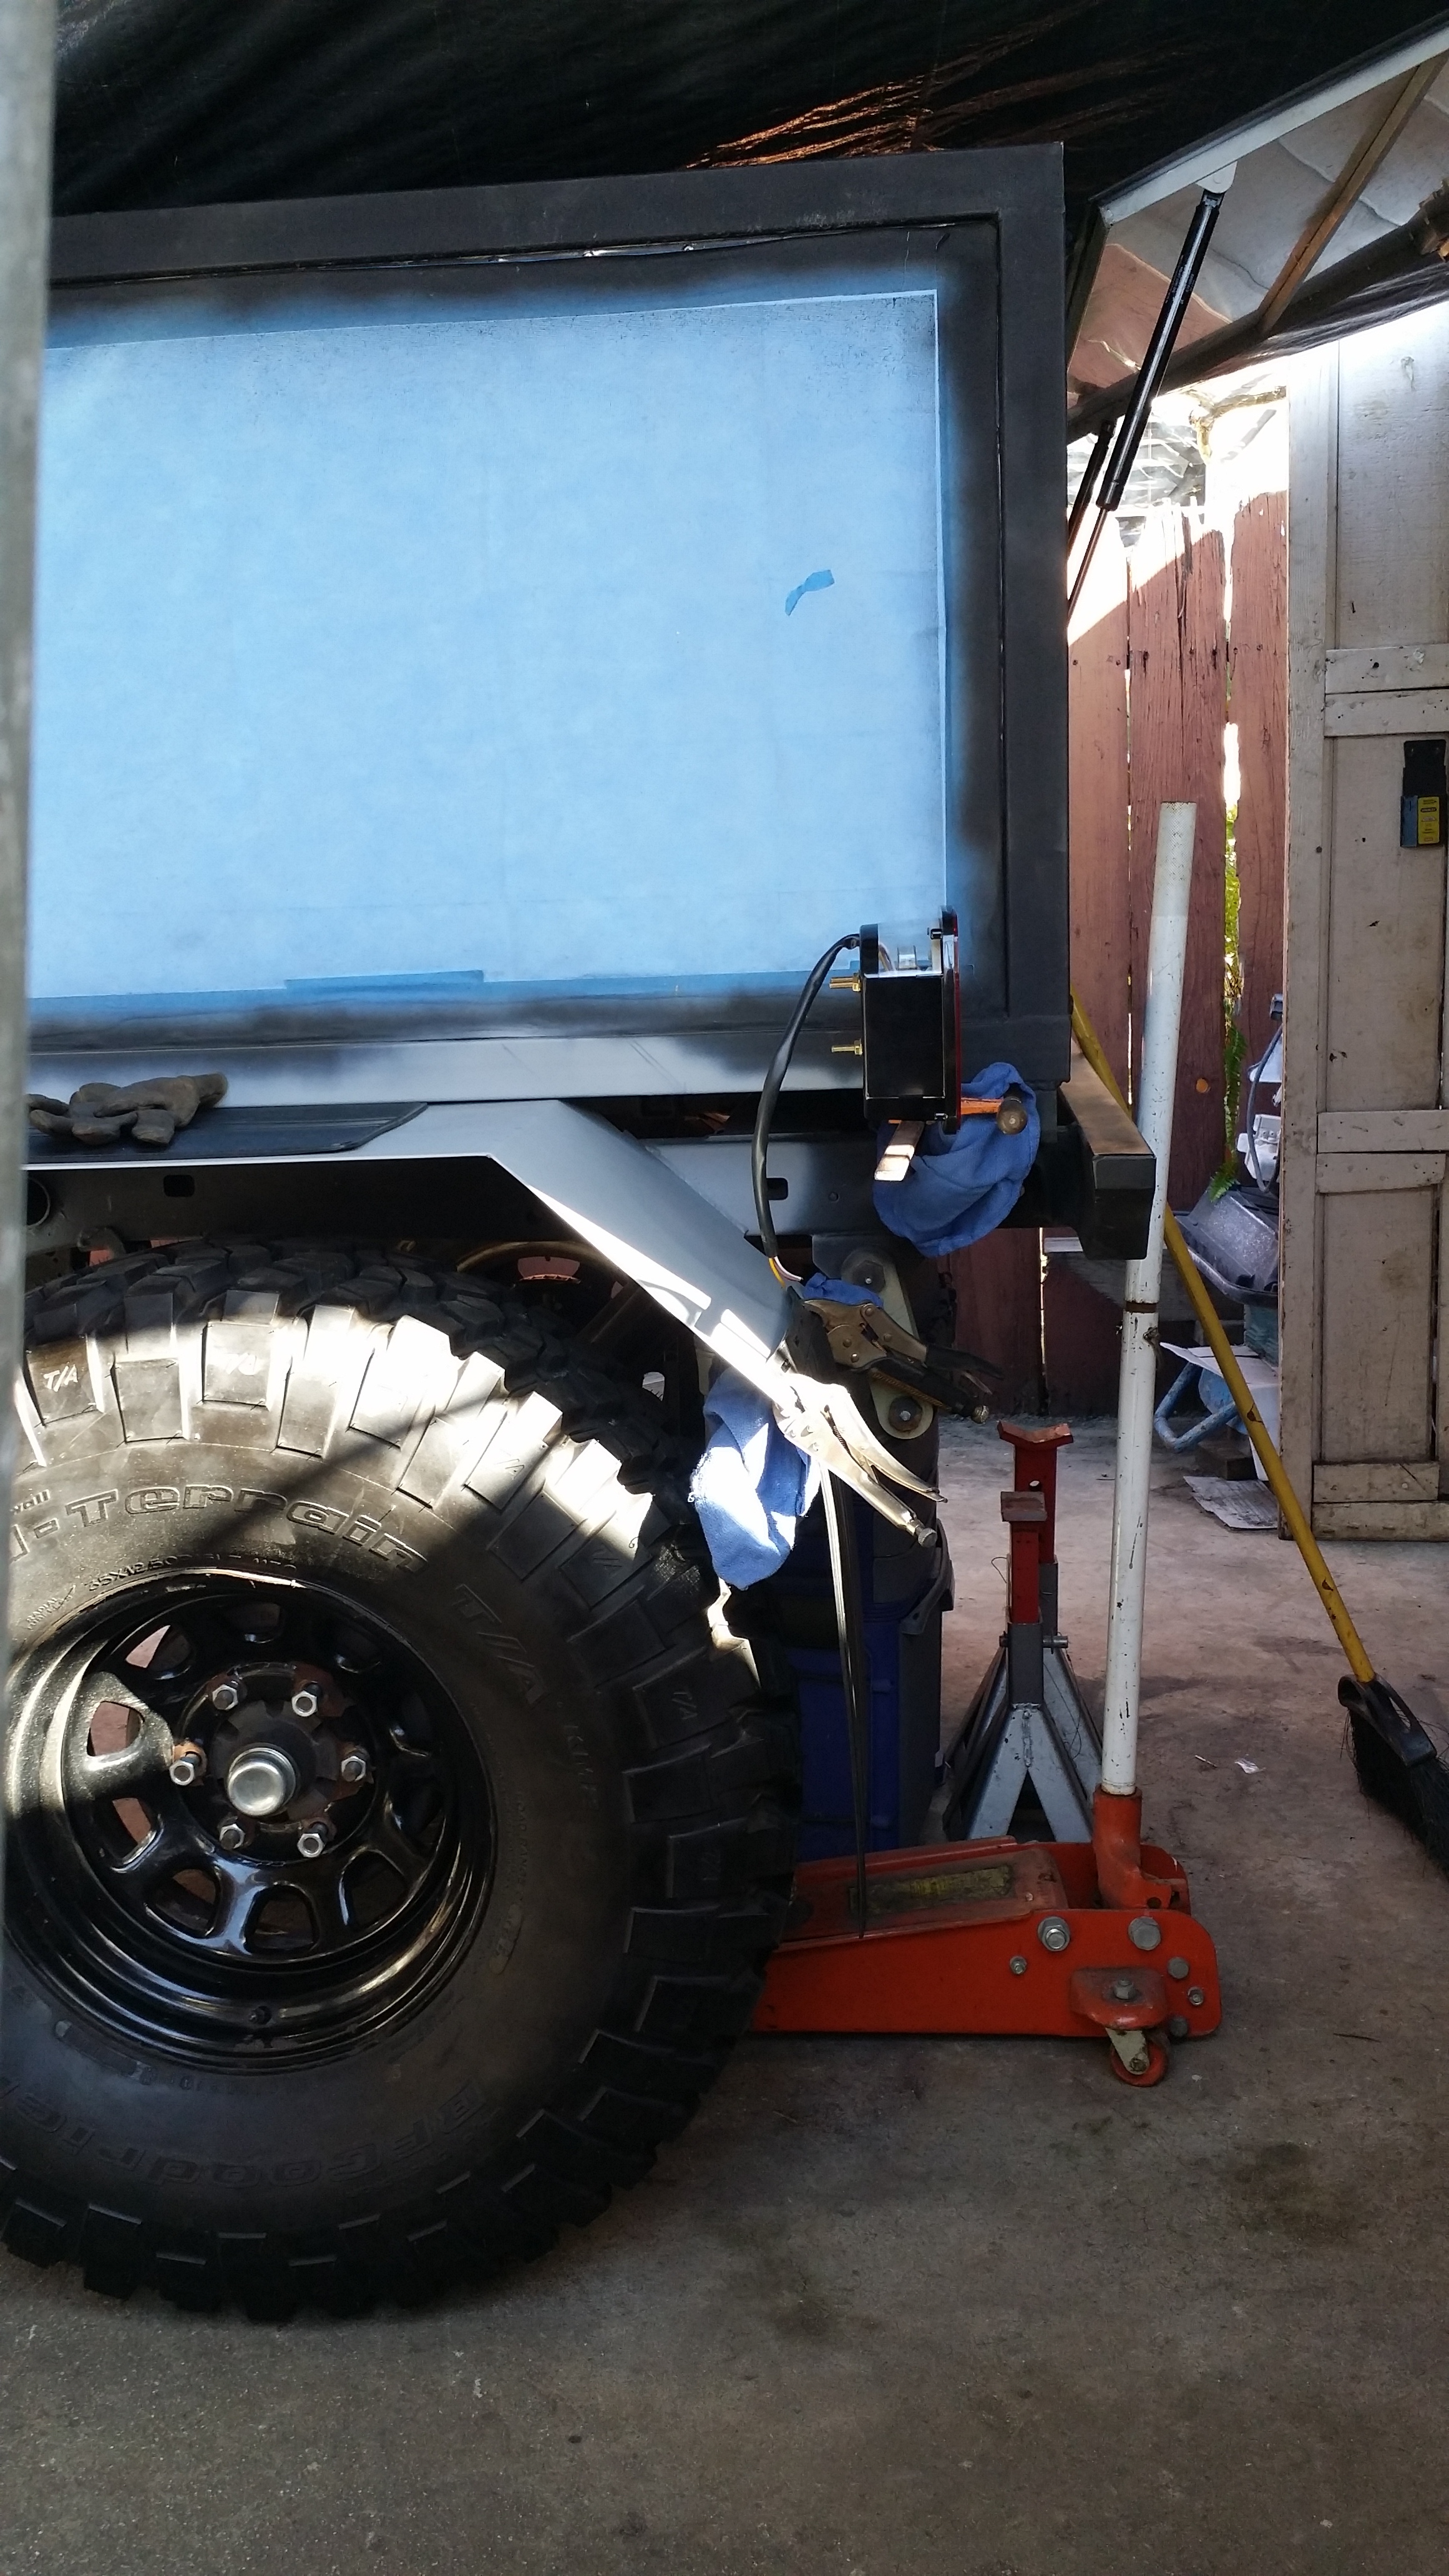
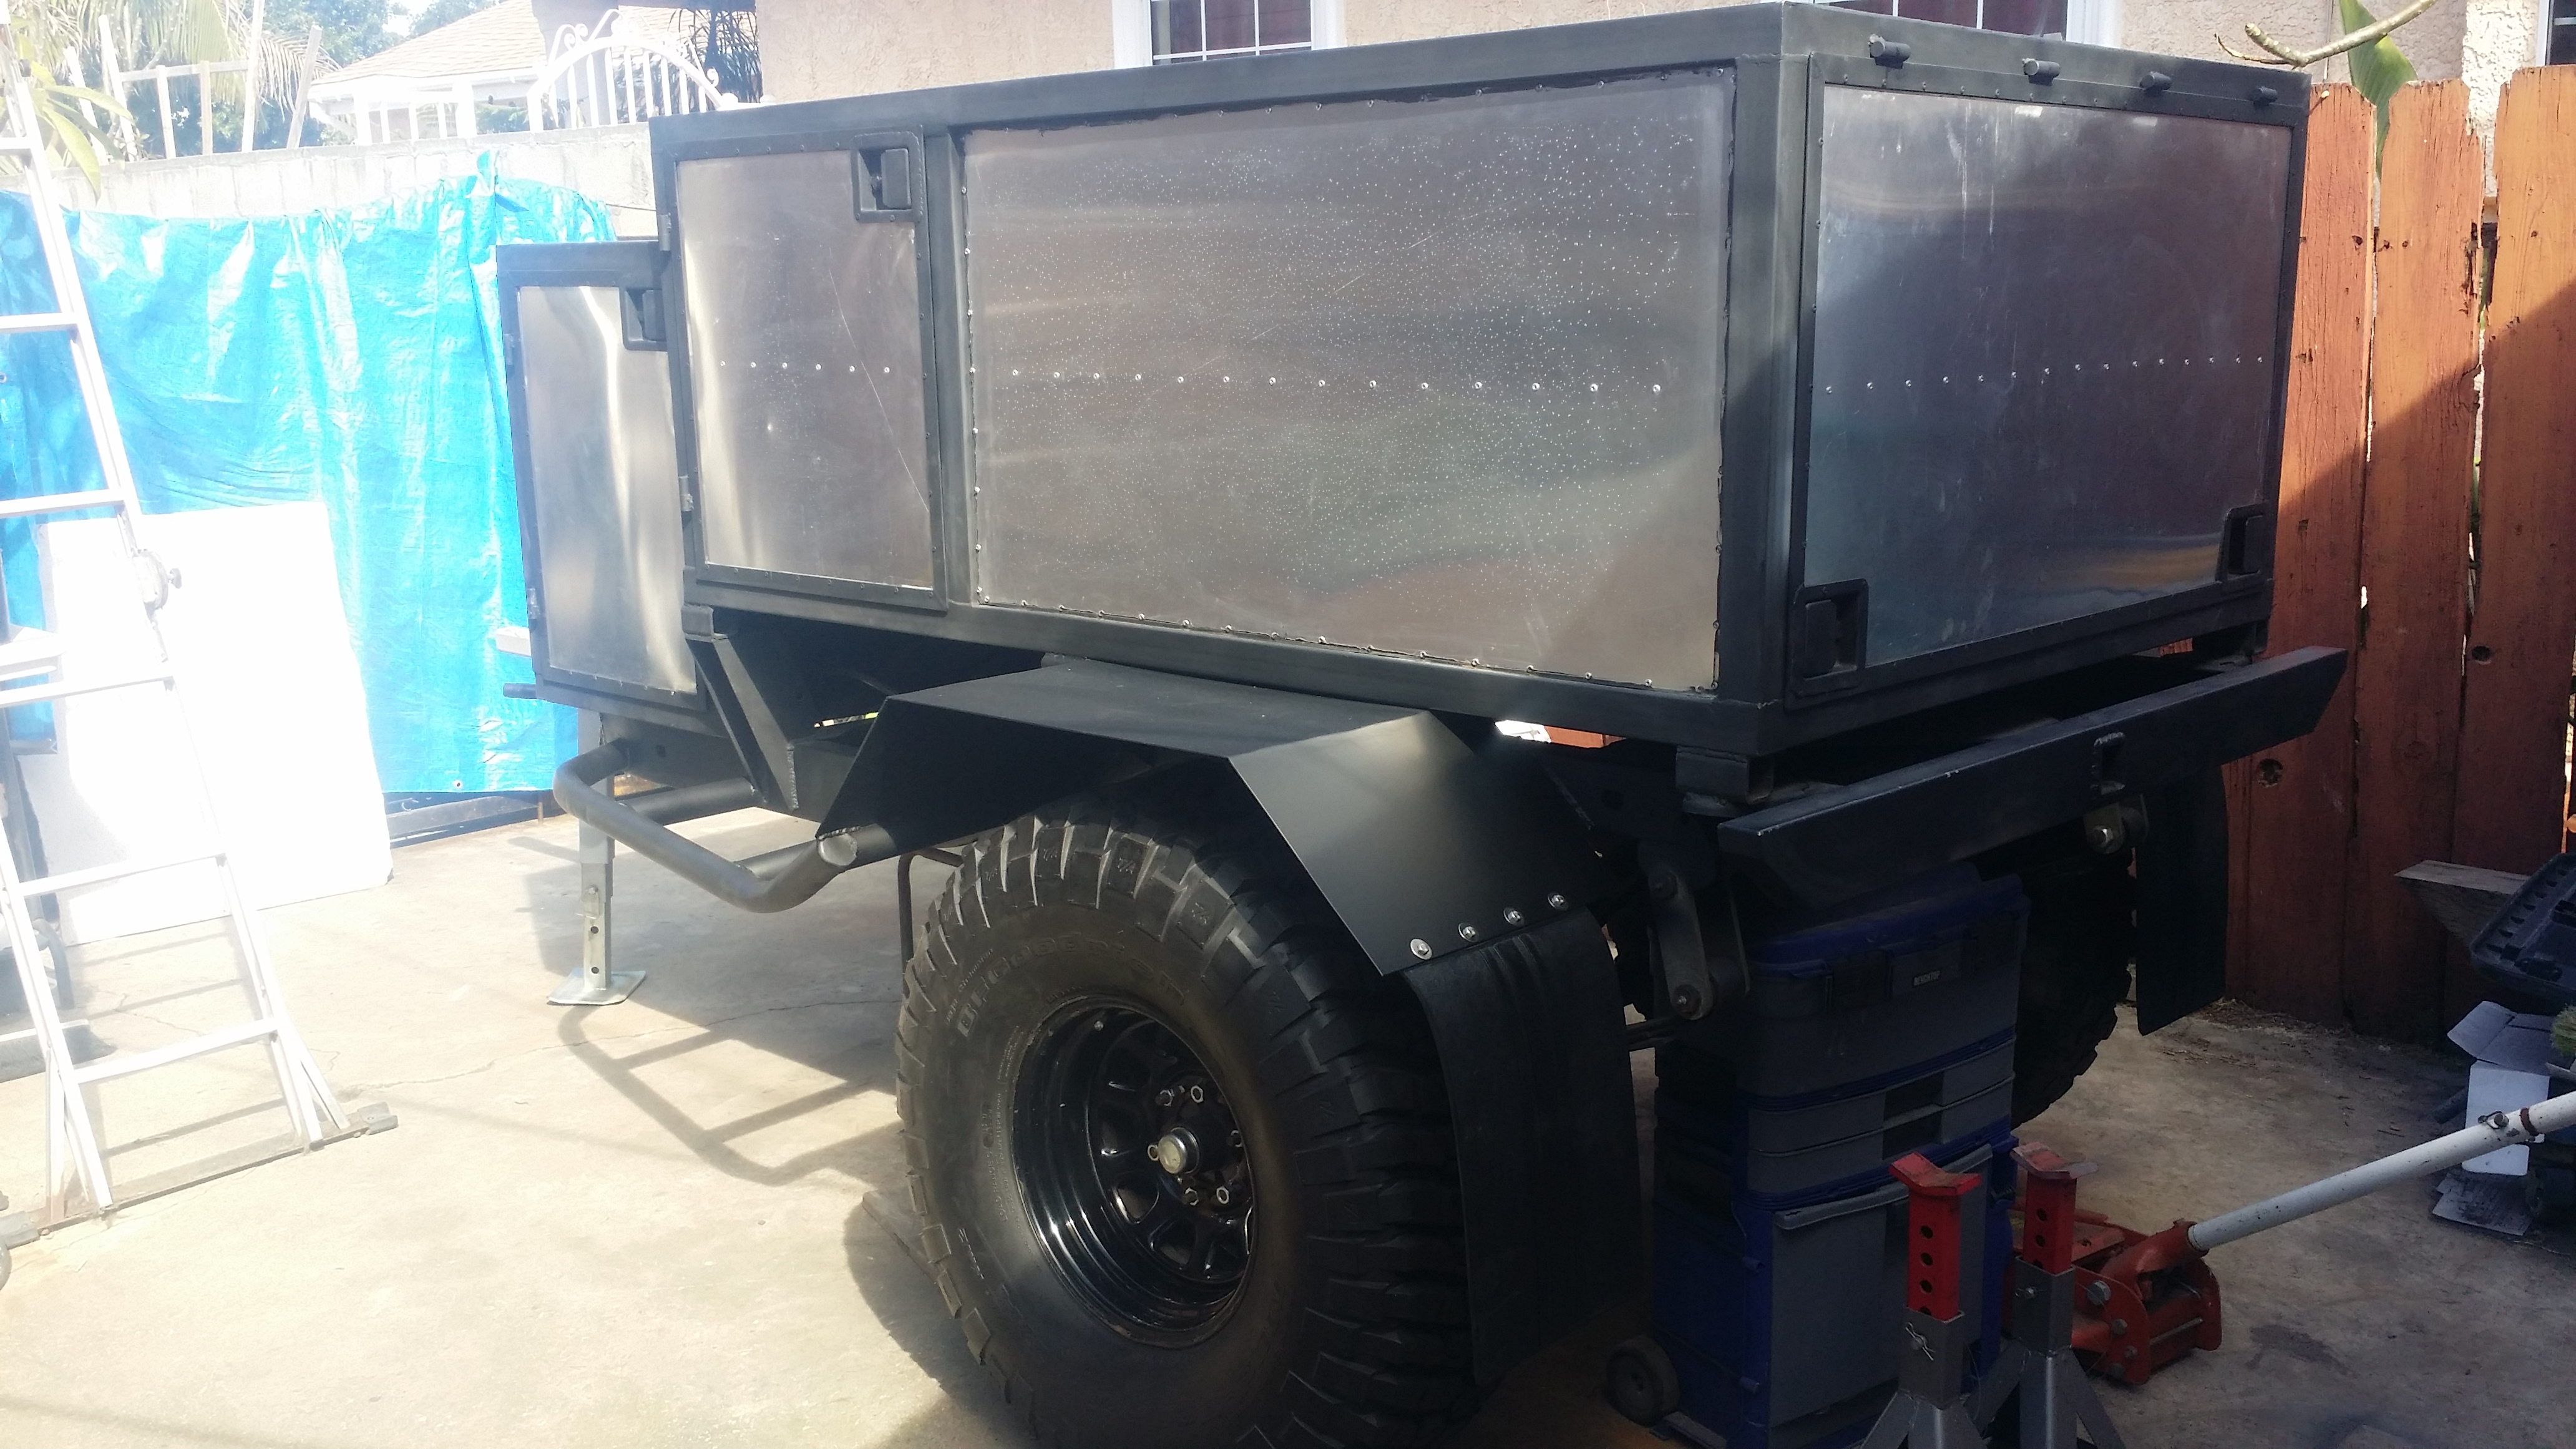
Love the way they came out. After the passenger fender is finished I'm going to get around to doing the mud flap mounts followed by license plate holder and tail light mounts.
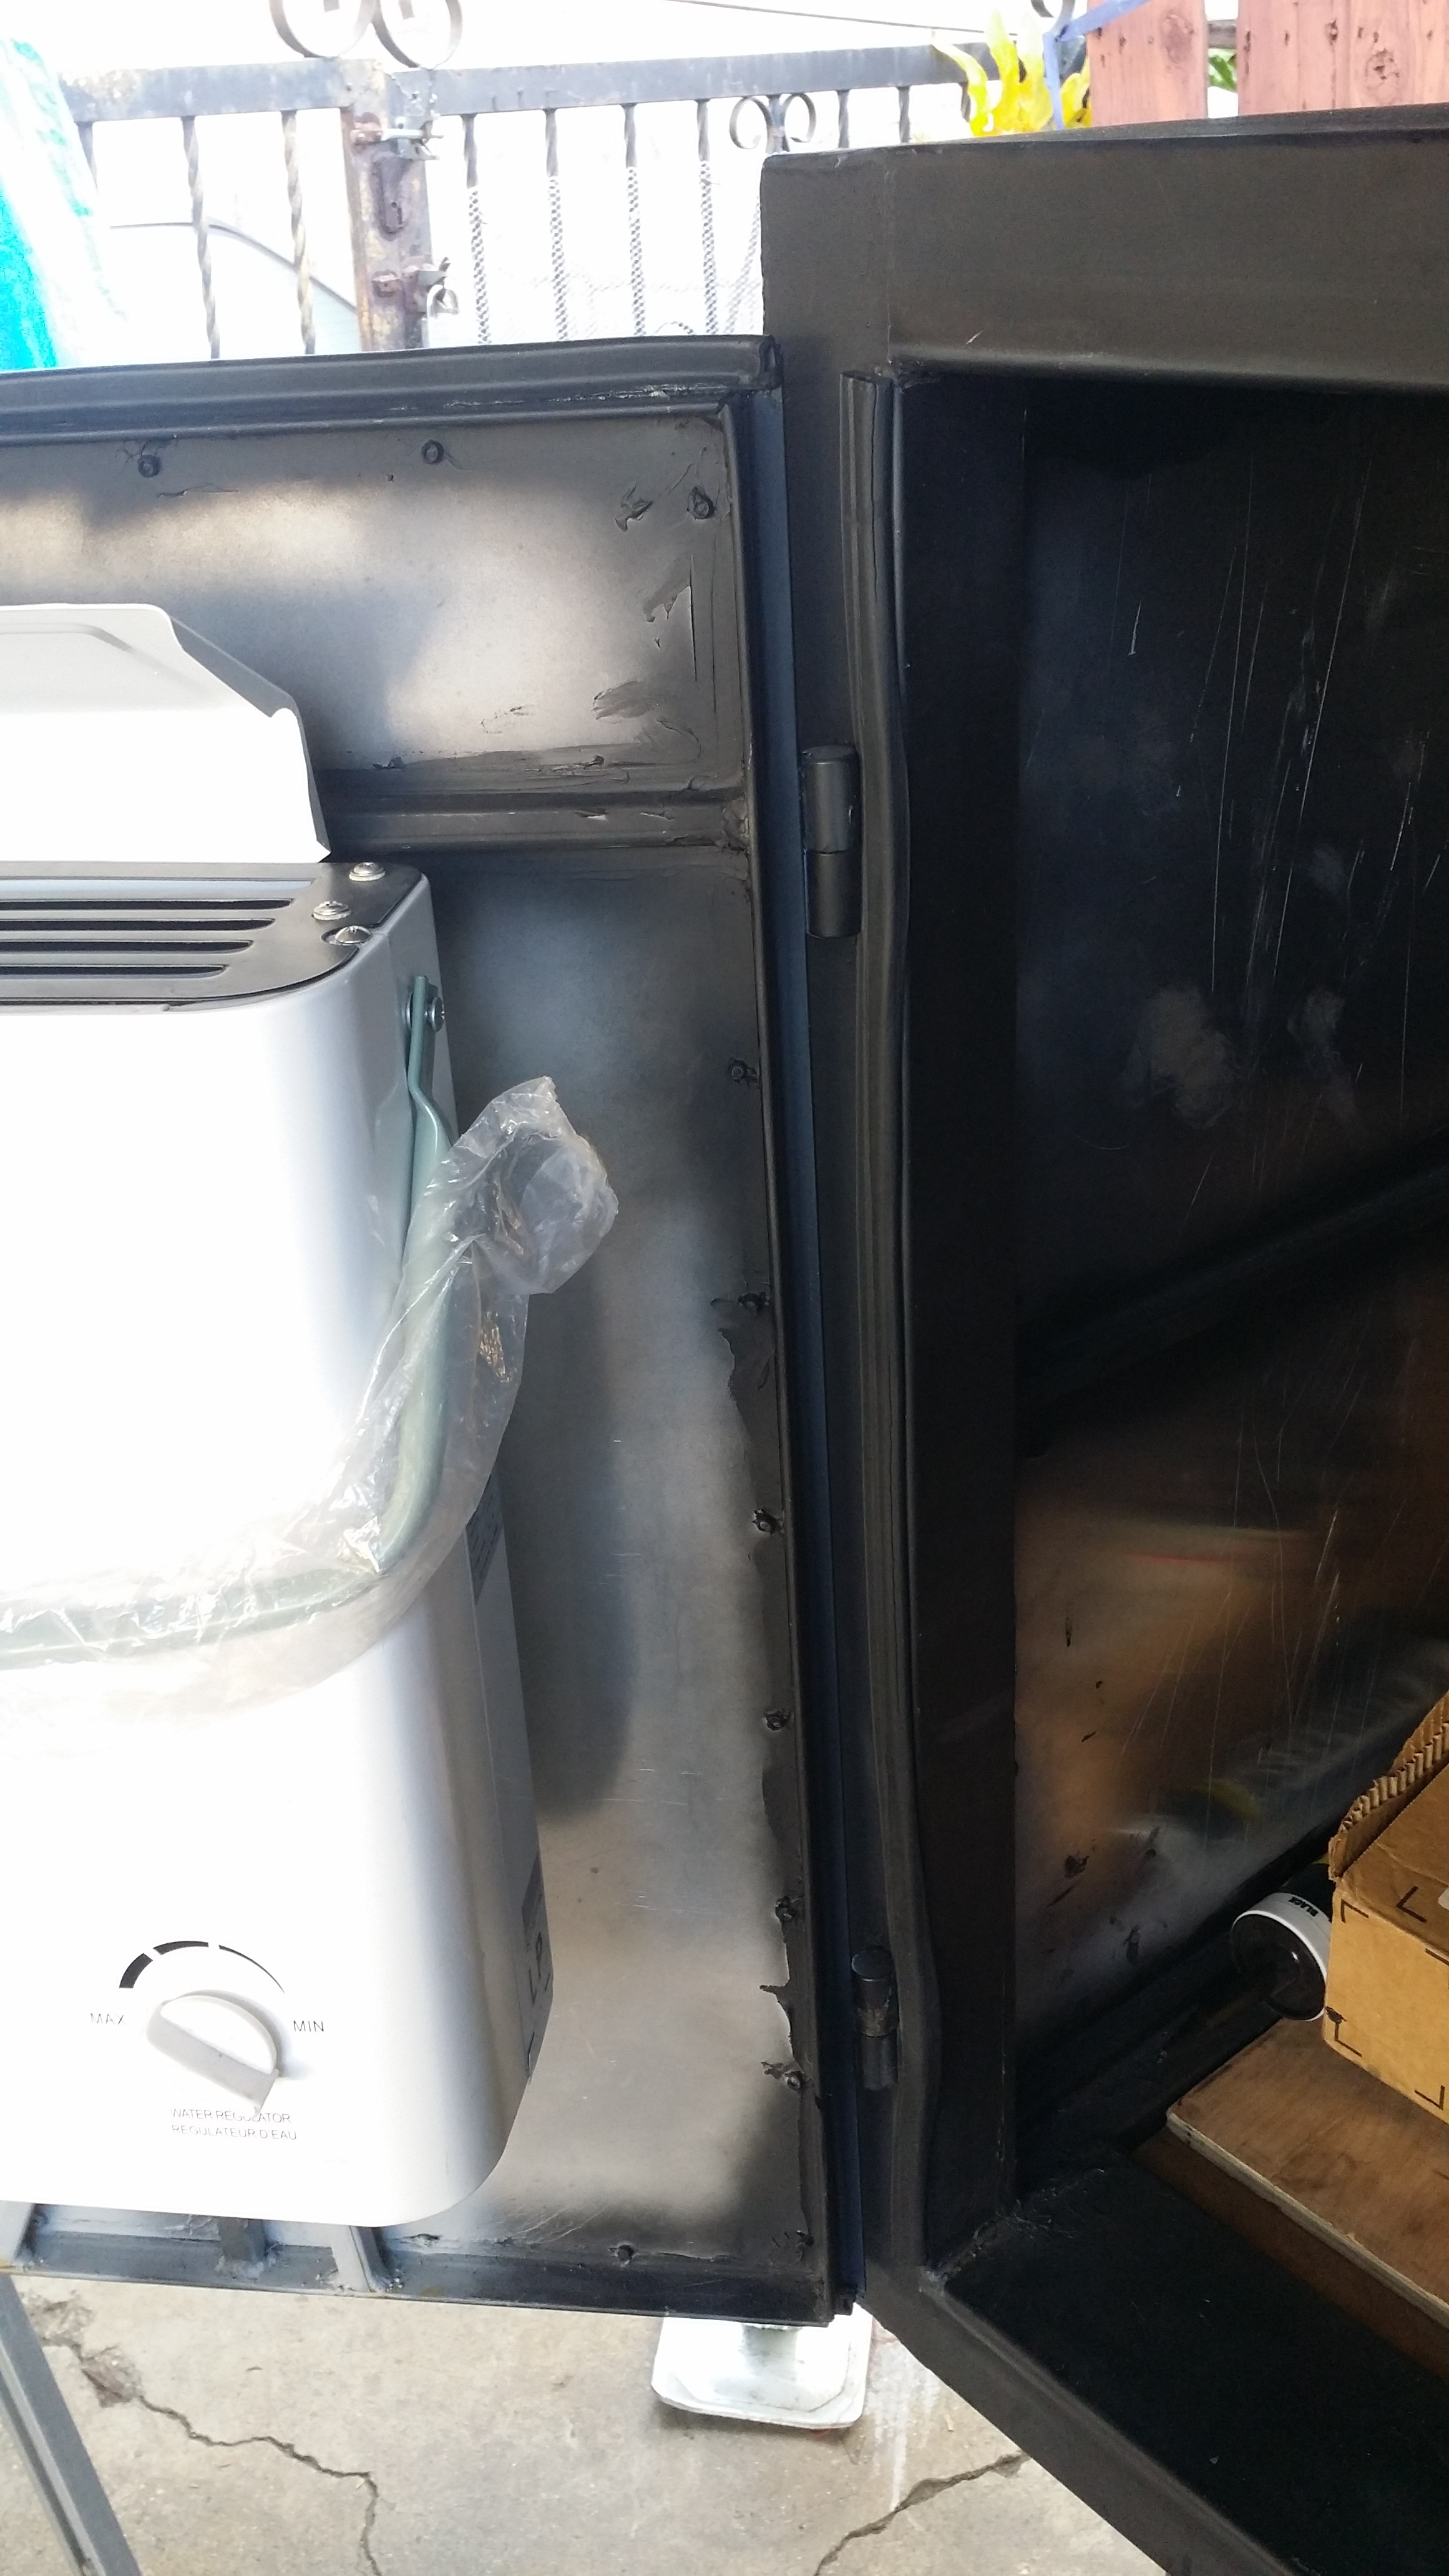
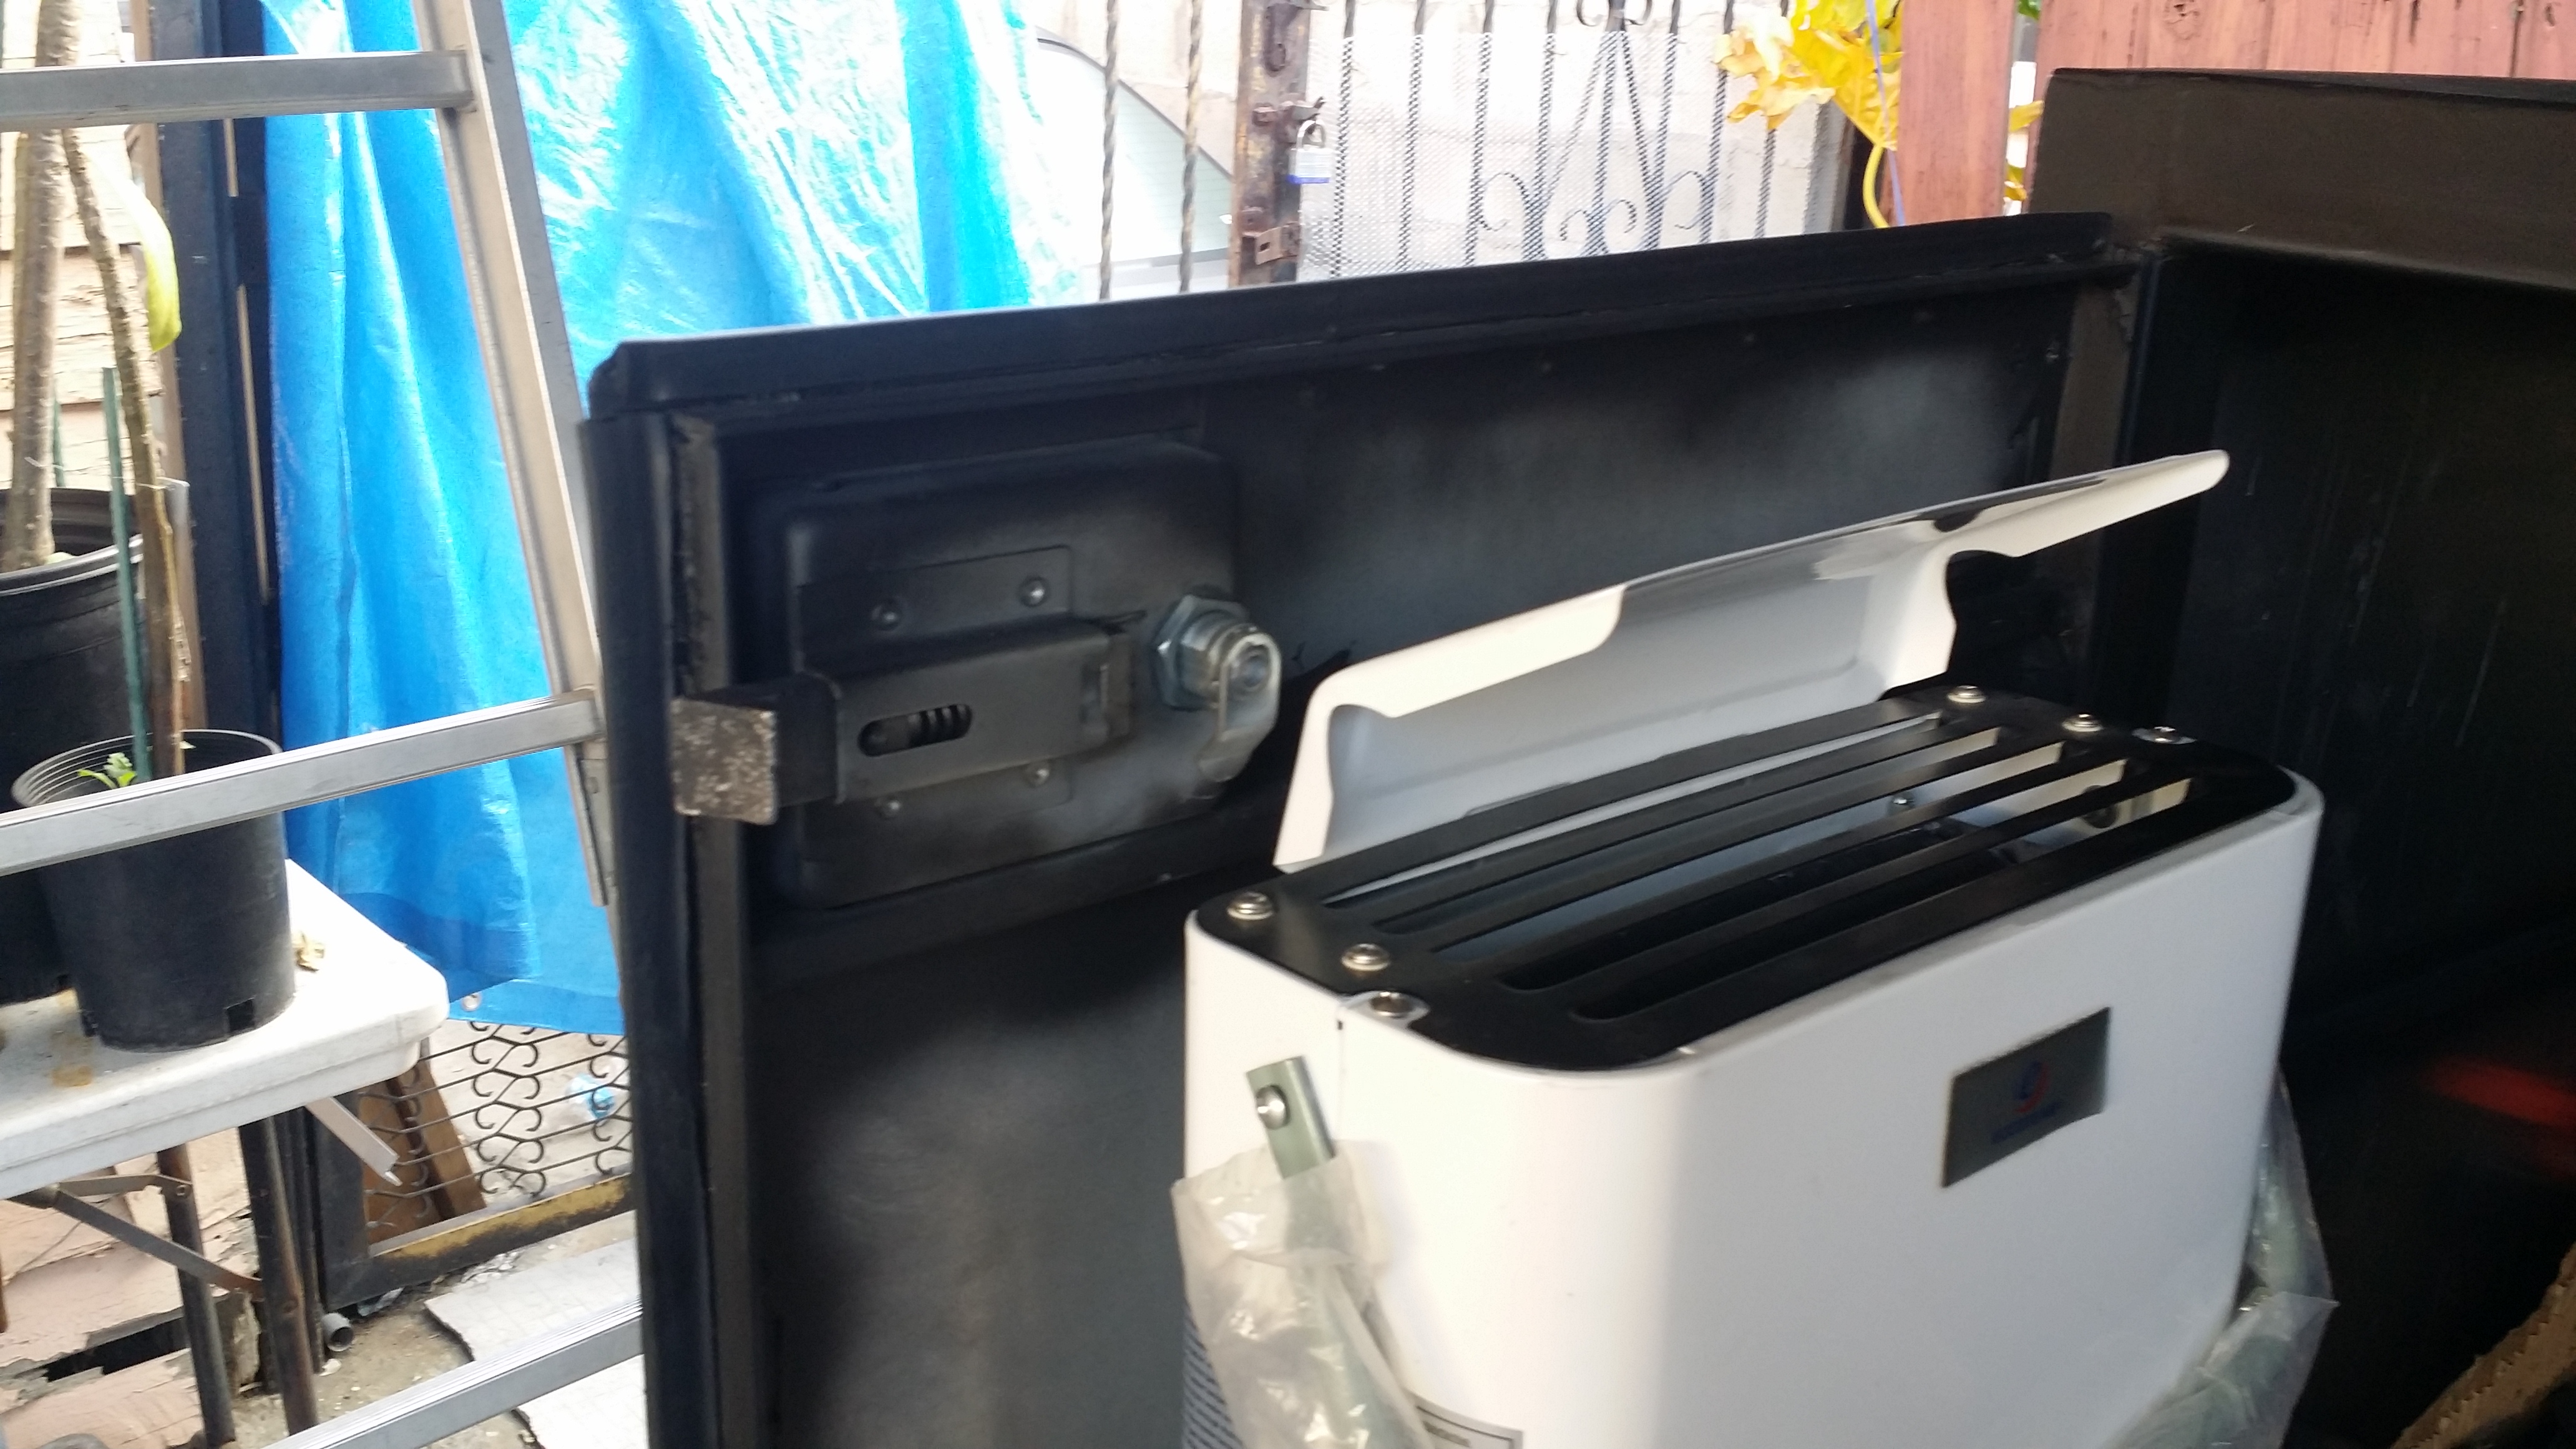
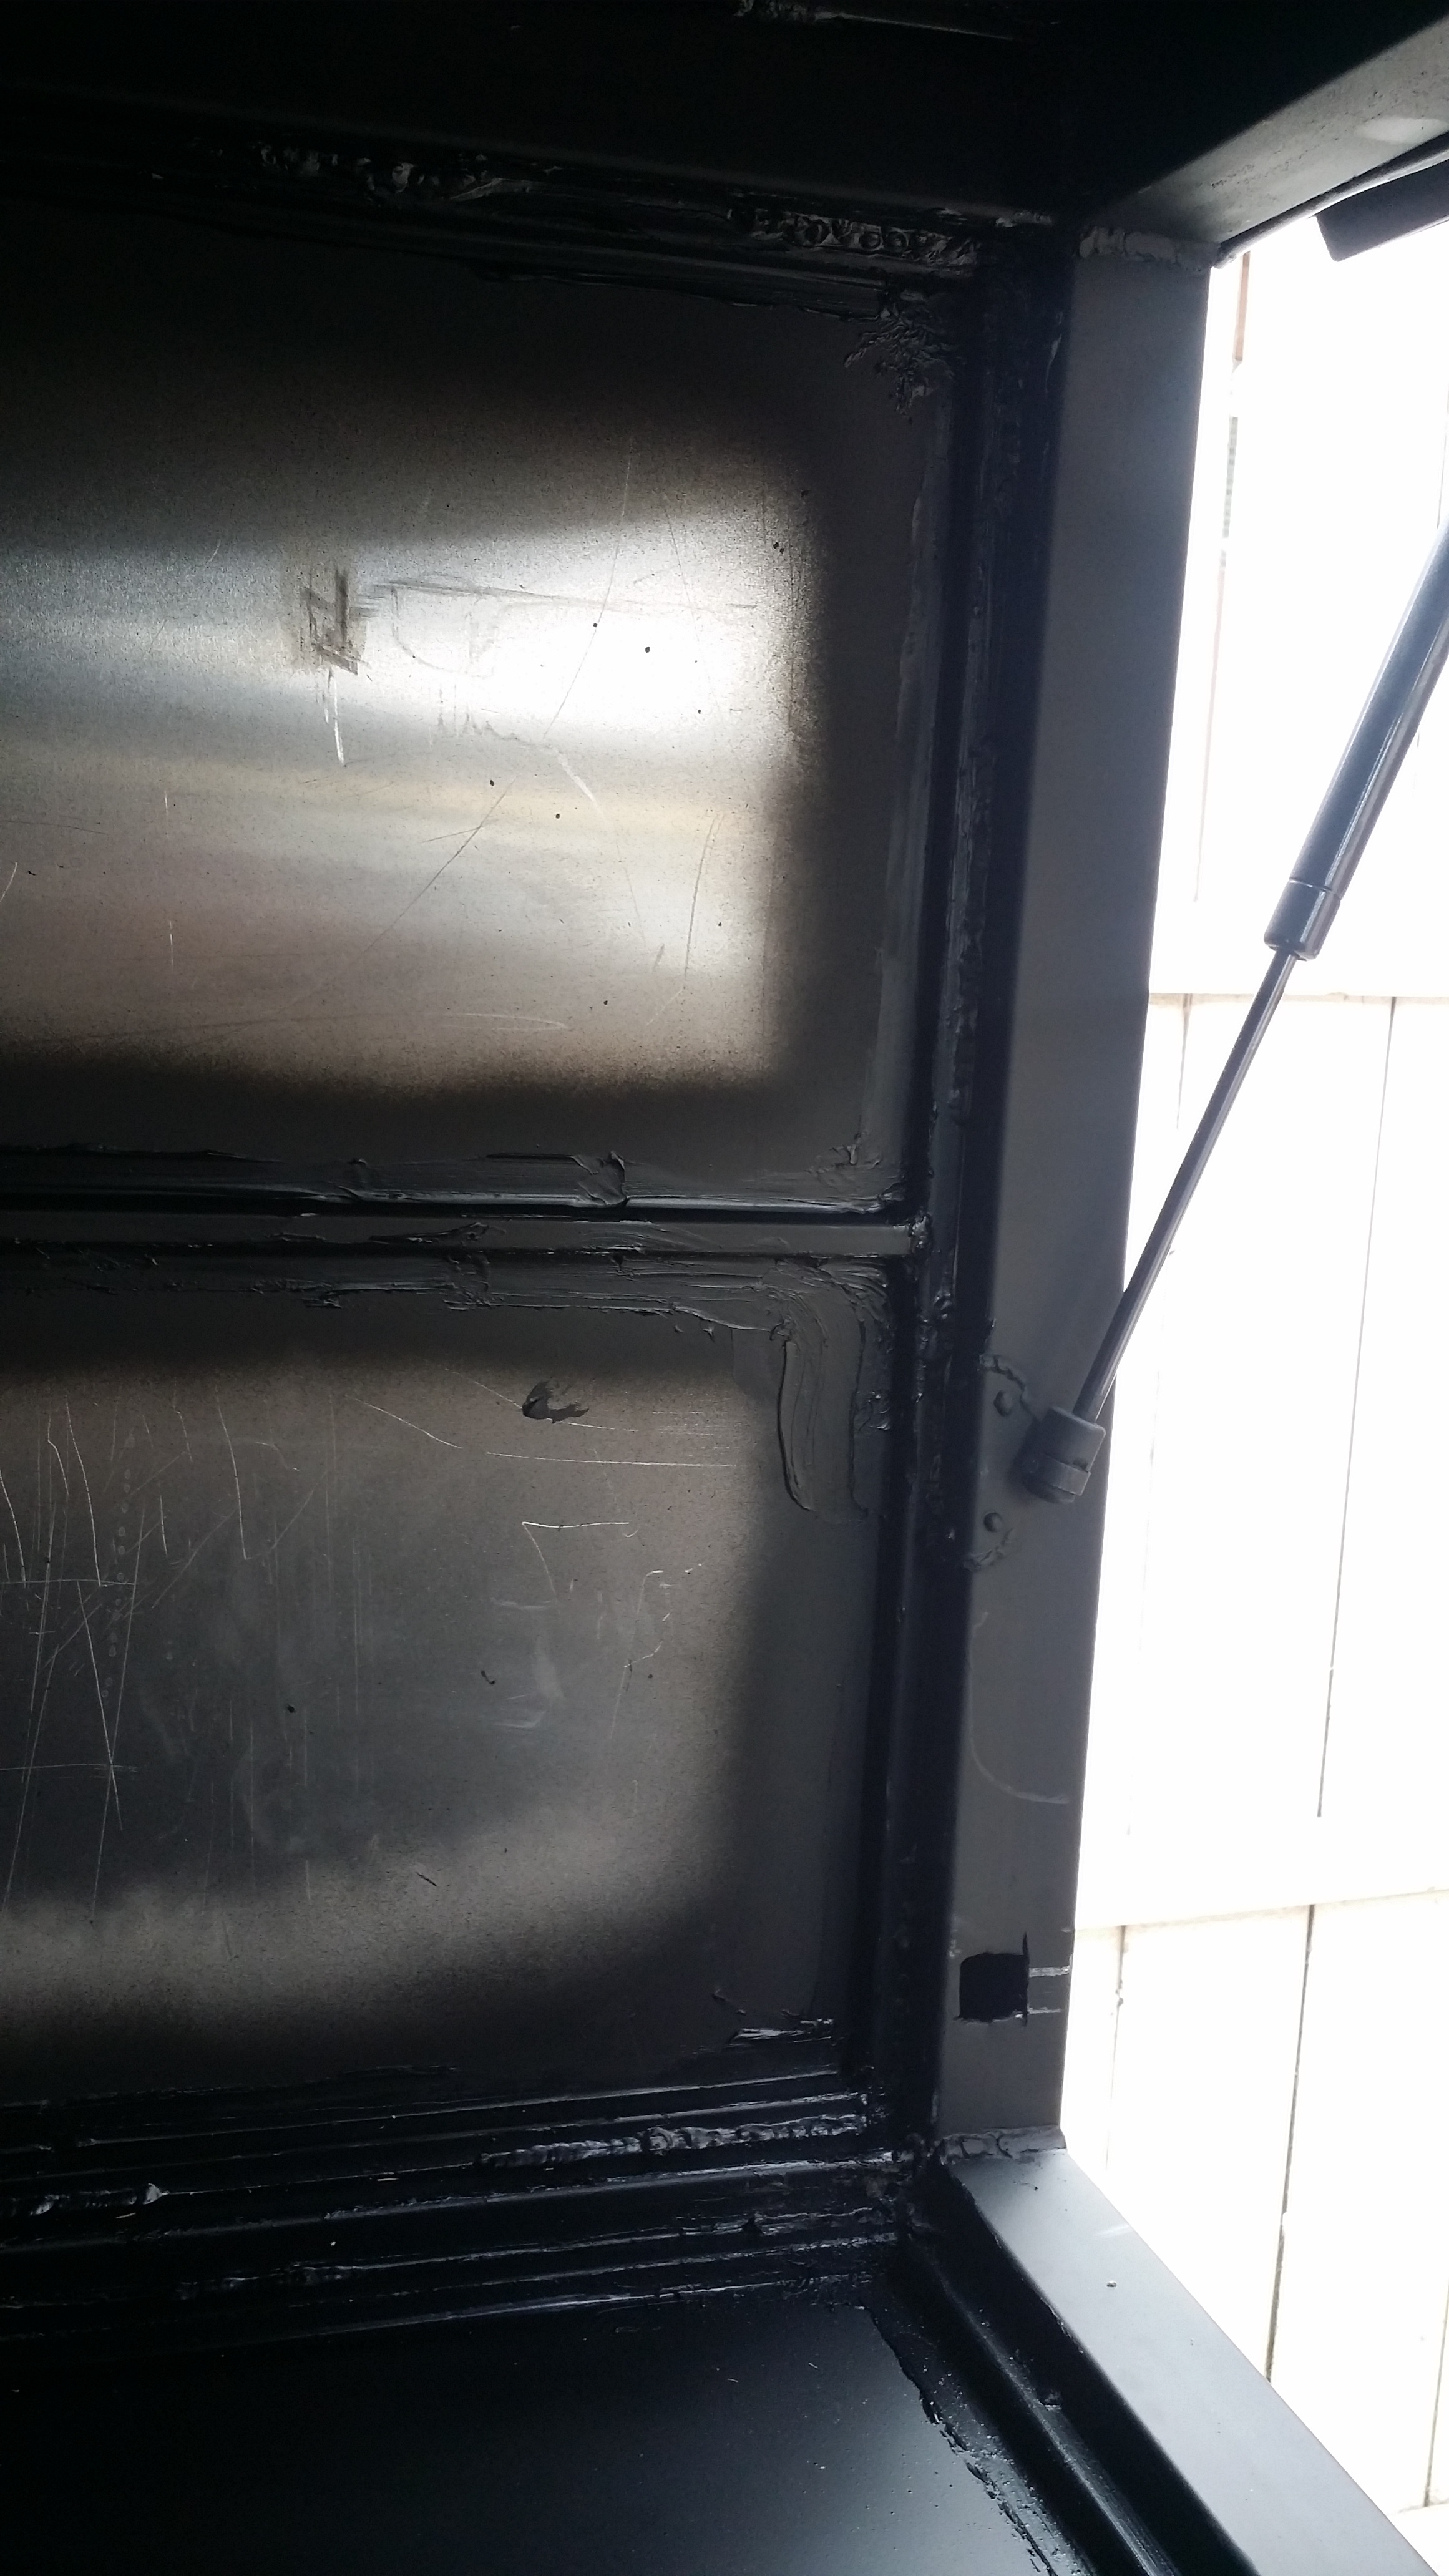
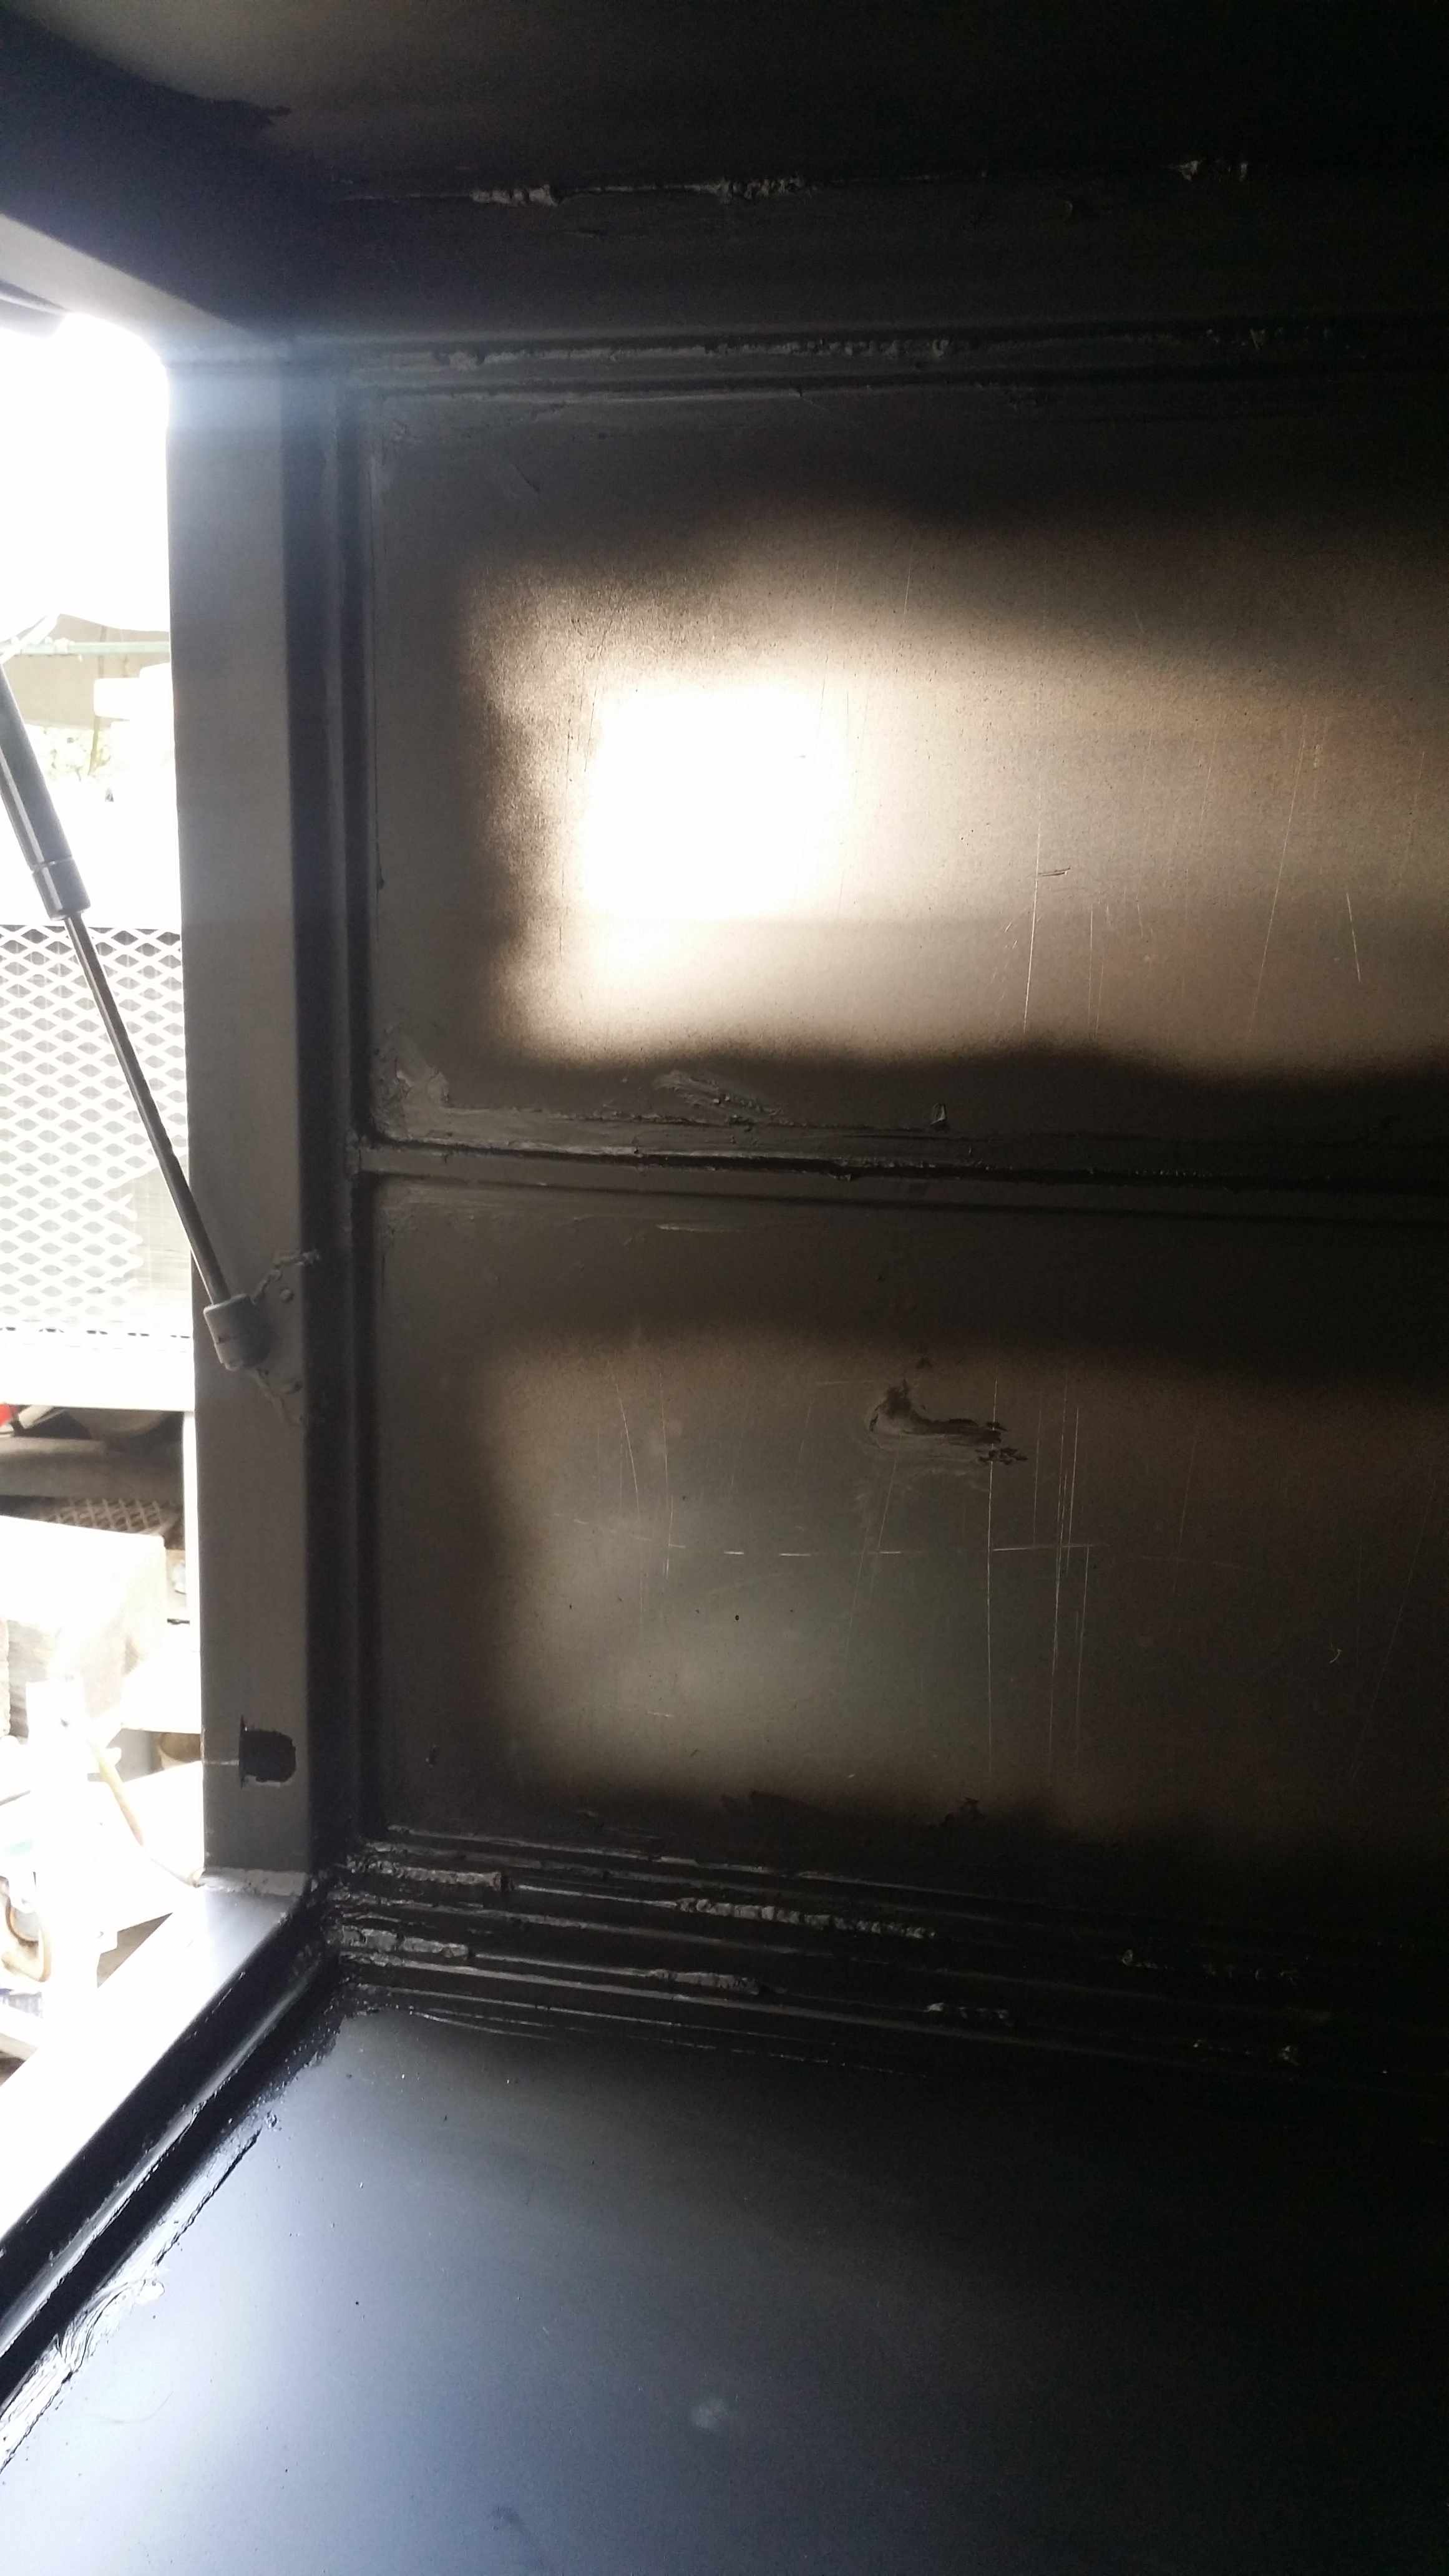
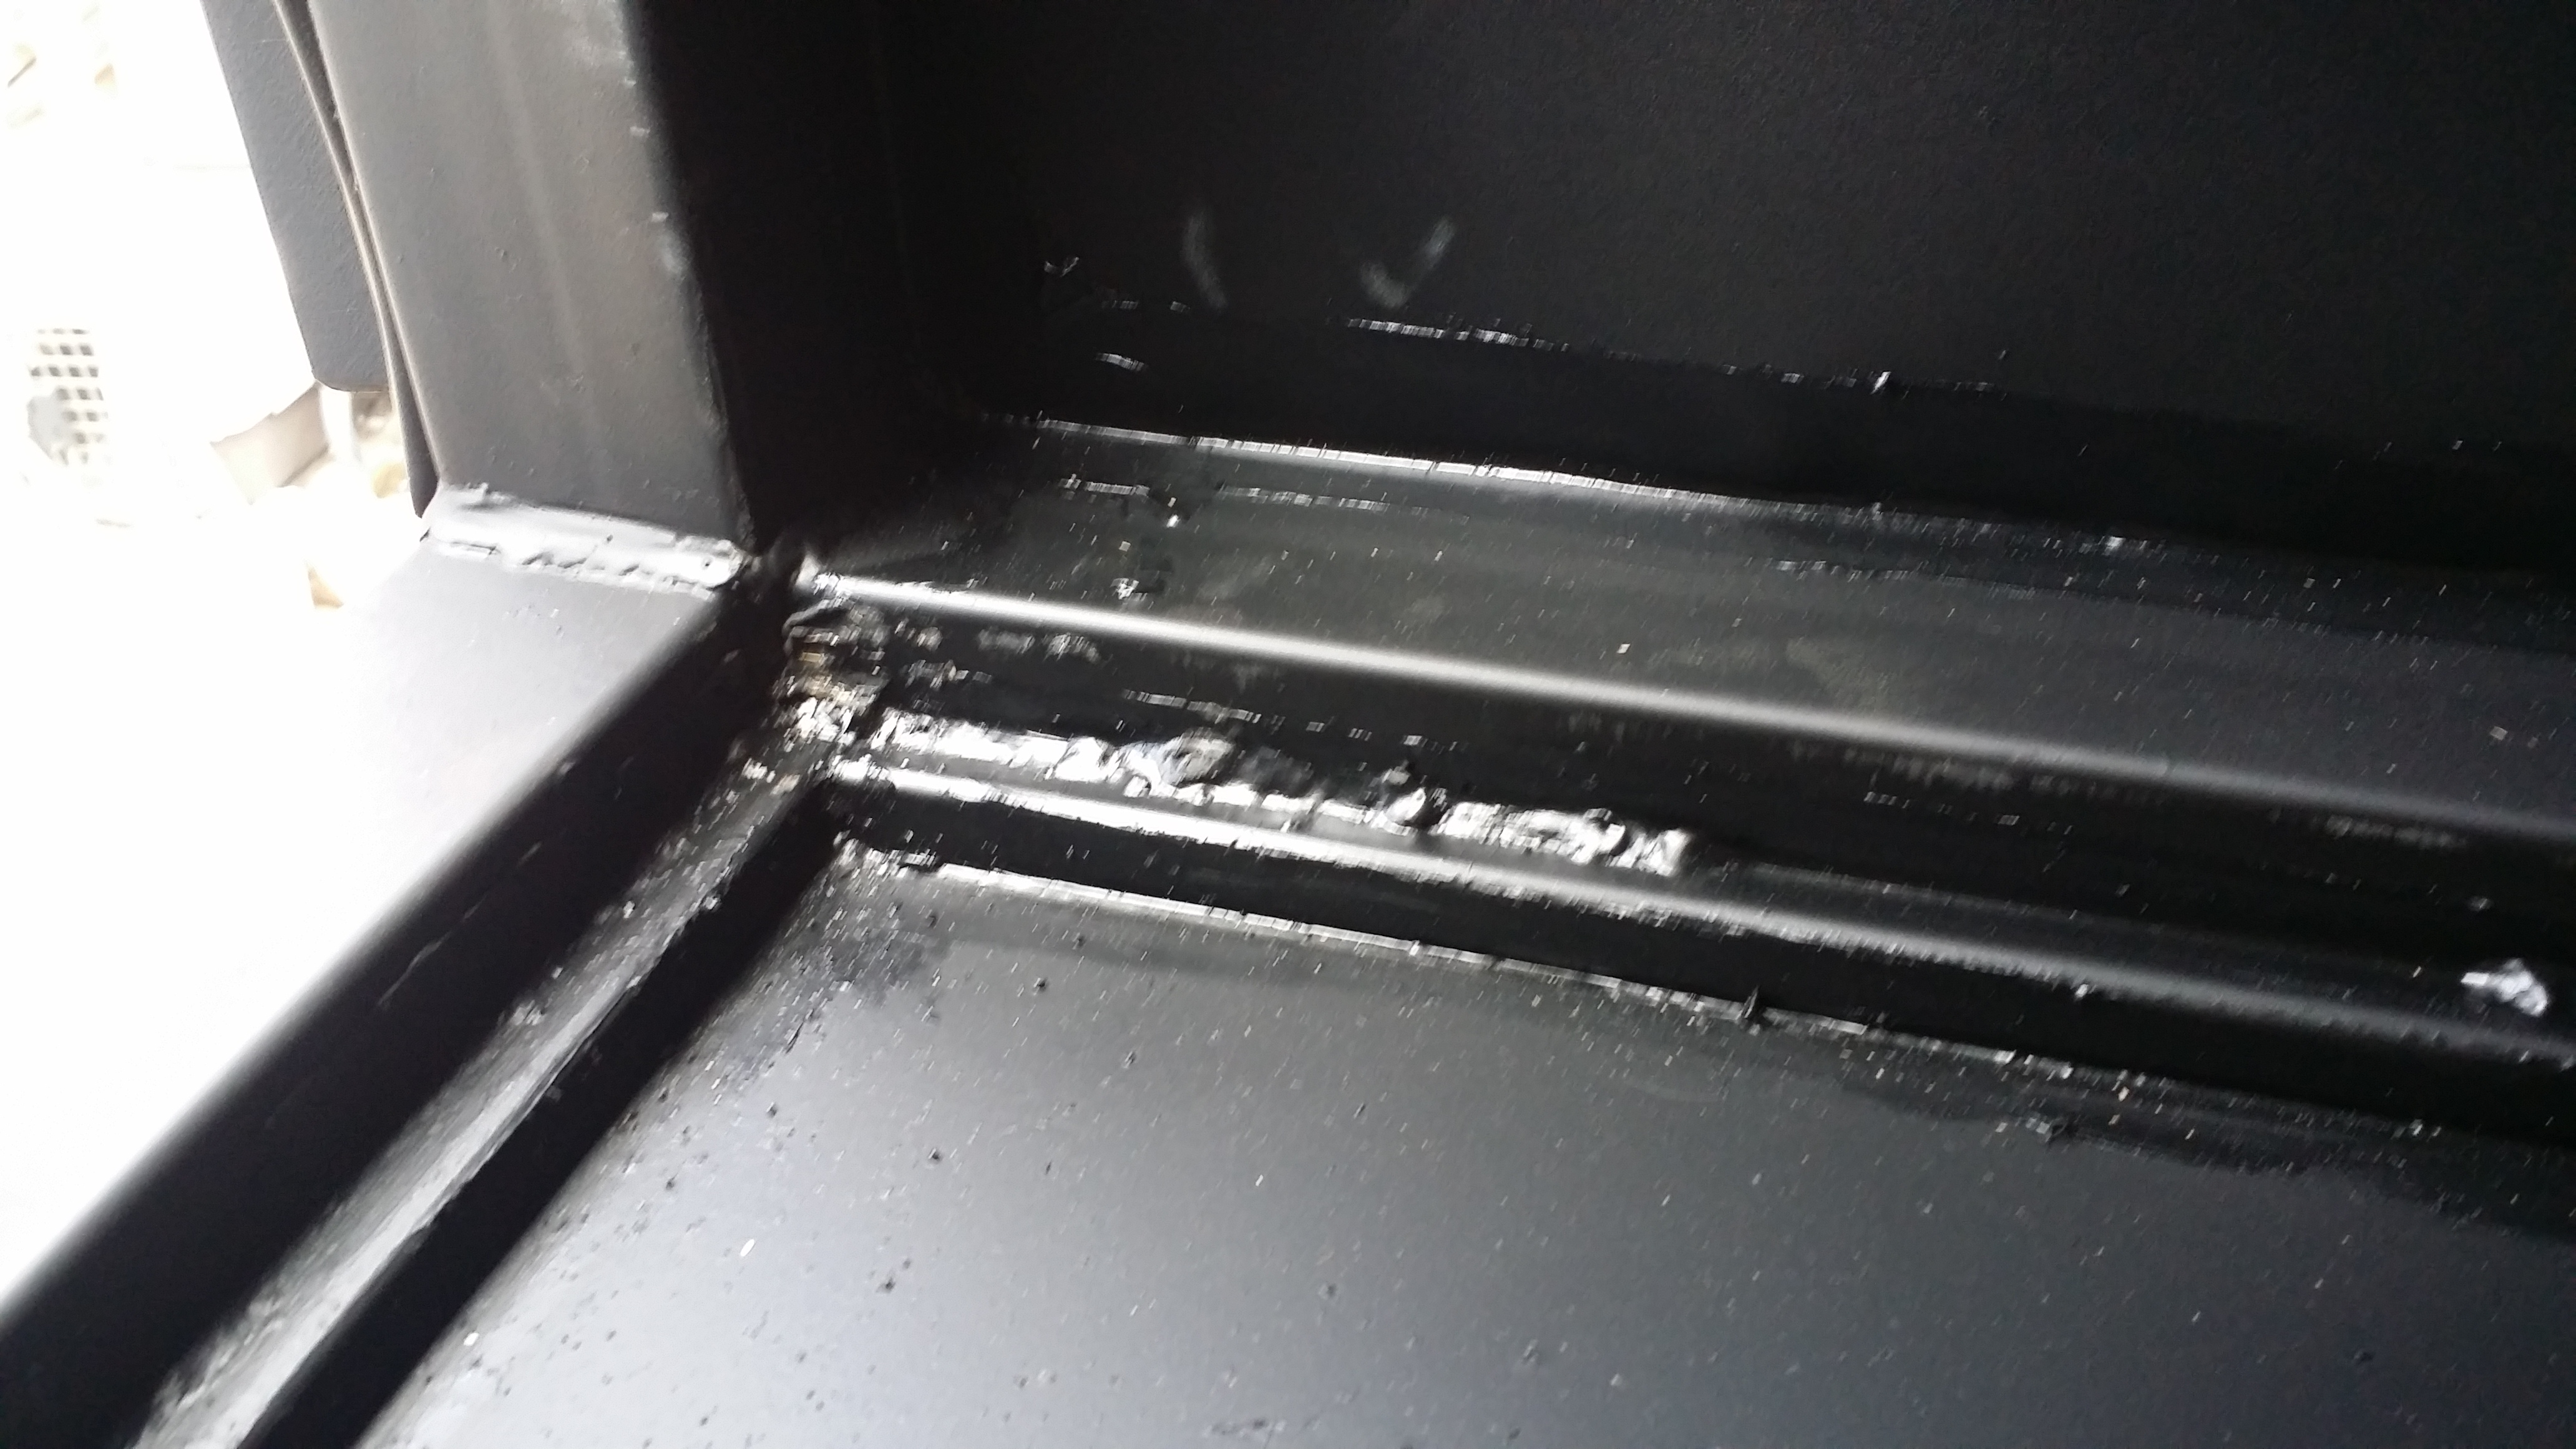
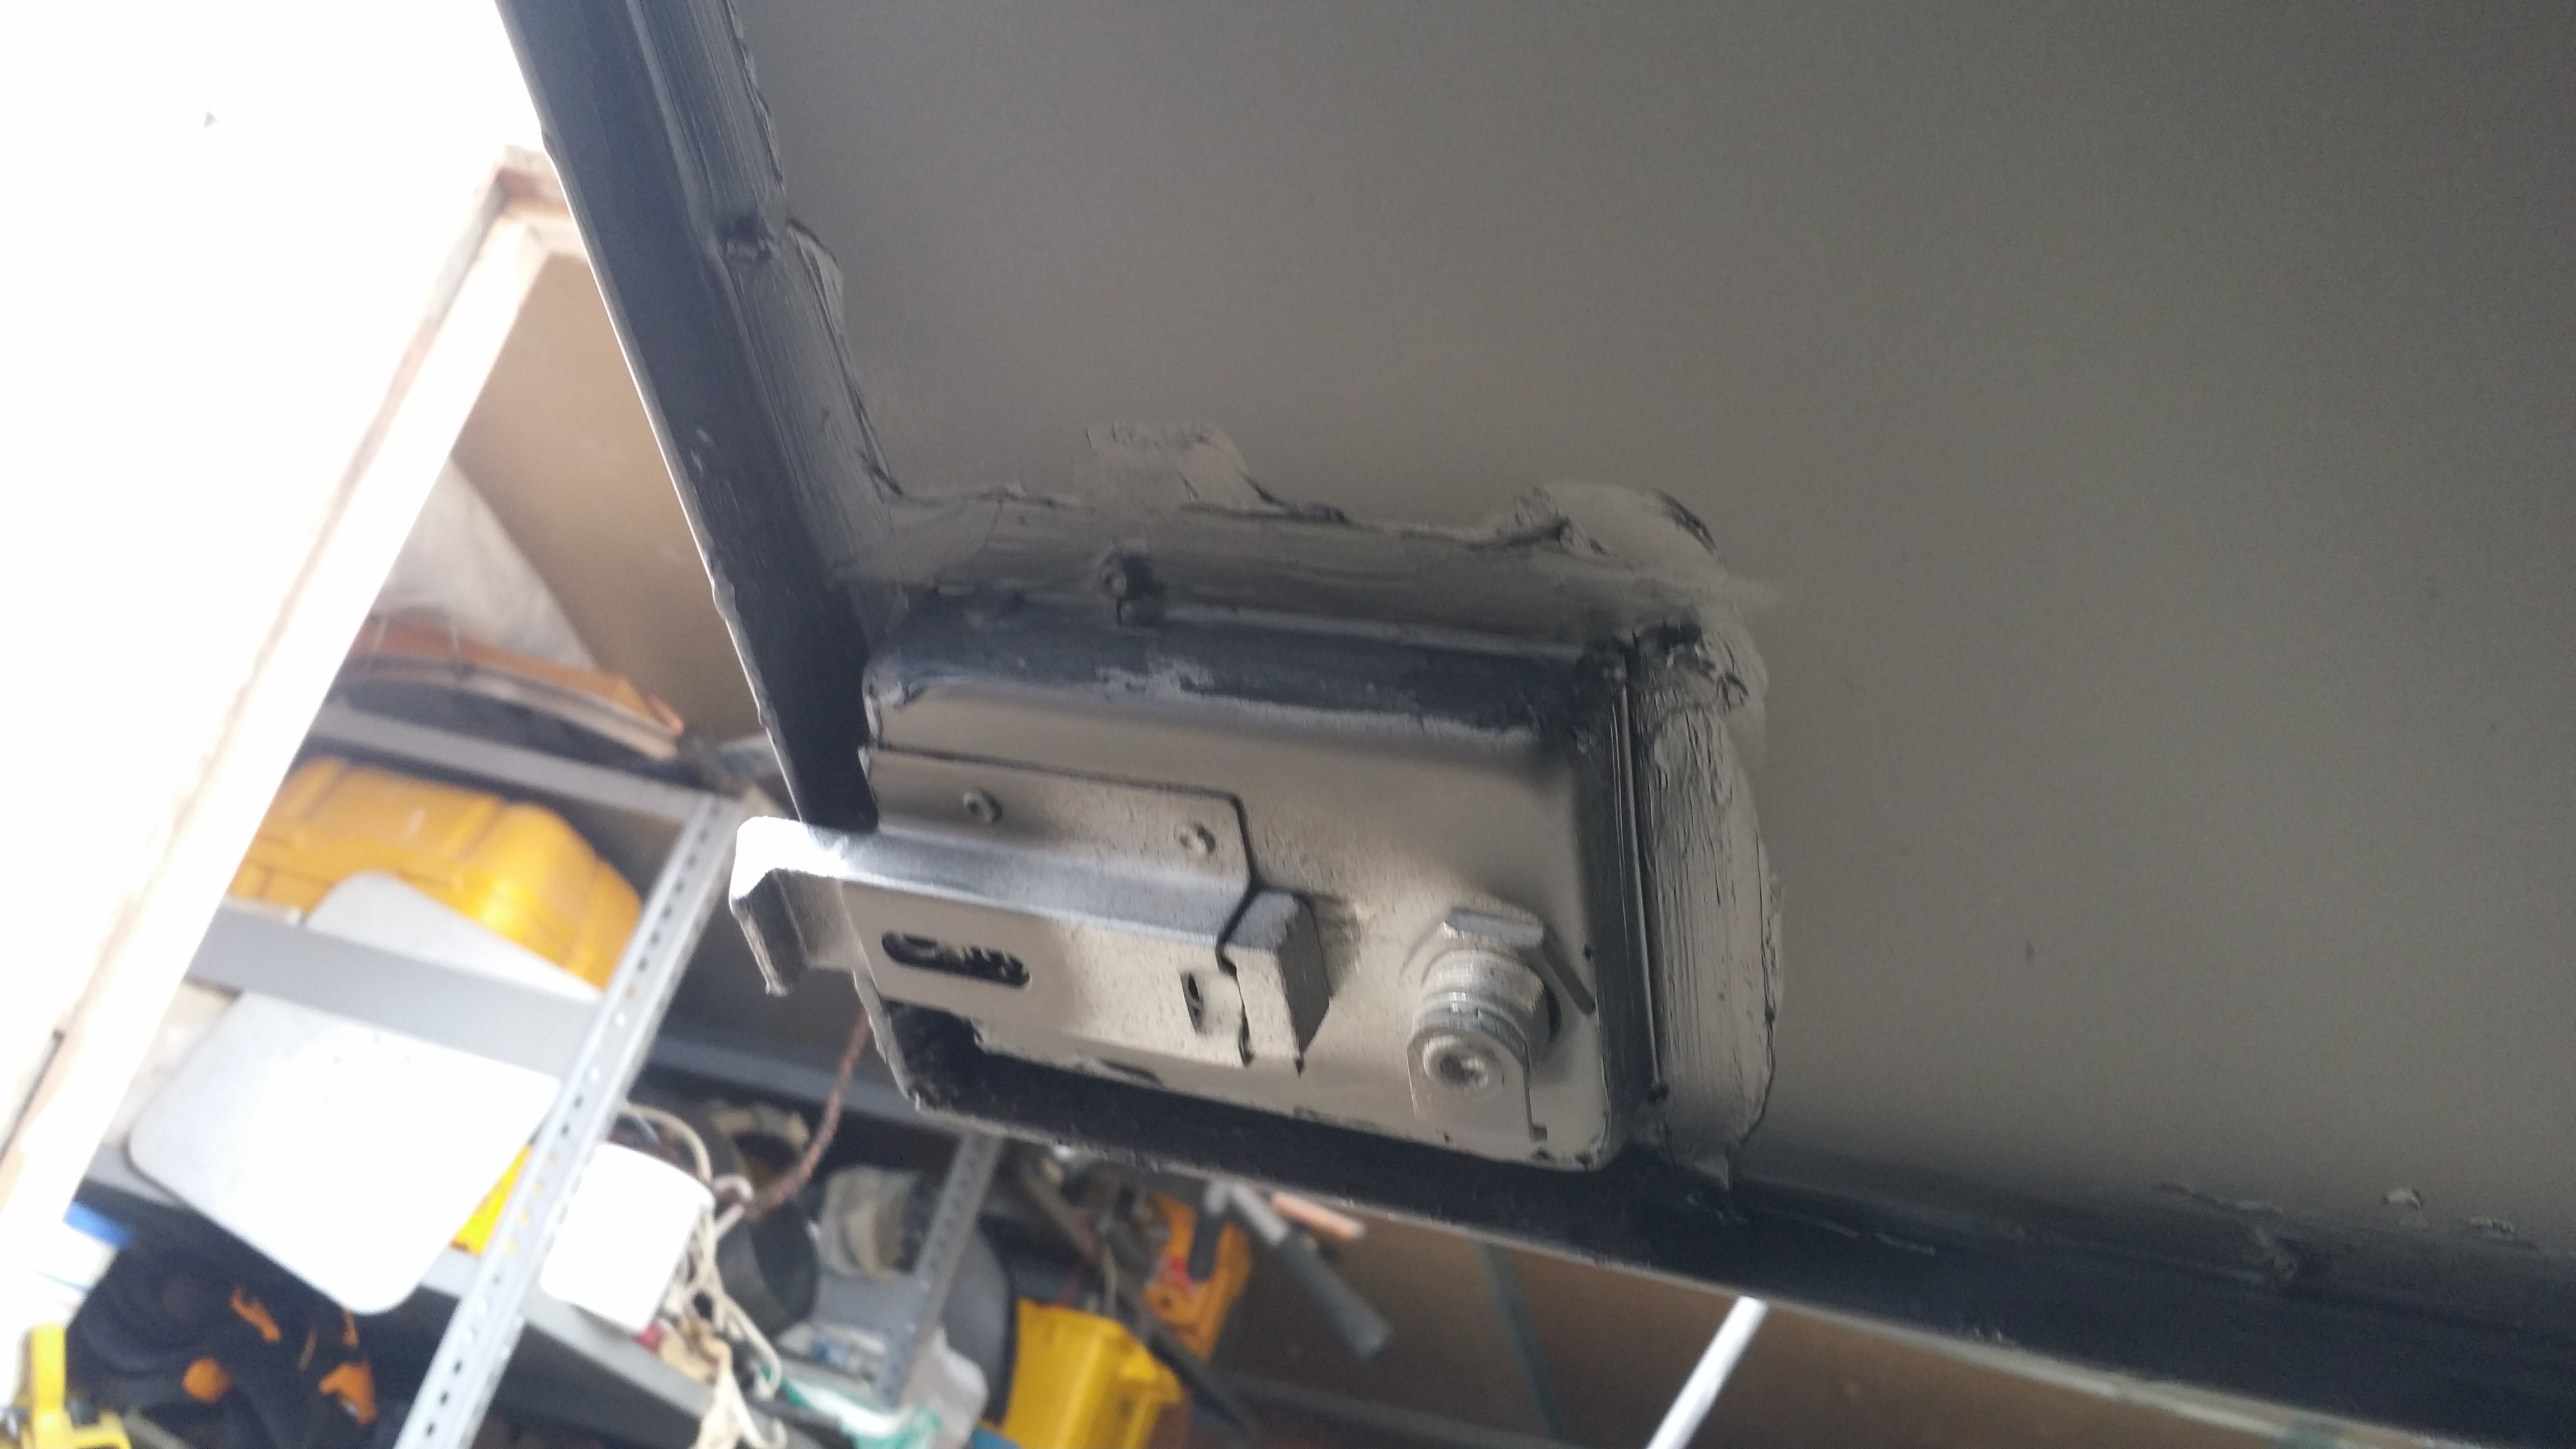
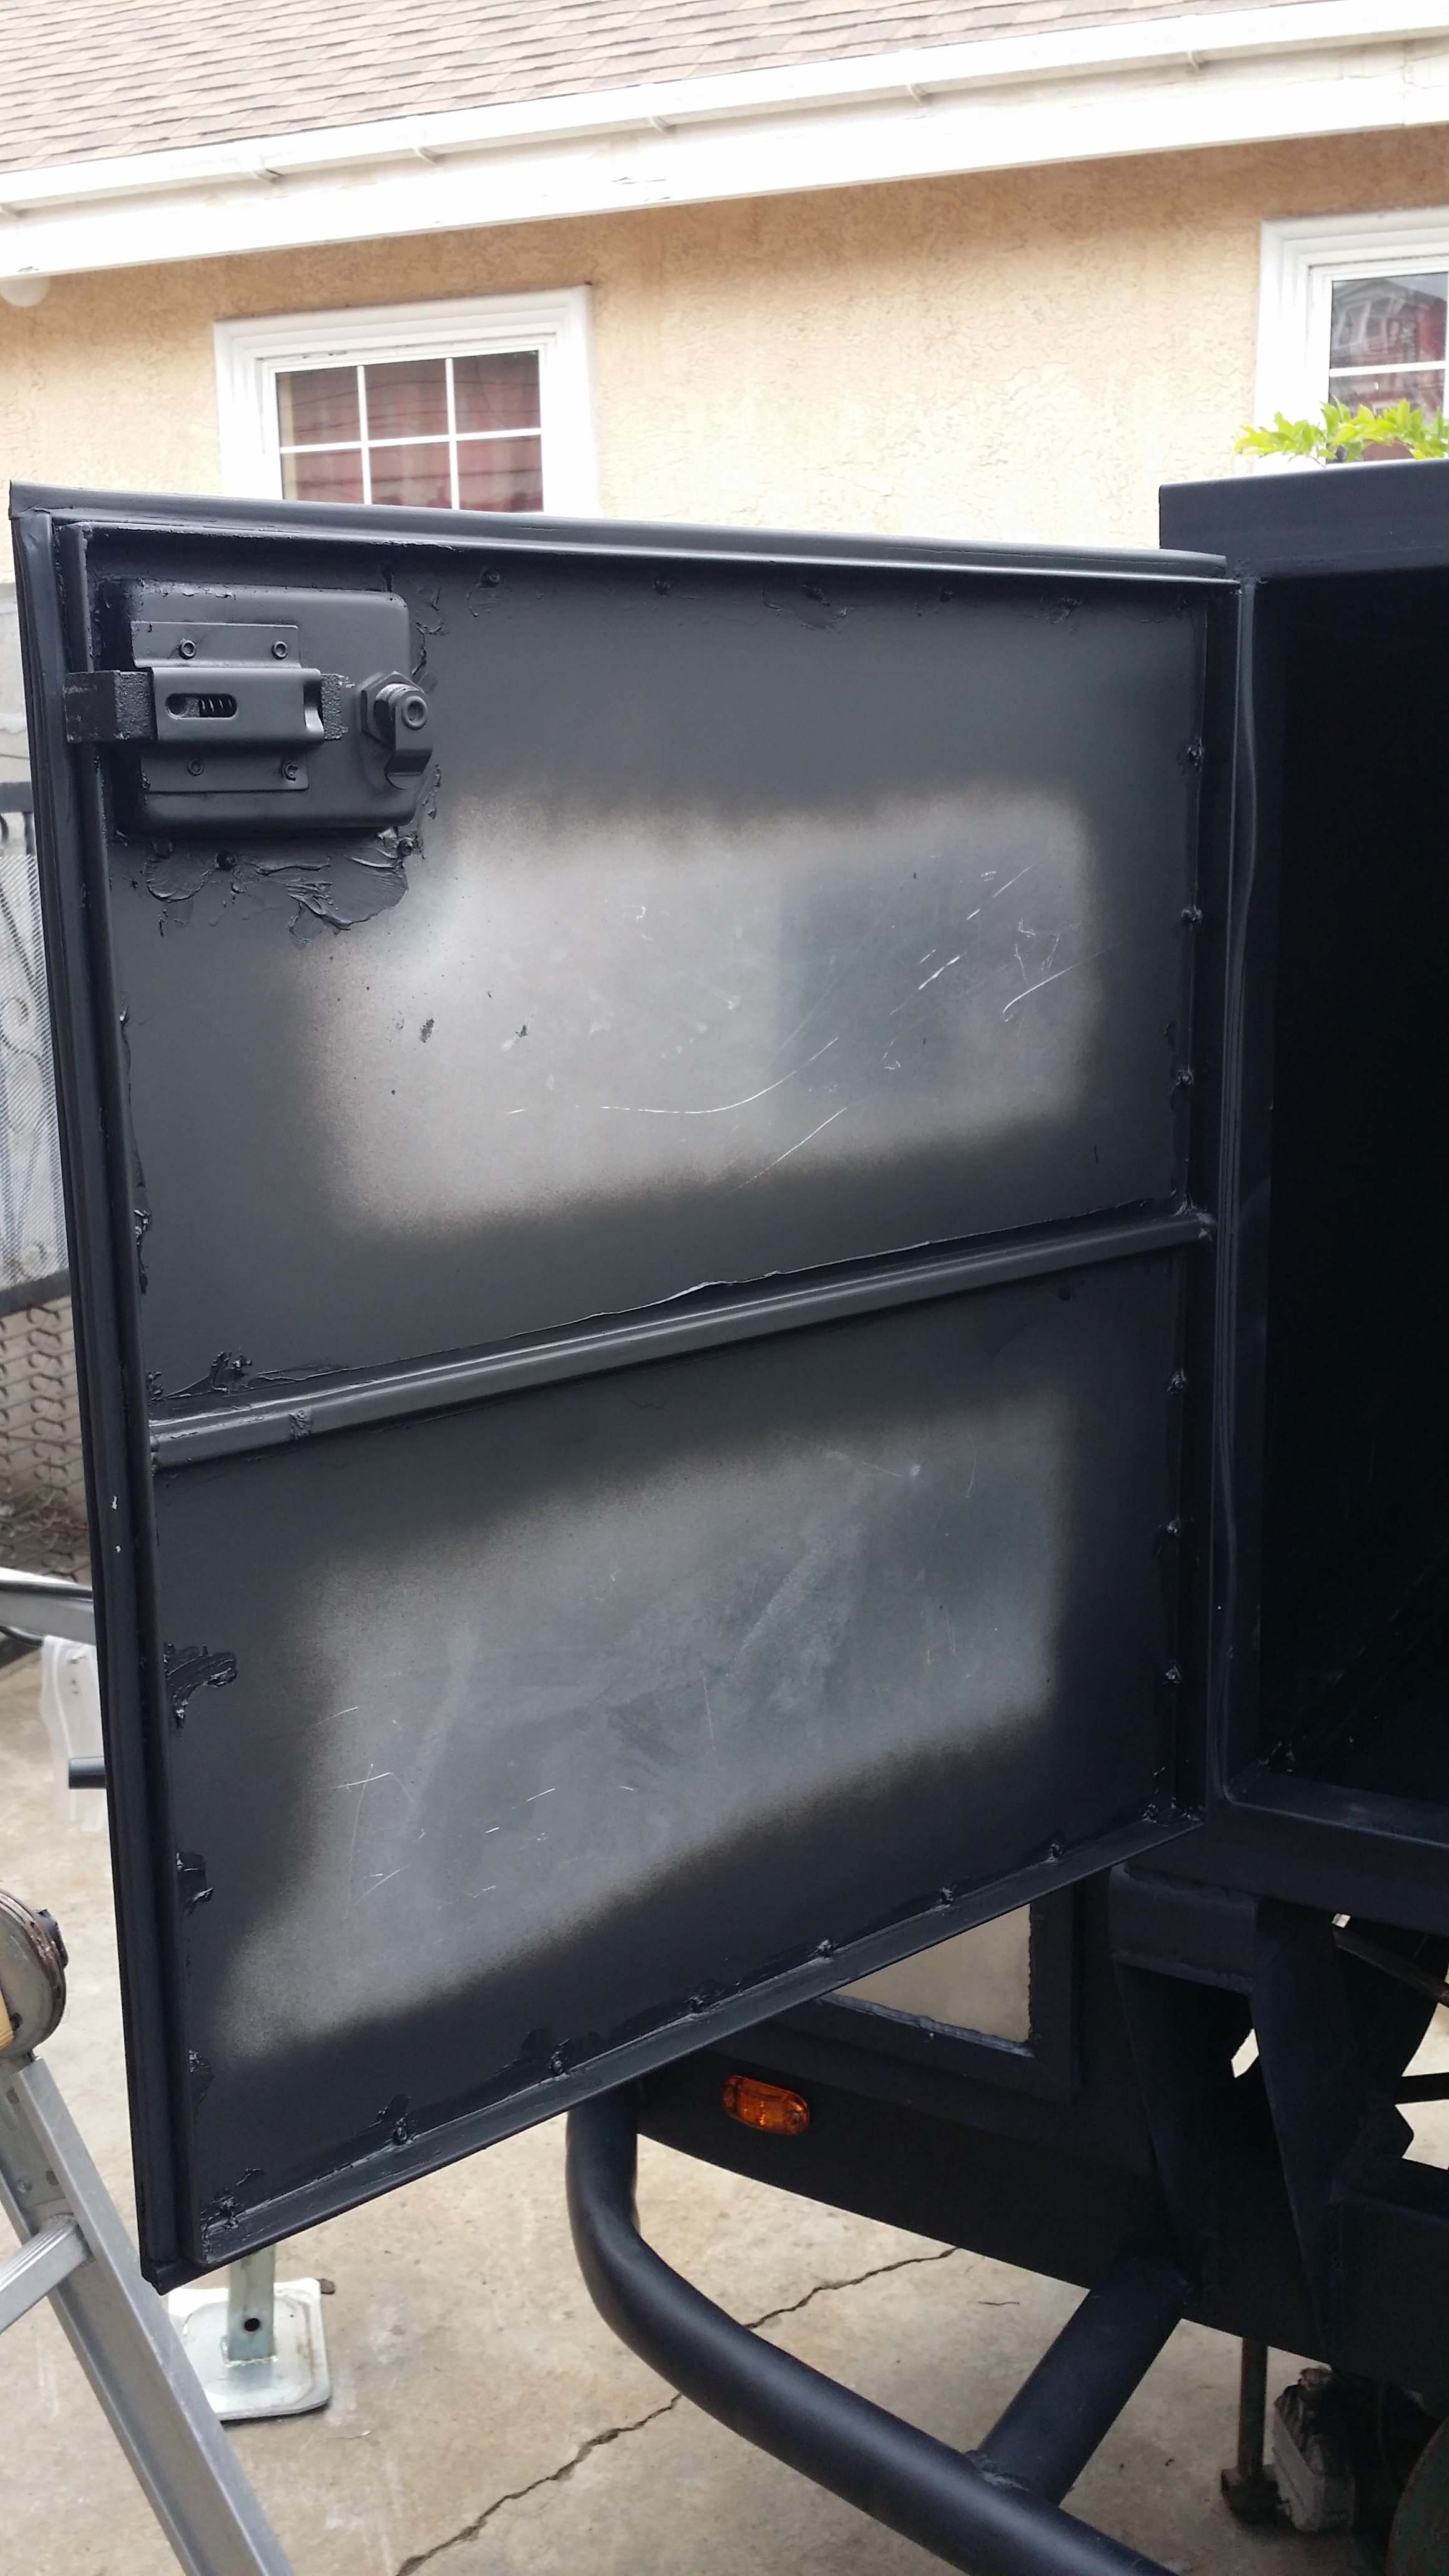
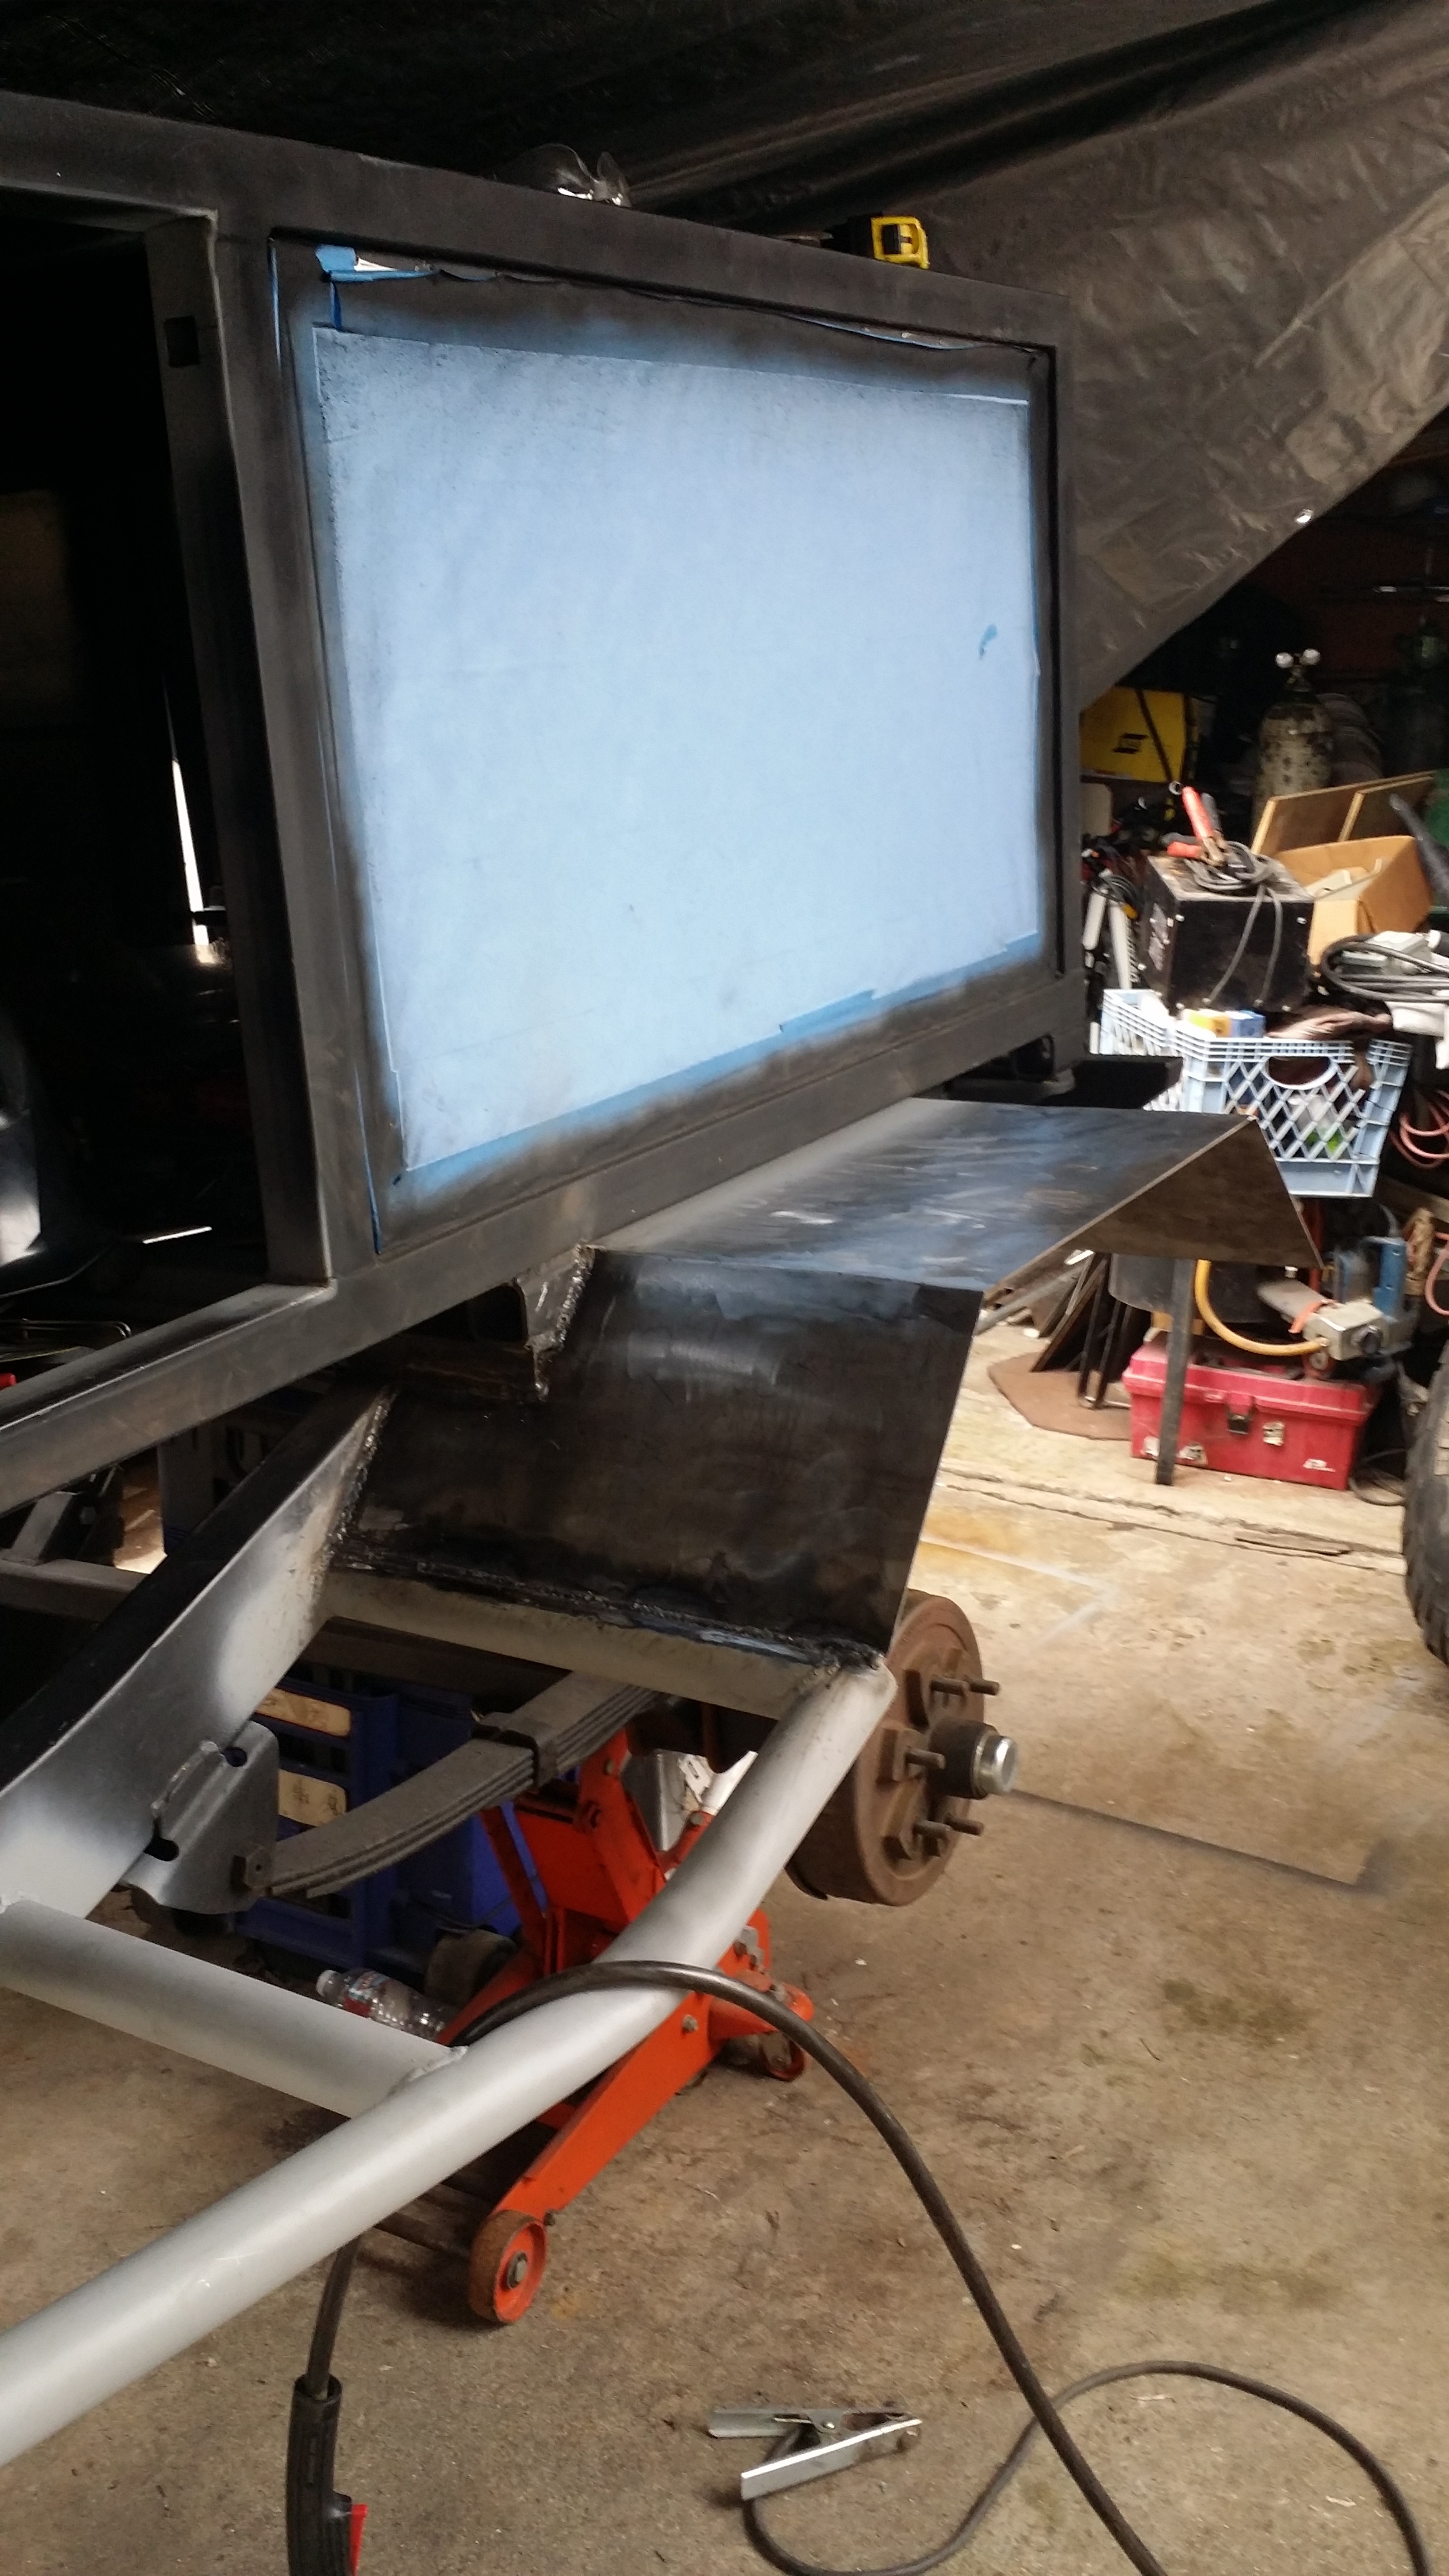
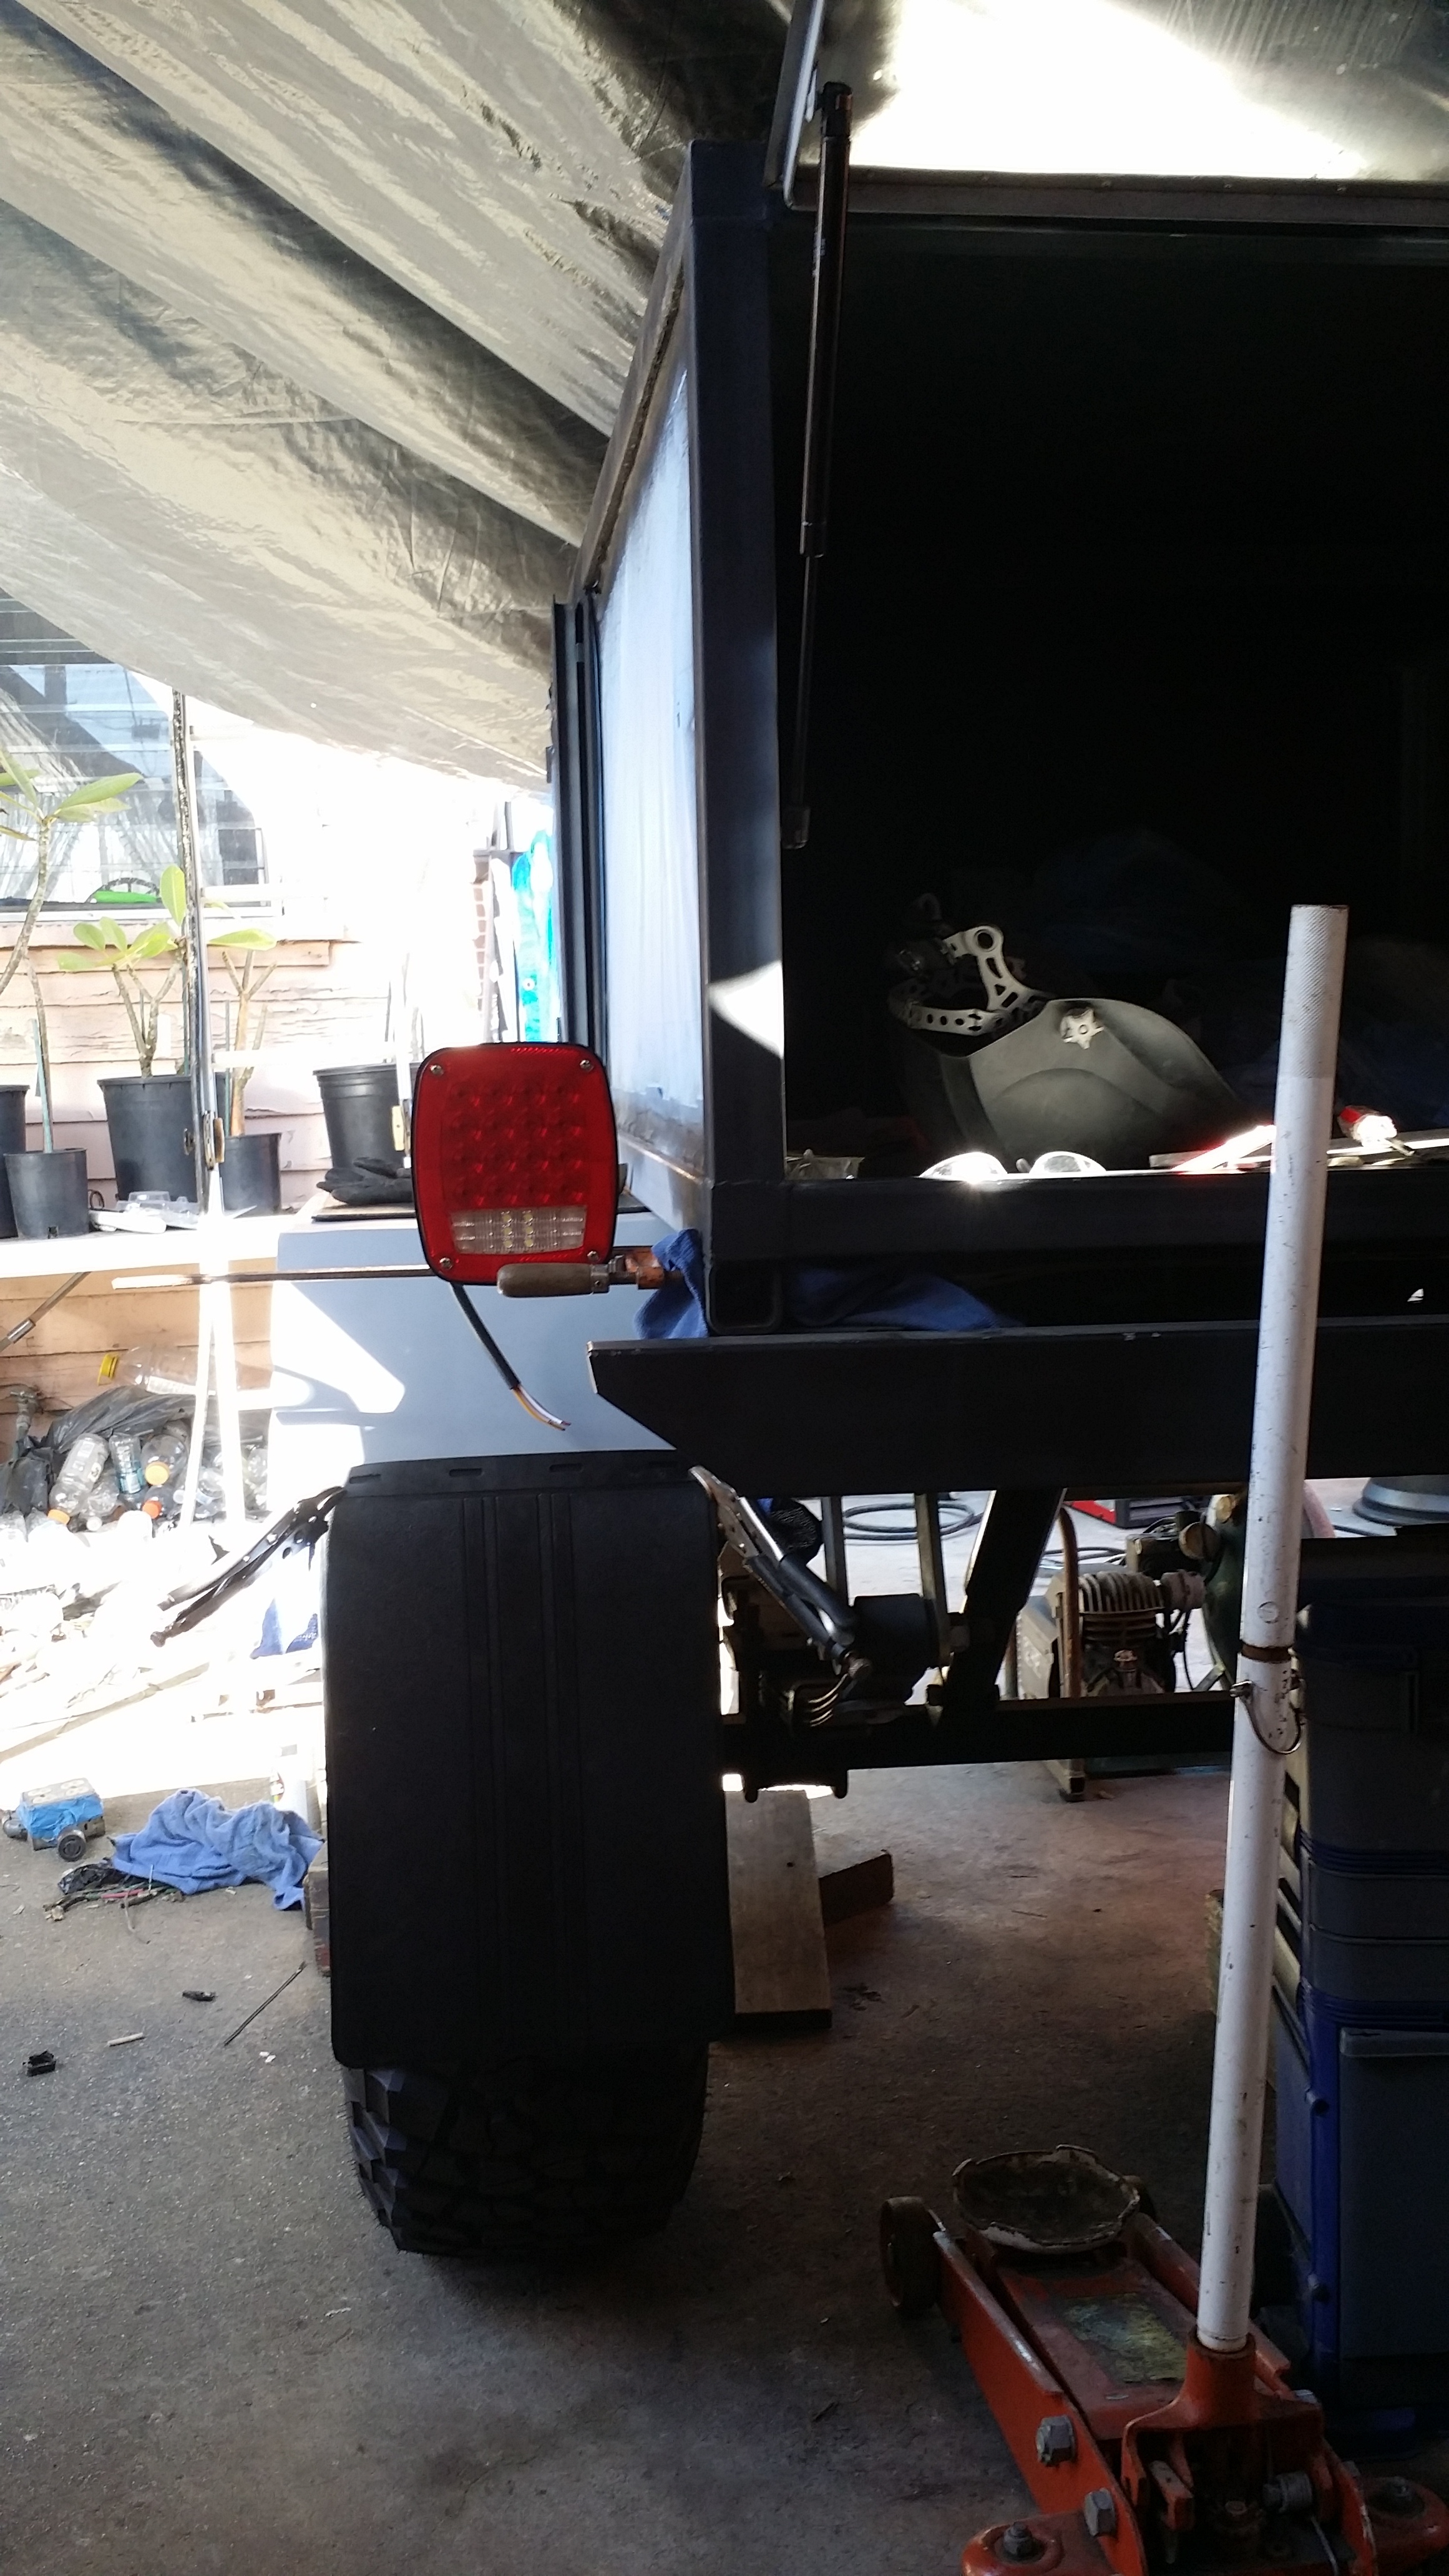
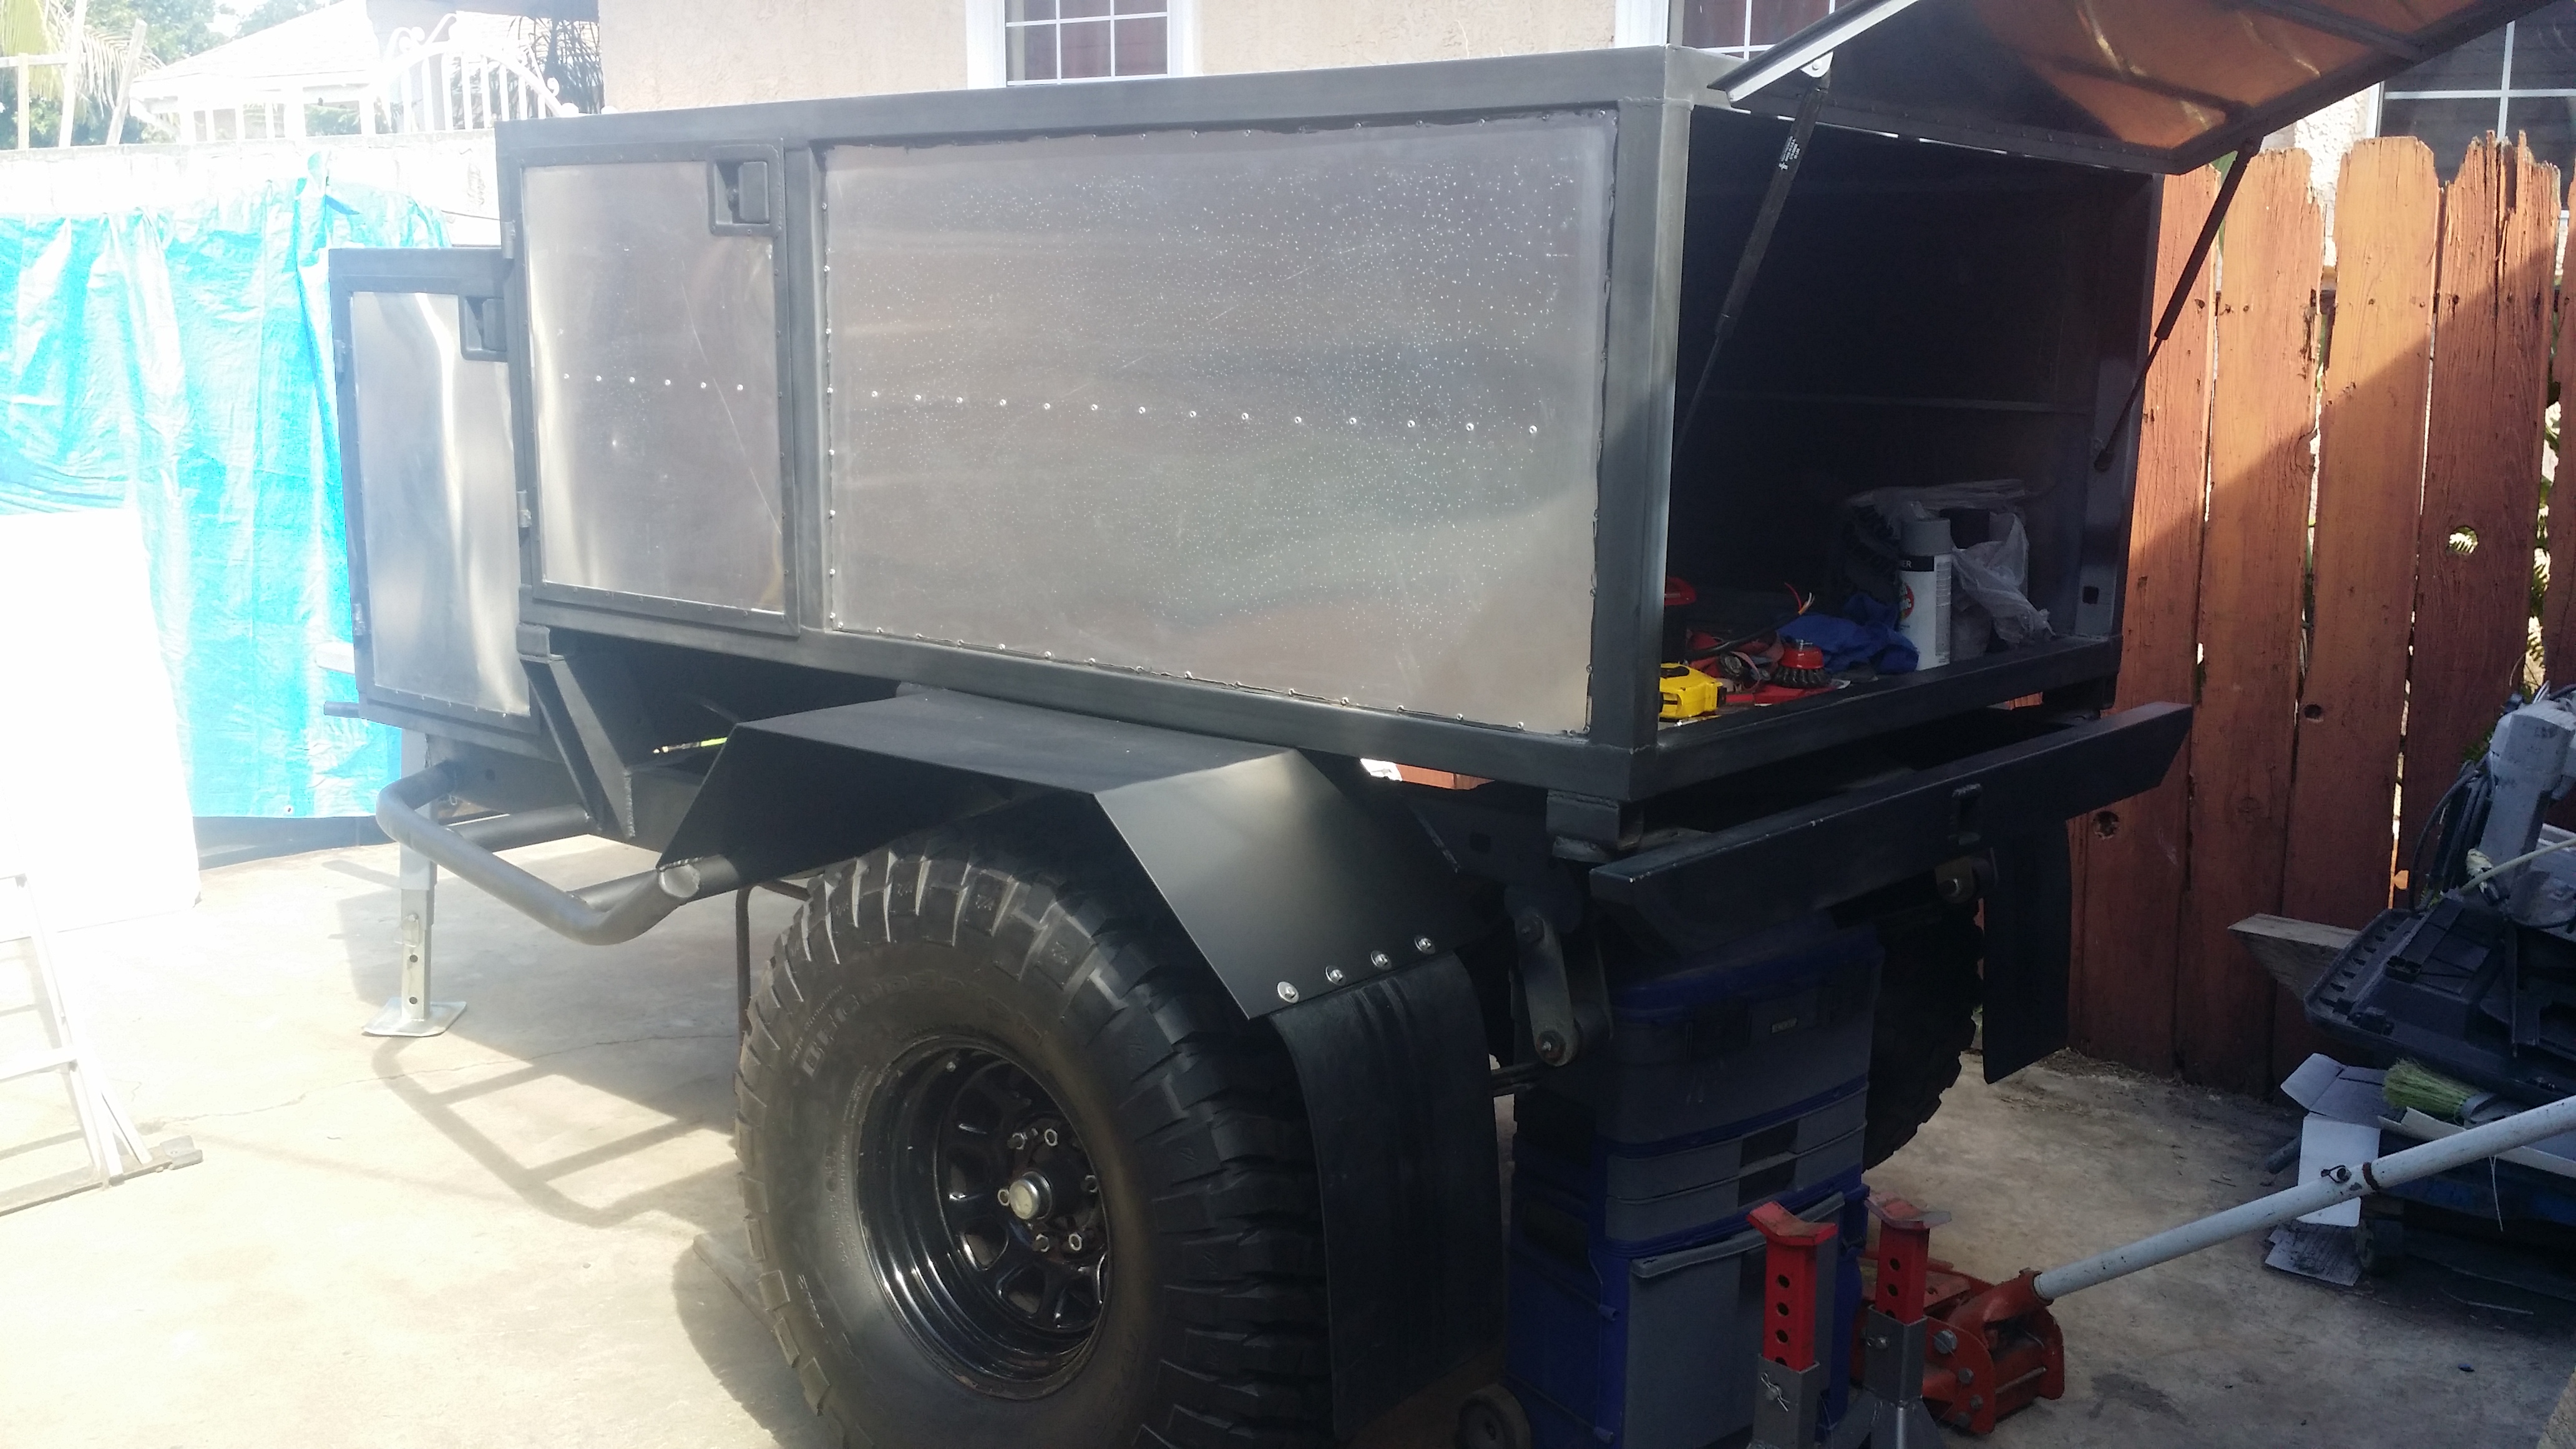
...And i finally got around to installing gas struts for the rear storage door. These are 17" when fully extended. And there's the view of the rear side of the fender.
I didn't get a chance to finish working on the passenger side fenders. but i did get around to tack welding all the pieces together. Next time i will do the final welds on that side then mount it to the chassis. I am eager to get the mudflaps on. I feel like the next challenging part is going to be figuring out where im going to mount the tail lights and how to have enough space for the licence plate.
Just a little bit of brain storming here. Im trying to figure out where i should mount the tail lights at. Keep in mind i still have to mount the license plate under the light so that the bottom part of the tail light can illuminate my plate at night. This is kinda what i had in mind. The tail lights are raised above bumper level and are close to the rear of the trailer making the entire tail lamp visible. I am kinda leaning more toward this option here.
same tail light location; just a side view
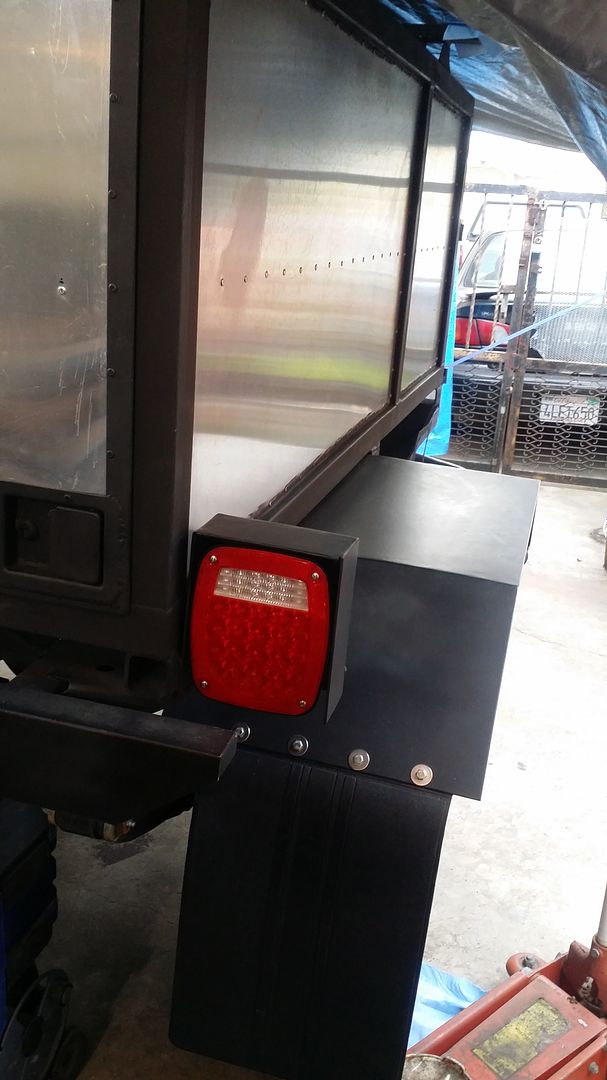
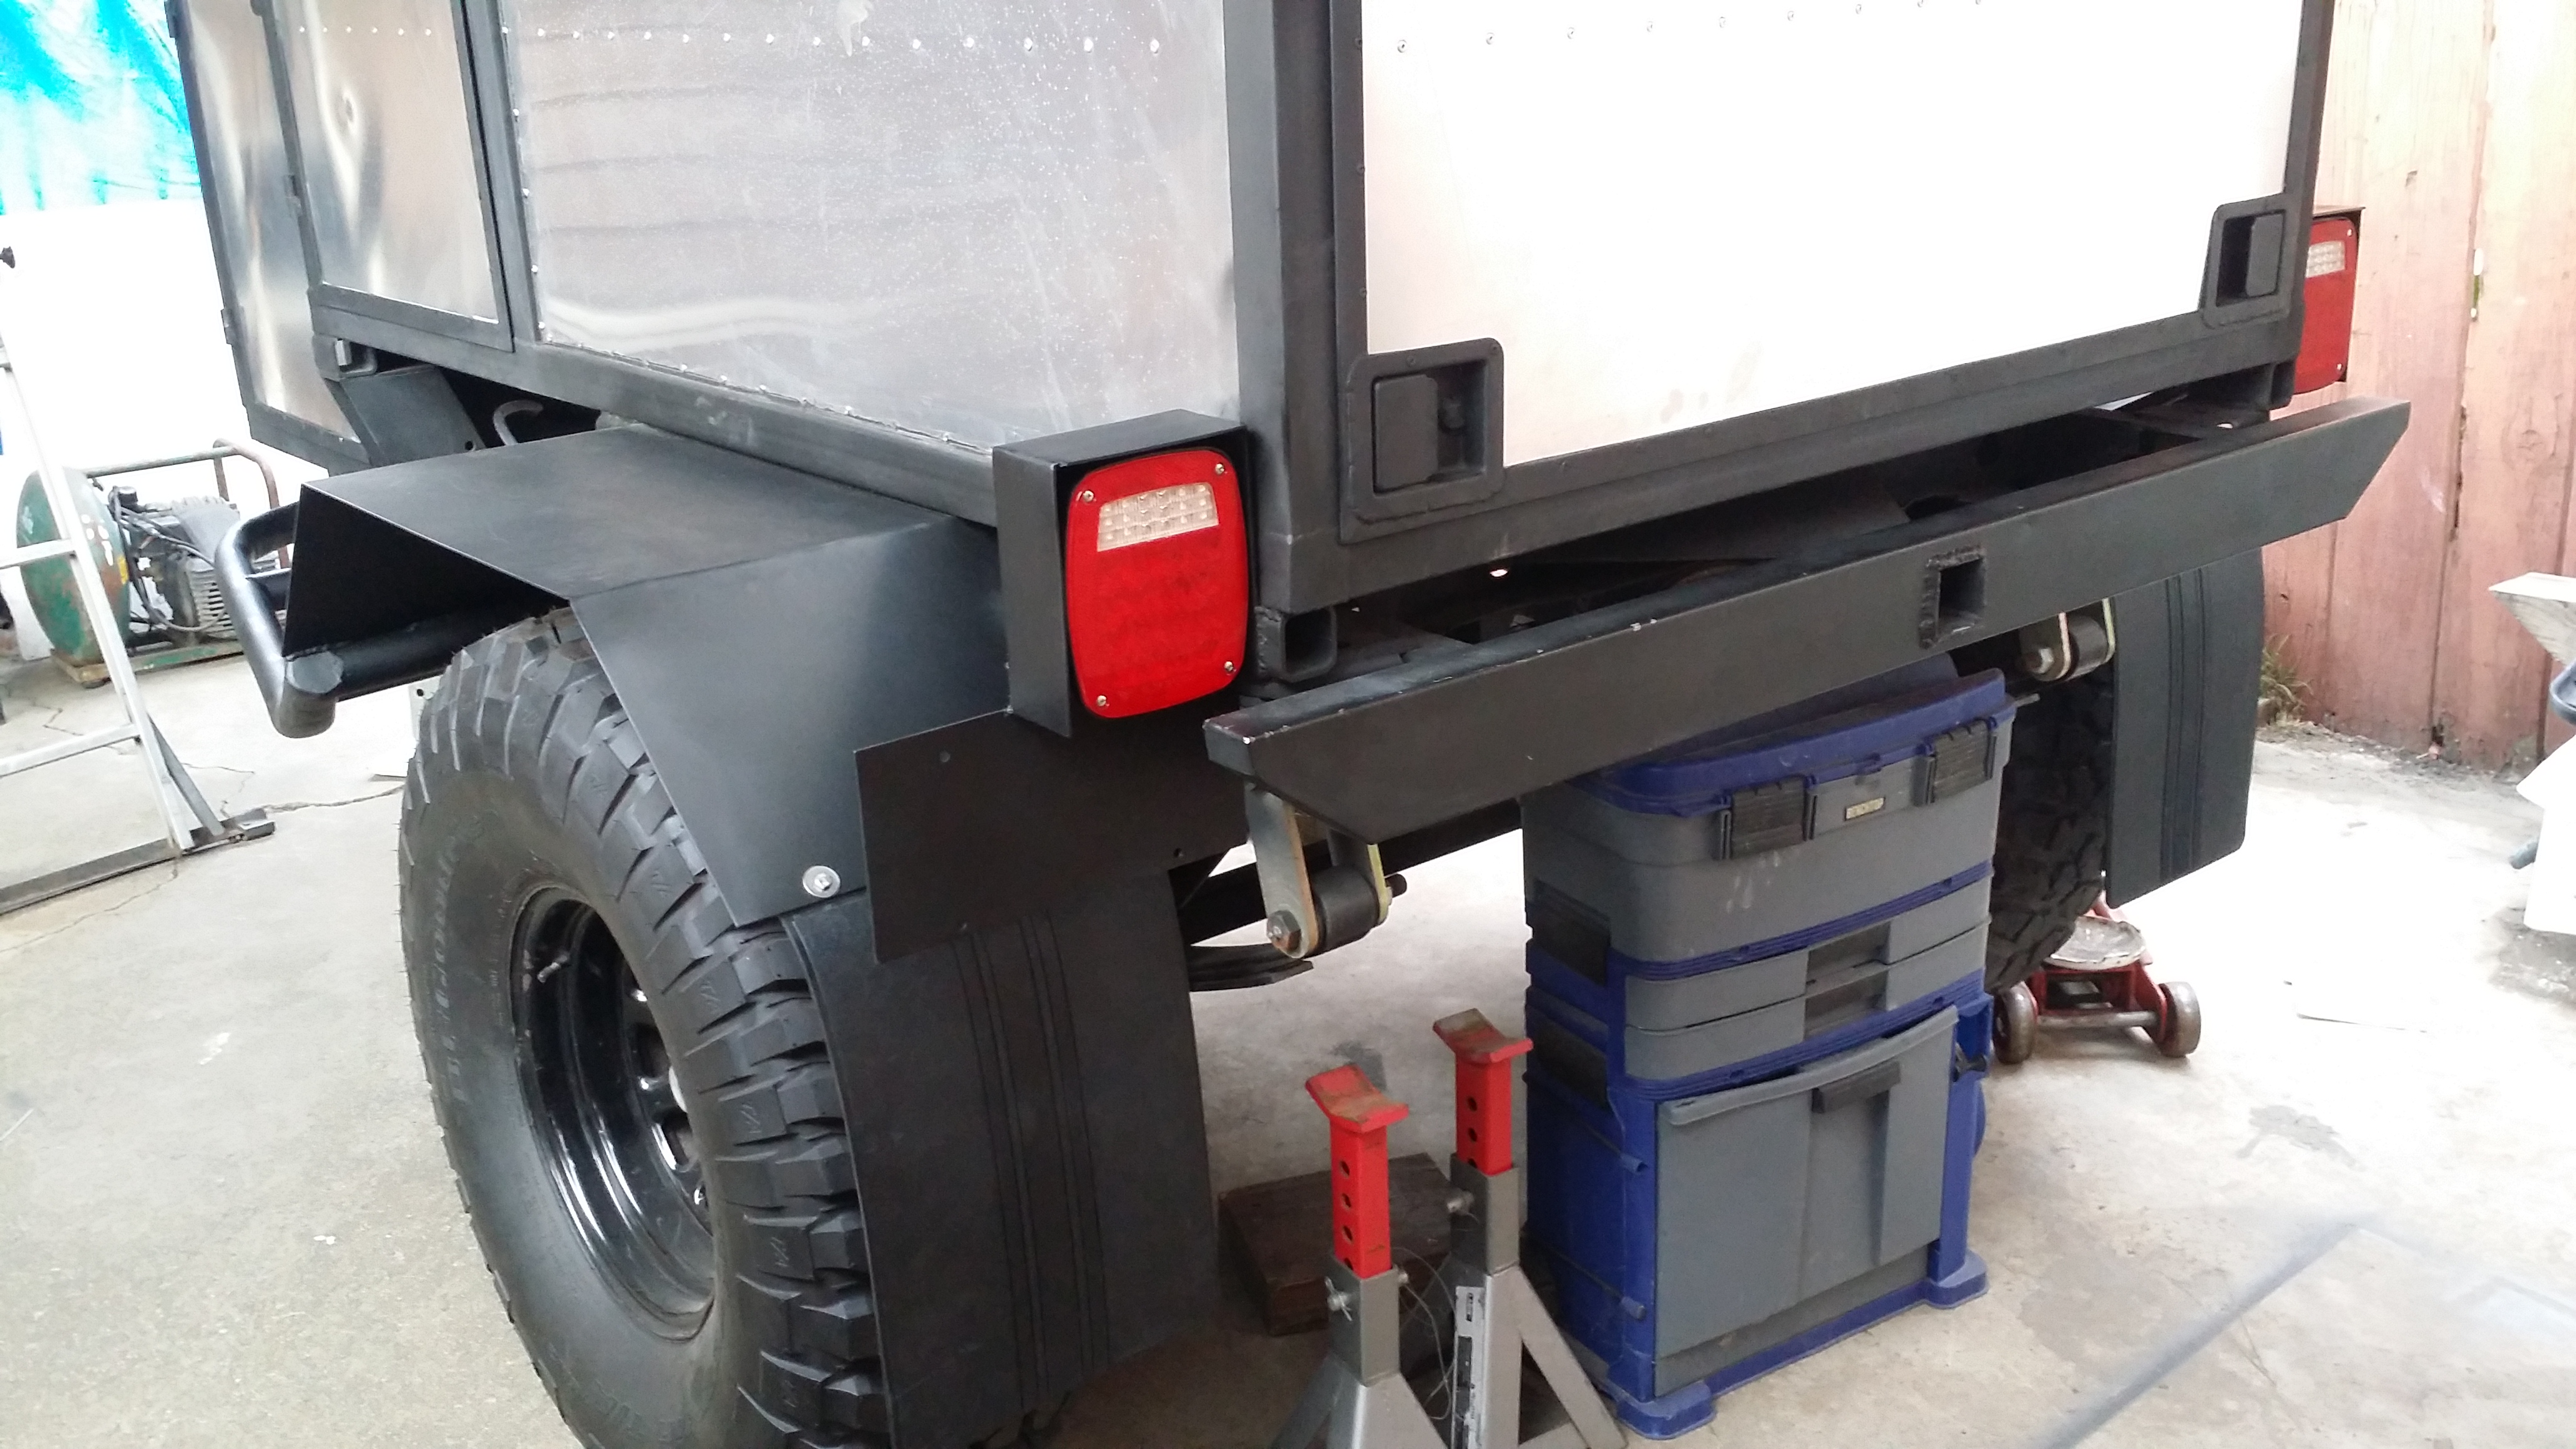
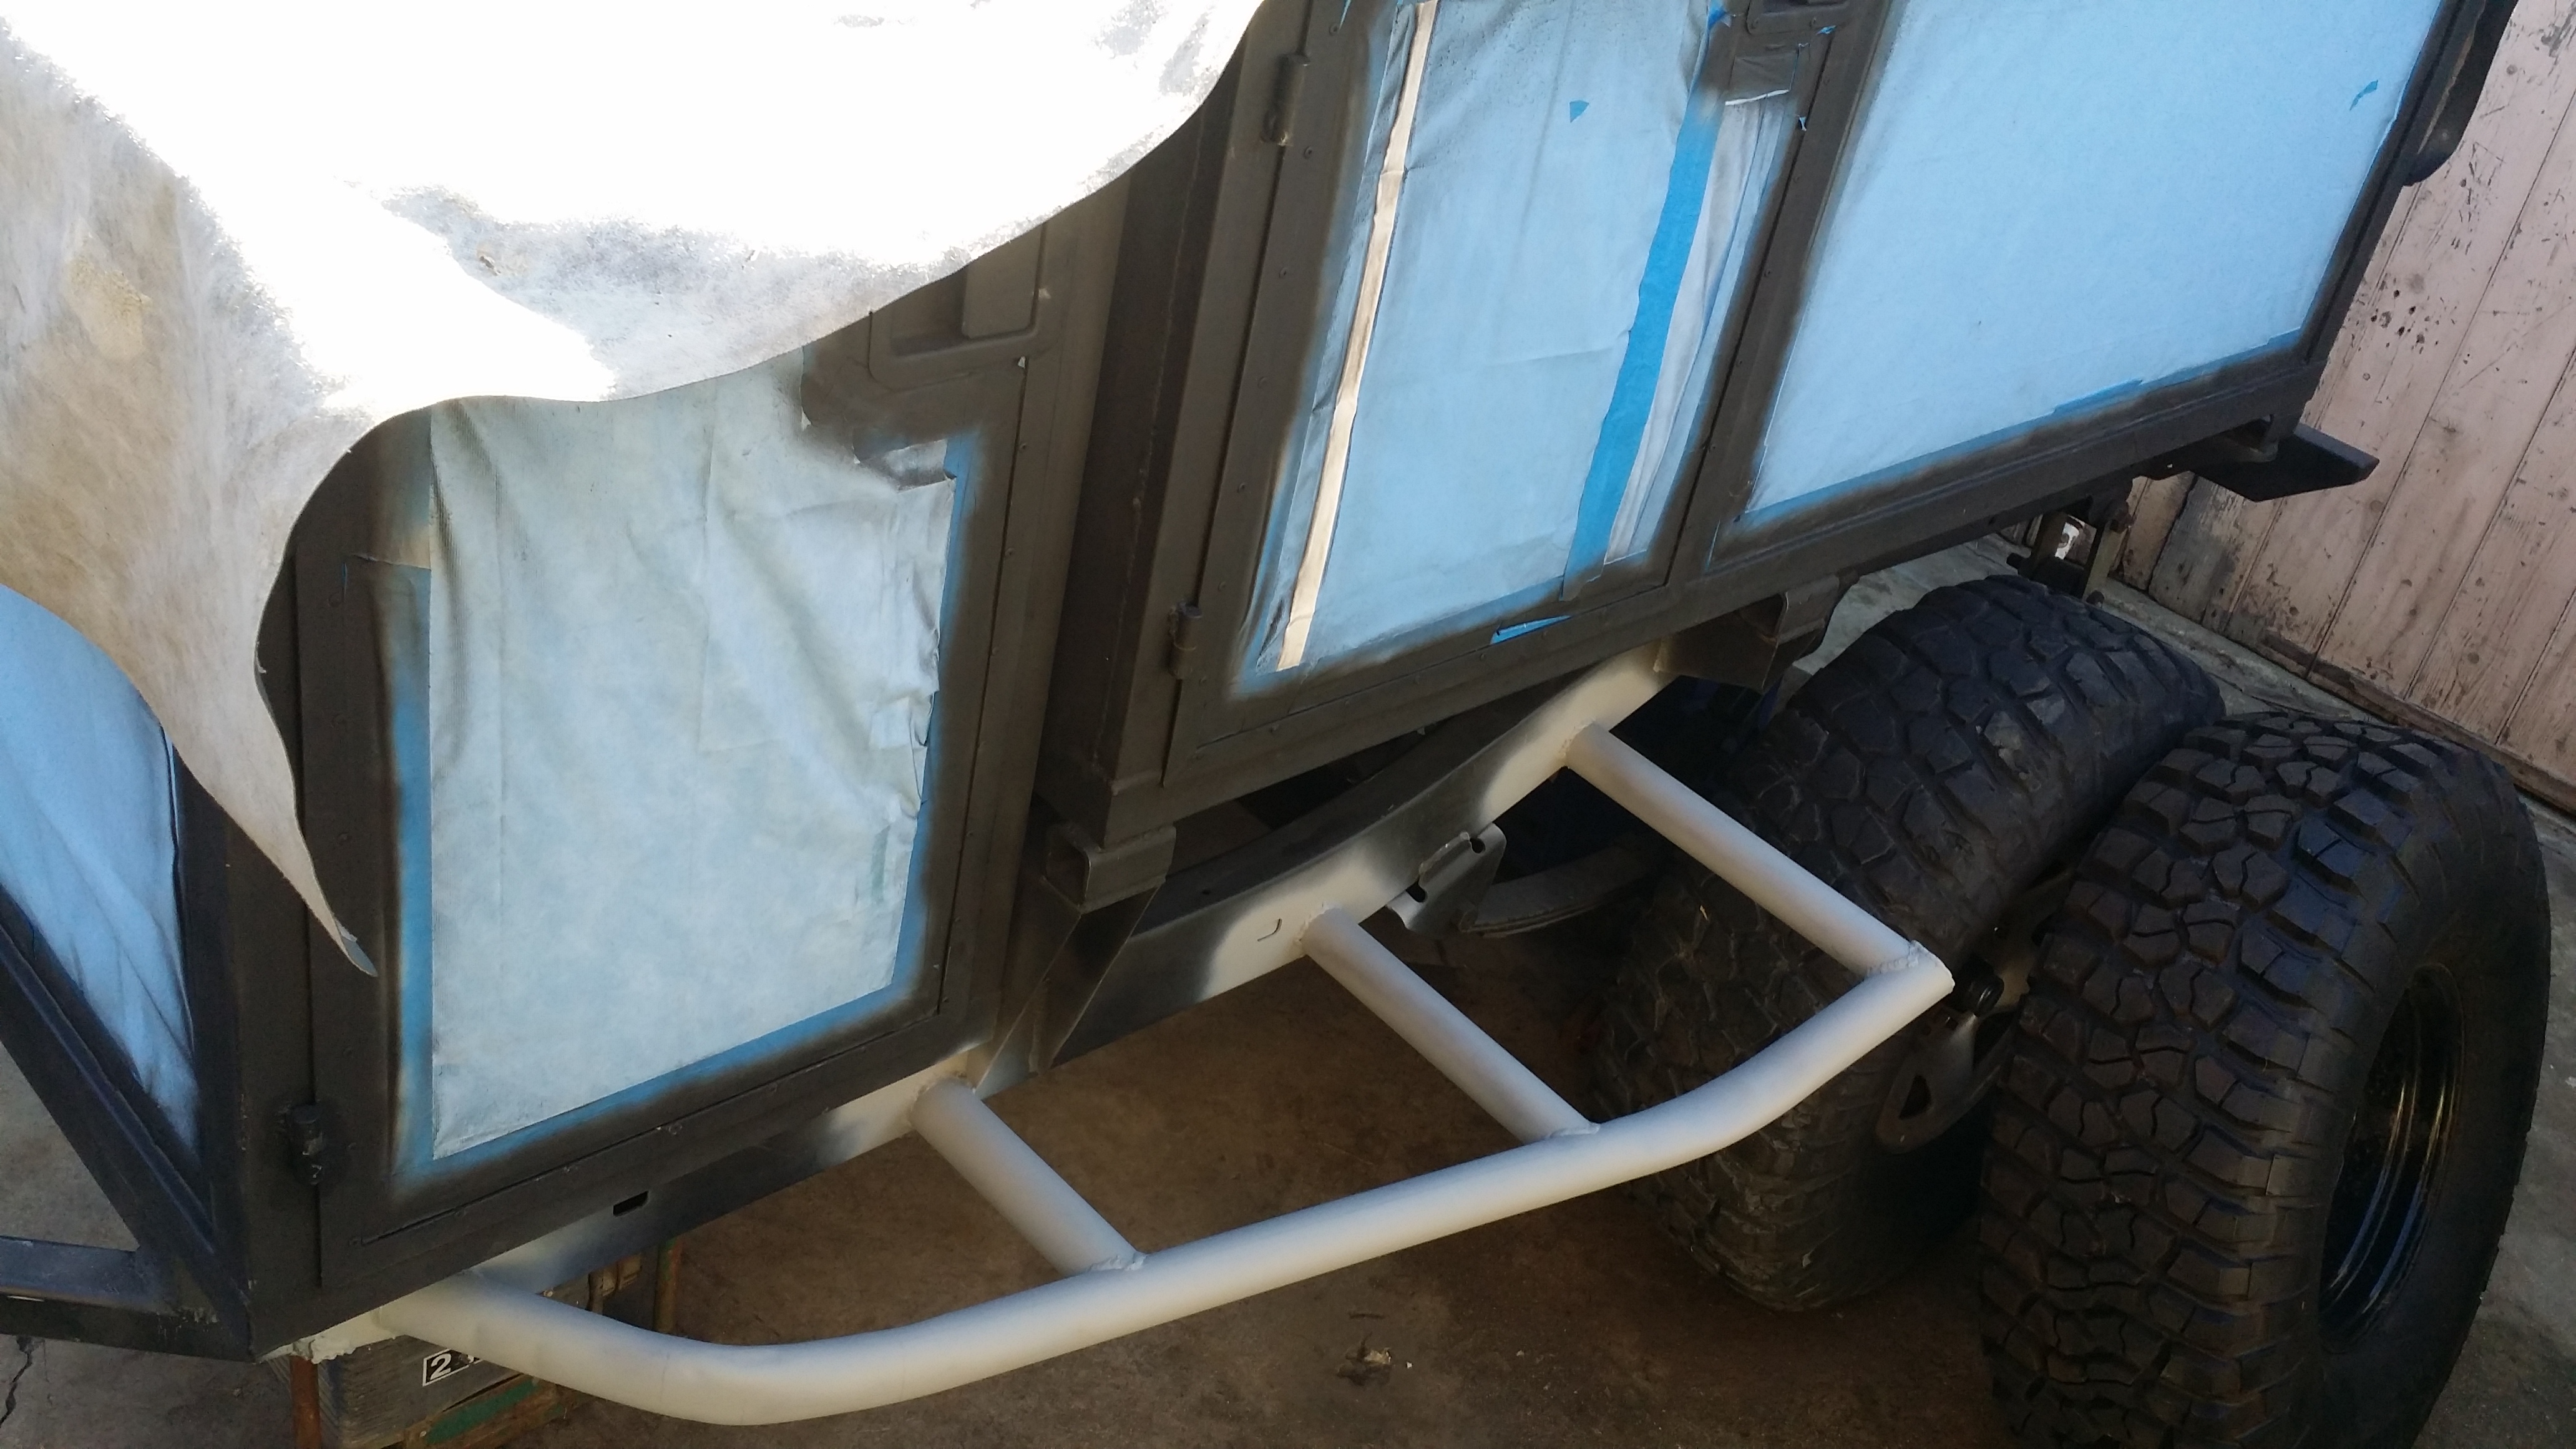
Boom! Mudflaps are now ready for install after final paint job on fenders. I drilled 1/4" holes for each of the four 1&3/4" x 1/4" bolts, and am using 1" washers on each side, with nylon lock nuts. All stainless steel hardware to prevent rust. Also cut these 1&3/4"�12" plates to use on the back side. These will not only distribute the tightness of the bolts along the length of the plate but since they stick out further past the edge of the fender they also help keep the mud flap away from the tire.
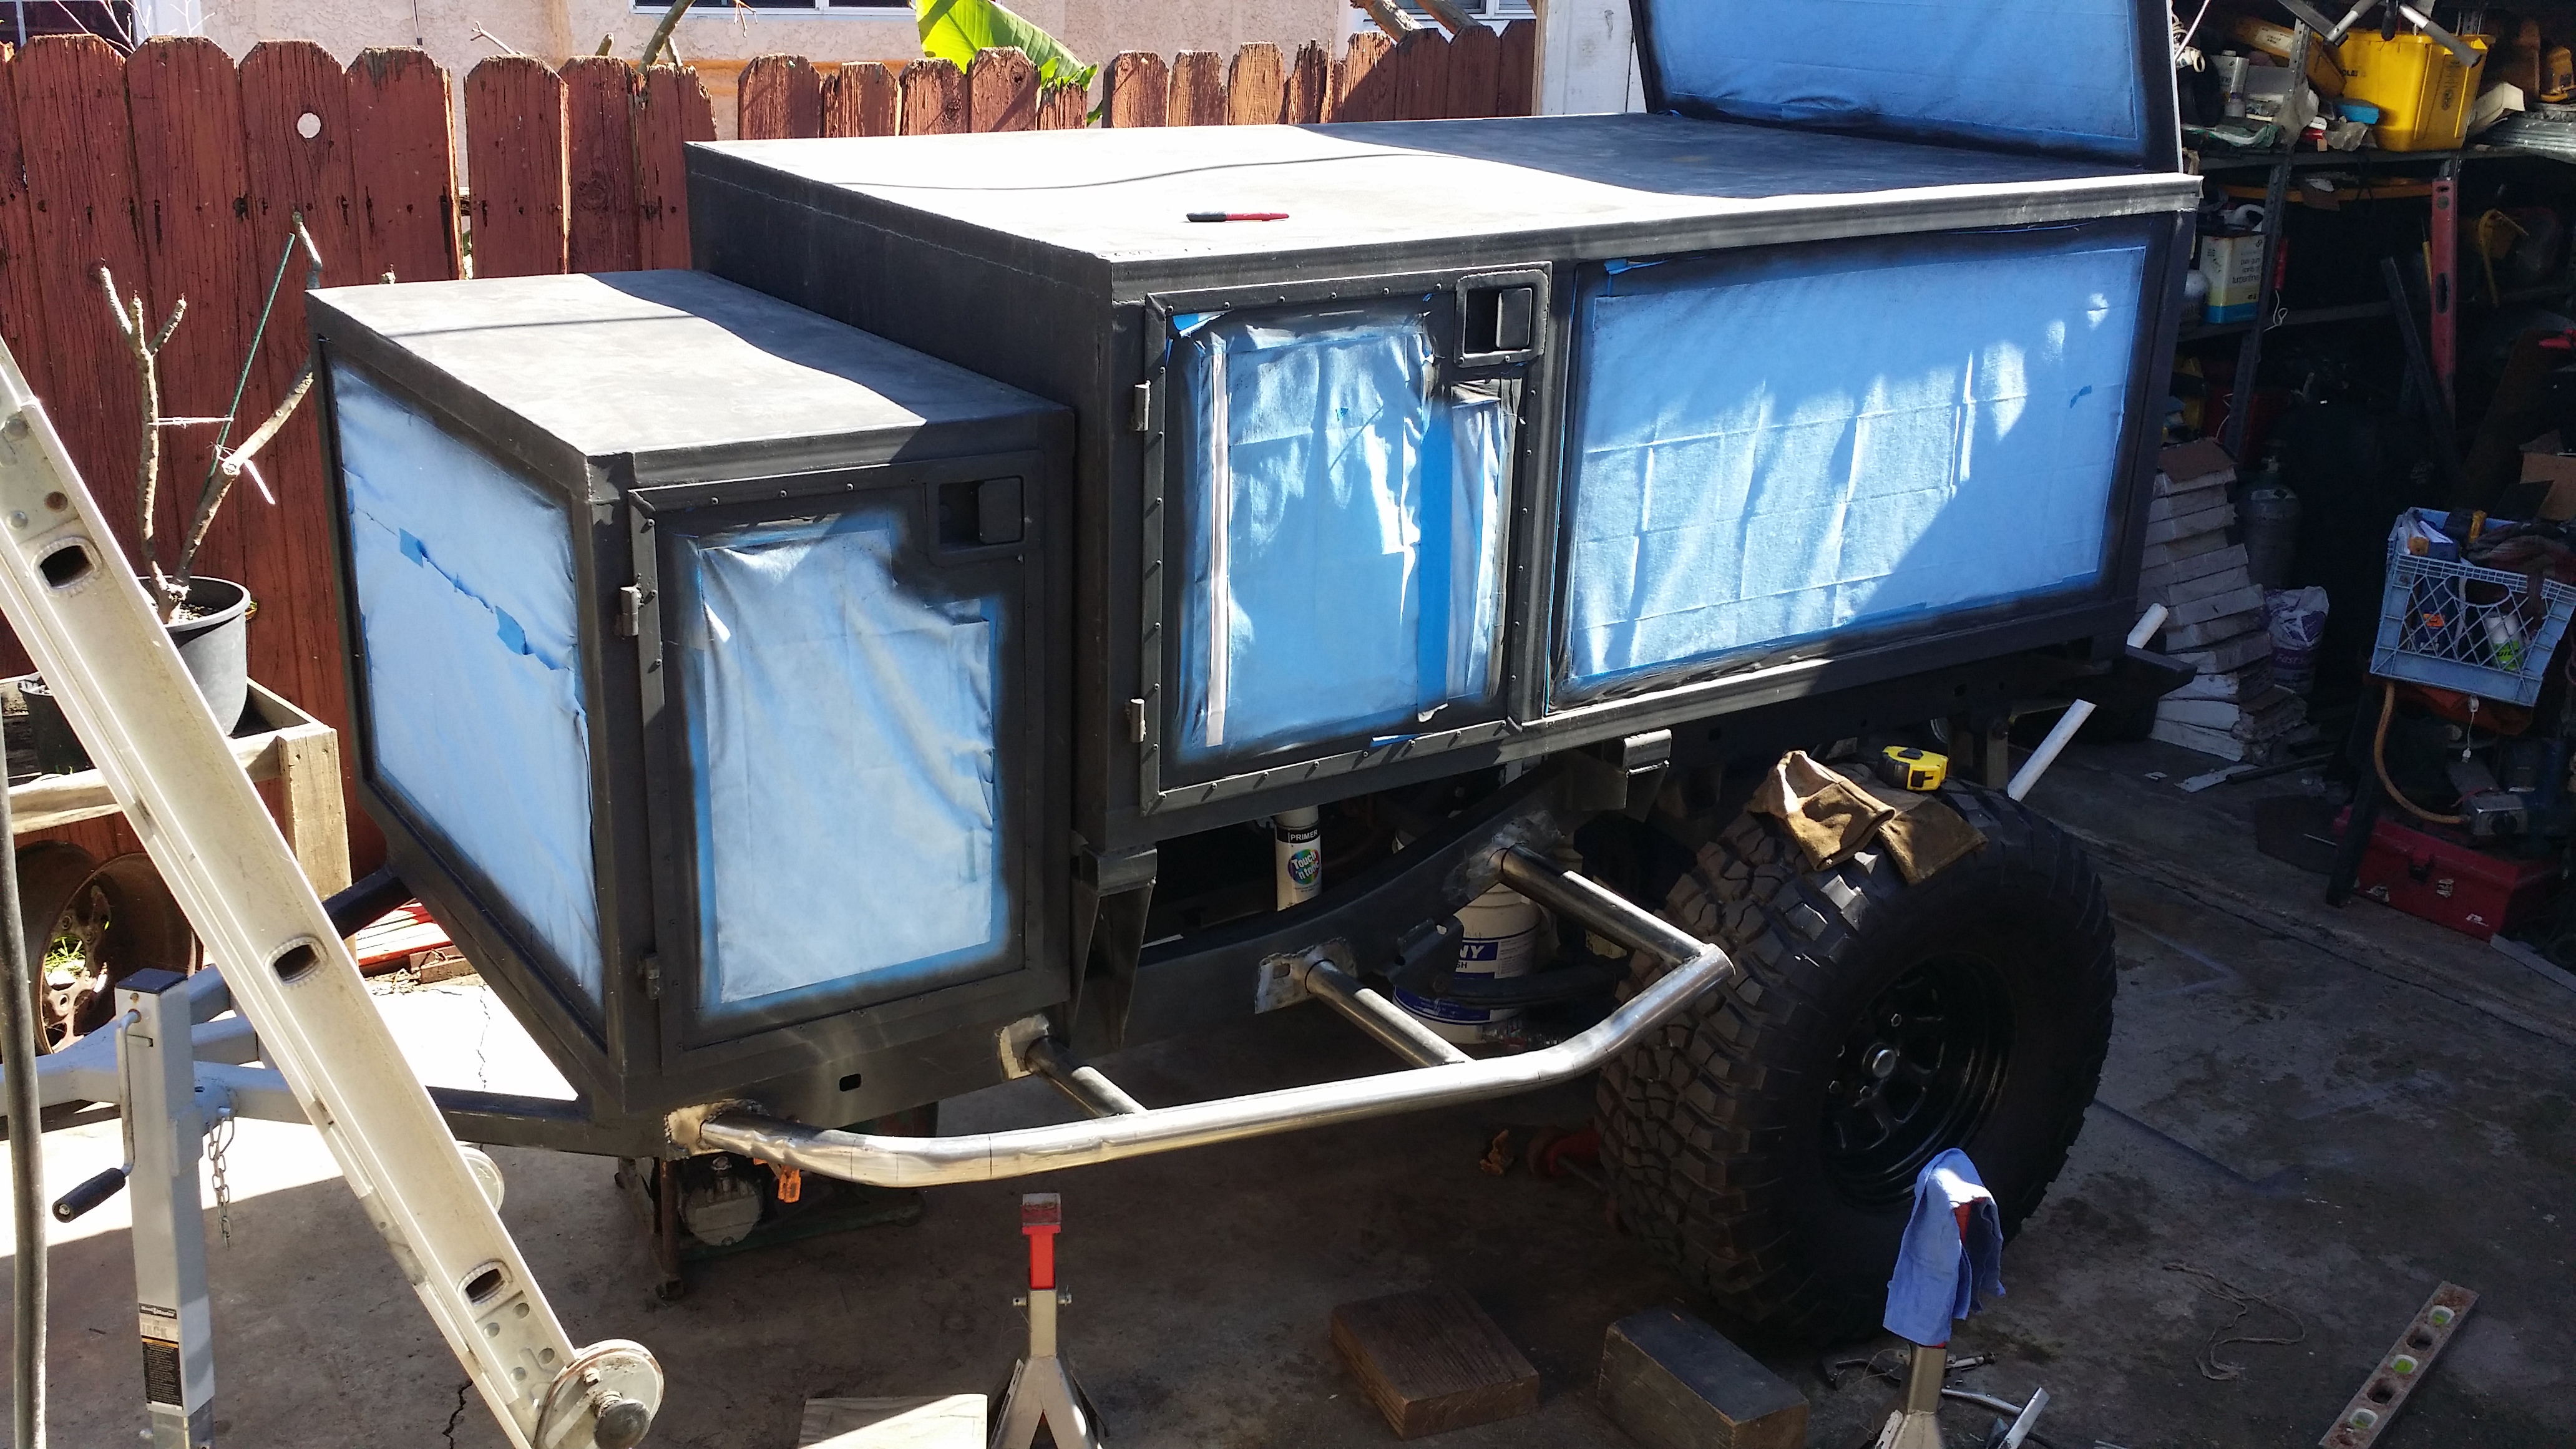
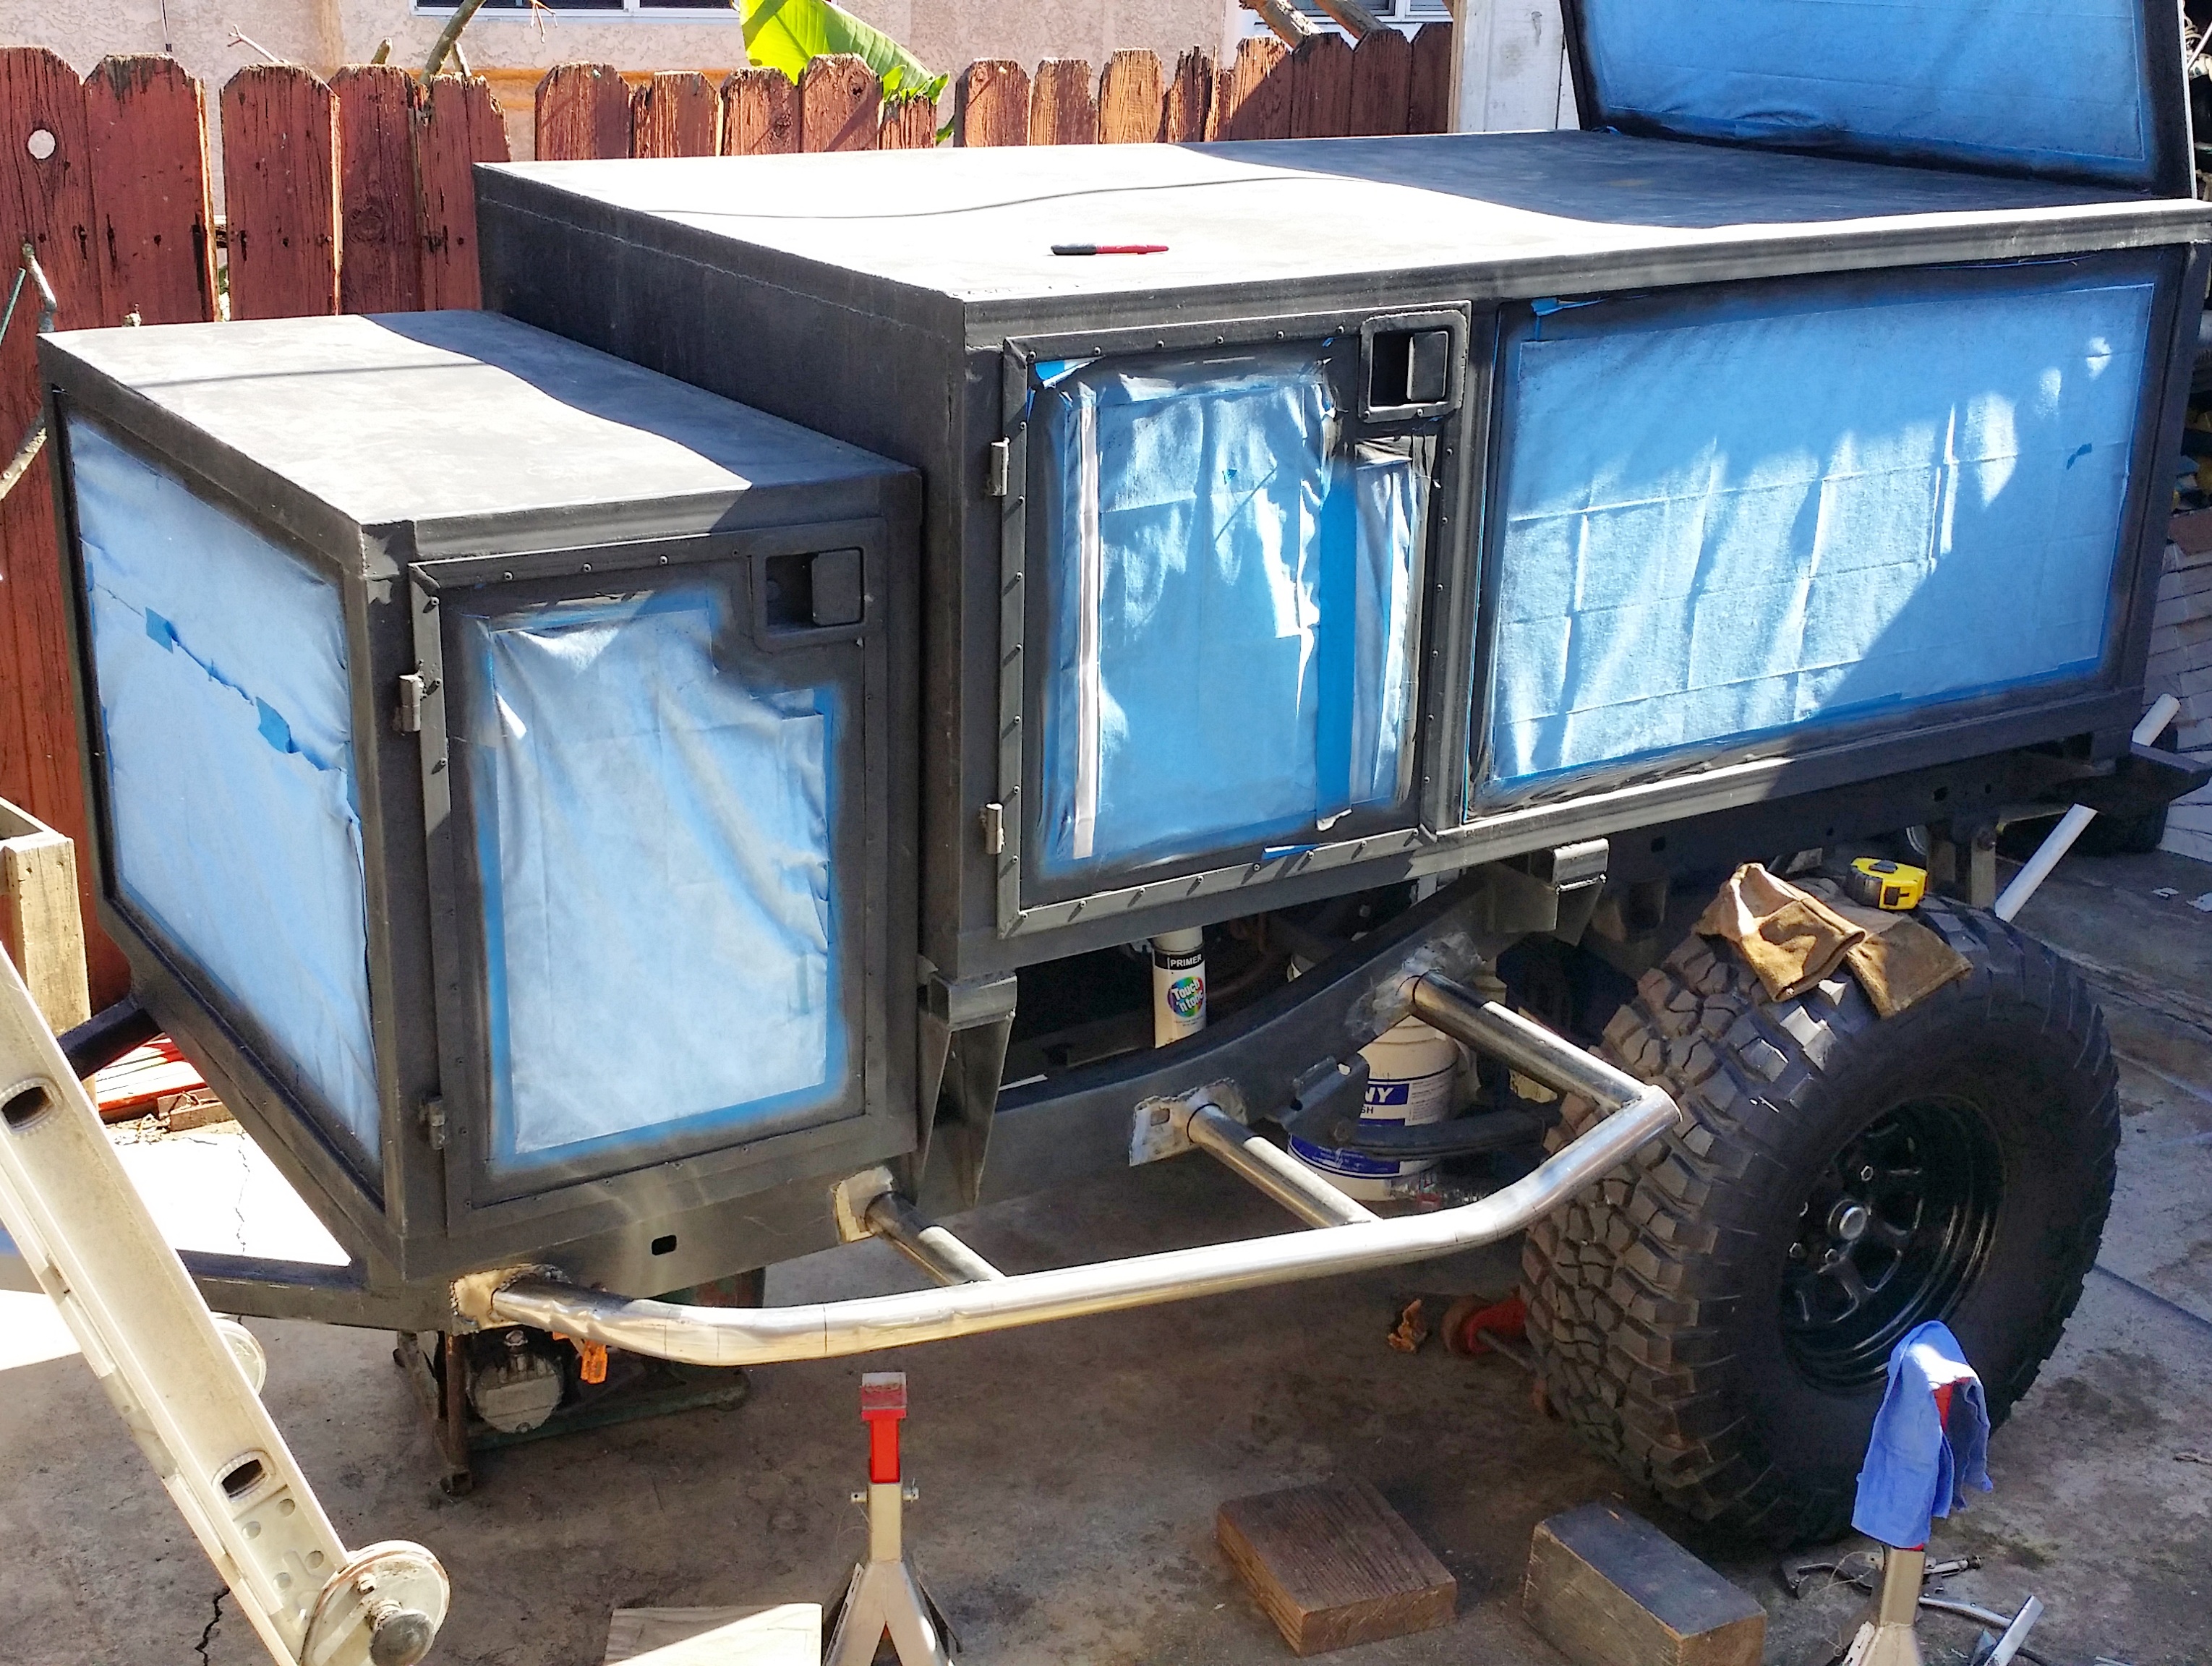
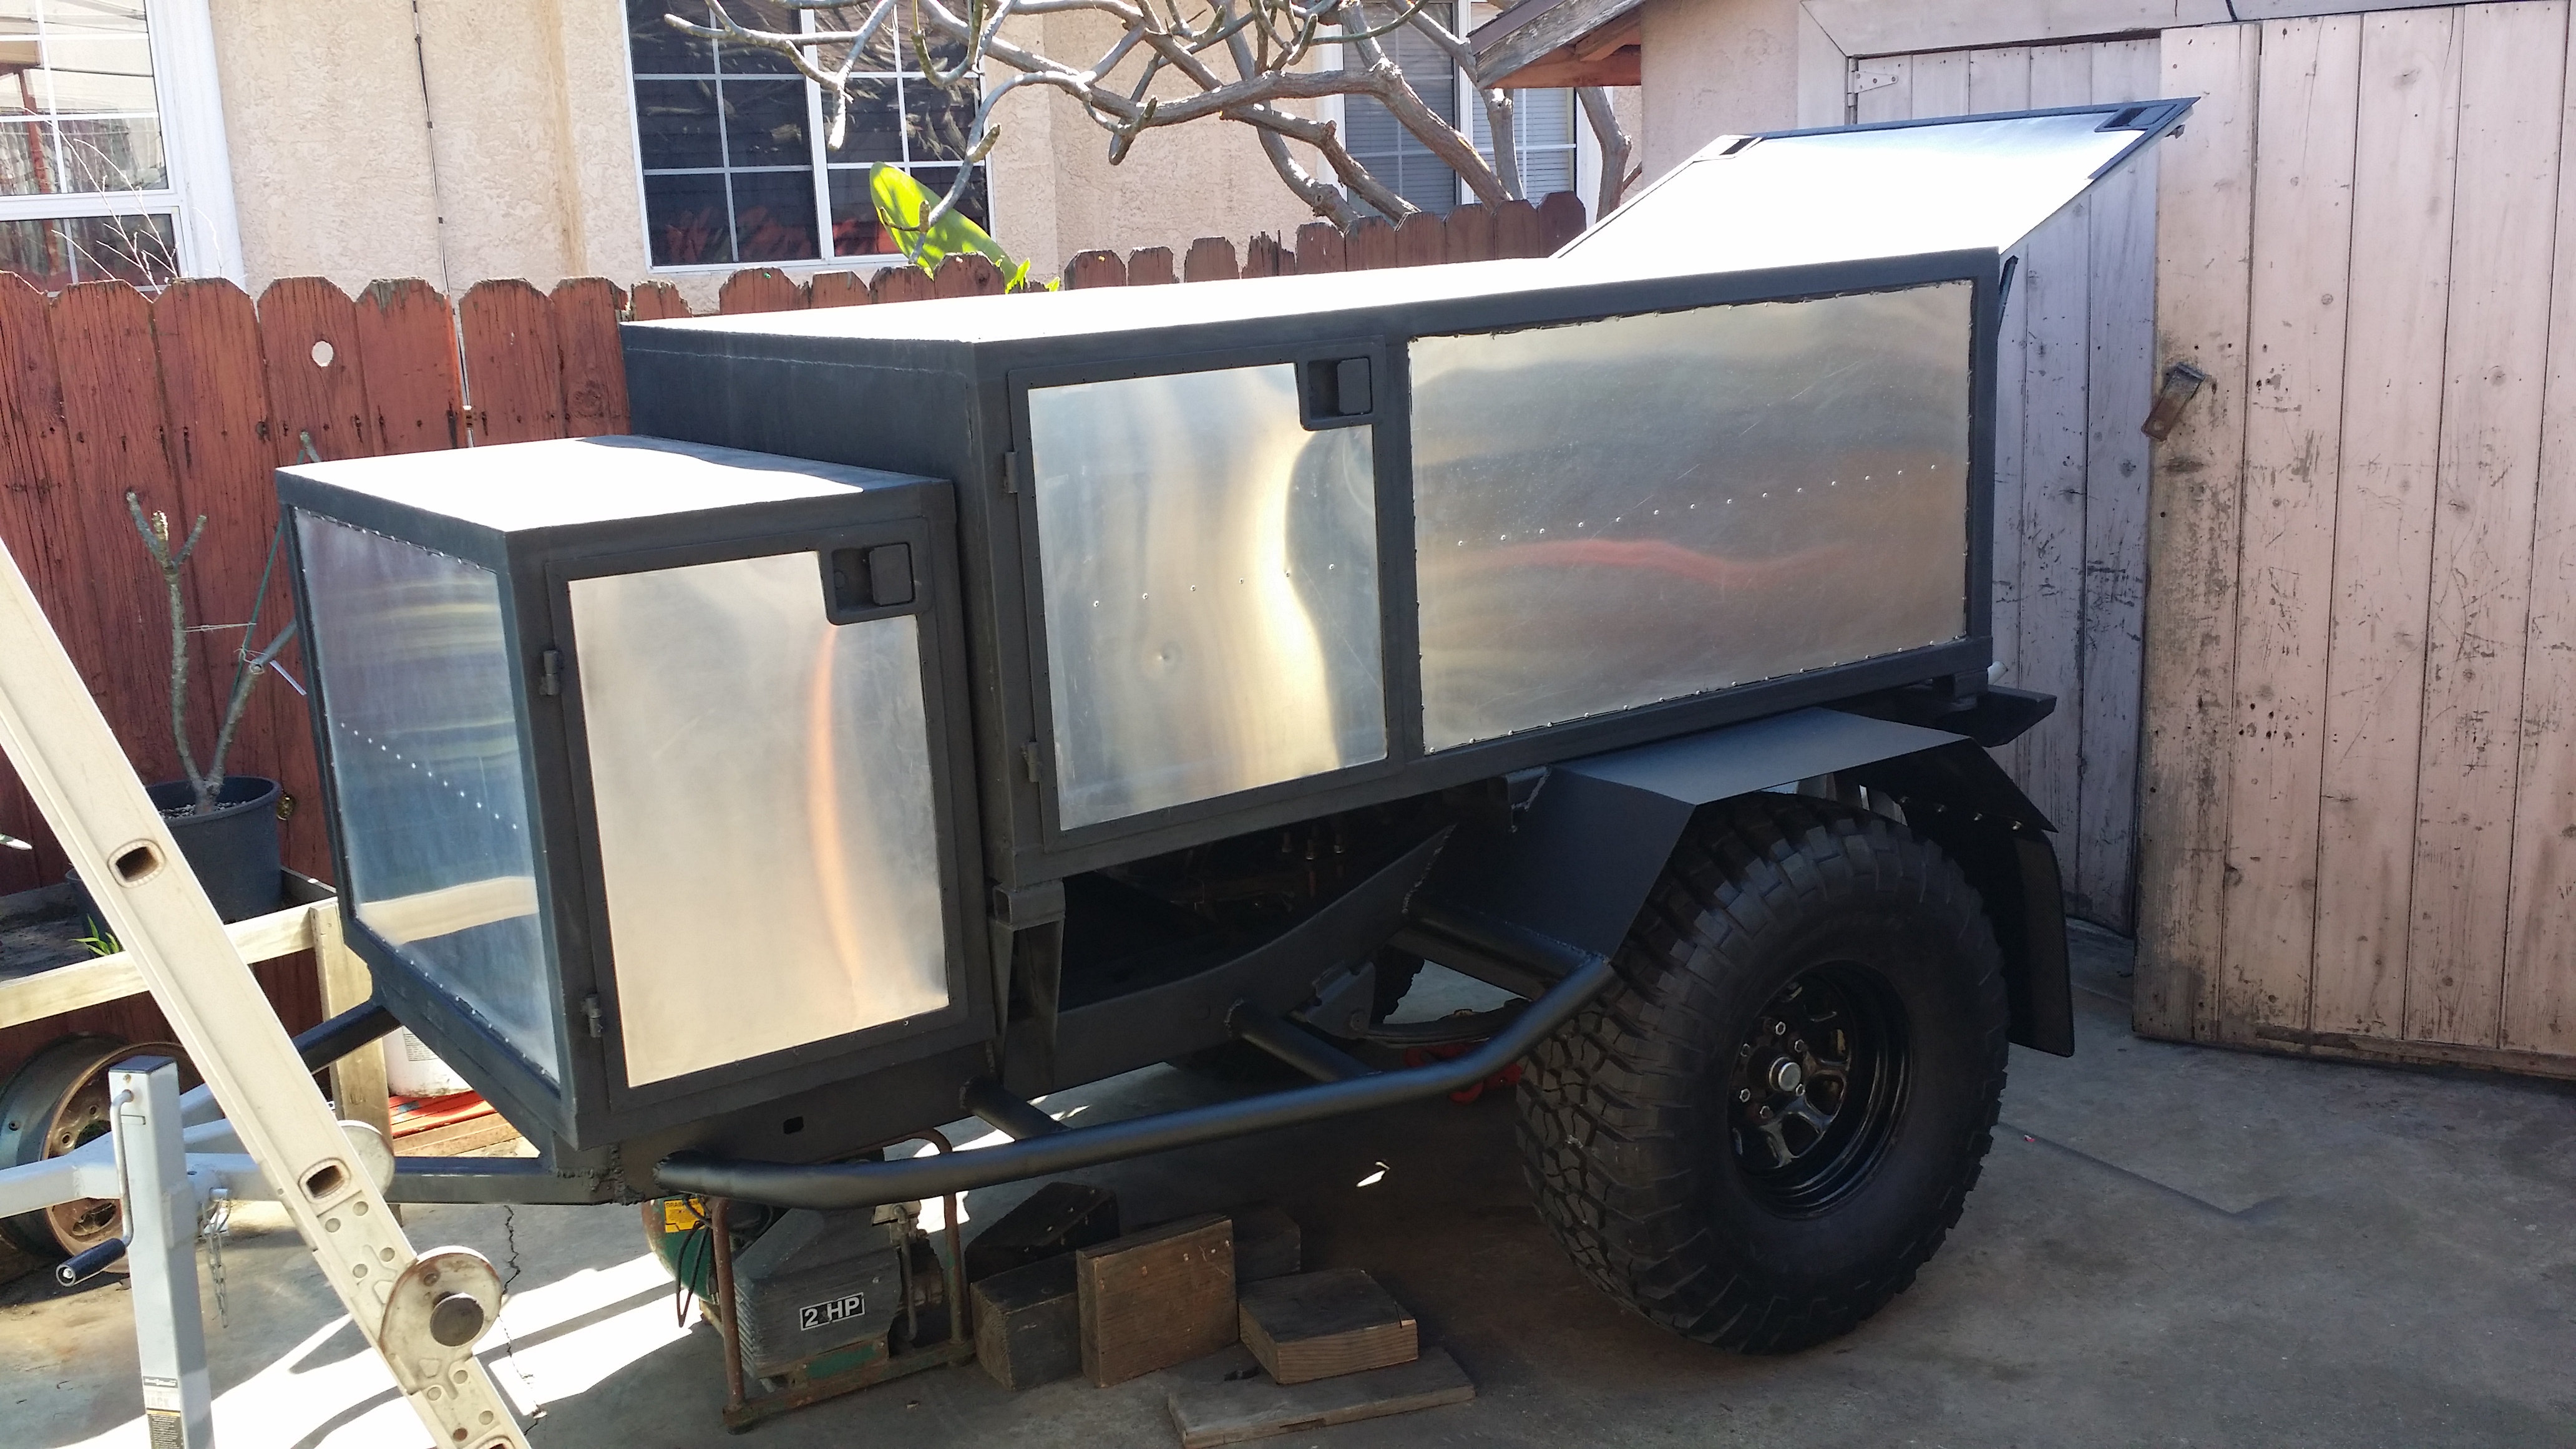
I didnt get around to doing very much today due to a dentist appointment that took an eternity to get out of. but I got around to painting everything its final color. Even mounted the mud flaps. I also took down the outer wall covers that I put when a few months ago when I painted the exterior. I forgot how nice this trailer looks when the bare aluminum walls and rivets are exposed. It's gonna look sweet when it's done.
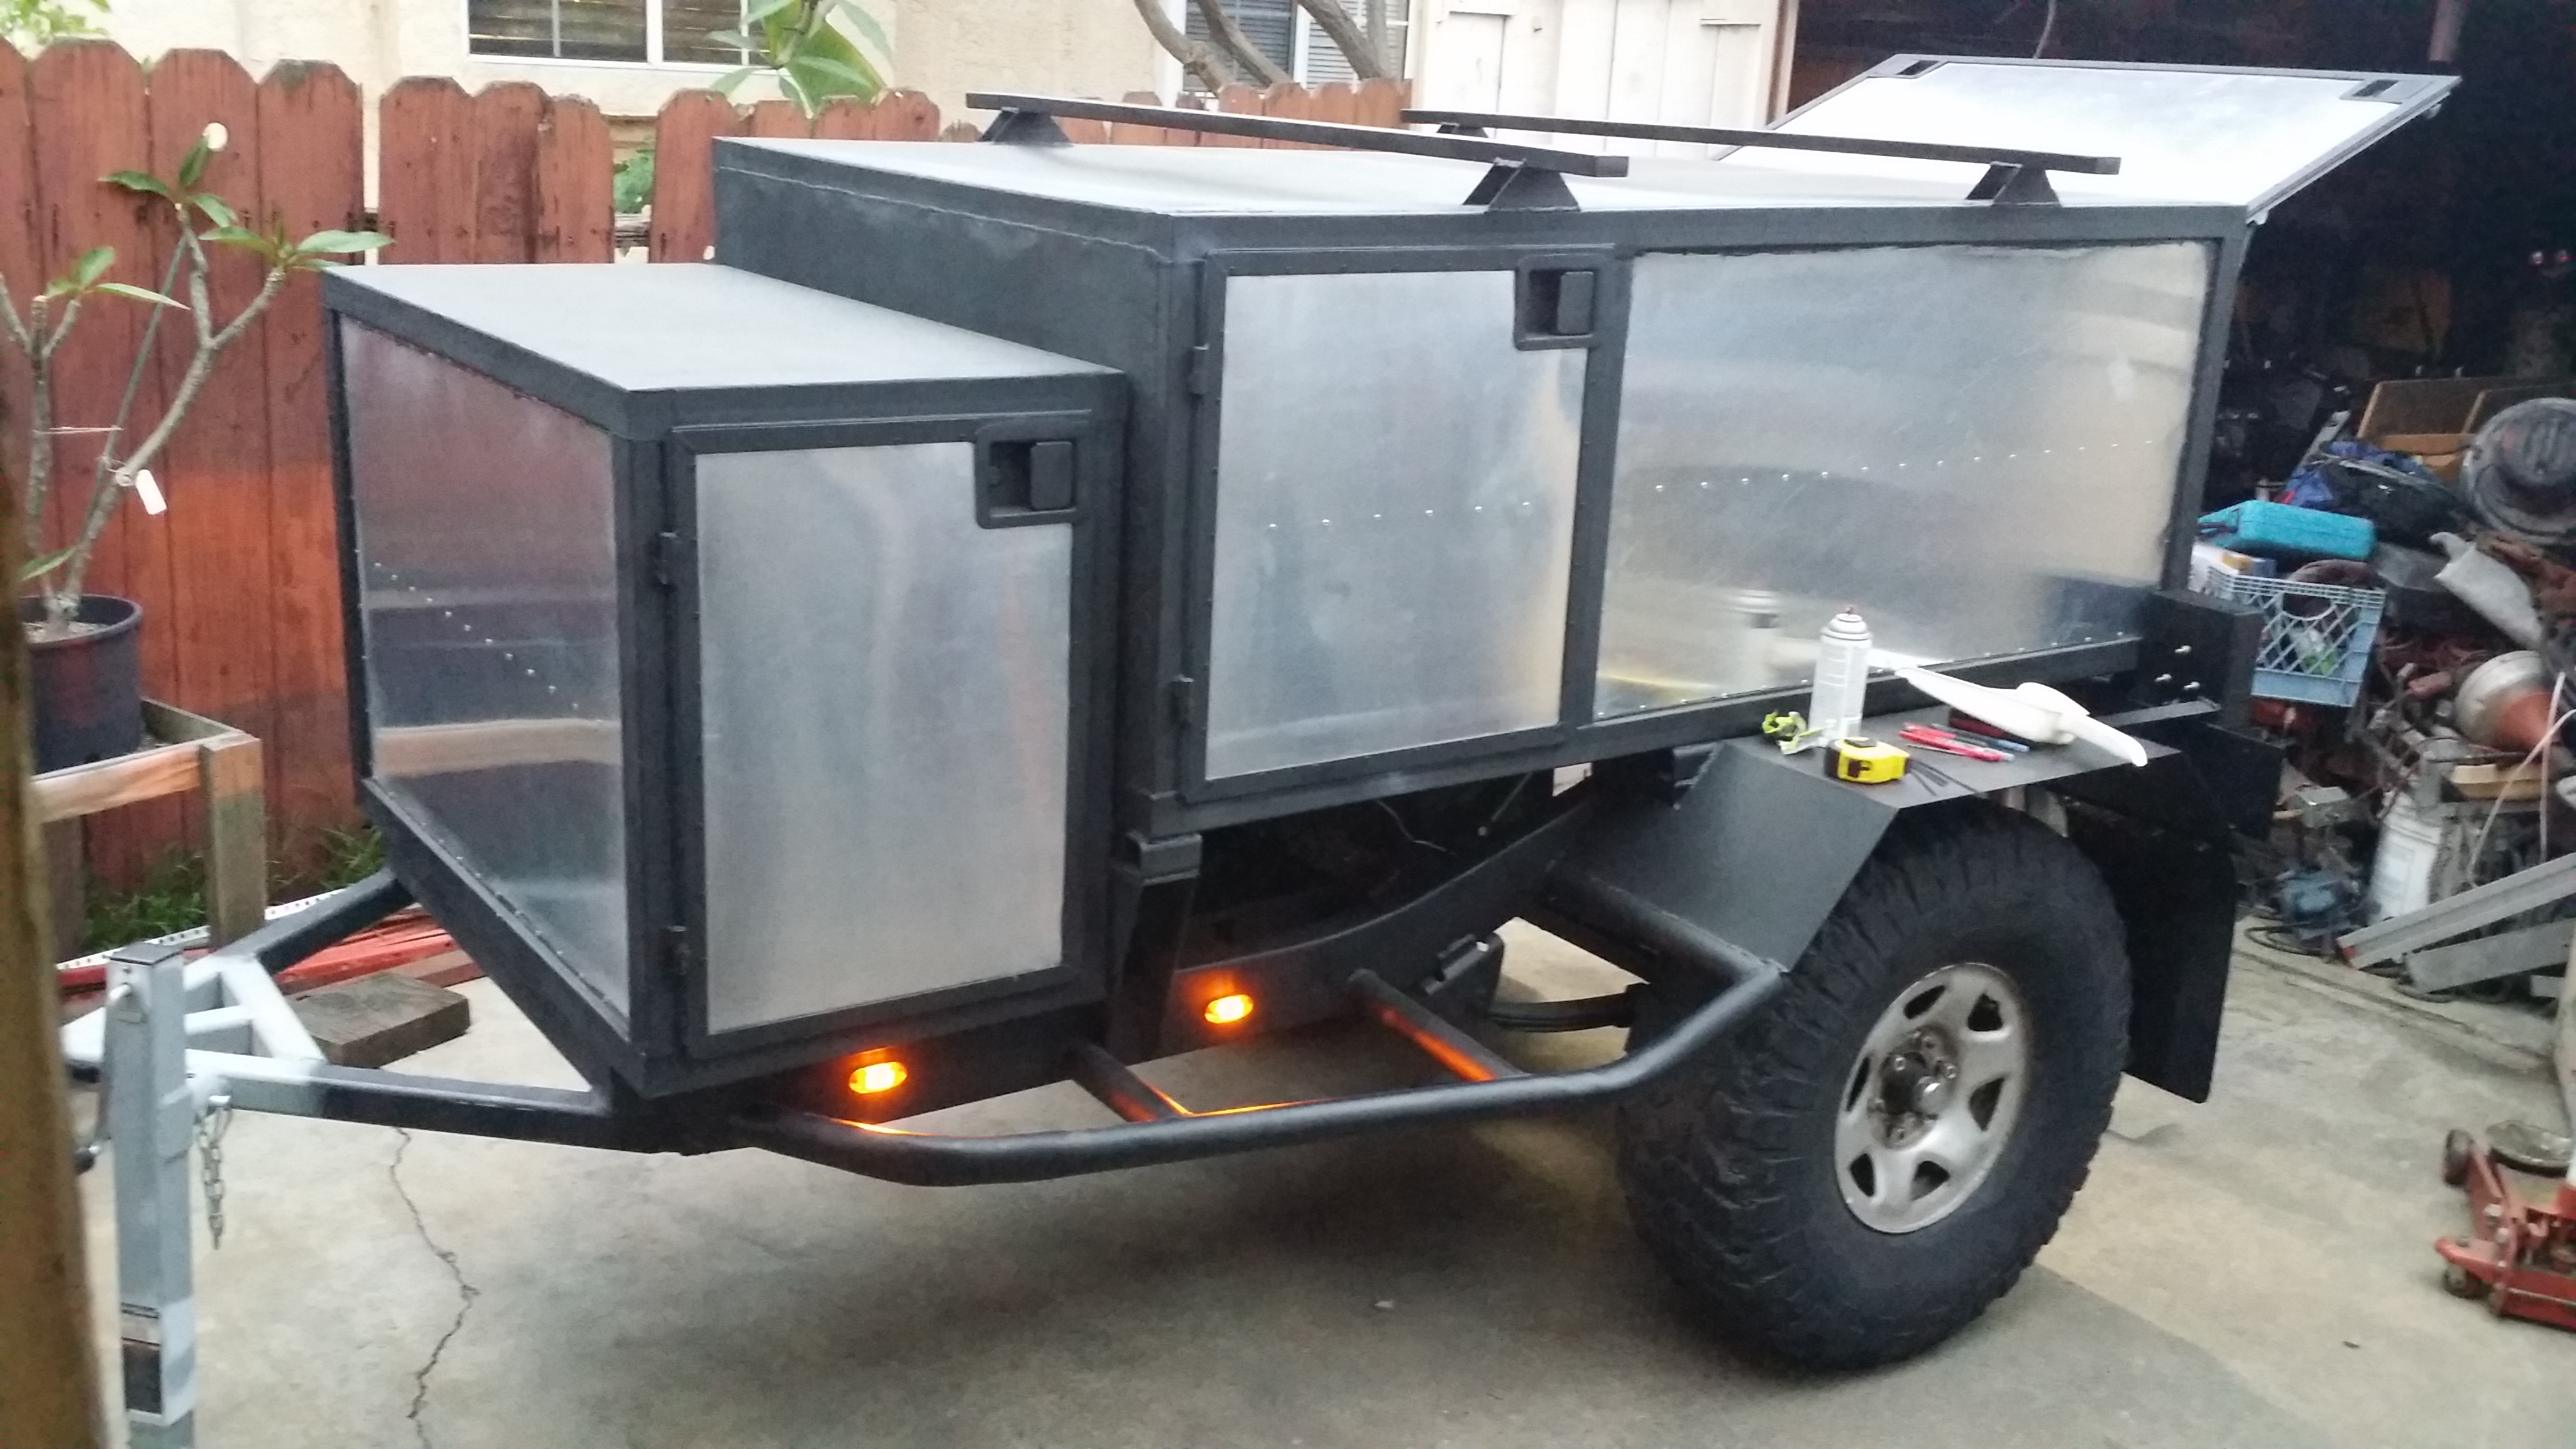
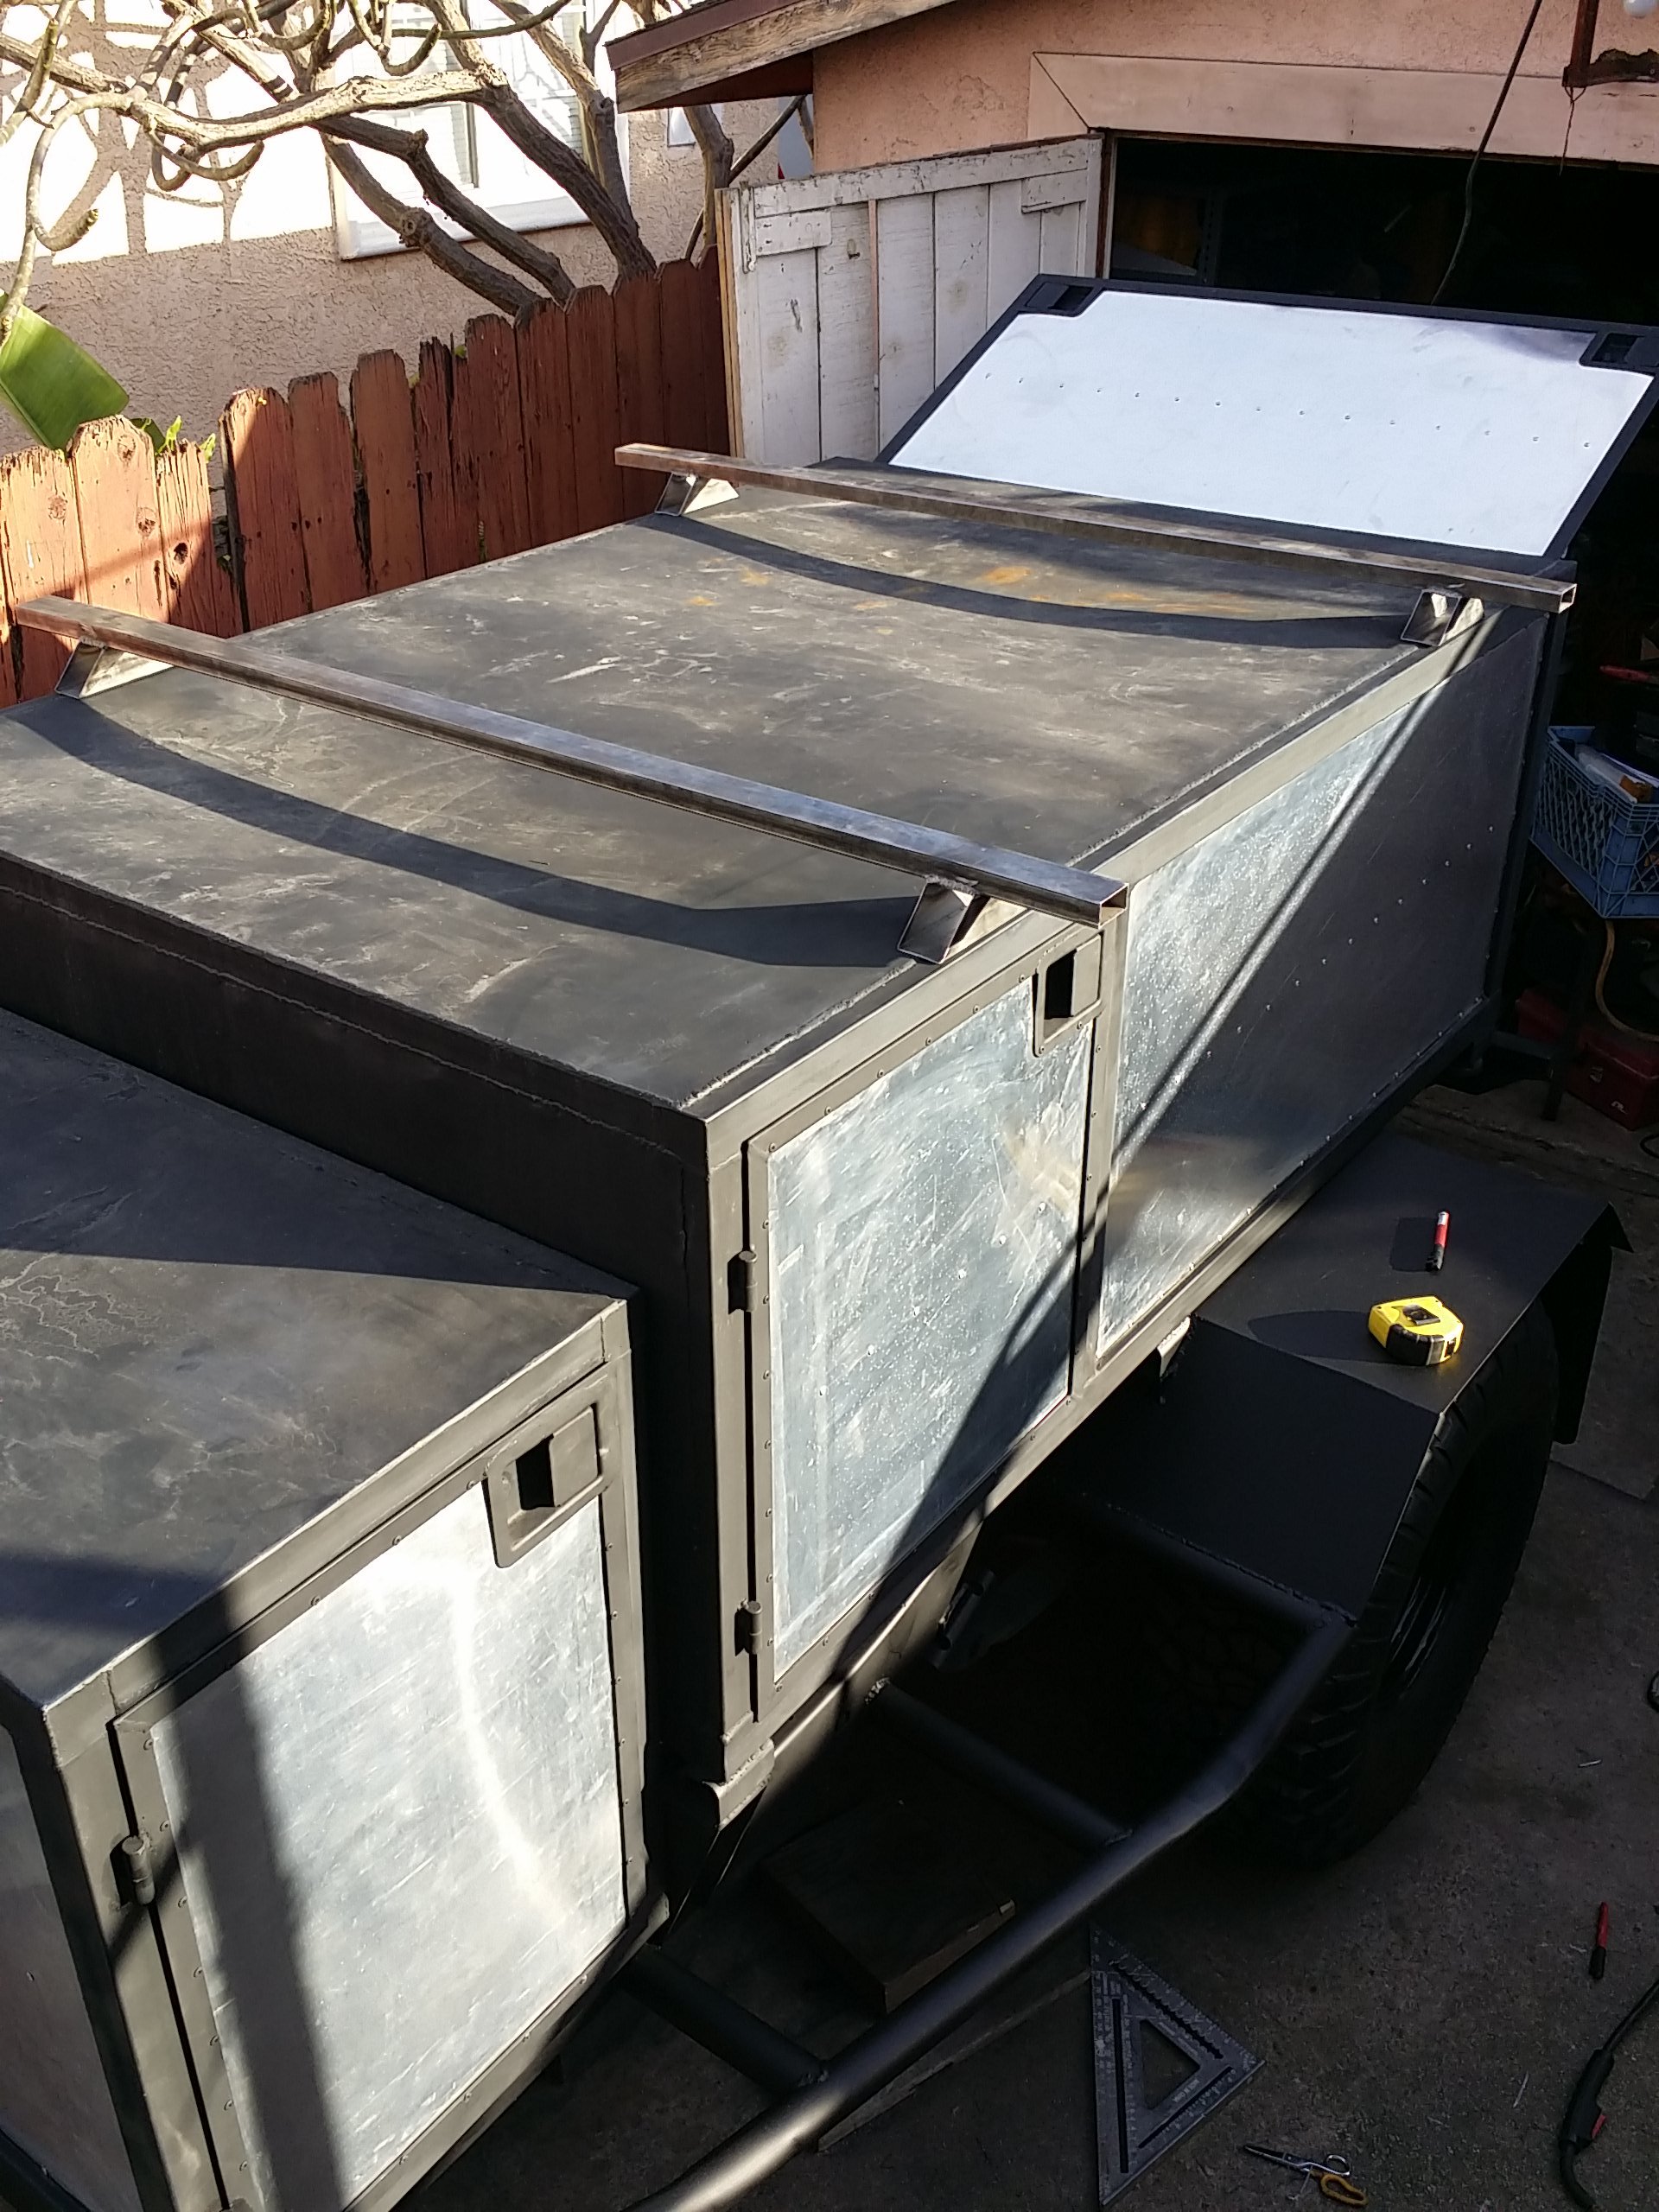
I was planning to weld the roof rack rails on the too until i saw that my roof had a bit of rust accumulating and after further inspection i saw that the entire roofs paint was starting to look nasty. i blame myself for using cheap paint back when i started. So i began to clean up all the paint on top and i reprimed the roof then when that dried i painted that. Really thats all i did today.
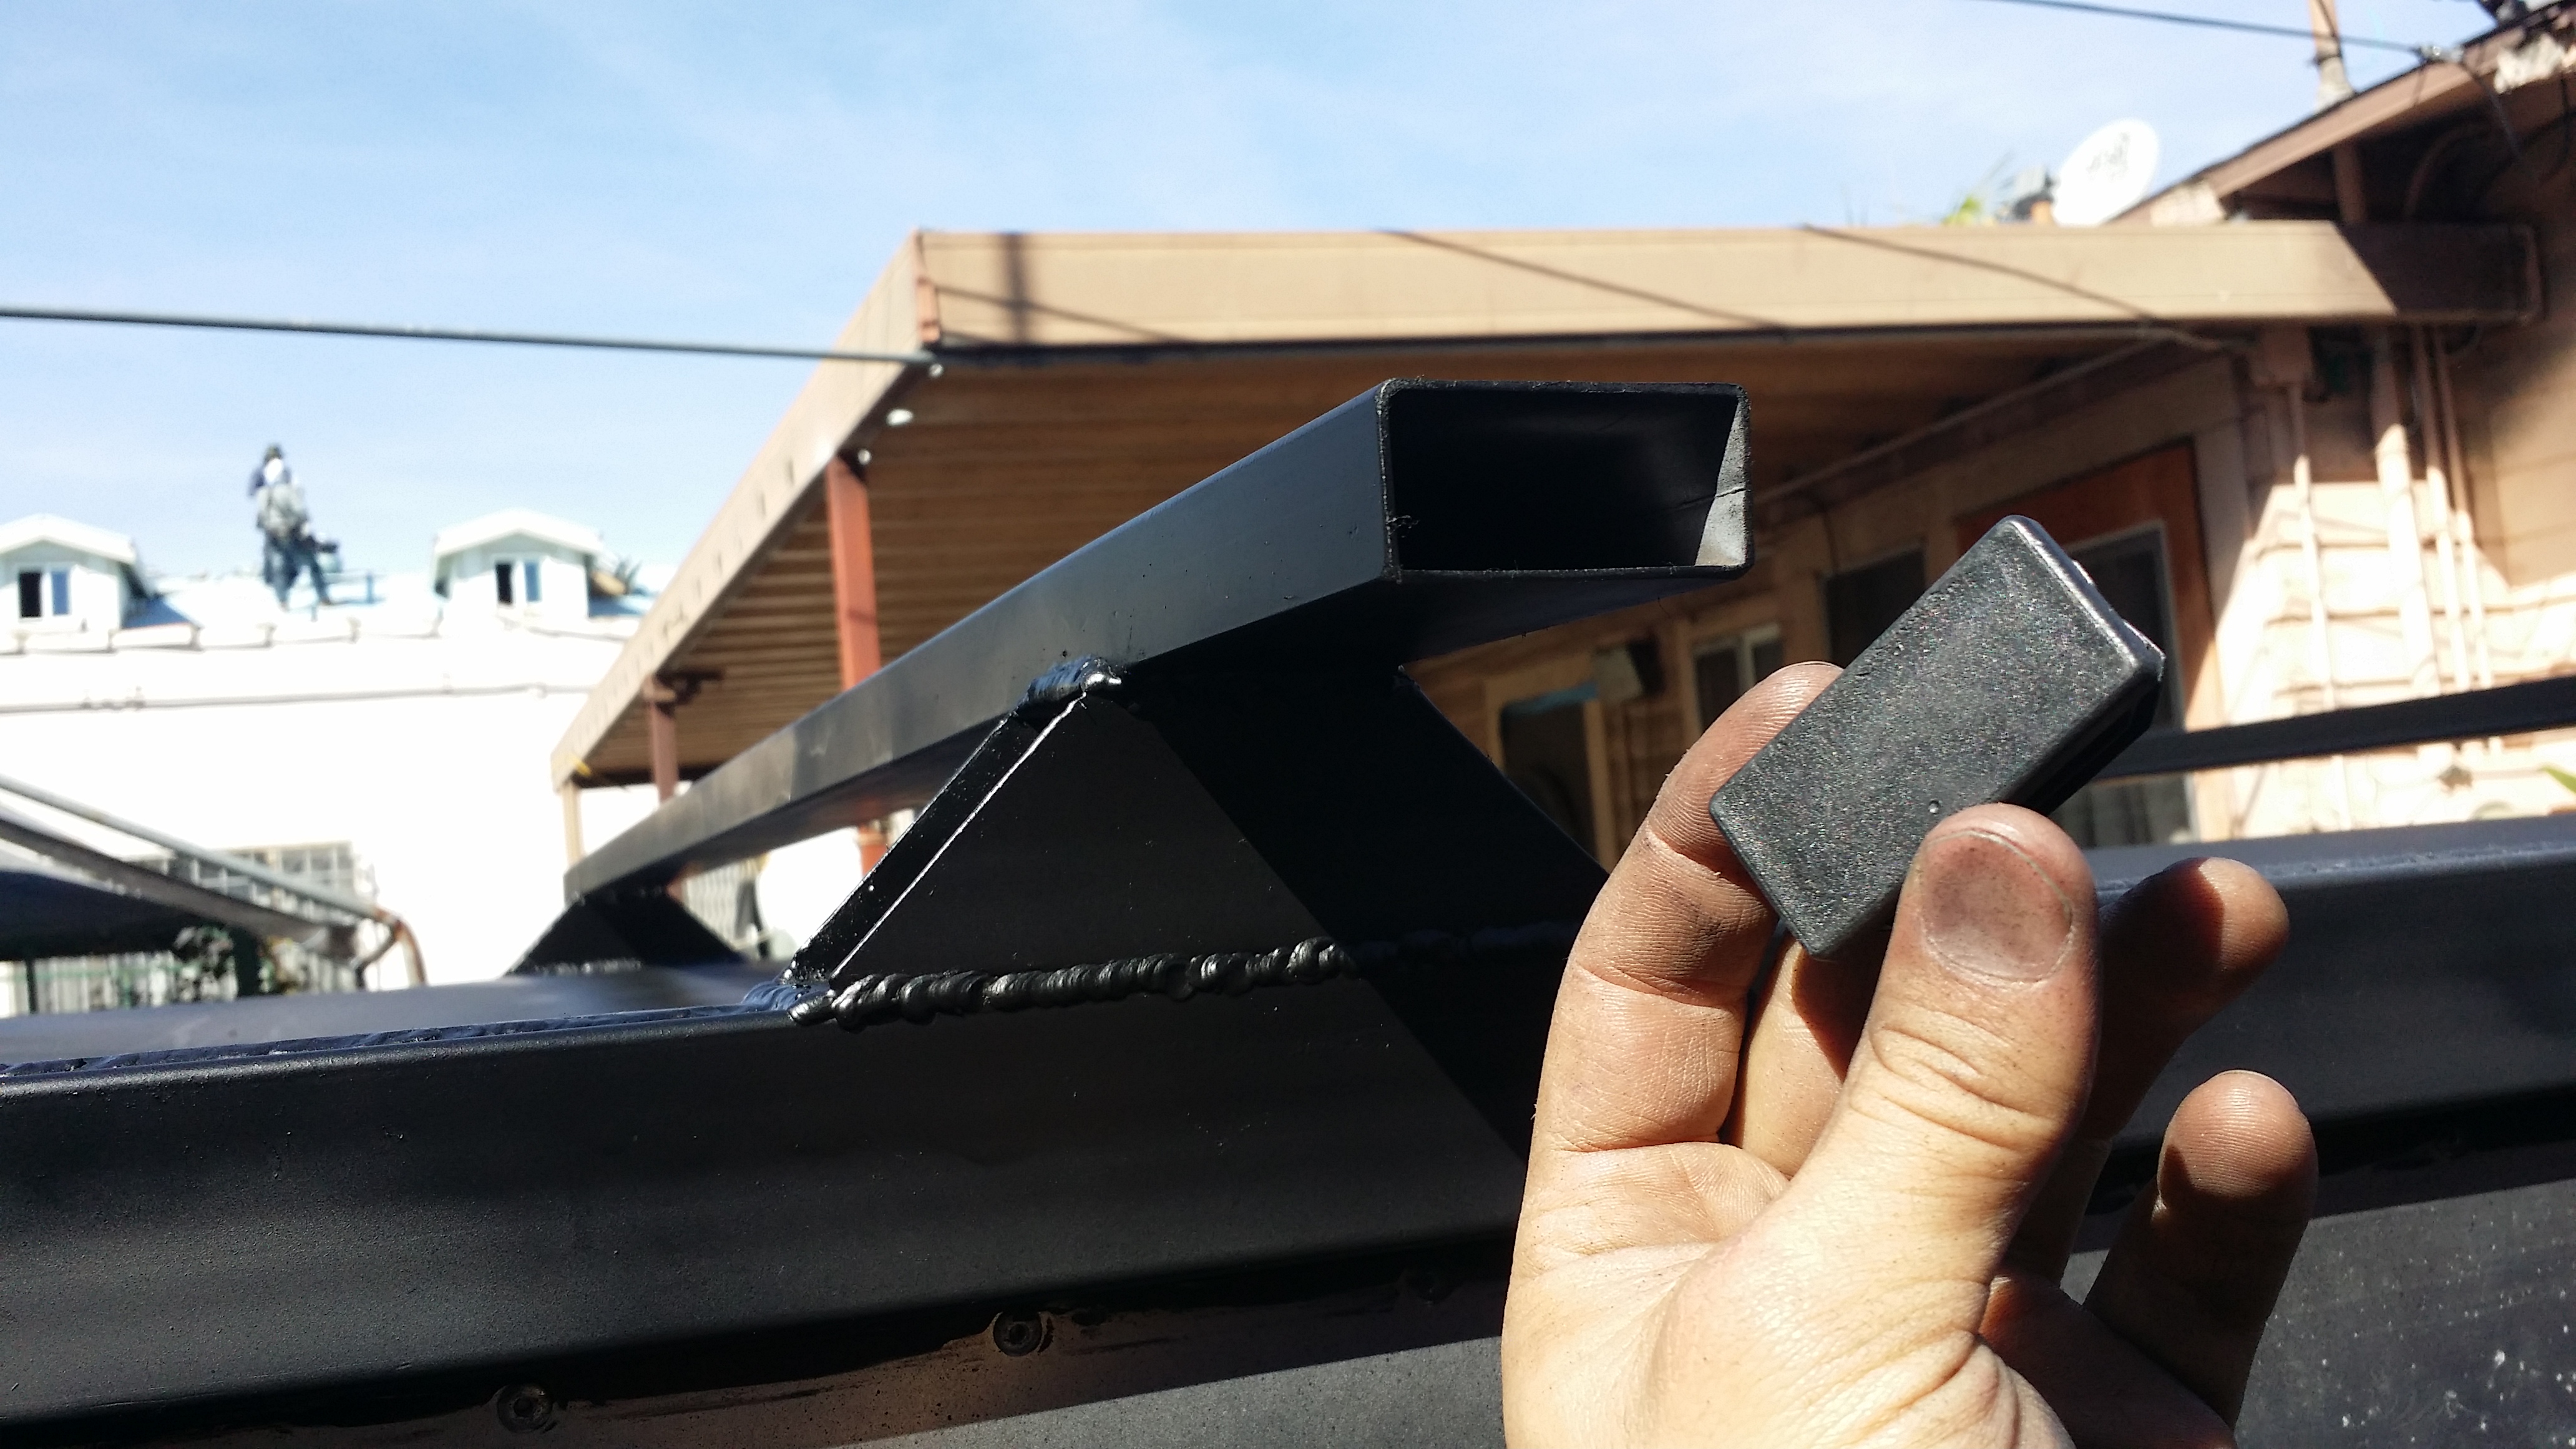
Today i got a bunch done. I woke up early to start with the roof rack. IT came out really sturdy. I called the CVT Tent main line to find out what the exact distance needs to be between these 2 rails for the future CVT Mt Rainier Summit Series tent that I plan to mount on top. 35" apart center to center.
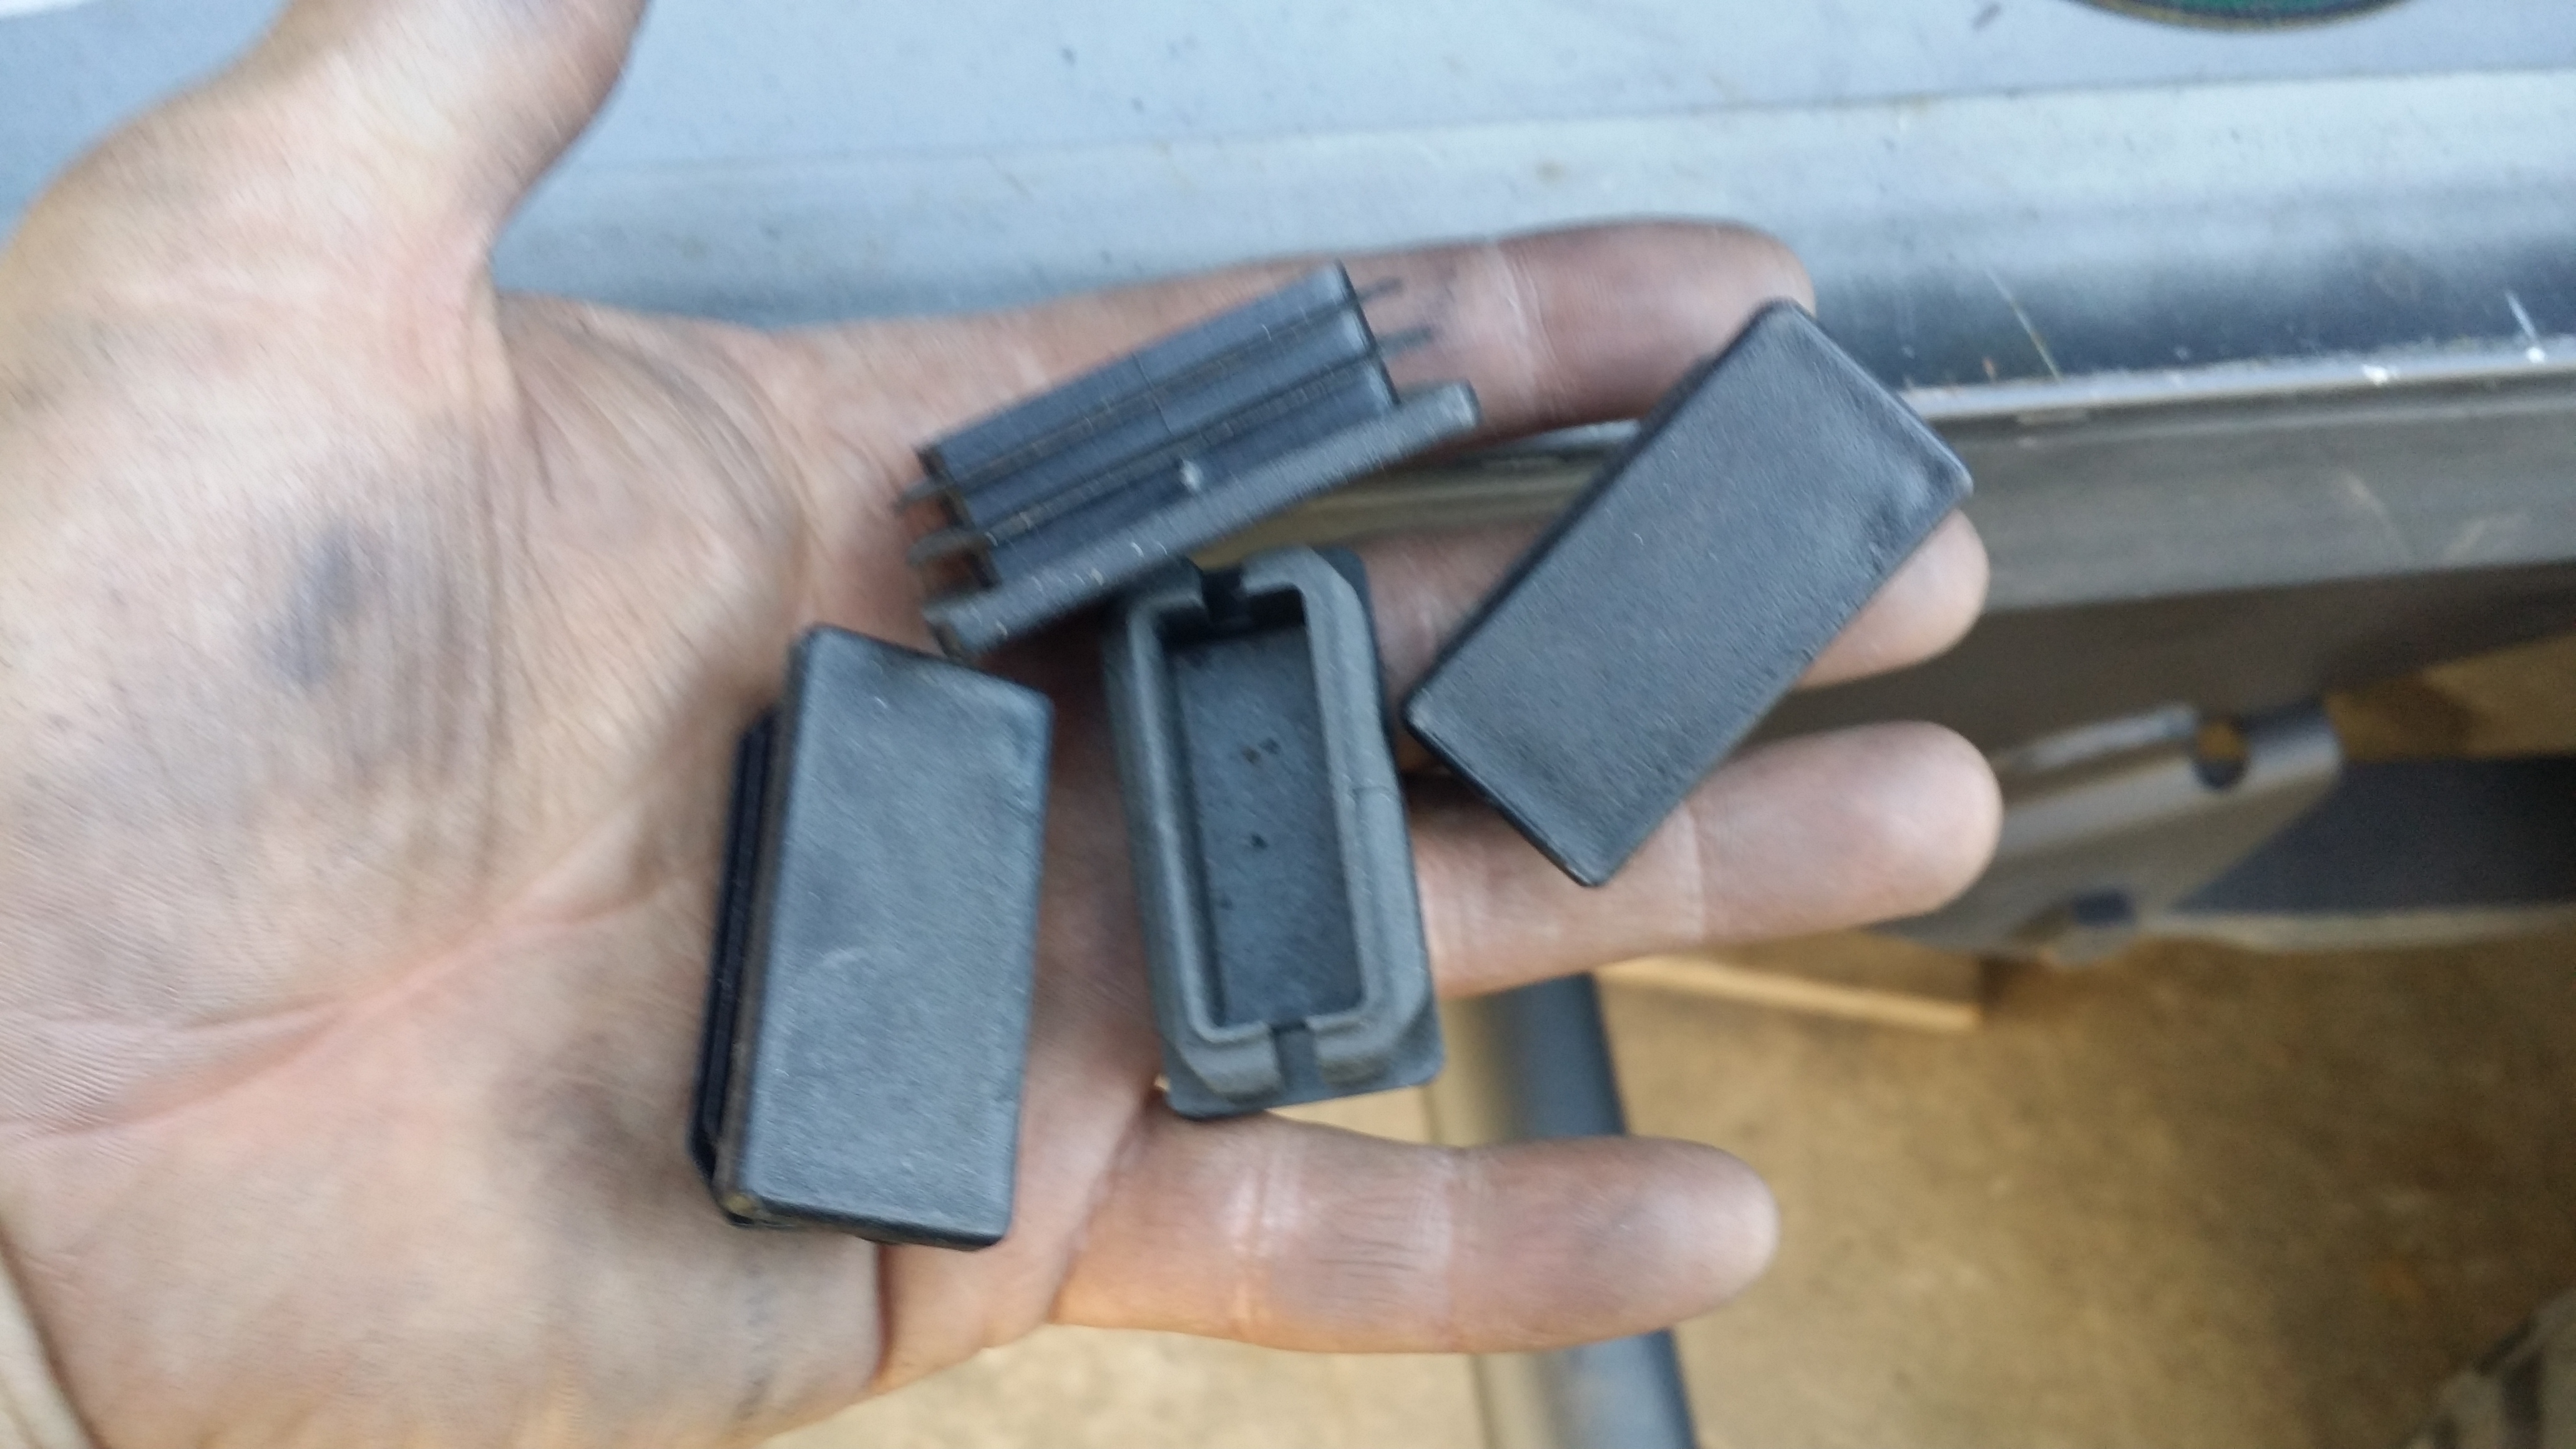
Also got end caps for the roof rack tubes so the inside isn't all exposed the the elements.
After breakfast i welded together the tail light armor that will encase the tail lights from bushes and some light tree branches. Anything really to keep them from busting on the trail.
Then i began to see how i would mount them onto the trailer other then just welding a 3" space because that wouldnt hold up much so i decided to add a 12" gusset of some spare "T" bar steel that i had left over. these mount from the outer/bottom of the tail light housings and attach onto the chassis. I Also decided to mount the license plate off center a bit from the tail light. it'll give cops or whatever others the ability to read the numbers on the license plate easily. If i hadnt done that the bumper would be covering more then it already does.
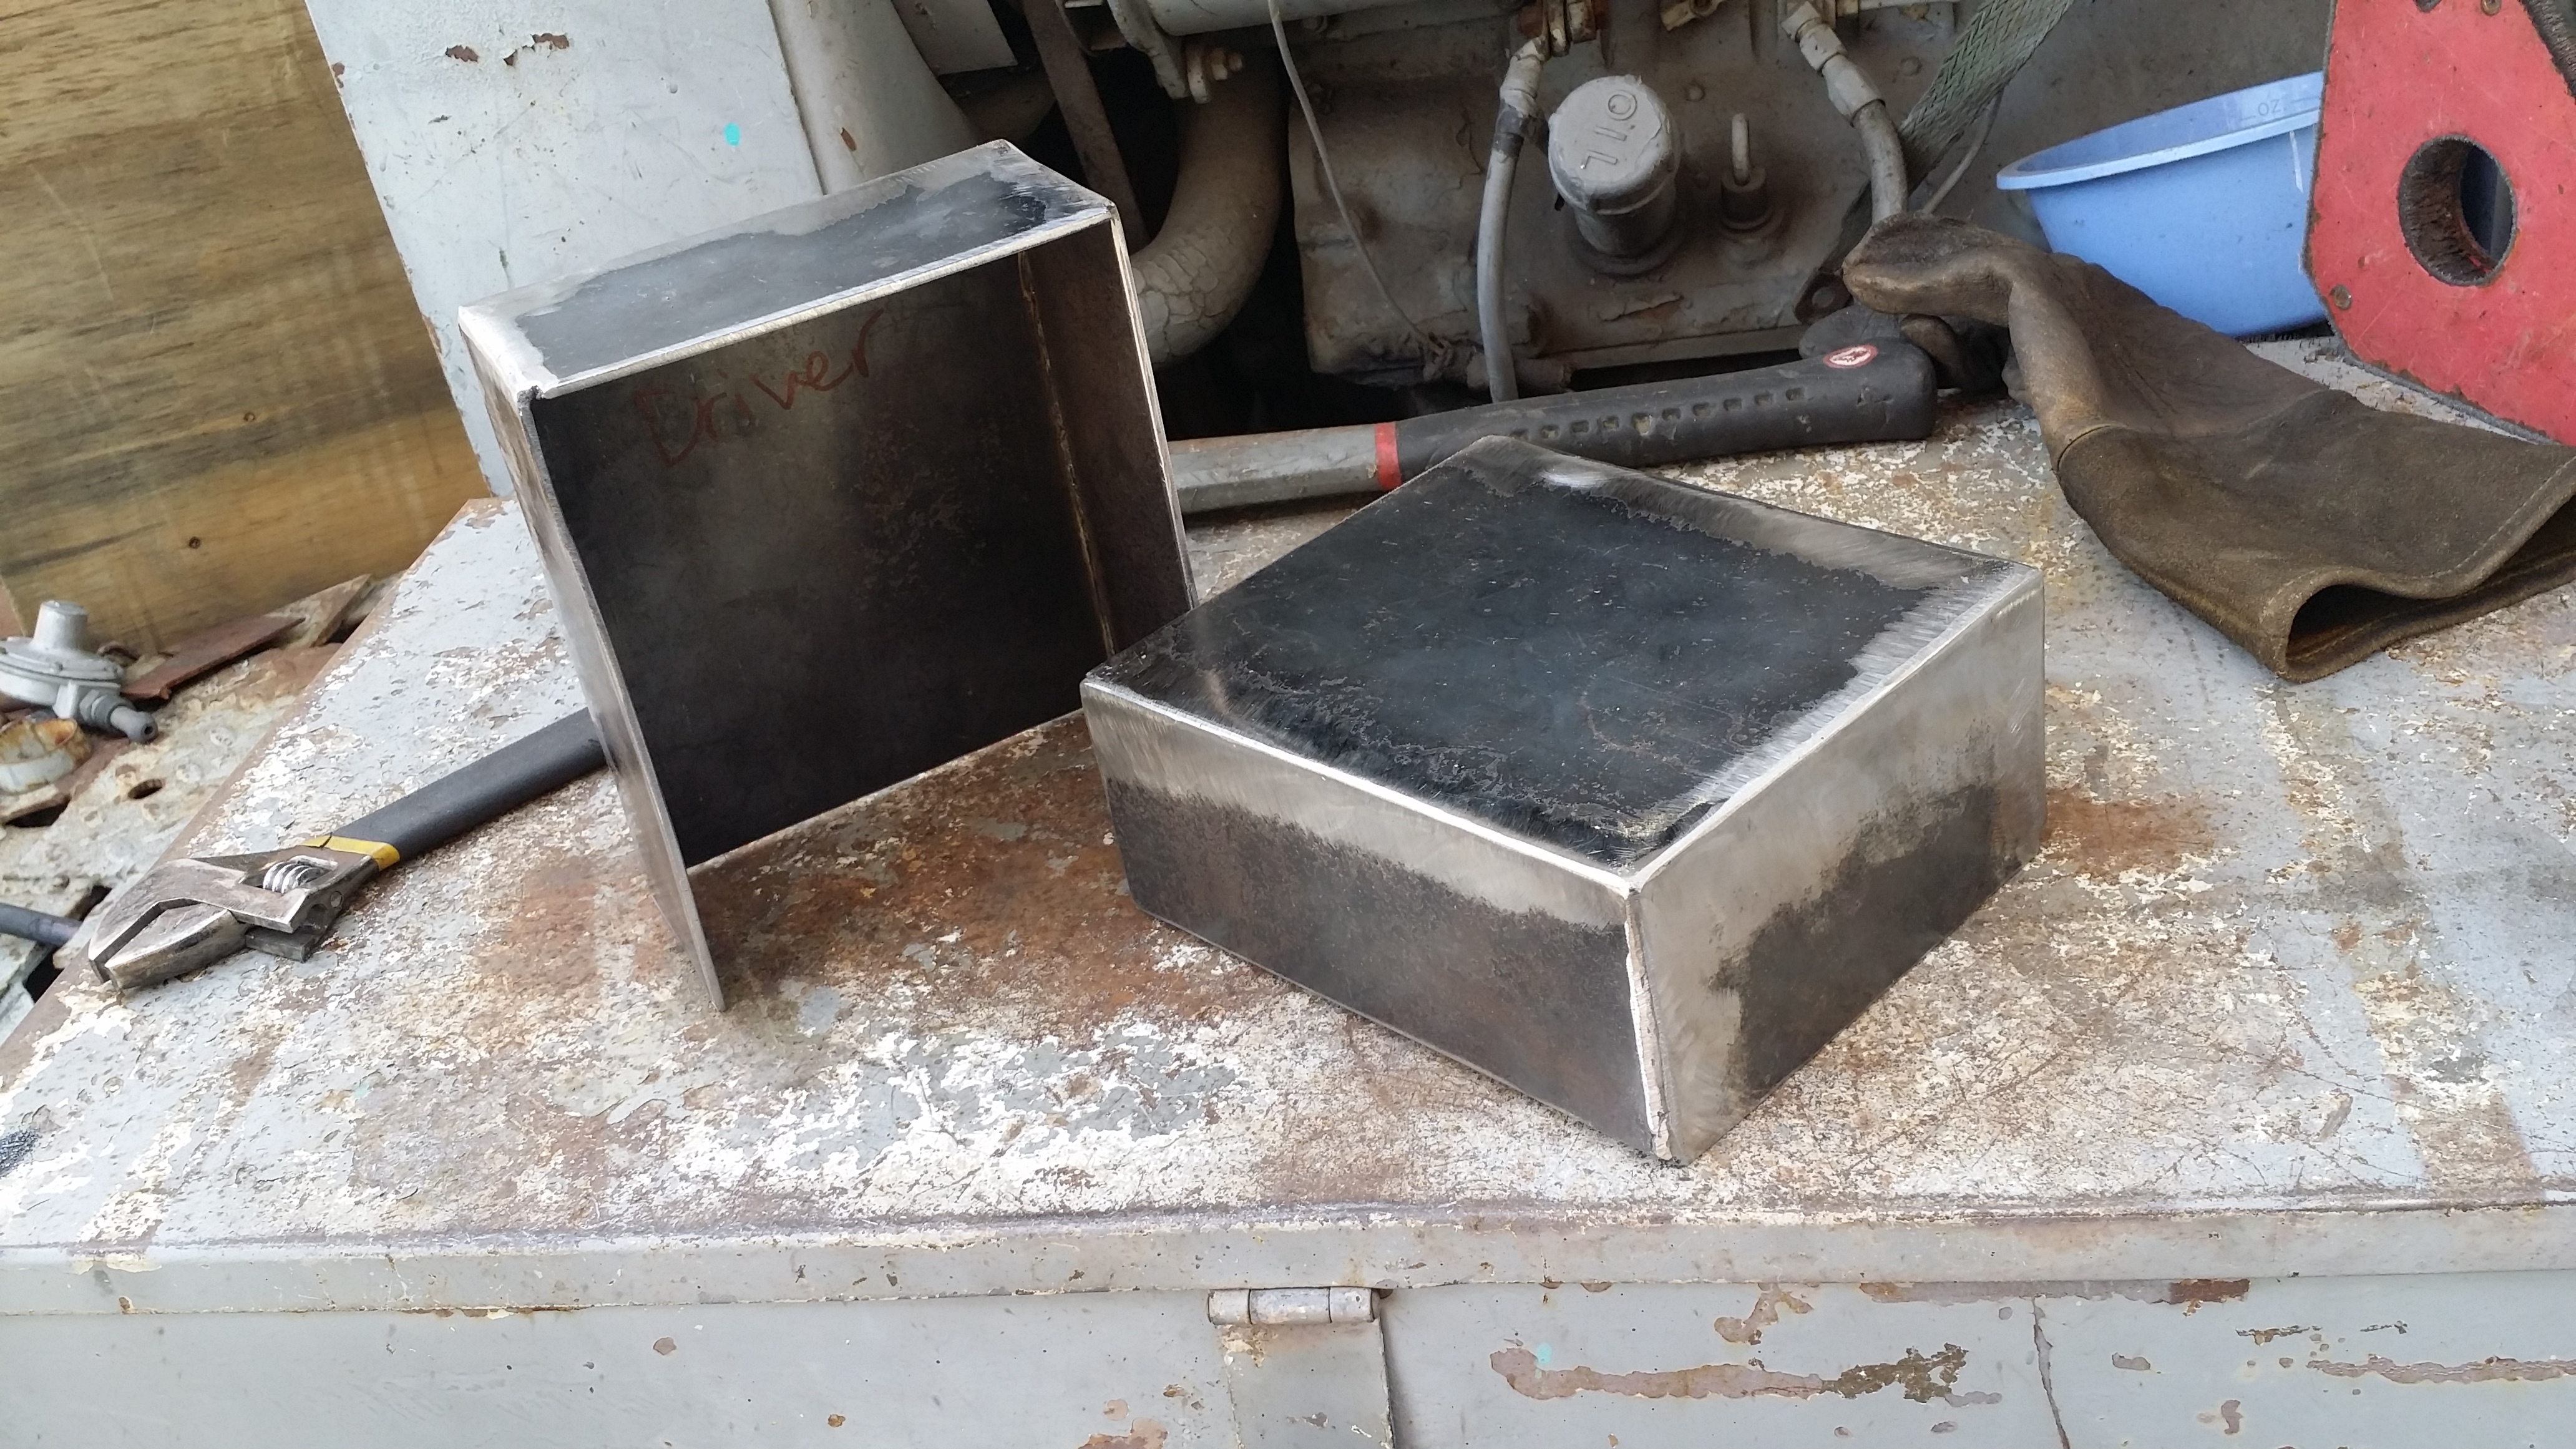
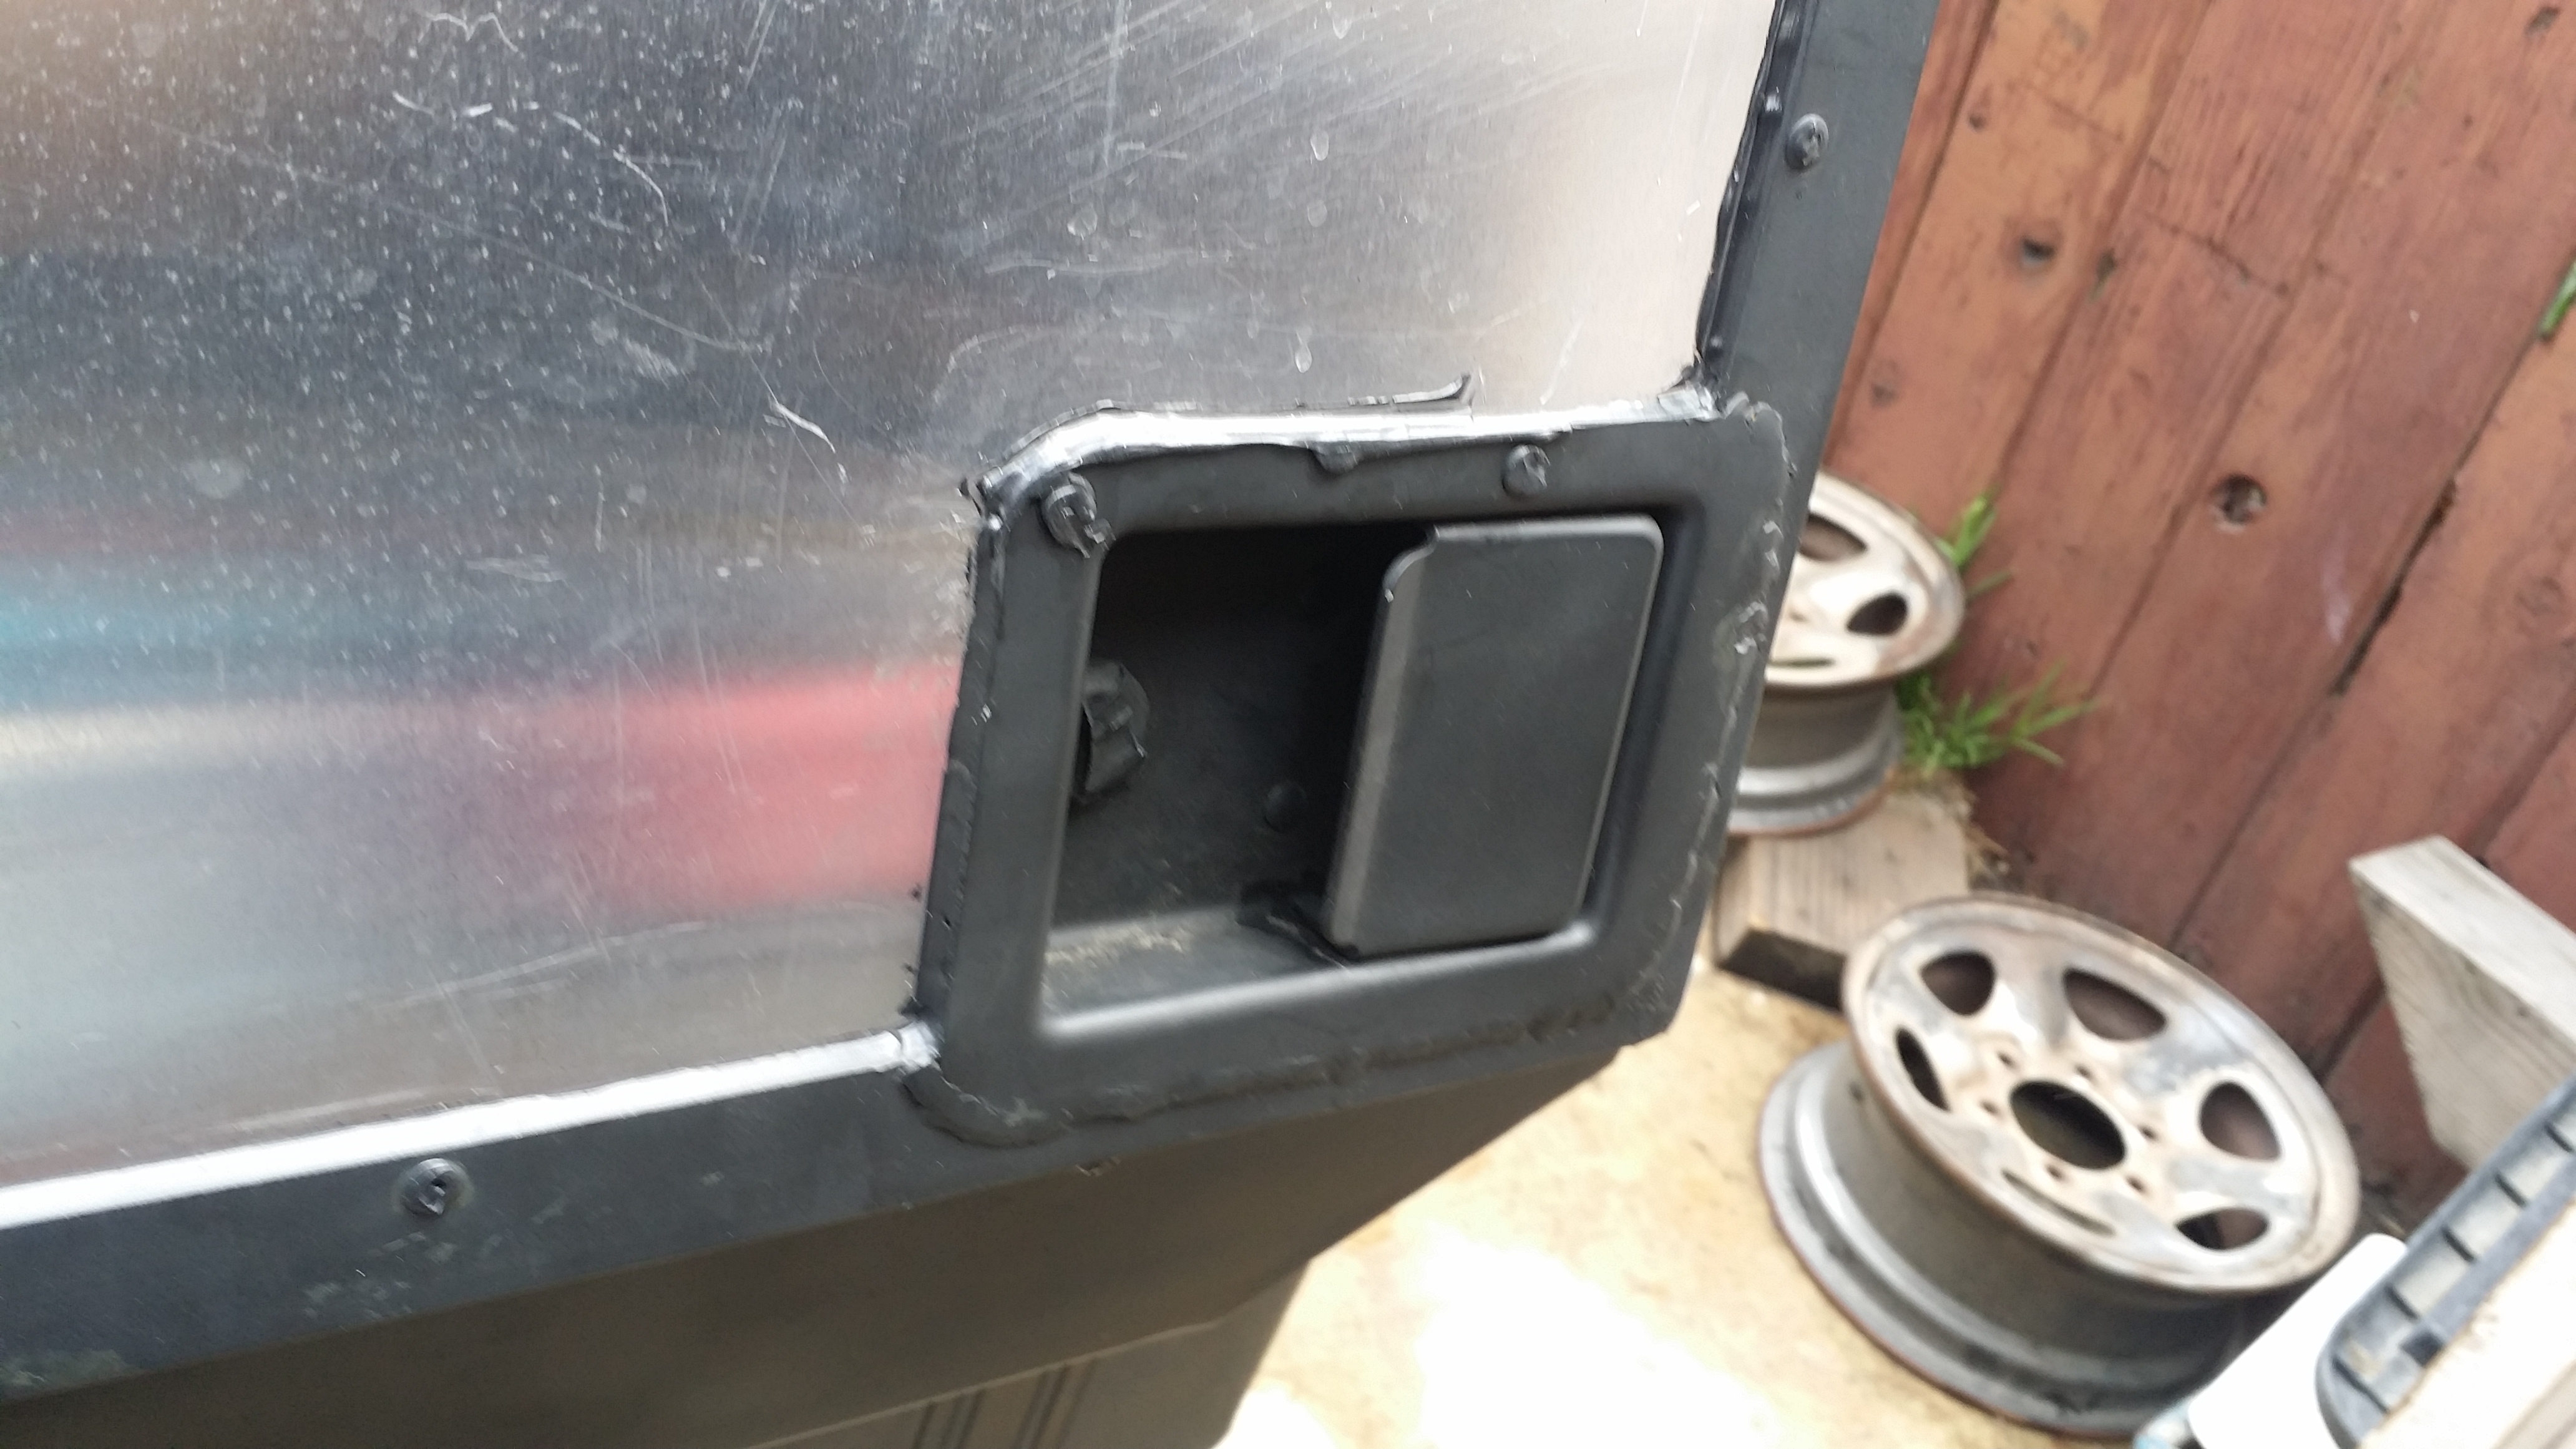
Finally! I'm exhausted but it's about time that these tail light mounts and license plate holder are get done. I'm quite happy with how they came out. Made each housing out of 1/8" steel. They are extremely rigid
I didn't get much done today other then make multiple trips to various stores for electrical items. Soon I will be working on the trailer wire harness. I did get a teaser of how the tail lights are gonna look on the trailer though.
This is all for now.
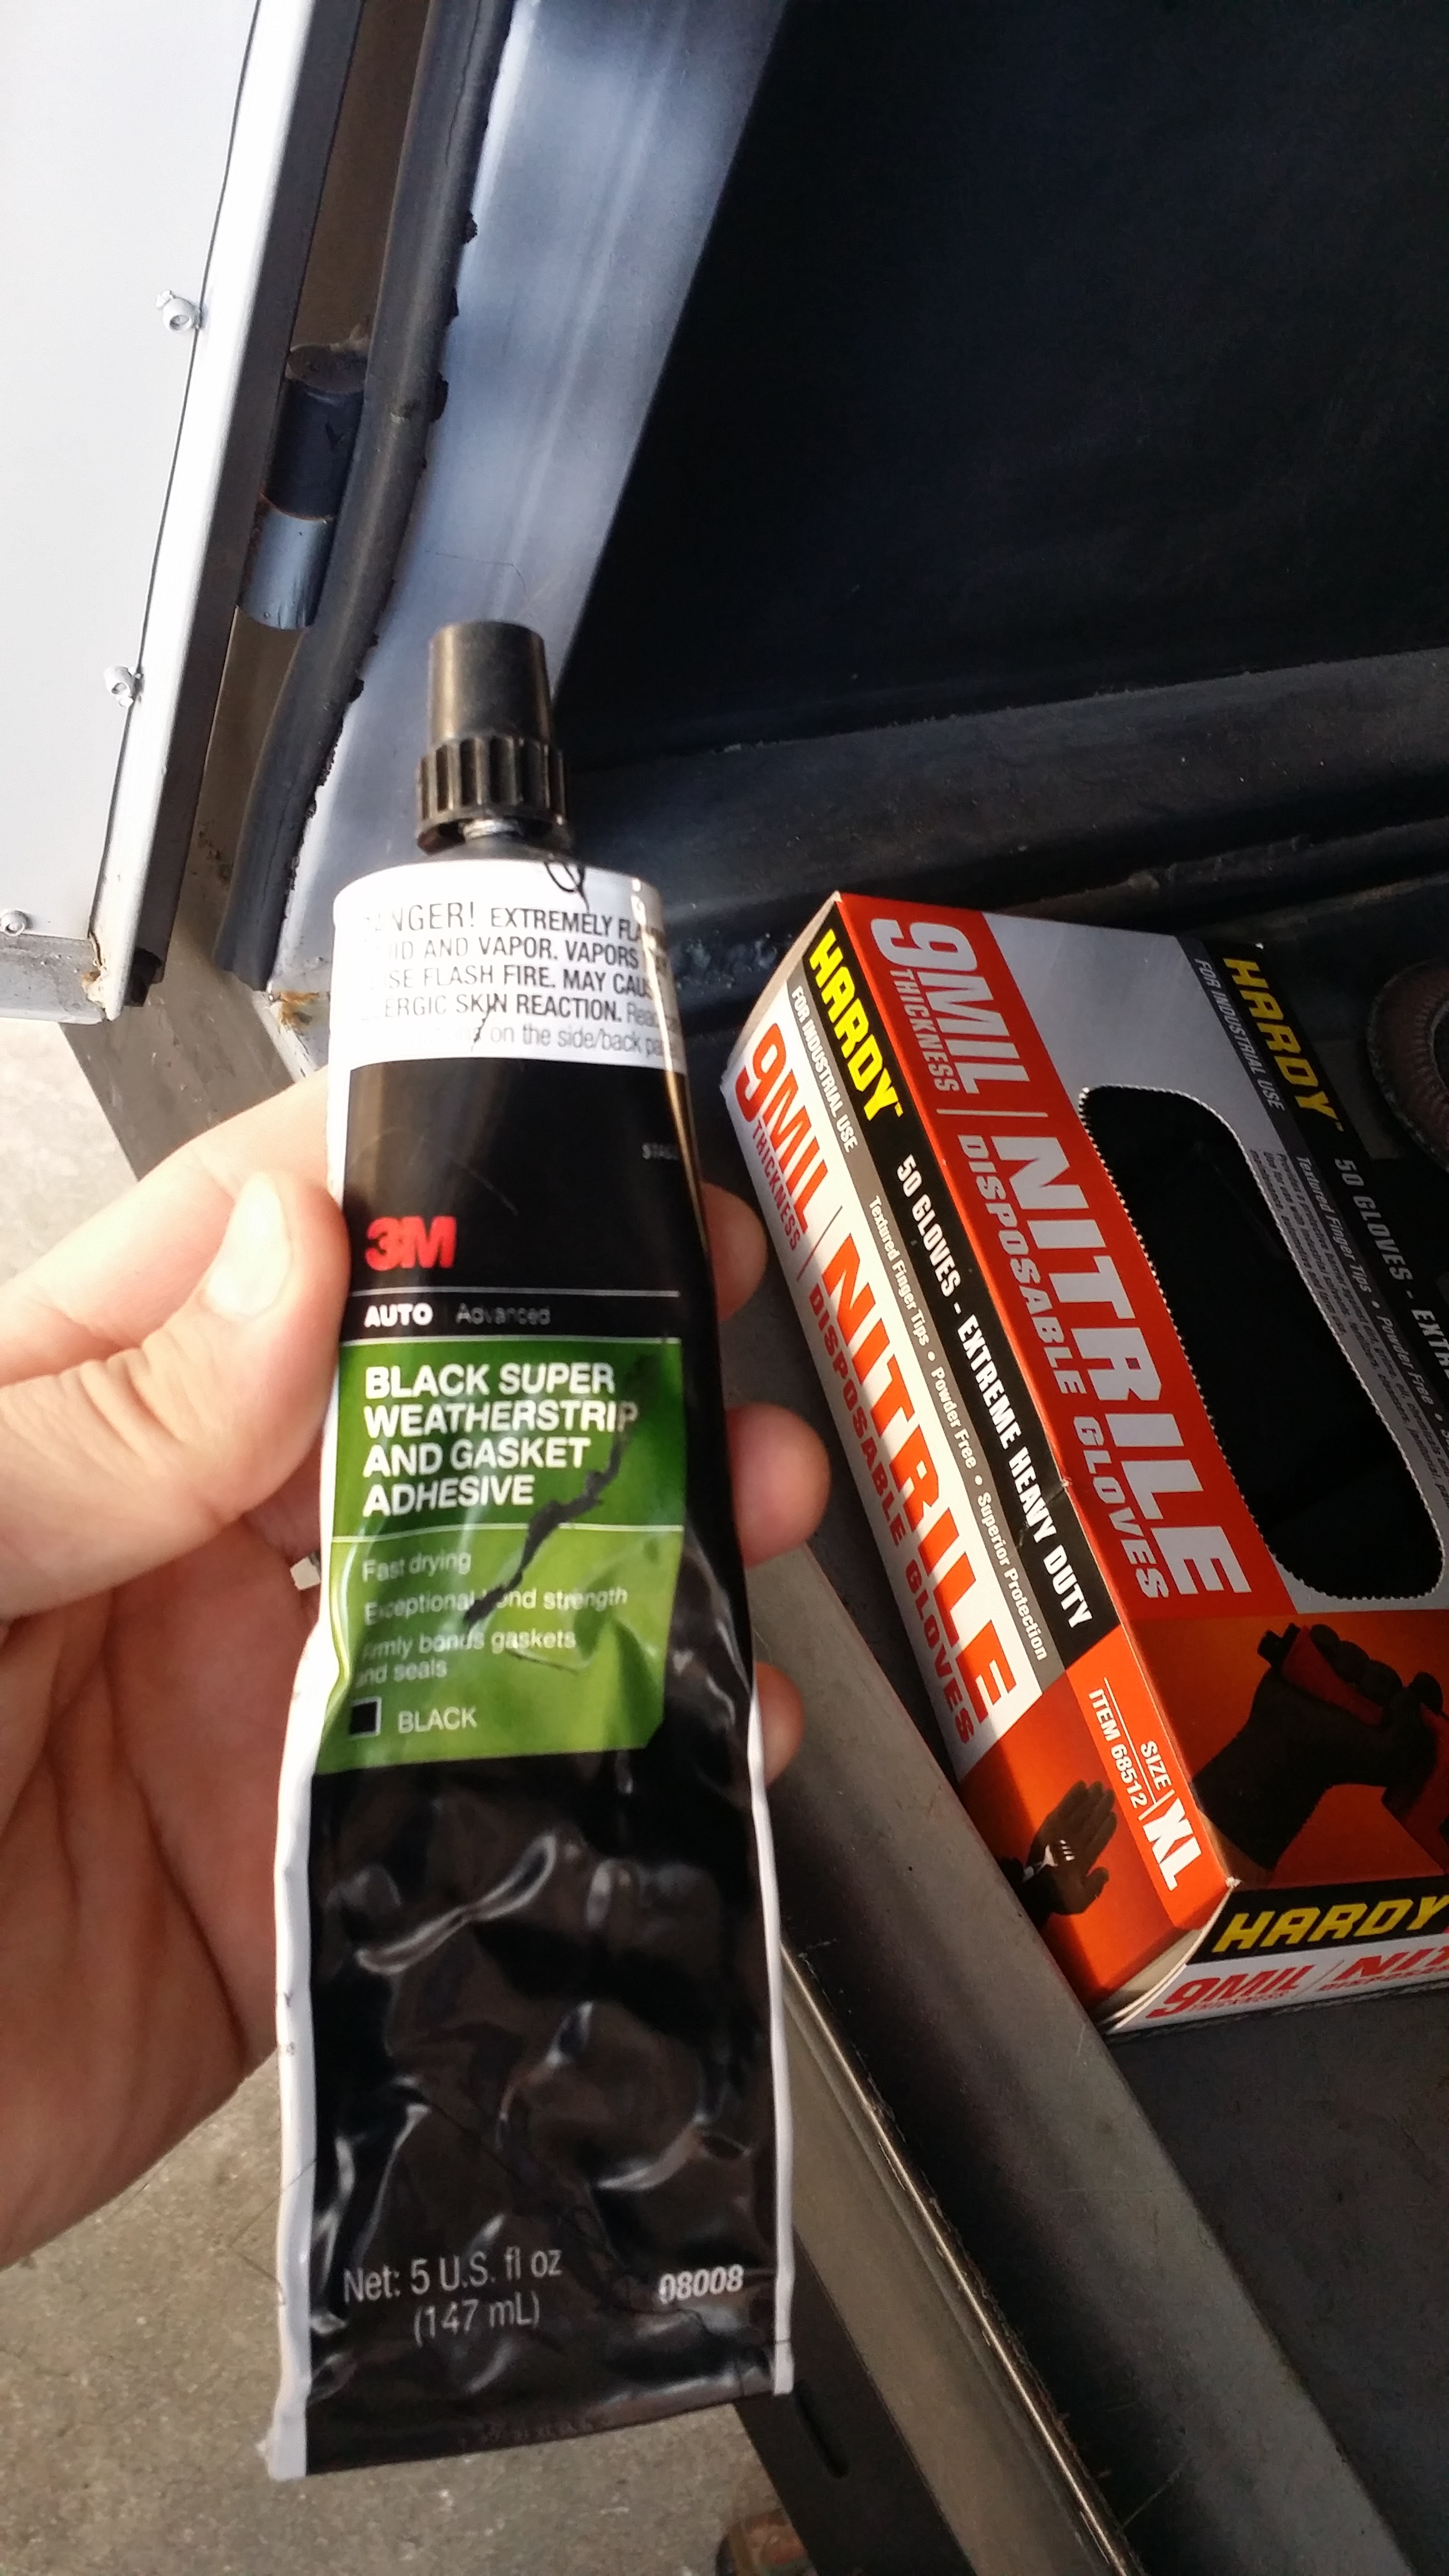
Despite all the activities we did this weekend yesterday my girl and i managed to get some work done on the trailer. A few weeks ago we bought a couple of yards of general automotive weatherstripping material and some all purpose weatherstripping/gasket adhesive. And we finally got around to installing it to all the doors.
i think he was selling it for 14 bucks per yard give or take.
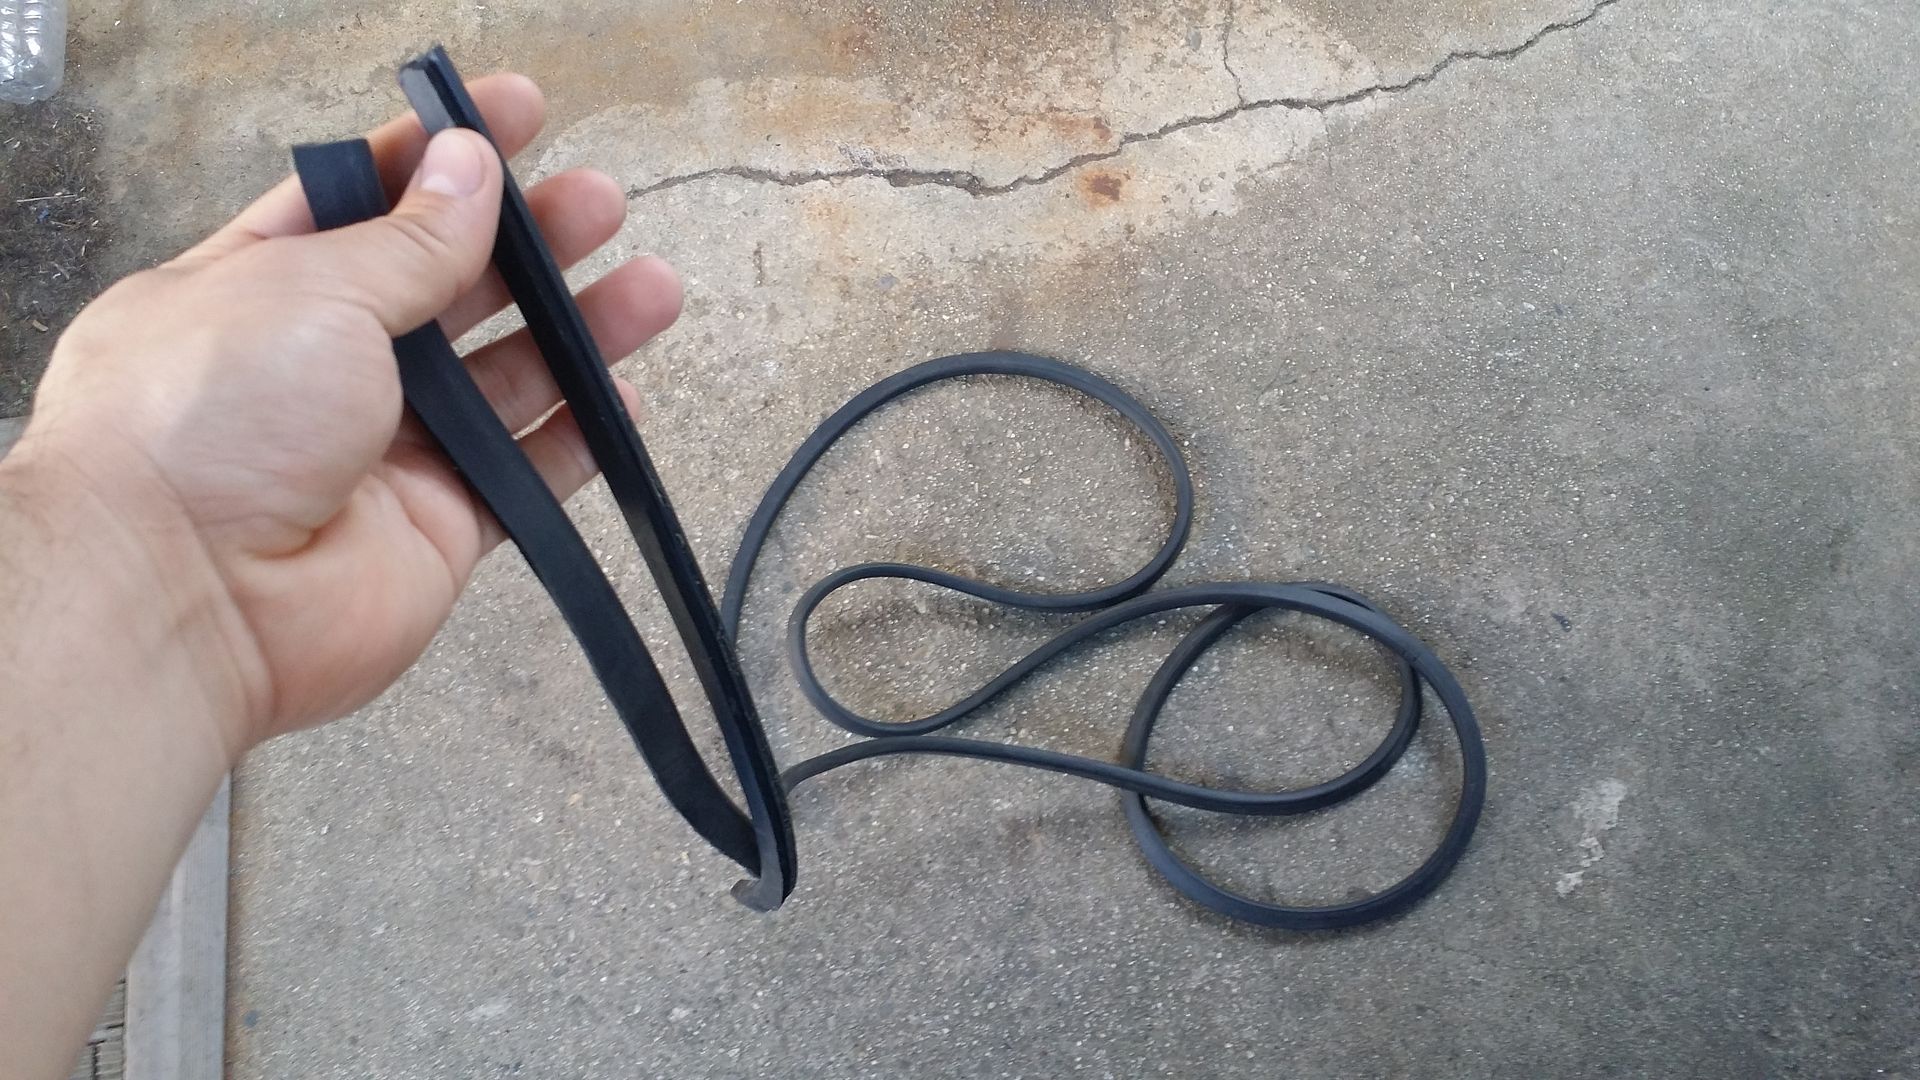
This is what is left of the Weather stripping. I forget how many yards worth i bought but it cost me about 60 or 80 bucks from a guy who sells this stuff at a local swapmeet.
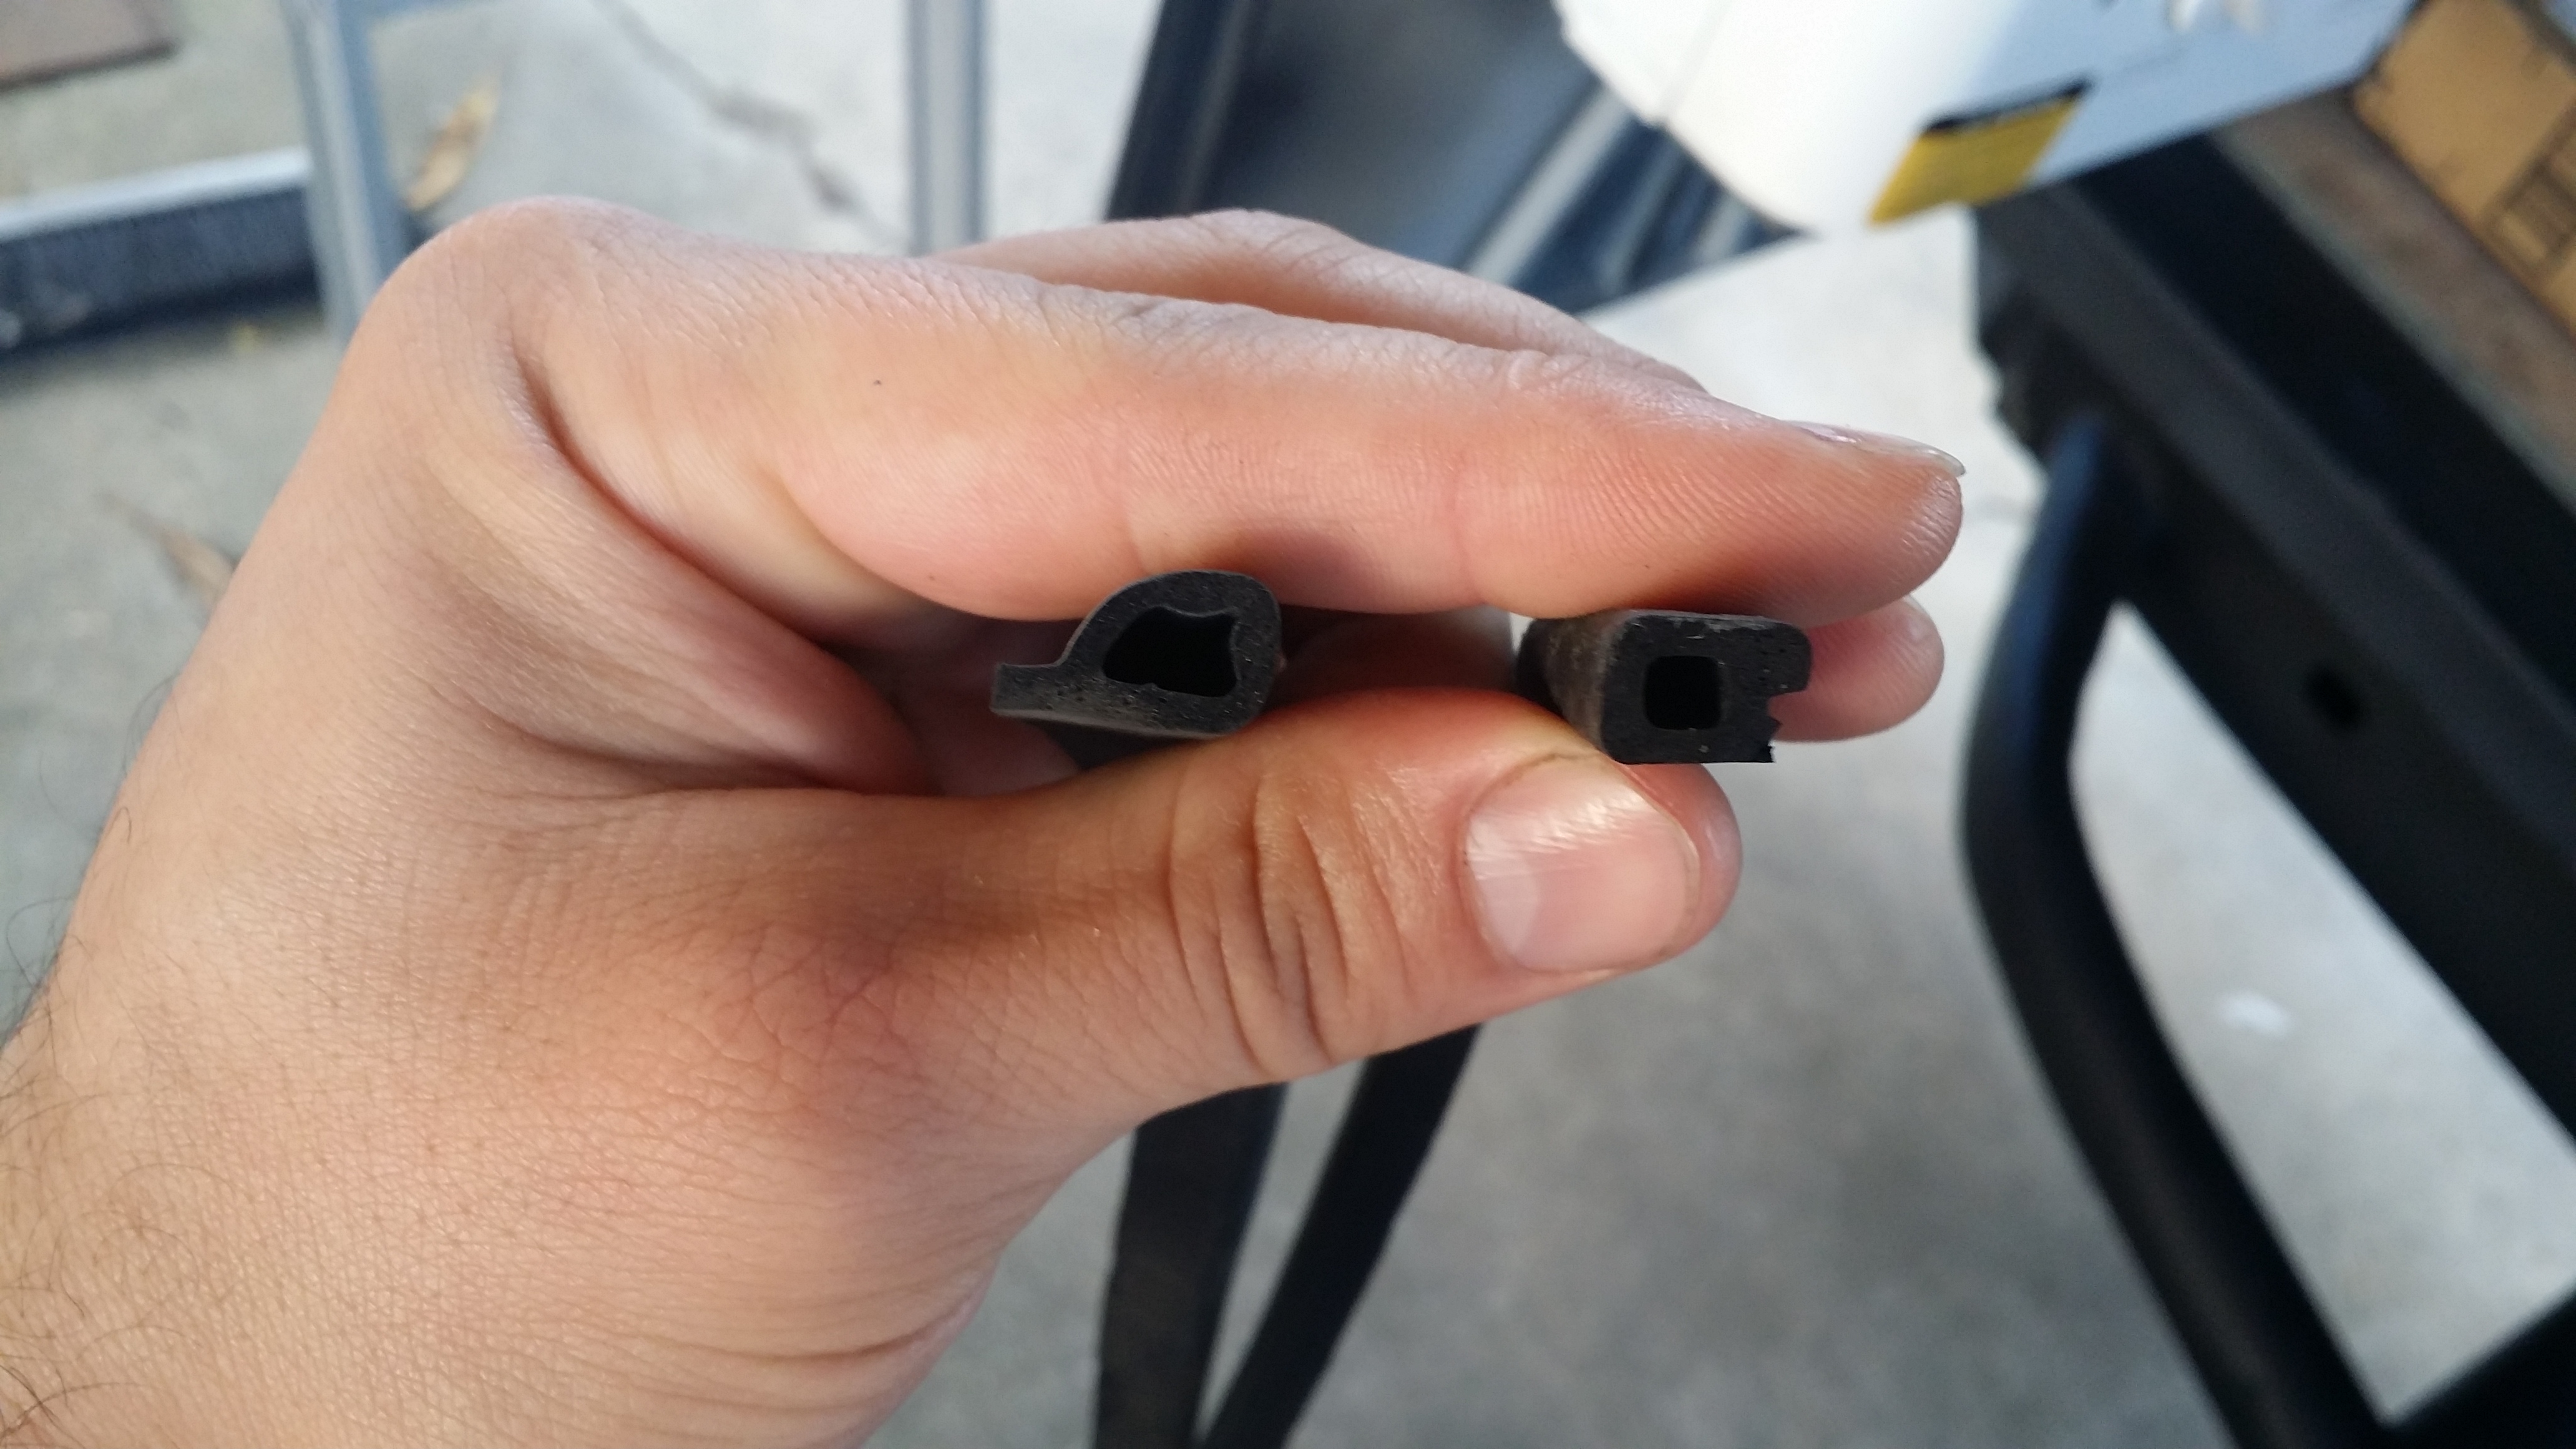
I Used 2 different shapes of stripping. the one on the left was used to fit in he smaller spaces where the hinges are. The right one was used for he remainder of he sides
This is the Adhesive that is used for the weather striping. I bought it at autozone for about $6. If you have sensitive skin i highly suggest you wear gloves. my girl's fingers rashed and became slightly inflamed and itchy when it came in contact with her.
Here you can see it smashed along the door frame. That outta keep the water out when it rains! I'll have to test it put with a water hose soon.
So i used one strip near the hinges on the trailer itself because i ran into issues with i mounting on the door side for that portion. But the rest of the 3 sides were all mounted on he door as you can see in the rest of the pix.
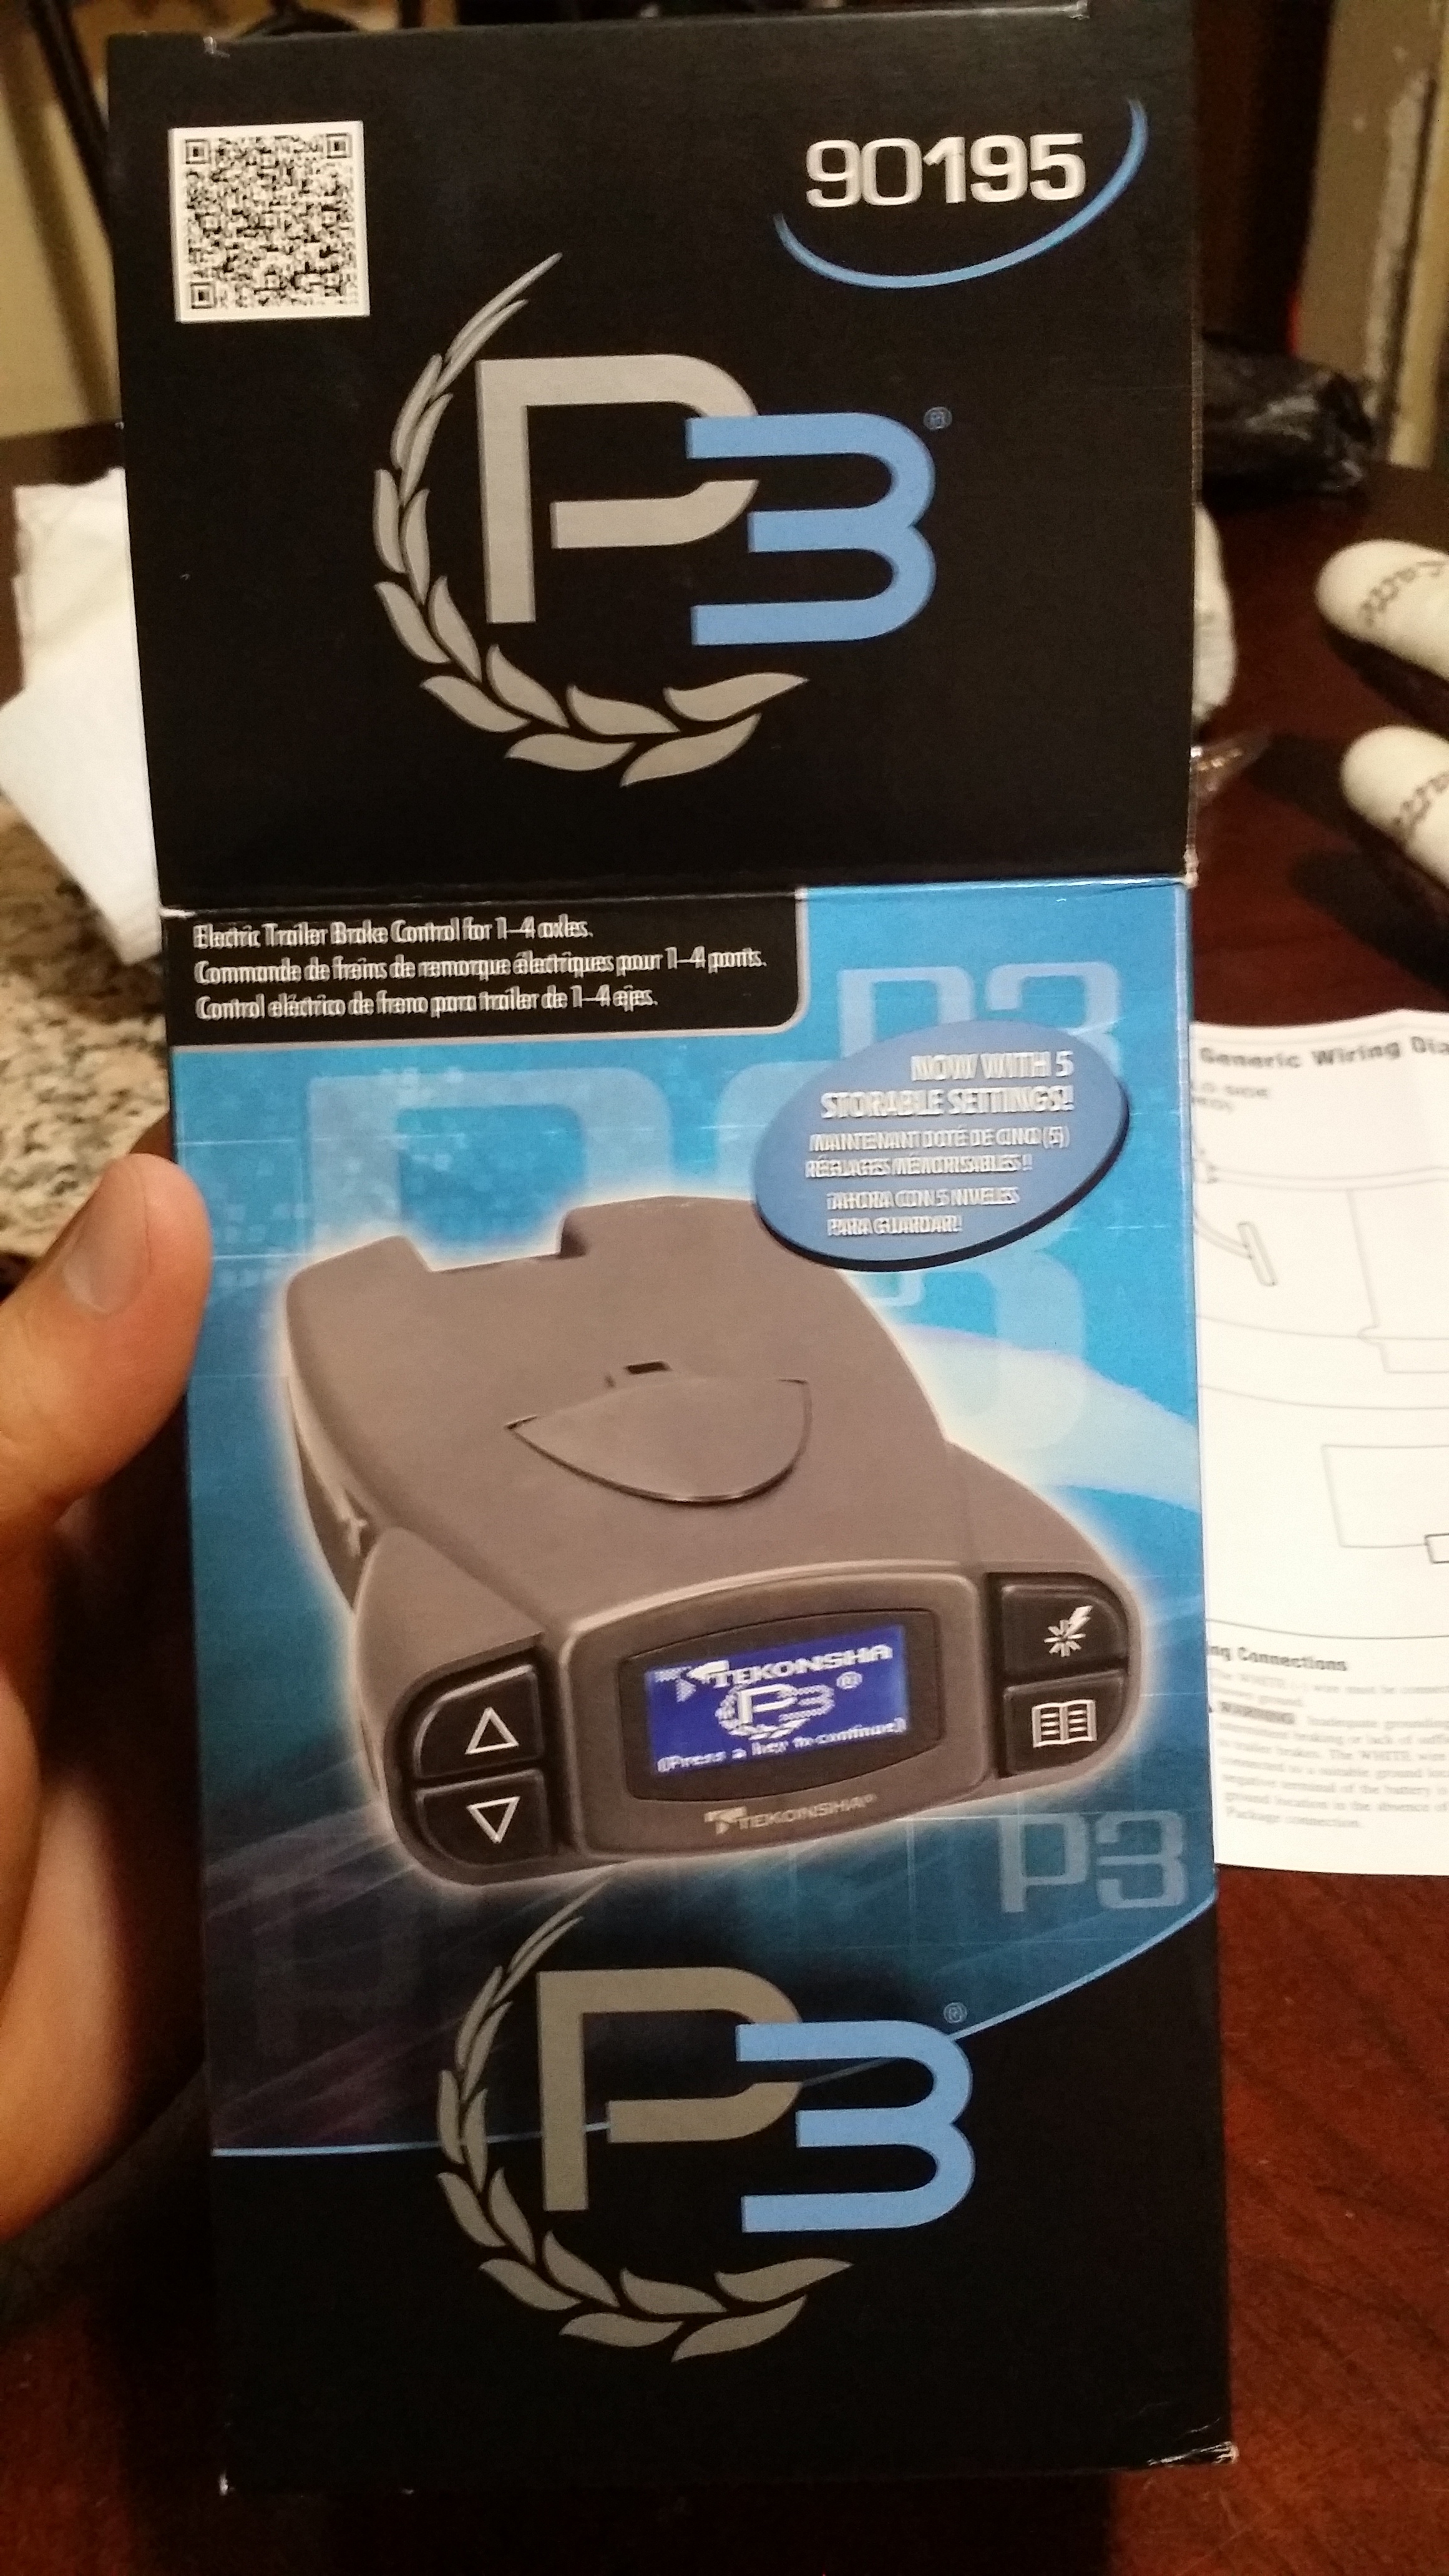
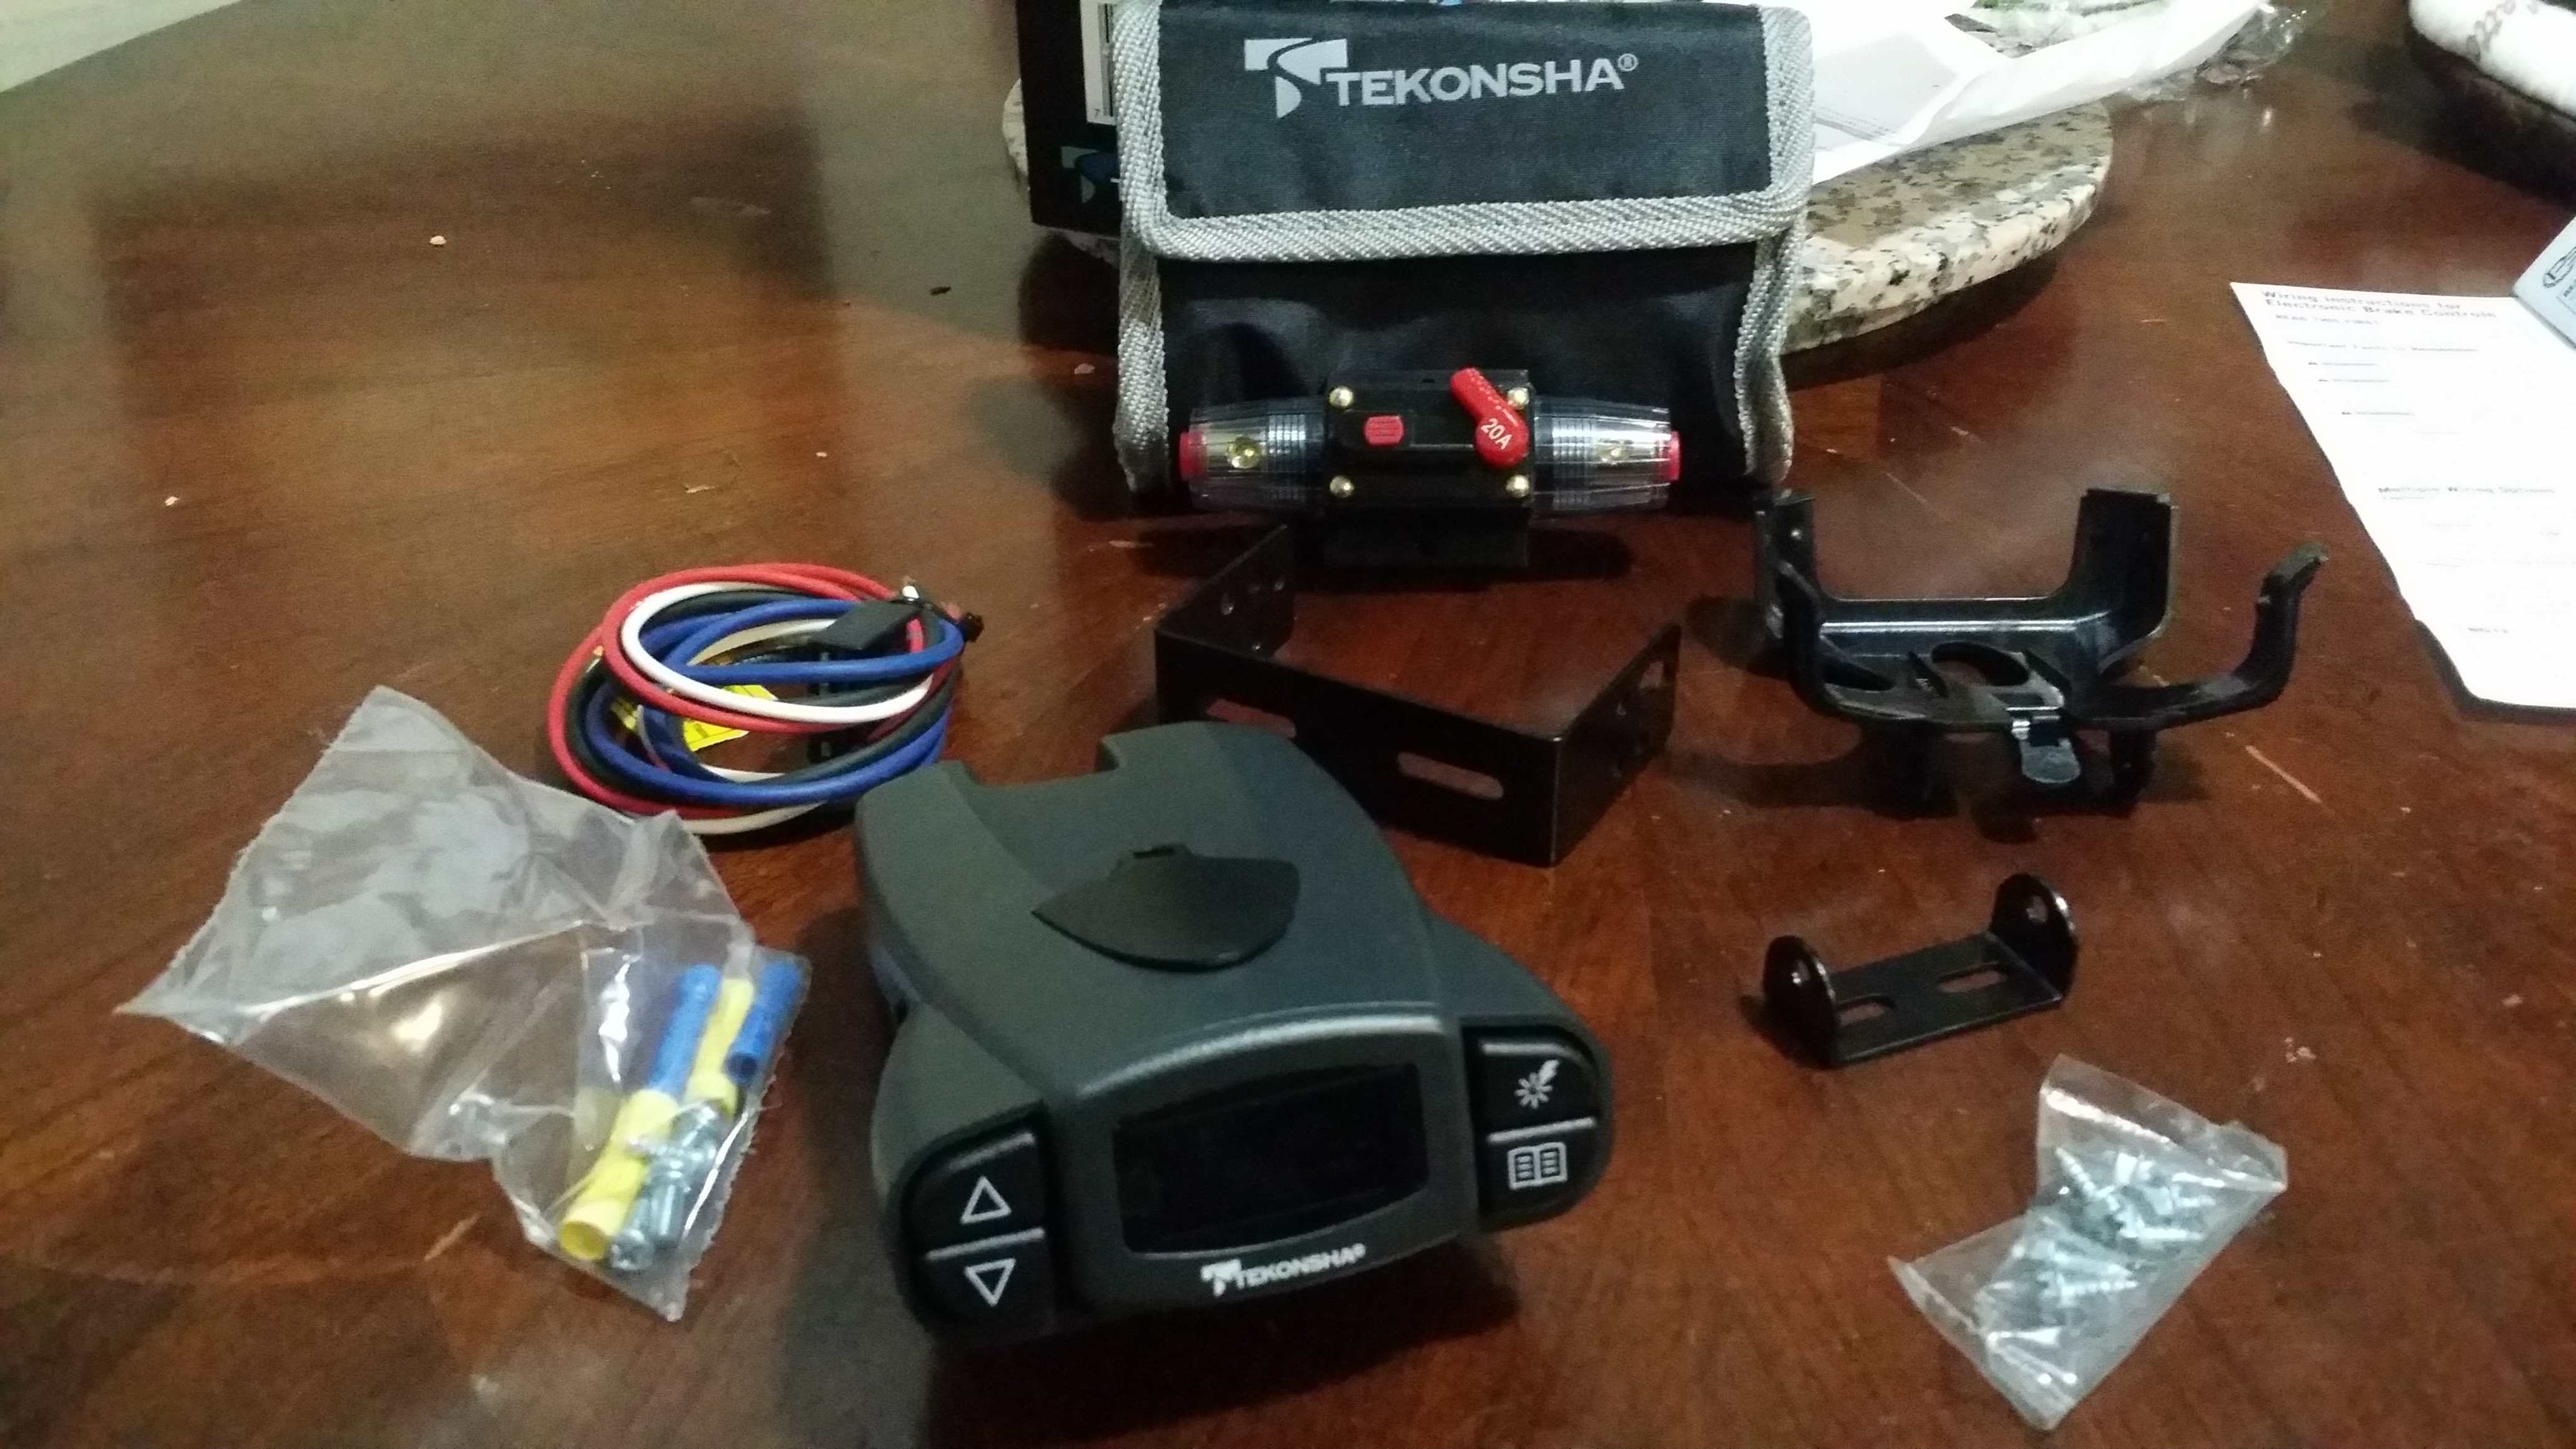
I finally got my Tekonsha Prodigy p3 Brake controller and 20 amp circuit breaker.
I bought it off of etrailer.com for $120.95. Shipping was free since it was over 100 bucks.
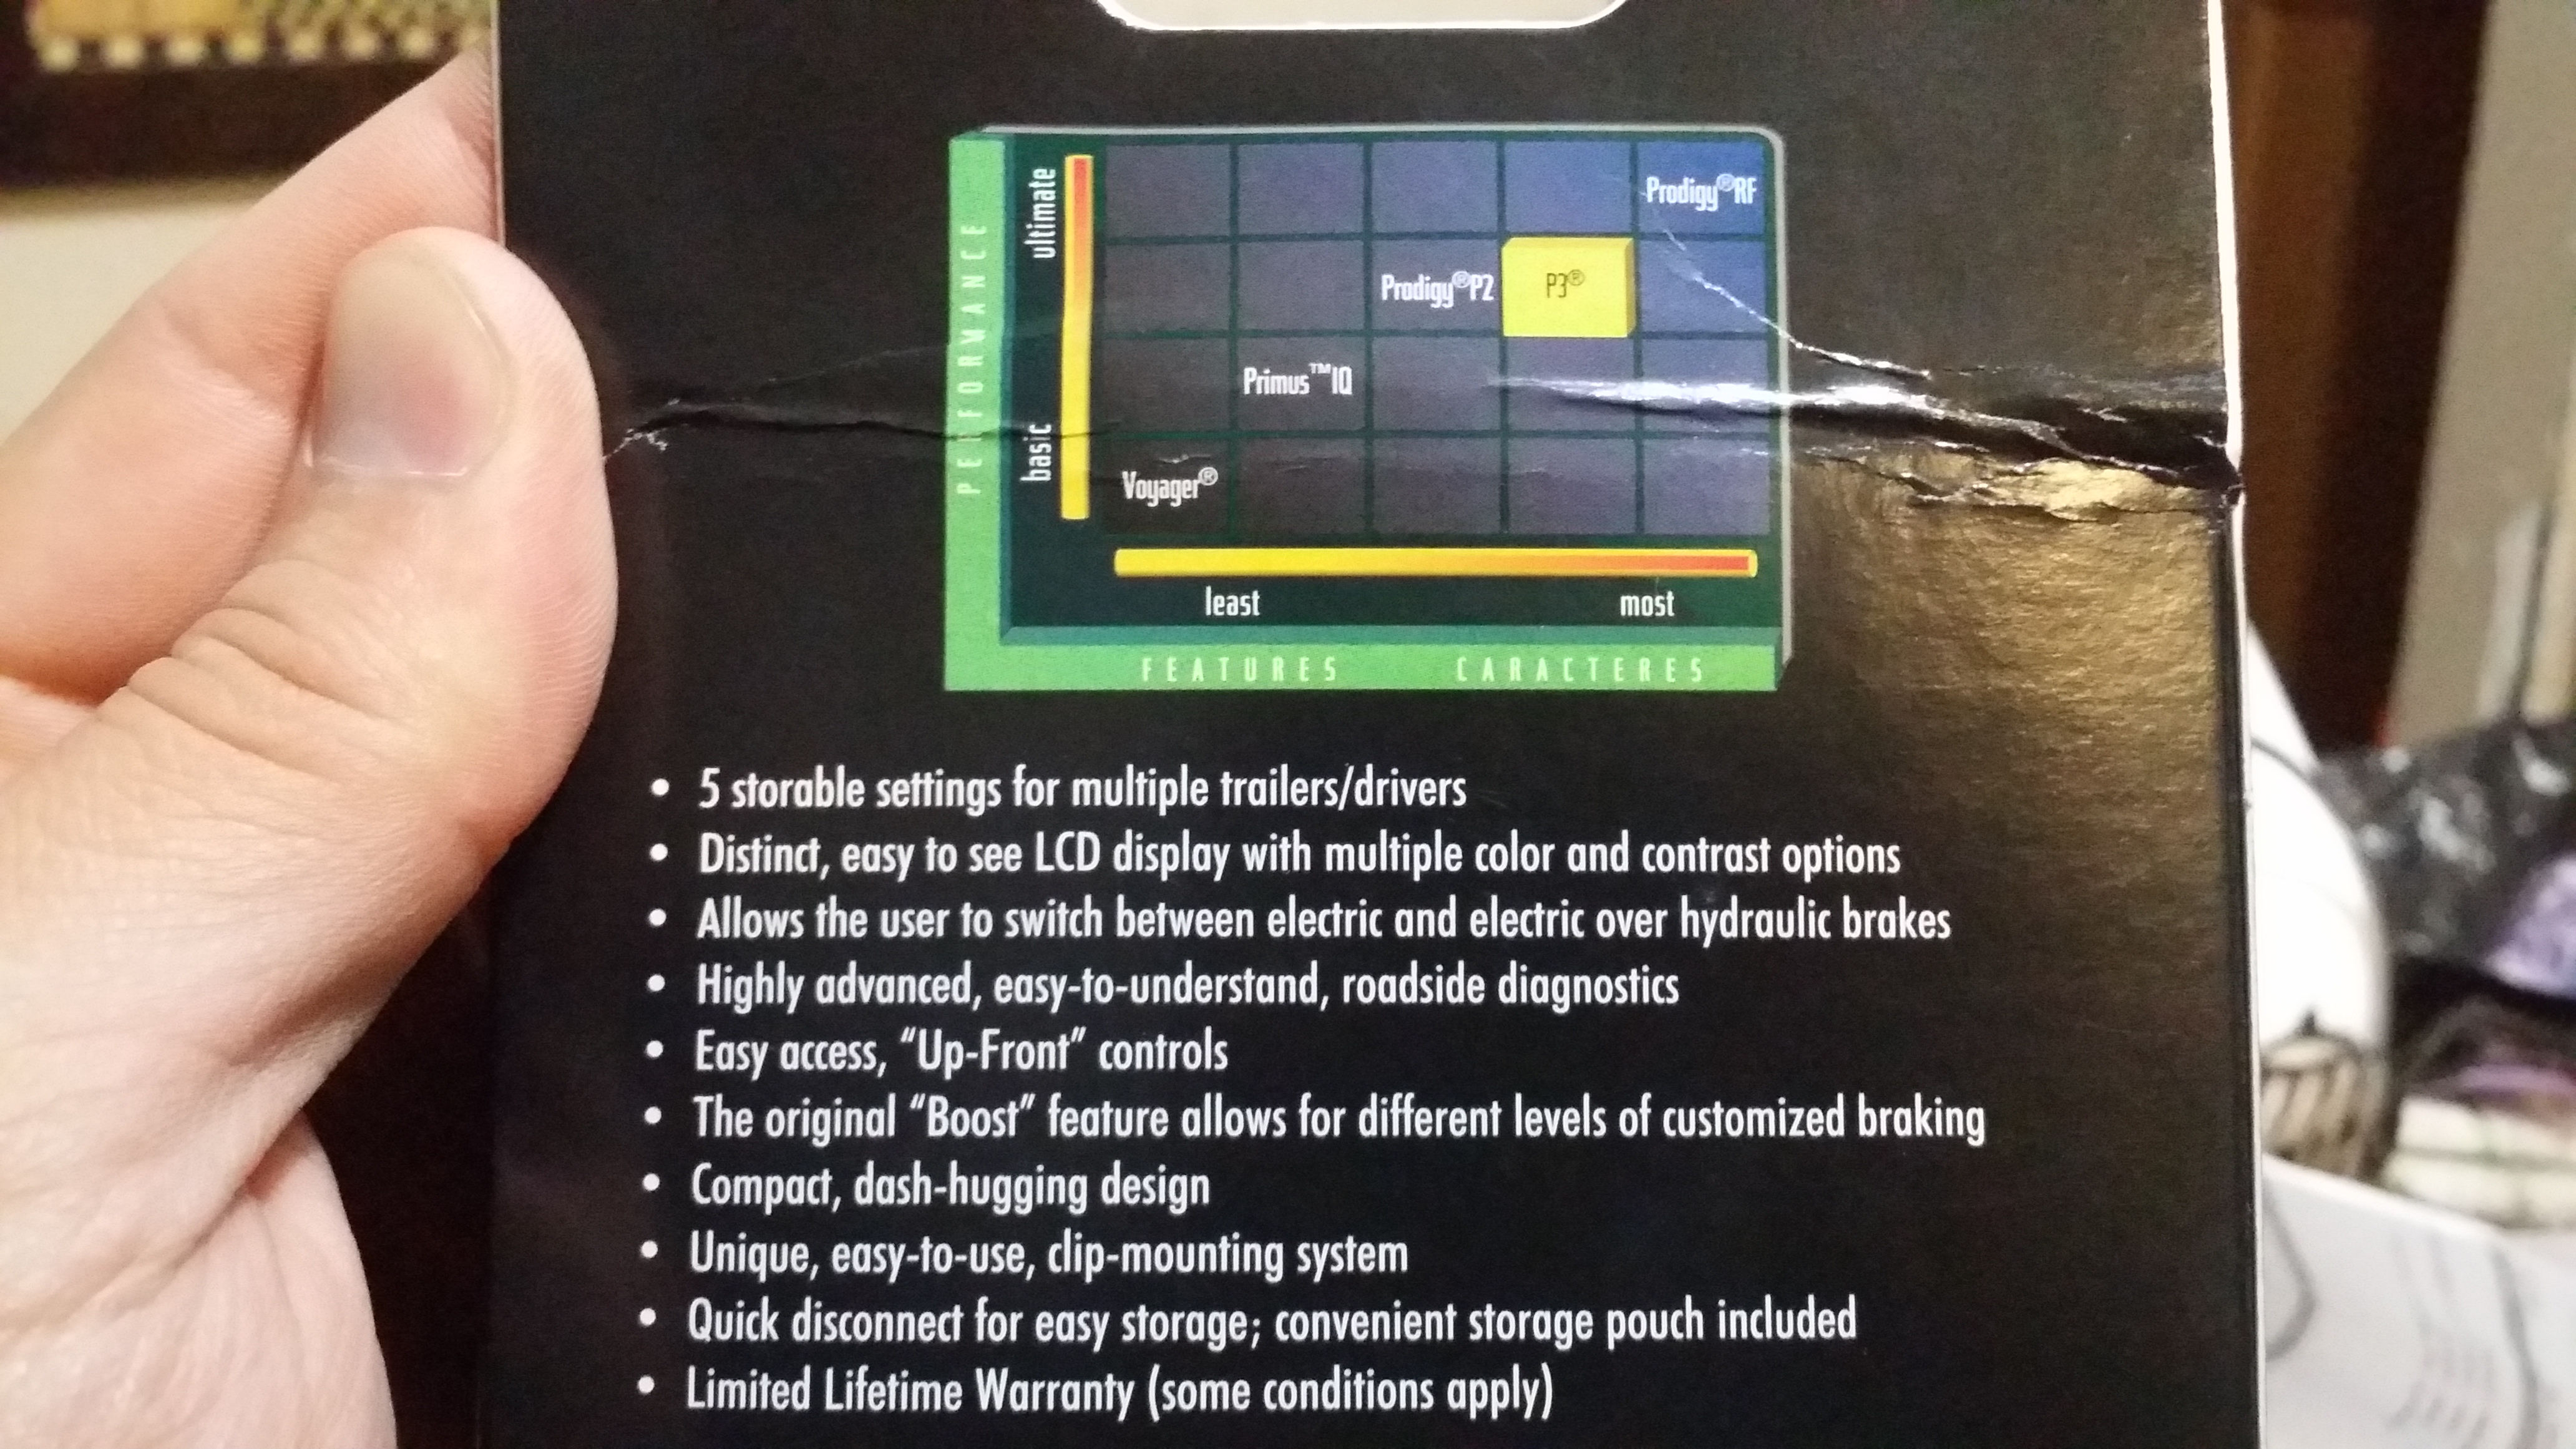
I chose a proportional brake controller over the time delayed brake controller because i am more concerned with getting into an accident on the highway and/or street due to lack of braking power my truck has to stop the trailer. I already have an issue stopping abruptly with the weight of my 4Runner and rolling on 35" tires. So i read many reviews and most people favored the Tekonsha Prodigy P2 and P3 models. After Further investigation i liked the fact that the P3 has 5 storable settings so i switch between the trailer settings to give it more braking power during off-road use.
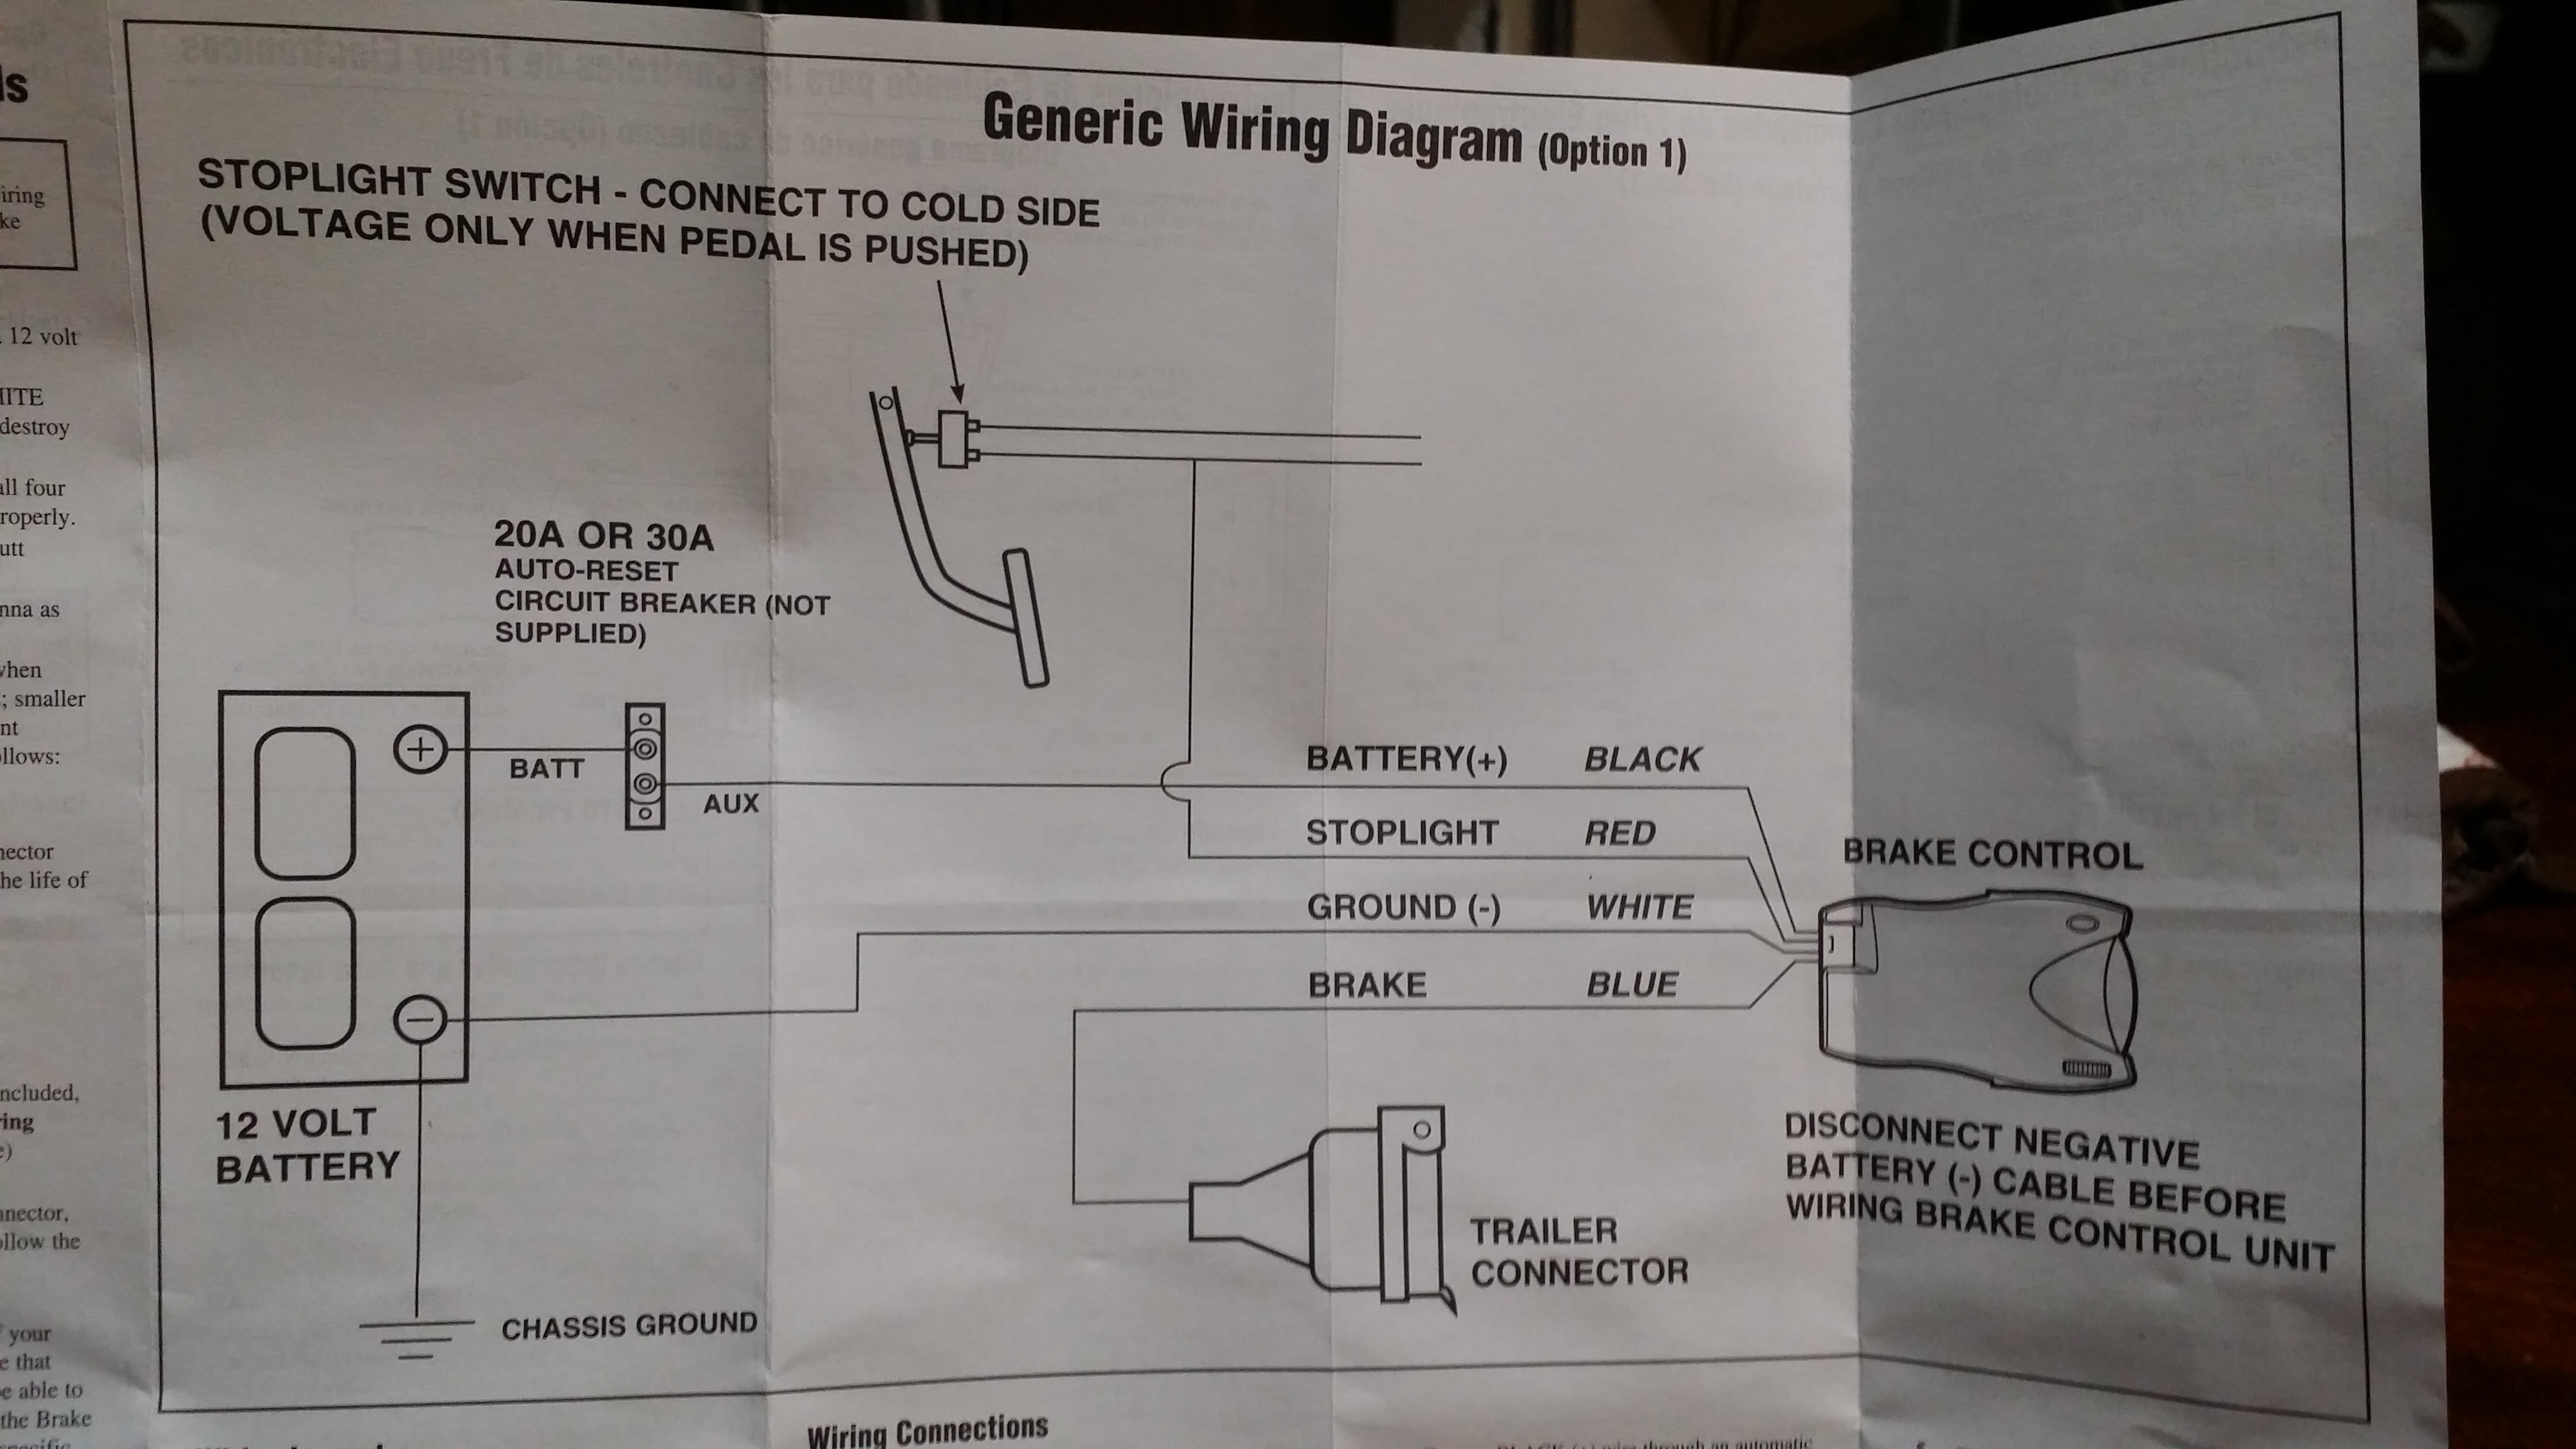
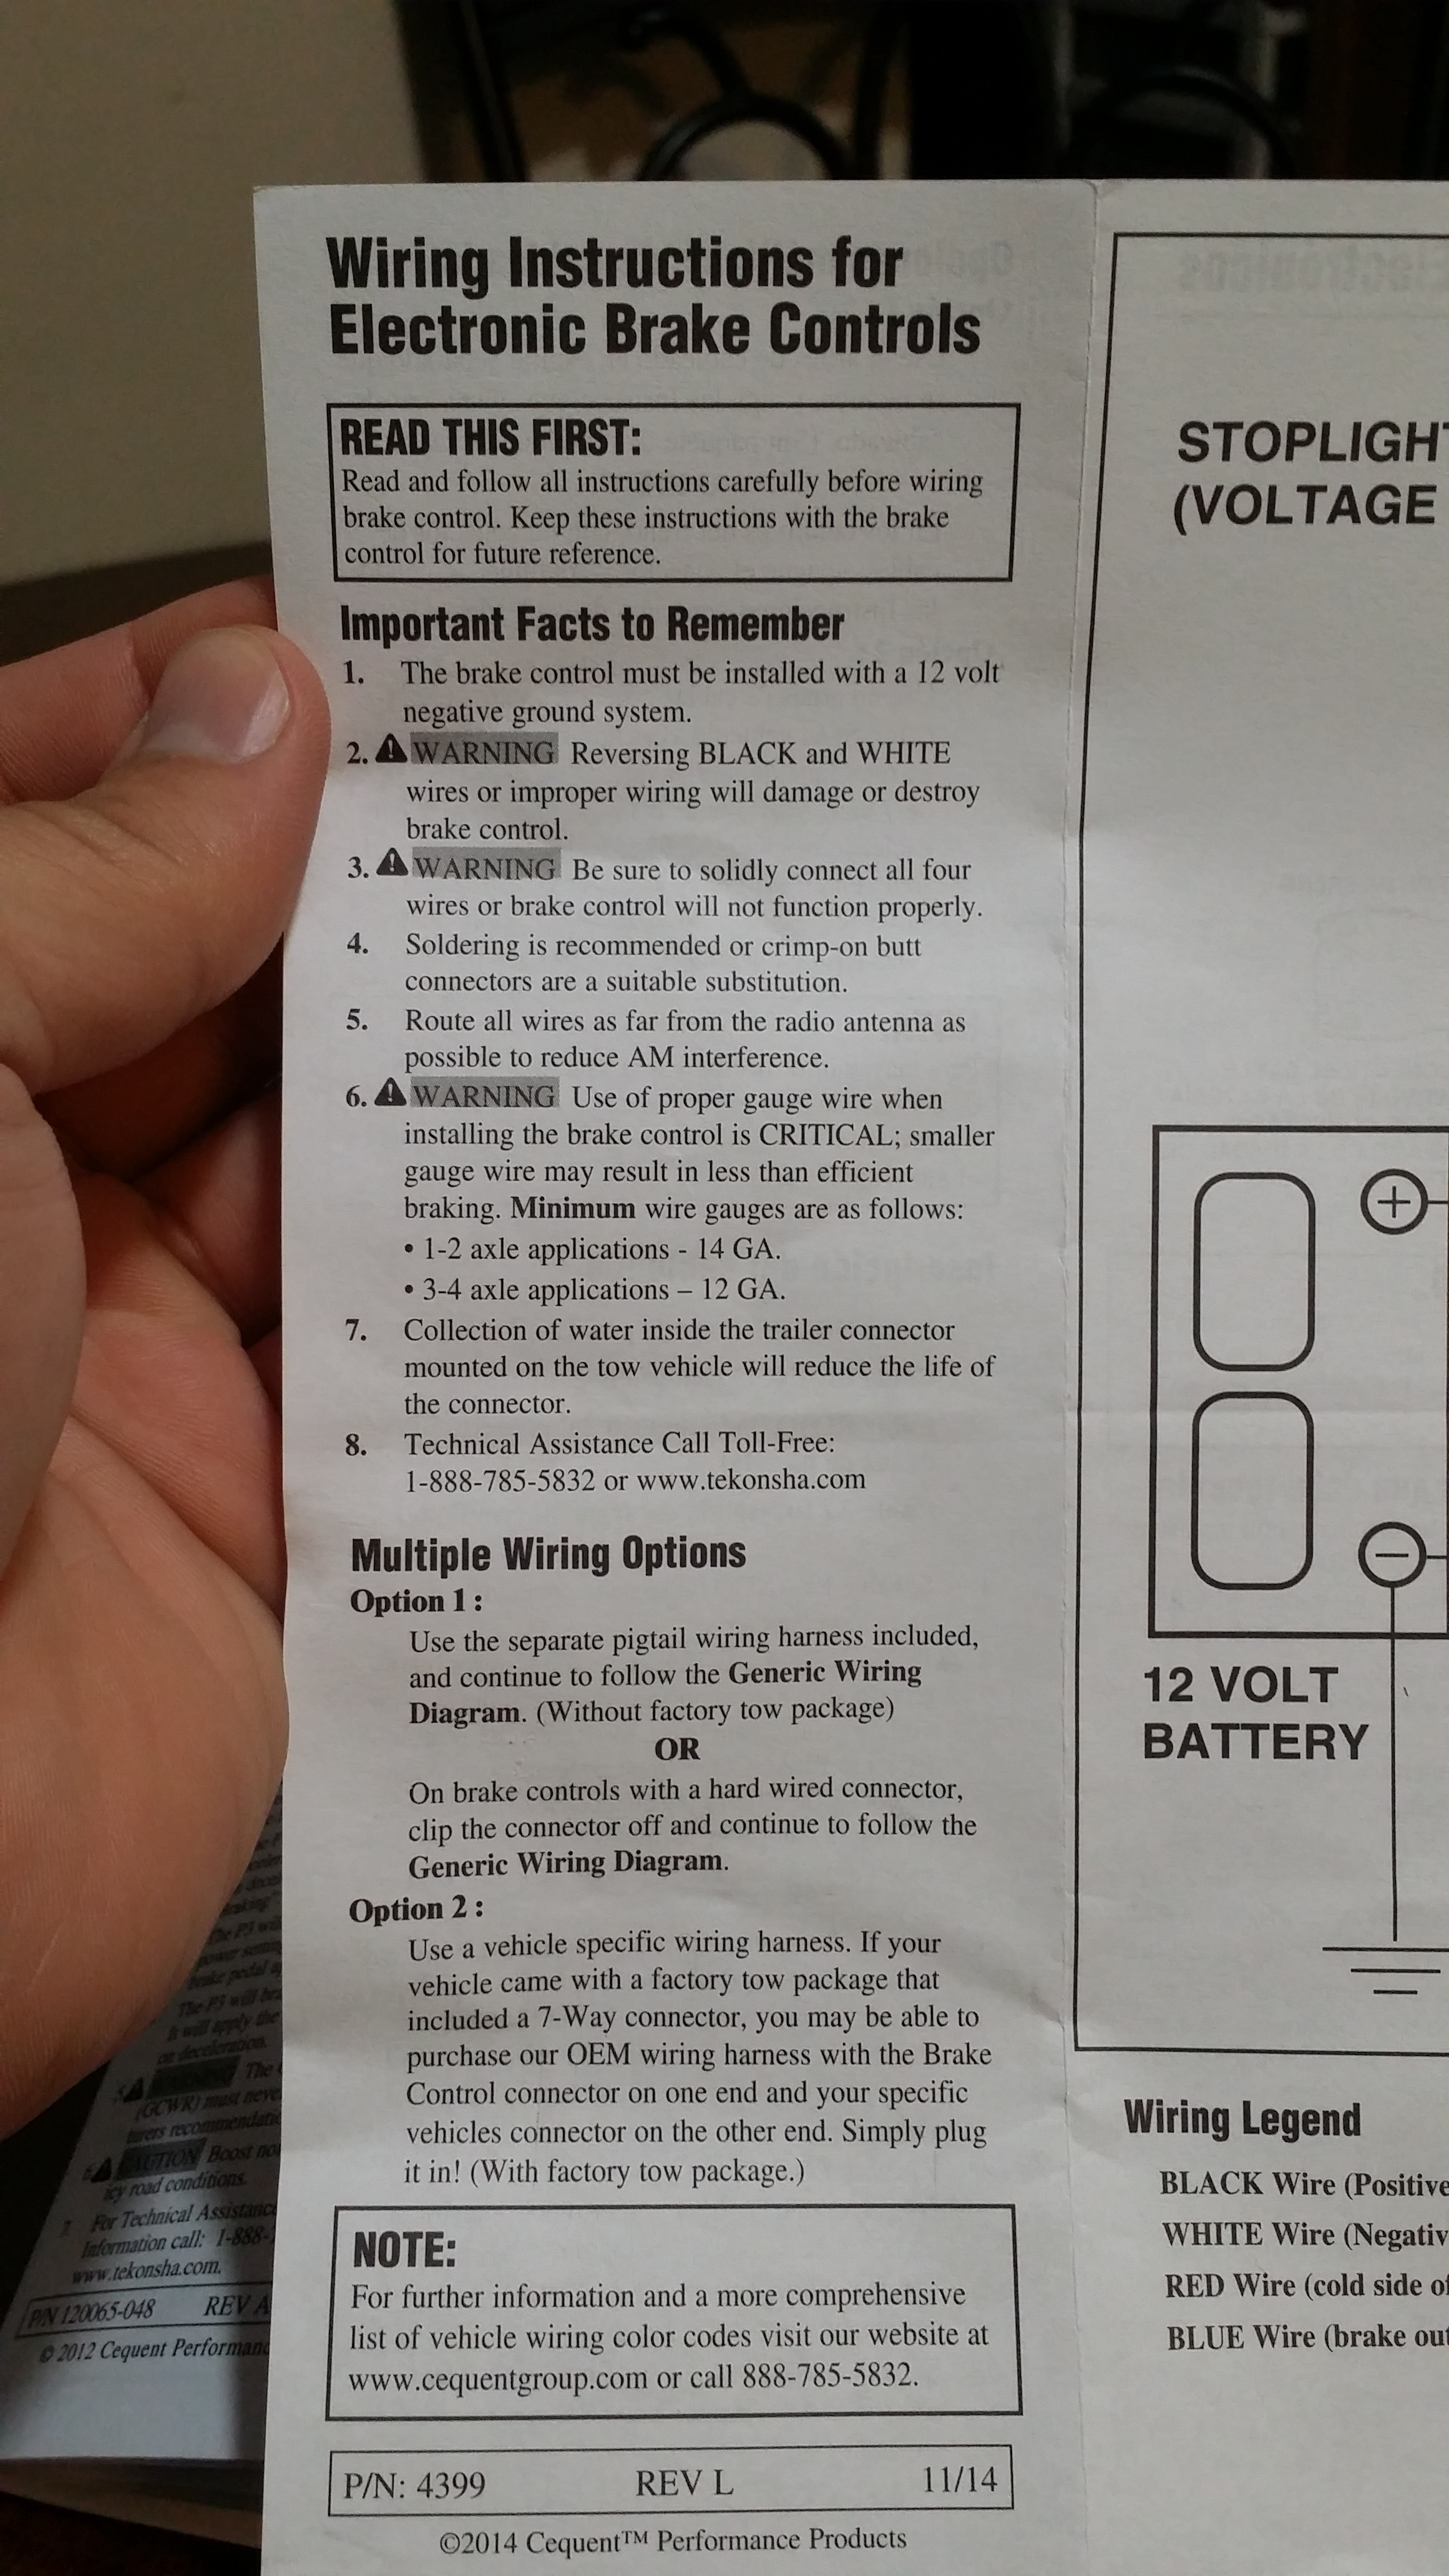
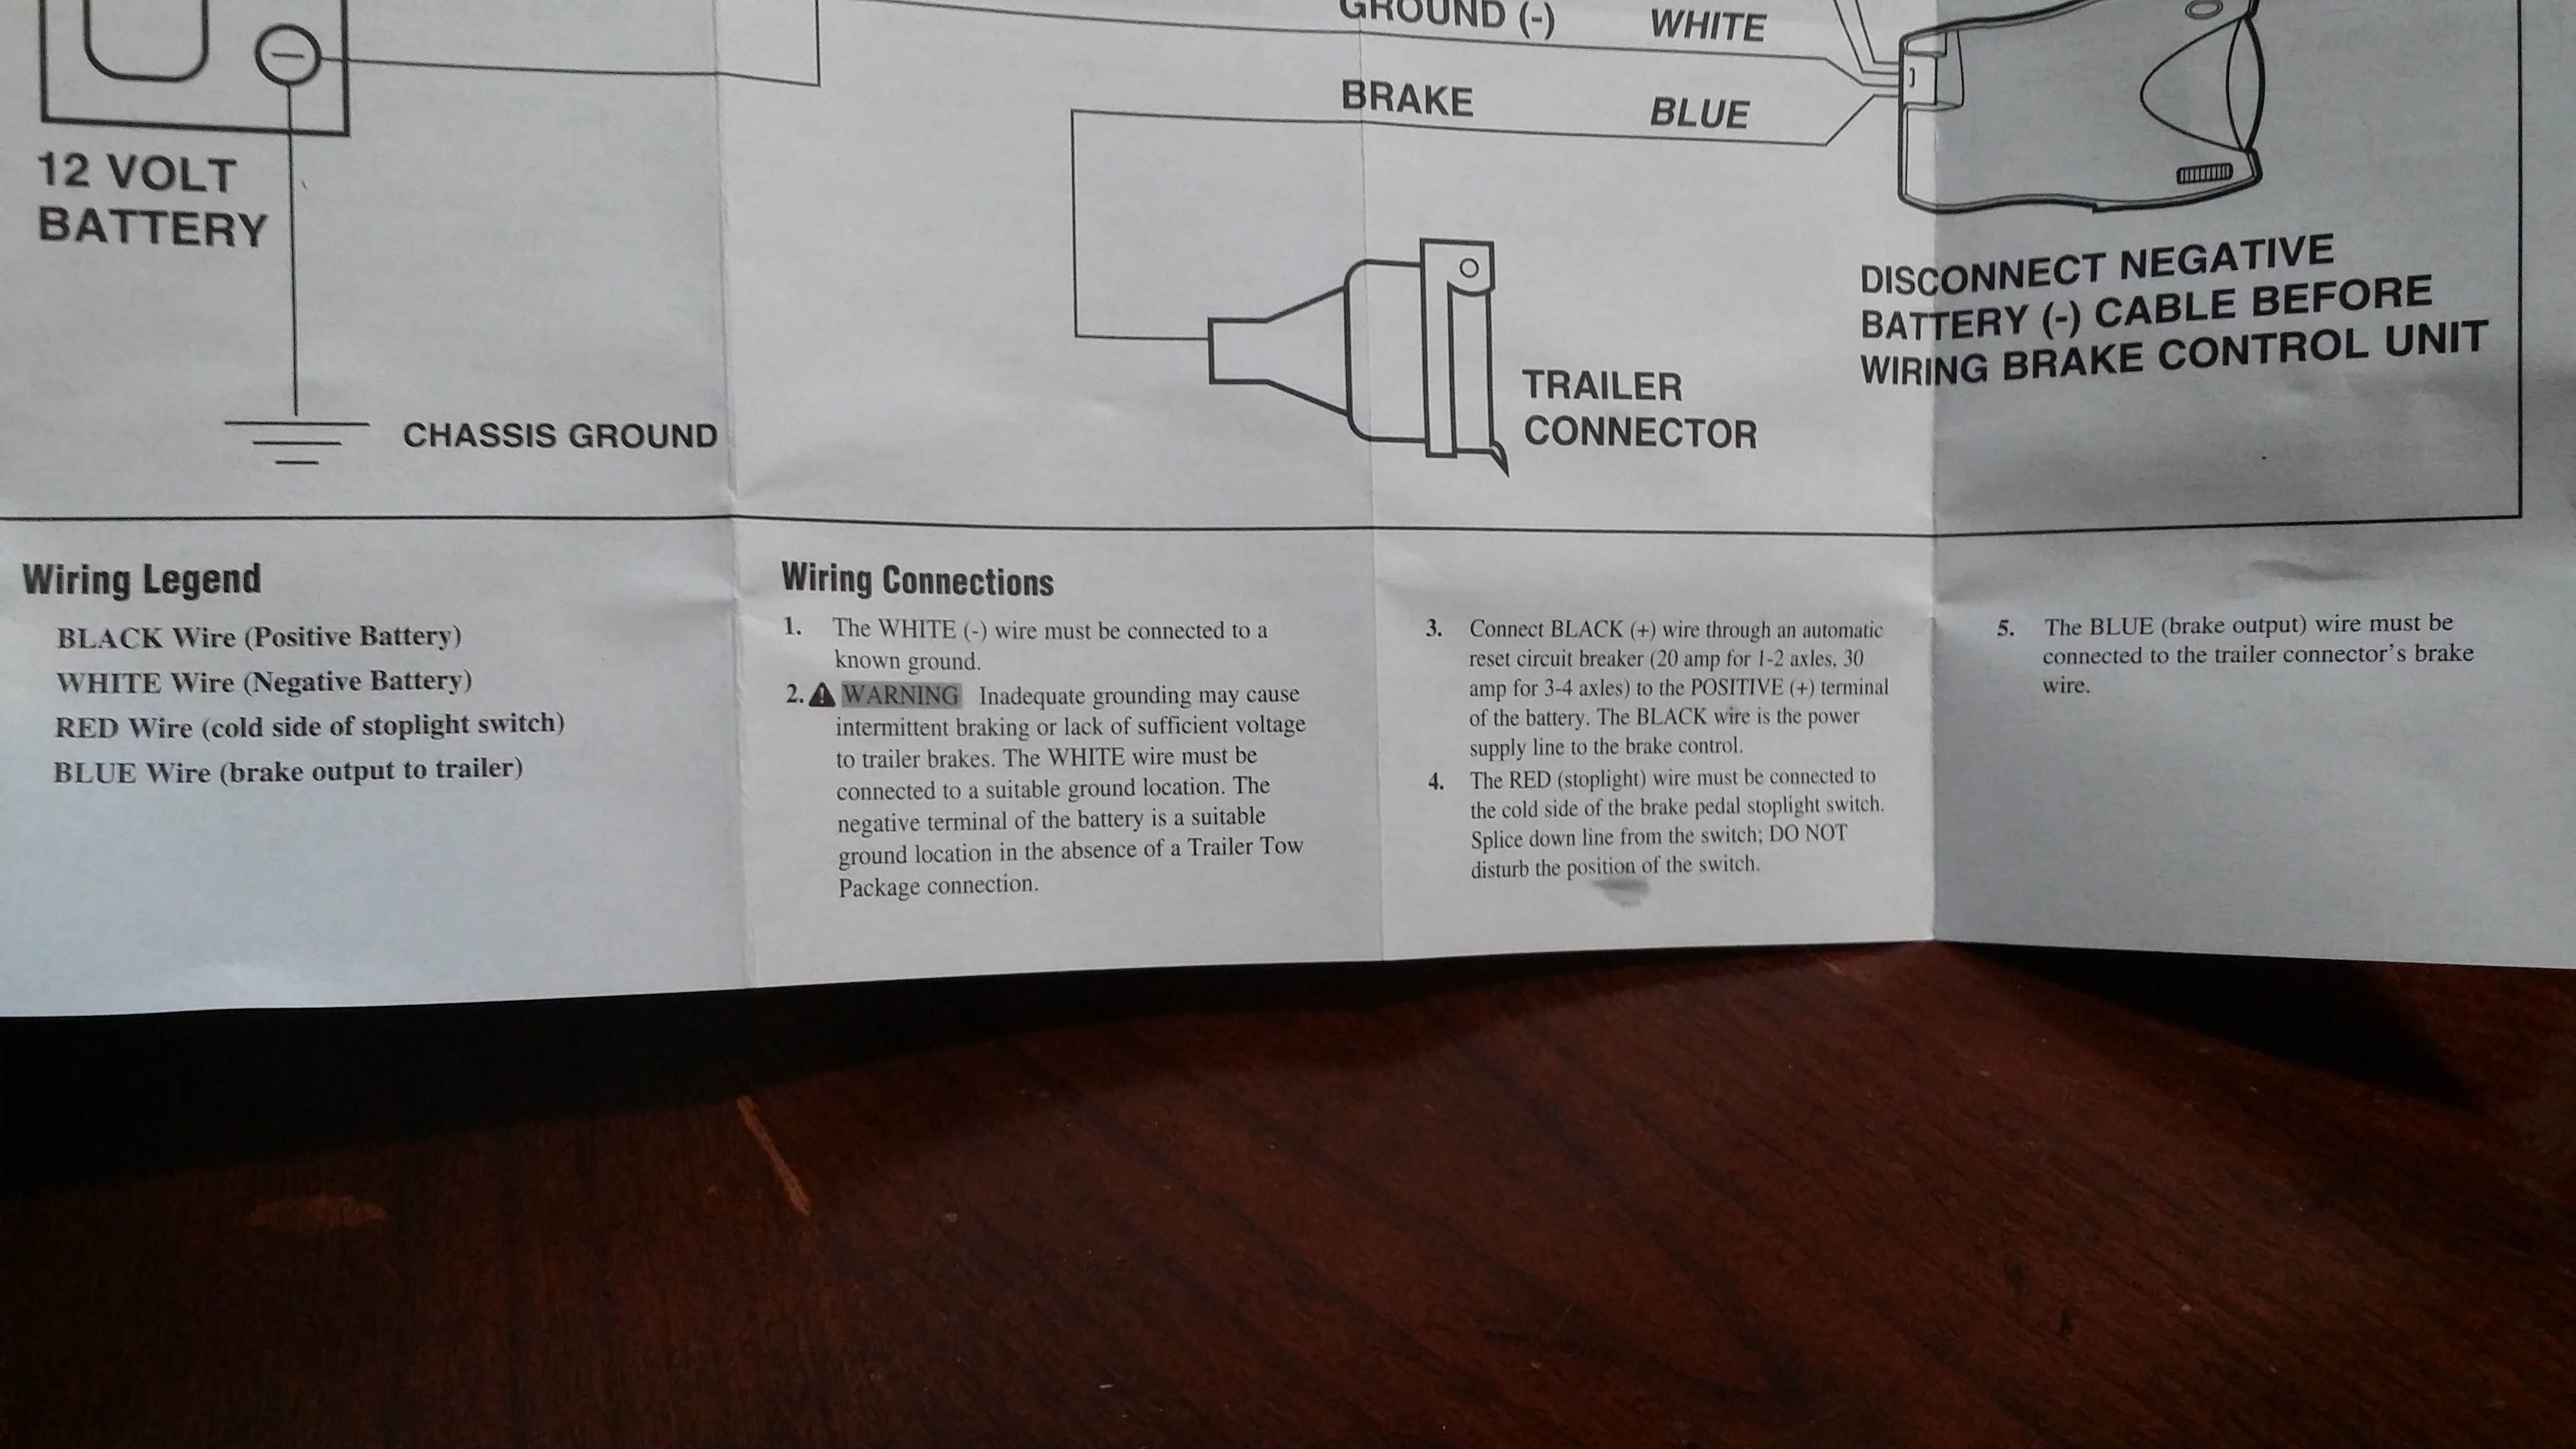
Wire Diagram
Here is all it comes with. (20amp circuit breaker not included) I ordered a 20amp inline circuit breaker for the positive lead on he prodigy P3. You need a 20 amp for running a 1 axle application such as mine.
I bought the breaker on Amazon for about $10.
I'm really hoping to get around to installing it on the truck so i can finally start doing a mock up of my trailer wire harness to make sure everything works properly before i permanently install it to the trailer.
It's been a busy week.
This past weekend i got to work on installing the Tekonsha Prodigy P3 brake controller. It actually wasnt very hard to install. the most pain in the butt part to do was definitely running all the wires within the chassis so its out of he way from the elements. But its done!
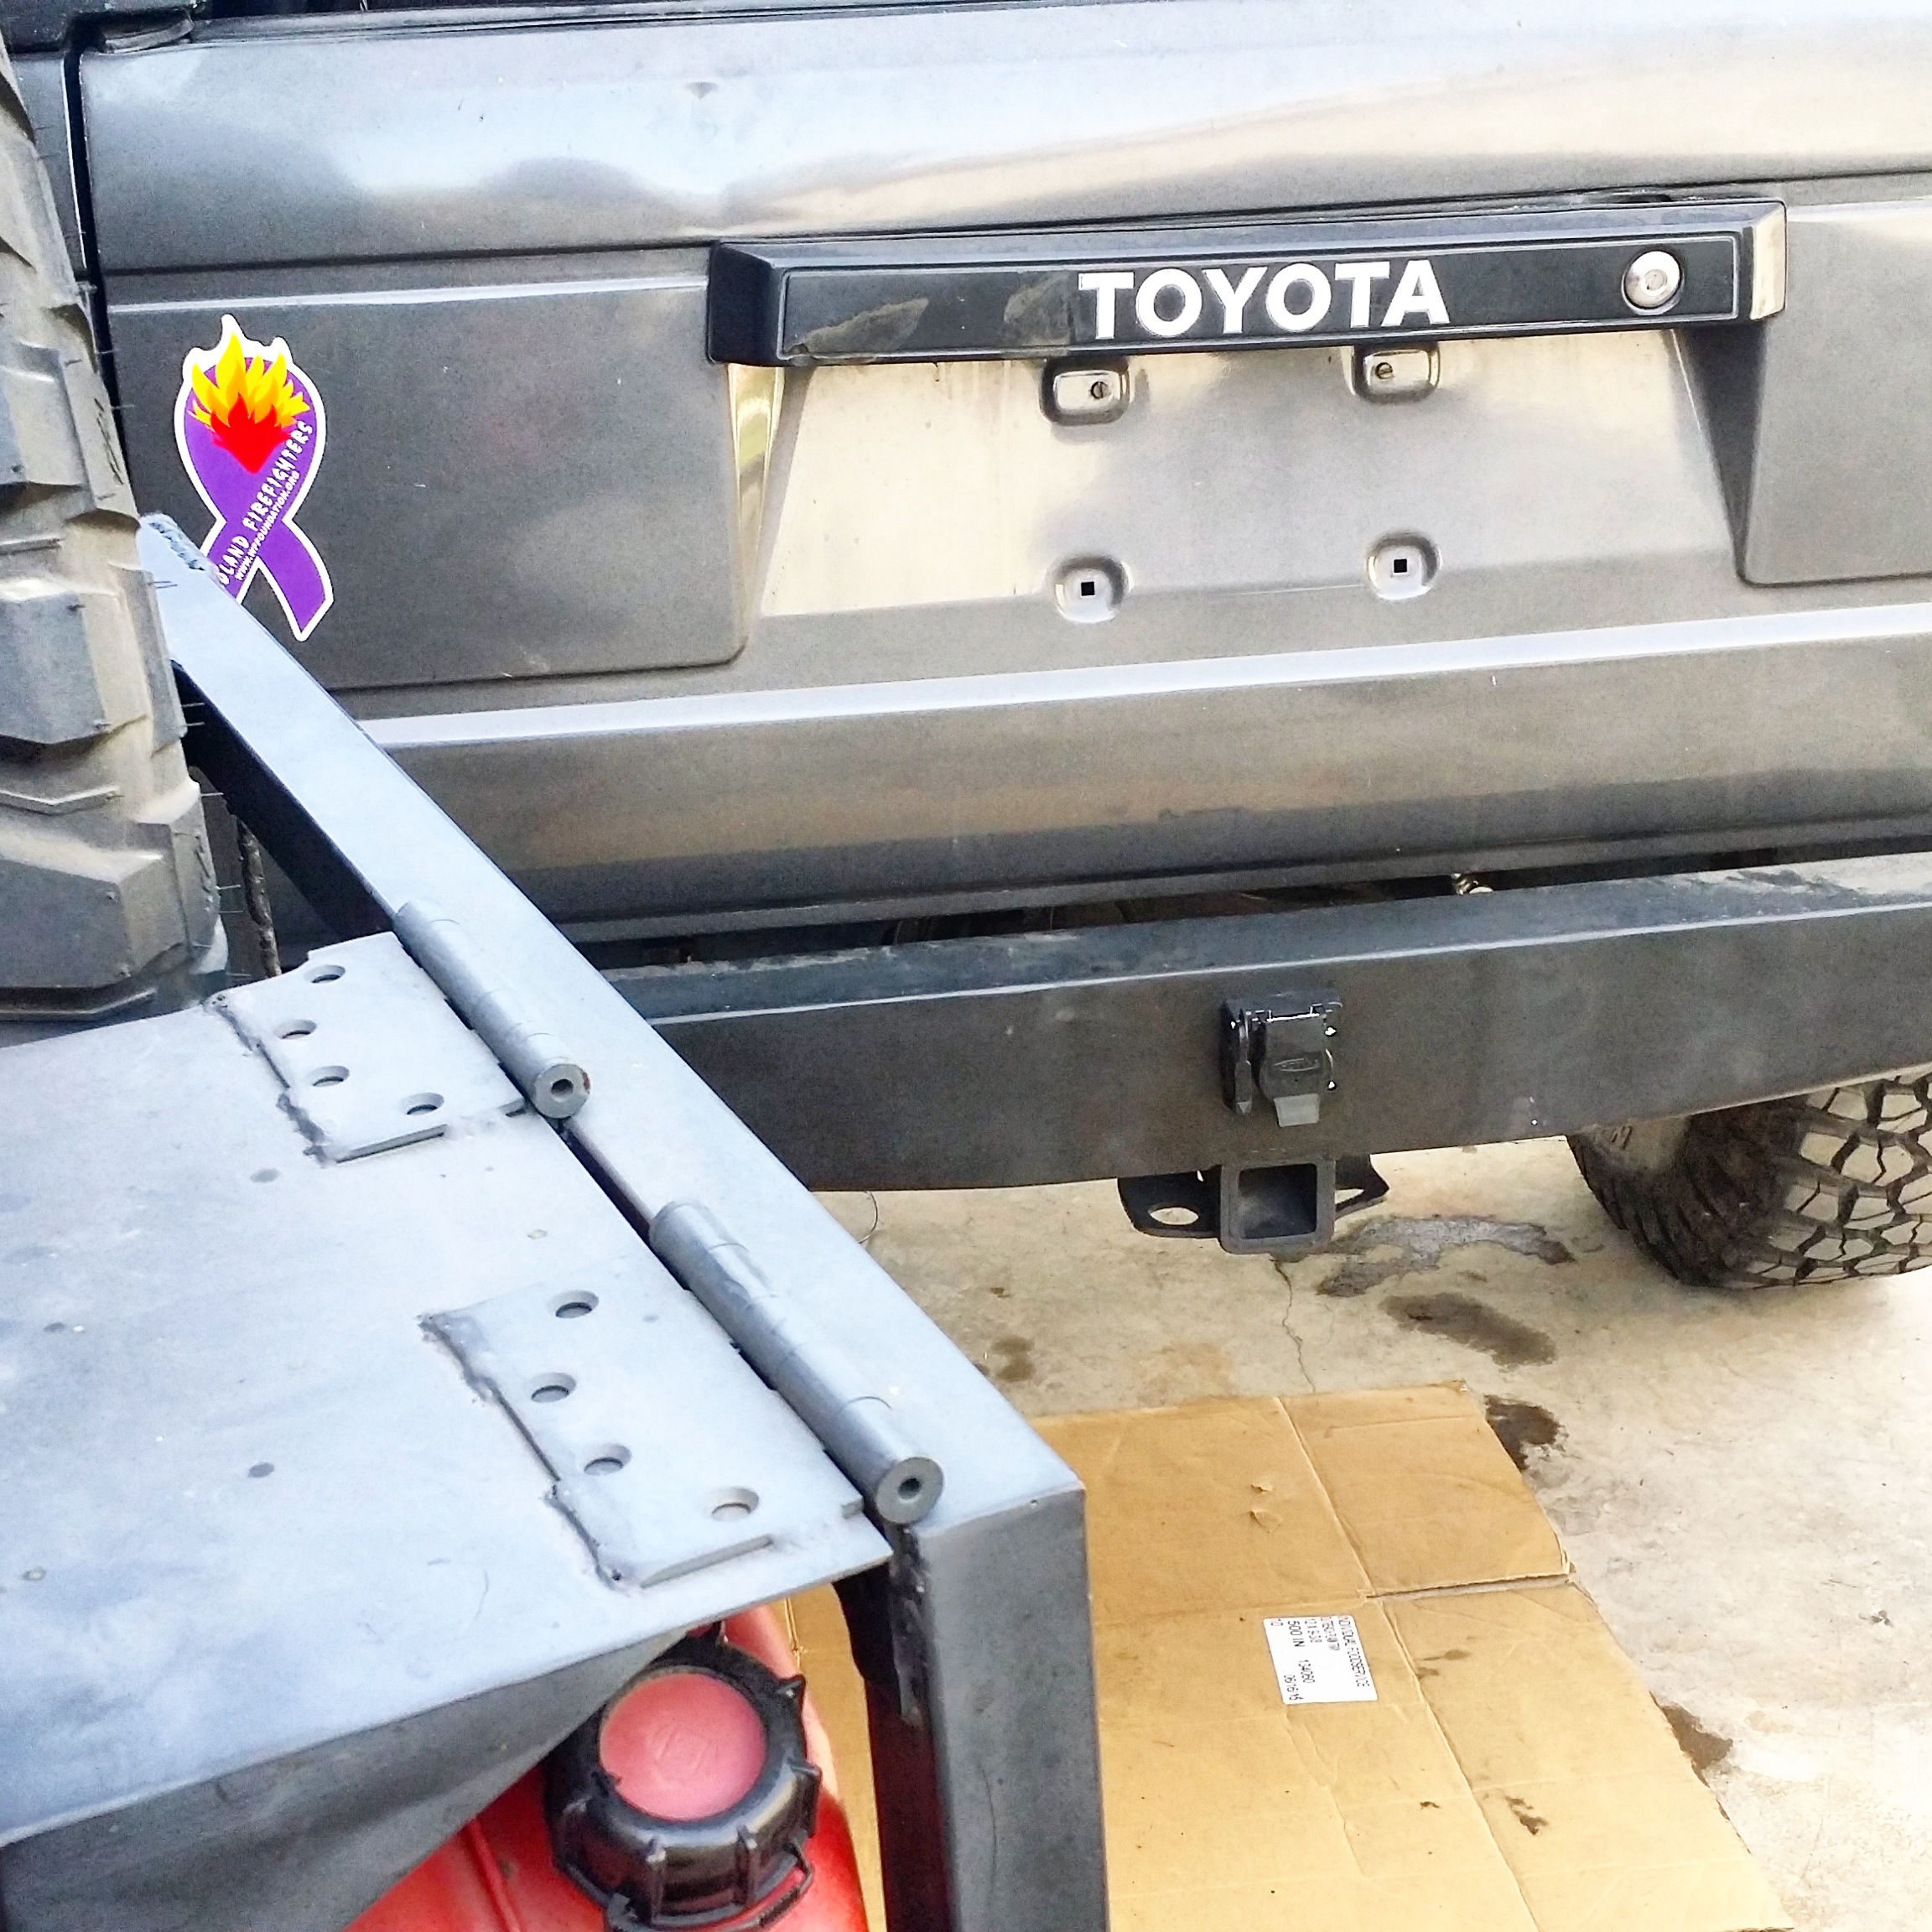
Here is the rear 7 pole connector. It pained me to cut into the custom rear bumper that my dad and I made a few years ago but i had to be done.
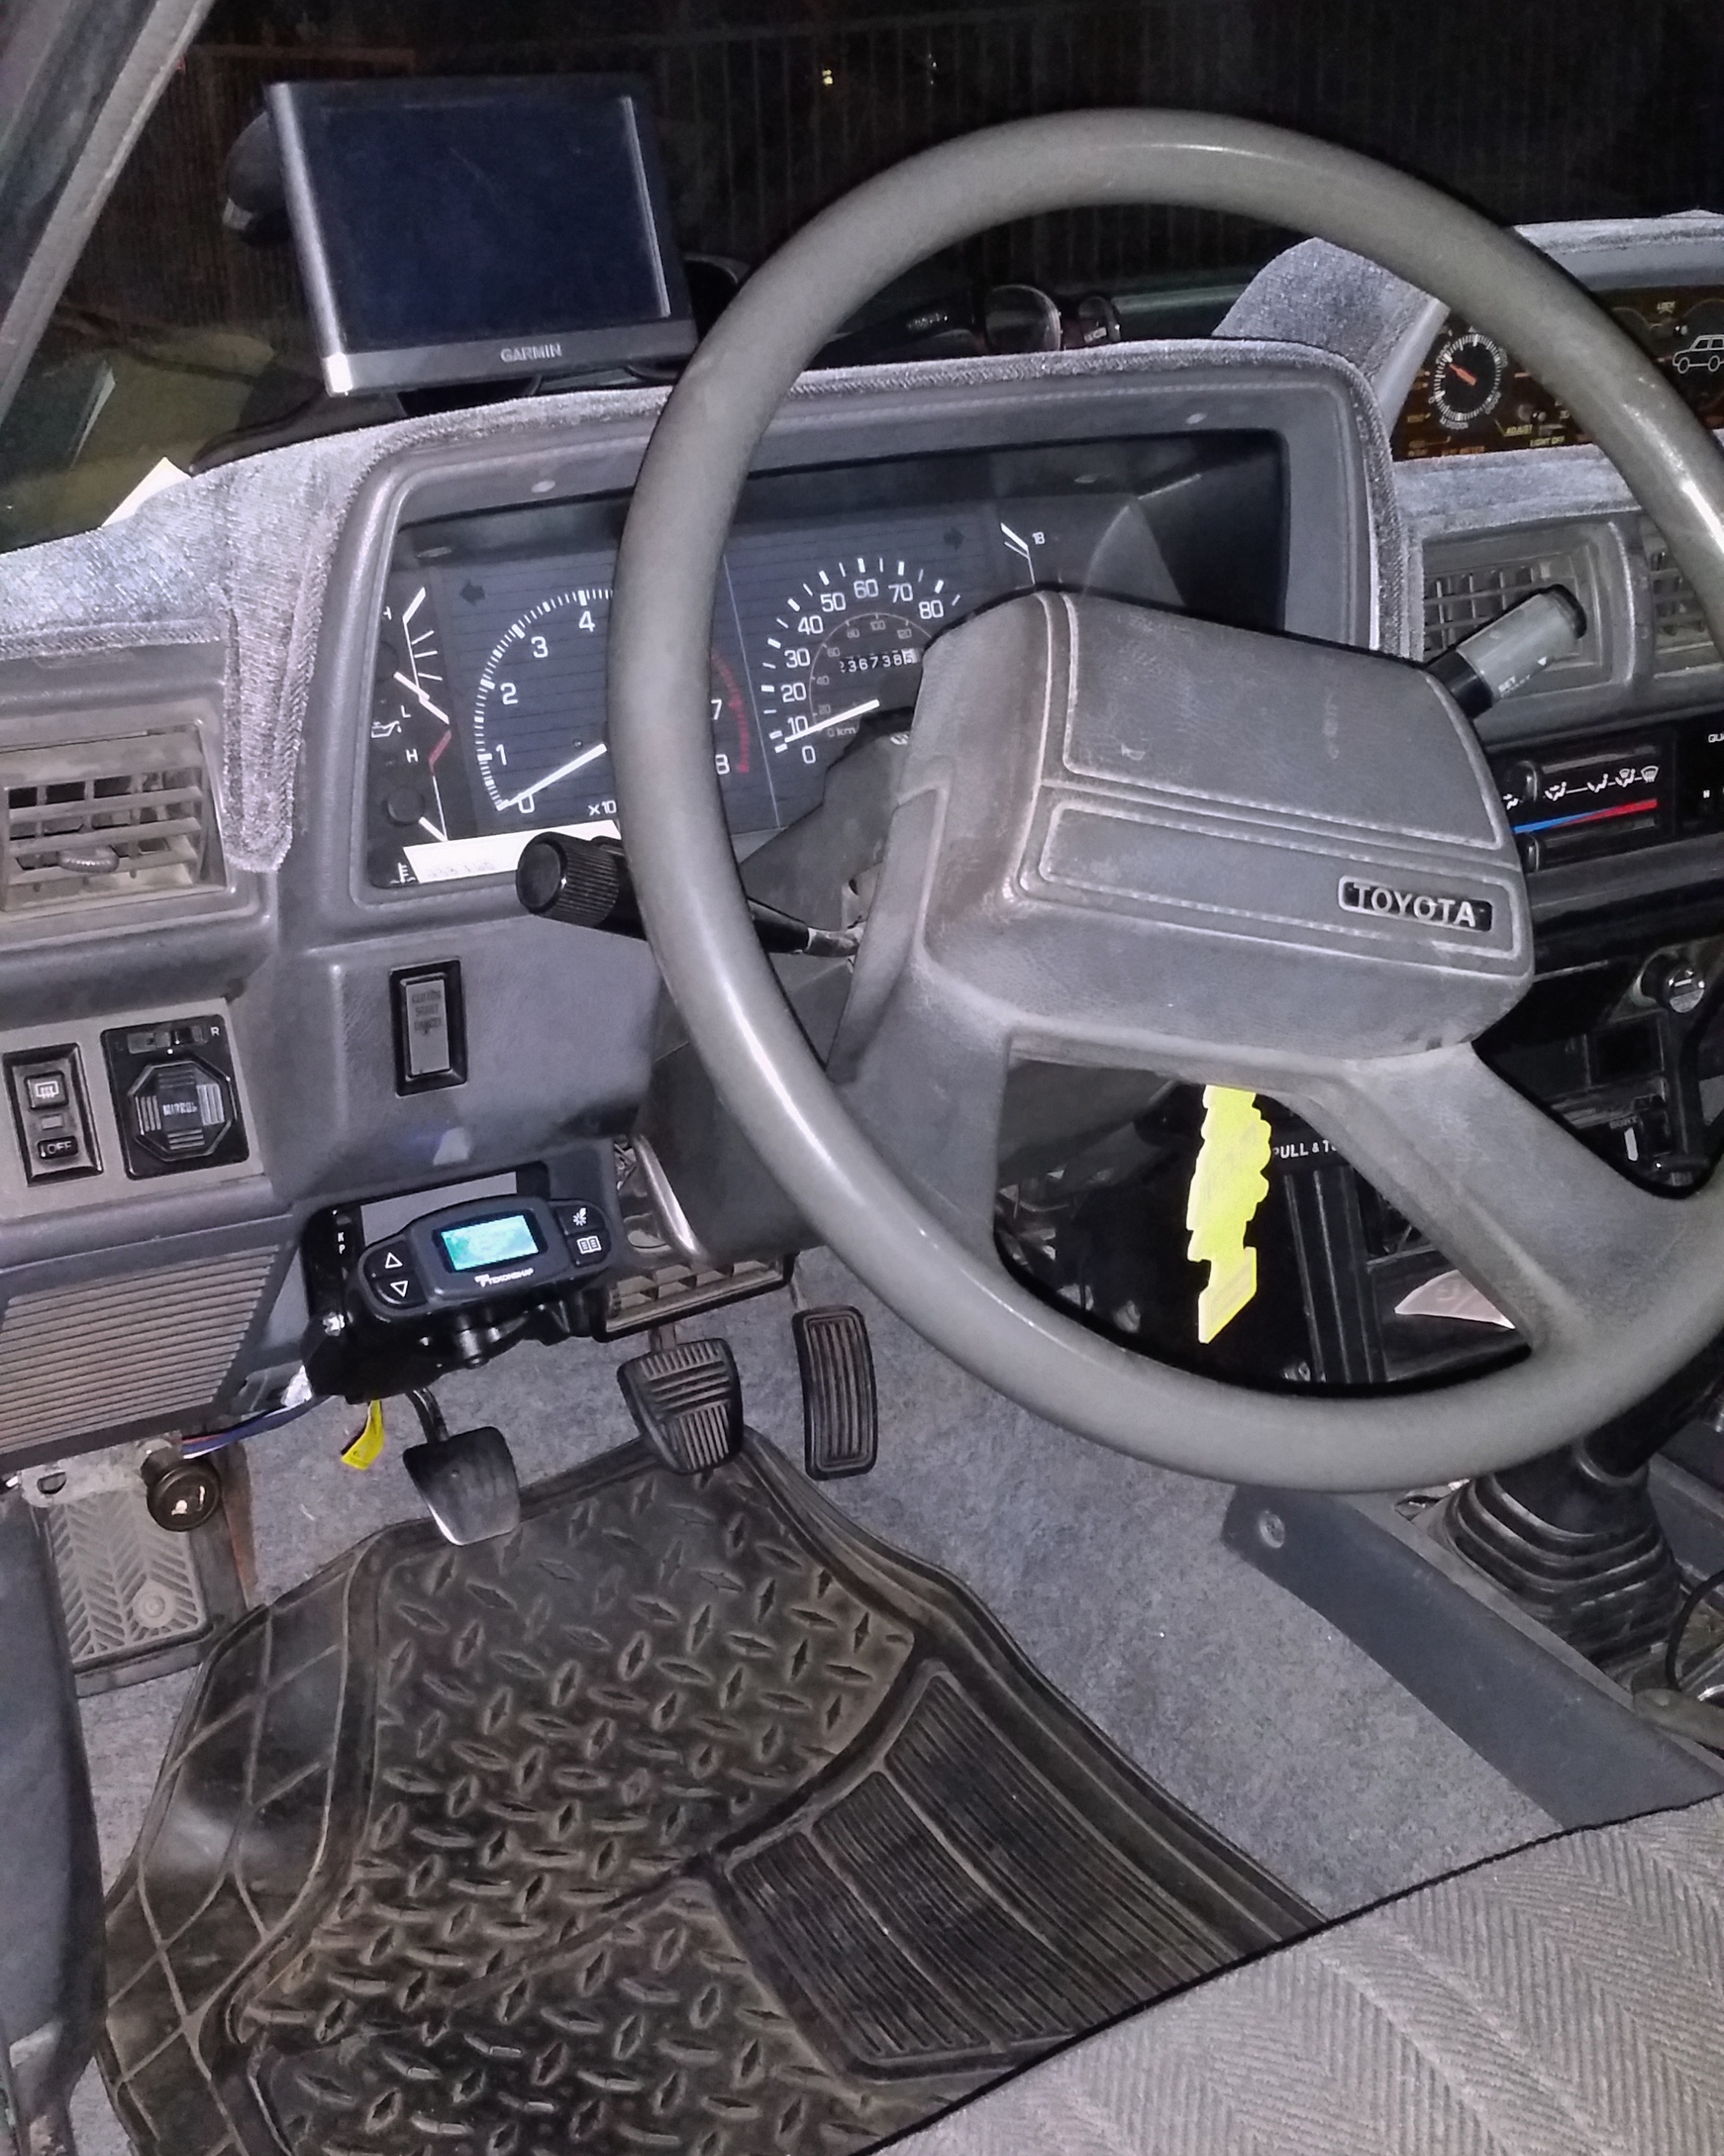
I wanted to install the brake controller on the right side but it was in the way of my E-Brake so i had to mount it on the left. It is still in clear sigh for me anyway so it's okay.
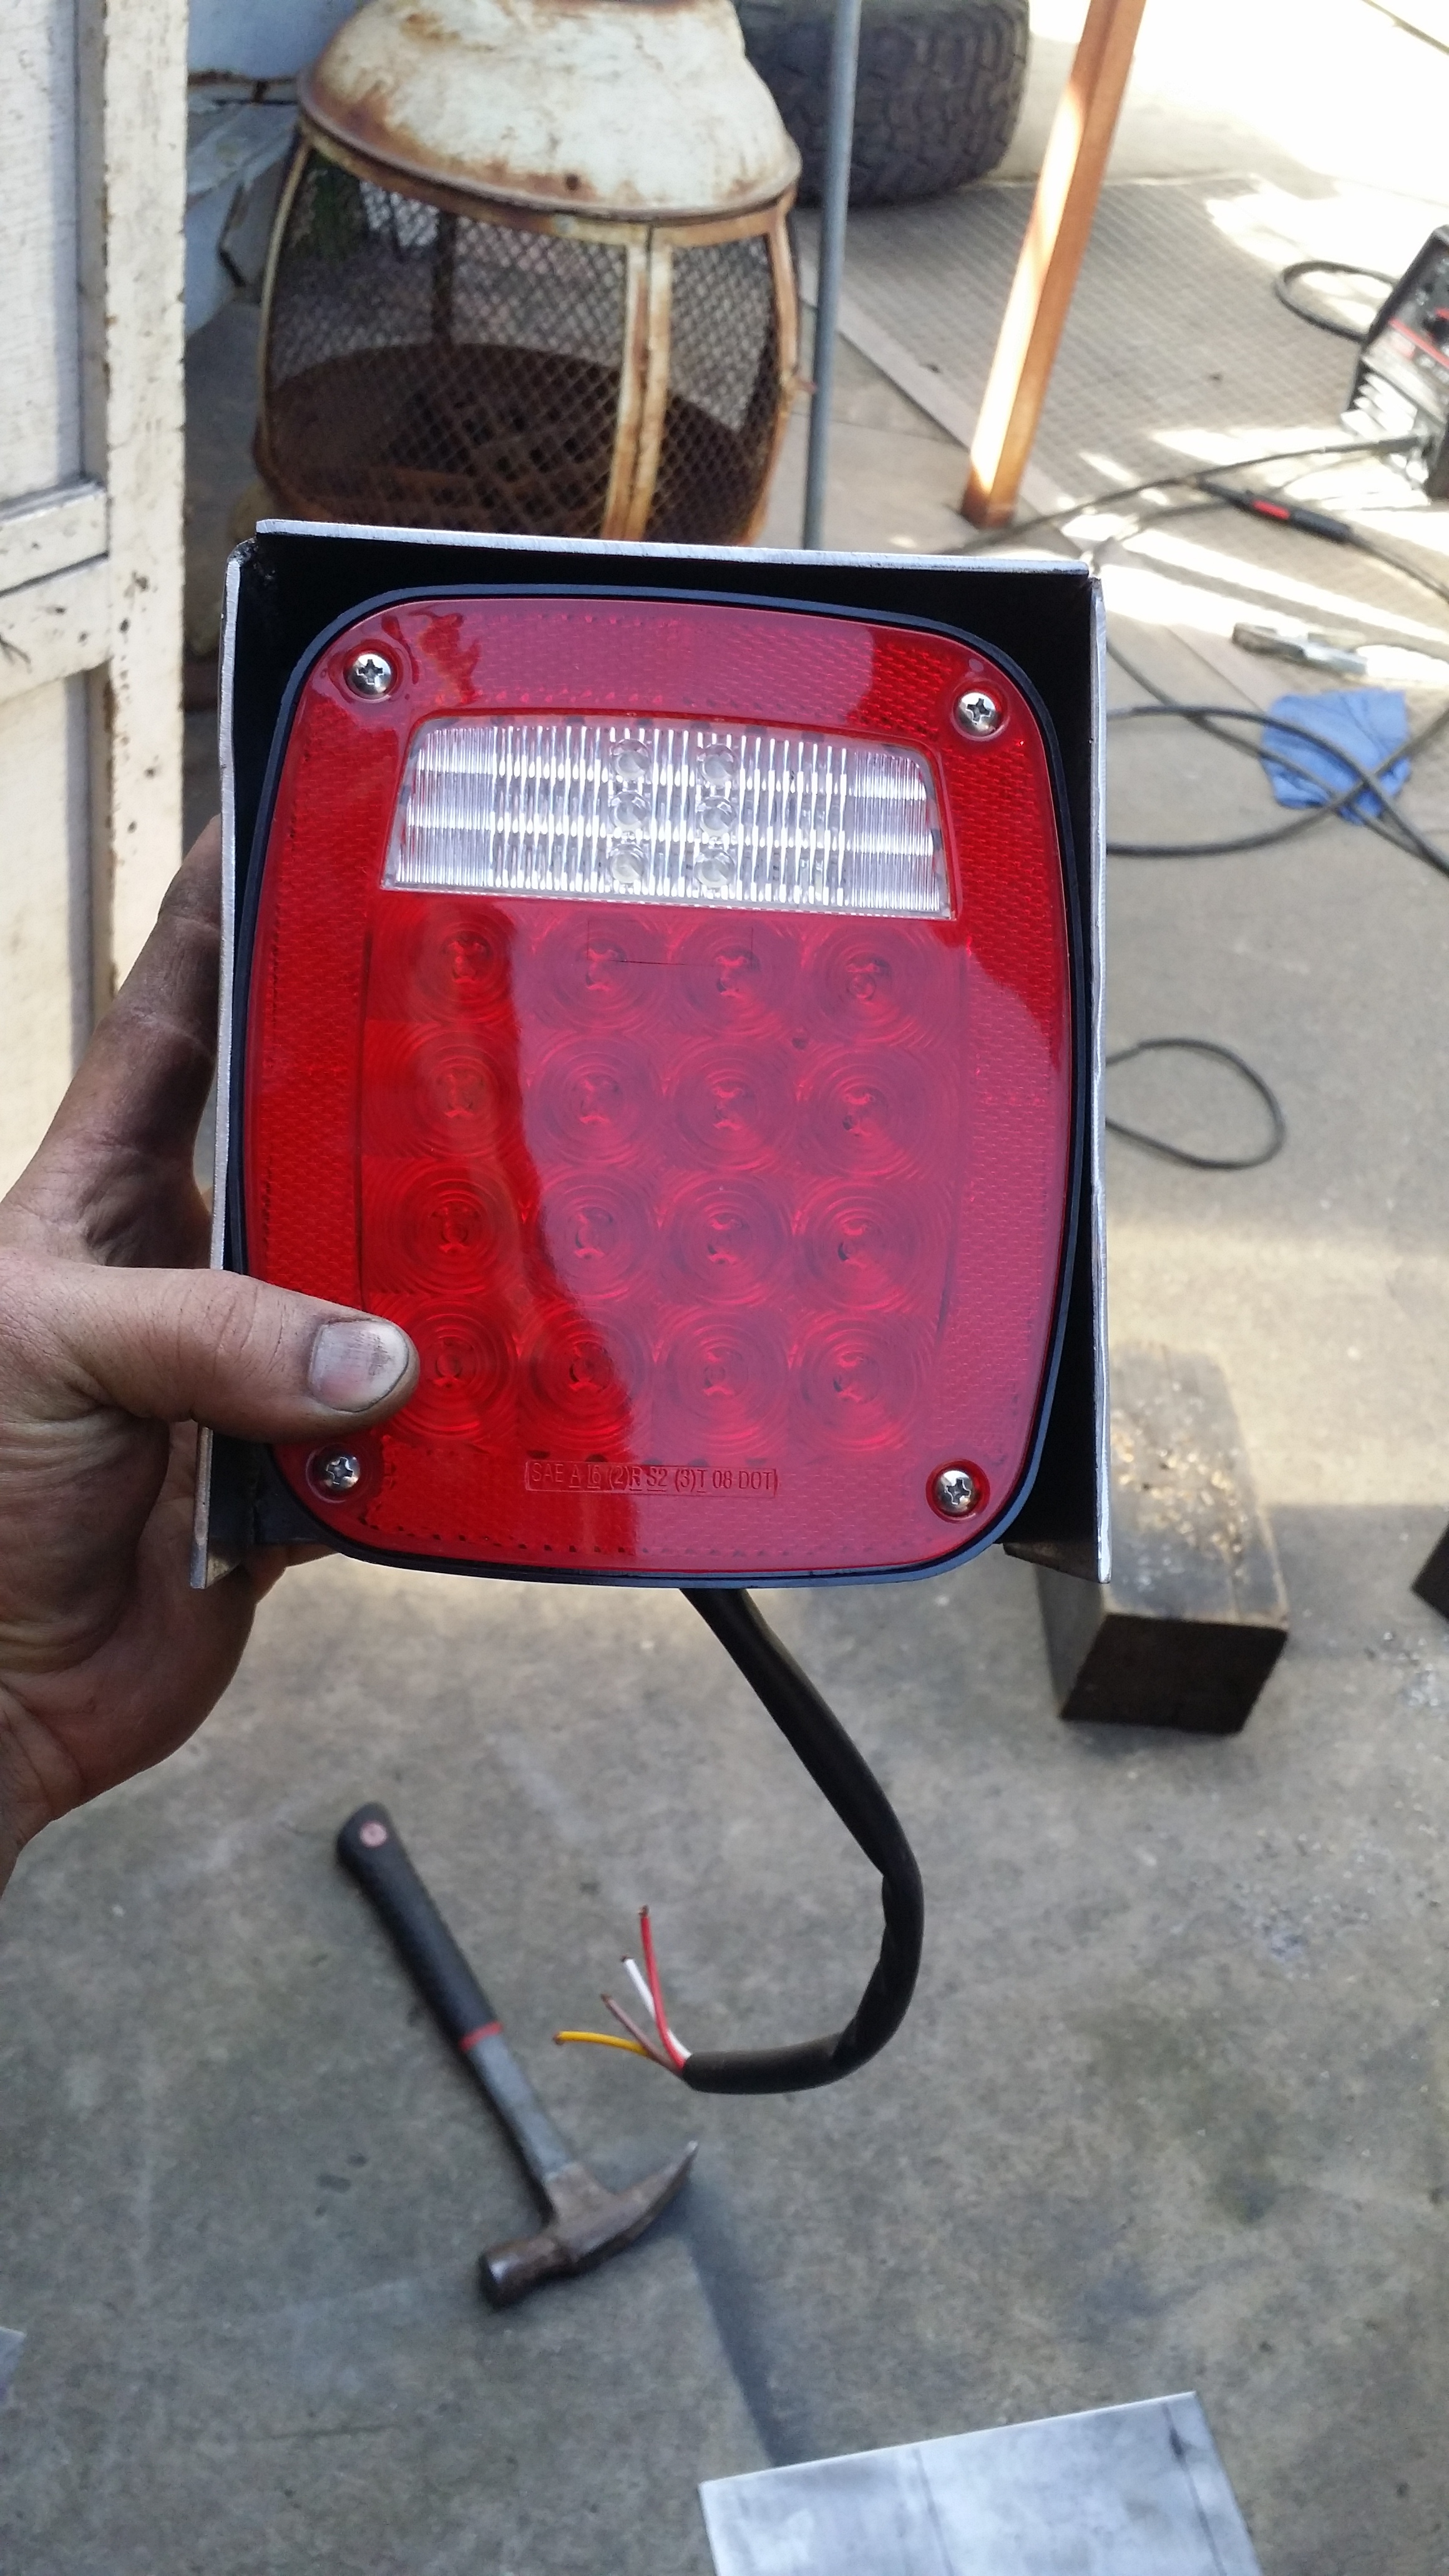
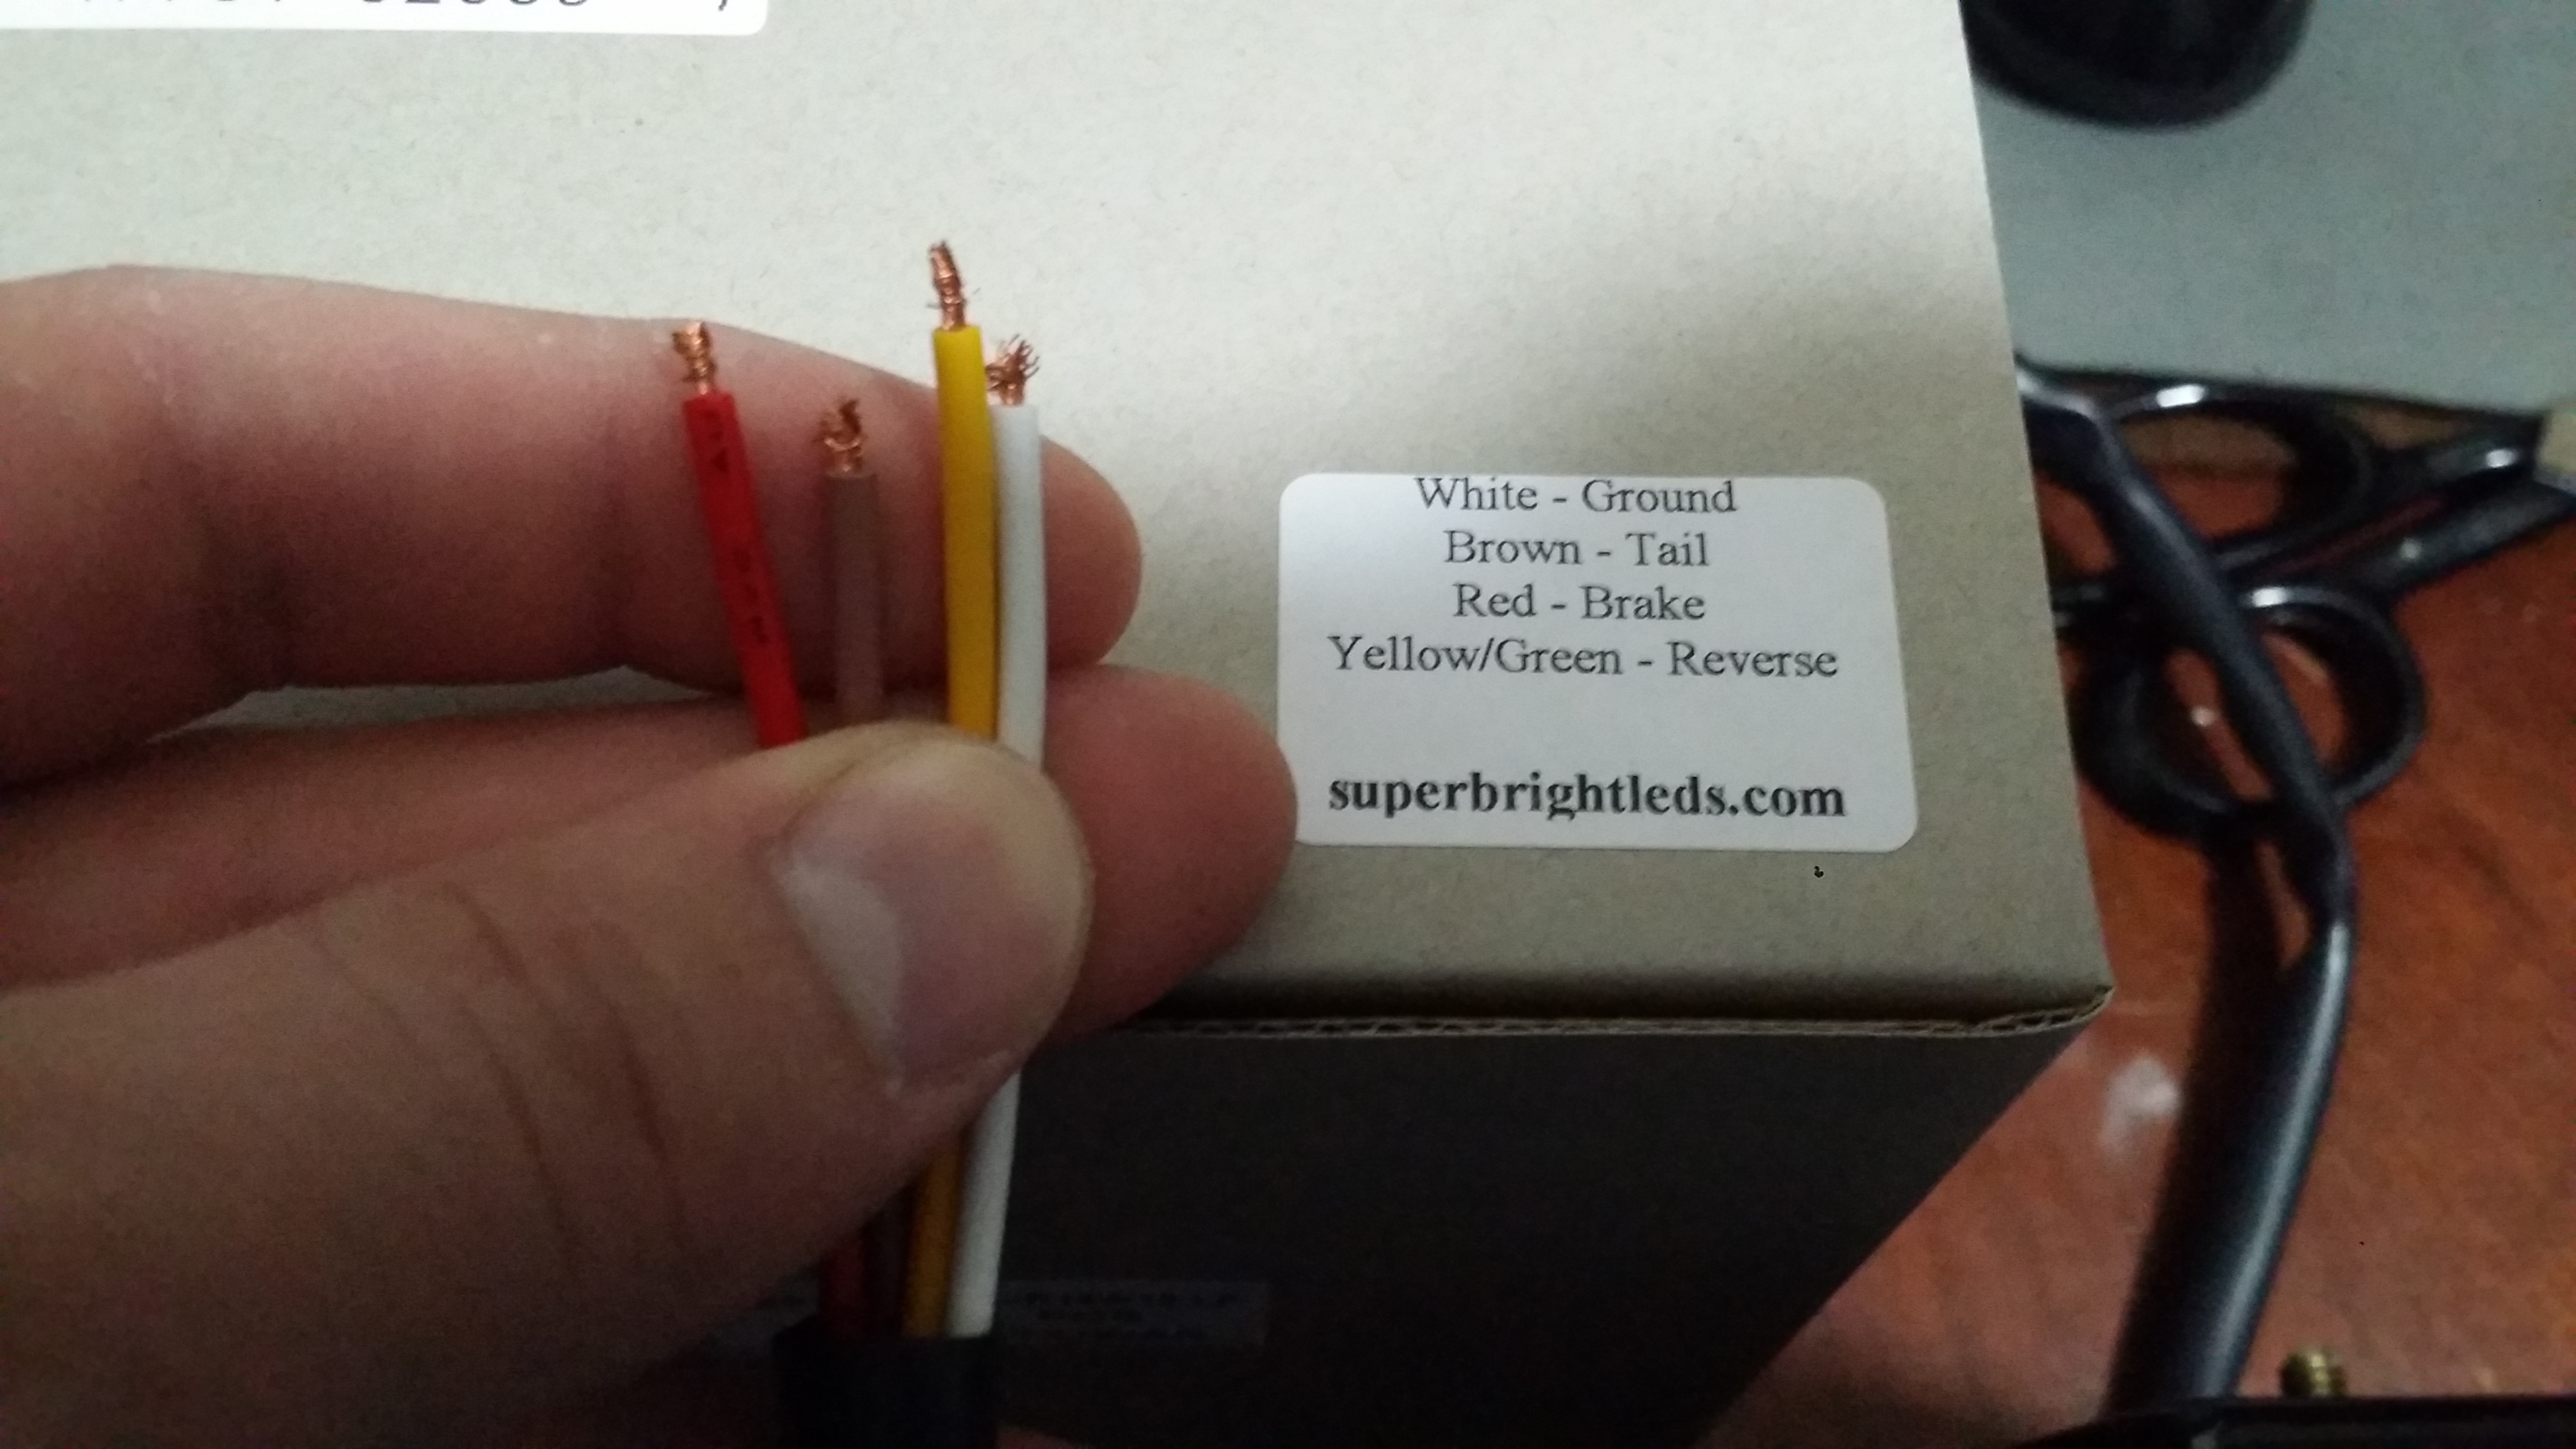
This past weekend i figured out the color code for my particular trailer. I used the regular BROWN, GREEN, YELLOW Colors with a BLACK and WHITE wire for electric brakes, and i ran a separate white wire which i colored red to tell the difference which was used to activate my reverse lights. I had a bit of a hard time at first figuring out which colors did what and what each should be connected to going from the SuperBrightLEDs trailer lights to my 7 wires. Not sure if you remember the picture from down below that i uploaded a while ago but the colors don't match the trailer color code so i just had to test each light individually while using a temporary ground. Here is the light color code:
Today was an adventure in itself trying to work alone to install all wires on the trailer as clean as possible and trying to route everything within the chassis to keep them safe from rocks on the trail etc etc... I asked for 2 days paid vacation from work to give me a super productive 4 day weekend since i haven't been getting as much time as i would like to work on it lately. So I'm really hoping to get everything knocked out of the way so i can take the paperwork to register this trailer once and for all!
This was in the morning: Just the beginning of the harness install. At this point i was trying to see which wires i had to tap into to make he running lights work.
Running lights and tail light installation success!
Here is a quick walk around video of my trailer and the light functions. I'm glad they work. I just wish i knew how to make these running lights work as Turn signals as well. I bought Diodes thinking they would work but it did not. (or i didn't test it right lol) And i am not an electrical guru so my knowledge is limited when it comes to getting the lights to function exactly how i imagine it in my head. So this is all i was able to do with my lights.
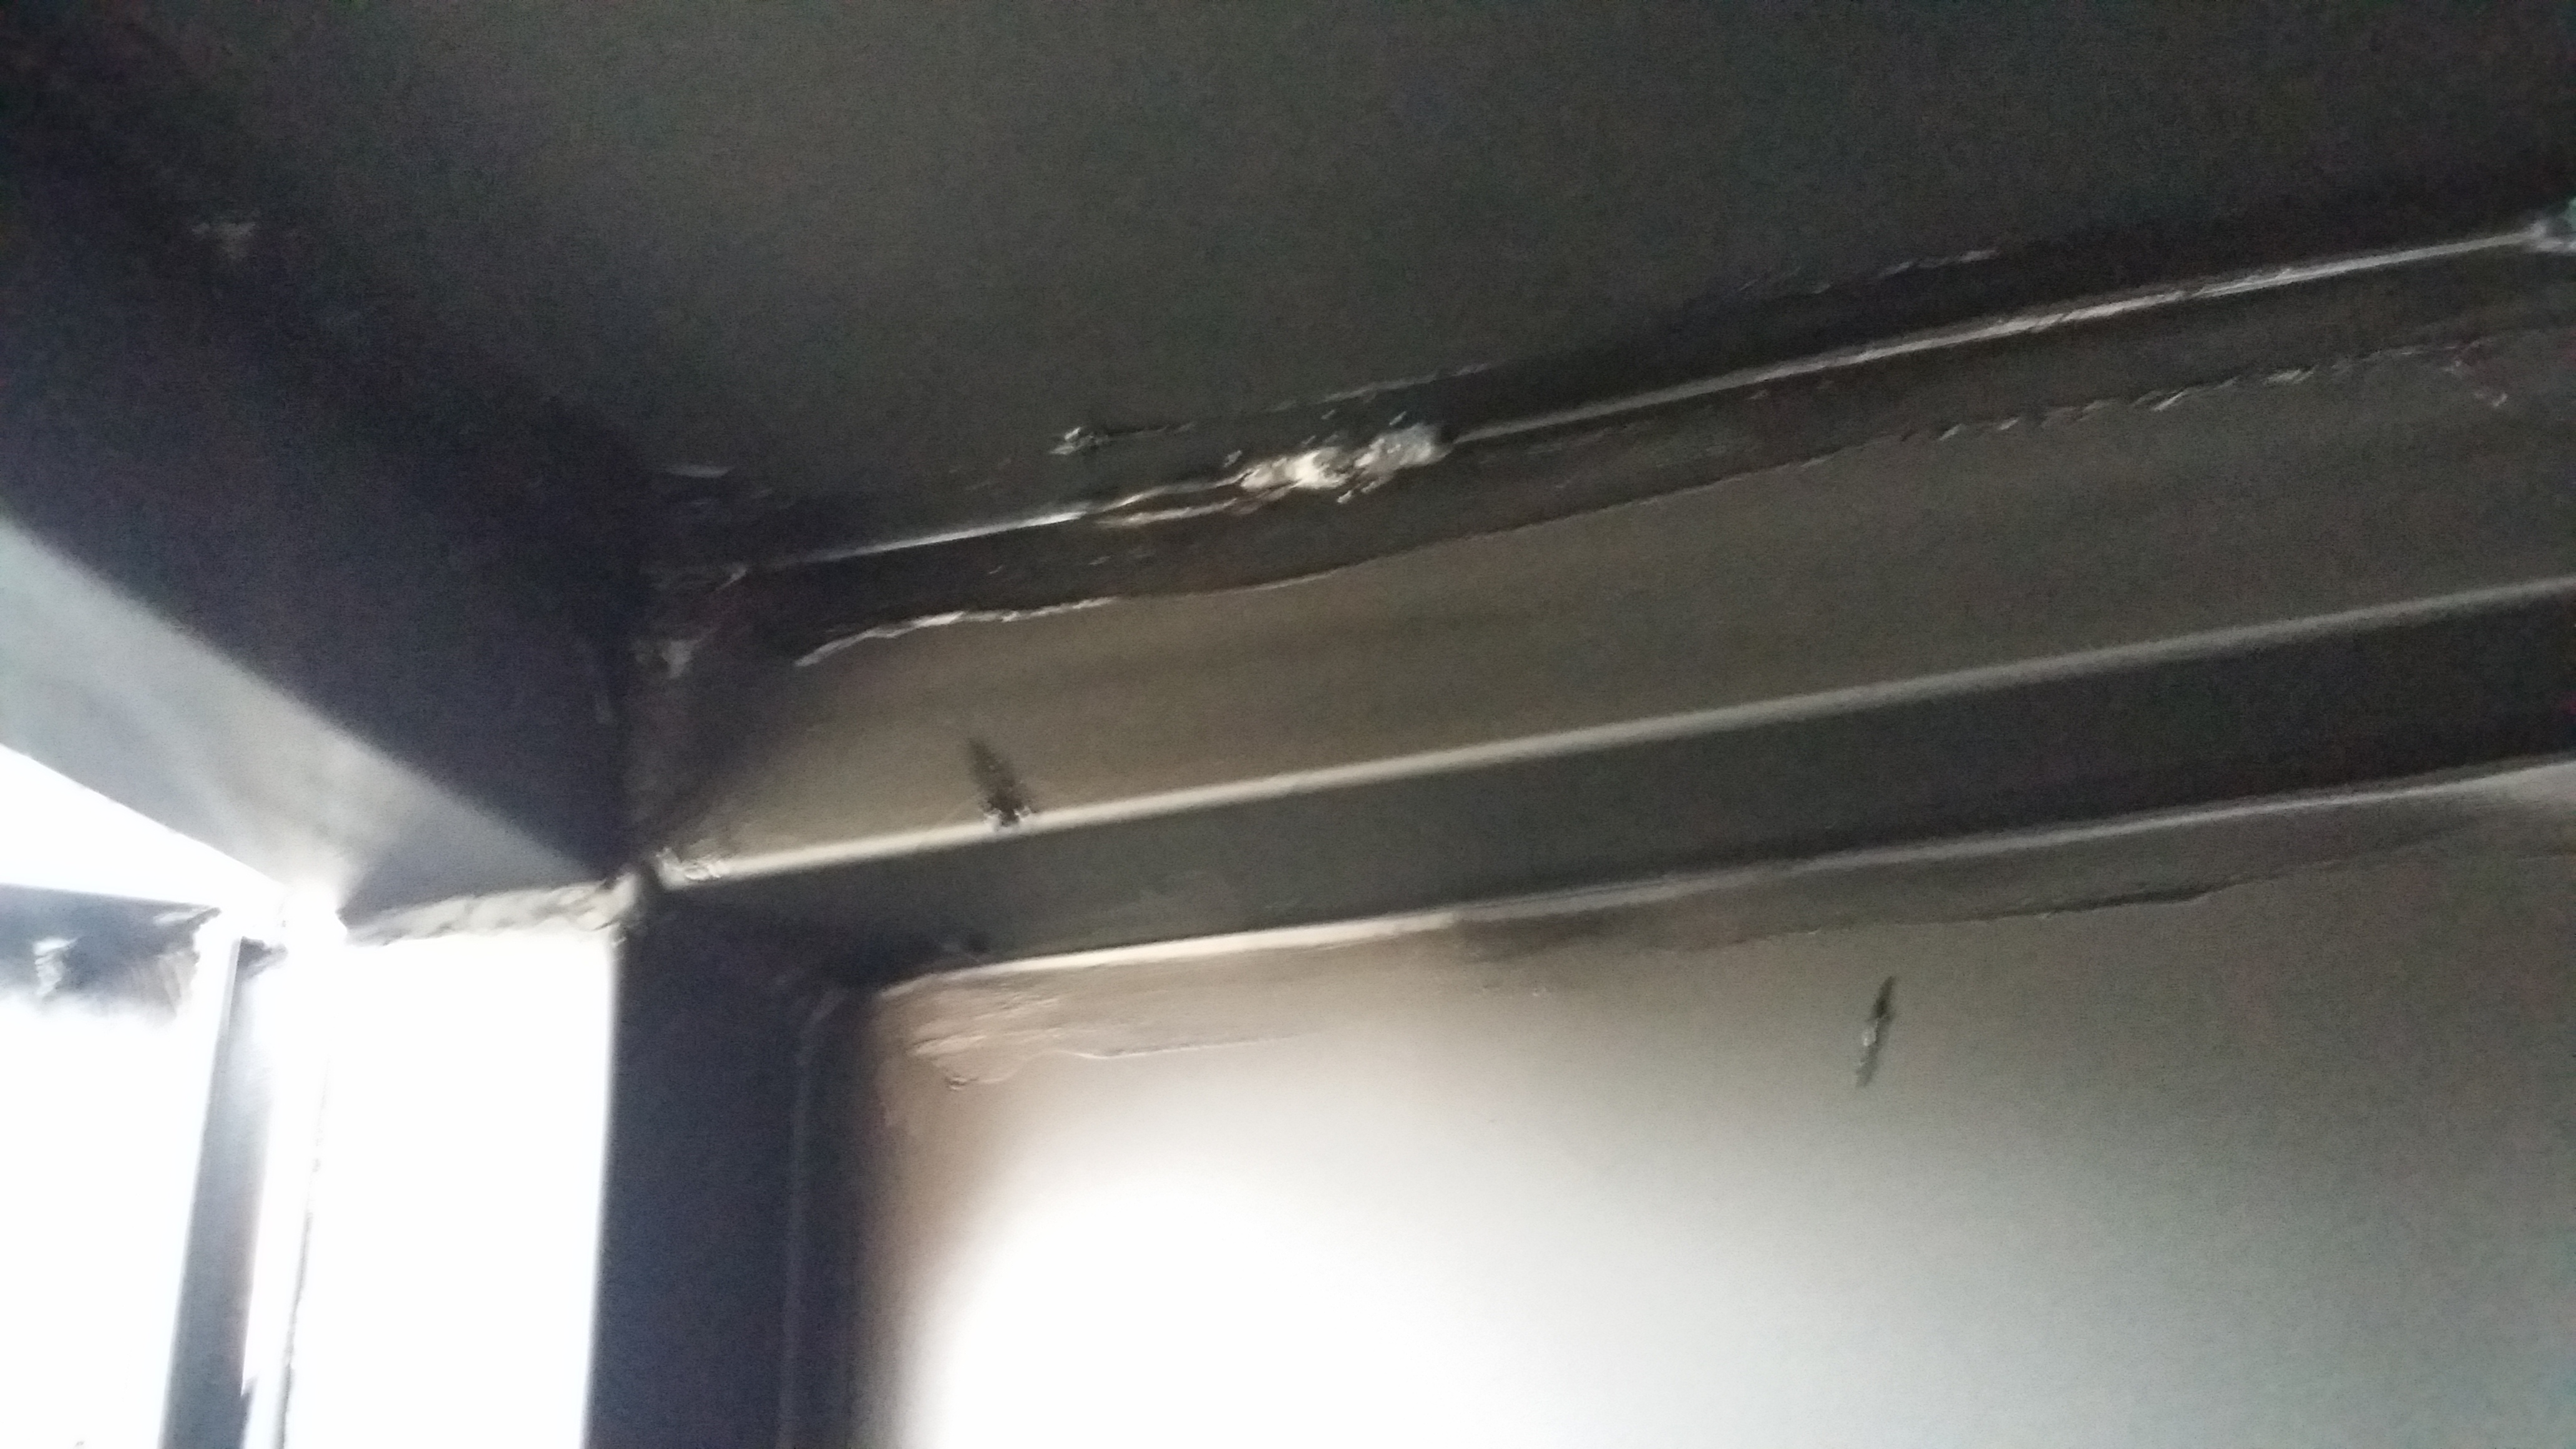
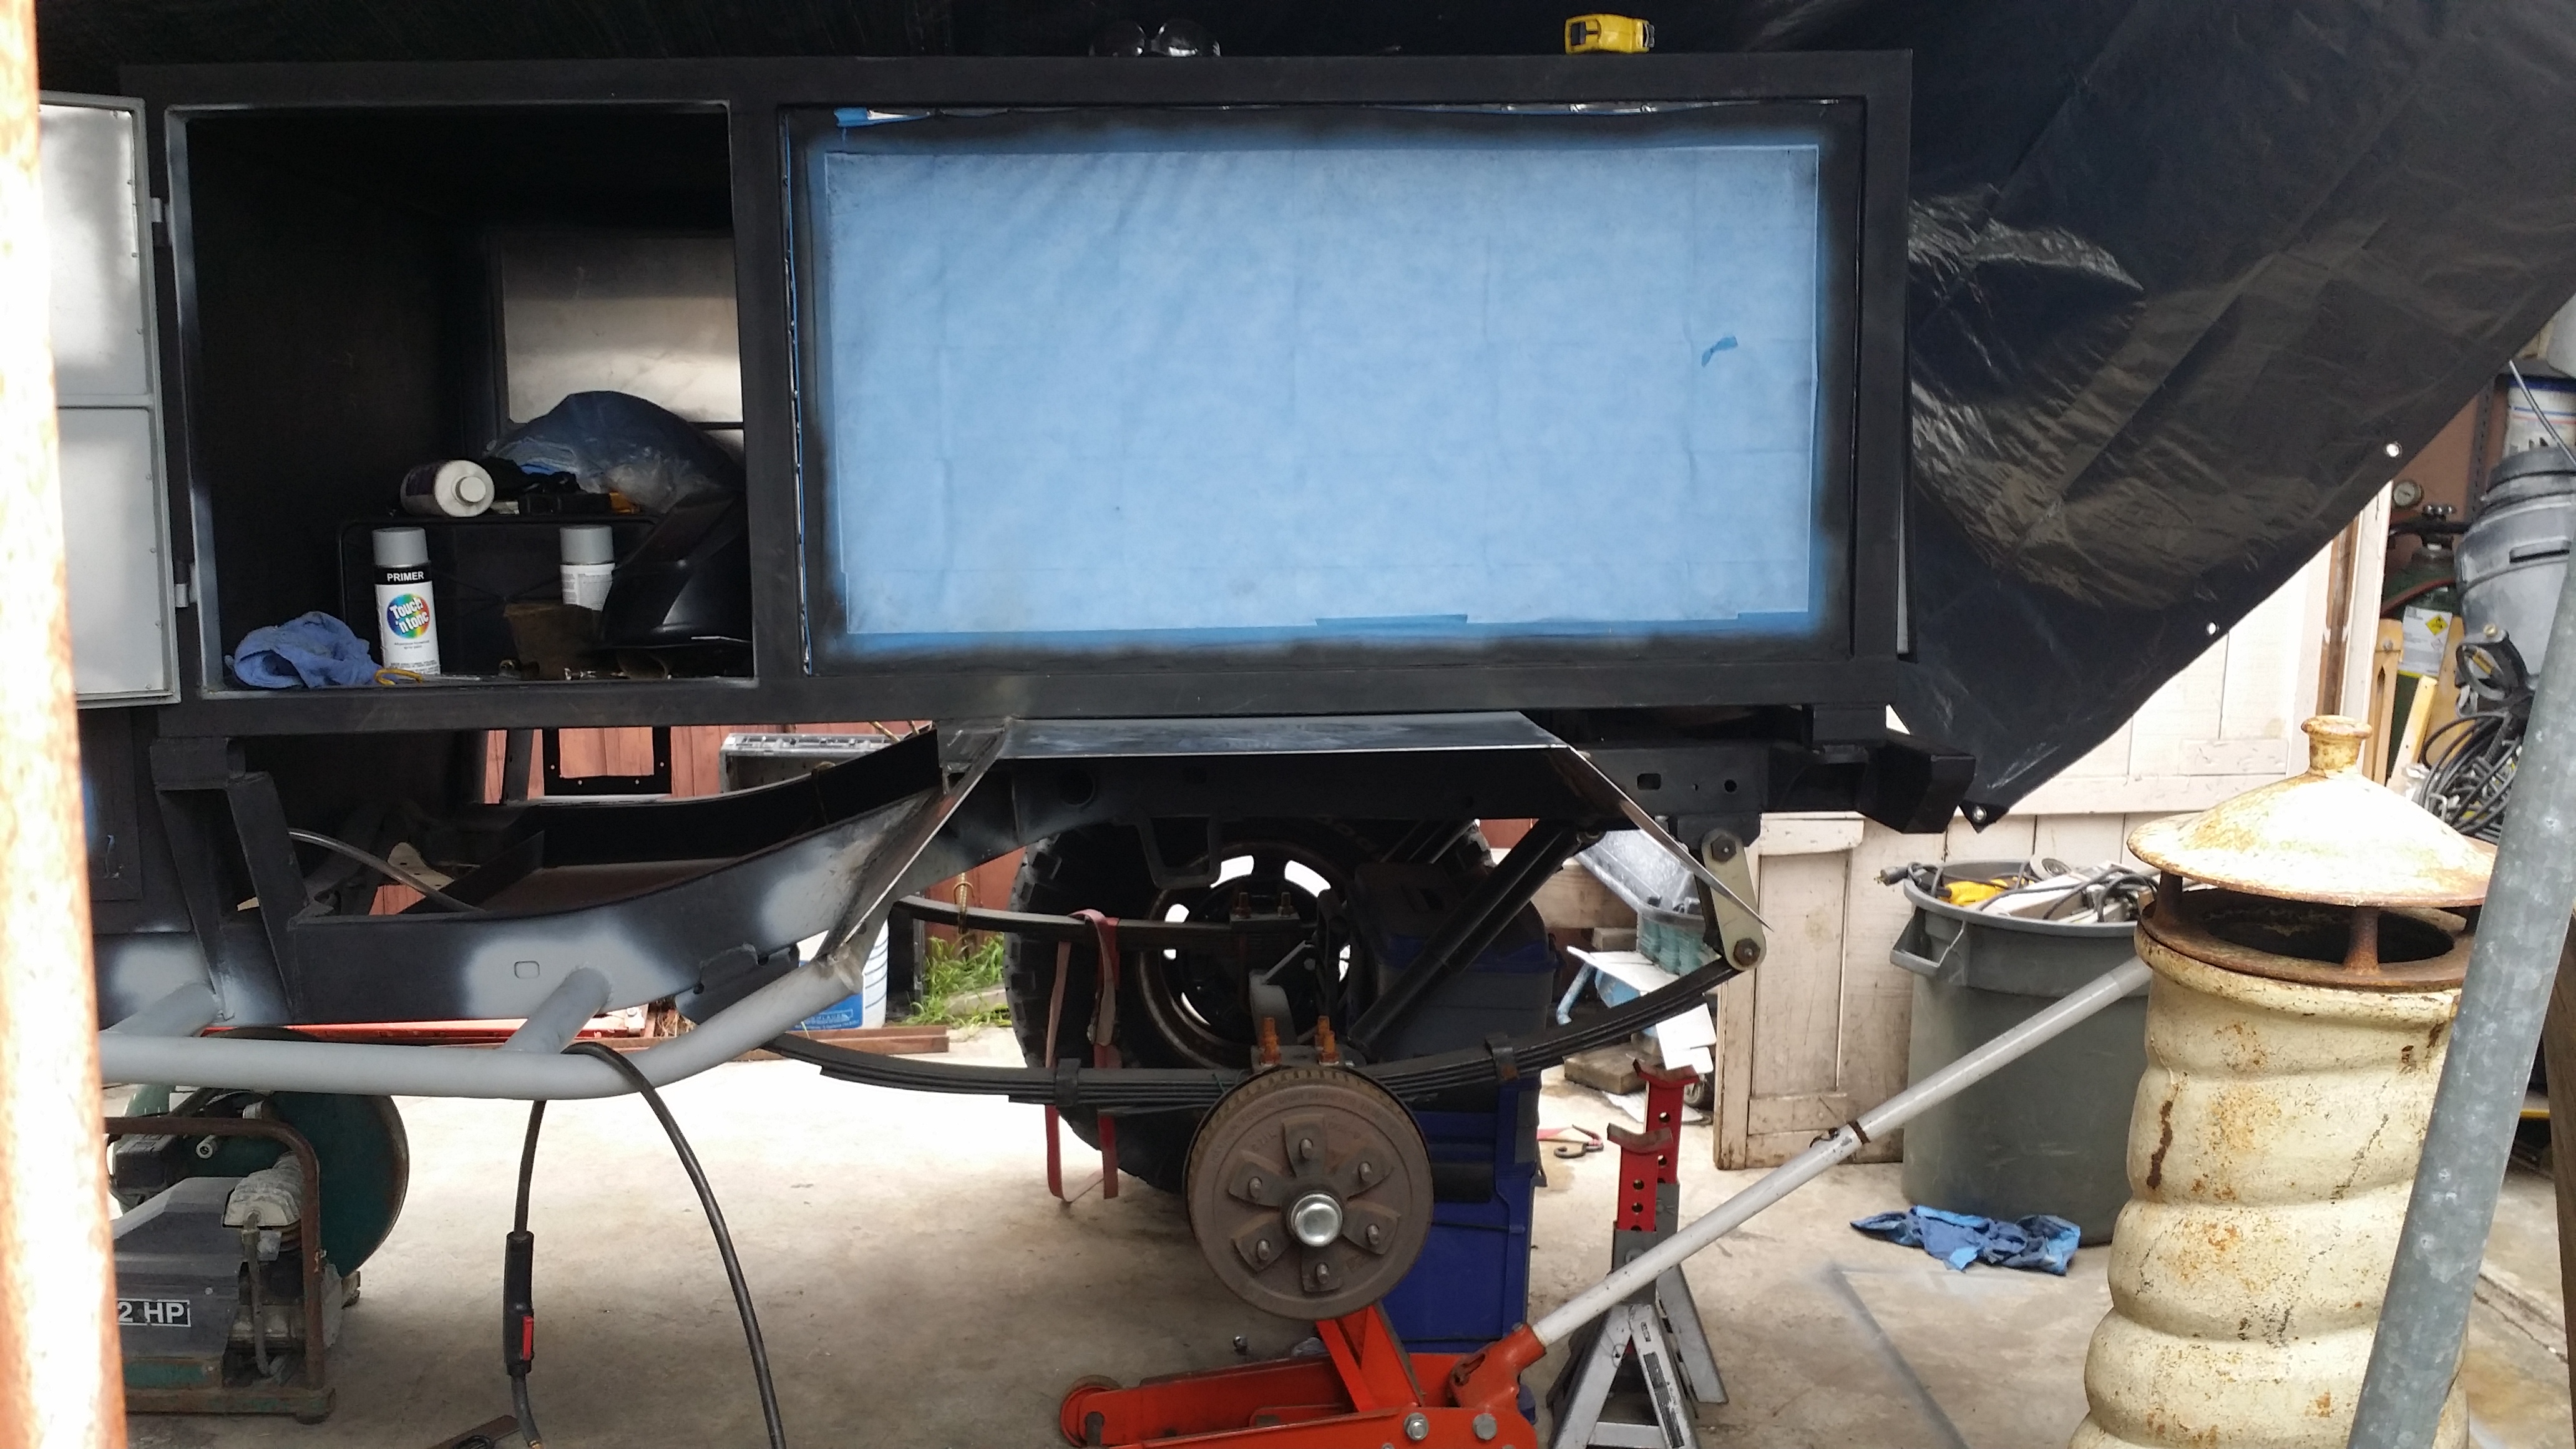
After all this My next step was to start prepping the inside of the rear compartment for another primer coat then painting flat black in all the corners where all the welds are. I want to get all this done by tomorrow because i plan to seal all the corners /joints where all the welds and rivets allow water to enter from outside. Last weekend i washed the trailer and discovered 3 small puddles. I saw most of the water accumulated in these locations. SO tomorrow i plan to finish painting the inside (i ran out of paint today) then once it dries, i'm going to silicone all the joints. And what i have not done on the 2 doors as well. Both doors need to be siliconed inside and out. No point in my doors having weather striping if its just gonna leak right through the rivets on he doors lol Especially since i plan to have wood floors on he trailer! I don't want it to get moldy inside. I gotta get this done tomorrow because we are expecting rain saturday.
This is an awesome build. I can't wait to see how it turns out. not sure if you addressed this earlier but I'll add my 2 cents. Spend the money on AGM batteries. Lead acid golf cart batteries are designed to be in a golf cart. The plates inside and the outer case aren't designed to deal with shock and vibration and will crack doing what Toyota people consider light wheeling. Another consideration is tying your charge controller to the rig while it's being towed. This will allow your batteries to get a good 3 stage cycle after you have camped for a while. It will go a long way to preserving the battery life and preventing you from running a gen if it's cloudy for the entire trip. Solar panels are great until you find that beautiful camping spot in Yellow Stone surrounded by trees and cool rock formations that block 50% of the light.
Finally got a chance to track down what we were using to boondock in the North Dakota bad lands. One should get you through a weekend as long as your smart about charging and power use.
This is an awesome build. I can't wait to see how it turns out. not sure if you addressed this earlier but I'll add my 2 cents. Spend the money on AGM batteries. Lead acid golf cart batteries are designed to be in a golf cart. The plates inside and the outer case aren't designed to deal with shock and vibration and will crack doing what Toyota people consider light wheeling. Another consideration is tying your charge controller to the rig while it's being towed. This will allow your batteries to get a good 3 stage cycle after you have camped for a while. It will go a long way to preserving the battery life and preventing you from running a gen if it's cloudy for the entire trip. Solar panels are great until you find that beautiful camping spot in Yellow Stone surrounded by trees and cool rock formations that block 50% of the light.
Thanks for the input, Well on the bright side the 7 pole connector has a wire for charging an Aux 12v Battery so i can actually have a battery storage unit set up on the trailer paired with the solar panel i plan to run and also have it maintained with the truck while on. I like he examples you gave though i do usually like camping in shaded areas. and i do like i didnt take into consideration the impact it would make on he solar charge lol.
That battery you linked in he other comment is freeking pricey! i wish i could afford it though. I am thinking of maybe running 1 or 2 optima batteries. I'm no planning on running he Engel Fridge freezer anymore. But instead i plan to run an Engel cooler instead to save more of my battery charge. All i need is for the batteries to power my heater when in use; which will only be during winter camping, and to power my exterior lighting. I am no planning to run an electric fridge anymore just for the fact that i dont wan to lose cooling and let food spoil if power goes out. So i dont need whole lo of battery storage anymore.
After installing the trailer lights during he week it got a little busy during the weekend. I finally go sick and tired of painting everything with rattle cans. So i finally invested the money and bough myself a spray gun. This particular one is from harbor freight and i only cost me about 15 bucks. It works great. I'm sure it would be much better if i had a larger air compressor since i'm only using a 3 gallon compressor but its cool it still worked amazing and i get so much more coverage! I just have o allow the compressor to fill up after a few sprays. I cant continuously run it non-stop but it works great! My only regret is not buying one sooner.
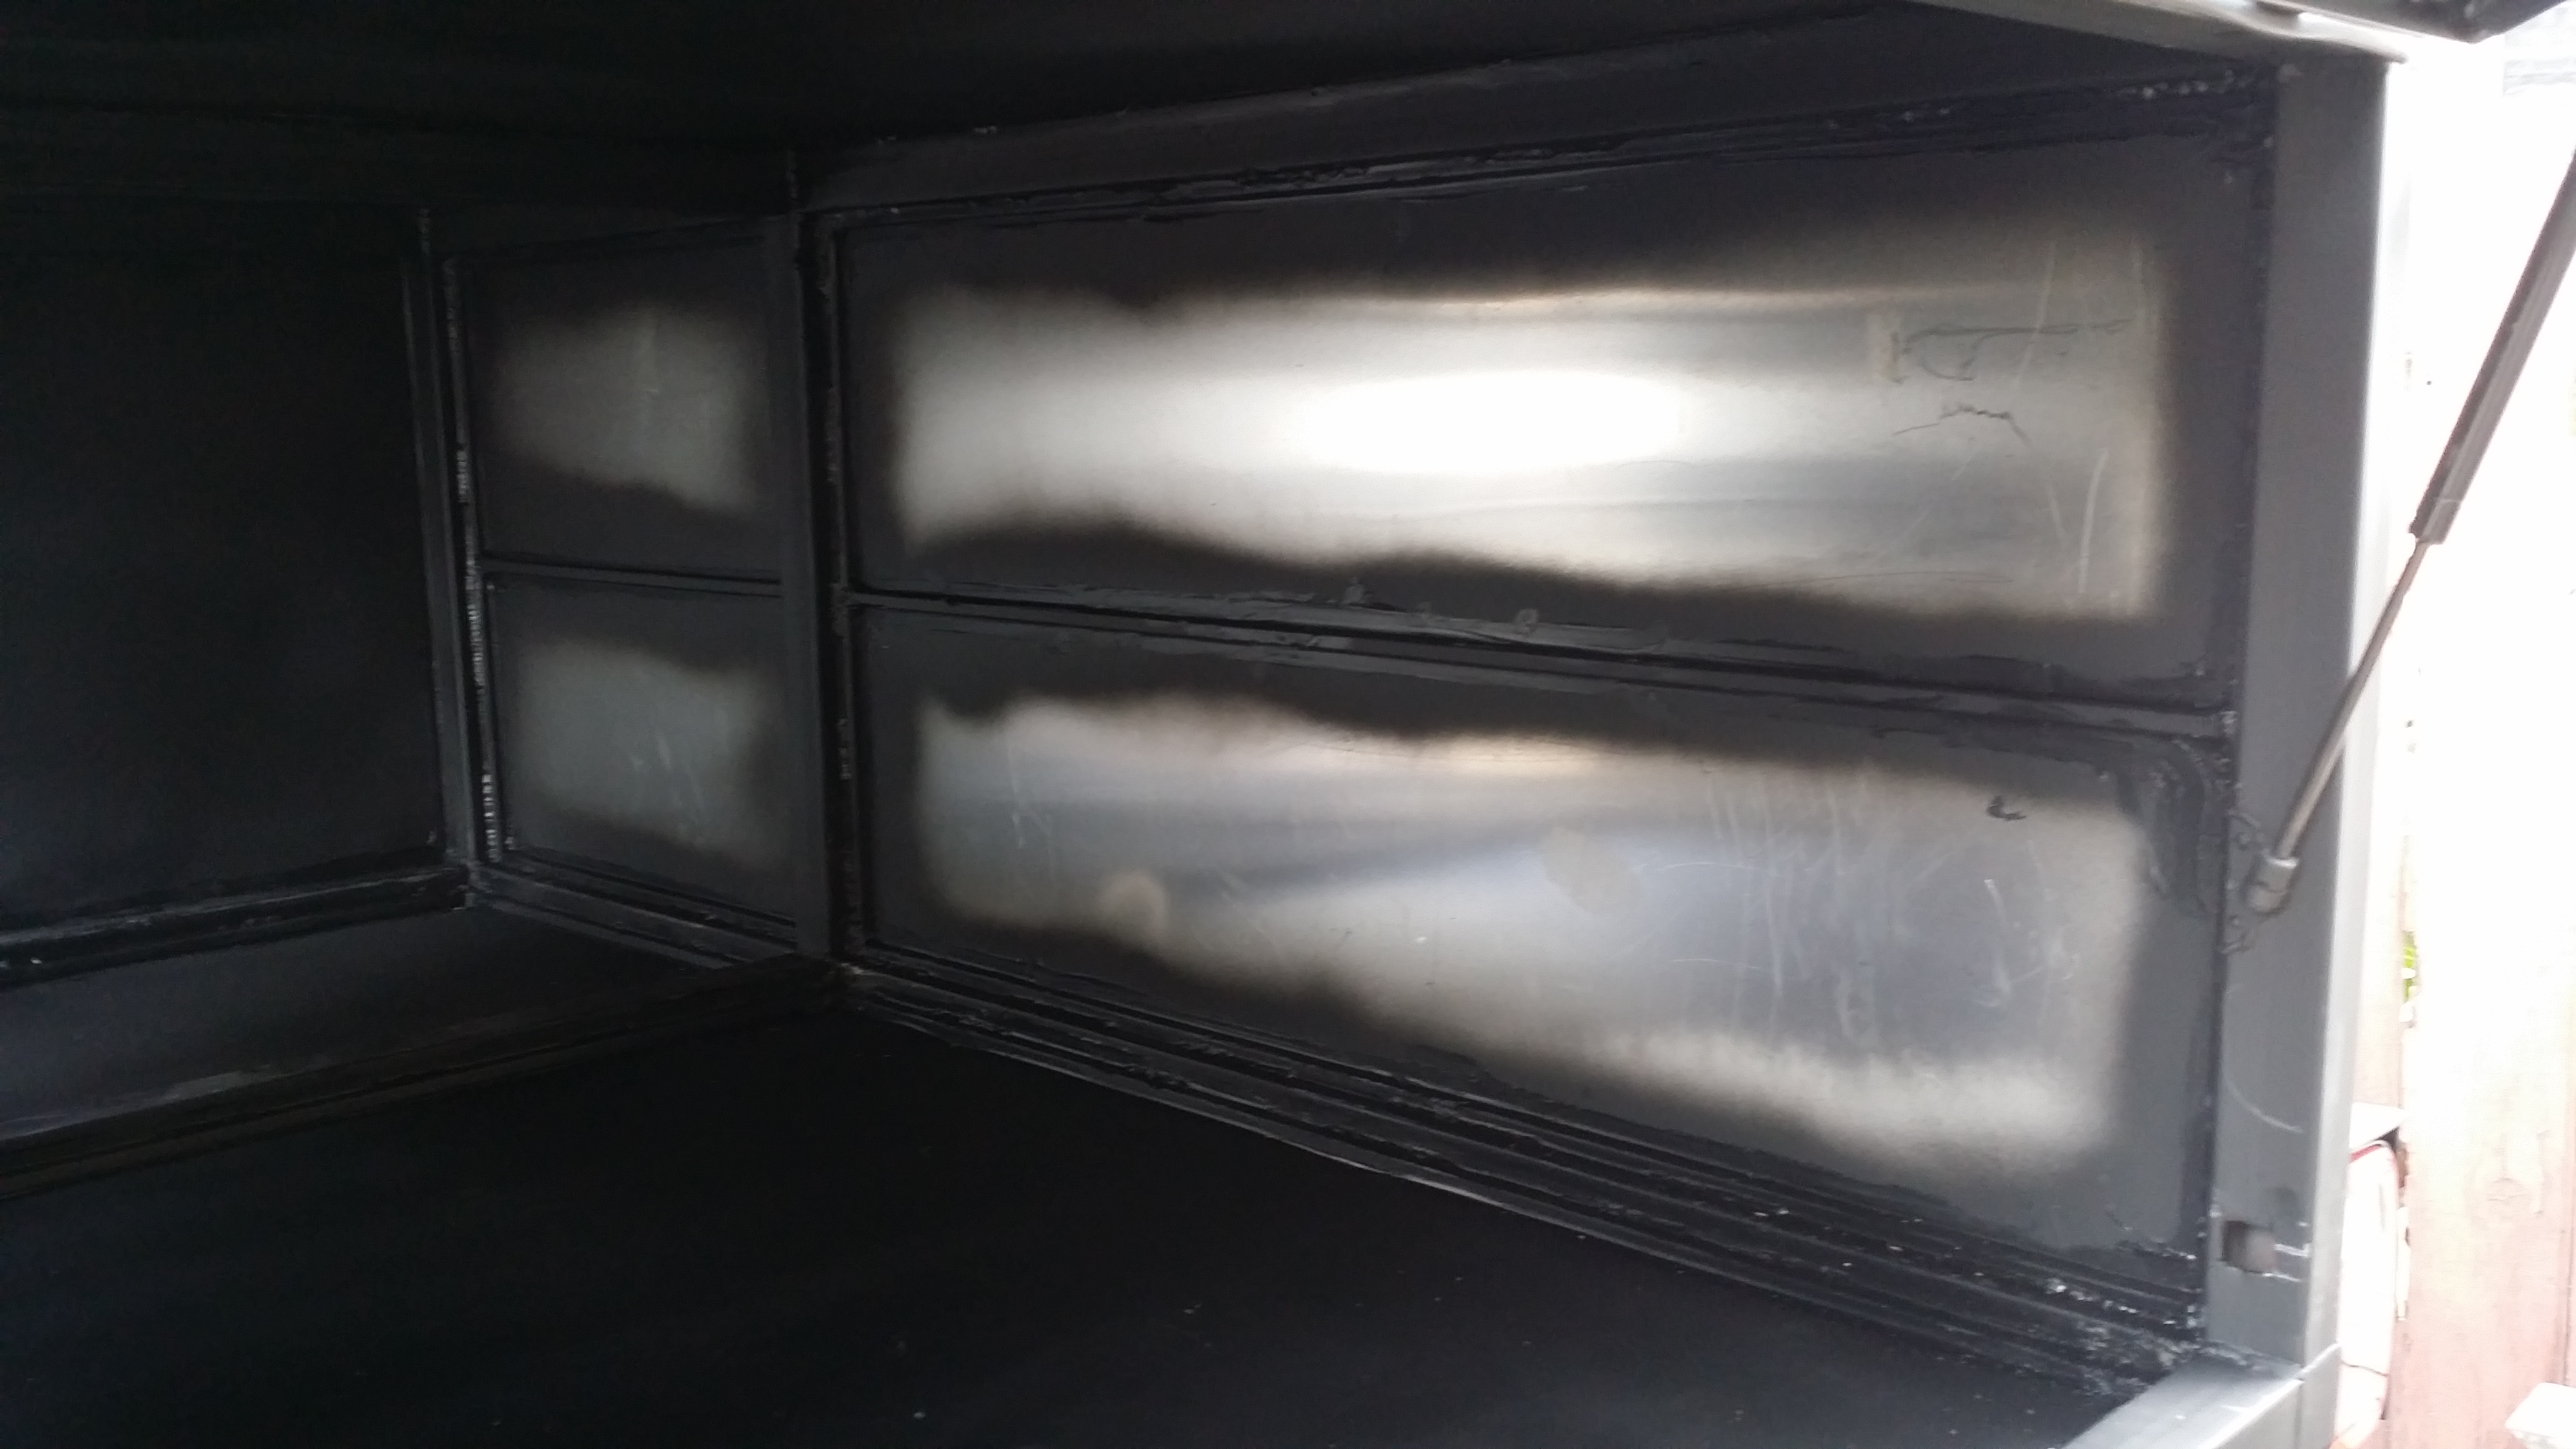
After the paint dried I Siliconed the heck out of the interior. I really didnt care much of how it looked inside considering nobody will see it. I just wanted to be 100% sure i would not get water entering anymore. So Here is how it came out
A lot of water would leak through from these handles so i had to make sure to really get around these latches to give it a water tight seal.
For the most part it looks like blobs rubbed in to every nook-n-cranny but its okay because nobody will see this. I just need it to work. Anyway after all the silicone was laid out and dry i gave the interior one more coat of paint including on top of the silicone.
We got some rain saturday night into sunday morning and this was the outcome of my waterproofing job.
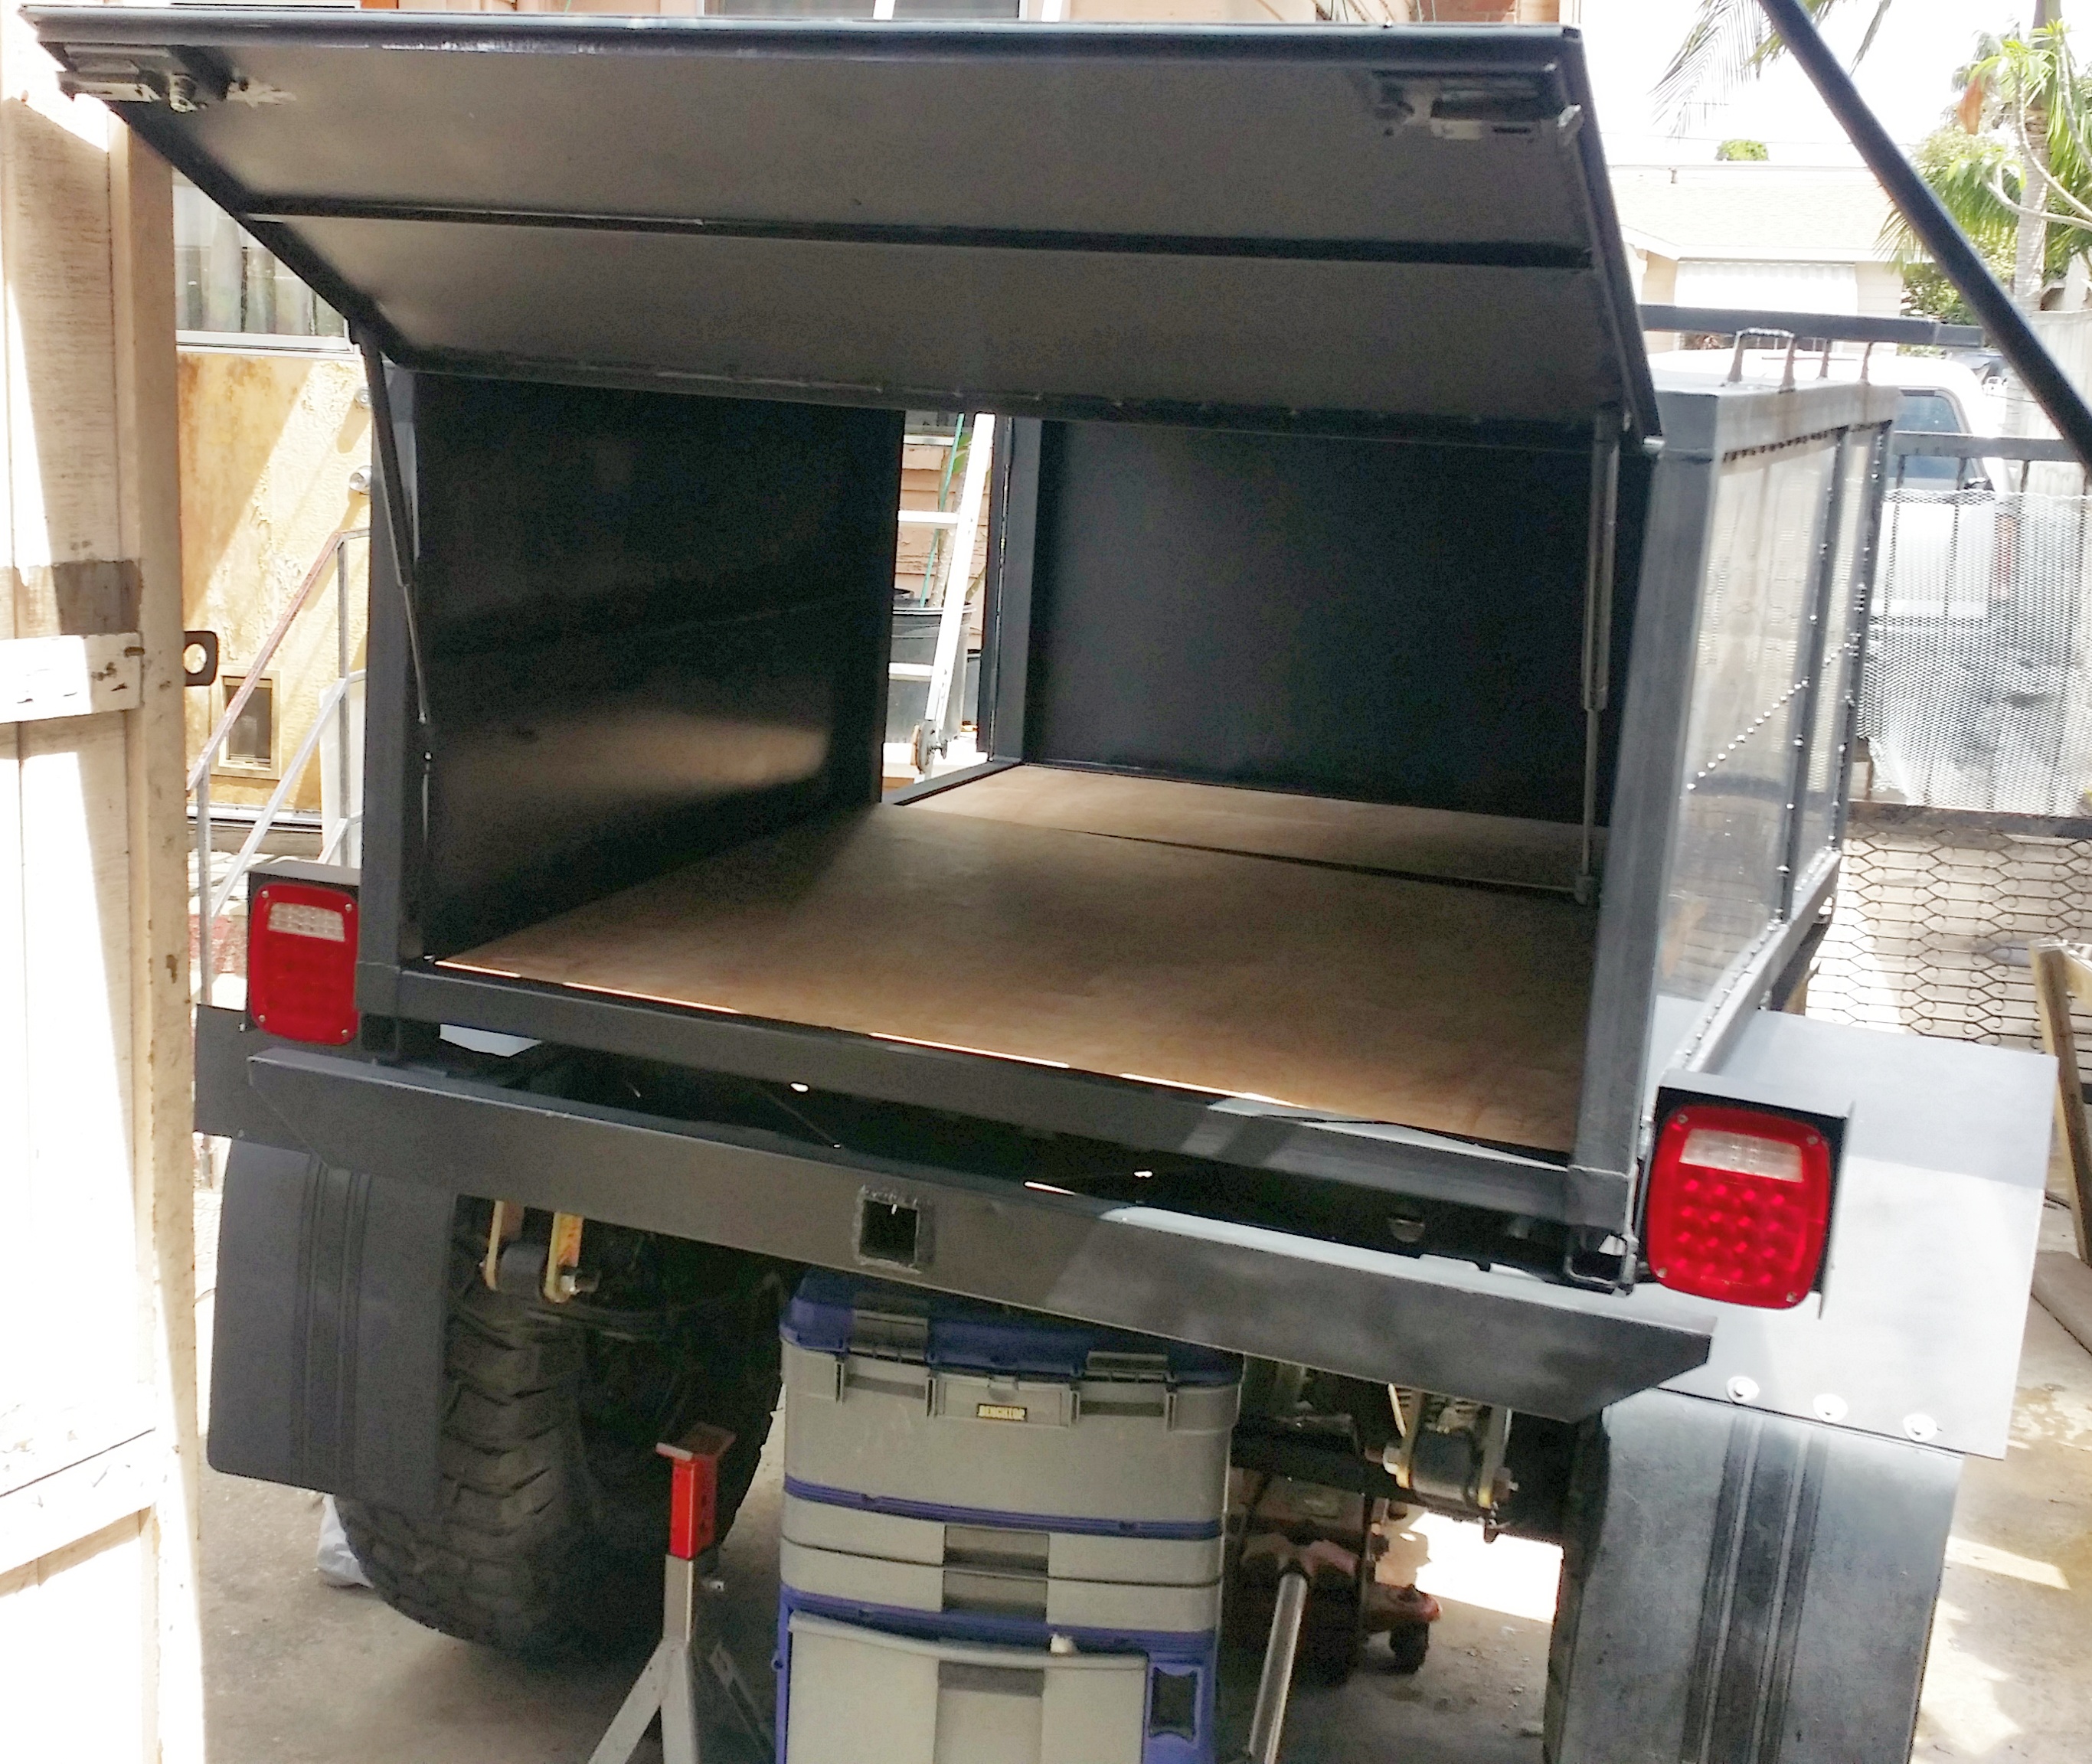
When i get more time I wanted to put these 0.5" Birch-wood floors in. It just gives it a nice interior look. And keeps everything from scratching the paint on the floor when items slide back and forth. Just gotta clean up the interior silicone a bit to allow the wood to seat properly nice and snug.
The wood isnt Completely set down into the space there yet. But this is pretty much how it will look inside
The trailer is looking good Richard, looks like you're getting pretty close to finishing it. It must be nice to see the light at the end of the tunnel! I need to get spray gun like that, but I need to invest in a small compressor first, lol. I did get a electric metal cutting shears from harbor freight like the ones you posted a pic of awhile back, they work great, wish I had bought those years ago!
Batteries are super expensive but I think they're worth it when your away from home for more than a weekend. Especially when there are little ones around that need to be entertained by something other than sticks and dirt after 5 days camping. I paid $400 for a camper years ago and spent $3,000 on 3 batteries, solar panels, charge controller, and an updated panel. Wife daughter and I could boondock for 11 days without running the generator. Then we had more kids and it got too small. I miss this old beast.
Kids distracted me and I never finished what I was getting at lol. You're best bet is to look at how much physical battery space and amp hours your going to want eventually and plan/build for that. Then when your ready to upgrade your not trying to cut things apart, upgrade to larger wire ground point hardware and fuses everywhere in the system. If you want to run the freezer fridge combo, flat screen tv, compact AC or fan for hot evenings and anything else you could think your going to possibly cram in there, set the system up so you can upgrade to it later really easy. I spent allot of extra time and money going back and upgrading and modifying to increase battery storage capacity twice.
i found a great video a while back ago and had forgotten all about it. The telescoping heater hose/duct idea that this guy used was genius. I think i am going to go the same route he did with his only i plan o hard mount mine permanently on the trailer
I asked him a few months ago where i could get that hose and he told me where. These are the links to the heater hoses for my personal reference when the time comes to buy it. http://www.suremarineservice.com/sea...nd=heater+duct

 02-22-2017, 10:10 PM


 Haven't seen you, Mark and Grego in ages. Gotta get-together again.