97 "stealthbox" install, 0 cargo space lost, detailed
#1
Contributing Member
Thread Starter
Join Date: May 2010
Location: Rogue Valley OR
Posts: 83
Likes: 0
Received 0 Likes
on
0 Posts
97 "stealthbox" install, 0 cargo space lost, detailed
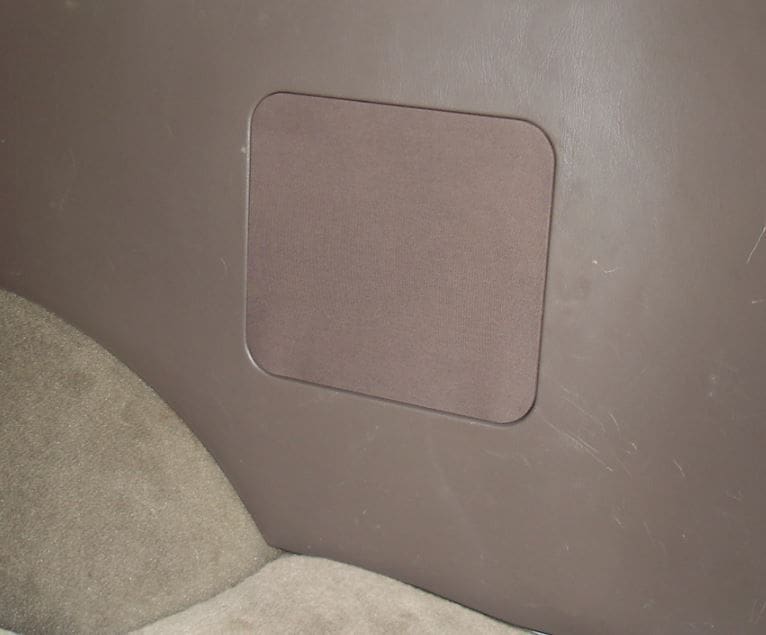
Picked up a 97 Runner this summer, super nice, and wanted to keep it that way. Not really gonna mod it too much. I do have a philosophy when doing mods...don't do anything you can't undo, so that's how I approached this, everything can be put back to stock without anybody ever knowing.
So got some Alpine Type S components and 5.25 for the doors for x-mas and and Amazon gift card for 100.00. Put the Alpines in a decided I wanted a little bump in the back. Side note: the tweeters fit perfect behind the factory cover. The trick is to remove the tweeter from the adjustment pod and glue it to the metal bracket that the stock tweet is glued too, no cutting of anything.
I decided I wanted to try to mount the box behind all the plastic and fabricate a speaker cover to replace the stock cover. Determined that an 8" sub will just fit in the space behind the cover, and it HAD to be shallow mount. I removed the rear cargo panel to see what I was working with. That little weird storage space was "glue riveted" on the top, as if a plastic pin was going trough a plastic hole and the pin was press melted over the hole to weld them together. I used my micro torch and screwdriver to pop these free then the hole thing slid out of it's keys on the bottom. Pulled some measurements and headed to the Dollar Store for foamboard (awesome for prototyping and only a buck).
Hopped in Inventor and designed a box based on my core measurements...
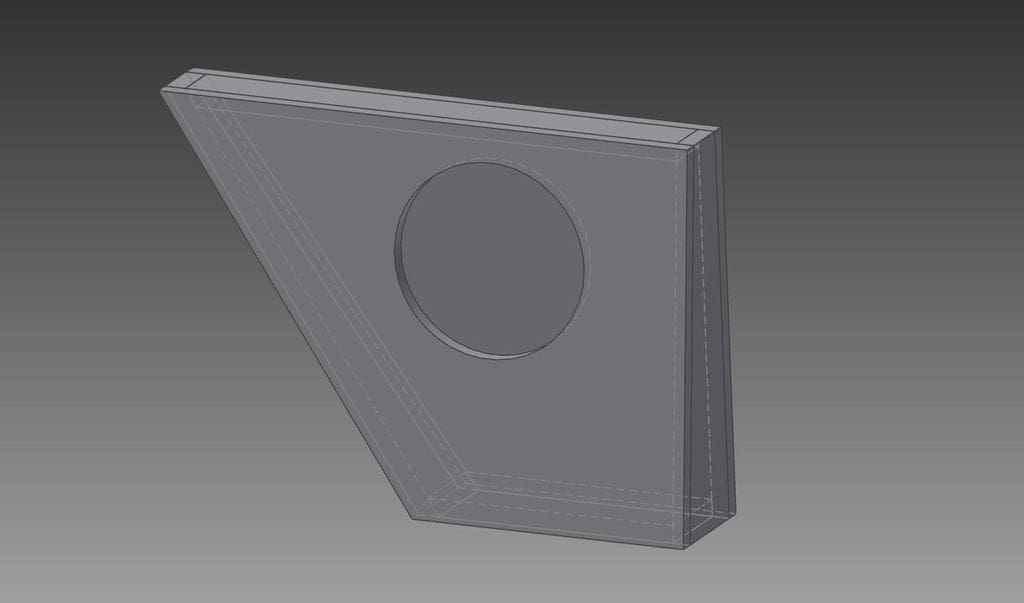
Determined after some trial and error these are the numbers you want to hit...

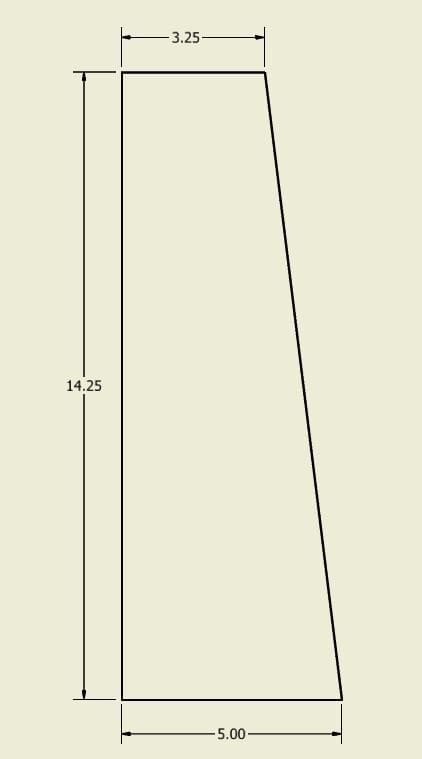
This box design yields just under .33 cu feet. Used some of that foam board and started building it up...
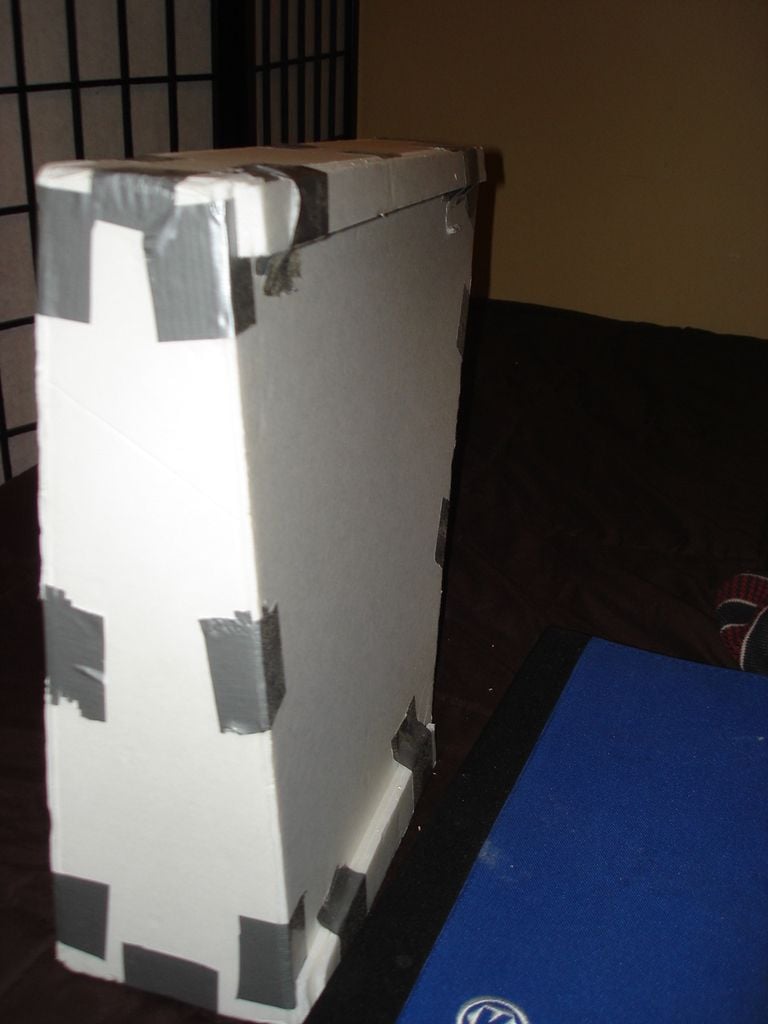
Put it behind the panel and came up with this...
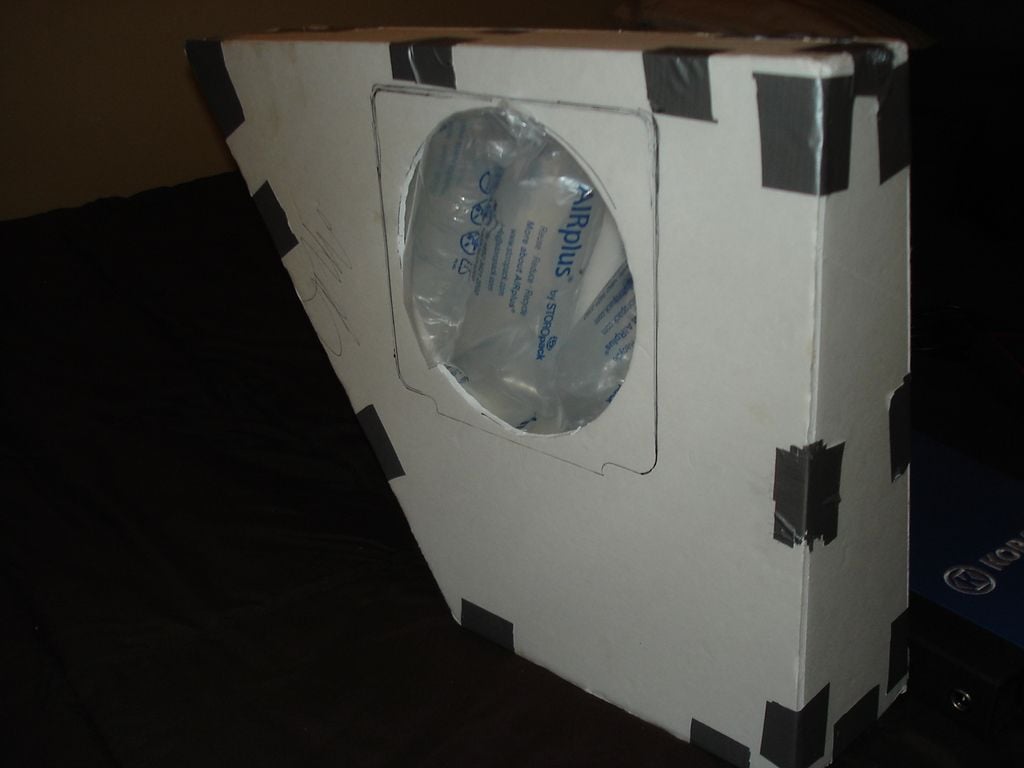
After I was happy with the mock up went to Lowes and got a project panel for 8.00. I used .625 particle board for max inside clearance as it was going to be tight. Since I was happy with the model I blasted pieces out and transferred the dimensions on the wood and made the cuts. I used a framing saw and finished with a table saw for some of the angles. If you are good with a framing saw you can cut all these out with the angles included.
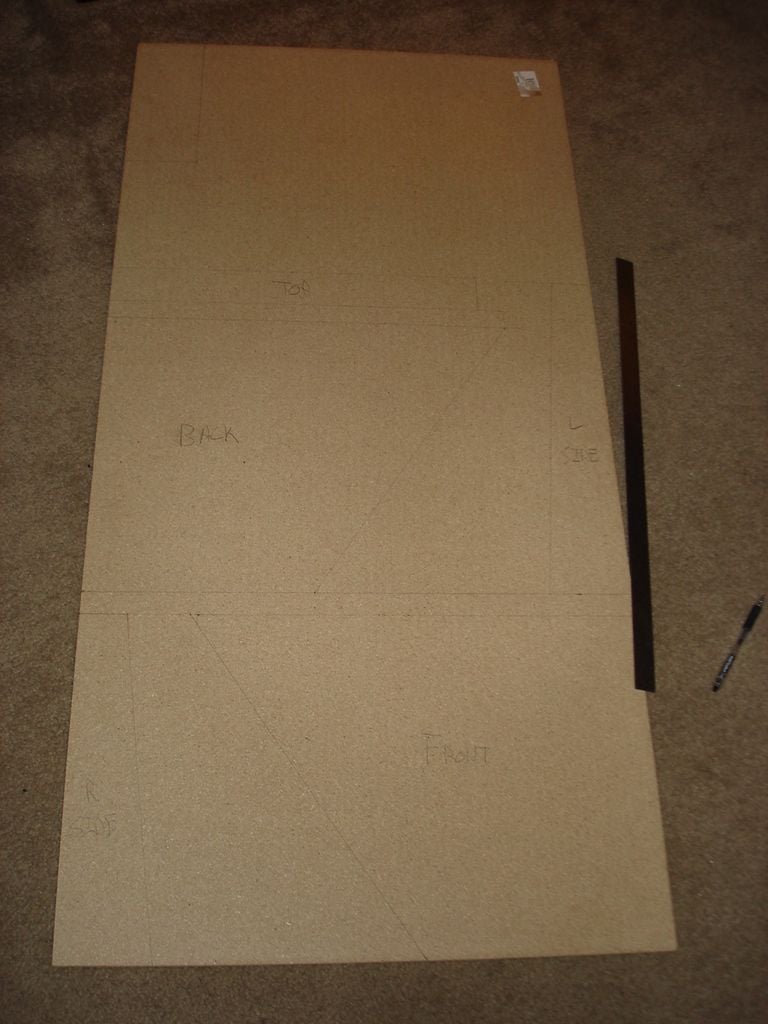
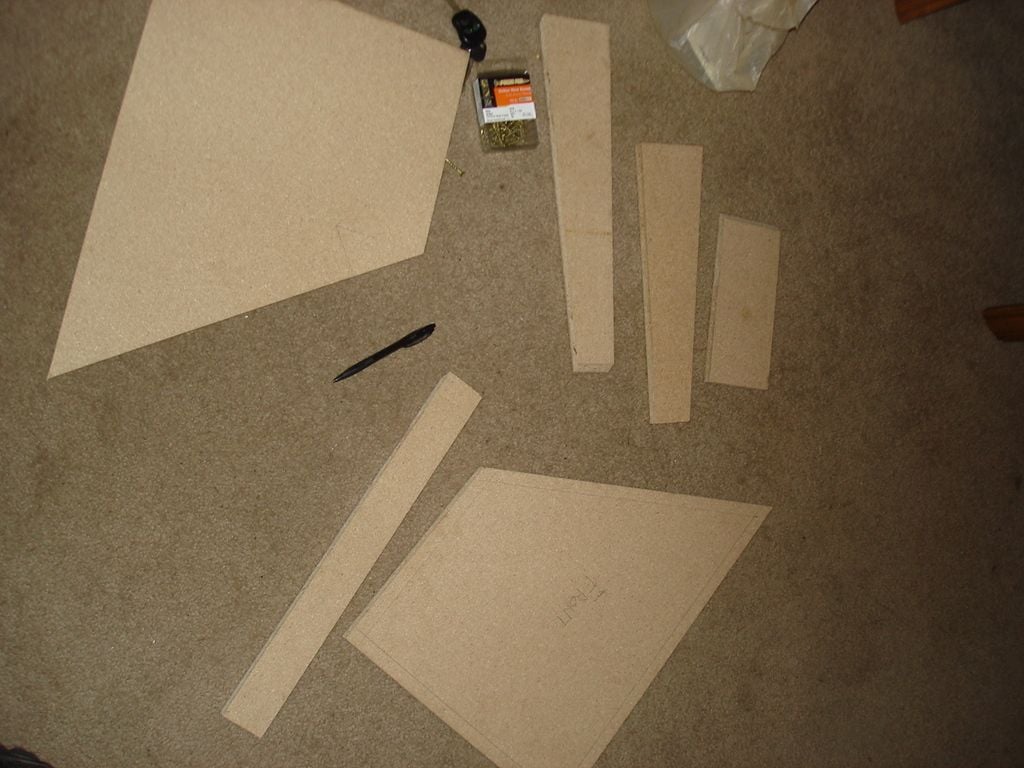
And then assembly...
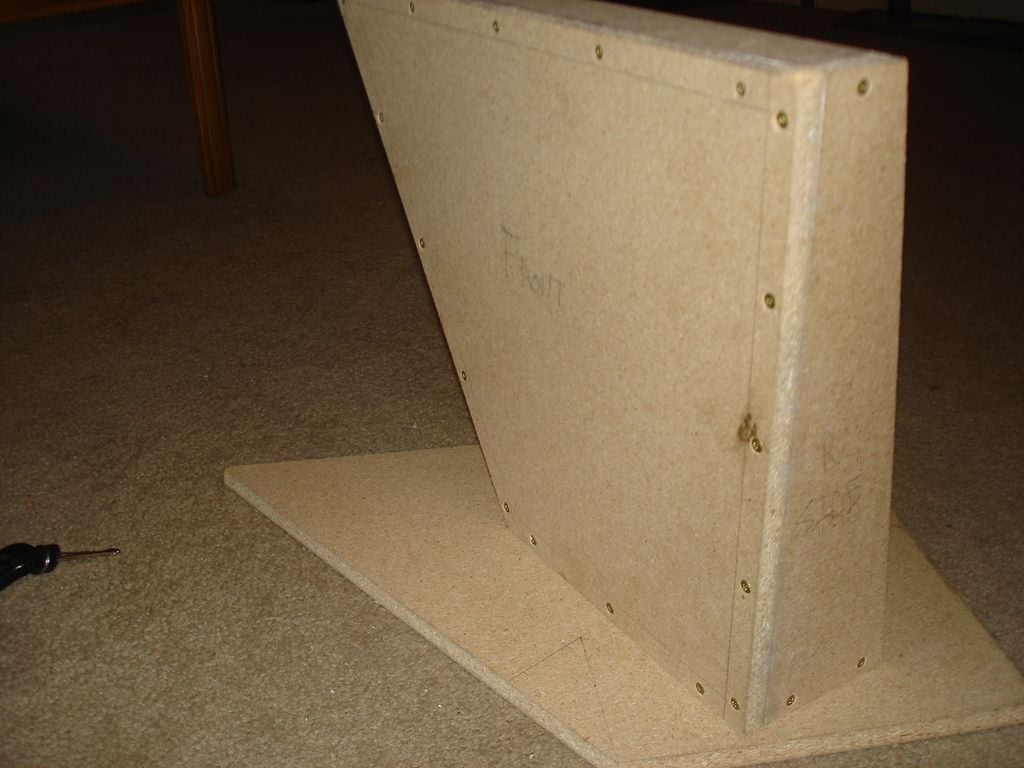
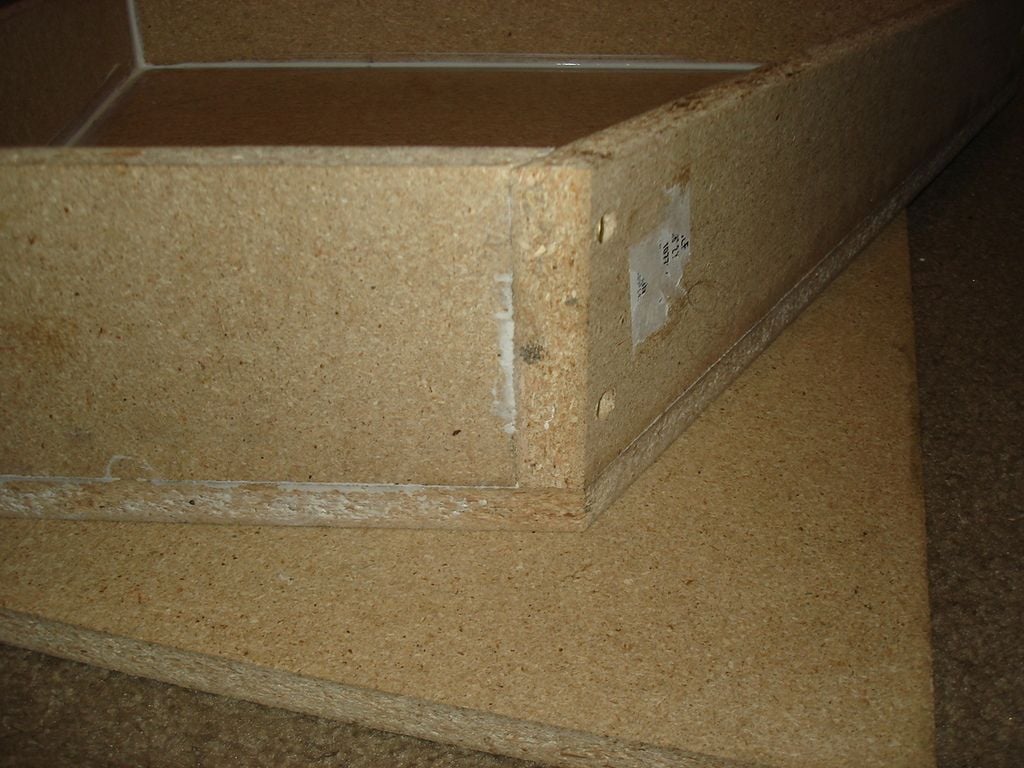
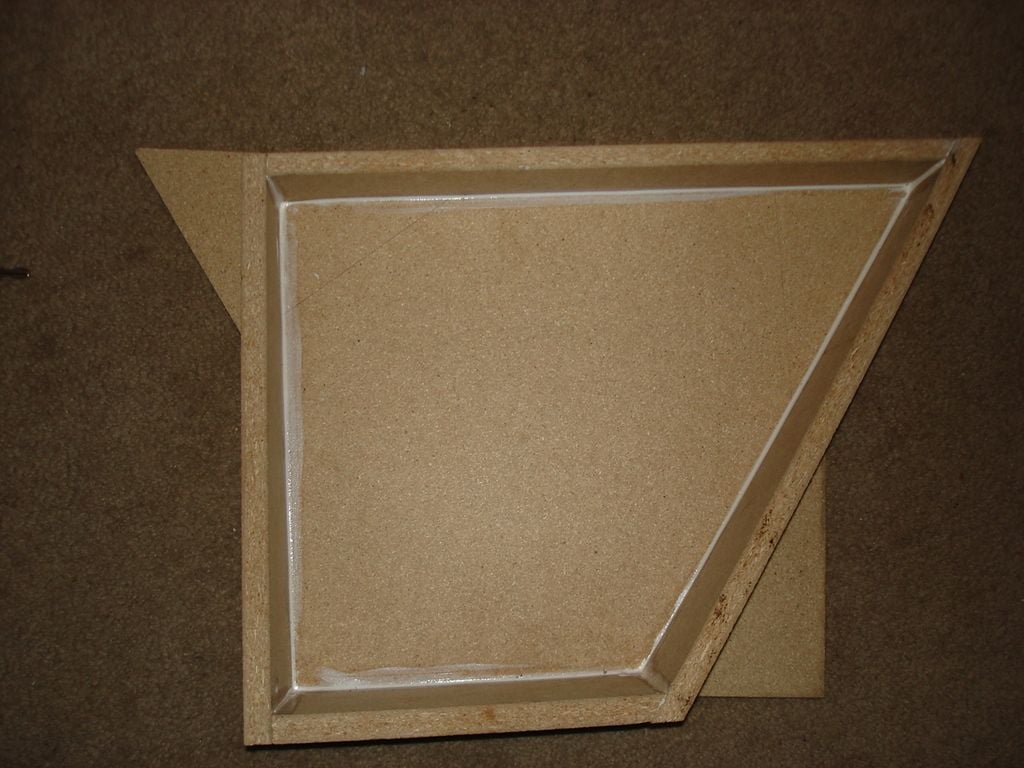
Mock up in the location...
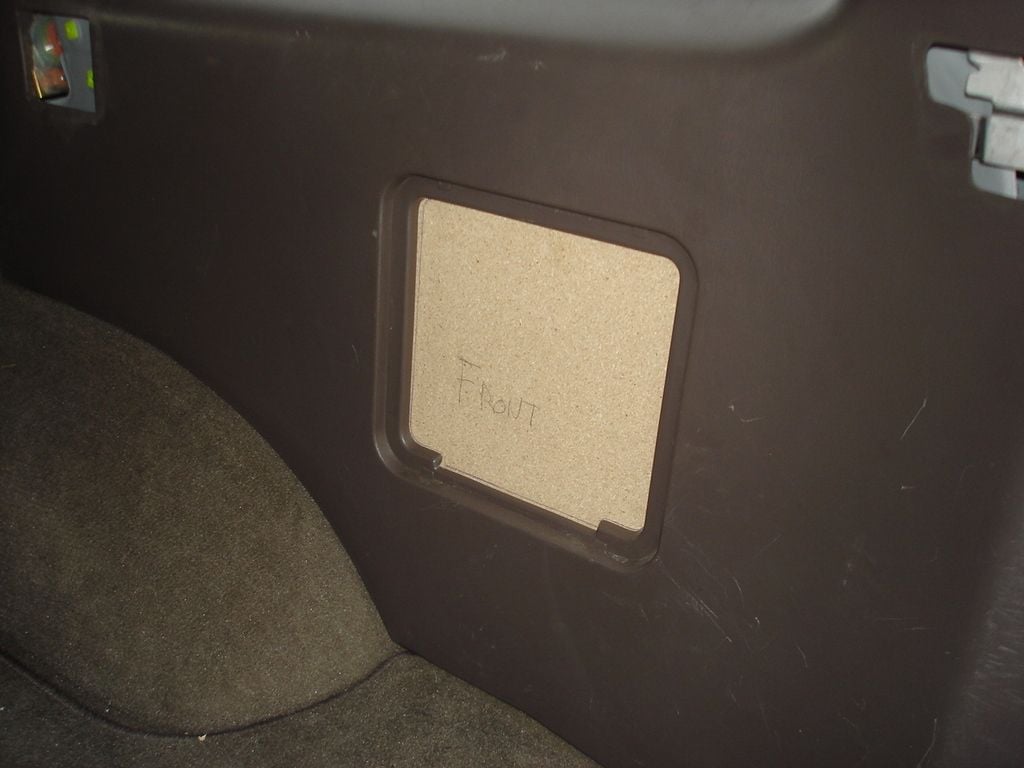
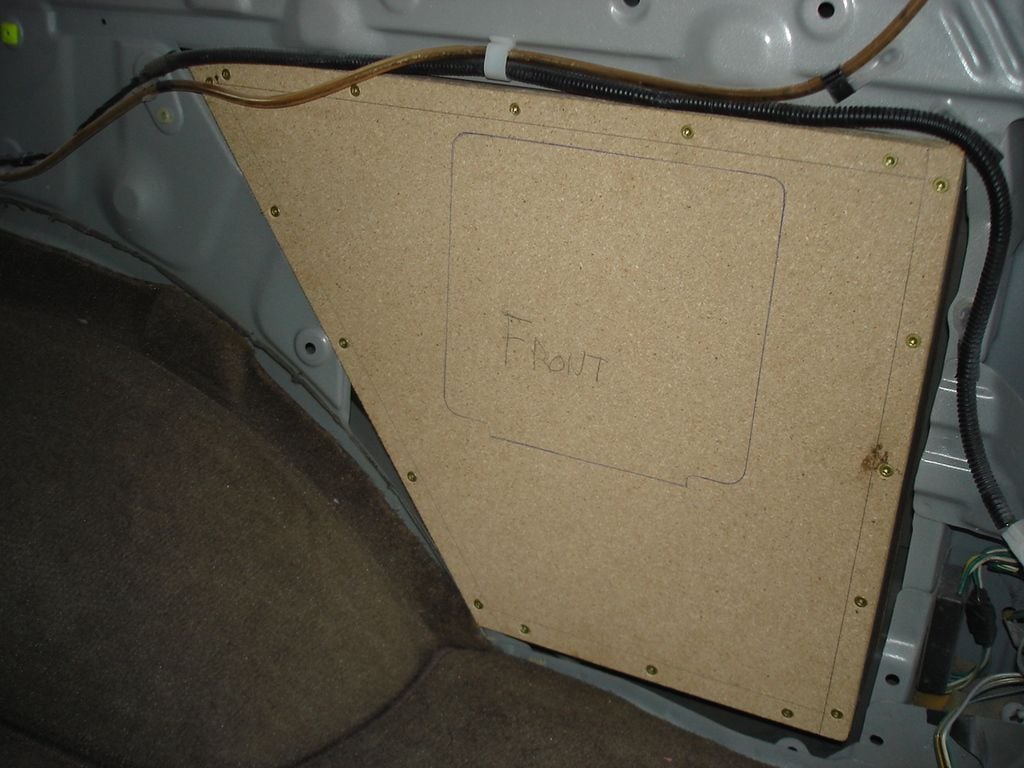
Note that the back of the box is sitting on that little ledge in the back, you can kinda see it in the right corner, this ledge is your friend.
The depth was the tricky part, it was based on the offset of the inside flange of the interior part of the cover to the body retainer mounts, then to the sheet metal, didn't want to bow the panel where the box was at.
Now it was time to decide on an amp and sub. Since I was shooting for that 100 amazon budget my options were kinda limited, as were the sub selections. Got the Boss 1100 watt amp knowing that would be find for whatever sub. Found an interesting brand named "Rockville". They advertised the shallowest sub, and to be honest, it looked pretty robust so I decided to get that one ( it was either that or the Pioneer, but I wanted to try something different). Also got the CarWires 4 ga wire, holy crap it's huge!
So that amp was already here as I was building this so I put that in in the meantime...
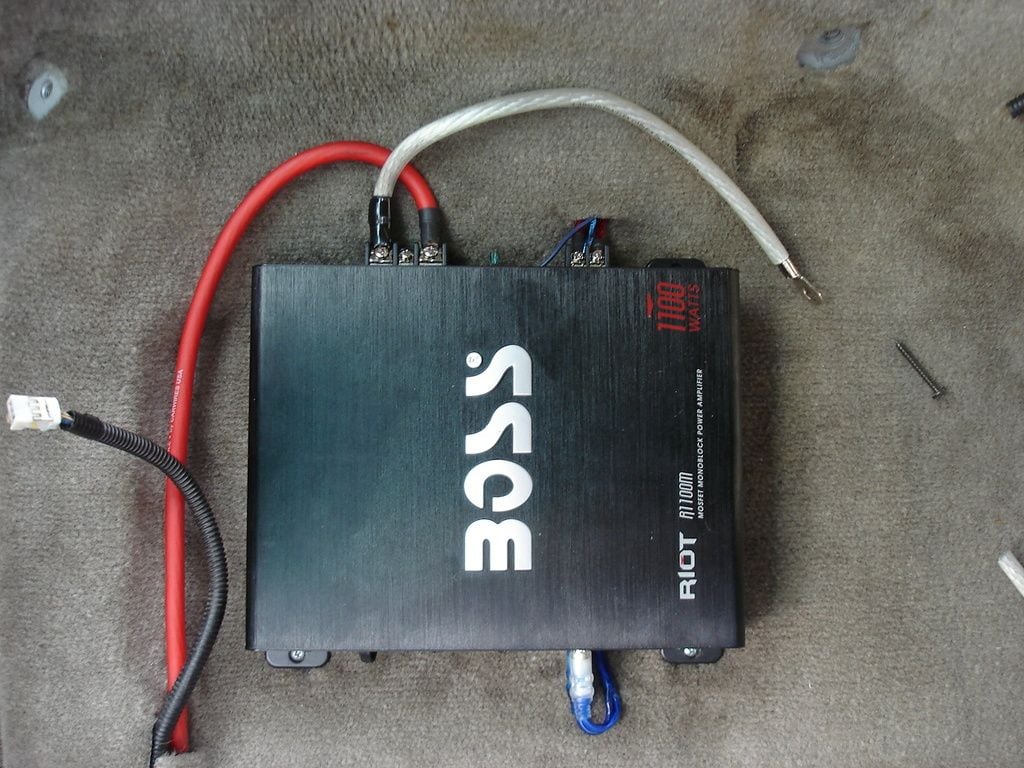
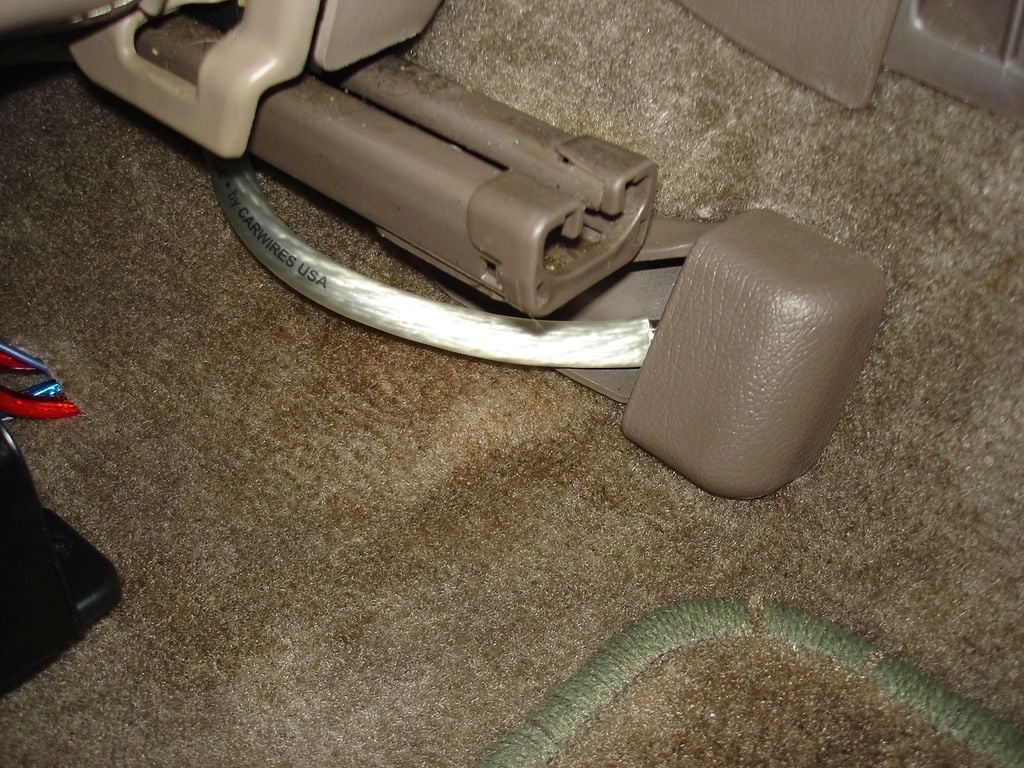
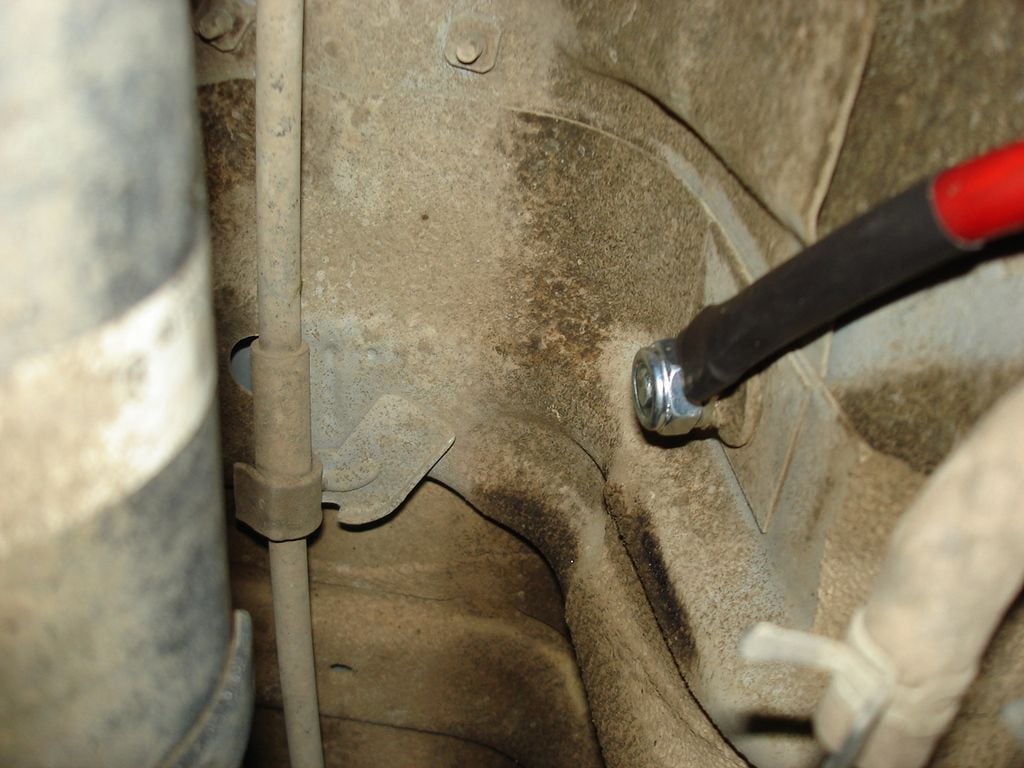
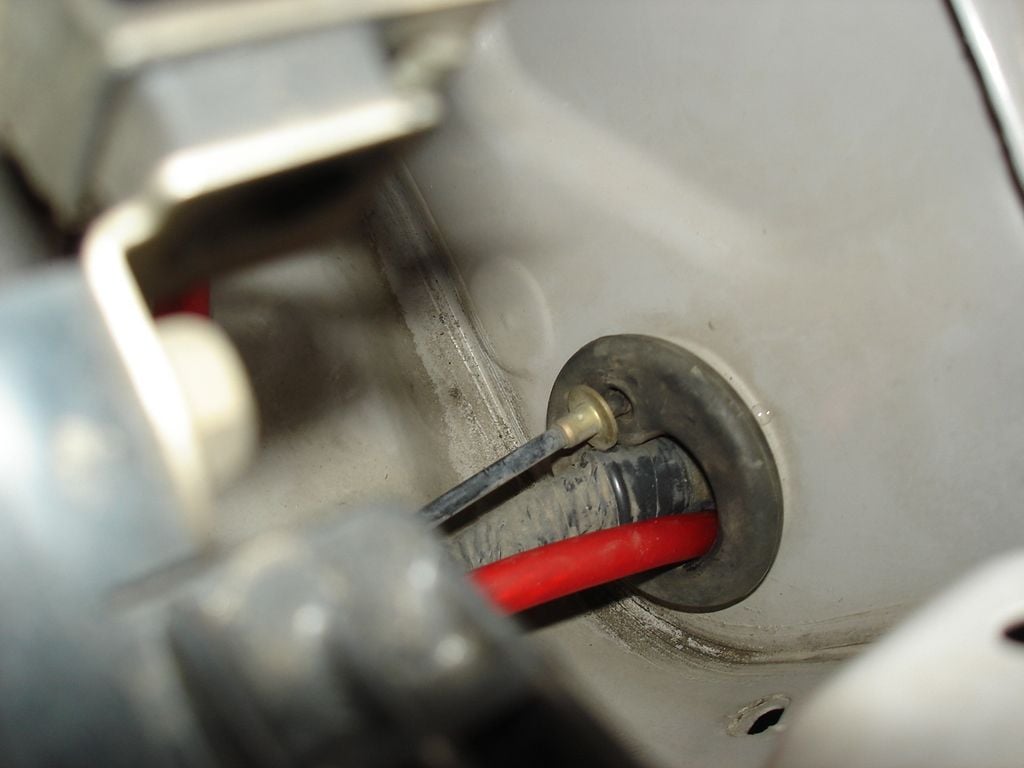
At this location there is no interference with the seat. Ran the wire though the firewall and down under the threshold then up in the factory slit for the seat controls. The ground went to the seat bolt, then through that back to the battery...
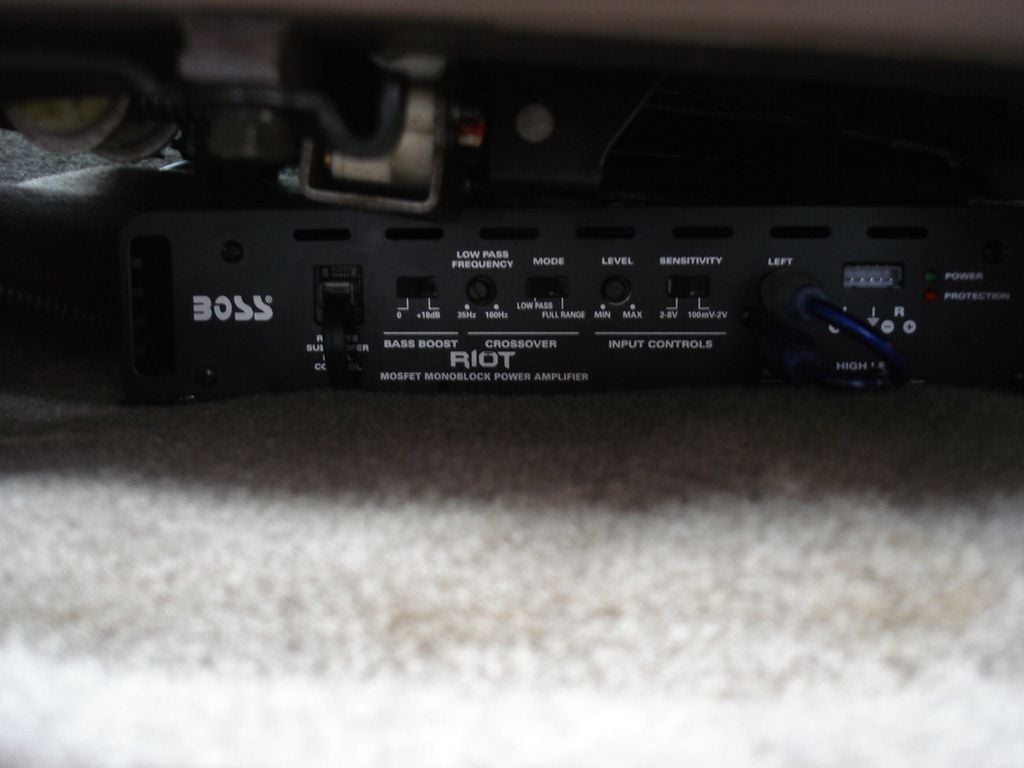
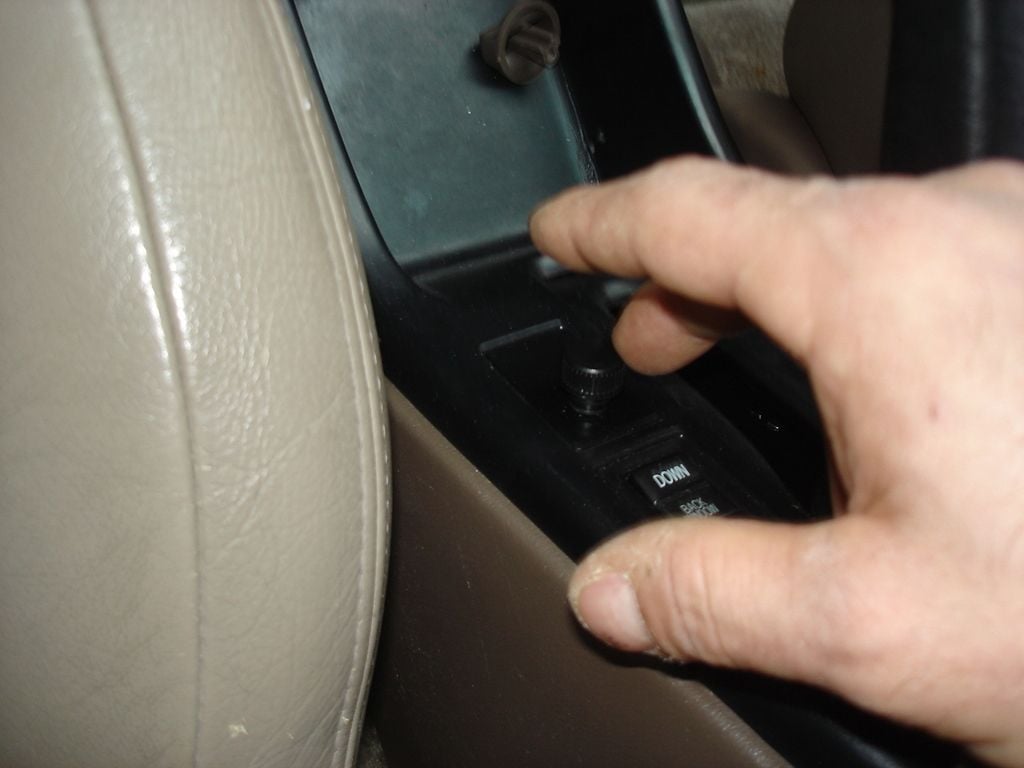
This amp came with a remote bass control which I love. Decided to put it at my fingertips and used a blank factory switch cover. You'll noticed I favored an offset, this is to lock the circuit board in place to the back of the cover so it doesn't spin. I also grabbed an o-ring and bushing to stand it off a bit and give it a little turning resistance...
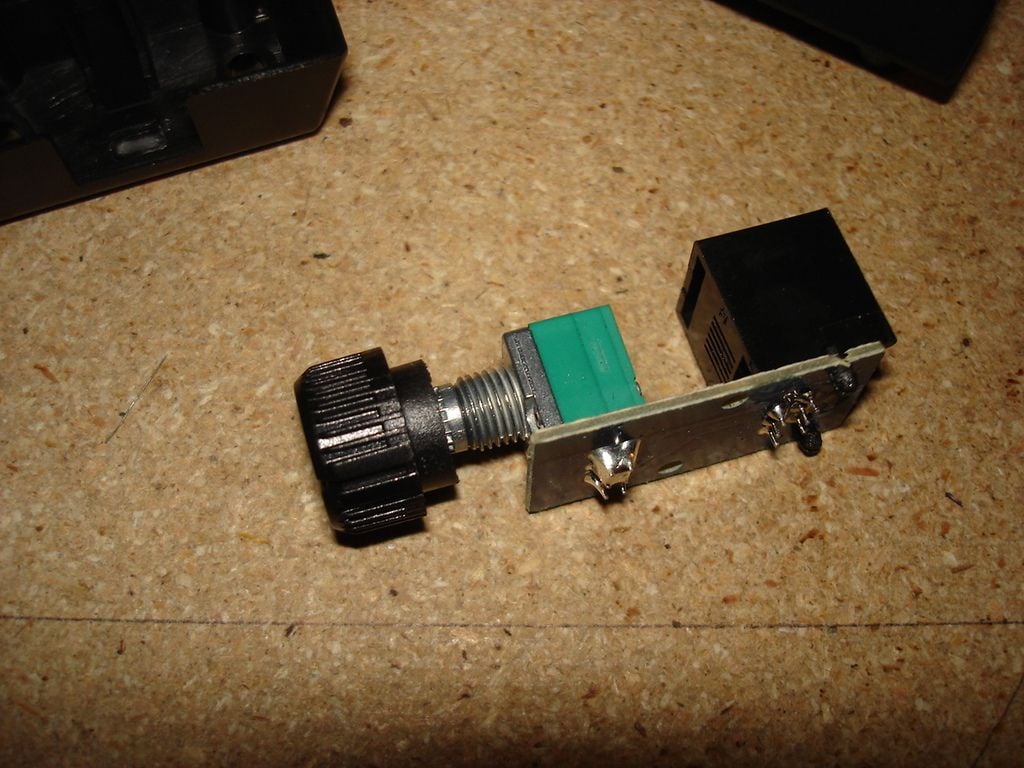
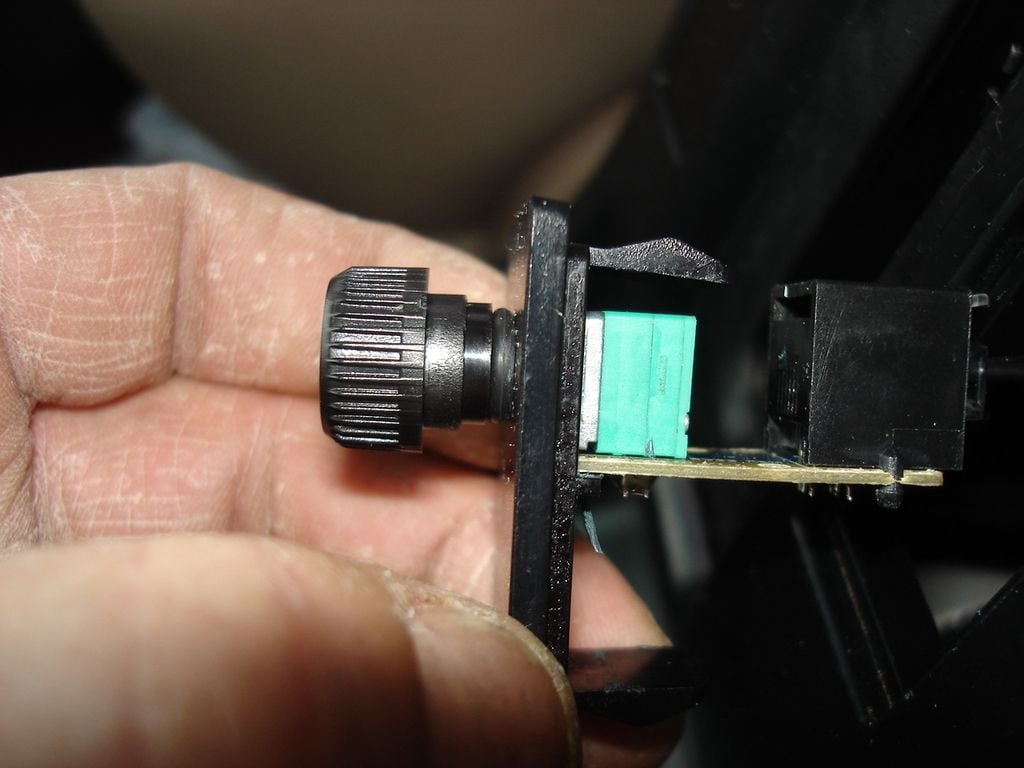
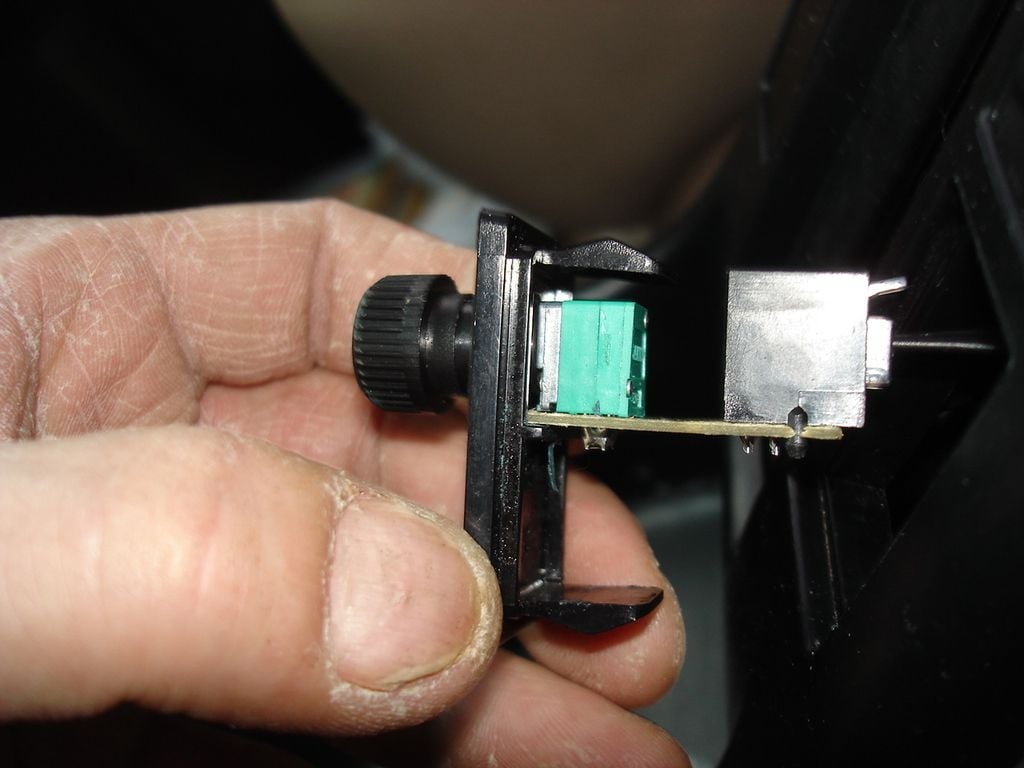
Sub came 2 days later (love Amazon) and it actually looked pretty well built, beefy, firm rubber surround. And got a spec sheet for it...

So this was advertised as 2.5" deep, which would have been great, but you'll notice on the spec sheet it is 2.91, which was a problem for me, the sub stuck out about .0625 from the back plane of the box so the back had to be notched...
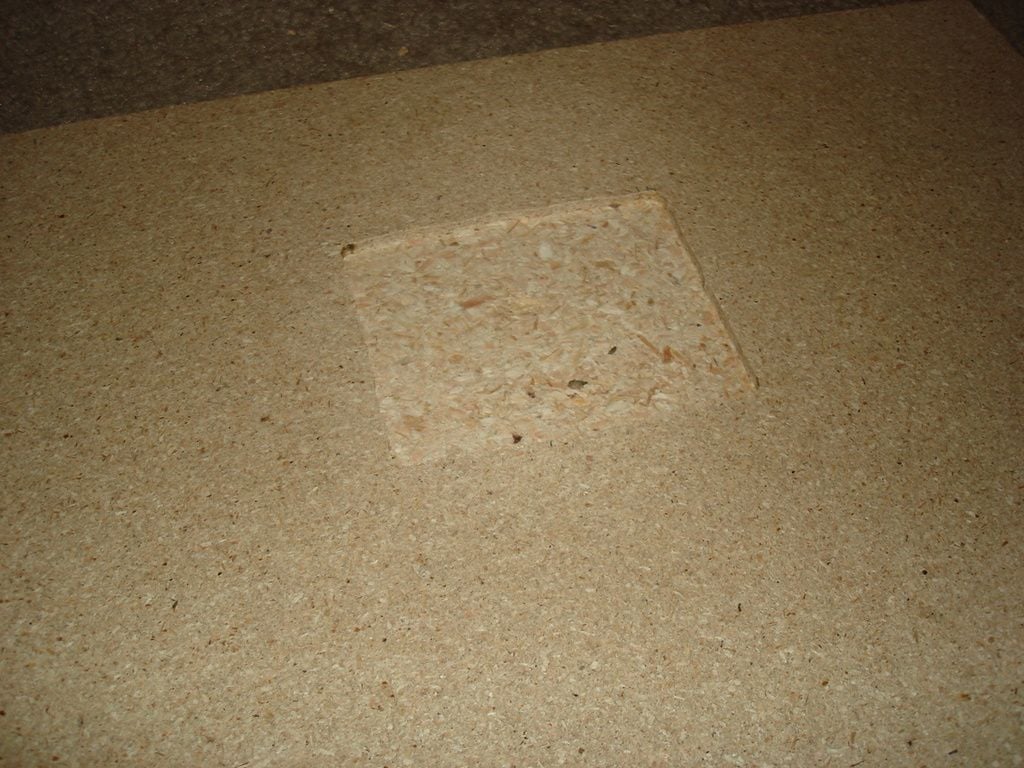
Also, knowing that the box had to be flush to the back of the panel, this had to be recessed in the box .1875. Don't have a pic, but here is a rendering...
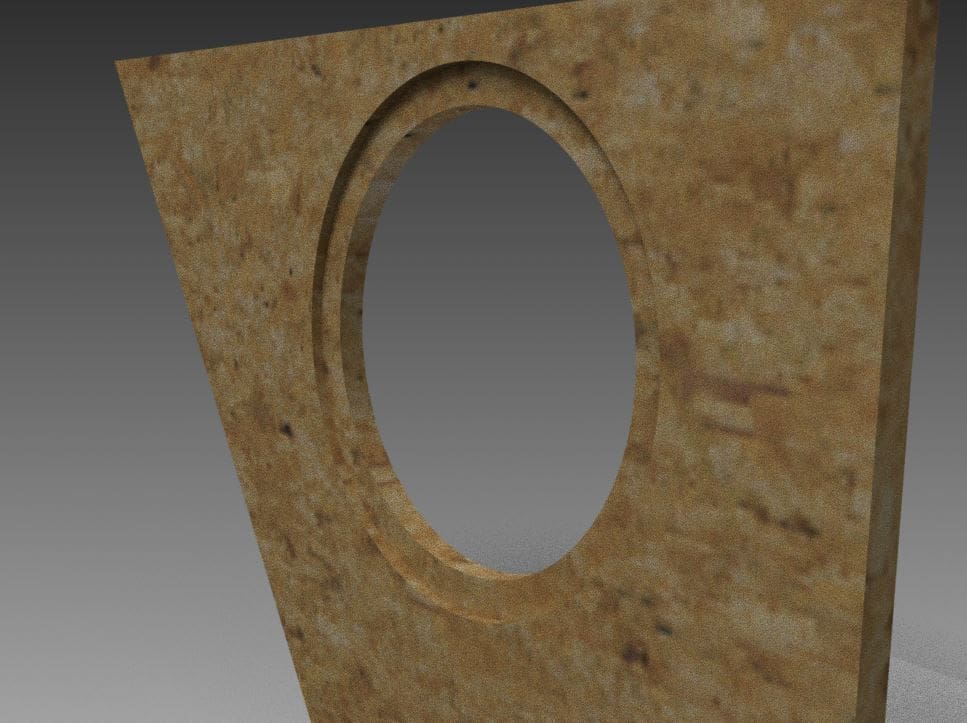
So now that I took a good chuck out of the face, I backed it up with a ring for better attachment...
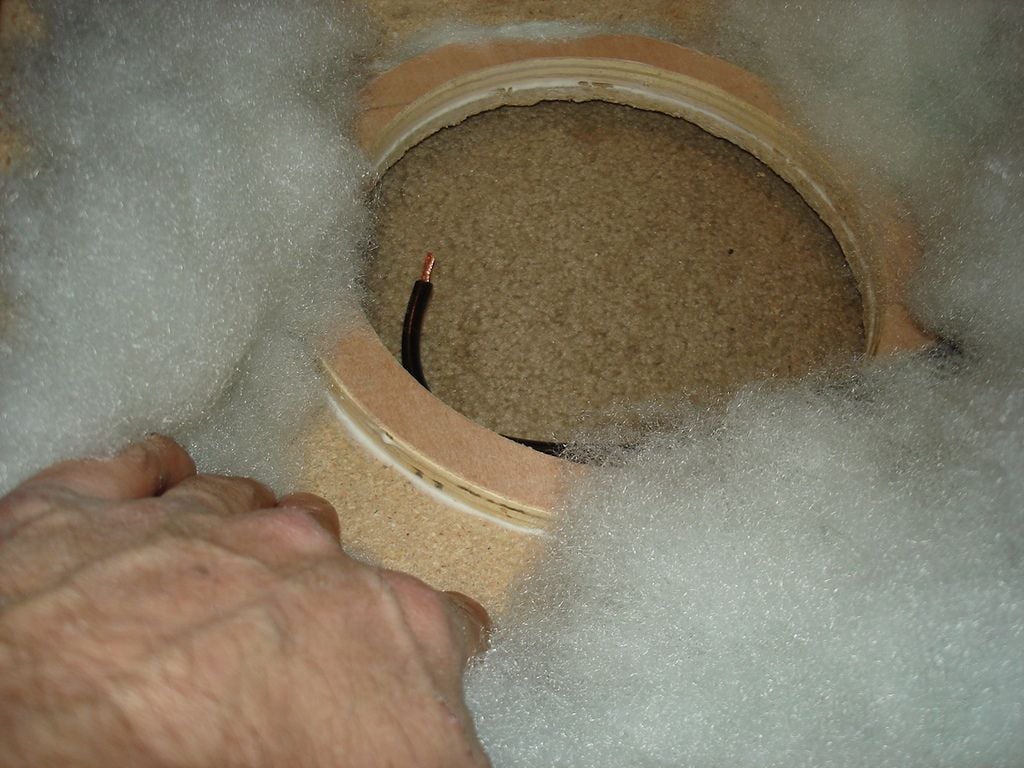
And did the bolt terminal thing...

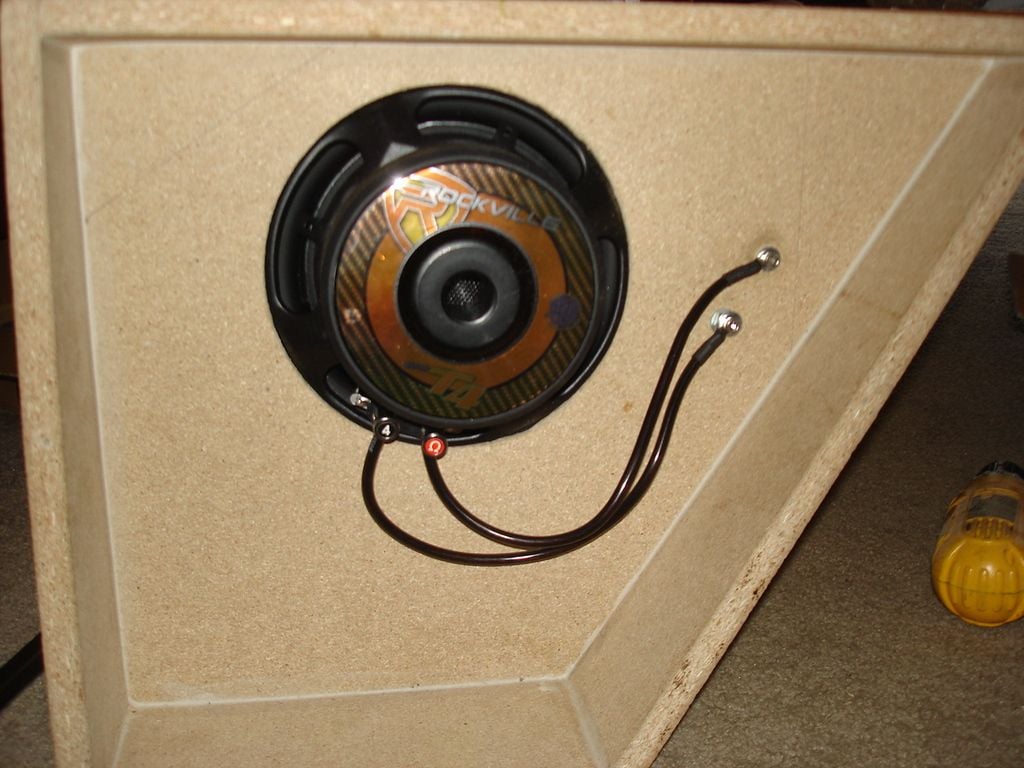
The final test....
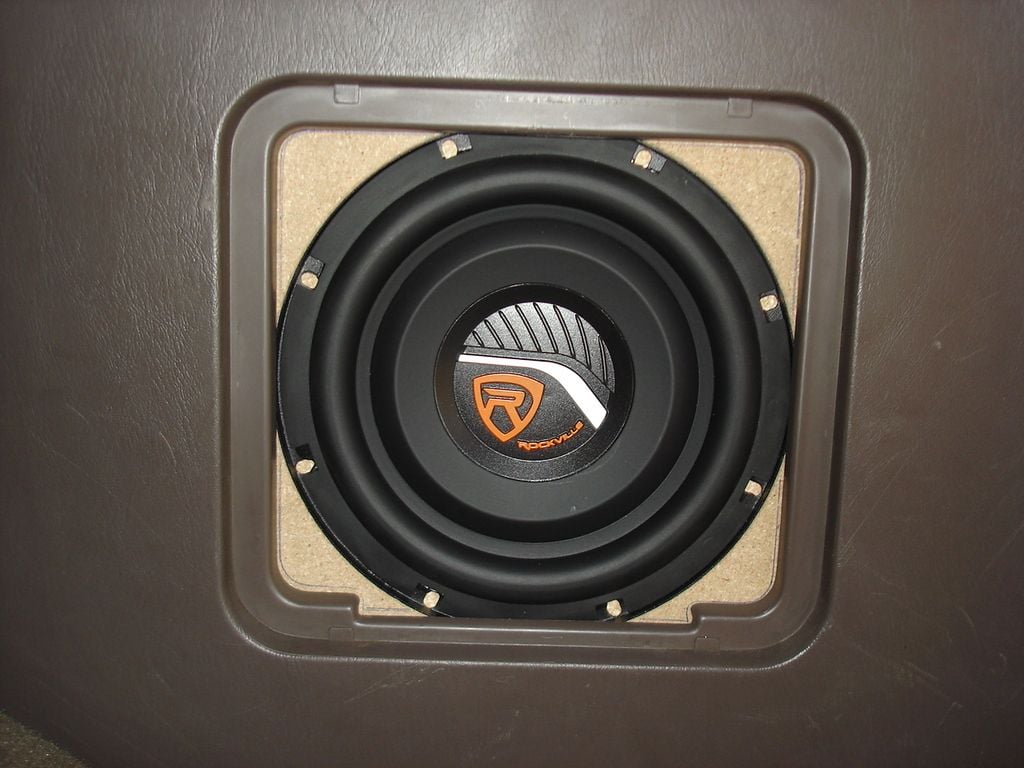
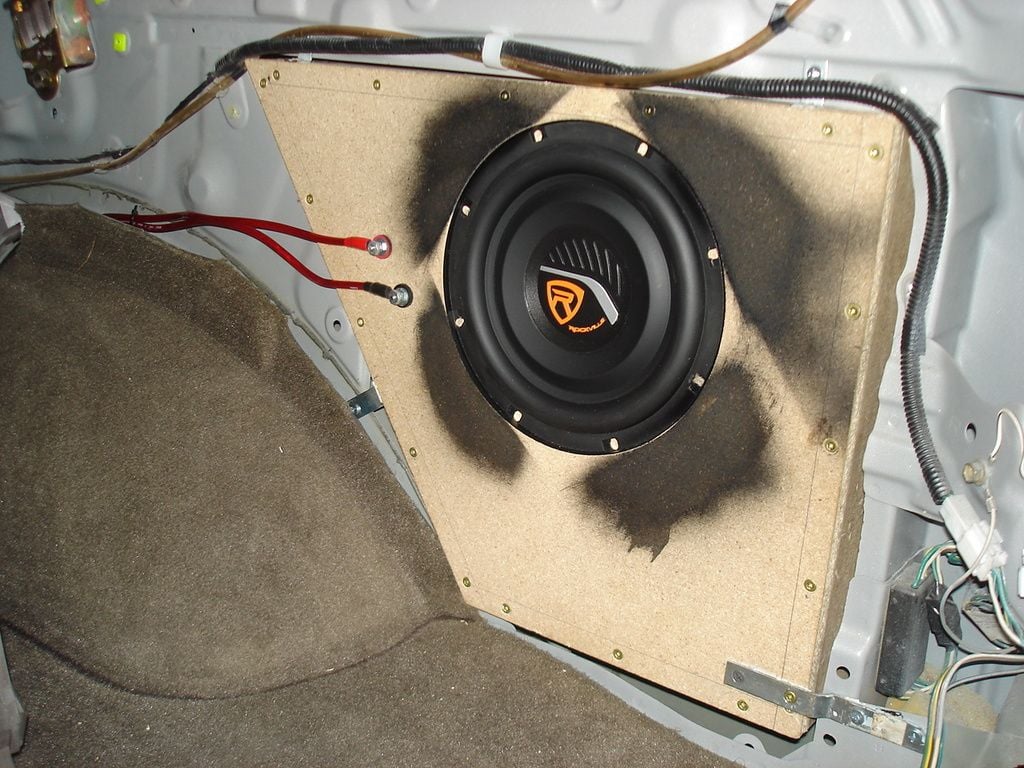
Looking good. For center I favored the bottom notch in the panel opening so I can get this thing down as far as possible, where there's more space in the box. Ran wires, added some mounting brackets. I was ready to button it back up...
So now to make a replacement panel. I was going to have it water jetted in a particular pattern but I realized it needed dimension to it as well. I've wanted one for a while and ended up getting a 3d printer for some side prototyping. Now I went to work on a panel design and new trim ring...
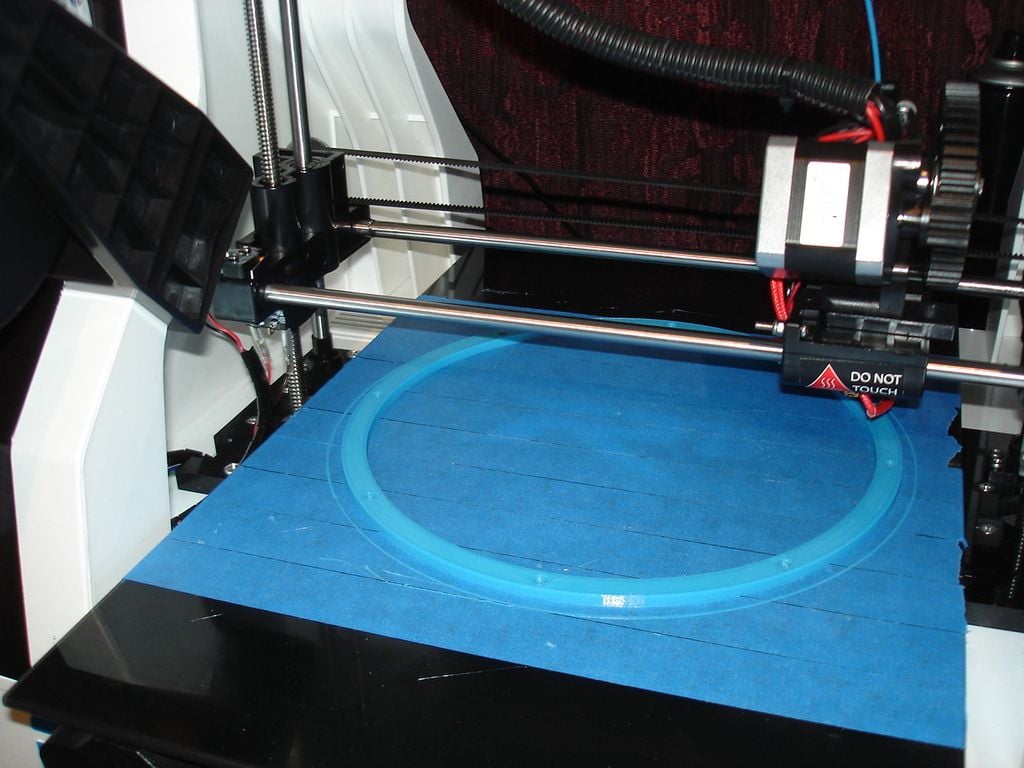
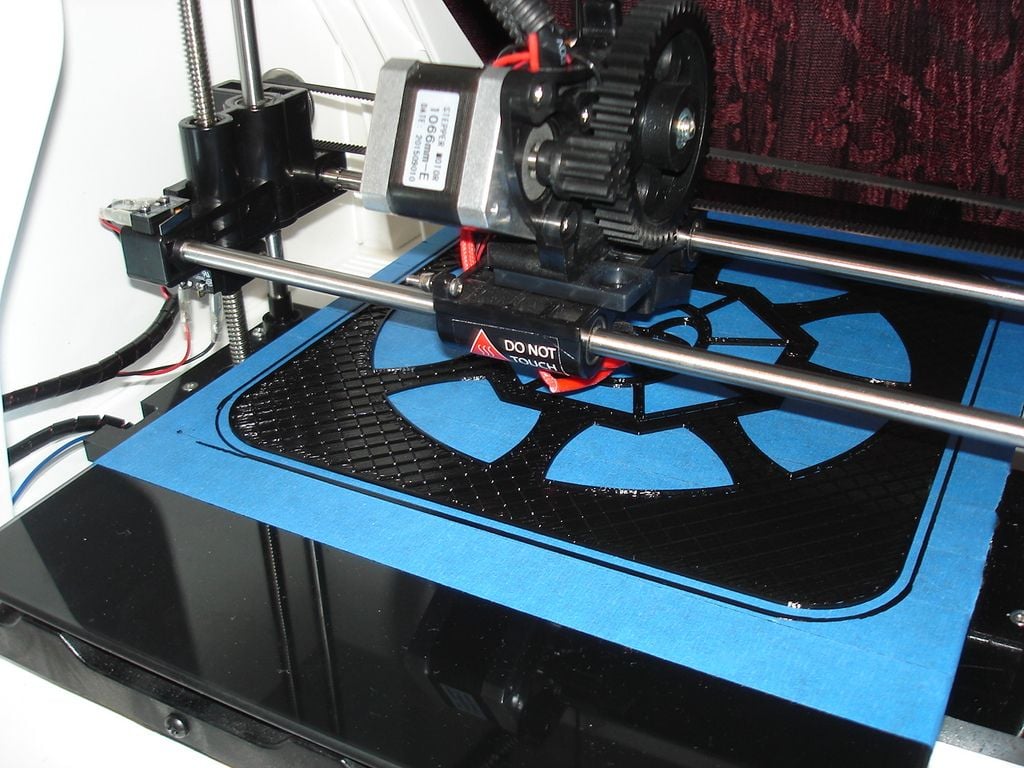
I added some standoffs in the back with some magnets so this thing will snap into place...
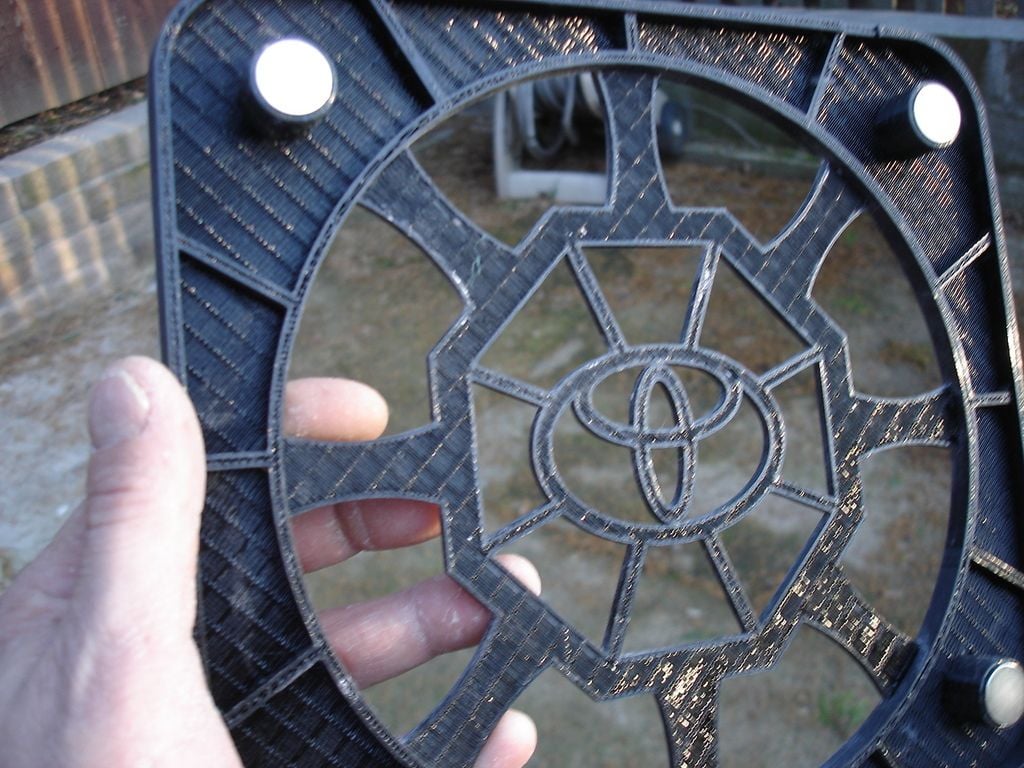
Also built these little vent pieces as mine had broke when I removing the vents to clean them..

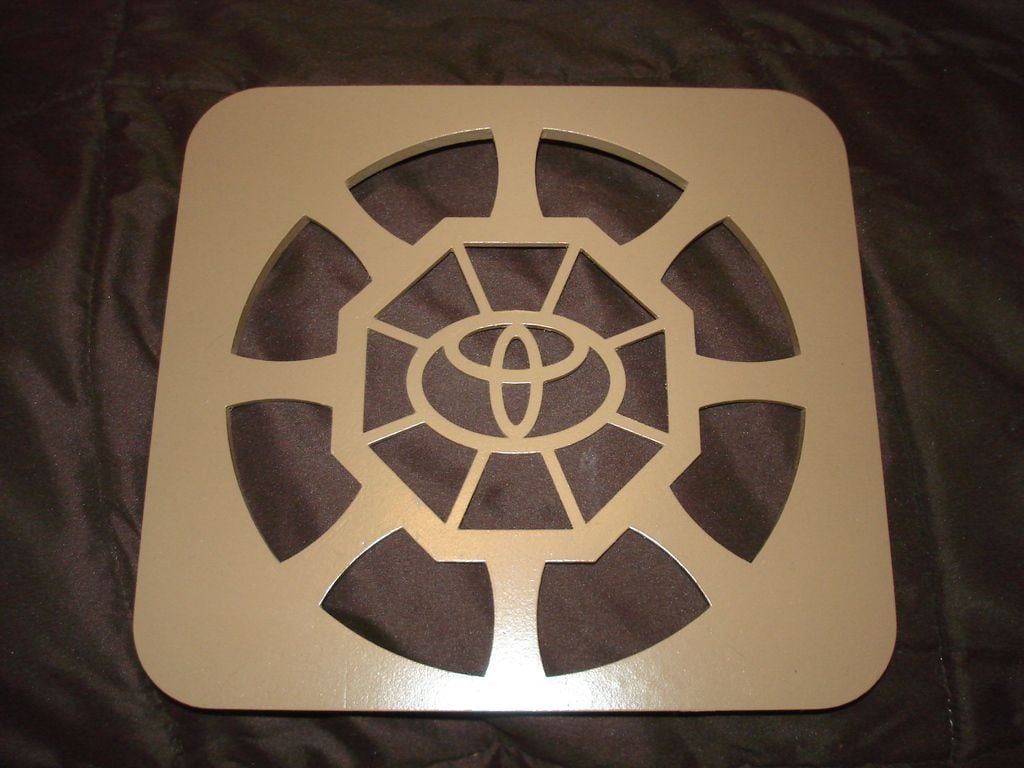
I painted it "tan" to contrast the brown but didn't like the color so I ended up making another (read below) with a large hole in it then skinned it with some fabric from Joannes and some super 77 adhesive which is what my final look is.
So I have to say I'm pretty happy with everything, when I fired it up for the first time I had a huge grin, I got my bump back! I realized that there are sweet spots and unfortunately the driver's seat isn't one of them, but this sub reproduces really well and that bass control is perfect and seems linear, not stepped. I actually find myself turning my stereo down now out of respect of my neighbors. So...amp, 45 bucks, sub 45 bucks, install kit 15, materials, 15 so about 120 into it (not including the 3d printer, hehe).
That's my install, I hope it helps anybody who wants to do the same thing and keep that cargo space. Also...to anyone interested I have a proposition... repeat what I did (box wise at least) and post pics of the finished project. The first to tackle this can have my original cover design for free to finish it off...
Last edited by 77RogueRunner; 02-14-2016 at 10:15 AM. Reason: grammar


