UpTheYotaPunx's 1990 Pickup Build-Up Thread

 09-27-2009, 01:04 PM
#22
Registered User
Join Date: Nov 2007
Location: chippawa niagara falls ontario
Posts: 3,278
Likes: 0
Received 2 Likes
on
2 Posts
nice looking truck id get some rust proofing and fixing as my first plan of attack.. those r some sick rims and tires.. they would look great on my hilux! what brand r they?? the rims?
09-29-2009, 08:20 PM
#23
Registered User
Thread Starter
Join Date: Jun 2009
Location: North Shore, Mass.
Posts: 99
Likes: 0
Received 0 Likes
on
0 Posts
Yeah, im gonna fix the rust somewhat soon hopefully, the rims are the Black Teflon coated ATX chamber's, I'm loving em, you can wipe the dirt off with your hand its pretty cool. I'm back at school now so I'll be doing some simple mods and stuff, nothing too big, later on I gotta take care of the Suspension as its very old and rusty, as well as the exhaust.
I did pick up a new head-unit because the cd player in there now skips a ton, I got this dual xc4100, it was 23 bucks at VIP auto haha. I also picked up an input jack to plug my ipod into, so now I can listen to my tapes/ipod and forget about the CD's ha... anyways Ill post that up as soon as I swap it out with a review.
i also want to make up some new bumpers, the rear bumper is pretty cheesy
Last edited by UpTheYotaPunx; 09-29-2009 at 08:25 PM.
10-10-2009, 08:00 PM
#24
Registered User
Thread Starter
Join Date: Jun 2009
Location: North Shore, Mass.
Posts: 99
Likes: 0
Received 0 Likes
on
0 Posts
installed the $23 head-unit, its a pretty ghetto installation ha.. electric tape definitely plays a key role, faceplate didnt fit on either, anyways im gonna have to go back in and fix a few things like the rear speakers not working. or maybe just get new speakers all together, all in all im satisfied no more skipping from the cd's
10-24-2009, 09:38 PM
#25
Registered User
Thread Starter
Join Date: Jun 2009
Location: North Shore, Mass.
Posts: 99
Likes: 0
Received 0 Likes
on
0 Posts
I've been slackin on the pictures but Ill get some up soon... Just got a new hood, fenders, and a bumper all at 60% off through a local school but they dealt with Empire Auto Parts, Inc.
for example the hood listed at $160 and we got it for $64
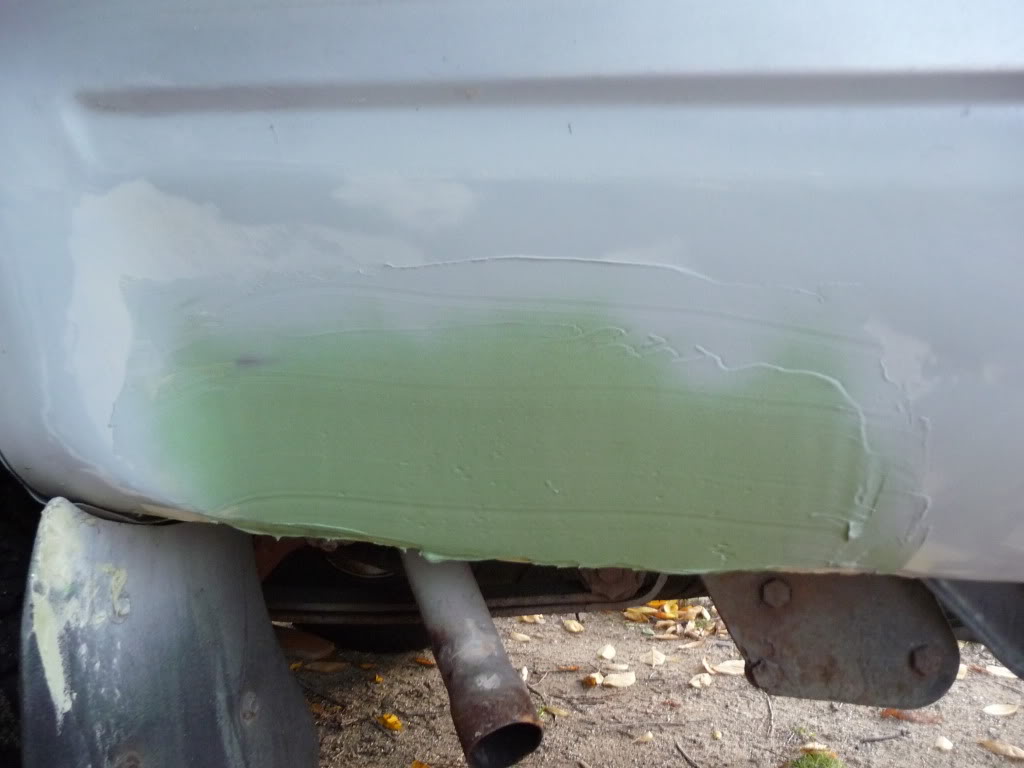
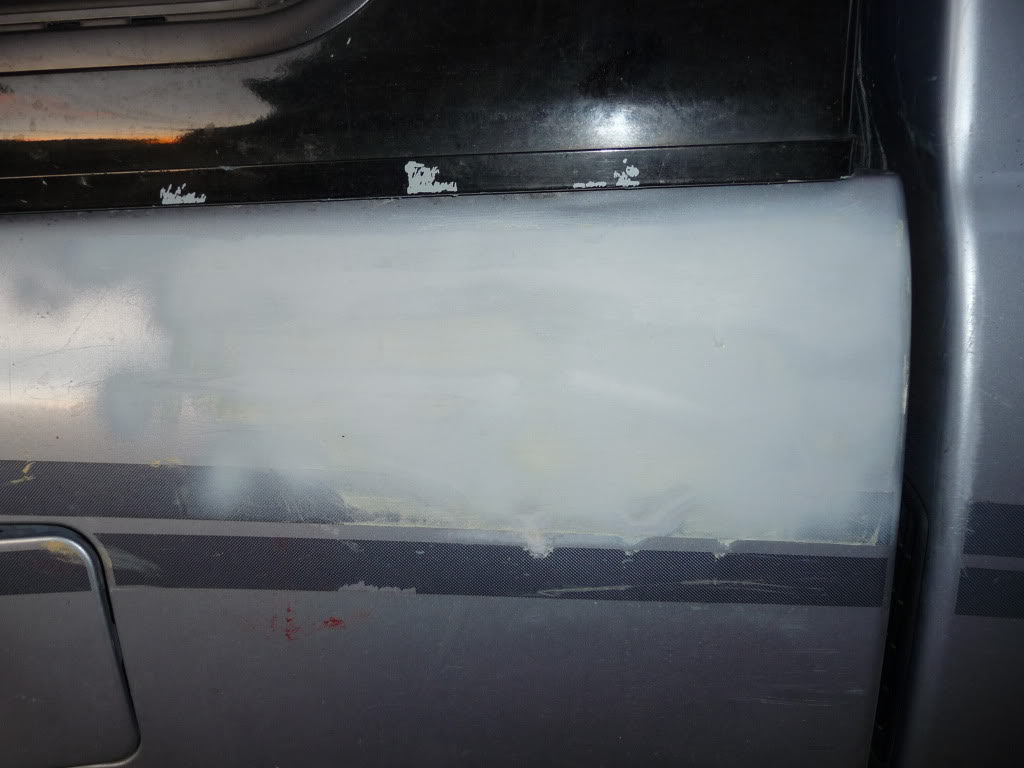
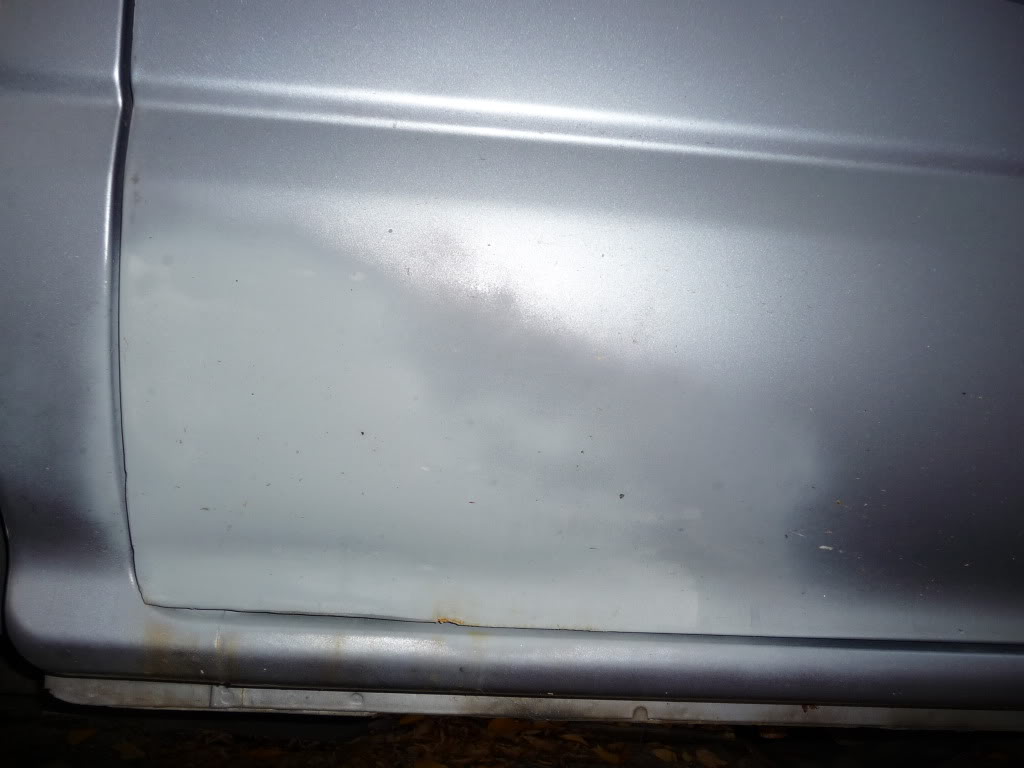
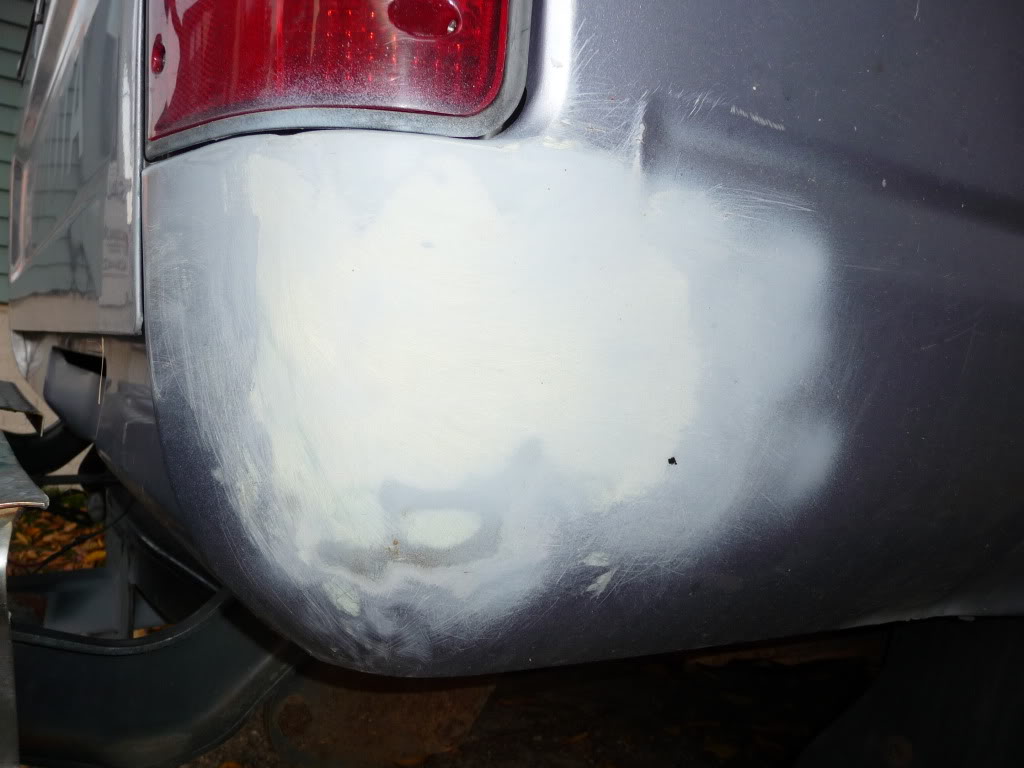
also started to fix the rust by the exhaust and pulled a few dents, fixed rust etc.
for example the hood listed at $160 and we got it for $64
also started to fix the rust by the exhaust and pulled a few dents, fixed rust etc.
 11-04-2009, 05:49 AM
#28
Registered User
Thread Starter
Join Date: Jun 2009
Location: North Shore, Mass.
Posts: 99
Likes: 0
Received 0 Likes
on
0 Posts
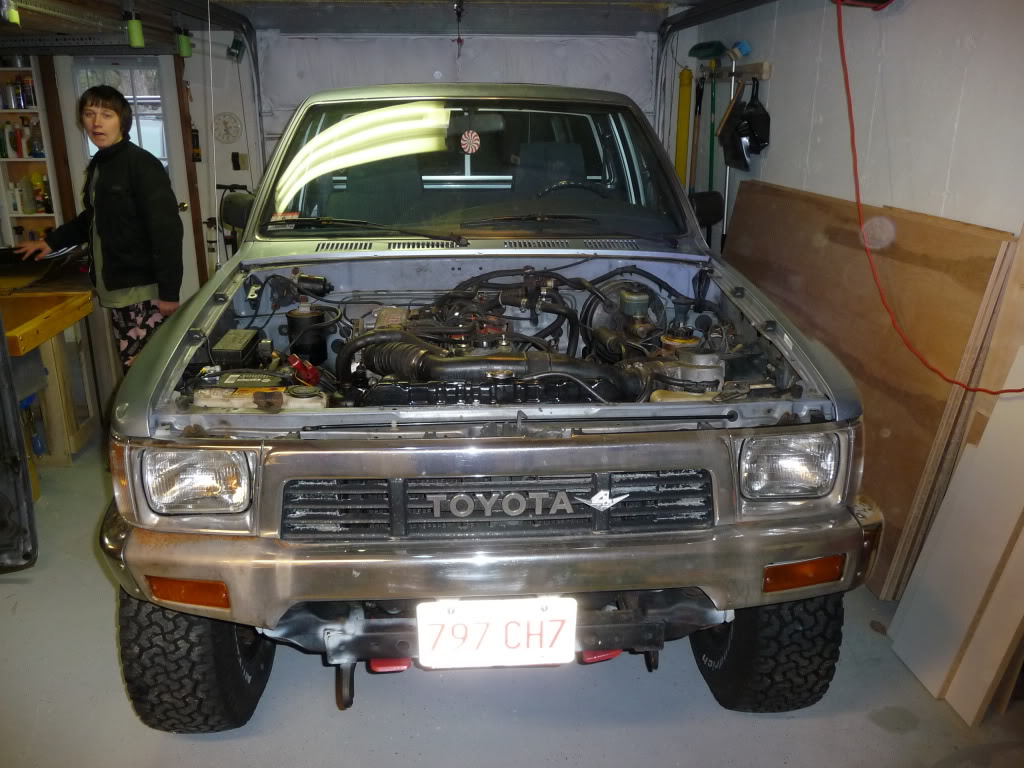
Got some pictures finally!
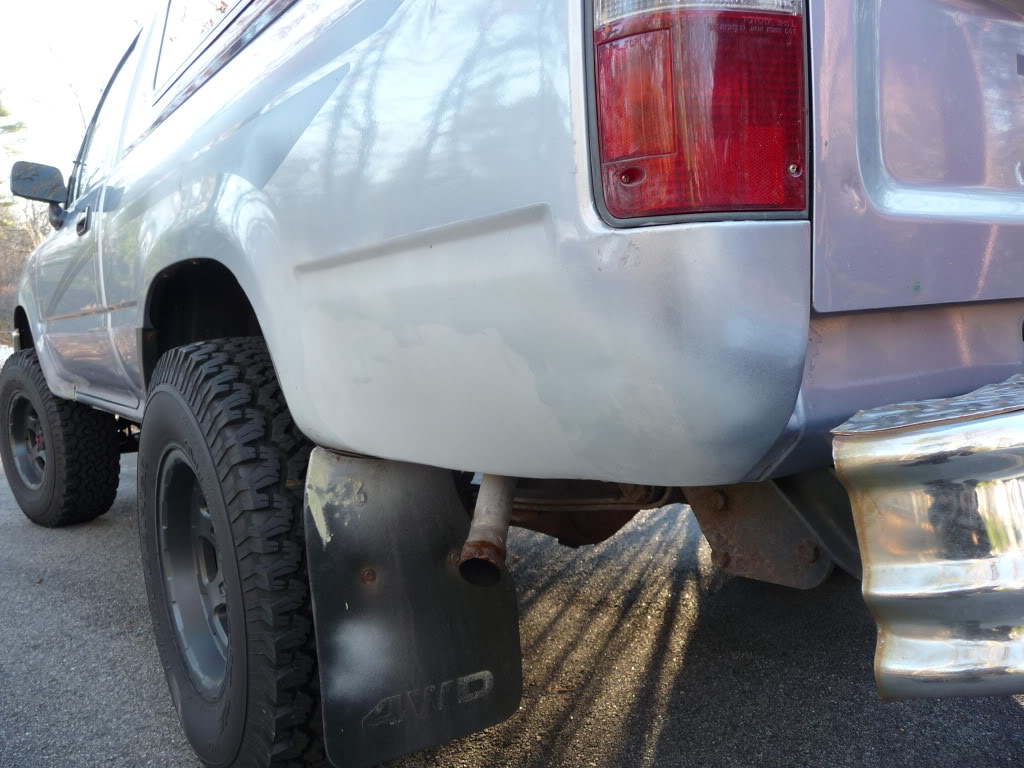
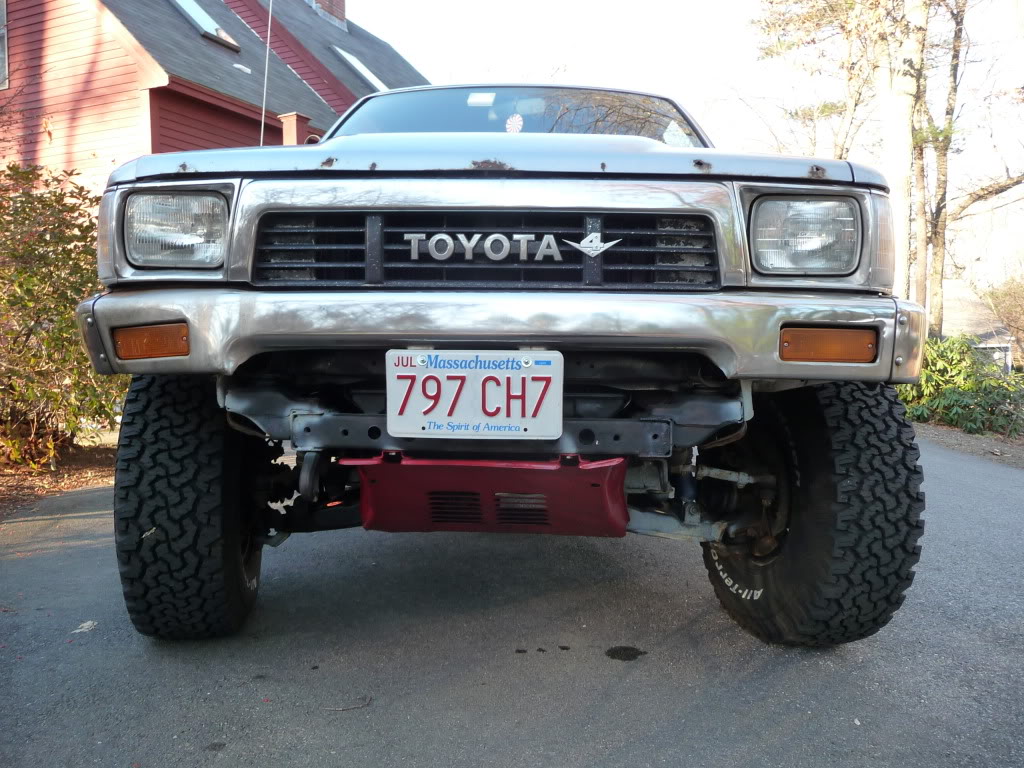
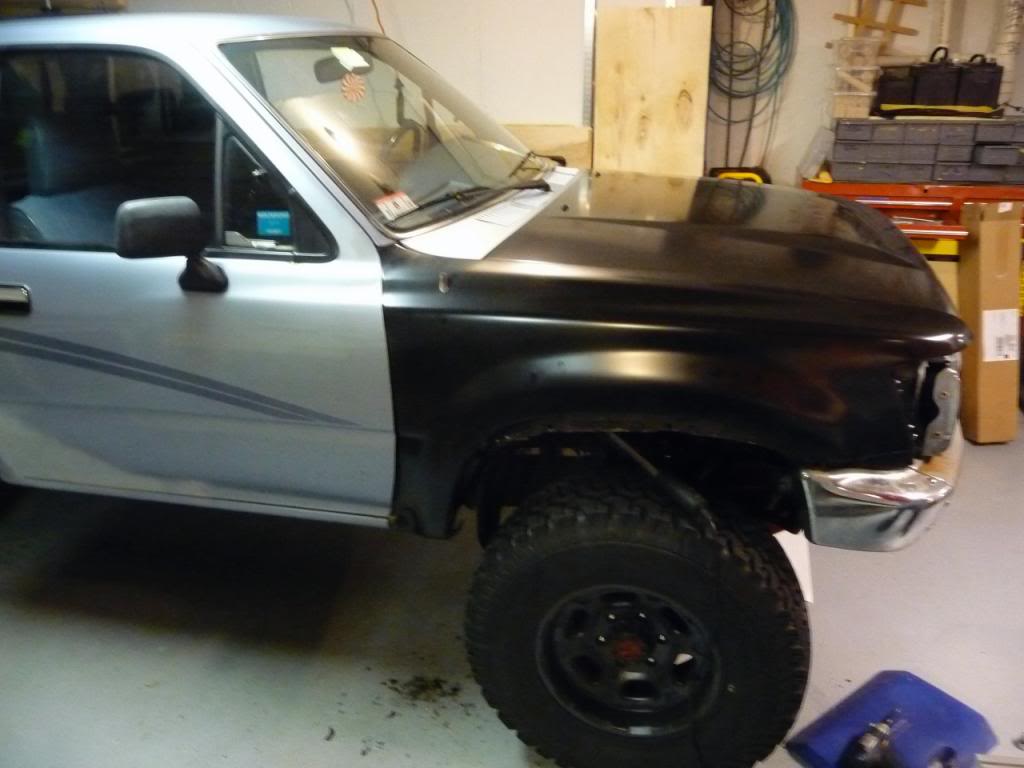
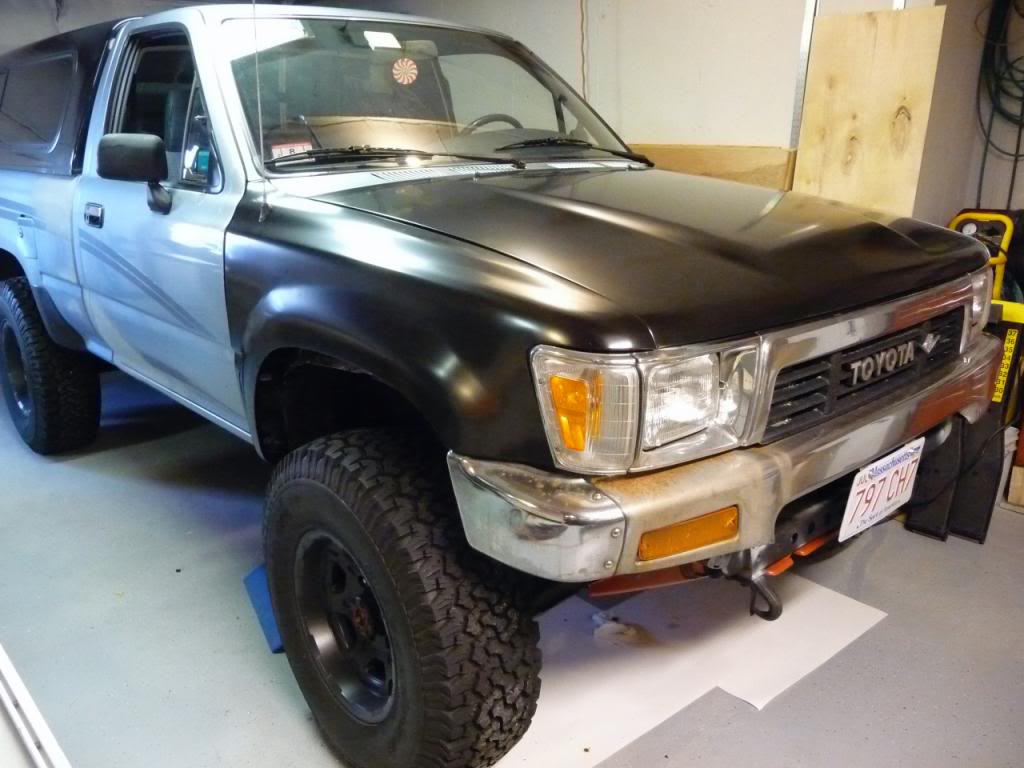
between my dad and myself weve got most of the body rust under control, like i said before i got new fenders, hood and a bumper for $280 (not on yet)
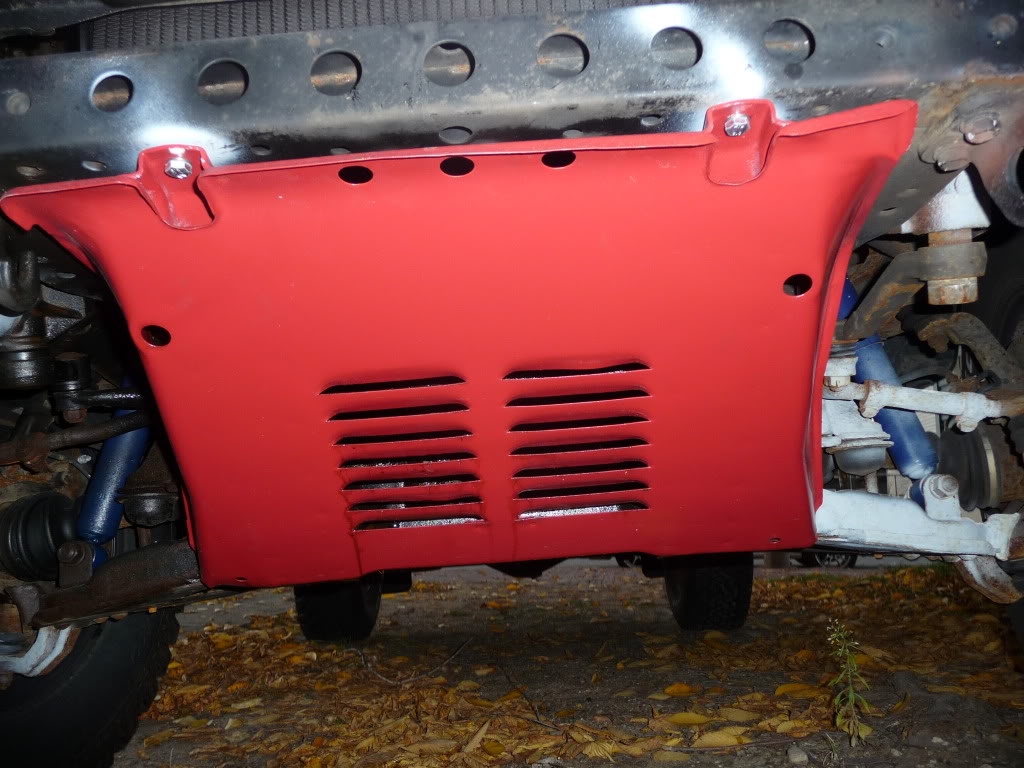
spray painted the skid plate with red tractor paint, replaced the bolts with stainless
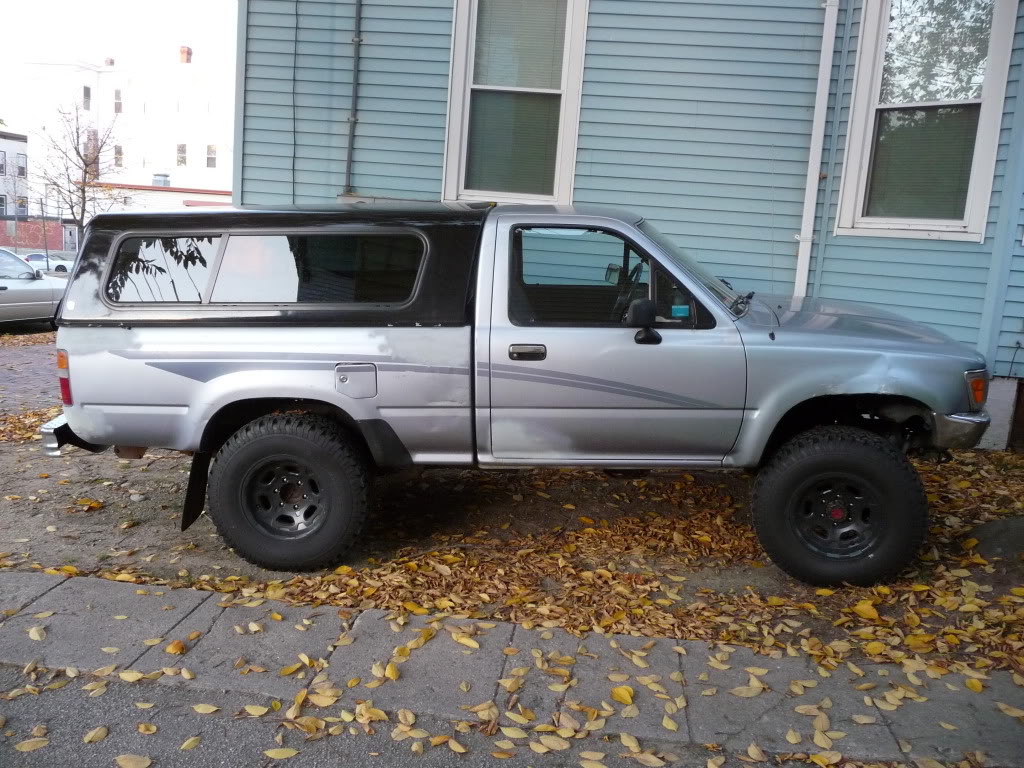
heres the truck currently with the cap, that butt sag is killin me.
plans: make up a new rear bumper, fix the suspension (small lift while im at it), new exhast, eliminate all the rust, new paint job. Also forgot to take pictures of the interior, but the head unit is working well, the speakers are shot and the rear speakers no longer exist so that problem was taken care of.
between my dad and myself weve got most of the body rust under control, like i said before i got new fenders, hood and a bumper for $280 (not on yet)
spray painted the skid plate with red tractor paint, replaced the bolts with stainless
heres the truck currently with the cap, that butt sag is killin me.
plans: make up a new rear bumper, fix the suspension (small lift while im at it), new exhast, eliminate all the rust, new paint job. Also forgot to take pictures of the interior, but the head unit is working well, the speakers are shot and the rear speakers no longer exist so that problem was taken care of.
12-14-2009, 12:34 PM
#29
Registered User
Thread Starter
Join Date: Jun 2009
Location: North Shore, Mass.
Posts: 99
Likes: 0
Received 0 Likes
on
0 Posts
Now that I'm back from school I've got more time to work on the yoter
I just ordered a blower regulator from Napa for $35. Also put the new hood on, gonna do the fenders/bumper next. Also organized the truck a bit. Used upholstery/carpet cleaner and vacuumed. Future plans: SR5 gauge vluster swap, new speakers/reinstall head-unit, figure out the CB (any help with how to get that in working condition would be appreciated.) Turn a new shift knob from some black palm stock I have laying around, New rear leaf springs, maybe BJ spacers? Ultimately a new paint job as well.. Most to come fairly soon!

The blower is located right in front of the passenger seat under the dash
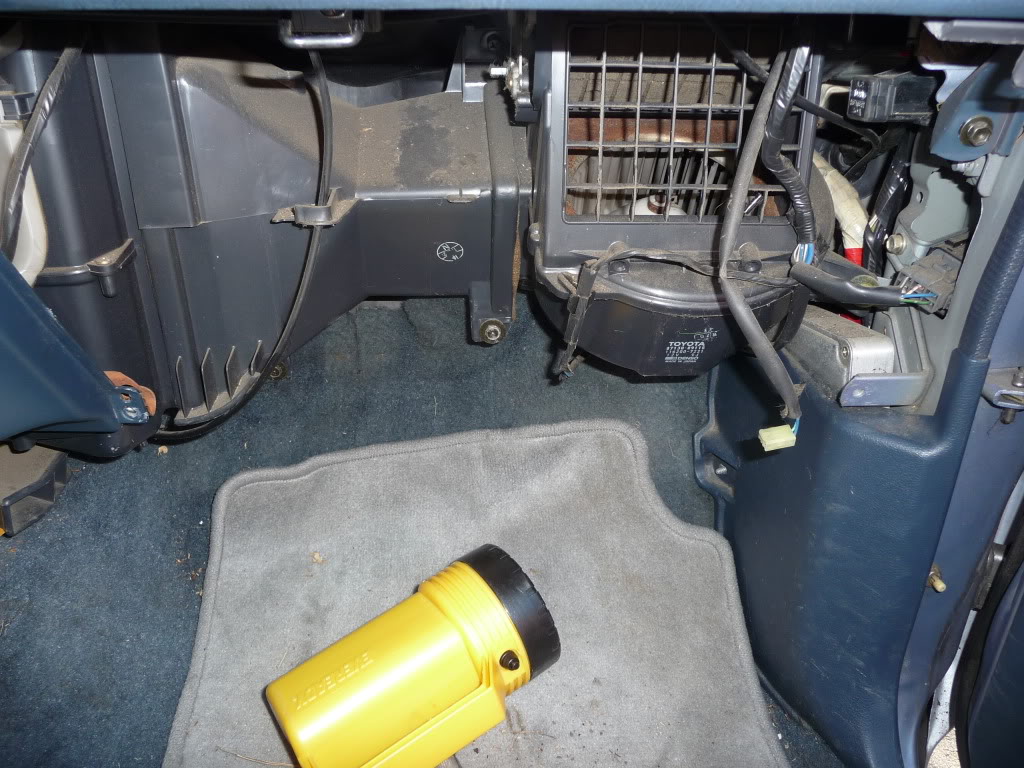
Blower
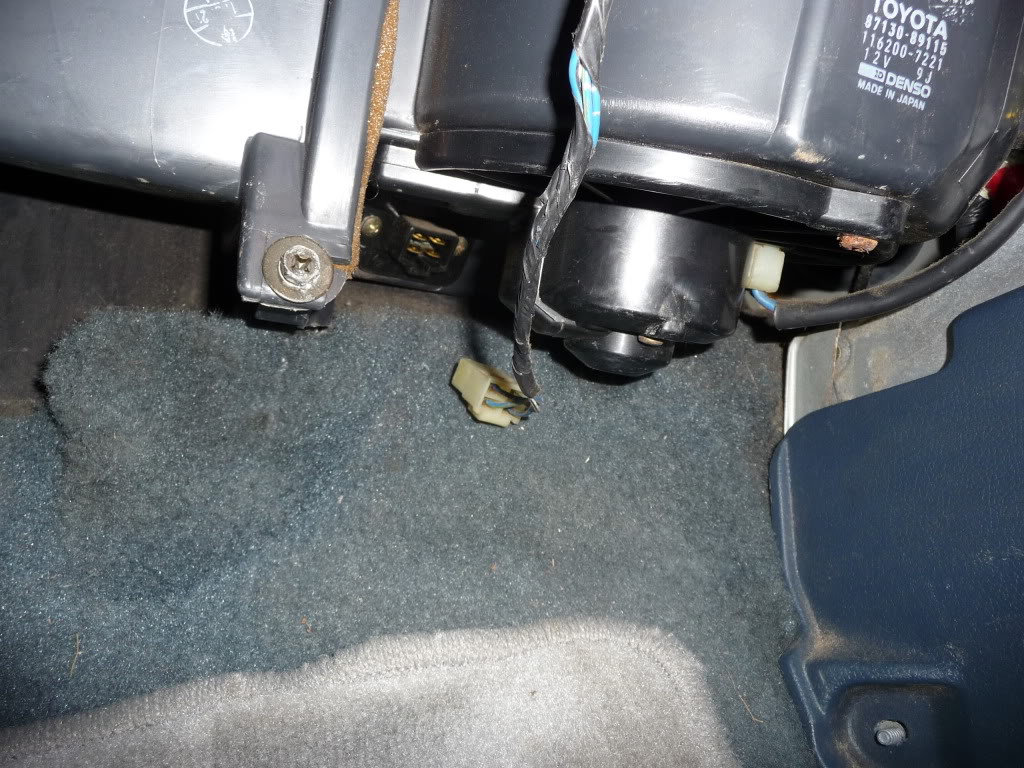
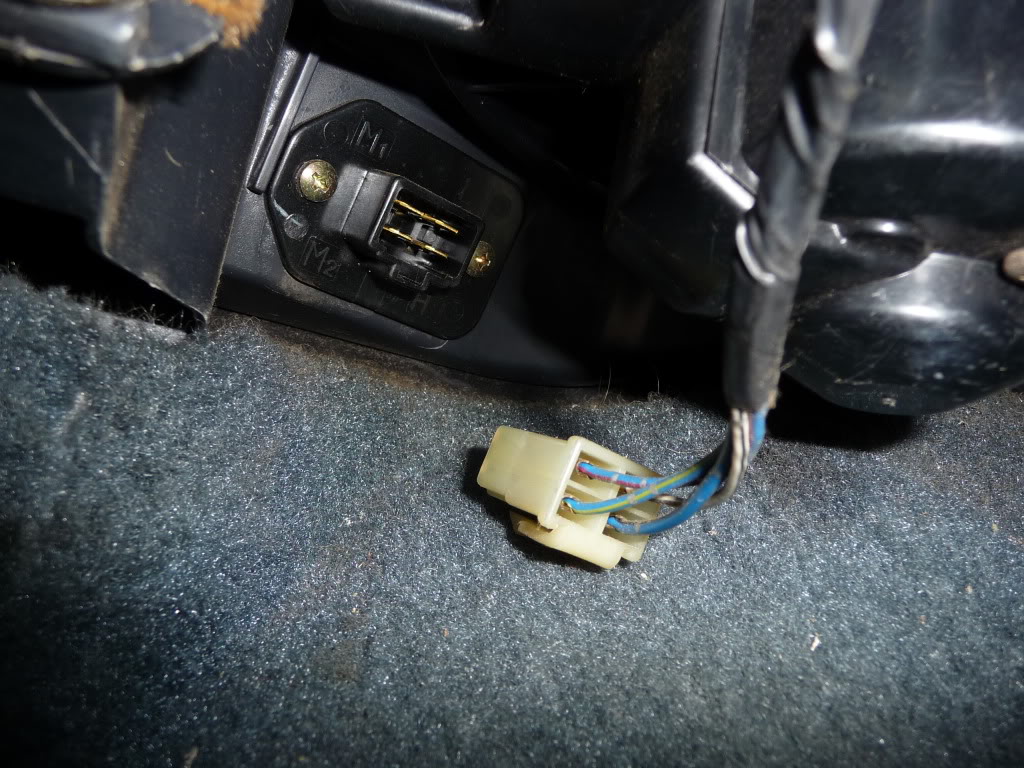
thats what your looking for, disconnect the wire then unscrew the regulator and replace with a new one
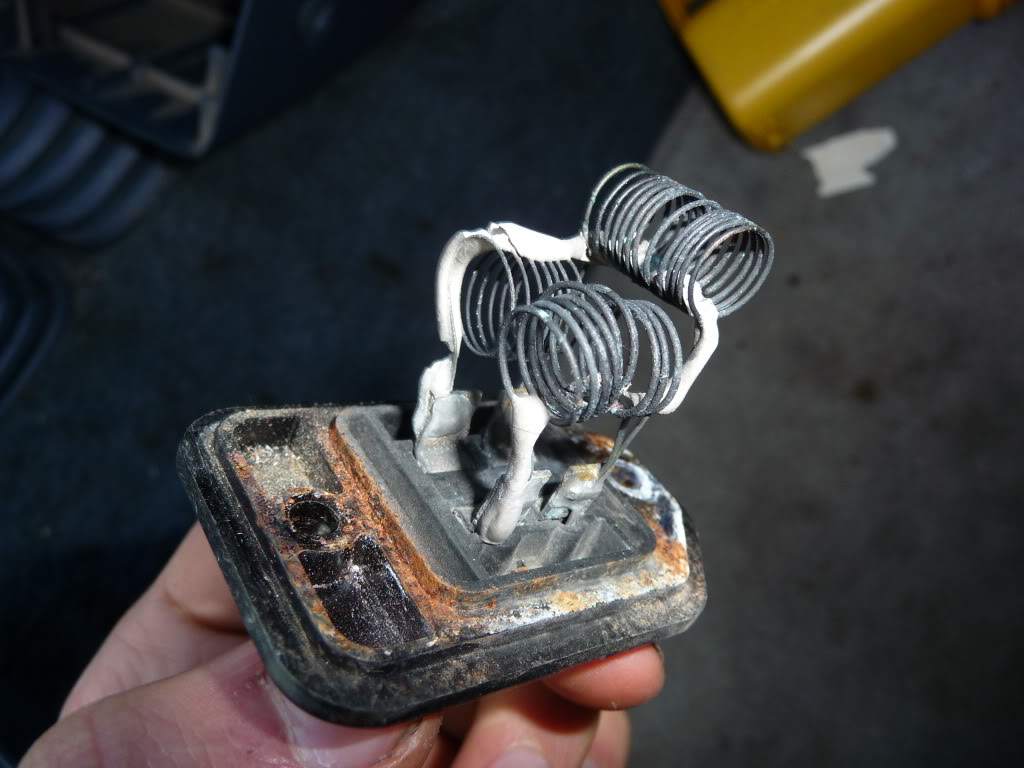
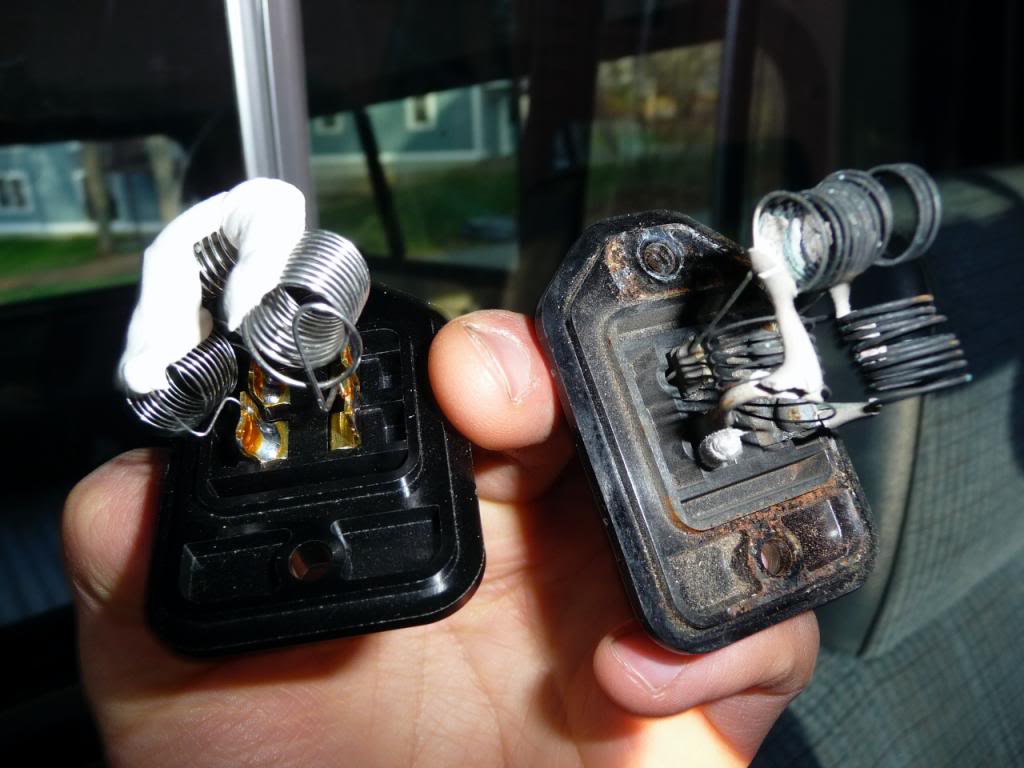
it should be pretty apparent that its burnt out, 20 years for $35 isnt all that bad ha.
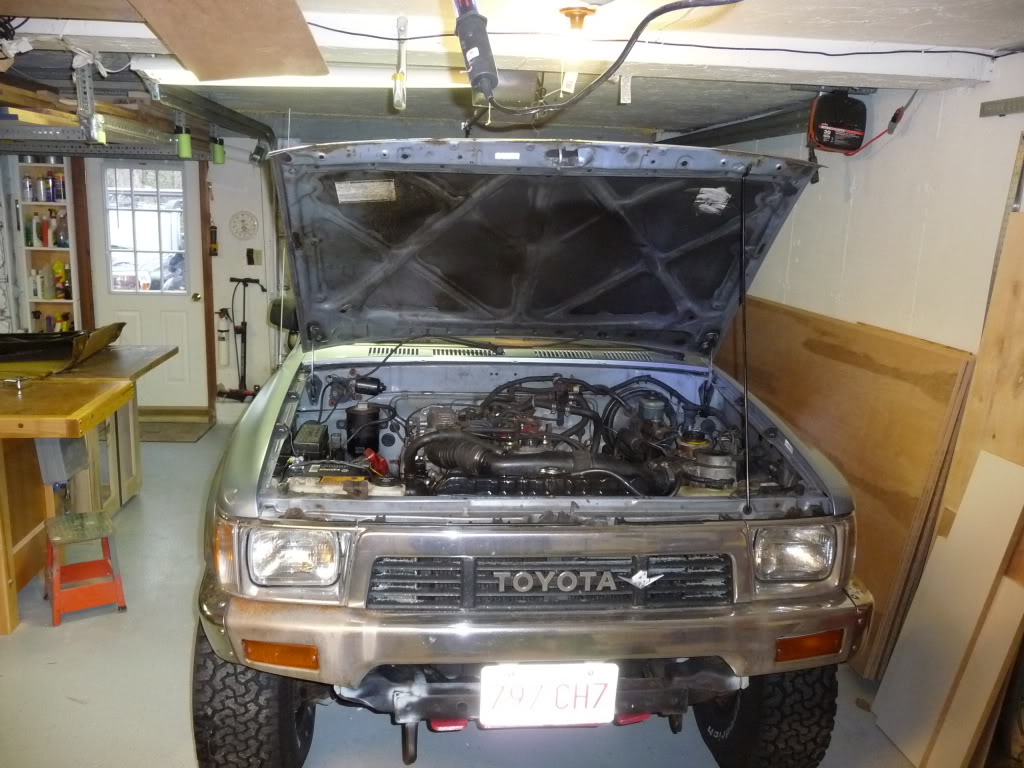
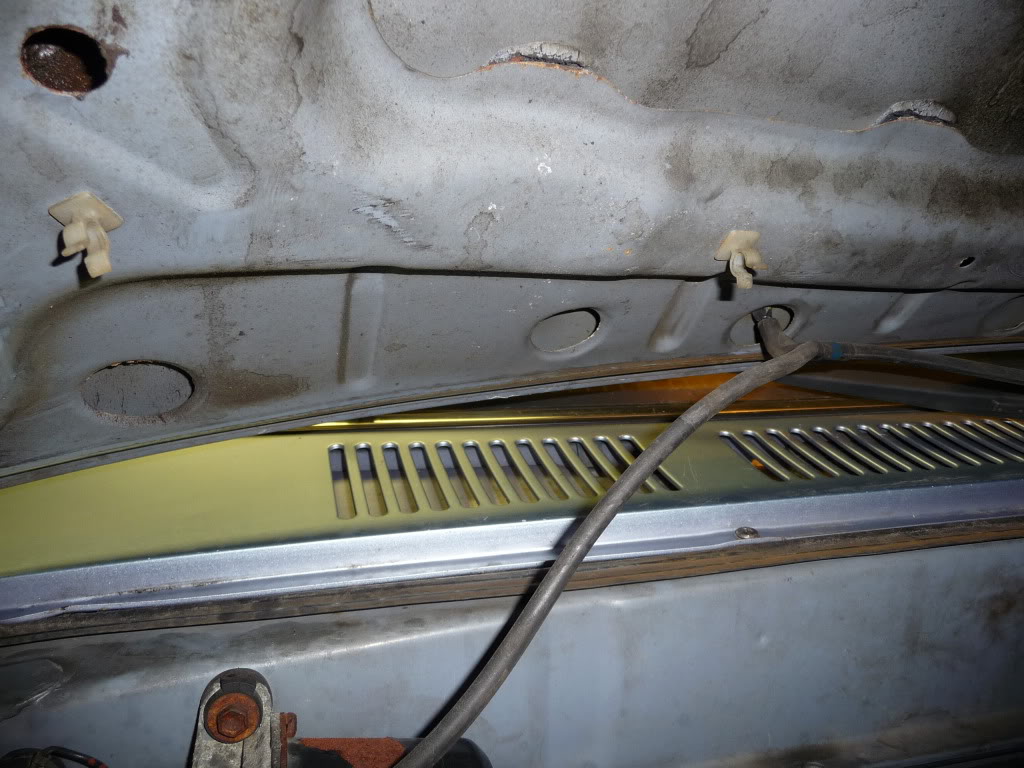
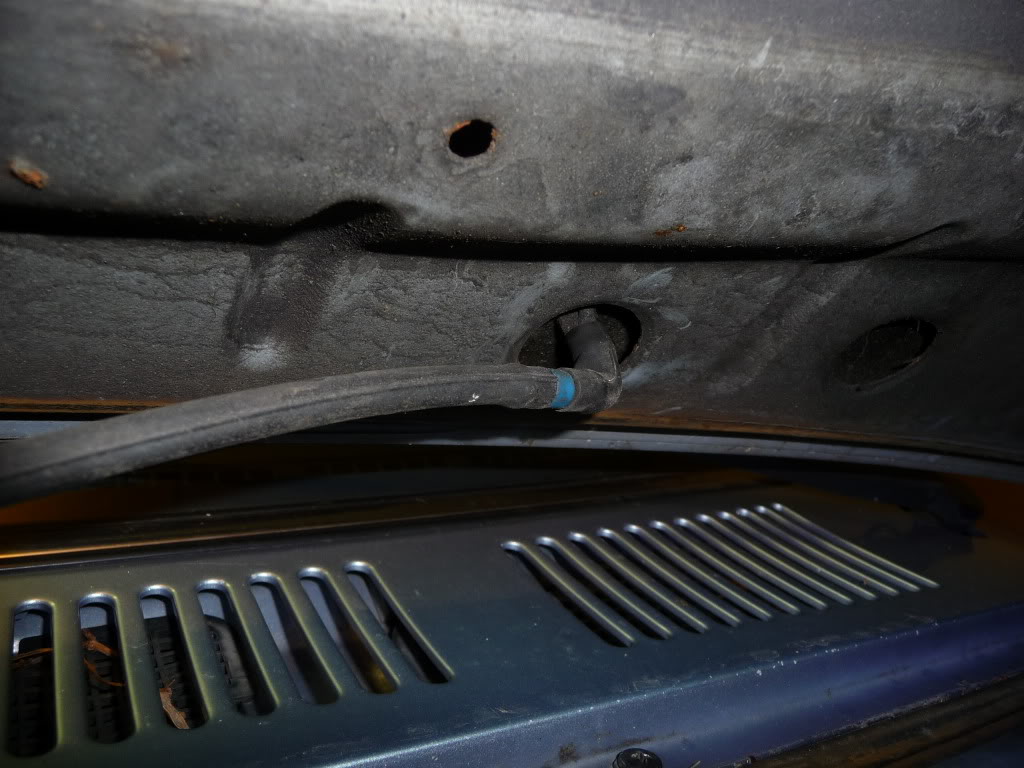
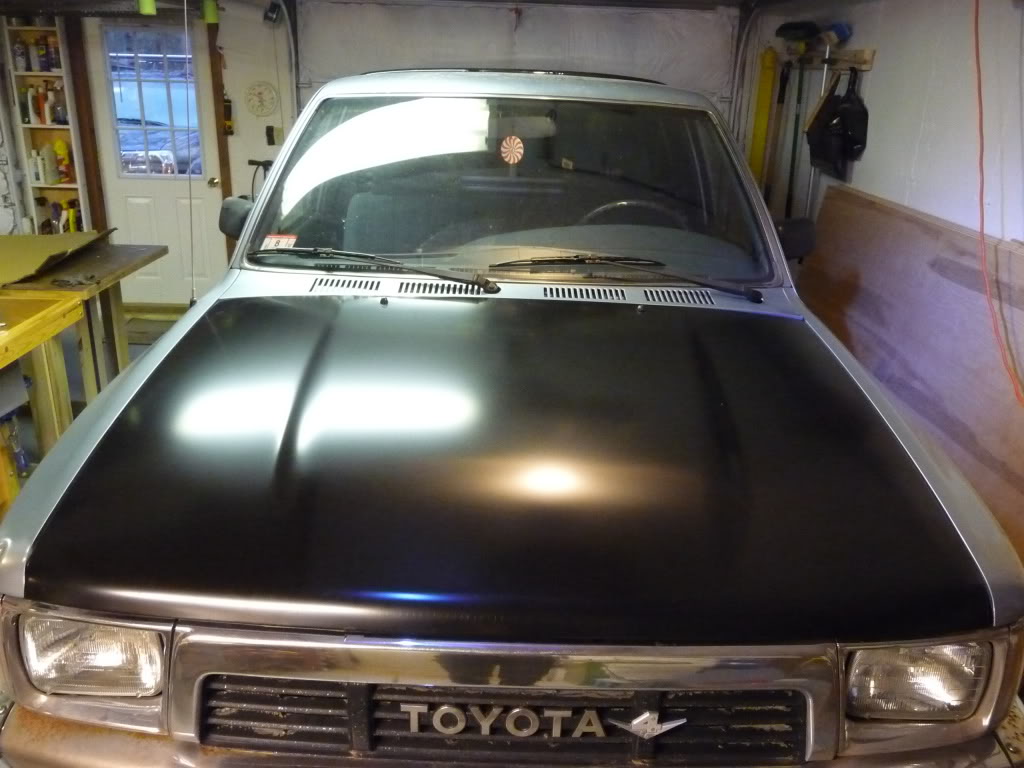
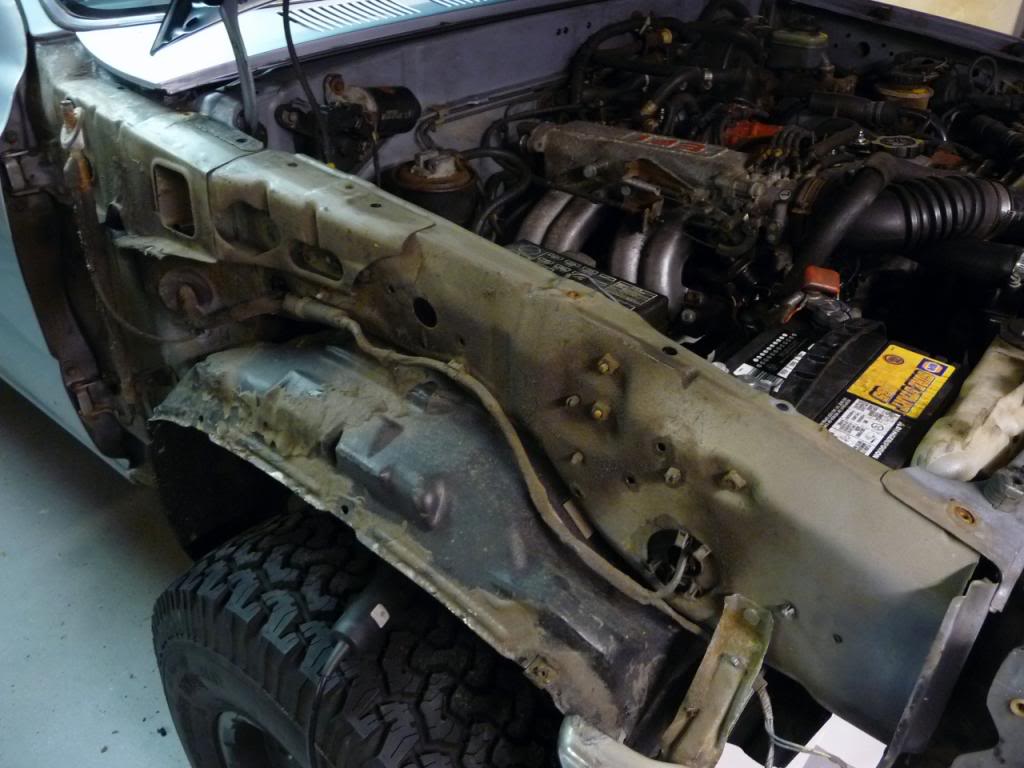
The hood is wicked easy to replace
disconnect the wiper fluid hose
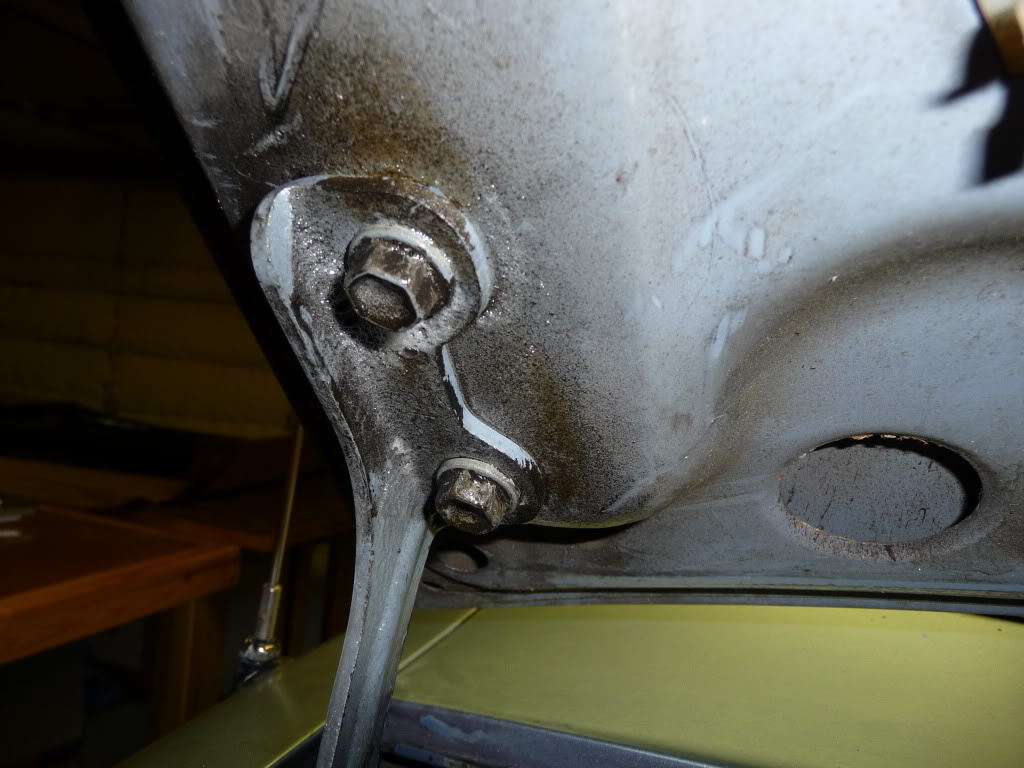
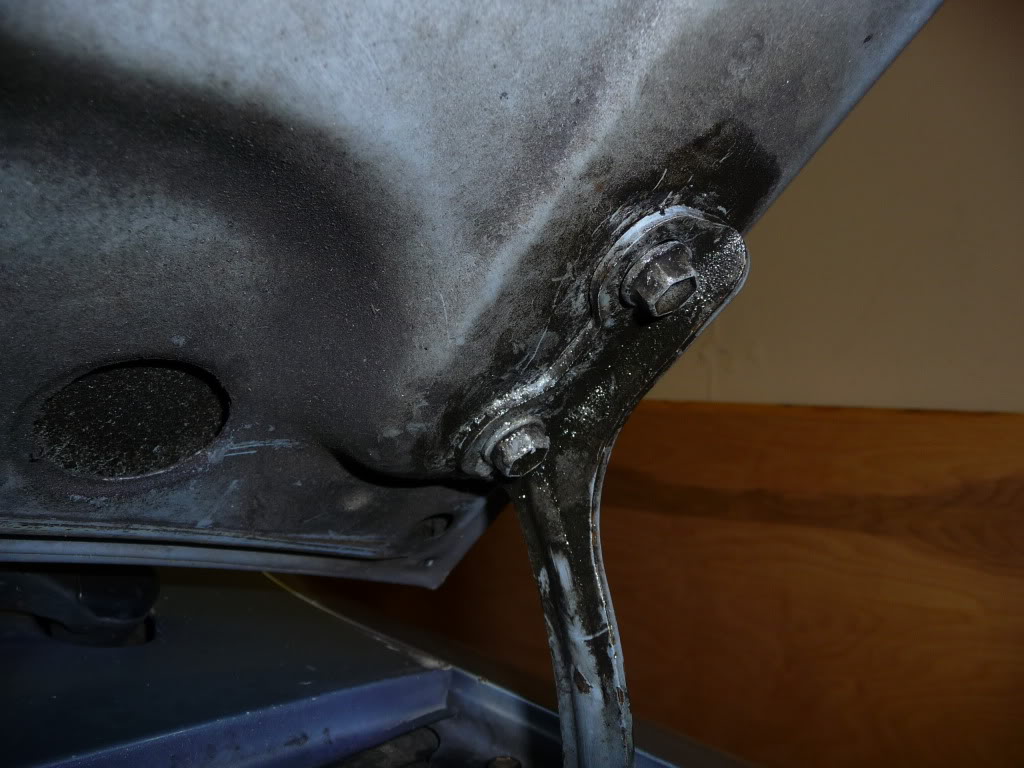
unbolt the hood (4 bolts total) have a couple people hold the hood while you unbolt it so as it doesnt fall into your windshield
i also removed the cowl and vacuumed all the crap out of there, including the air vents
put the new hood on
also dont forget to replace the clips from the old hood, just yank em out with vice grips, and the washer spouts you can bend the tab with a screwdriver
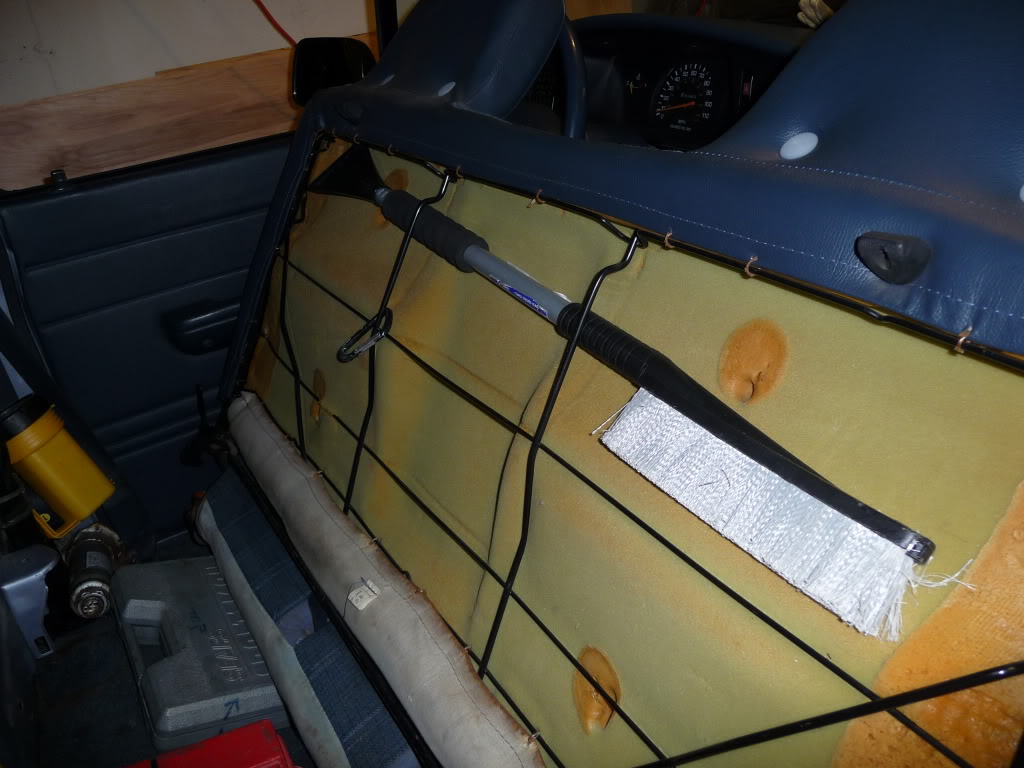
found a great spot for the ice scraper!
put in a milk crate to hold some oil, bungee cords, and jumper cables etc.
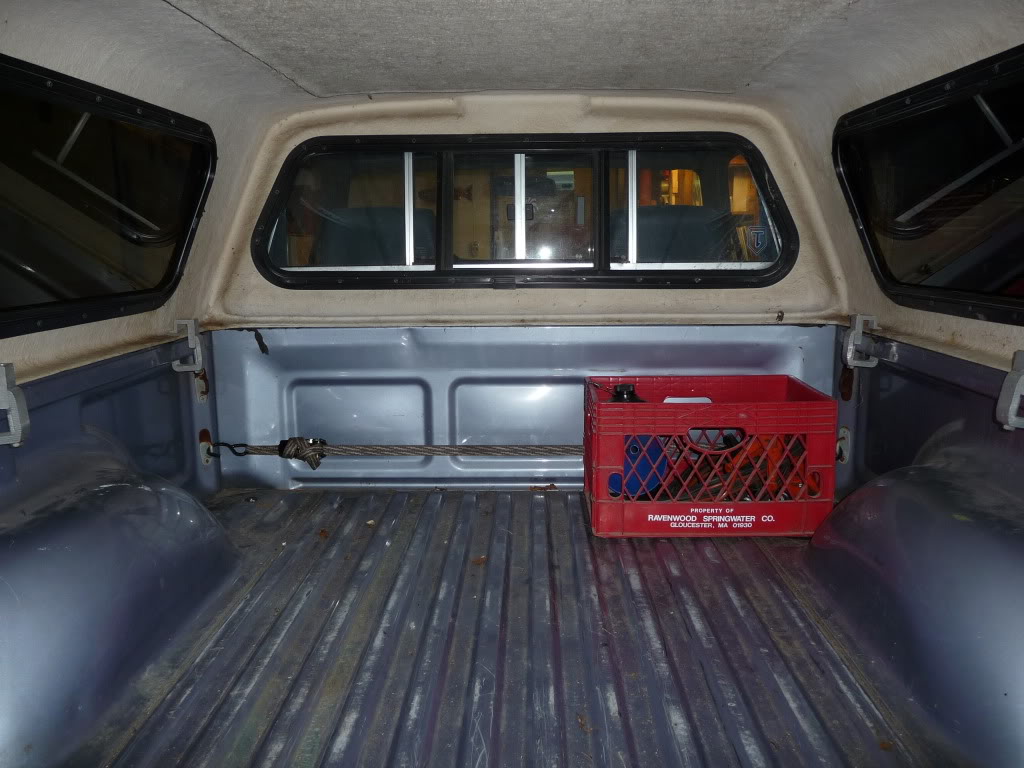
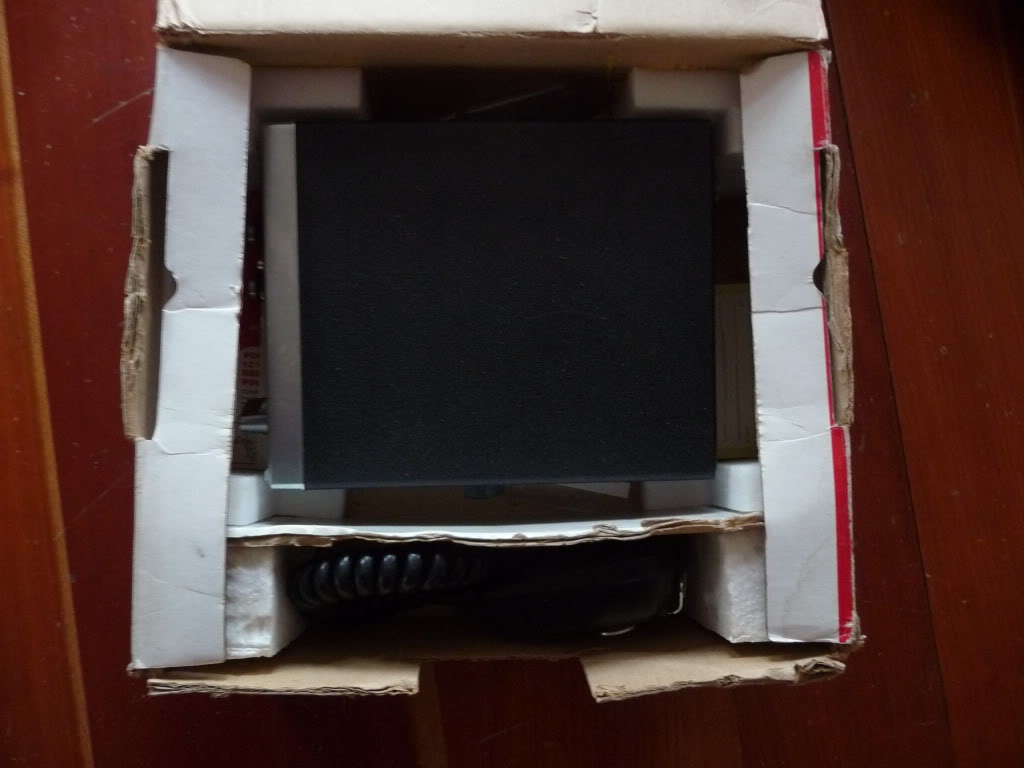
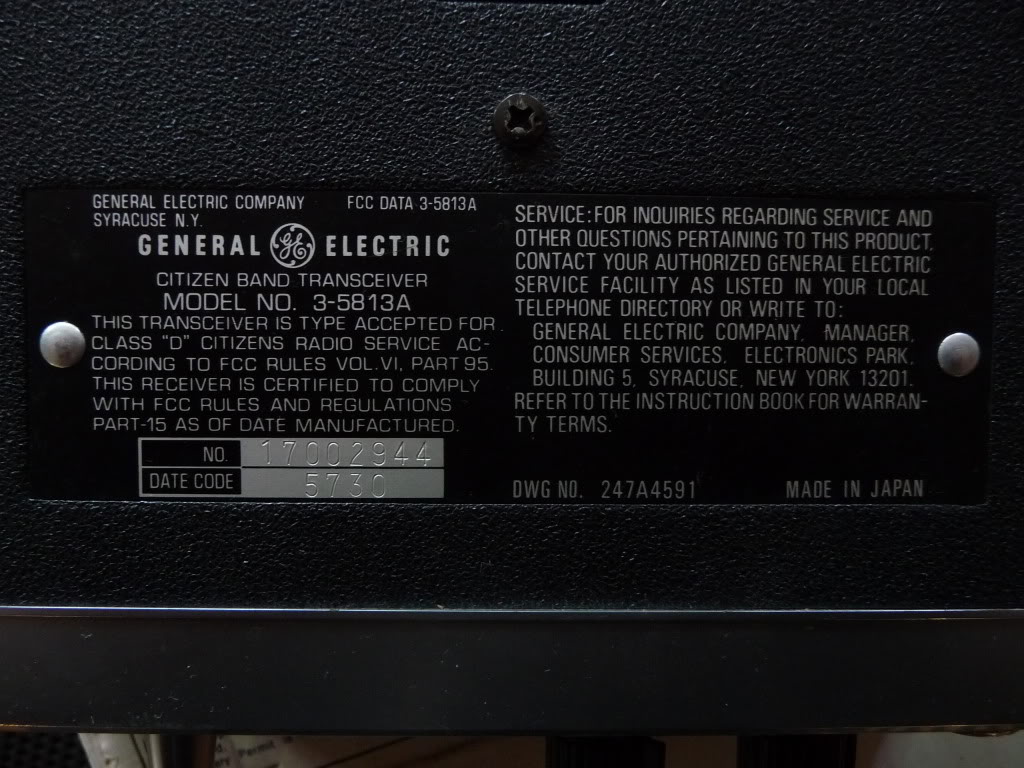
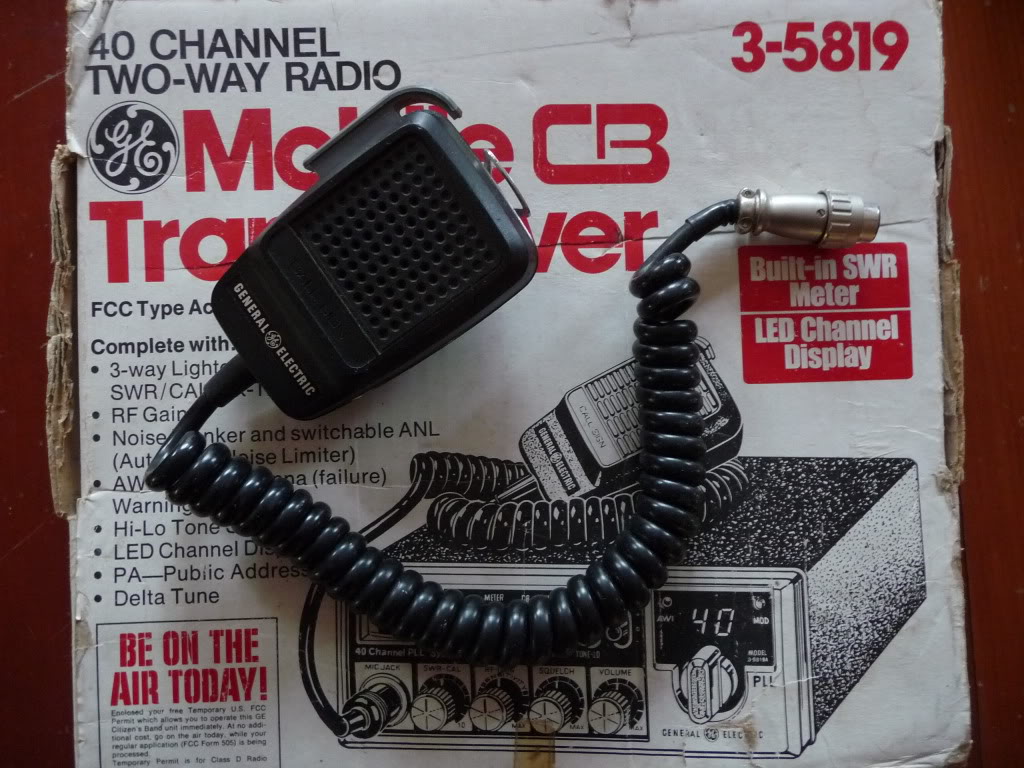
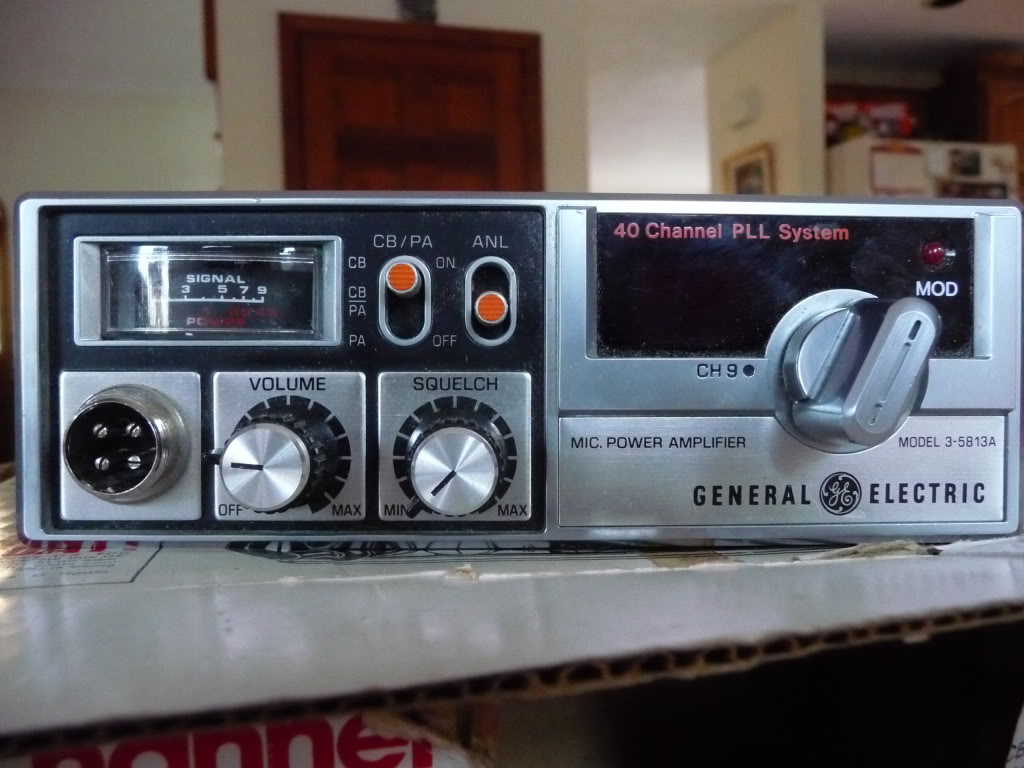
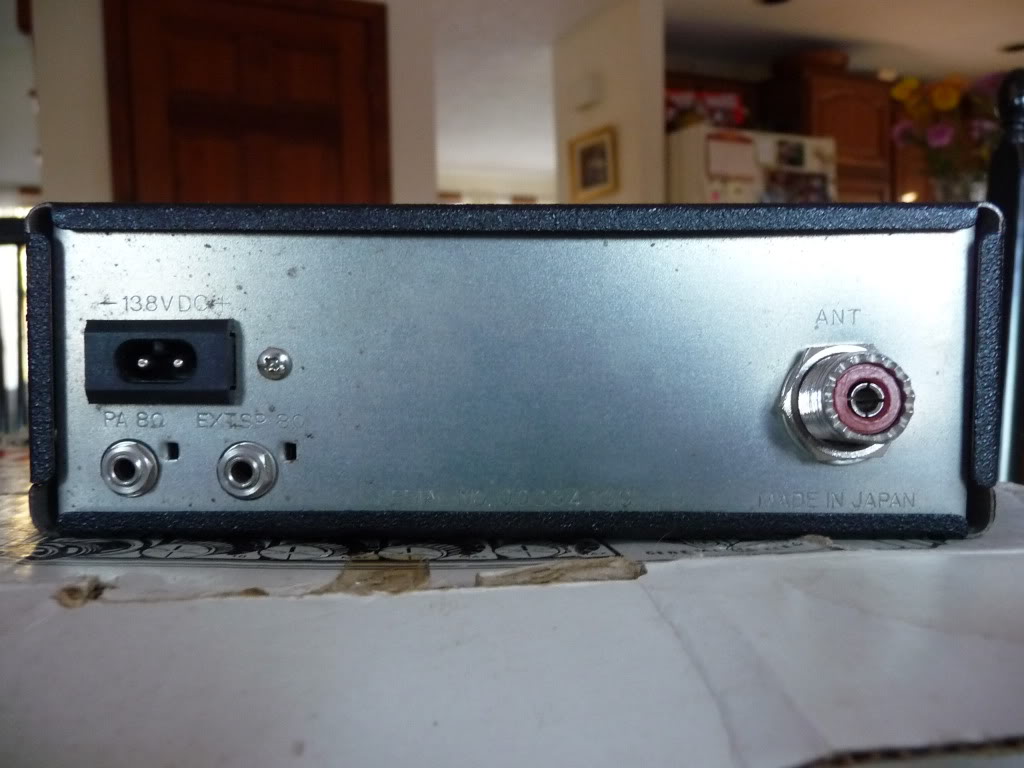
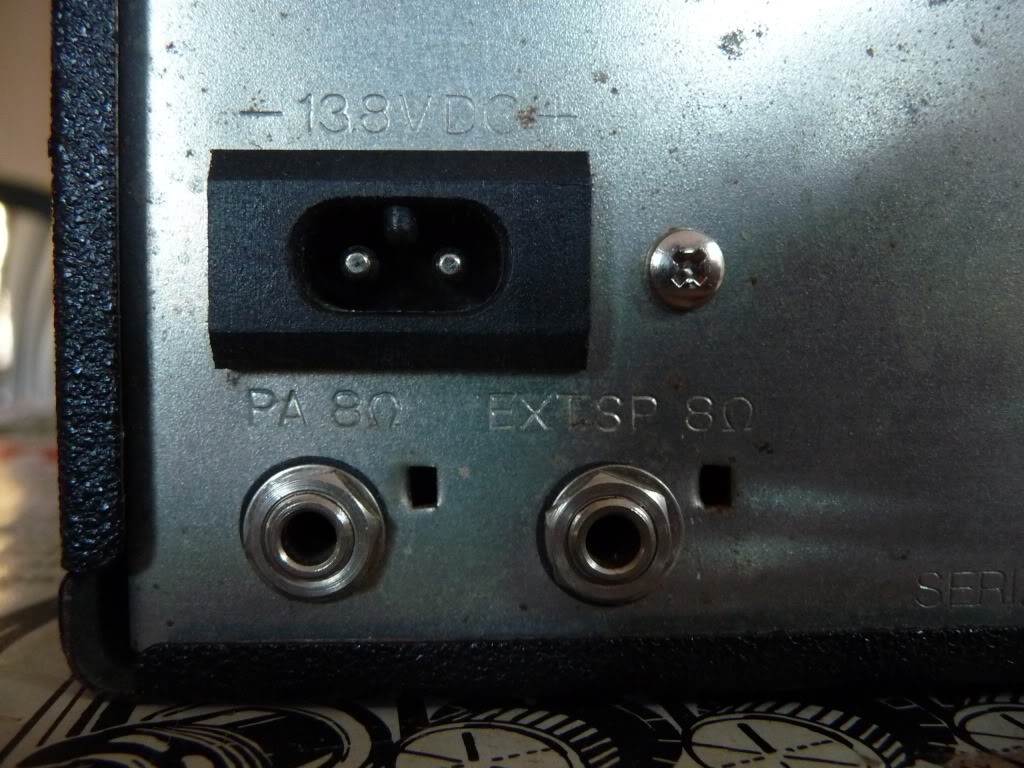
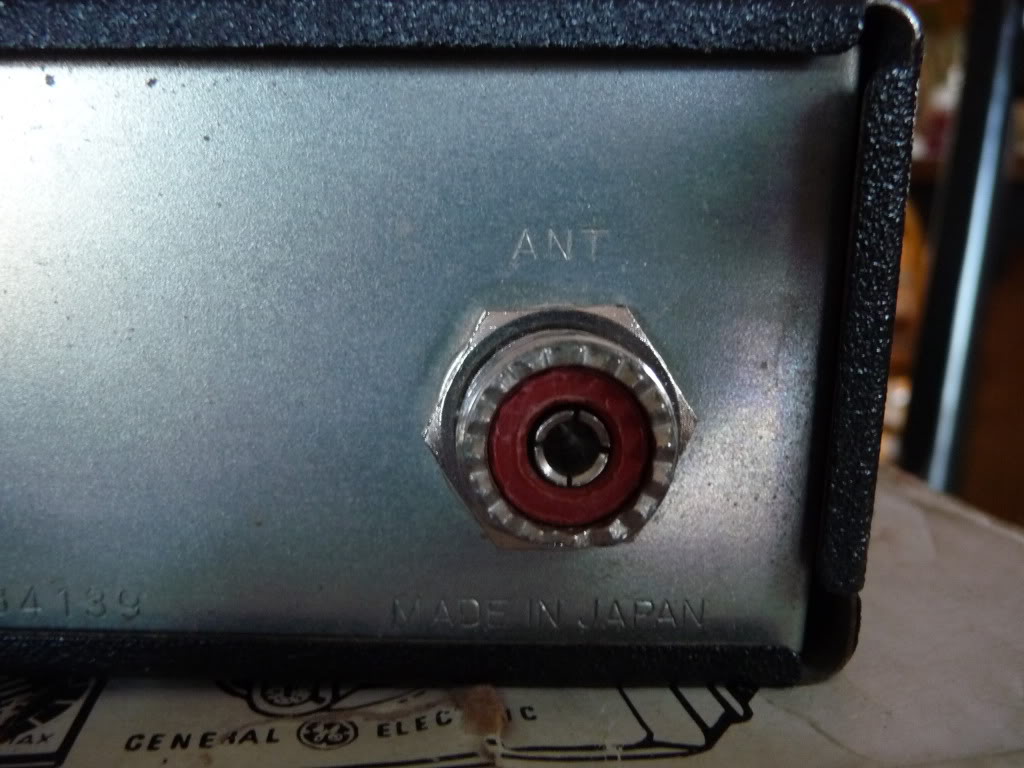
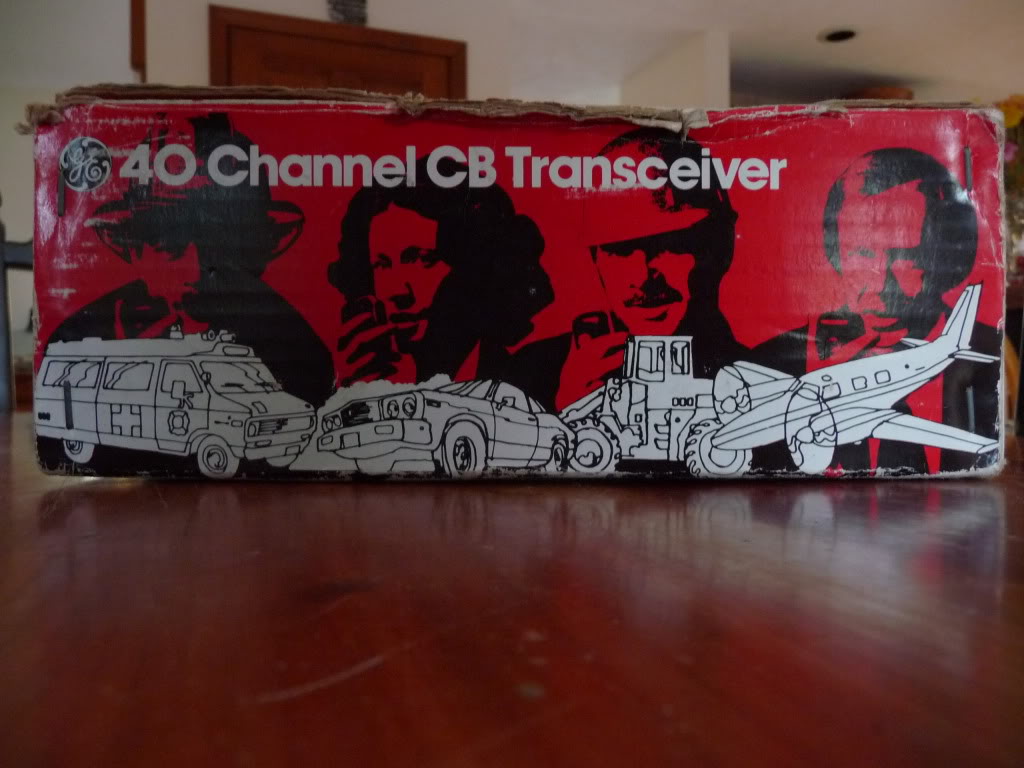
lastly I bought this CB for $7, theres no power cord or antena, but i figure i can work both of those out, if anyone knows anything about CB's I'd appreciate any info!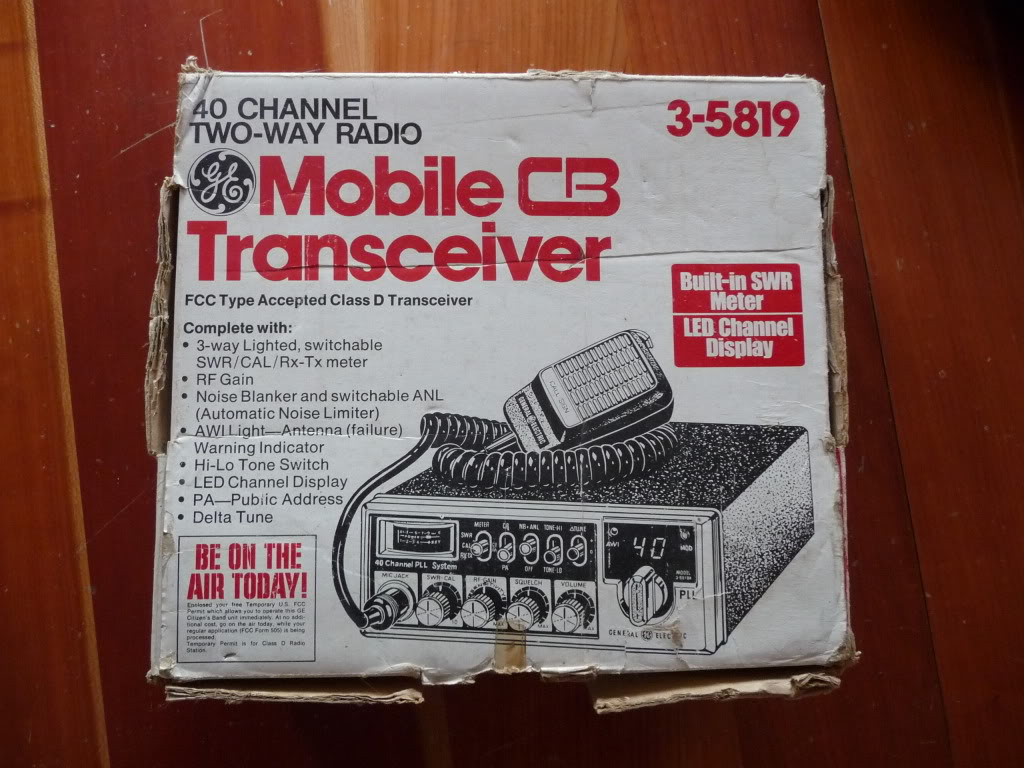
more to come within the week
The blower is located right in front of the passenger seat under the dash
Blower
thats what your looking for, disconnect the wire then unscrew the regulator and replace with a new one
it should be pretty apparent that its burnt out, 20 years for $35 isnt all that bad ha.
The hood is wicked easy to replace
disconnect the wiper fluid hose
unbolt the hood (4 bolts total) have a couple people hold the hood while you unbolt it so as it doesnt fall into your windshield
i also removed the cowl and vacuumed all the crap out of there, including the air vents
put the new hood on
also dont forget to replace the clips from the old hood, just yank em out with vice grips, and the washer spouts you can bend the tab with a screwdriver
found a great spot for the ice scraper!
put in a milk crate to hold some oil, bungee cords, and jumper cables etc.
lastly I bought this CB for $7, theres no power cord or antena, but i figure i can work both of those out, if anyone knows anything about CB's I'd appreciate any info!
more to come within the week
Last edited by UpTheYotaPunx; 01-23-2010 at 07:17 PM. Reason: forgot a picture
 12-23-2009, 09:18 PM
#32
Registered User
Thread Starter
Join Date: Jun 2009
Location: North Shore, Mass.
Posts: 99
Likes: 0
Received 0 Likes
on
0 Posts
12-24-2009, 11:51 AM
#33
Registered User
Thread Starter
Join Date: Jun 2009
Location: North Shore, Mass.
Posts: 99
Likes: 0
Received 0 Likes
on
0 Posts
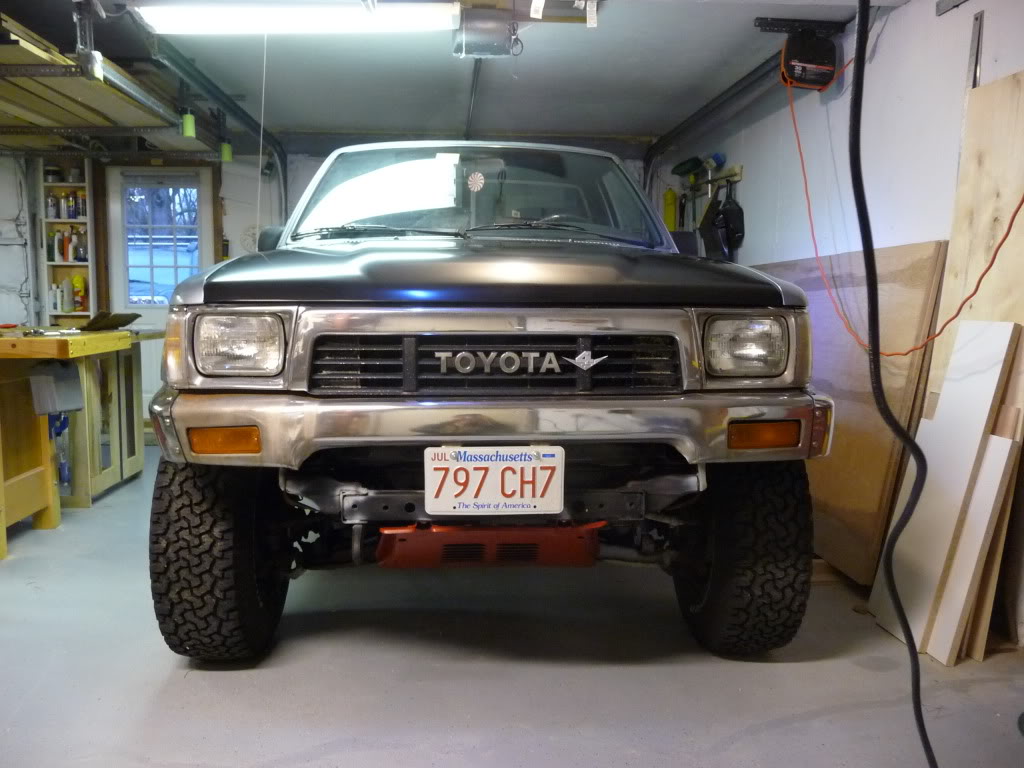
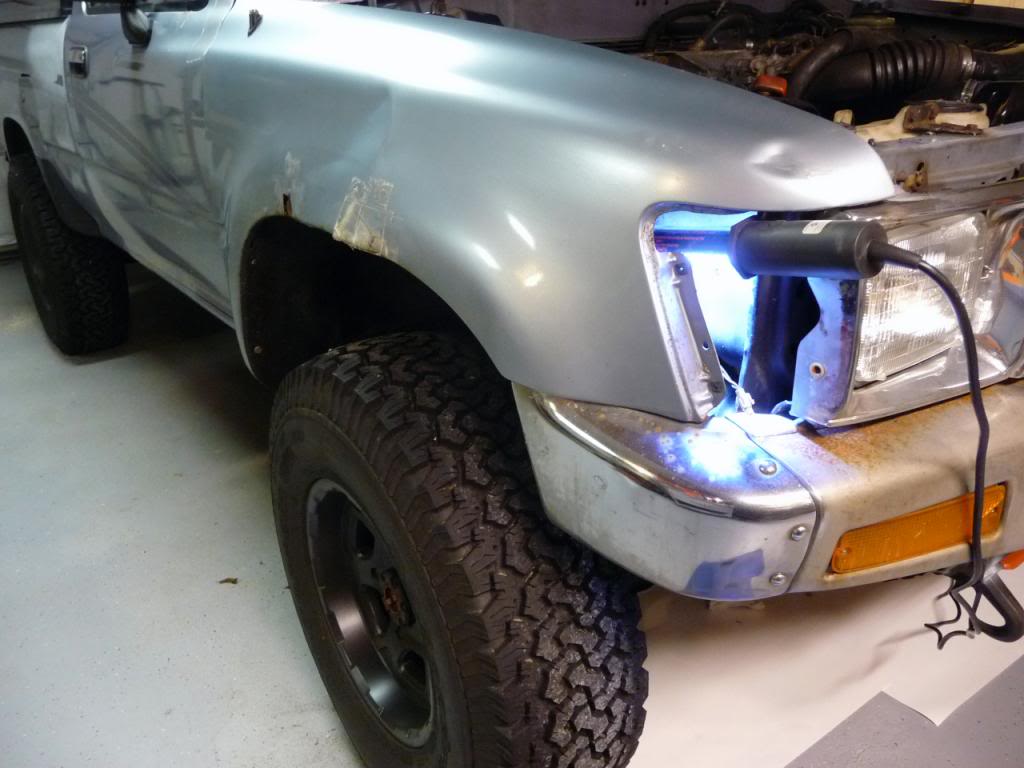
front end bodys almost all on
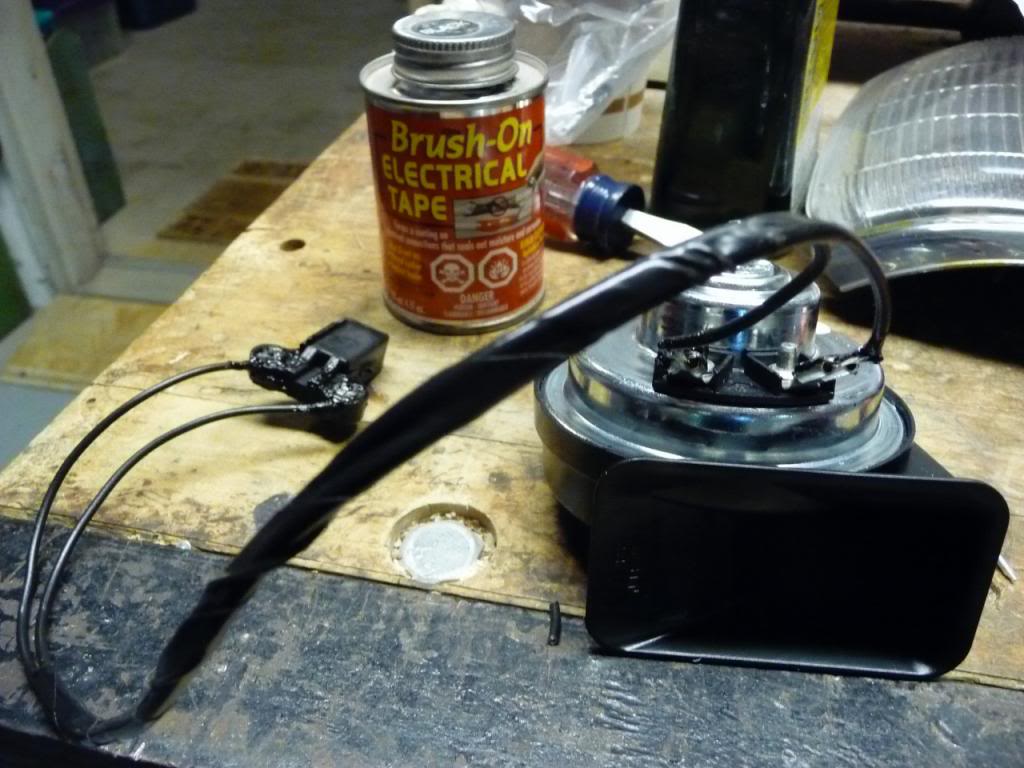
finally got an actual horn instead of that car alarm/police siren beep.
cut some wire rewired it the same way i did the previous horn but with liquid electrical tape, this ones the "big rig" sound.. or so its called hah
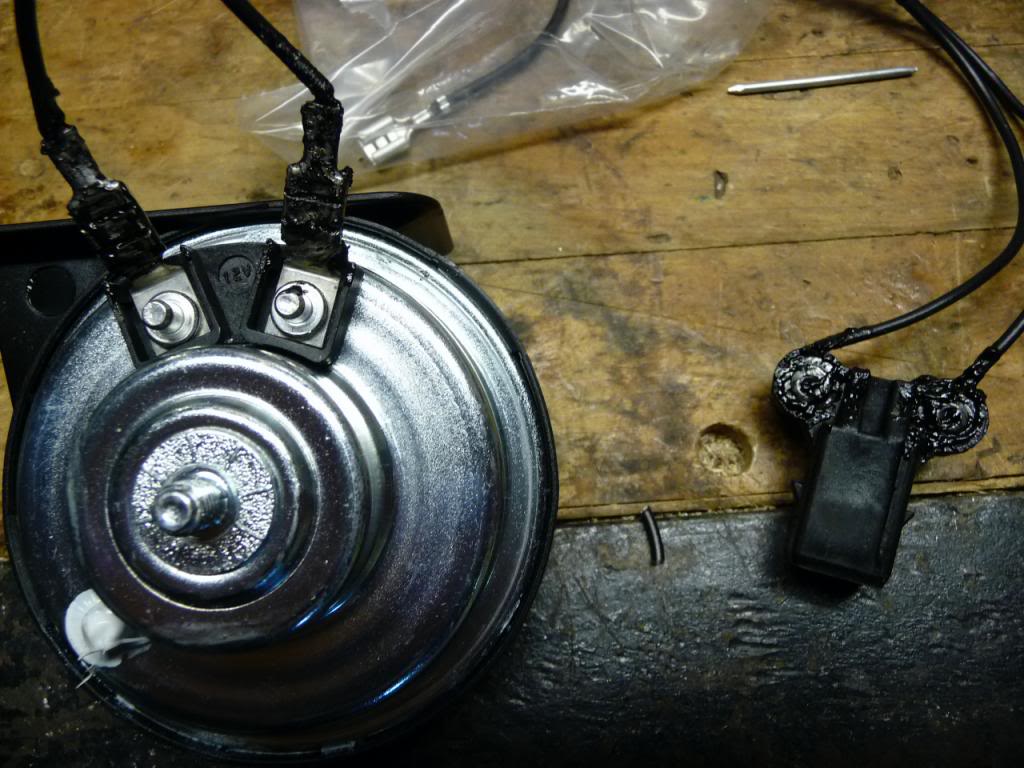
modified the factory horns clip, carved out a recess for the wire then pop riveted the wire in with a washer, works out well

whole thing
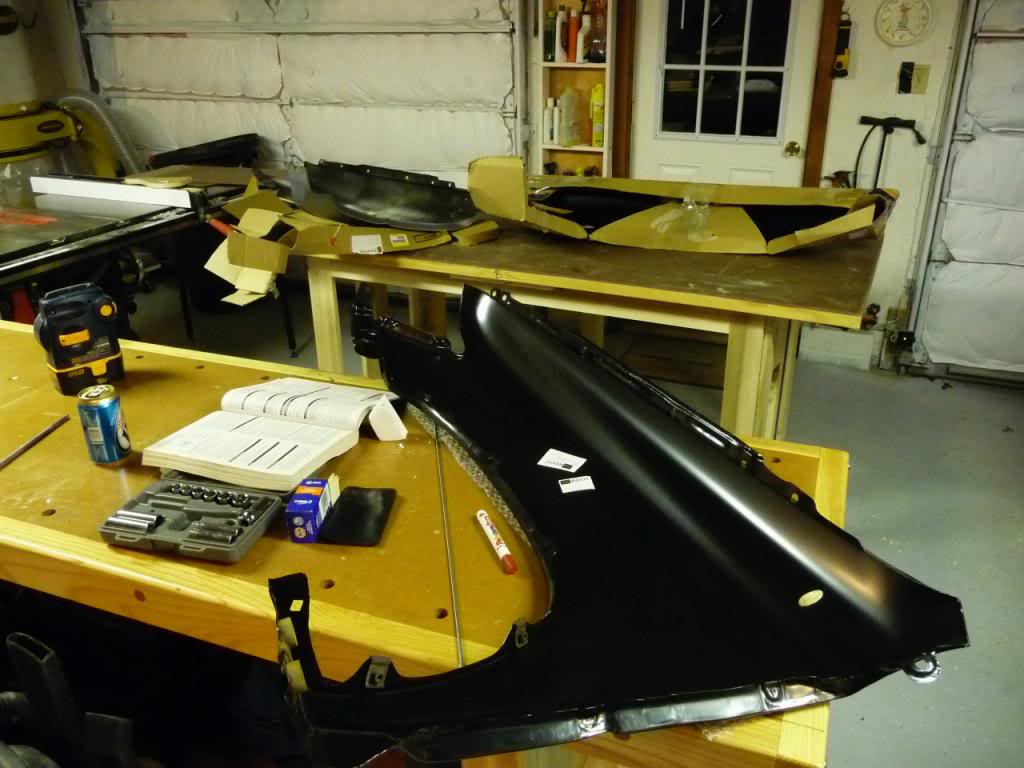
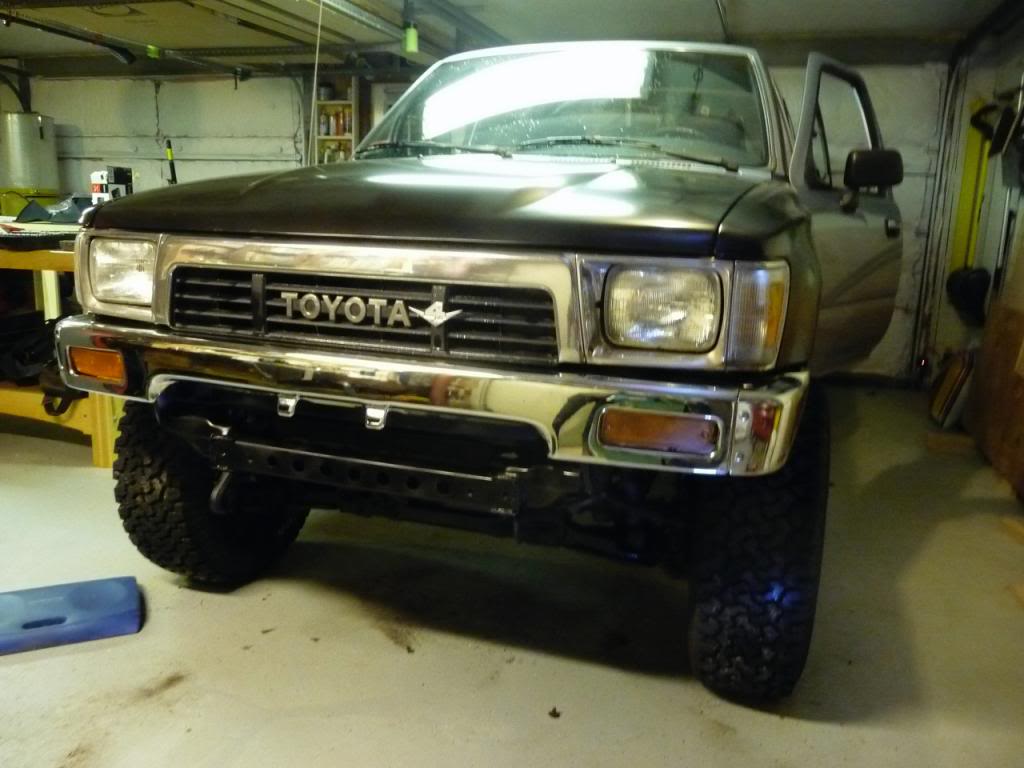
got the fenders/hood on, replaced all of the bolts with stainless, you'll probably end up breaking a few of the ones in there, had to use an easy out a couple of times, one we eventually just decided to tap, it was a wicked pita and wouldn't come out after an hour and an overnight WD-40ing
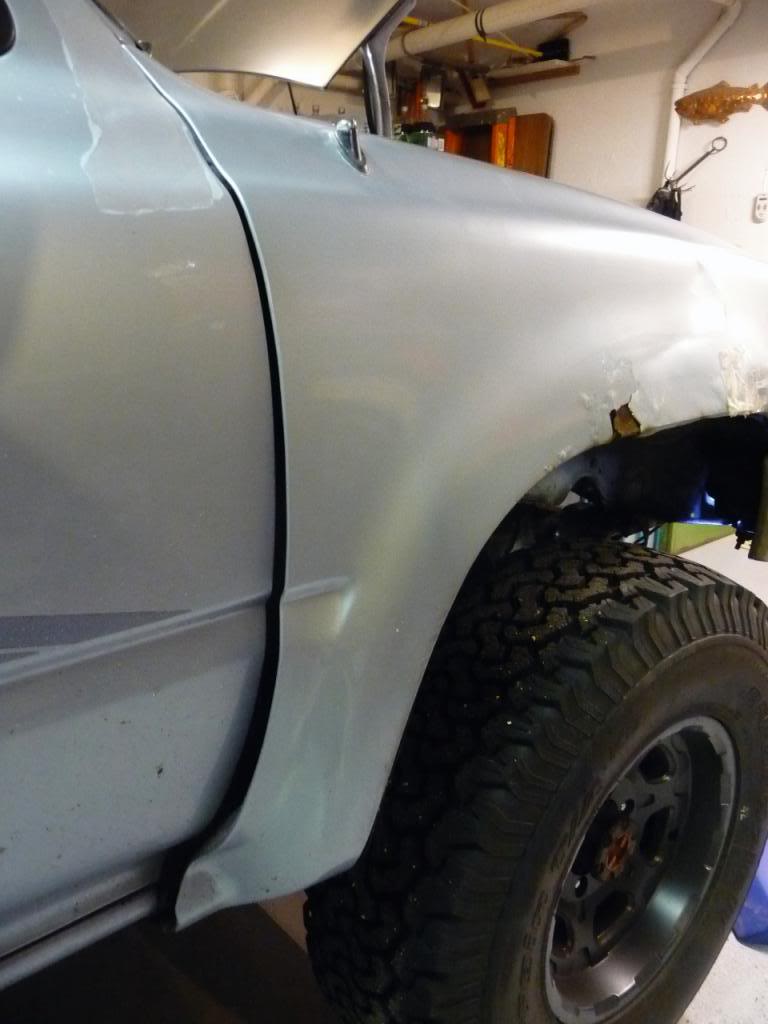
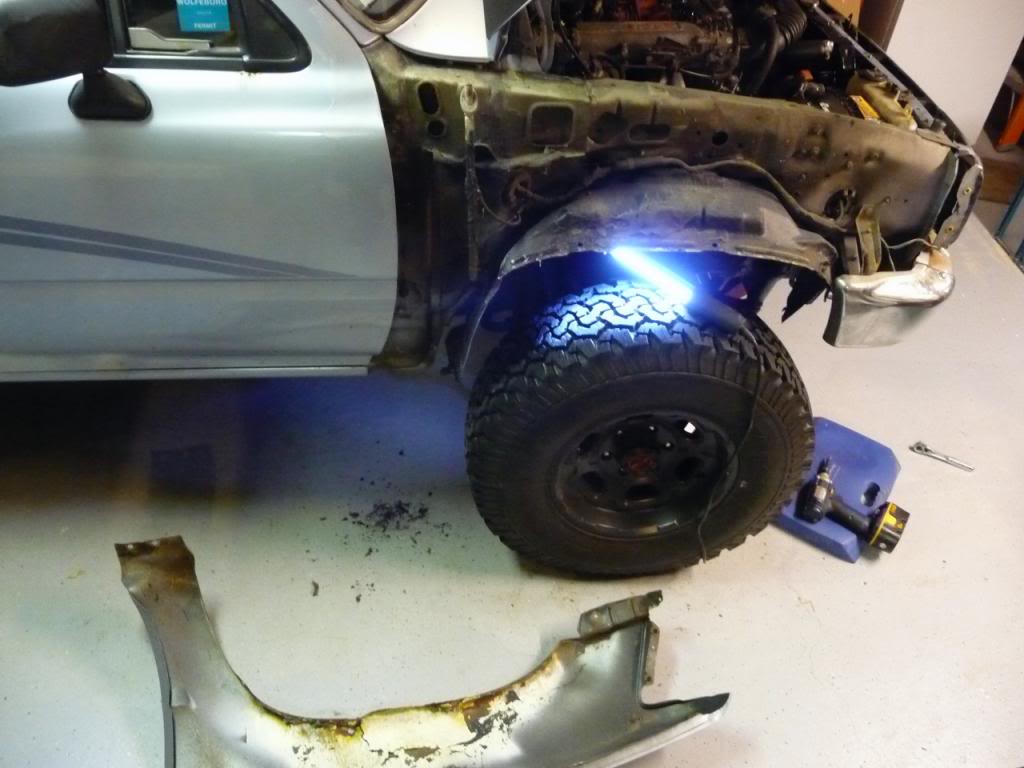
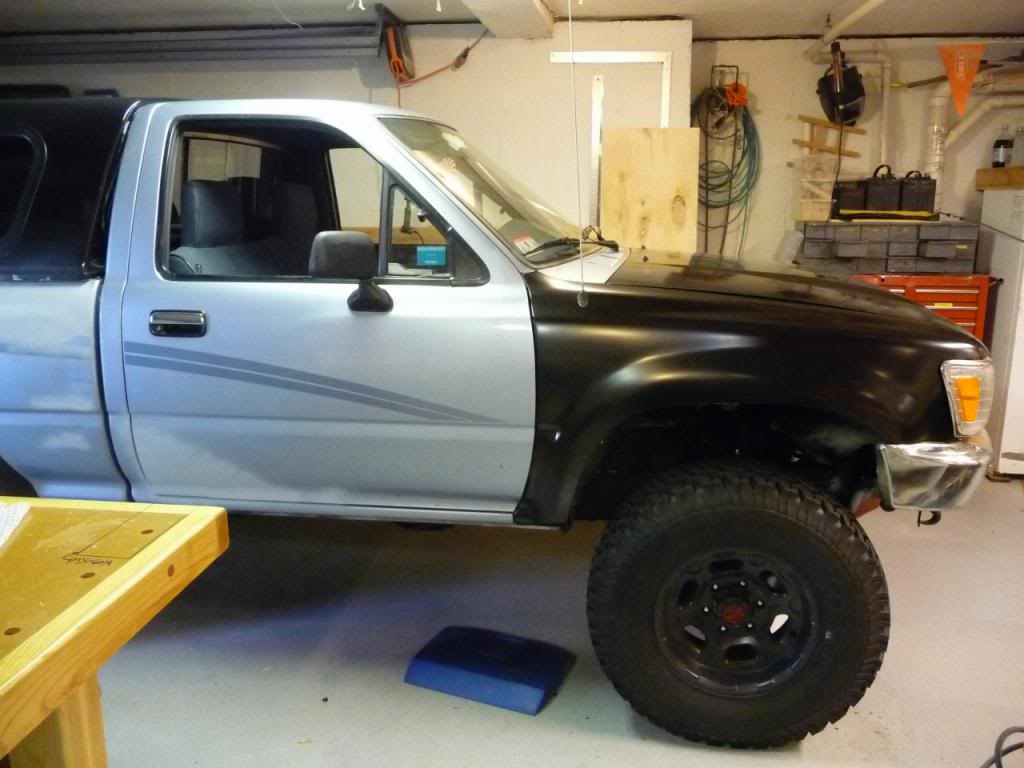
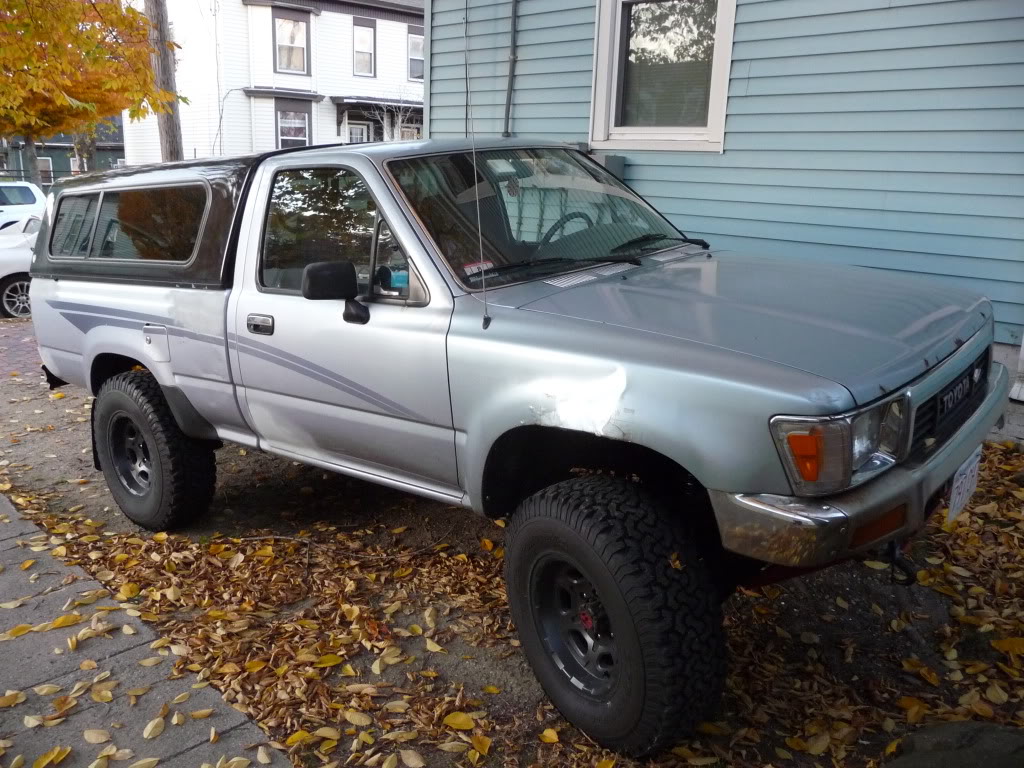
whole side view, the rear springs have 2.5" of sag, maybe deal with that come spring? (i jacked up the back in this picture so its how it should look)

overall i think it looks way better, bumpers next
more as it comes
cut some wire rewired it the same way i did the previous horn but with liquid electrical tape, this ones the "big rig" sound.. or so its called hah
modified the factory horns clip, carved out a recess for the wire then pop riveted the wire in with a washer, works out well
whole thing
got the fenders/hood on, replaced all of the bolts with stainless, you'll probably end up breaking a few of the ones in there, had to use an easy out a couple of times, one we eventually just decided to tap, it was a wicked pita and wouldn't come out after an hour and an overnight WD-40ing
whole side view, the rear springs have 2.5" of sag, maybe deal with that come spring? (i jacked up the back in this picture so its how it should look)
overall i think it looks way better, bumpers next
more as it comes
Last edited by UpTheYotaPunx; 01-23-2010 at 07:21 PM. Reason: added some photos
01-20-2010, 08:55 PM
#36
Registered User
Thread Starter
Join Date: Jun 2009
Location: North Shore, Mass.
Posts: 99
Likes: 0
Received 0 Likes
on
0 Posts
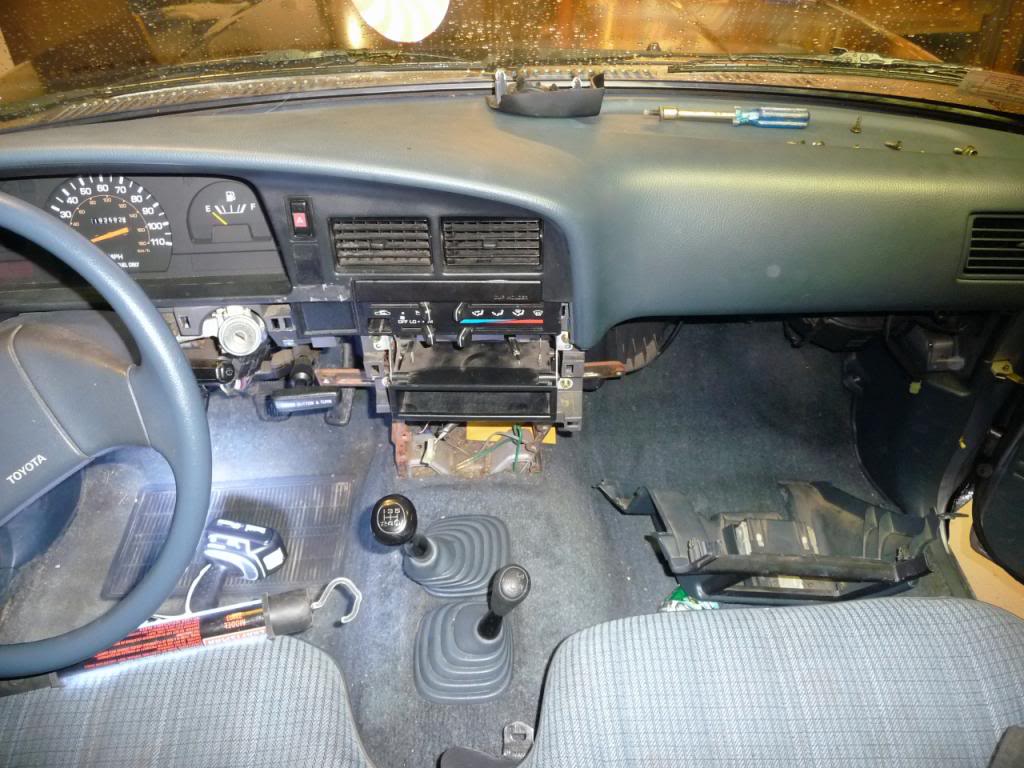
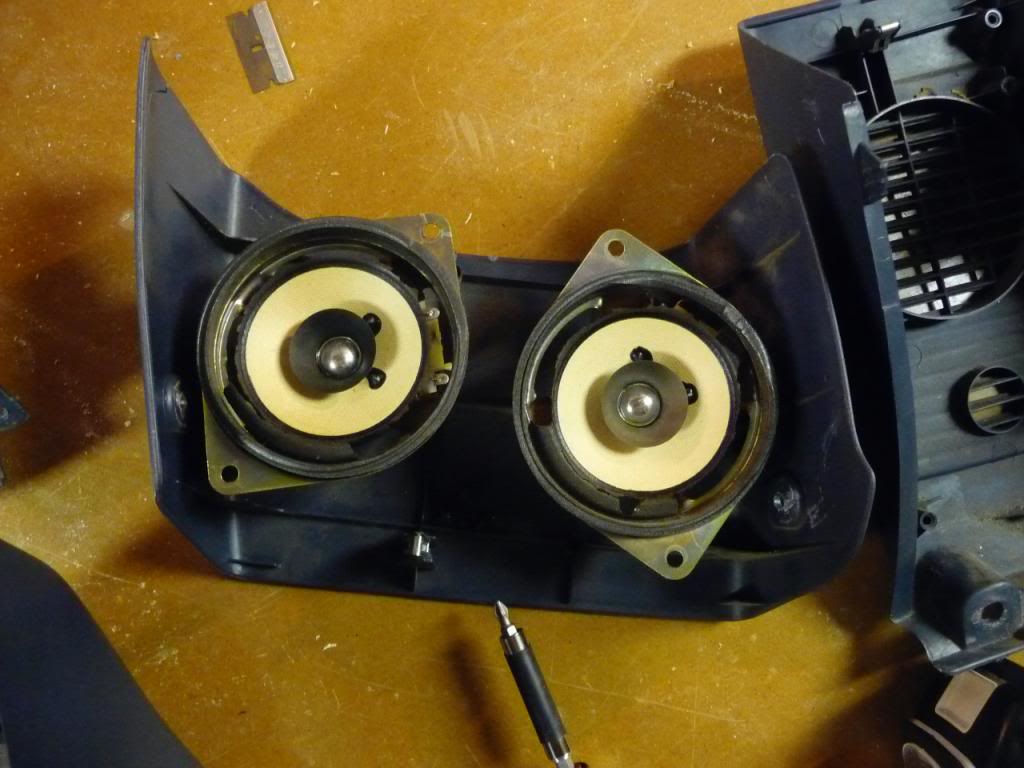
took the dash apart
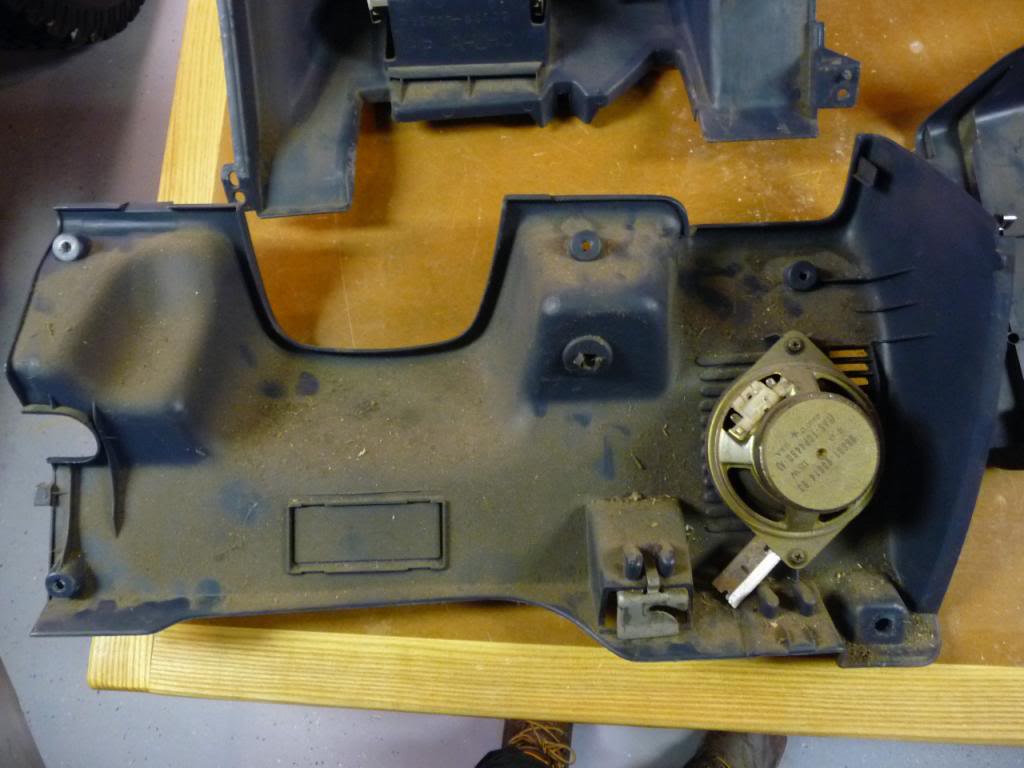
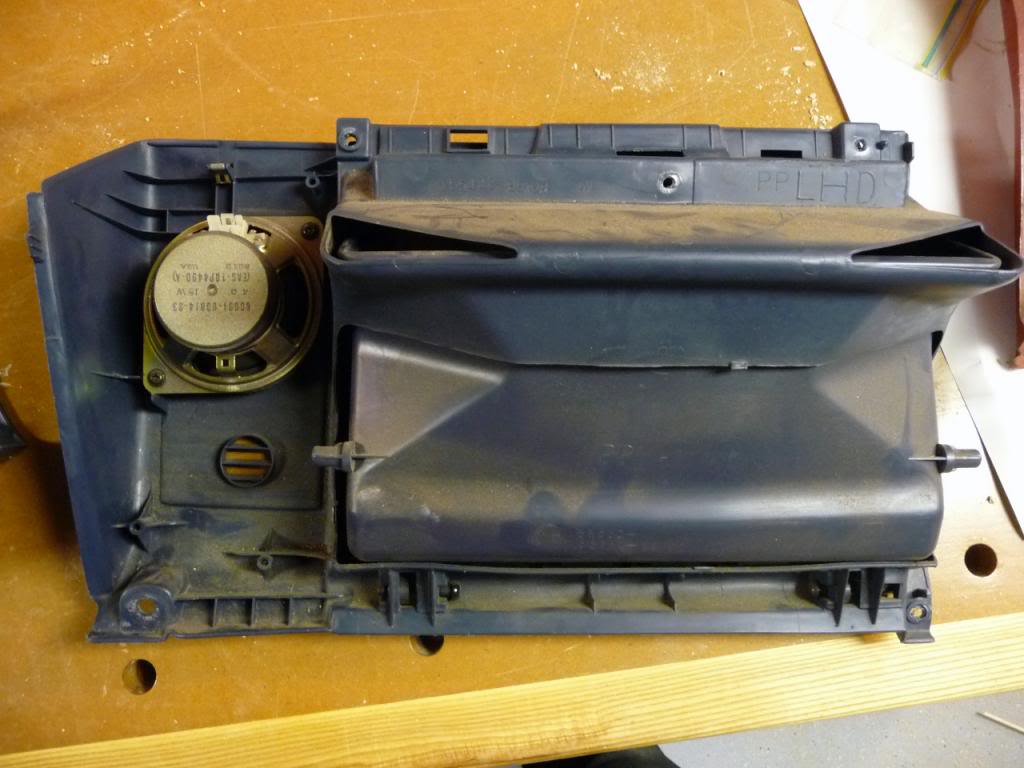
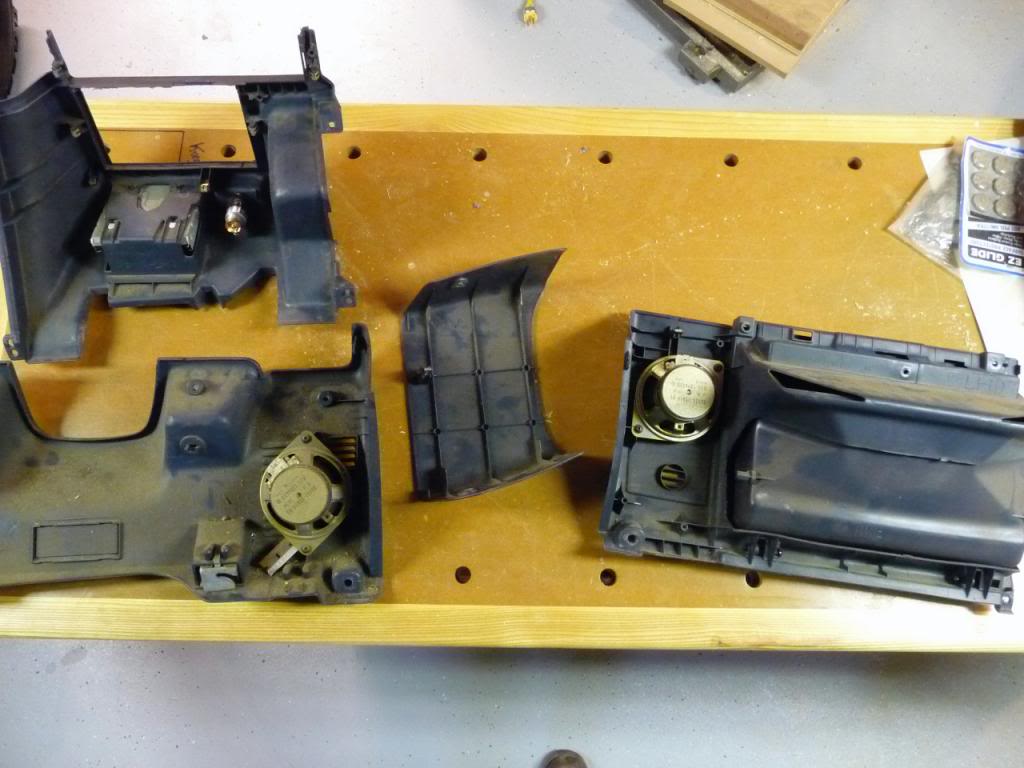
old busted speakers
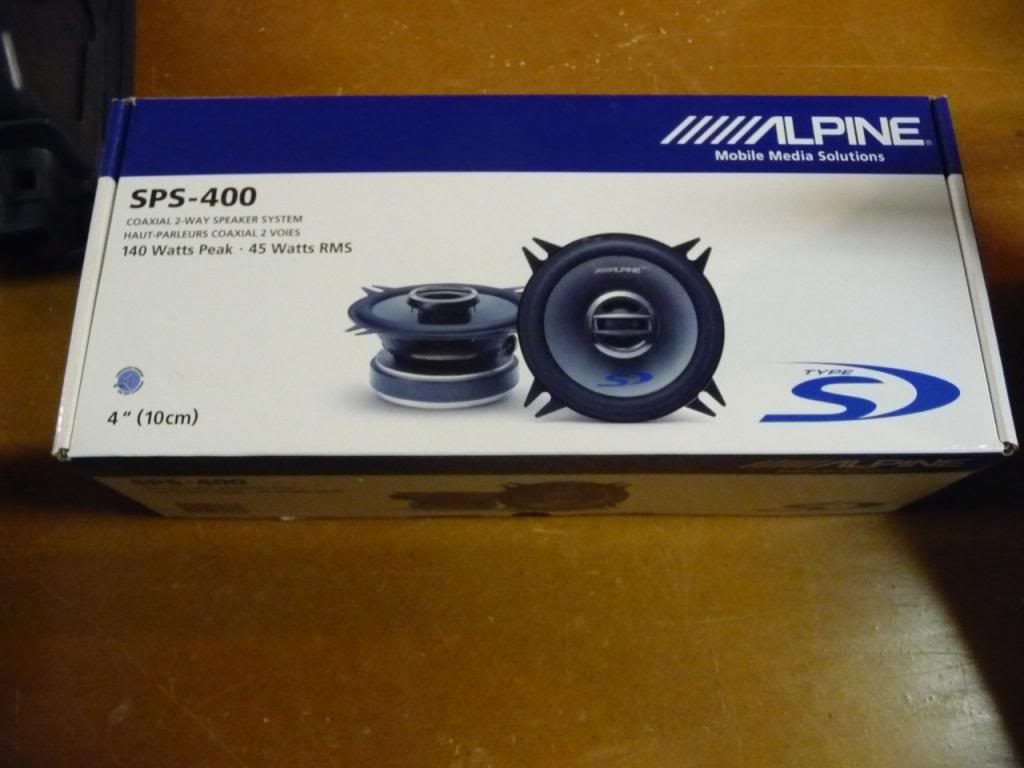
new alpines $70?
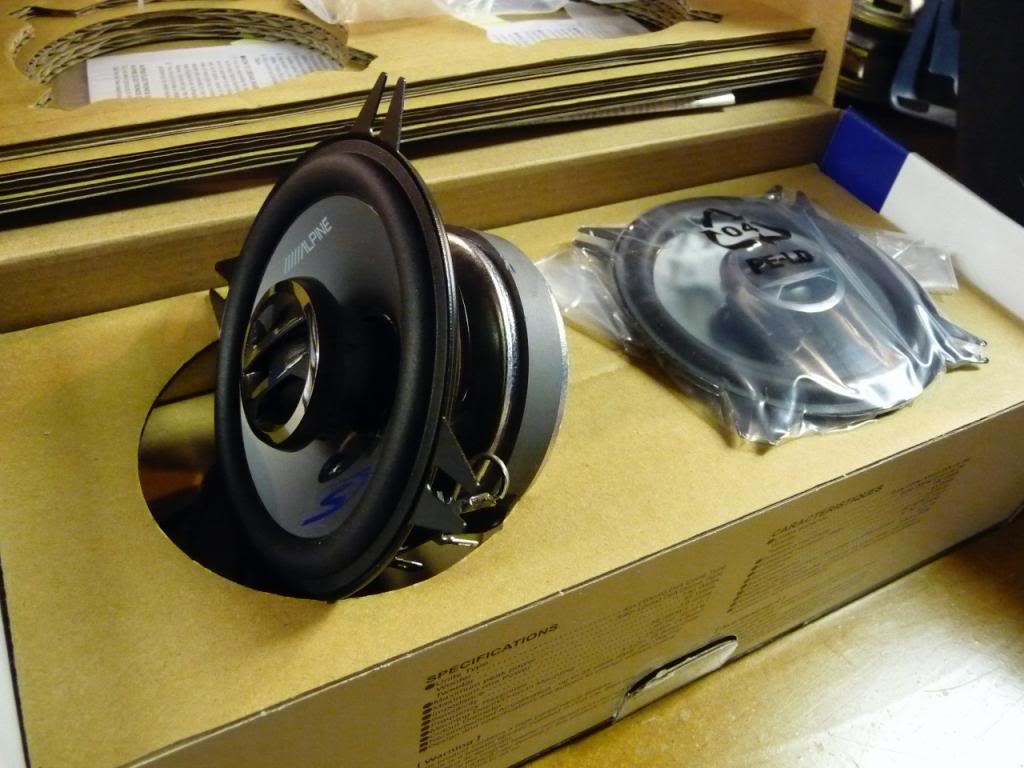
mounted em
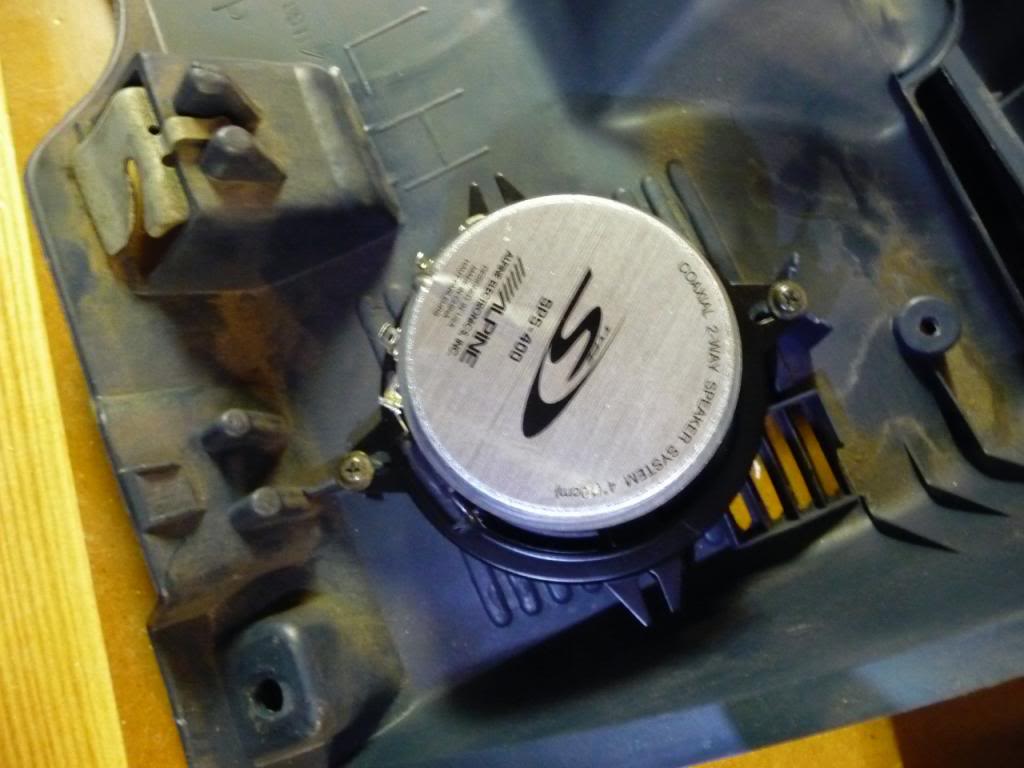
Sony X-plod headunit maybe another $70?
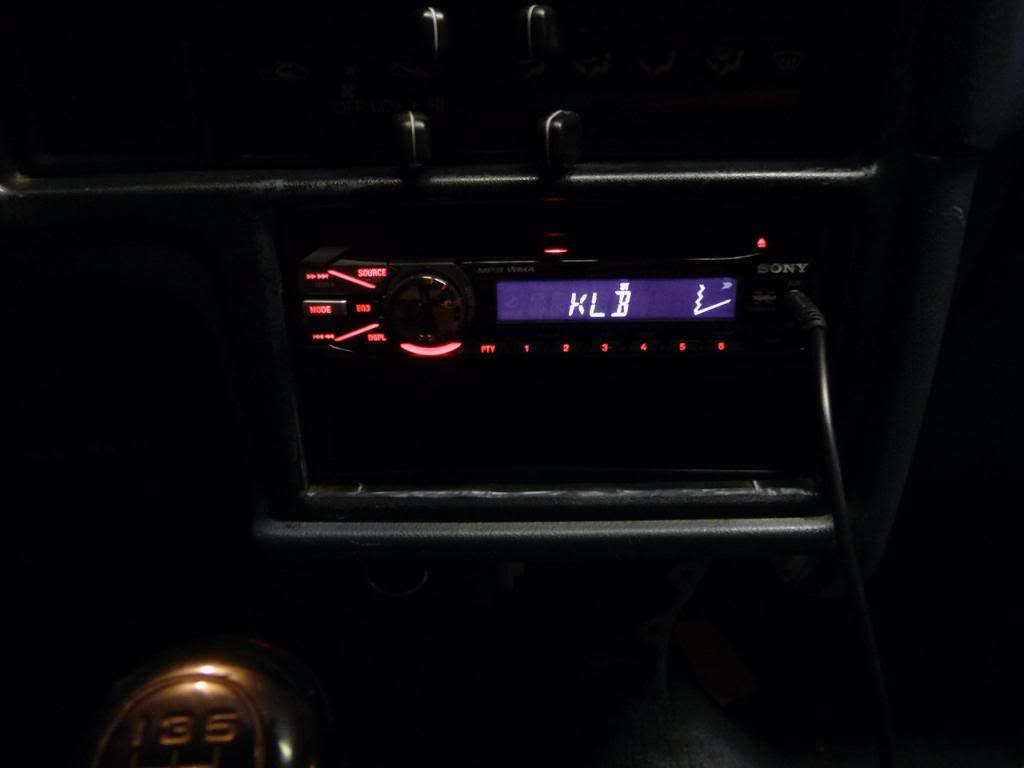
ill try to get some better photos of how it fit in, i ended up trimming the face of the housing. I also just used the original wiring, I plan on going back to replace that at somepoint. produces a pretty decent sound, with the addition of some bigger speakers it could get pretty loud, also the aux cord is a plus, theyre like $7-$9 at radioshack
01-20-2010, 09:01 PM
#37
Registered User
Thread Starter
Join Date: Jun 2009
Location: North Shore, Mass.
Posts: 99
Likes: 0
Received 0 Likes
on
0 Posts
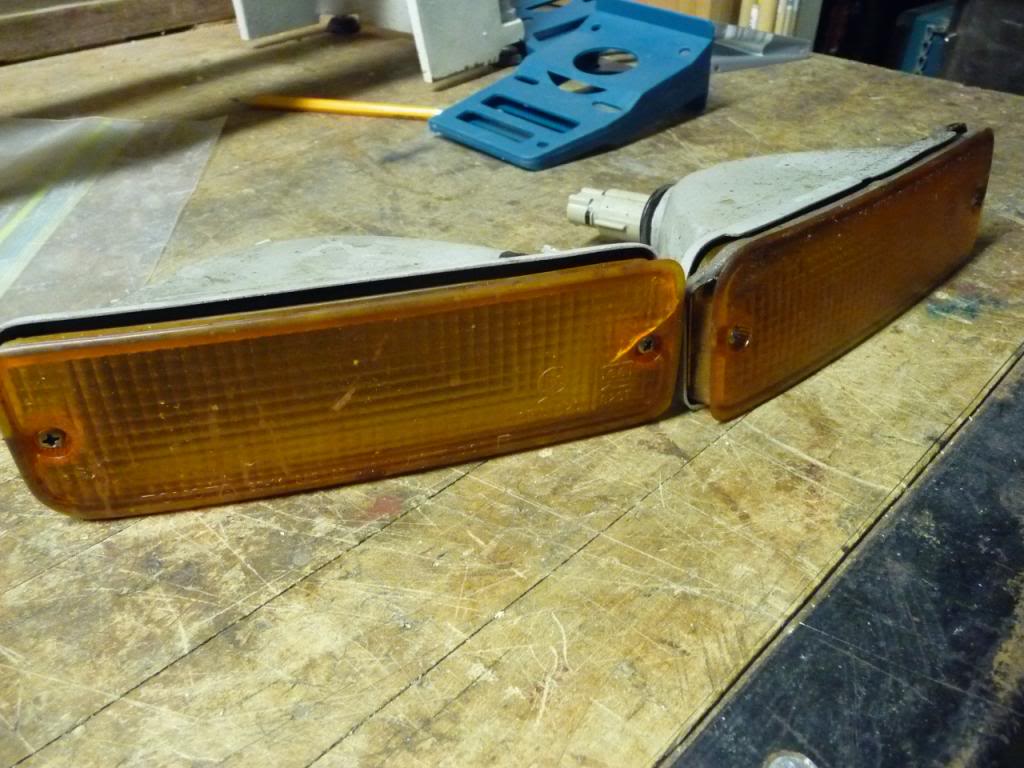
old bumper
take the turn signals out
and help from the trusty Sawzall
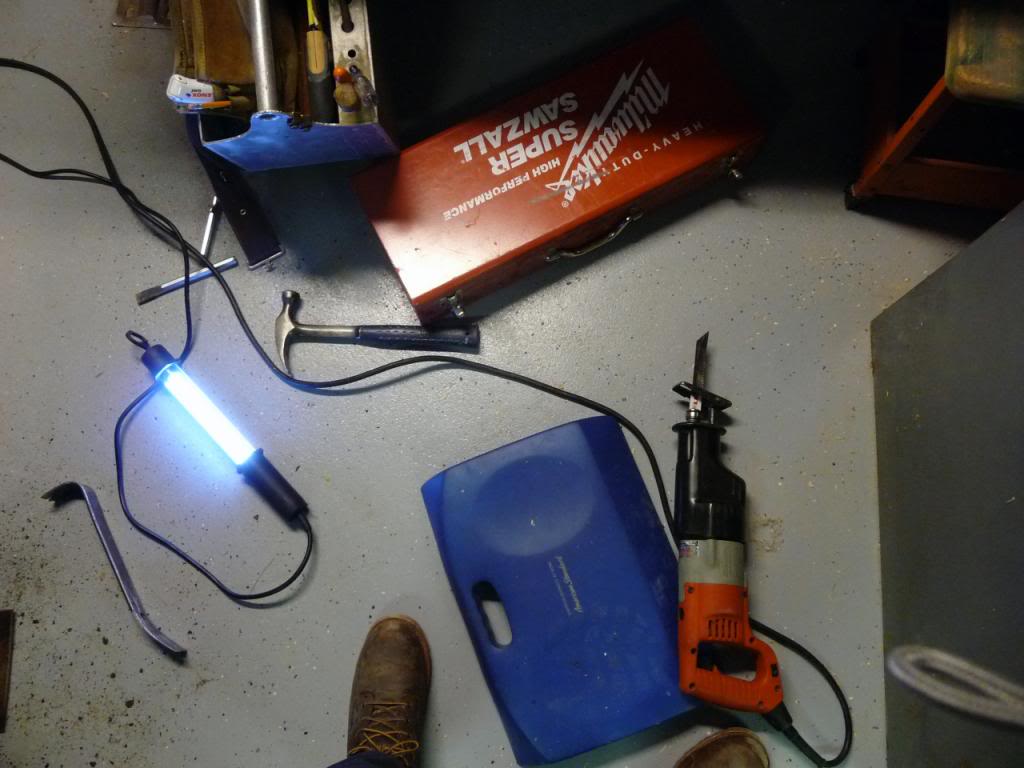
its off, bit of a pita but should'nt take too long.
through some primer on some stuff that needed it
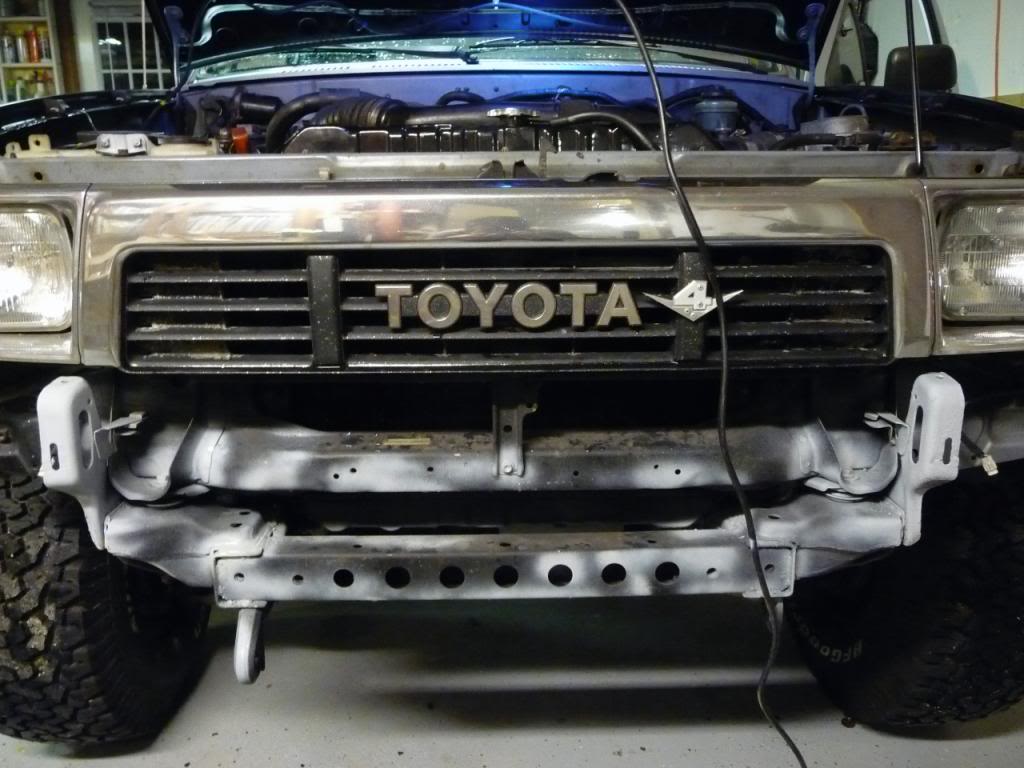
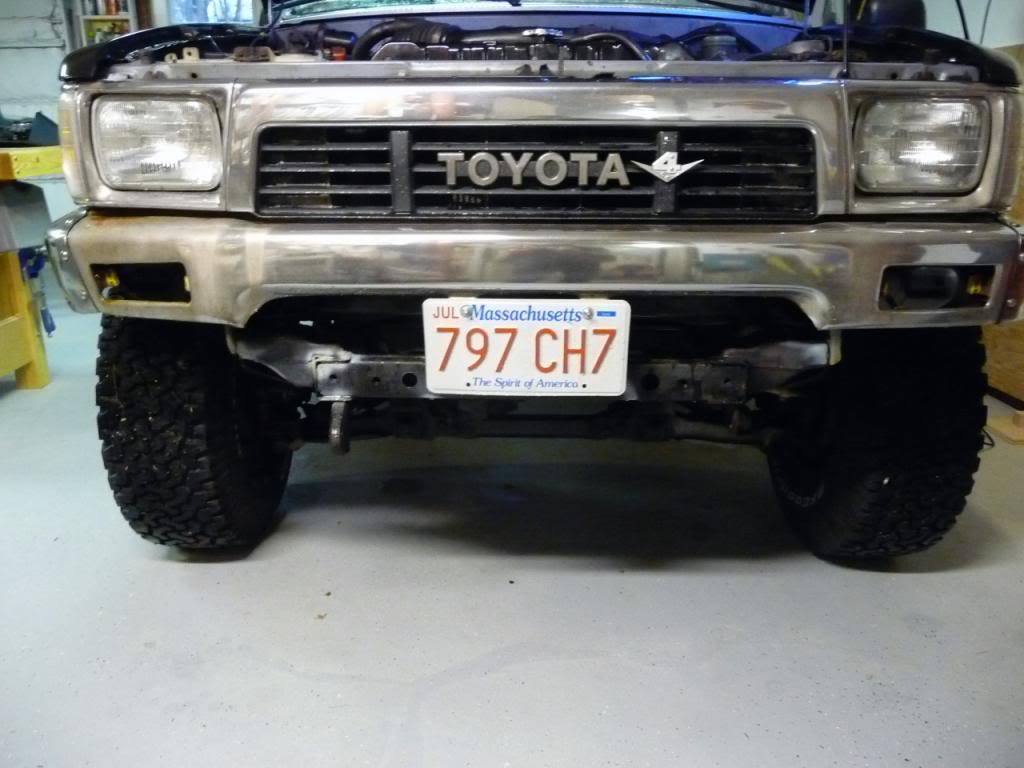
mounted the bumper
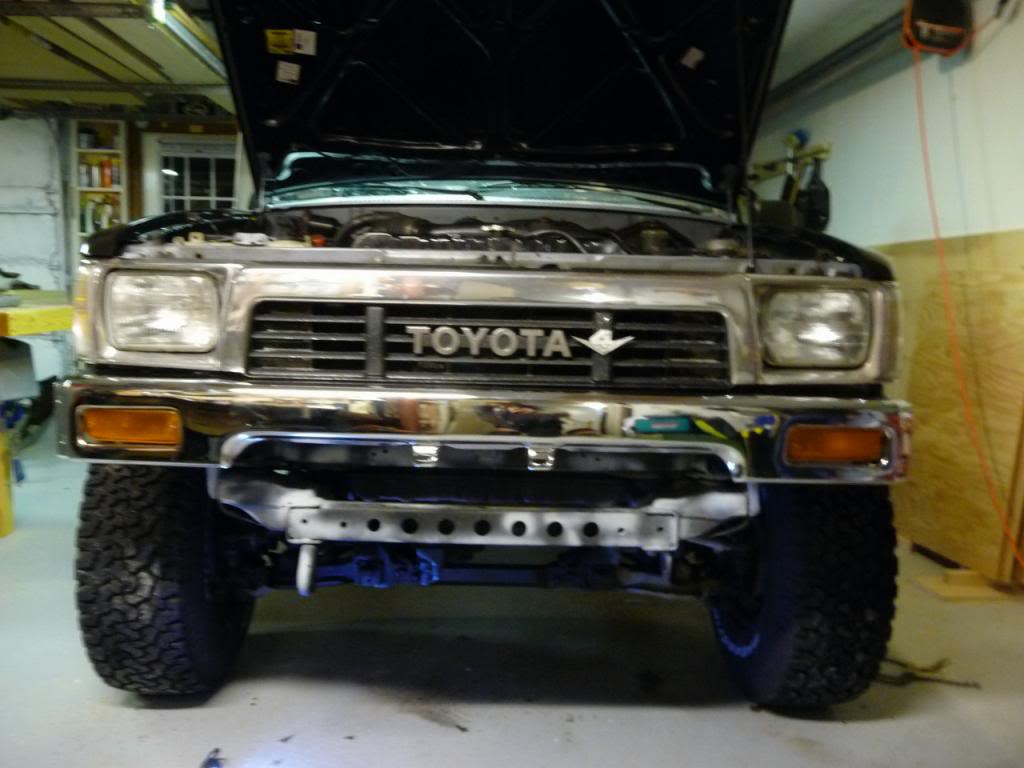
painted the primer and done!
take the turn signals out
and help from the trusty Sawzall
its off, bit of a pita but should'nt take too long.
through some primer on some stuff that needed it
mounted the bumper
painted the primer and done!
01-21-2010, 08:00 PM
#38
Registered User
Join Date: Sep 2008
Location: Tucson, AZ
Posts: 228
Likes: 0
Received 0 Likes
on
0 Posts
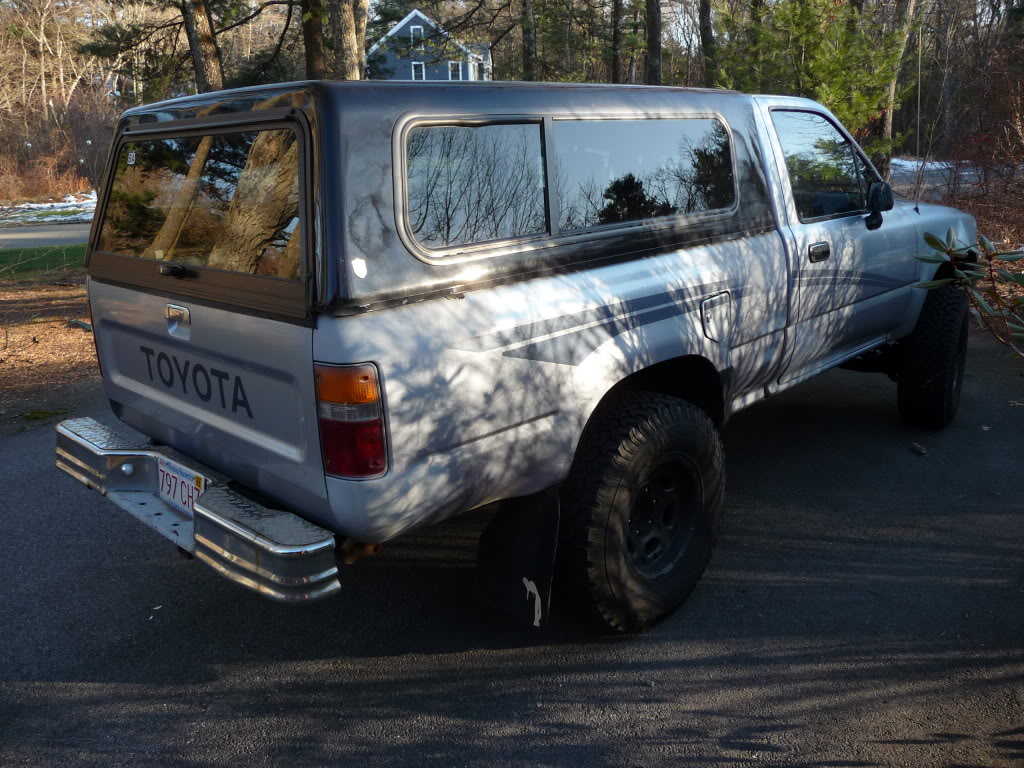
Looks like your campershell is for an extended cab. Thats why where it meets the cab is at an angle. I had one like that on my reg cab. Fit horrible. When I sold it it fit on a 2000 Tacoma extended cab perfectly. Oh well. If you like it then no worries!! Keep up the good work man Its really comming together.
01-21-2010, 08:21 PM
#39
Registered User
Thread Starter
Join Date: Jun 2009
Location: North Shore, Mass.
Posts: 99
Likes: 0
Received 0 Likes
on
0 Posts
Yeah i know what your saying, i figured it was cause the cap was designed for newer trucks, i got it for keeping stuff dry while at school, but i cant wait to take it off for the summer! it not fitting perfectly bugs me ha. Thanks for the compliments


