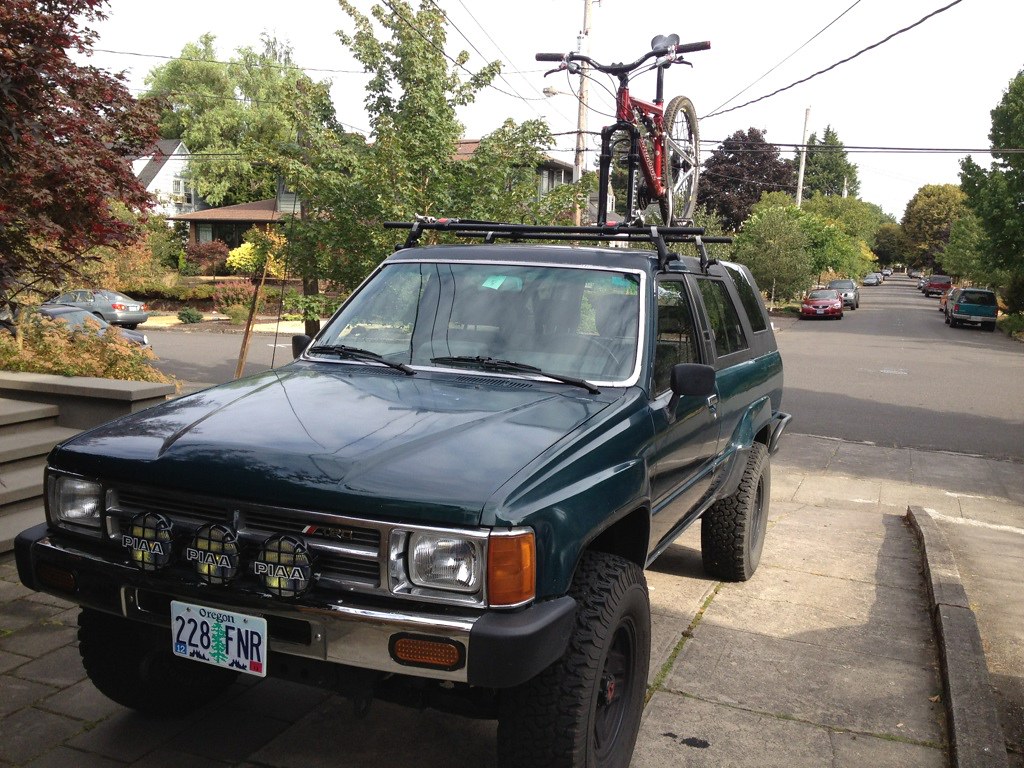
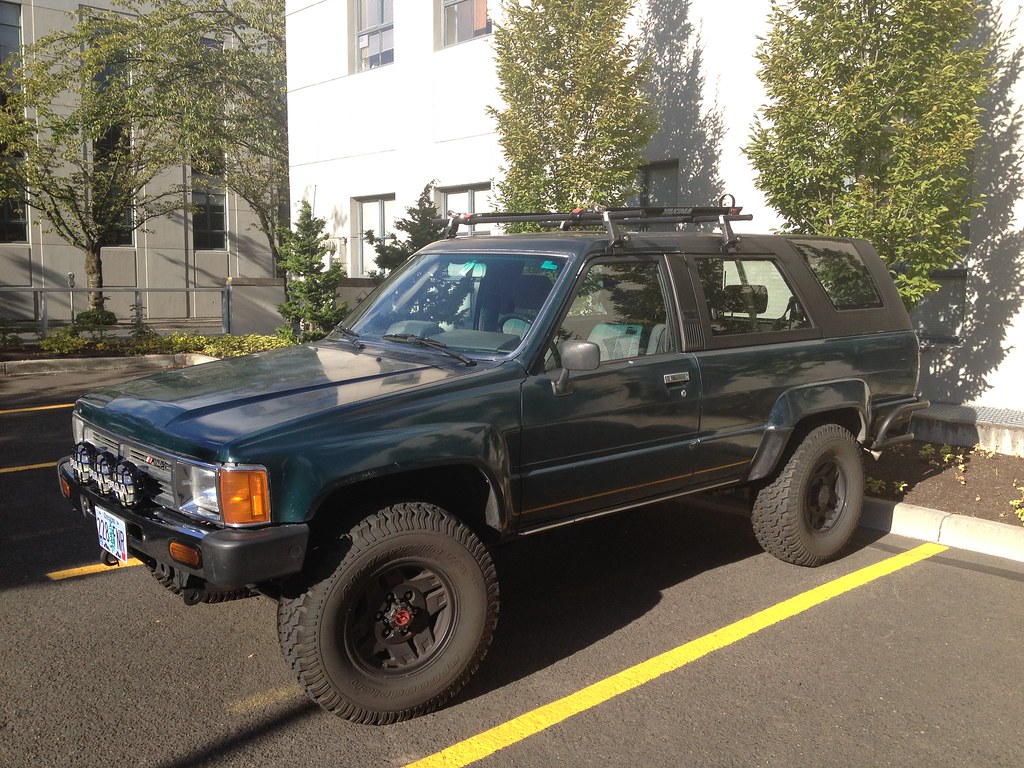
Stanz's 1986 4Runner
#22
Getting ready for carpet... only one snag... an elusive body joint leak somewhere at the firewall/cowl that I have not been able to find.
Driver side floor cleaned and coated in rust killing Bill Hirsch Miracle Paint (similar to POR 15):
http://www.flickr.com/photos/72188695@N05/6982332972/
Pass side floor cleaned and coated, peel and seal sound deadening applied:
http://www.flickr.com/photos/72188695@N05/6982333152/
Driver side floor cleaned and coated in rust killing Bill Hirsch Miracle Paint (similar to POR 15):
http://www.flickr.com/photos/72188695@N05/6982332972/
Pass side floor cleaned and coated, peel and seal sound deadening applied:
http://www.flickr.com/photos/72188695@N05/6982333152/
#24
Super Moderator
Staff
iTrader: (1)
Join Date: Aug 2008
Location: Anderson Missouri
Posts: 11,788
Likes: 0
Received 21 Likes
on
19 Posts
Check around your master cyclinder seal in the firewall and there is a seal up high above the fuse box for leaks.The rubber seals tend to wear out or get brittle. Otherwise would guess you have a leak at the bottom of you windshield gasket letting water in.
What did you use to glue the carpet down with? Looks great.
What did you use to glue the carpet down with? Looks great.
#25
Registered User
beauty of a build you got going... started rough when I saw the JB weld on the manifold and has been great since!
I"ll have to snag lots of ideas from this build
I have a sunroof with glass for sale if you are looking for one..
I"ll have to snag lots of ideas from this build
I have a sunroof with glass for sale if you are looking for one..
#26
Check around your master cyclinder seal in the firewall and there is a seal up high above the fuse box for leaks.The rubber seals tend to wear out or get brittle. Otherwise would guess you have a leak at the bottom of you windshield gasket letting water in.
What did you use to glue the carpet down with? Looks great.
What did you use to glue the carpet down with? Looks great.
I used 3M Super 77 adhesive on the carpet. Works awesome!
Last edited by stanz; 05-03-2012 at 08:51 AM.
#29
Registered User
iTrader: (1)
Nice progress!
With your diamond plate rear tailgate cover, Did you put some blue loctite on the screws? I noticed when I did mine a few years back, the screws would loosen up a little and start to rattle on the diamond plate. A little blue loctite and no more rattels, your still able to break them free and have access underneath if/when needed.
Keep it up, Your runner is looking great!
#31
Nice progress!
With your diamond plate rear tailgate cover, Did you put some blue loctite on the screws? I noticed when I did mine a few years back, the screws would loosen up a little and start to rattle on the diamond plate. A little blue loctite and no more rattels, your still able to break them free and have access underneath if/when needed.
Keep it up, Your runner is looking great!
With your diamond plate rear tailgate cover, Did you put some blue loctite on the screws? I noticed when I did mine a few years back, the screws would loosen up a little and start to rattle on the diamond plate. A little blue loctite and no more rattels, your still able to break them free and have access underneath if/when needed.
Keep it up, Your runner is looking great!
#33
Driver side trim panels installed. Also had an upholstery shop cut-down the rear 3 pt seat belts (swapped in from the front seats of a pickup) since there were too long and sagging:
http://www.flickr.com/photos/72188695@N05/7273589574/
Here's another mod I came up with... mounted an LED light in the pocket where the lap belt used to come through. Tied it into the deck light/rear light switches:
http://www.flickr.com/photos/72188695@N05/7273585330/
Front carpet finally going in. I was so determined after 5 months of leaks and having no interior that I worked outside through a lightning storm in the dark with a headlamp on to get this in.
http://www.flickr.com/photos/72188695@N05/7273584630/
Last edited by stanz; 05-26-2012 at 07:19 AM.
#35
Even more progress this weekend... all of the seats are in, the seat belts are in, just have some miscellaneous trim to tackle and then ultimately custom front door panels.
http://www.flickr.com/photos/72188695@N05/7291858262/
http://www.flickr.com/photos/72188695@N05/7291860040/
http://www.flickr.com/photos/72188695@N05/7291858262/
http://www.flickr.com/photos/72188695@N05/7291860040/
#36
Here's a shot of the cargo area with the Line-X'd diamond plate mounted to the rear seat backs.
http://www.flickr.com/photos/72188695@N05/7291900784/
Without carpet you can see daylight under the back seats, I attached black rubber to each seat back to fill in the void and clean up the look.
http://www.flickr.com/photos/72188695@N05/7291899780/
http://www.flickr.com/photos/72188695@N05/7291900784/
Without carpet you can see daylight under the back seats, I attached black rubber to each seat back to fill in the void and clean up the look.
http://www.flickr.com/photos/72188695@N05/7291899780/
#38
If you go with one, do a parking brake override so you can play video while in motion.
I previously had a Parrot Asteroid. I went through two head units and hours on the phone with Parrot & Crutchfield technical support. It was a nightmare.
I'm super pleased with the Pioneer. So far no issues and it does everything it's supposed to, well.


