86-95 Trucks & 4Runners (Build-Up Section) Post your build-ups here

Stanz's 1986 4Runner

Thread Tools
 
Search this Thread
 
Old 04-25-2016, 08:16 PM
  #241  
Registered User
 
84 yota dude's Avatar
 
Join Date: Mar 2013
Posts: 1,060
Received 48 Likes on 31 Posts
Heck yeah! Junkyard parts score?!
Old 05-01-2016, 09:23 AM
  #242  
Registered User
 
CamTom12's Avatar
 
Join Date: May 2008
Posts: 522
Received 1 Like on 1 Post
Very cool!
Old 05-04-2016, 03:10 PM
  #243  
Registered User
Thread Starter
iTrader: (1)
 
stanz's Avatar
 
Join Date: Nov 2011
Location: Portland, OR
Posts: 687
Received 19 Likes on 15 Posts
Today's arrival. Going in shortly

Old 05-25-2016, 06:55 PM
  #244  
Registered User
Thread Starter
iTrader: (1)
 
stanz's Avatar
 
Join Date: Nov 2011
Location: Portland, OR
Posts: 687
Received 19 Likes on 15 Posts
The FJ Cruiser mirror install is finally happening! Mike @ District Fab built the light brackets for the PIAA fog lights and is cutting into the doors


Finished product. Now onto the wiring!

Last edited by stanz; 05-25-2016 at 10:31 PM.
Old 06-19-2016, 11:21 PM
  #245  
Registered User
Thread Starter
iTrader: (1)
 
stanz's Avatar
 
Join Date: Nov 2011
Location: Portland, OR
Posts: 687
Received 19 Likes on 15 Posts
FJ Cruiser mirror lights are wired up! Write up coming shortly

<br >

<br >
Old 06-20-2016, 08:07 AM
  #246  
Registered User
 
84 yota dude's Avatar
 
Join Date: Mar 2013
Posts: 1,060
Received 48 Likes on 31 Posts
Where did you end up buying the mirrors?
Old 06-20-2016, 12:42 PM
  #247  
Registered User
Thread Starter
iTrader: (1)
 
stanz's Avatar
 
Join Date: Nov 2011
Location: Portland, OR
Posts: 687
Received 19 Likes on 15 Posts
Originally Posted by 84 yota dude
Where did you end up buying the mirrors?
eBay. Aftermarket.
Old 06-20-2016, 11:24 PM
  #248  
Registered User
Thread Starter
iTrader: (1)
 
stanz's Avatar
 
Join Date: Nov 2011
Location: Portland, OR
Posts: 687
Received 19 Likes on 15 Posts
This past weekend's progress on the FJC mirror install...

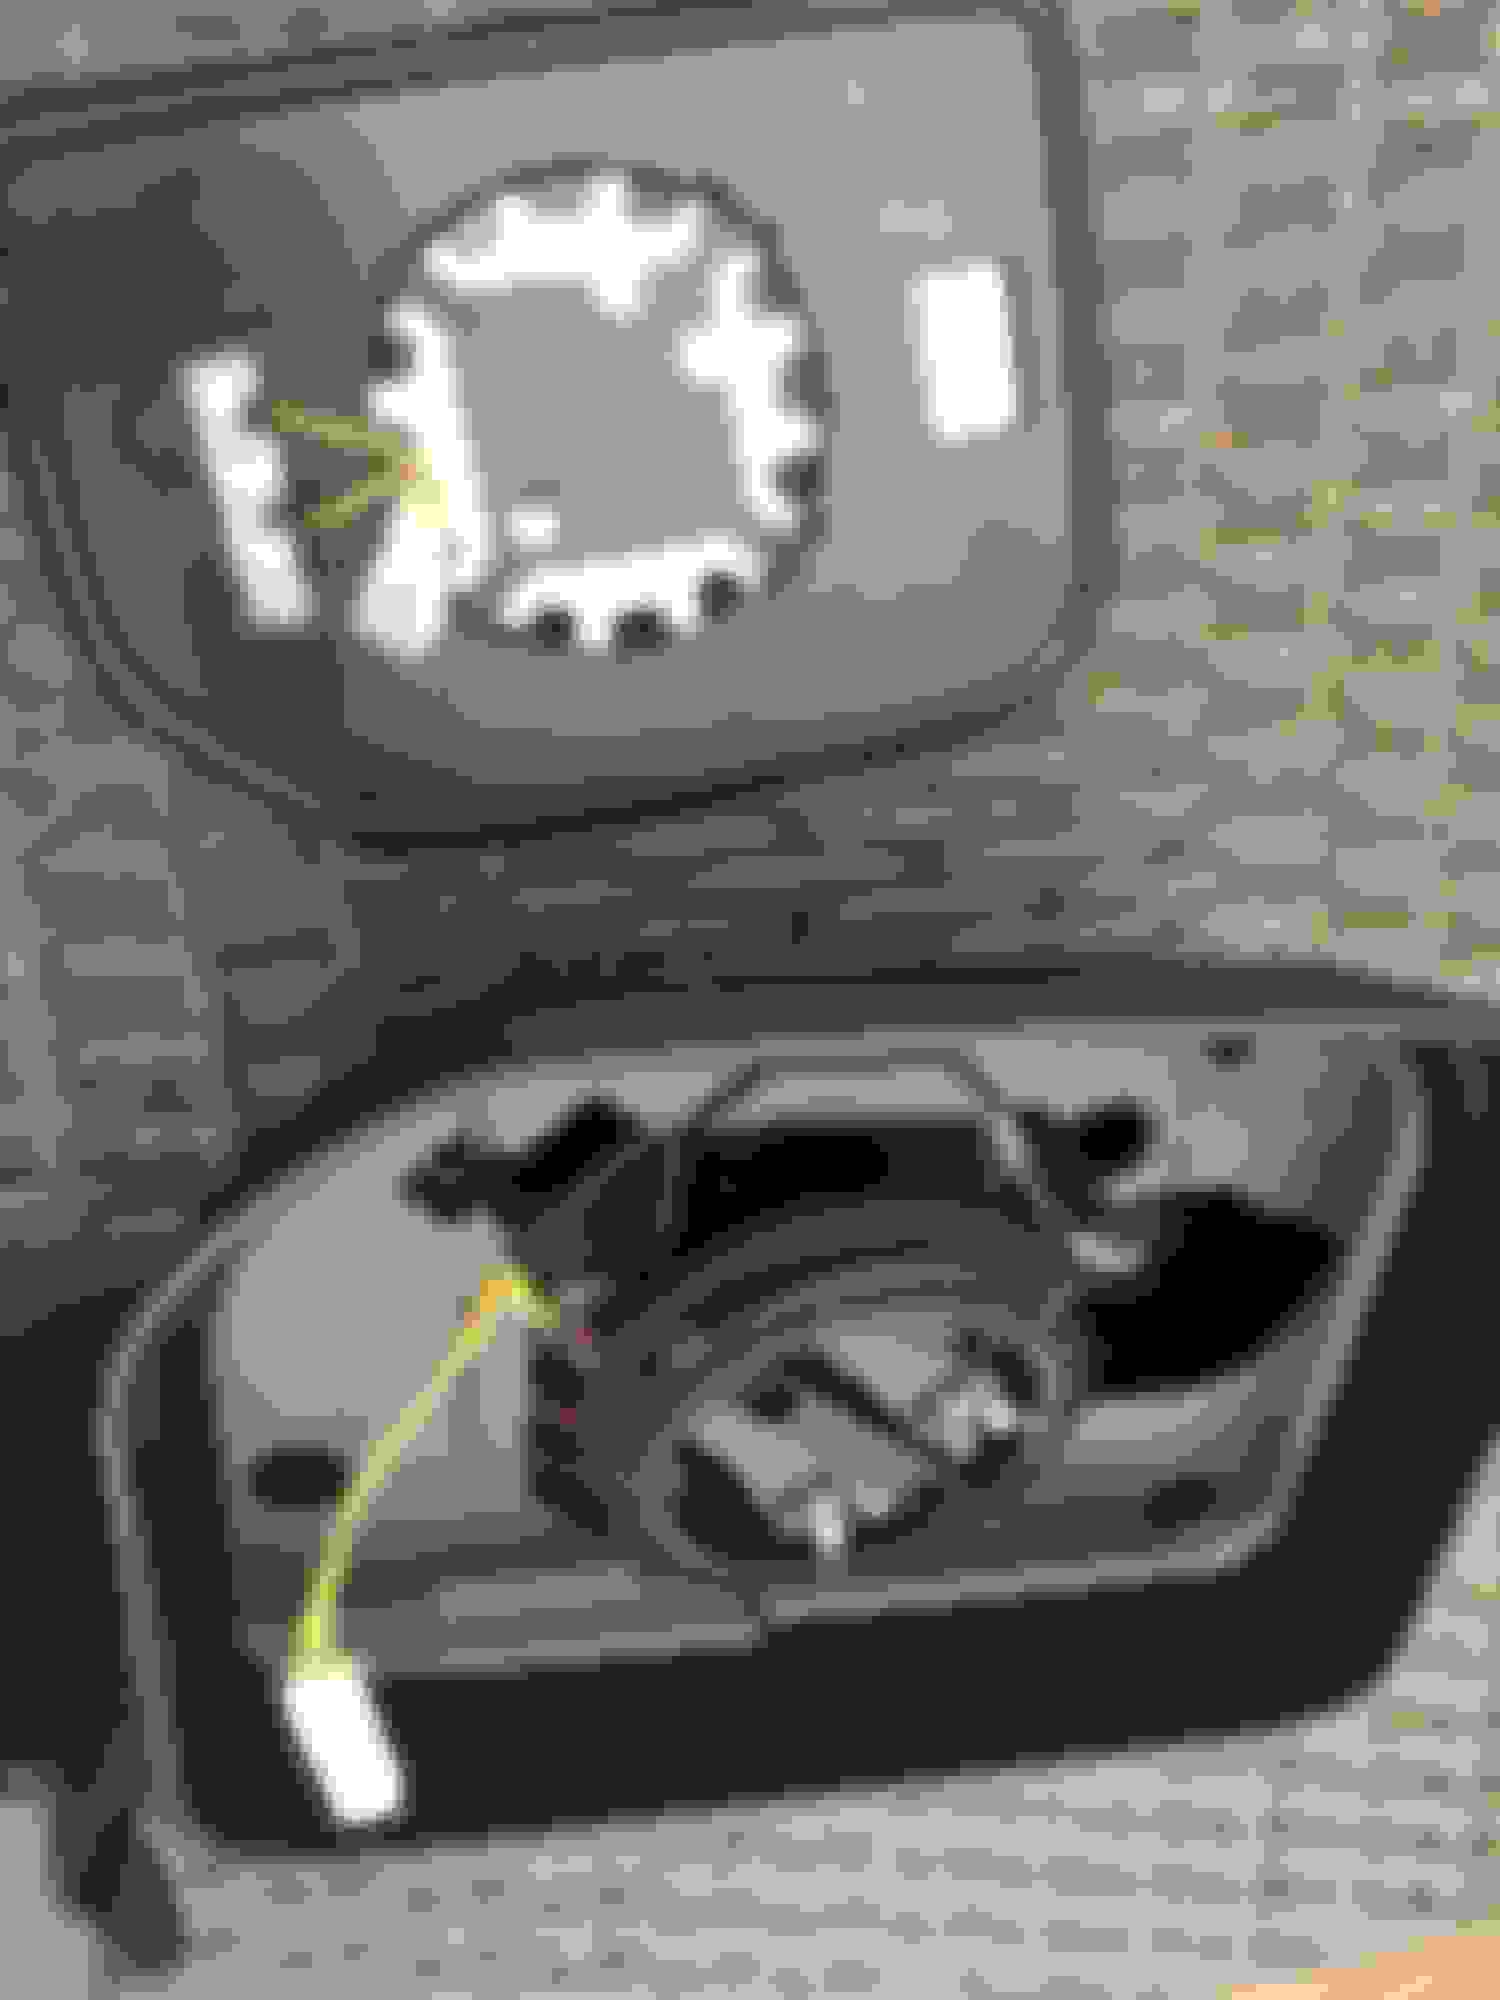
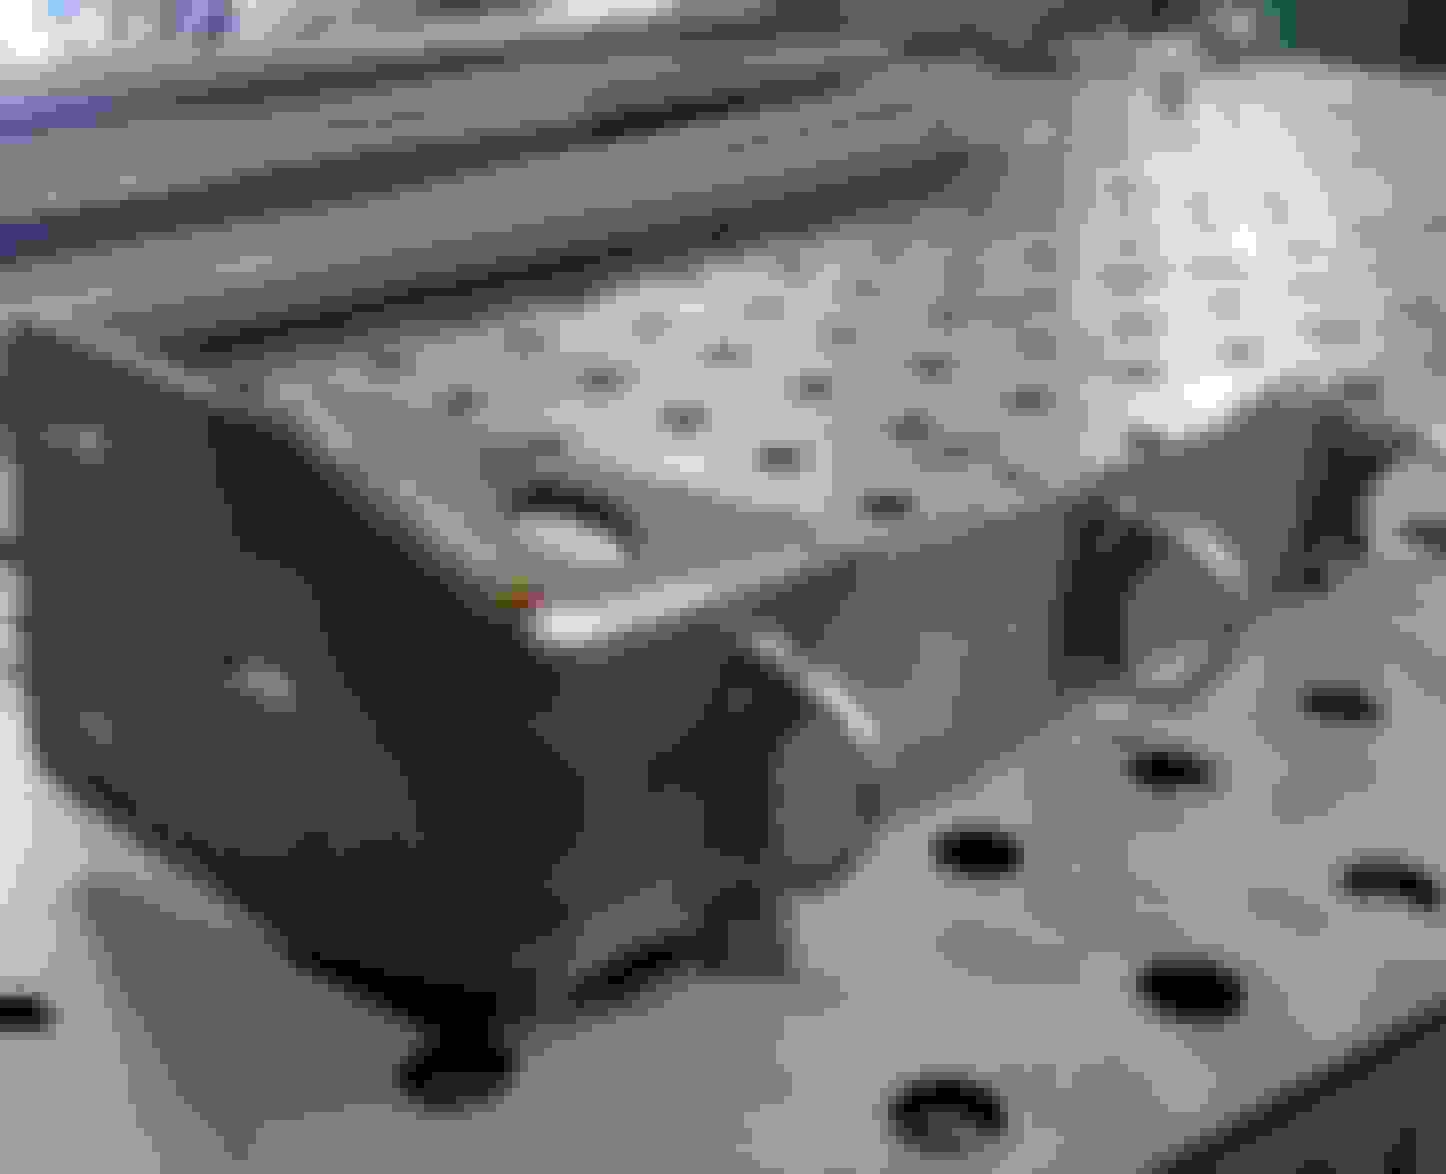
I got the defrost grids installed and wired to the mirror harness and the fog lights fully wired. I ran out of time to run power to the mirror harness and switch for power control and defrost.

Some progress pics:

Defrost grids:
<br >

Defrost grid on the glass:
<br >

Glass frame prepped for gluing the glass back on:
<br >

Glass installed frame with wire harness attached - I reused the marker light wiring for the defrost:
<br >

Last edited by stanz; 06-20-2016 at 11:30 PM.
Old 06-21-2016, 07:03 AM
  #249  
Registered User
 
84 yota dude's Avatar
 
Join Date: Mar 2013
Posts: 1,060
Received 48 Likes on 31 Posts
Seriously love how you add all these modern day creature comforts to make it an even nicer daily driver!
Old 08-17-2016, 07:48 AM
  #250  
Registered User
 
ewong's Avatar
 
Join Date: Aug 2005
Location: Philly PA
Posts: 1,731
Likes: 0
Received 2 Likes on 2 Posts
WOW

Some Build Up

(subscribing)

The 86? I scrounged my rear seat belts from, did not have the seat belt pocket things

Old 08-17-2016, 04:27 PM
  #251  
Registered User
 
ewong's Avatar
 
Join Date: Aug 2005
Location: Philly PA
Posts: 1,731
Likes: 0
Received 2 Likes on 2 Posts
Loving this thread....

I see you have the Turbo thermostat outlet... I run an aftermarket water temp through that.

Also - ref $2K for the AC...
In 1989 (new) I had the dealer install the OEM AC - it was $700 installed. It uses the OEM parts (as far as I can tell)
Thats $1400 in todays dollars.
And thats without having to make custom hoses etc.

That being said - after having converted my R12 over to R134, I think you could have tackled this yourself given the other work you have shown on this thread.

That front condenser, looks like its a parallel flow.
Any idea on a part number for that unit?
Old 08-17-2016, 04:36 PM
  #252  
Registered User
Thread Starter
iTrader: (1)
 
stanz's Avatar
 
Join Date: Nov 2011
Location: Portland, OR
Posts: 687
Received 19 Likes on 15 Posts
Originally Posted by ewong
Loving this thread....

I see you have the Turbo thermostat outlet... I run an aftermarket water temp through that.

Also - ref $2K for the AC...
In 1989 (new) I had the dealer install the OEM AC - it was $700 installed. It uses the OEM parts (as far as I can tell)
Thats $1400 in todays dollars.
And thats without having to make custom hoses etc.

That being said - after having converted my R12 over to R134, I think you could have tackled this yourself given the other work you have shown on this thread.

That front condenser, looks like its a parallel flow.
Any idea on a part number for that unit?
Thanks! Unfortunately my 60+ hour job prompts me to outsource certain larger projects if I want them done timely. I left it up to the shop to source all of the parts so I have no idea on the PN.

As for the thermostat housing I don't know turbo from non-turbo. It was on there when I bought it.
Old 08-18-2016, 10:36 AM
  #253  
Registered User
 
Reluctanse's Avatar
 
Join Date: Oct 2015
Location: Oregon
Posts: 202
Likes: 0
Received 0 Likes on 0 Posts
That FJ Cruiser mirror retrofit might be one of the coolest mod's I've seen anyone do on these trucks! Got my wheels grinding for sure....
Old 08-22-2016, 01:05 PM
  #254  
Registered User
Thread Starter
iTrader: (1)
 
stanz's Avatar
 
Join Date: Nov 2011
Location: Portland, OR
Posts: 687
Received 19 Likes on 15 Posts
This weekend's update: replaced the Idle Air Control Valve (IACV).


Old 10-08-2016, 01:52 PM
  #255  
Registered User
Thread Starter
iTrader: (1)
 
stanz's Avatar
 
Join Date: Nov 2011
Location: Portland, OR
Posts: 687
Received 19 Likes on 15 Posts
Fresh out of District Fab R&D. I wasn't happy with any of the options available on the market for mounting the ARB awning to round Yakima bars. After recent woes with wind and rooftop accessories, I designed these to be super heavy duty.


The following users liked this post:
runner88 (01-05-2020)
Old 10-08-2016, 05:23 PM
  #256  
Registered User
 
84 yota dude's Avatar
 
Join Date: Mar 2013
Posts: 1,060
Received 48 Likes on 31 Posts
Nice!
Old 10-11-2016, 12:04 AM
  #257  
Registered User
Thread Starter
iTrader: (1)
 
stanz's Avatar
 
Join Date: Nov 2011
Location: Portland, OR
Posts: 687
Received 19 Likes on 15 Posts
More good stuff in the works. I've been keeping Mike at District Fab busy...

Custom diamond plate rocker guards:
Rocker guards sprayed with bed liner and ready for install:


Custom upper door panel pads (Tacoma weather strip rail welded on inside lip to allow for new, replaceable window rubber). Custom door panels in the works using these as the top:


Last edited by stanz; 10-11-2016 at 12:05 AM.
Old 01-18-2017, 04:10 PM
  #258  
Registered User
 
sportinh2o's Avatar
 
Join Date: Jul 2011
Location: Texas
Posts: 13
Likes: 0
Received 1 Like on 1 Post
Hey there, I was wondering how your interior was holding up after the redo? I am almost to the point of getting out from under my 4Runner and concentrating on the inside.

Any thing you would have done differently?
Old 01-03-2020, 11:42 PM
  #259  
Registered User
Thread Starter
iTrader: (1)
 
stanz's Avatar
 
Join Date: Nov 2011
Location: Portland, OR
Posts: 687
Received 19 Likes on 15 Posts
Originally Posted by sportinh2o
Hey there, I was wondering how your interior was holding up after the redo? I am almost to the point of getting out from under my 4Runner and concentrating on the inside.

Any thing you would have done differently?
interior is holding up great. Wouldn’t change a thing.
Old 01-03-2020, 11:45 PM
  #260  
Registered User
Thread Starter
iTrader: (1)
 
stanz's Avatar
 
Join Date: Nov 2011
Location: Portland, OR
Posts: 687
Received 19 Likes on 15 Posts
Been a while since my last post, lots of exciting developments...


Quick Reply: Stanz's 1986 4Runner


All times are GMT -8. The time now is 12:19 AM.