When you click on links to various merchants on this site and make a purchase, this can result in this site earning a commission. Affiliate programs and affiliations include, but are not limited to, the eBay Partner Network.
Hey man so i have a buddy here who is parting out a runner same color interior if you need anything or still missing seat belts I know his is rusty as well I haven't seen the rear panels of u haven't figured anything out might be worth the drive. I'll ask him for some pics and pm them to you.
Hey man so i have a buddy here who is parting out a runner same color interior if you need anything or still missing seat belts I know his is rusty as well I haven't seen the rear panels of u haven't figured anything out might be worth the drive. I'll ask him for some pics and pm them to you.
Ed is planning to change his interior color i believe, however i may be interested in some red interior pieces as I'm not changing mine. Ill let ed have first dibs but i would like second chance.
Hey man so i have a buddy here who is parting out a runner same color interior if you need anything or still missing seat belts I know his is rusty as well I haven't seen the rear panels of u haven't figured anything out might be worth the drive. I'll ask him for some pics and pm them to you.
I did a some work on my rear seats. As I posted earlier, the rear seat isn't going to be a direct bolt in, the brackets are too tall and makes the seats recline too much because of the shape of the floor.
I ended up cutting through the peice of tubing on the bottom that makes up the framework on the durango seats and connects it as one unit. By doing this it made it alot easier to work with, I seperated them into 3 individual sections.
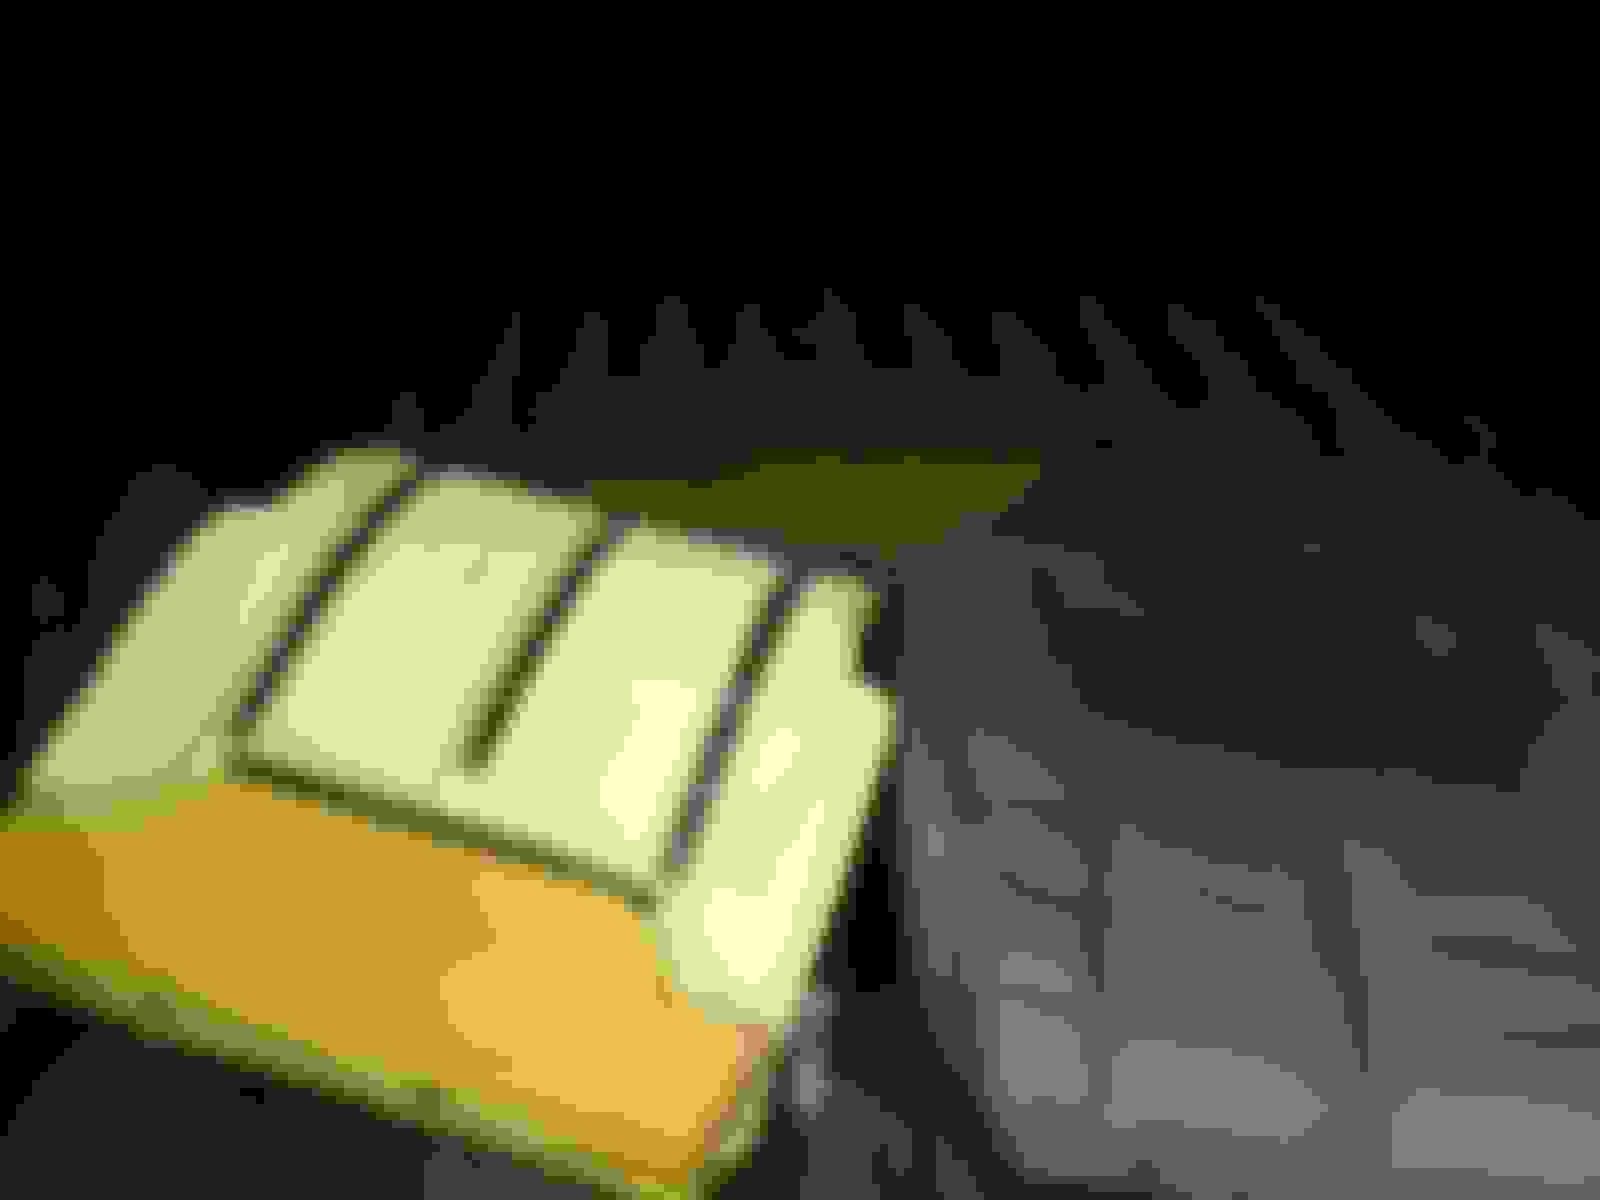
^^^Here's a pic of the center seat section, you can see the tubing I cut through that connects all 3 sections of the seat together.
Then I remove the seat covers and foam to get down to the bare frame and see what I had to work with. Surprisingly the stock toyota seat frame and the durrango seat frame weren't that far off dimension wise, although the toyota ones are wider due to the durango having the fold down armrest/cupholder in the middle.
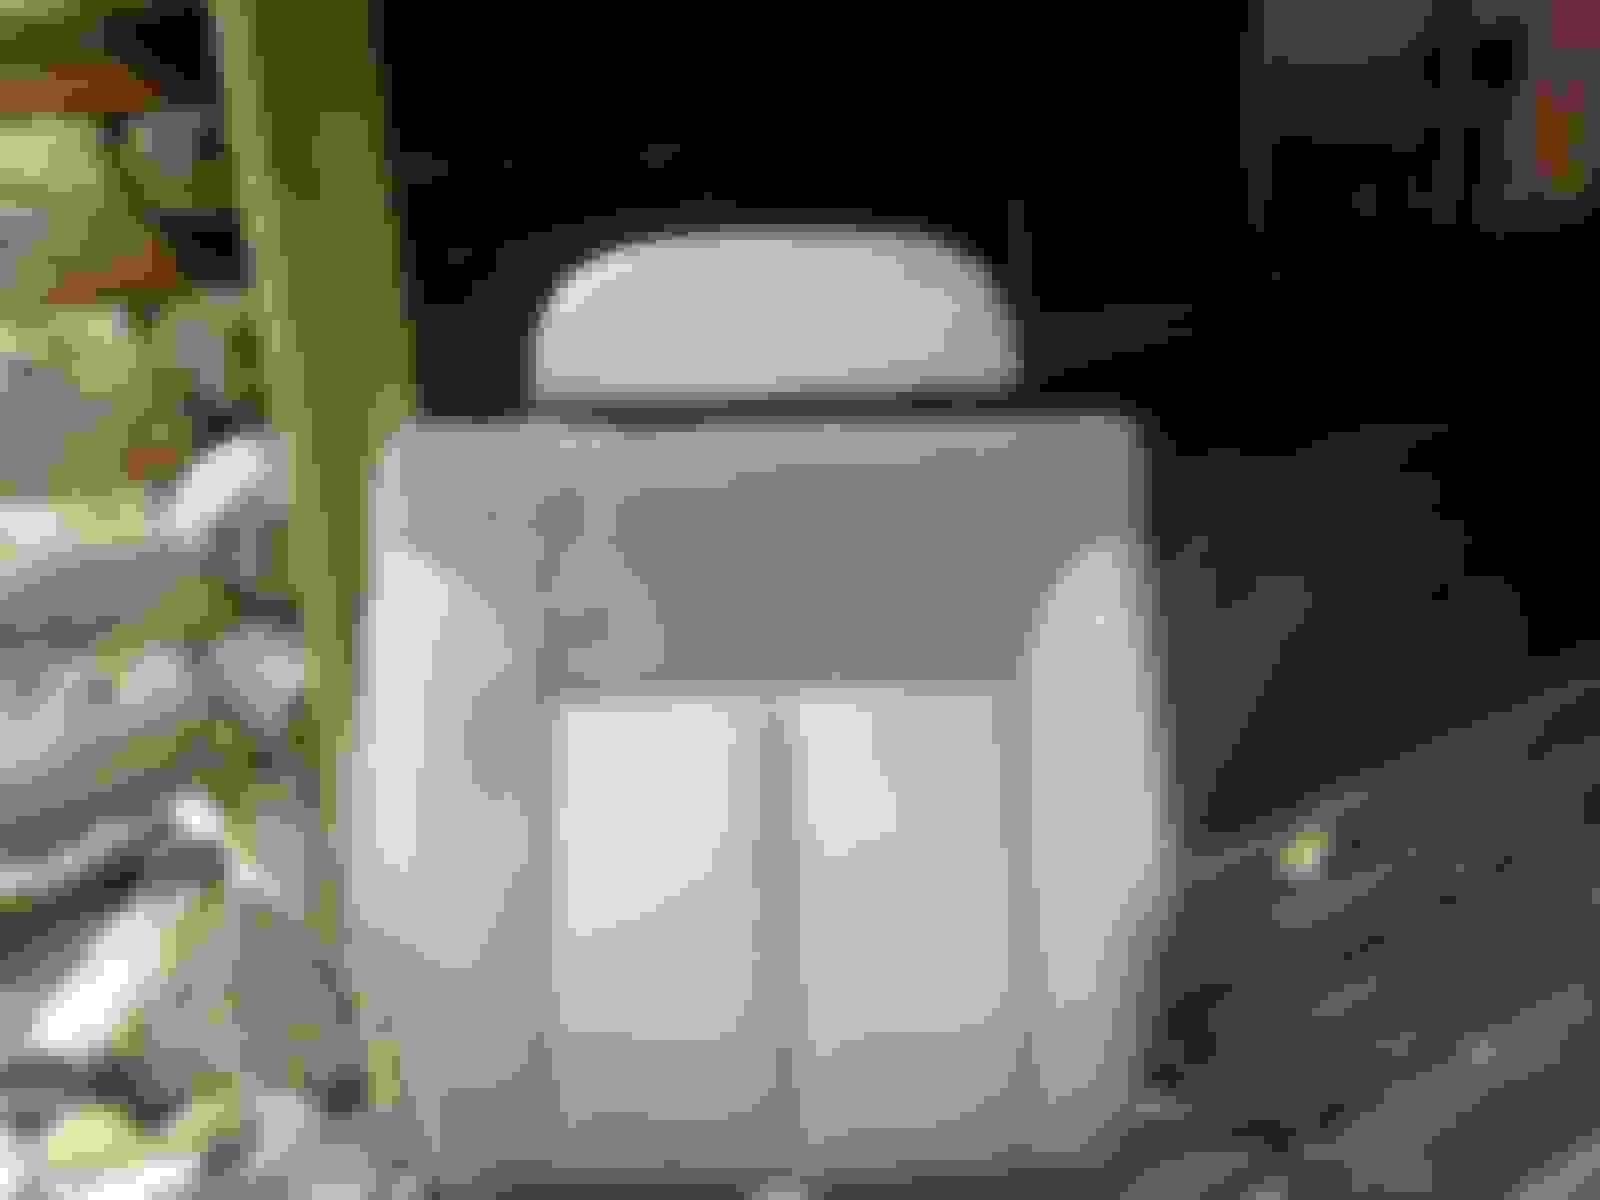
^^^Cover, foam, and backboard removed
^^^This weird looking bracket with the 2 holes in it is where the durrango headrest attach, there's a couple plastic inserts that go into the big holes. So I cut the welds and removed this bracket from the durrango frame to weld into the toyota frame.
^^^This is where I cut the toyota frame, I also cut 4-3/4" out of the upper cross bar.
^^^After removing 4-3/4" I slide it over and welded it back together. I also welded the headrest bracket on. I forgot to take a picture of it, but I welded a crossbar in the middle (used some 1-1/2" flat bar stock left over from the front seats) the middle crossbar is to attach the back board to. Now the toyota frame matches the dimensions of the durango frame, side by side comparison.
Put the seat cover foam and back board on the freshly modified toyota seat frame.
^^^I cut out a notch in the back board to make room for the latch mechanism to move properly.
Latch mechanism mounted, need to get some longer bolts, I only had one.
Seat folds down like it should.
You can see how much narrower the new seat is compared to the old. Now I need to work on the seat bottom next.
Seats look great Ed! Huge improvement in comfort over the stock seats I assume.
I like your fix on the tailgate cables. I have pulled mine out a few times and had to lube them up and work them quite a bit to get them moving again.
My biggest issue it that the latching mechanisms seems to take turns at not wanting to latch shut from time to time. Drives me a little crazy.
Great work as always.
Thanks Mark! I am really liking the seats, I've been daily driving it and it is a big improvement over my old worn out ones!
On the tailgate cables, I was able to lube one of them up and get it working, but the other had a kink in it so it wouldn't release the tension at all. My quick fix seems to work pretty well, it was supposed to be temporary, but will probably stay for as long as it keeps working, lol. Still need a spring for my latch
Worked on the back seats today. I had to make a change to the seat back frame a little bit. The first time modifying it I cut the frame and left the hinge in the original location, but I think that will interfere with mounting the center seat/armrest. So I cut the frame and moved the hinge over, then modified the hinge by widening the mounting flange. I thought I would have to drill new holes in the floor for the hinge, but I was able to use an existing threaded hole that was for the center seatbelt.
^^^Here is a before pic, you can see the way i cut the frame and welded it back together it left the hinge in the original location. I cut the the square tubing, and moved the hinge over more.
^^^Here is the hinge after I cut the frame and moved it over about 4-3/4 inches.The floor contours right where the hinge bolts to the floor, so i made a 1/4" thick spacer (not shown) and welded to the hinge to bring it back out level. The spacer was wide enough that I was able to use the seatbelt hole to bolt it down.
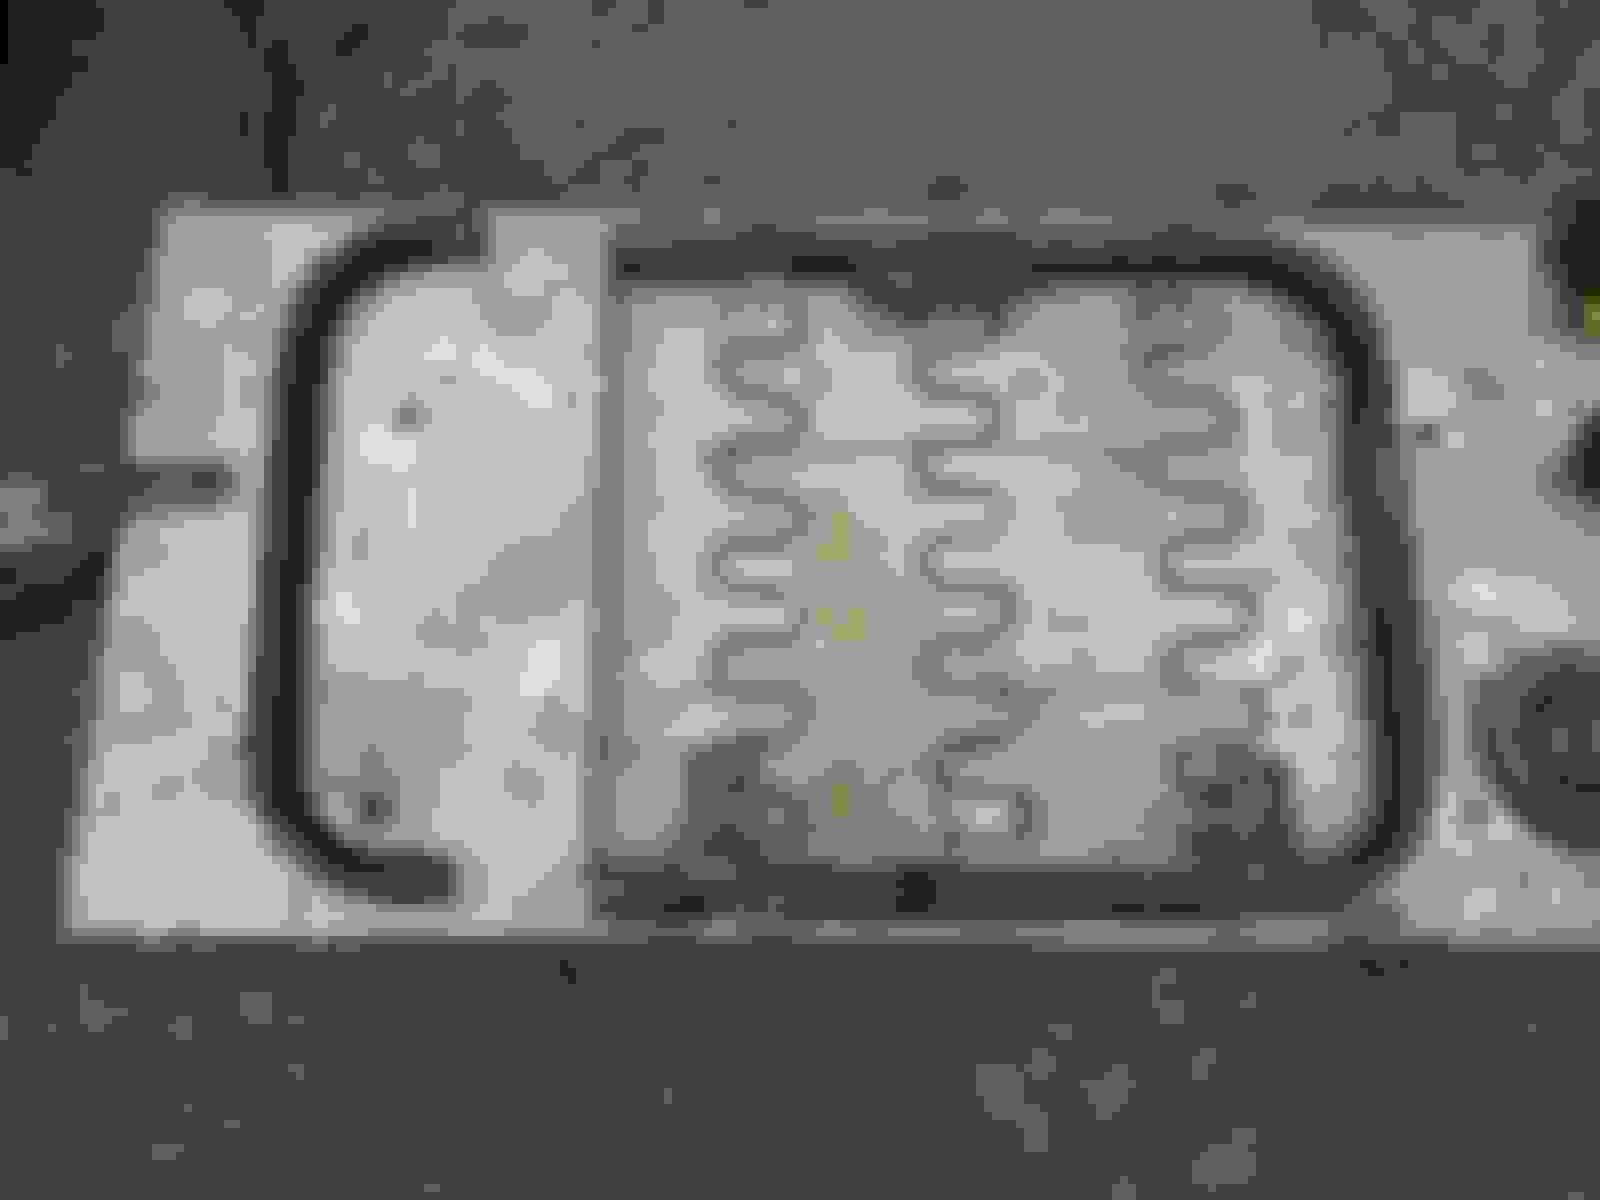
^^^Here is the seat bottom. I welded in a peice of flatbar.
^^^Then i cut the frame and slide the springs over to center them.
^^^Side by side comparison. The durango seat bottom on the left and the modified 4Runner frame on the right.
^^^And finally some pics of the foam and cover on the newly modified 4runner seat bottom frame.
The way the durango seat foam is shaped, the seat backs slope back a little more than the originals, same with the seat bottoms. I dont think it looks too bad, and they are really comfortable.
I finished installing the hinges and latching mechanism to the seat bottom.
^^^ The seat bottom flips up and seat back folds down flat just like the originals although the seat back doesn't lay quite as flat as the originals due to the thicker foam padding, I pushed down on it and with a little weight it will lay down just as flat.
Last edited by rustED; 04-13-2016 at 03:15 PM.
Reason: Added update with pics
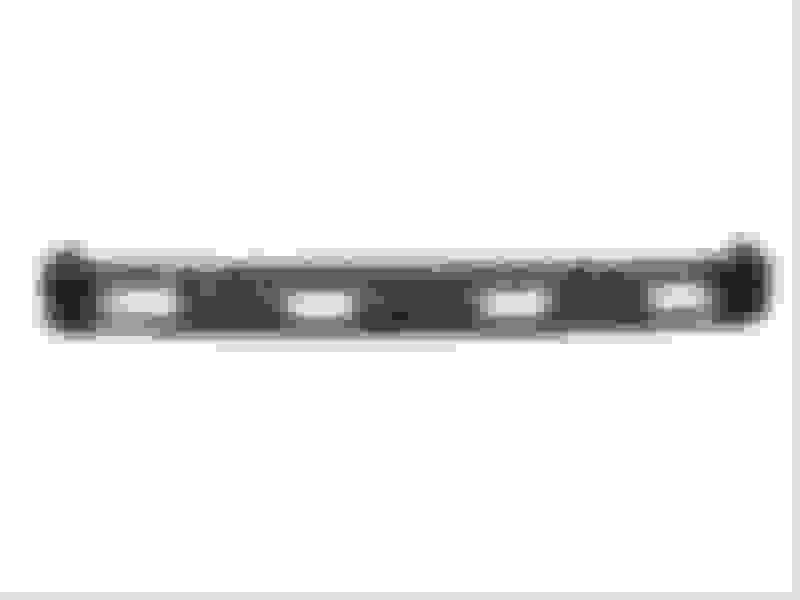
Not much to update, but I did order a new replacement front bumper with the plastic end caps. I went with black instead of chrome since I will be eliminating all the chrome eventually
I got it off ebay for $60 with free shipping, should be here on the 18th.
I also ordered another set of coils springs to replace the last ones that I used for my Zuk mod. I still believe the pic-n-pull gave me a set of rear coil springs by accident, and I'm not very happy with the way they fit over the upper bump stop and I don't care for the ride quality much either. I almost went with some Black Magic springs, but ended up buying some 2001 Jeep TJ front coils instead. Hopefully these ones will ride as good as the ones I used to have on my 86 4runner.
Hopefully I'll have time on my days off to finish up the back seats. Then I can install the carpet. The weather is warming up, so I should be able to start painting some of the interior trim as well, then I will have some updates to fill in the blank posts above.
I have front tj springs on mine but they go over the bump stops I found that if you don't have a good amount of weight in the rear it's like having a 2-3 inch lift and doesn't flex all that well made my rear a little stiff and almost scary which is why I'm doing the Chevys in the rear
I have front tj springs on mine but they go over the bump stops I found that if you don't have a good amount of weight in the rear it's like having a 2-3 inch lift and doesn't flex all that well made my rear a little stiff and almost scary which is why I'm doing the Chevys in the rear
Yeah I'm not looking to lift it much, just want to restore it to the factory ride height, so I will be cutting these down quite a bit.
^^^These are the coils I got last time. I order them on line from a pic-n-pull and when I picked them up noticed they didn't look like front coils, but decided to try them anyway. They are a progressive rate spring, I think that's why they are bouncy on the potholes and on the smaller bumps they hit harder. They are shorter than front coils and wider, which is why they fit too loosely around the upper bumpstop.
^^^Here's a pic of the new coils I bought, they dont look like a progressive rate spring, all the coils are spaced evenly unlike the coils in the above pic. I will be cutting these down and shortening them probably 4 or 5 inches. I hope these work otherwise I will eventually replace them with new leaf springs, probably OME.
subscribed. I like how you did your #1 post with ideas. I think i might steal that! keep up the good work.
Thanks, I can't take credit for it, Terrys87 has something similar, and so does dropzone, he even has a Mini FAQ kinda like pirate 4x4. One thing I did on my last build thread and am doing on this thread as well, is add a table of contents with links so I could go back and find things easier. My last build had 75 pages, lol, not as long as Chef4x4's though, I think his is over 400 pages!
The work on the seats is awesome. Can't wait to see it completed.
Thanks CBO! It's been alot of trial and error, but I'm pretty committed to making these durango rear seats work, lol. Now that I have the passenger side pretty well finished, the driver side should go alot faster now that i know what Im doing!
I took a break from the seats and mounted my front bumper today. At first glance it looked pretty decent, but comparing it to the oem chrome bumper the metal is alot thinner, if you push on it it flexes really easily, basically it's almost like sheetmetal, lol. Here's some pics:
^^^ before, thrashed chrome bumper, missing end caps, beat up valance.
^^^Also added a second tow hook to the driverside while I was under there, had a couple extras from when I sas'd my 86 4runner.
^^^When I removed the valance I didn't realize that the bracket also help support the plastic end caps. It was kind of a pain removing those brackets to begin with, had to pull the air intake to get the driverside off. So instead reinstalling them I drilled out the spot welds on the round steel part of the bracket and removed them.
^^^Then I bolted it up to support the end caps, One of the spot weld I drilled all the way through so I could get a bolt through the bracket and into the plastic end cap. This bumper will be temporary, at least it looks better until I come up with something else...
What do you guys think about the grille and headlight bezels, should I leave them chrome, or black them out?
 03-30-2016, 11:32 AM