When you click on links to various merchants on this site and make a purchase, this can result in this site earning a commission. Affiliate programs and affiliations include, but are not limited to, the eBay Partner Network.
[Quote, ZachG ] "Just finished reading thread. This is an awesome build,great job man! I'm contemplating doing a 2nd gen rear seat swap,but I like those Durango seats a lot better!"
--------------------------------------------------------------------------------------------------------------------------------------------------------------------------------------------
Thanks. These seats don't fold down as flat as the originals, but I'm ok with that, I'd rather have my kids comfy and have a couple cup holder so they're not spill they're drinks everywhere, lol. On my 86 4Runner build i had 2nd gen 4runner seats in it, I had to do a little modify on the back seats since the latching mechanism on the side of the seat didn't match up, with the original ones, but they worked out pretty well.
Hi Terry. Yeah it sounds like Cory and the guys at Toyota Fiberglass are really busy. I sent him an email asking how long of a wait and what the total cost of shipping me a quarter panel would be. He responded and let me know that it would be expensive to ship just a single panel do to the freight charges, crate charges and customs charges on top of the cost of buying the panel (it would be upwards of $750 for the quarter panel). If I were to buy multiple panels it would save me more in the long run because of all the other charges involved. So I'll be holding off on that, maybe I can find a good replacement used quarter panel, in the meantime I need to pull all the fender well moulding off and the rock chip protectors and really make sure there isn't any more rust lurking somewhere.
Hopefully I'll get the tablet holder finished today. I plan to build a center console similar to my last one in my 86' , but this one will replace the plastic around the shifter levers as well since mine are all cracked. I might add 2 cupholder to the next one, since I won't need the armrest, my new seats have armrest already. I'll have to wait on the console until I get the seats mocked up so I know how much room I have to work with.
I didn't know the shift knob was anything special, lol...Is it an SR5 only option?
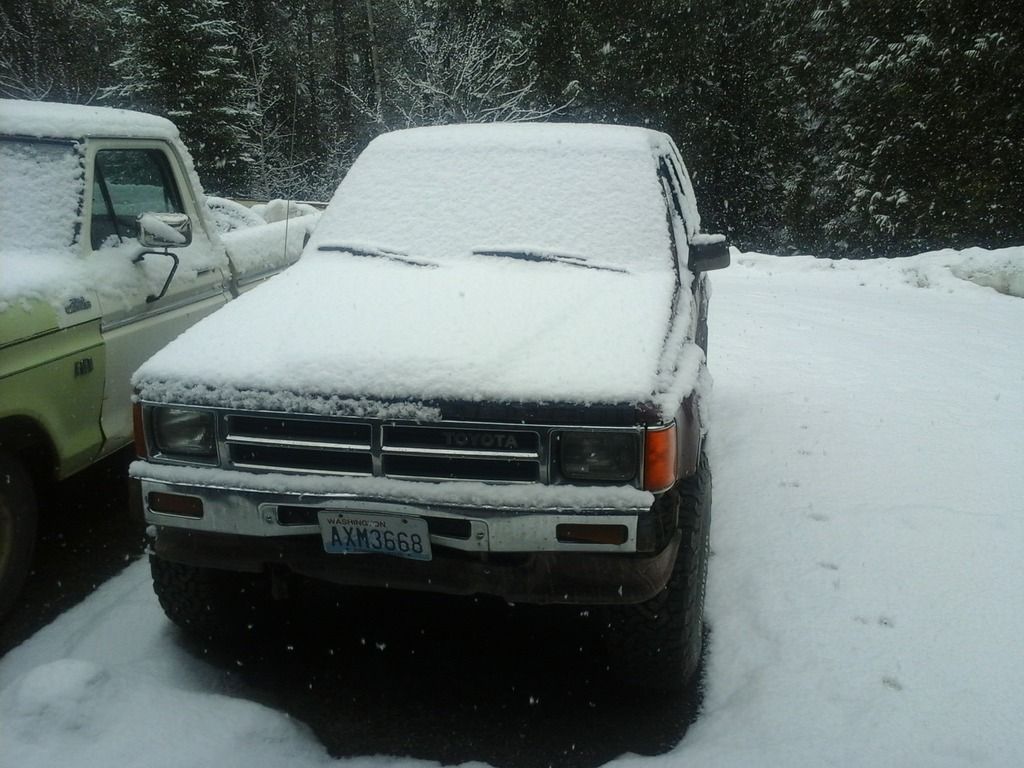
Well I thought we were in for an early spring, the weather has been nice and the snow finally melting off... then this morning I woke up to this:
Too bad we dont live closer to each other we could of combined our orders and split shipping.
I really wanted fiberglass, but 2 factory rears quarters that were cut down the floor so I have the outters wells as well
Thanks yota dude. I'm really happy with them, they're a near perfect color match, well probably as close as you can get with miss matched Honda buckets and a Dodge bench, lol. My kids will like them alot better than the old worn out oem bench!
Originally Posted by SwVa_1stGen
Too bad we dont live closer to each other we could of combined our orders and split shipping.
I really wanted fiberglass, but 2 factory rears quarters that were cut down to the floor so I have the outters wells as well
I hear you, we need to get all the rusty first gen 4runner owners together for a "group buy" lol. Yeah i really would have liked to gone with fiberglass as well, maybe someday!
CARPET...
I received my carpet yesterday just before leaving for work. I got it out and laid it out next to my seats, I think i got lucky and it's going to be a good match. I probably should have ordered a few color samples as it was hard to tell from the pics on their site, but I took a gamble, I think it's going to look good. I have it laid out so it can regain it shape after being packaged up. Monday and tuesday i will pull out my old seats and get the new knew ones mocked up, then hopefully start getting the new carpet installed.
Has anyone swapped 2nd gen 4runner seat belts into a first gen 4runner? I've heard of the seat swap, but haven't heard if the seatbelts will interchange. I'm looking for some grey shoulder belts for the front and would like some to upgrade for the back eventually as well.
I have not tried to swap seat belts from one generation to the next, not sure if that would work.
What part of the fender is rusted? I have heard that you can use a right front fender for the left rear quarter panel and vise versa. I have not checked and tried it but I have looked at it and it does look like a possibility.
If it is the flared out, square part of the rear panel, it might would work. You could buy the fender from an online store and use it as a patch panel maybe. It does look like a possibility to me.
Hi Terry. Here's a pic of the worst part of the rusted passenger rear quarter panel. There is some more rust not shown in the pic above the wheel well, and some more I just noticed by the fuel door. I have heard of using the fenders as patches too, something I will look into. I need to remove the fender moulding and see how bad it is around the lip of the wheel well, and also the rock chip guards.
Originally Posted by punks_is_4x4
Isuzu trooper belts fit in the stock buckle parts I pulled rear belts from the yard to put in my rear seats. I posted them in my 87 build
I checked out your build thread, do you remember what year trooper you got the belts from? Thanks.
Came out of the early 90s one I just checked they only have 2 generations. When I was looking into putting the rear 3 point harness in I found u can take belts from 3rd gen pickups as well. And front bells fit in the rear as well but I feel like there way too long. Only thing I wish was different is the belt mechanism is exposed there's no cap. Might be able to find one
On eBay Japan or Australia
Wow-that is a bit of rust to deal with. Seems like a donor panel would be a reasonably price option.
I like how your tablet mount came out. Great job
Thanks, the tablet mount has worked out pretty well, I like how accessible it is. I set the display function to time out at 30 min and the screen stays on till I get to work.
That's a good idea using a door skin for a patch panel, has the same contour, thanks for the idea!
Originally Posted by punks_is_4x4
Came out of the early 90s one I just checked they only have 2 generations. When I was looking into putting the rear 3 point harness in I found u can take belts from 3rd gen pickups as well. And front bells fit in the rear as well but I feel like there way too long. Only thing I wish was different is the belt mechanism is exposed there's no cap. Might be able to find one
On eBay Japan or Australia
Thanks for the info! That should make it alot easier to find some seatbelts having a few more models of vehicles to look for.
I should have an update on my seat install project in the next few days, I have to modify and build some new brackets for the front buckets. I pulled the OEM rear seats out, and didn't realize how much of a contour the floor has where the seat bottoms go. I fear that the shape of the floor is going to complicate the install since the durrango seats bolt to a flatter floor surface.
I got a little bit done on my seat brackets for the drivers side front bucket seat. I had to change my plan a little, my original one didn't work out. What I ended up doing was grinding the rivets off the bottom of my original seat sliders and removing the "feet" that bolt to the floor. With the seat already out I bolted the feet back down to the floor then tack welded some 1-1/2" wide by 1/8" thick flat bar stock across. Now I can center the seats where ever they need to be and weld the new seat slider to the flat bar. I didn't get very many pics it was getting to dark, but tomorrow I'll get some of the seat installed.
My old front bucket seats are pretty much junk, but the plastic covers that go to the seat bottoms are in good shape, just need cleaned up. Also the headrest covers are pretty faded and worn, but the headrest foam inside was in good shape. I also have the complete rear seat and hardware, again they would need reupholstered, but they are complete. If anyone can use any of the parts below just let me know.
Well this project is taking alot longer that I thought it would. I changed my idea for the seat brackets again. I didn't like the idea of welding the seat sliders to the brackets that I was making, I can't unbolt the sliders from the seats, and didn't want to risk welding on them while still attached and possibly burning a hole in the seat. So I added 2 more supports running parallel with the sliders and bolted the seats to my brackets. It worked out pretty well. It was alot extra work, mainly just time consuming trying to figure out the seat placement so I would have enough seat adjustment forward and backward. It will be worth it when I'm done and the new seats will bolt right up to the factory mounting holes. The passenger side should go alot faster since I know what I'm doing now, lol.
Here's a couple pics of the finished bracket after I painted it.I haven't installed the seat yet, it's was still cold outside, so I had to let the painted bracket hang by the stove to dry (my wife loved that). So I won't have any pics of it installed till tomorrow. I ended up using all my 1-1/2" flat bar on the one seat, so I'll need to buy some more to do the passenger seat.
I like how you are using the original mounting tabs on the bracket. That will make it an easy install and if ever need to remove the seat in the future. Looks great.
I like how you are using the original mounting tabs on the bracket. That will make it an easy install and if ever need to remove the seat in the future. Looks great.
Thanks Terry. I didn't want to have to drill any new holes in the floor to mount the seats. It actually worked out pretty well. . I can't wait to get the other side done and the new carpet in. I should get my SEM paint today, I could only afford 2 cans and one can of adhesion promoter for now. ( I purchased medium dark pewter, grey) it's not an oem toyota color, but it's a good match to my seats.
Seat looks good and looks like it will be really comfortable. Staying with the same SEM brand of paint is a little cheaper then having it custom mixed. Since you are doing a color change, you will probably eventually need about 5 cans of paint which is about $100-120. One reason I have been held up on getting my interior finished on my 85. It will go together pretty quick if it wasn't for the cost of the paint but have to take care of a few other thing before I can get to the cost of paint.
A slow and steady pace and you will get it. Once you paint your first couple of pieces you will feel relived and be an old pro at it. It will take some of apprehension out of it and think it will be something you will feel rewarded for.
I drove to work, first time driving with the new seat installed. It is really comfortable, huge upgrade over my old seat. It does sit up just a little higher than the old one, not much I can do about it, I mounted it as close to the floor as I could, I still have plenty of headroom, I think I'll get used to it after a few days of driving. Thanks for the tips on painting the interior Terry. Your not kidding about SEM being expensive, I paid a little over $50 for 2 cans of paint and 1 can of Sand Free Adhesion Promoter.I might try to see if I can find the same color here locally so next time I won't have to pay shipping. I wish I had a heated shop so I could start painting, the weather is still a bit cold here.
Originally Posted by 88ECToy
Those seats look comfy! Agree on the use of original lugs, keeps the butcher factor to a minimum. Very nice!
Thanks! I was trying to keep it clean and semi-factory looking.
 03-03-2016, 07:27 PM