Numbchux' 1987 4Runner Build-Up Thread

 06-09-2012, 01:01 PM
#63
Registered User
Thread Starter

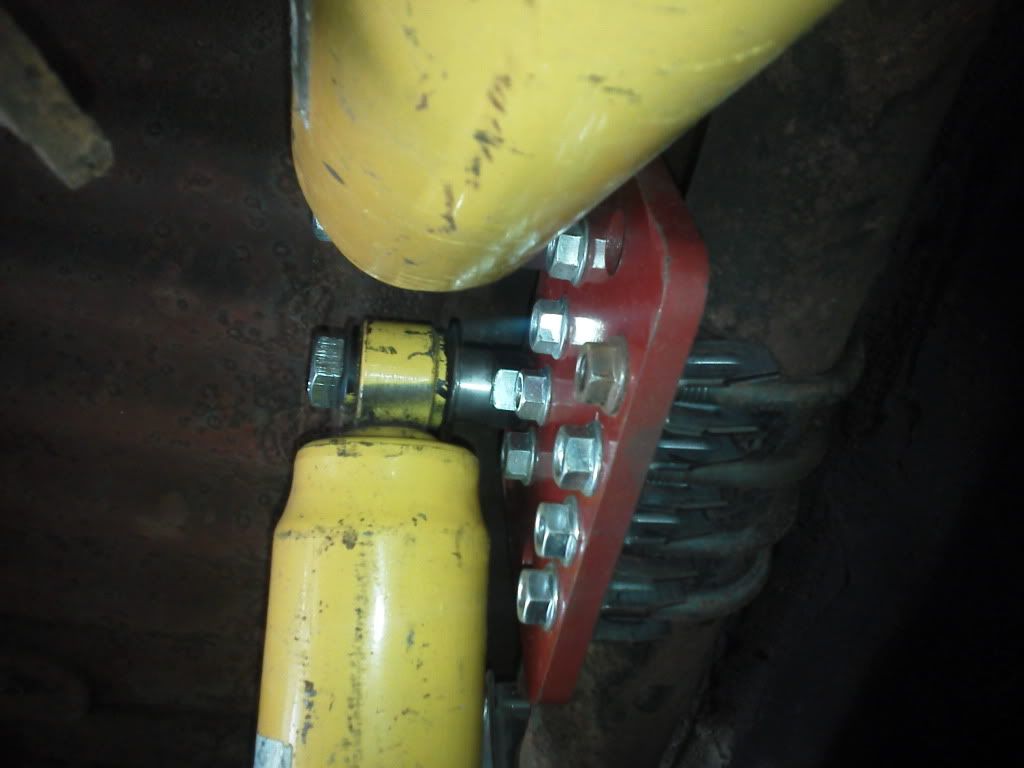
The 2 lines on the flange are for the oil cooler
Rear shocks are mounted:

The lower mounts use a 1/2" bolt, but the bushing in the shock have a 5/8" hole. So I got a spacer to take up that slack, this also means I can tighten the bolt without squishing the rubber bushing. And then another spacer to keep the shock body off the bracket:

The uppers use a 5/8" bolt, so when I first put it together, as soon as I tightened the bolt, it smashed the rubber bushing before I got it very tight. So I cut one of my standoff spacers in half, and put another nut in there. So I can tighten the nuts against the plate/each other, without squishing the shock bushing:
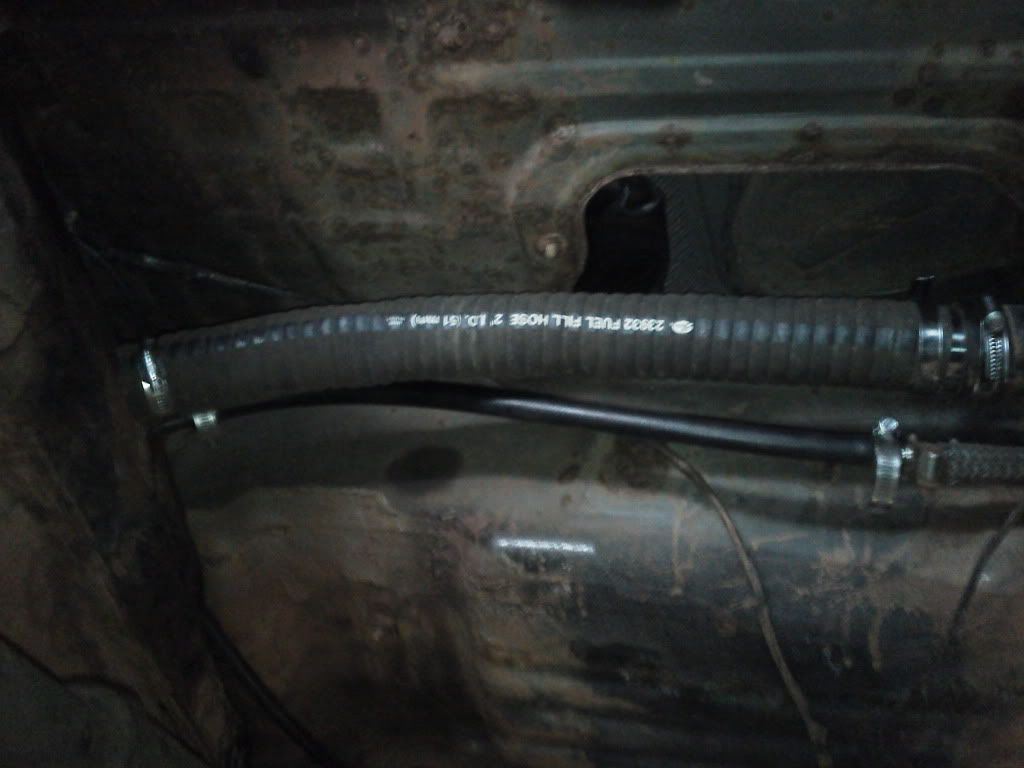
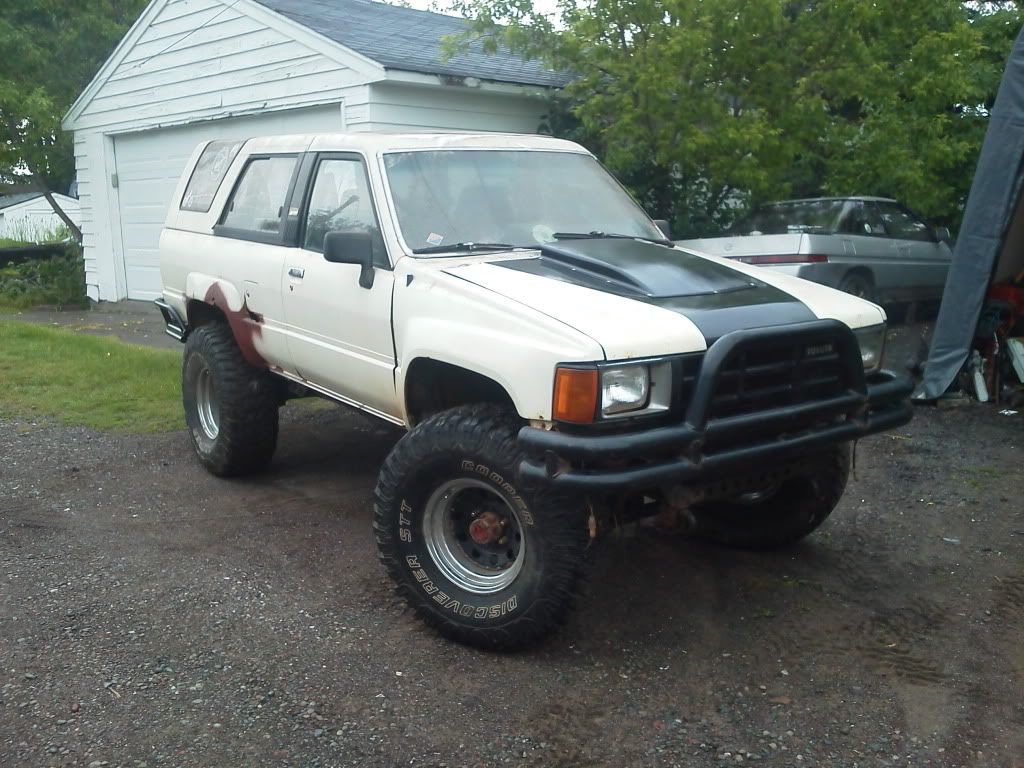
Fuel filler and vent extensions:
And cowl scoop mounted....not sure if I'm going to paint over the pop rivets or not...
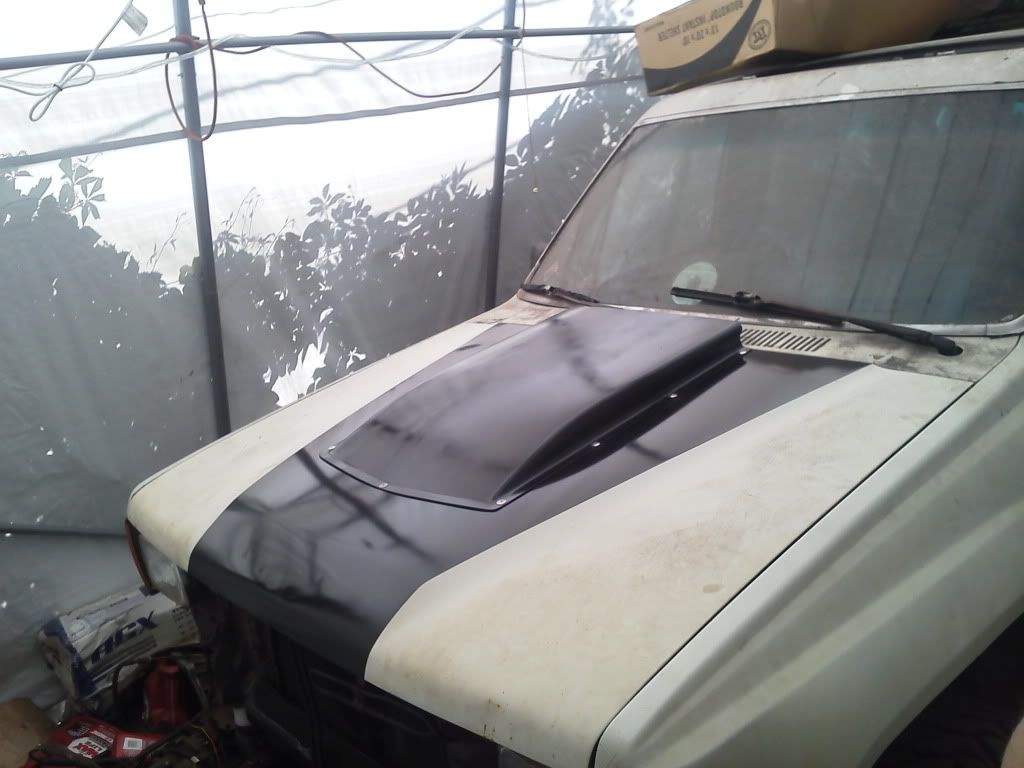
 if it were me if I'd leave the pop rivets the way they are. Nice little accent to the black. Regardless lookin good
06-14-2012, 05:28 PM
if it were me if I'd leave the pop rivets the way they are. Nice little accent to the black. Regardless lookin good
06-14-2012, 05:28 PM
#66
Registered User
Thread Starter
https://www.budbuilt.com/new/shock_mounts.html
06-14-2012, 09:53 PM
#67
Registered User
Thread Starter
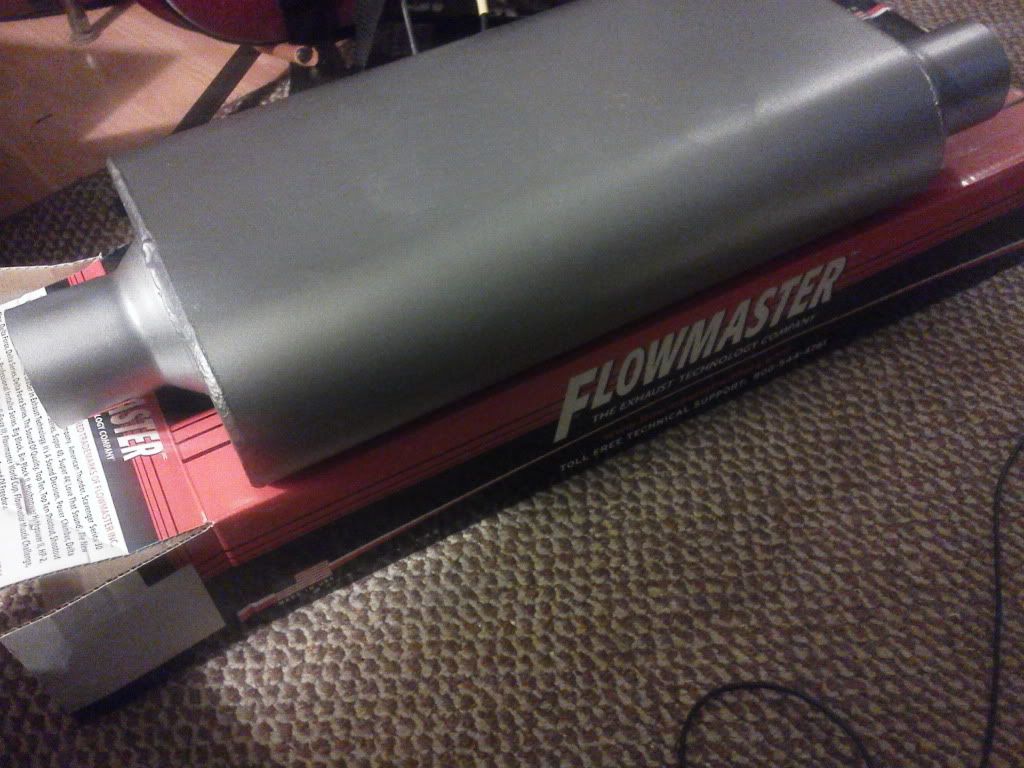
No big news, or pictureworthy updates. Just some tinkering. Wiring cleaned up a bit, body mounts torqued down, grill and front bumper mounted, exhaust head shield mounted under the fuel filler, 1987 License plate got here today, I'll go register it on original plates tomorrow. also, muffler should be here tomorrow.
 06-16-2012, 12:18 PM
#69
Registered User
Thread Starter
Muffler on (needs another hanger...but close). So I took it for a little test-drive.
Not running 100%. Not a lot of power, it bogs down more than a bit, but it does OK. It's got a few vacuum lines that aren't connected, and the 02 sensor isn't connected, so I'll get those issues fixed, and see where it's at then.
Also, I don't think I'm getting anywhere near full travel out of the throttle plate. Need to look into that. Either there's a different "calibration" between the toyota pedal and chevy TB, or...something's catching.
But, getting closer still
07-04-2012, 10:57 AM
#70
Registered User
Thread Starter
Well...not much progress. Don't think I've touched it since my last post....Duluth flooded, and havoc has insued.
BUT. I bought leaf springs last night. Decided on Skyjacker 2-3". Only stock length lift spring I could find.
I'm also on the list to be a tester for the Chilkat designs cable conversion for the 9.5" ELocker. Should be able to sell the motor and control unit from mine, and come out ahead!
BUT. I bought leaf springs last night. Decided on Skyjacker 2-3". Only stock length lift spring I could find.
I'm also on the list to be a tester for the Chilkat designs cable conversion for the 9.5" ELocker. Should be able to sell the motor and control unit from mine, and come out ahead!
08-30-2012, 05:45 PM
#71
Registered User
Thread Starter
Got a new job. Less stress, more free time, more hours (longer shifts, so more hours in a week but still getting days off), etc.
So, got some work done this week. I am getting WOT with the pedal, so that's good.
Set the ignition timing. I had to advance it so far to get it dialed in, that I decided my plug wires were one post off on the disty. Got that fixed, and it seemed to run better, but not perfect. Then it stalled, and began acting real strange. Couldn't get it pinned down, so I decided to leave it for the night.
Tried again today. And it fired right up, better than it ever has. Purred like a kitten. Put it in gear, and held the brakes to put some load on it, and it seemed to run awesome.
Then the check engine light came on. Huh....
Then, the moment the gauge registered normal operating temp, it died. Restarted once, but only ran for about 10 seconds before dying again. And wouldn't restart.
Checked the code. CTS. So, I'll grab a new one of those at work tomorrow, and try again.
08-31-2012, 07:01 PM
#72
Registered User
Thread Starter
New CTS went in today. Infinitely better!!
Fixed the 02 sensor wiring (got a little melted...).
Did a couple other small things.
Drove it up and down the alley a couple times. Still need to trim the fenders, can't turn very sharp...
Think I'm going to drive it to work tomorrow (only about a mile...but it's something!).
Fixed the 02 sensor wiring (got a little melted...).
Did a couple other small things.
Drove it up and down the alley a couple times. Still need to trim the fenders, can't turn very sharp...
Think I'm going to drive it to work tomorrow (only about a mile...but it's something!).
09-02-2012, 09:21 AM
#73
Registered User
Thread Starter
Drove it to work for the last couple days.
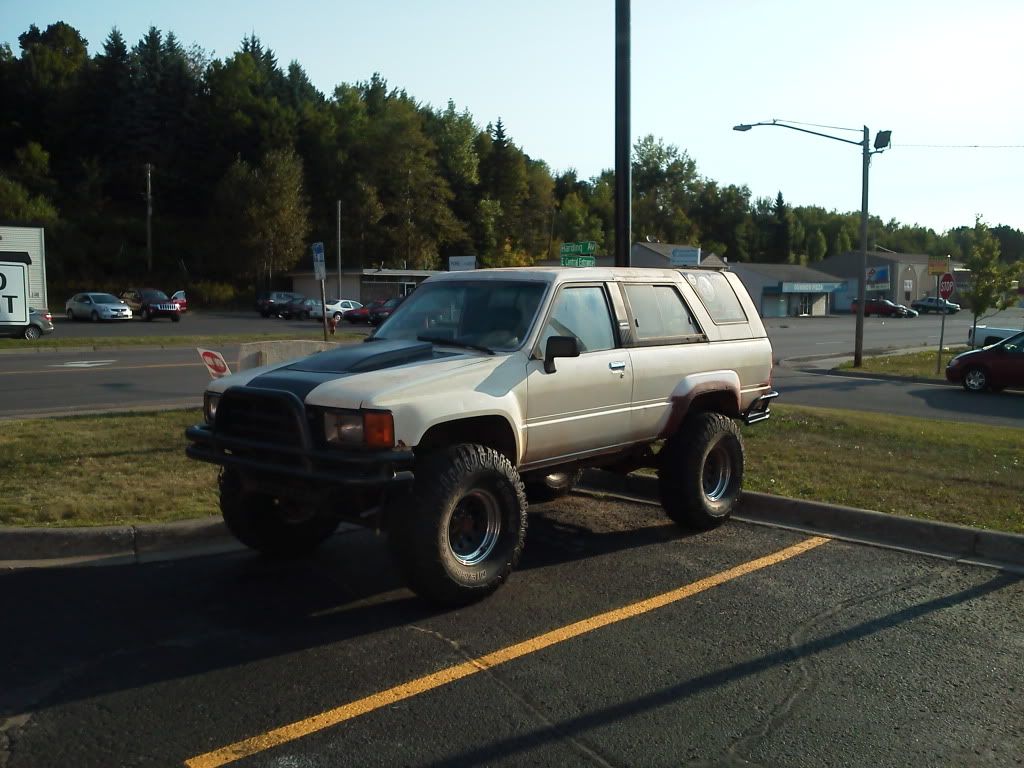
Did a little fender trimming, had to test the clearances.....

Good thing it's a short trip to work though, as it still dies once it's up to temp. Just shuts off....
Did a little fender trimming, had to test the clearances.....
Good thing it's a short trip to work though, as it still dies once it's up to temp. Just shuts off....
09-02-2012, 07:47 PM
#75
Registered User
Thread Starter
Got about 25 miles on it. It got up to temp a couple times today (even let it idle for a bit with the fan off to let it overheat a bit), and hasn't died. So maybe that fixed itself.....
Gas gauge doesn't work. That sucks. Thinking the float arm might be stuck all the way down from the tank sitting nearly empty for 3 years. That might fix itself too.
Should have mentioned. Filled up at a pump, and my extended filler/vent did not effect fillup at all.
Gas gauge doesn't work. That sucks. Thinking the float arm might be stuck all the way down from the tank sitting nearly empty for 3 years. That might fix itself too.
Should have mentioned. Filled up at a pump, and my extended filler/vent did not effect fillup at all.
09-03-2012, 03:45 PM
#77
Registered User
Thread Starter
Ordered H4 headlight conversion housings and new retainer rings today.
Also got an automatic fan control kit.
09-10-2012, 06:24 AM
#78
Registered User
Join Date: Apr 2012
Posts: 94
Likes: 0
Received 0 Likes
on
0 Posts
Lookin good. That's weird with the intermittent dying... Mine has a bug or two I gotta chase down or hope it fixes itself lol. I can't remember and I suppose I could read the earlier posts but are you running the 700r or stock Toy tranny? How did you go about calibrating your speedo? PCM requires VSS input and so does digital gauge.. Just lookin at my options cause 1 I need a speedo bad lol and 2 I'm waaaay off of what my scan tool reads. Reads 95 then hits governor and actual is maybe 75 80
09-10-2012, 07:44 AM
#79
Registered User
Thread Starter
700 (technically 4L60 in '92), toy tcase. Stock speedo cable to stock cluster, hooked up the VSS wire from the gauge to the ECU.
I don't have a scan tool to confirm how the ECU is interpreting that signal. But it runs great and doesn't throw a code.
I'm not sure whether I'm getting TCC lockup, though. I've only had it up to about 50mph so far, so it's hard to tell.
The gauge reads about 20% low due to stock gearing and tires, but I expected that.
09-10-2012, 08:12 AM
#80
Registered User
Join Date: Apr 2012
Posts: 94
Likes: 0
Received 0 Likes
on
0 Posts
Well depending on the year 4l60 determines the lockup function and how it's wired. The 95 CPI PCM is gonna try to send a signal to the pulse width modulator (PWM) solenoid to gradually apply lockup, now where I think you and I may be in the same boat is we are using non PWM 4l60s and aren't getting lockup. I can ground out the solenoid and force lockup but it doesn't like it so maybe you have the same deal goin on? I'm pretty sure you would feel it if it was locking


