When you click on links to various merchants on this site and make a purchase, this can result in this site earning a commission. Affiliate programs and affiliations include, but are not limited to, the eBay Partner Network.
Make sure you look into the battery area as mine was almost touching the tire.
Man, that seems to be a place that is really good at catching dirt and rusting out. Looks like you've got some work to do there. I'm certainly having to give that area some attention. And too bad about the mild winter not lasting- it's cold now!
How much of the work are you getting the machine shop to do?
It has been my observation over that years that few things in life are a good substitute for experience. I found an engine shop a little less than two hours away, Pilot Engines. The owner has been building motors since 1983 and says he stopped counting when hit built his 10,000th motor in the early nineties. He's going to do a long block build for me- all put together the way he likes it with the stuff he likes. No performance parts, just another 280,000 mile motor. This is a very exciting time for me, waiting to go pick it up.
Really looking forward to start putting it back together!
Had a little time this morning to get some cleaning and prep done:
I power washed the stiffener plates and some other brackets, the oil dipstick tube, thermostat housing and the hard vacuum lines and then did some painting:
I now have most of the engine parts cleaned and ready to be put back together. This is what the garage is looking like:
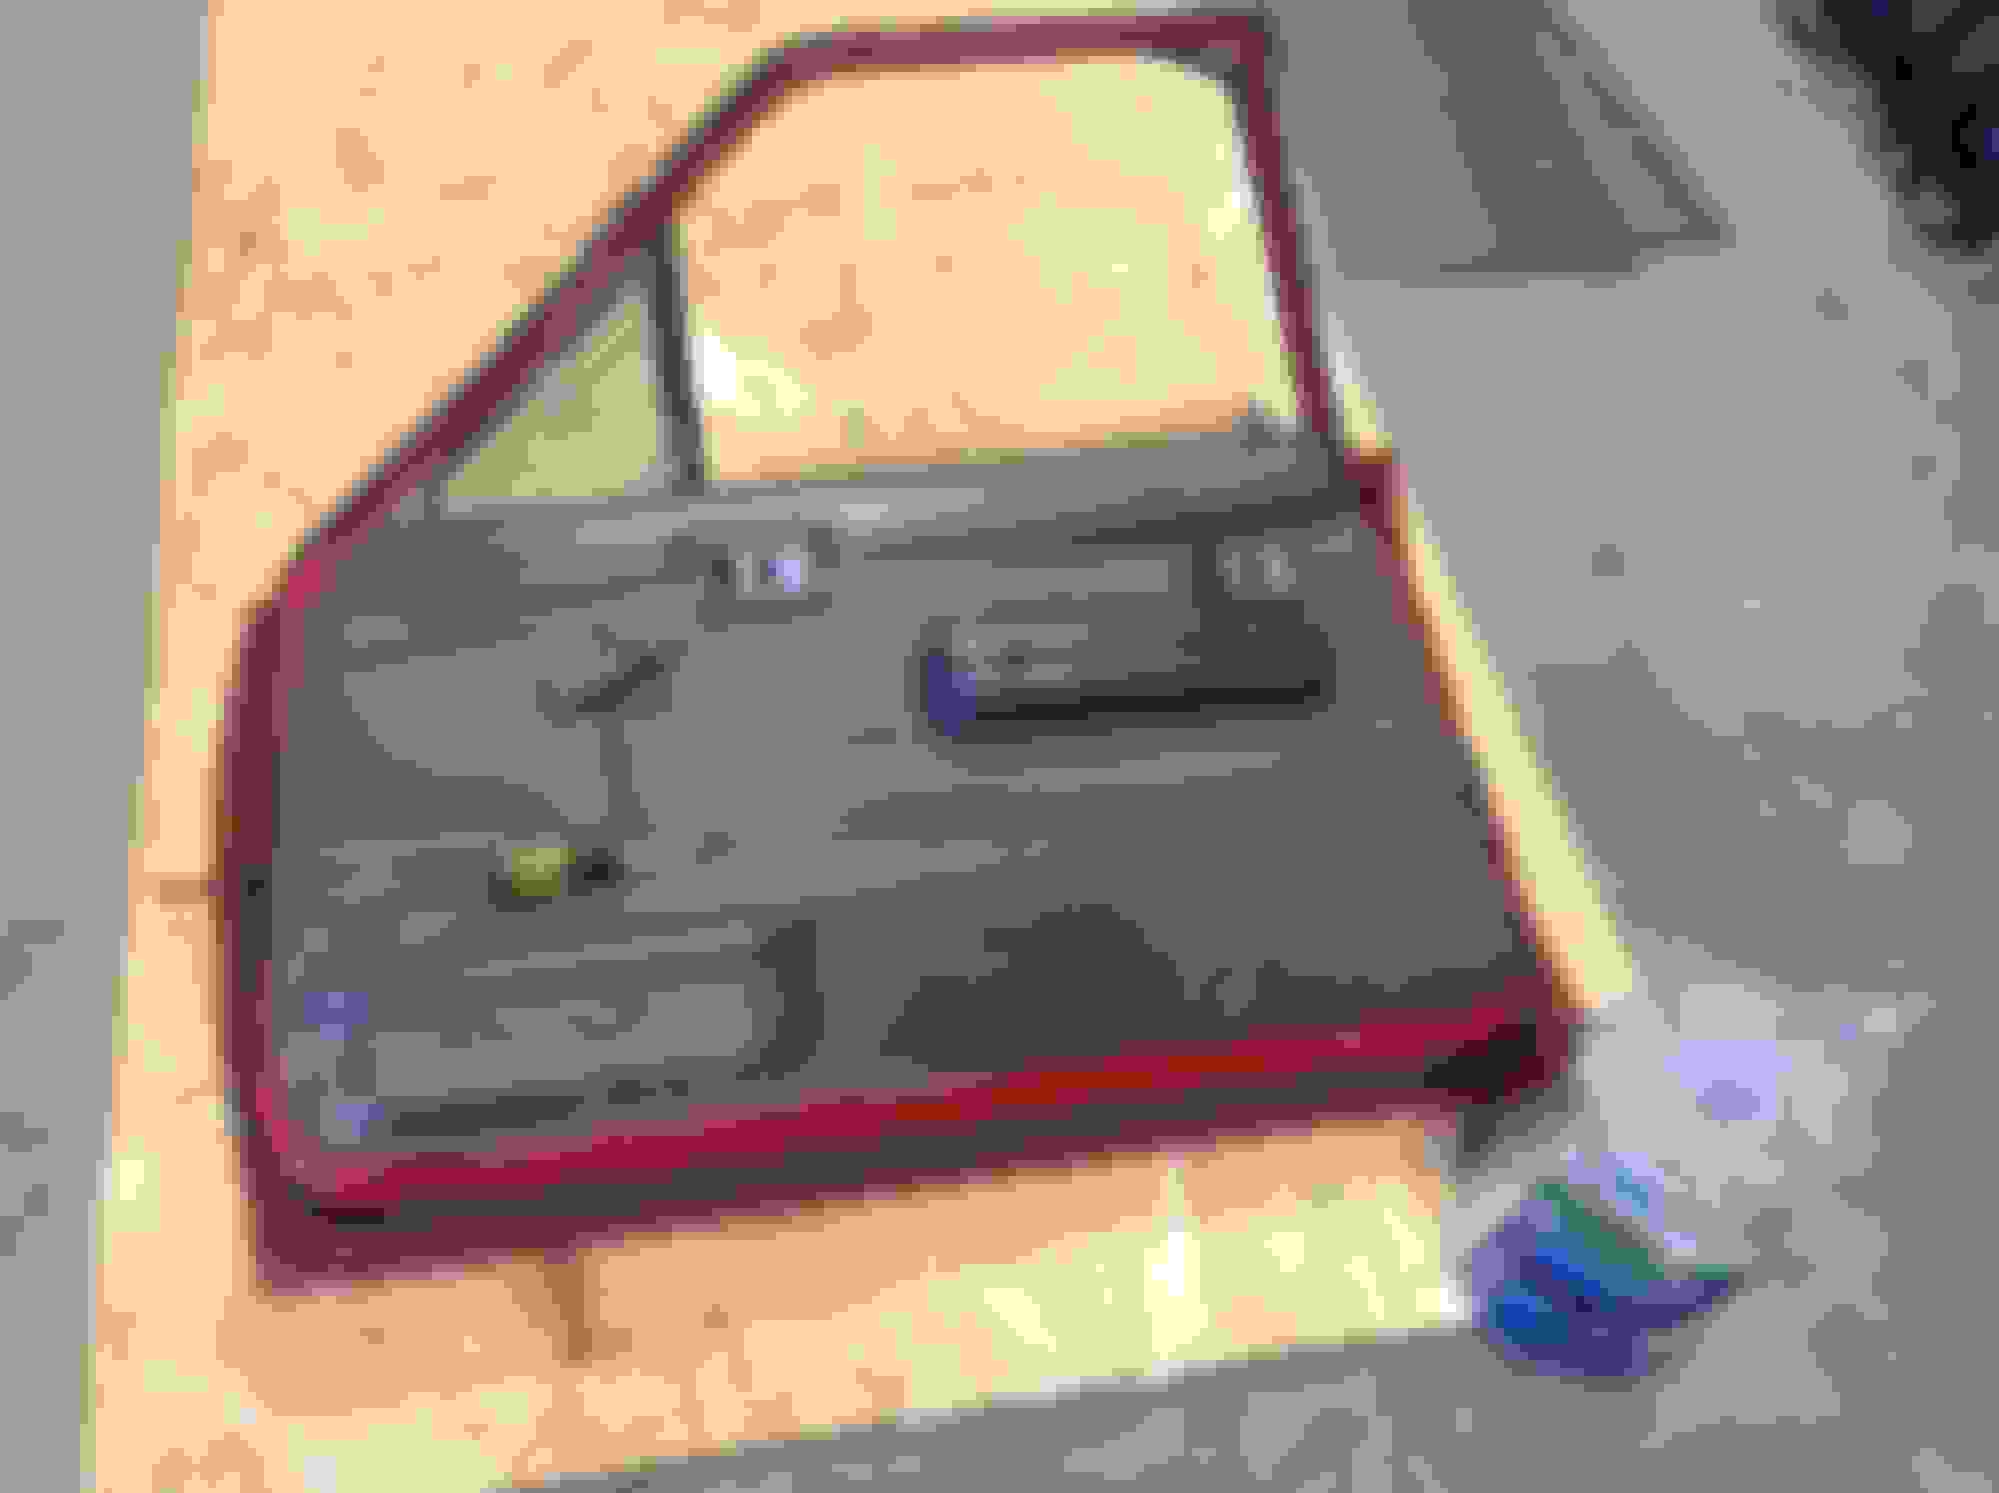
And getting ready for another project- getting the frost king peel and stick insulation installed inside the doors and some cleaning of the interior panels:
looks to be just a bit of oil and clutch material clean it up good and should be ok. make sure your dust boot on the clutch release mech is in good shape and not missing
looks to be just a bit of oil and clutch material clean it up good and should be ok. make sure your dust boot on the clutch release mech is in good shape and not missing
Sweet, I feel better. When I first pulled everything out and looked in there I thought it looked pretty good. Then I started reading all these posts about people finding oil and leaks in the bellhousing and my imagination started to run. I will certainly clean it well. The transmission is heading to a shop up here for a good service before going back in the truck.
the only oil i see in there is on the right hand side that appears to either have come from your hand or the right rear of the motor. the side nearest the bell housing appears to be free of any noticeable leak.
if its getting serviced, as in rebuilt then they should replace anything bad and reseal it for you.
I also took a couple pictures of the interior while I was thinking about it, for anyone interested.
Pretty clean overall. I do plan to pull the carpet and clean it, maybe a little paint here and there and some seat covers. Otherwise, not too bad!
Nice you got the altimeter gauge on your dash, those are pretty rare and usually came on turbo models, always wanted one! Builds looking good, keep it up
Saw one of your earlier pictures and I am also looking at doing a rear fender repair. Stumbled upon alfaparts.net which has a pretty good selection.
Thanks man, yeah, I think I looked at that site when I was researching how I wanted to fix my 1/4s. Your post is timely though as I spent the day focusing on that repair.
Today is my birthday and my wife asked me how I'd like to spend the day. So after a nice breakfast with all my girls I headed over to the garage. I stopped at the grocery store and picked up a 12pk of beer on my way. I had a couple of buddies from work come by and work with me, too. The first thing we did was get the lid off:
Getting the 1/4s removed has been something that has been stressing me out a little- really wasn't sure exactly what to expect. I have no body work experience and I've been a bit nervous to tackle it. But with beer in hand and most of a day to work it began.
Once the top was off the tailgate was removed, the tail lights and then the interior panels:
There are little dimples all the way around the edge of the panel where it is welded:
Got those drilled out along the inside edge and started peeling it back:
There were two more rows of welds along the top of the panel:
Then along the inside of the door and along the bottom of it:
Happy frigging birthday. I'll open a beer and have one with you.
How bad is your quarter rust?
I'm considering a quick removal and cover up with some fender flares to hide it. Should cost less and look pretty decent as well
Thanks, still enjoying my beer!
The flares will most definitely be more cost effective than these fiberglass panels I ordered. I am fortunate that I'm able to do the fiberglass and it is certainly my goal that I be able to drive this truck for many years to come. Here's some of the nastier areas I'll have to contend with:
The top one is where the tailgate bolts up on the driver side.
And then there's this:
 01-13-2016, 03:58 PM