When you click on links to various merchants on this site and make a purchase, this can result in this site earning a commission. Affiliate programs and affiliations include, but are not limited to, the eBay Partner Network.
About four years ago I traded my 1993 2wd pickup for this rig. The pickup was REALLY rusted, came down from Cape Cod, but the motor purred like a kitten. The guy wanted the motor and had this 4Runner to offer for trade. He had traded it from another guy for some welding work. I later was approached by a local sherrifs deputy who had been the owner before that (pretty small town) and he said he got it from a guy who had it sitting in his yard for five years. The 4Runner ran well enough to drive the three miles back to my house, but not without overheating. The front brakes were shot and I quickly realized I would have my work cut out for me. I needed this to be my DD and I had a two year old girl and another on the way.
In the first month I replaced front brake rotors, calipers and pads, new radiator and hoses, water pump, changed out the tranny fluid, a good tune up, greased everything, put a new set of tires on it and gave it a thorough cleaning. The picture above is right after finishing all that.
The next year would prove to keep me busy as I replaced things as they went so I could keep it on the road.
In that time it got a new fuel pump (changed out while sitting in the comfort of the back seat, thank you Toyota!) new fuel filter, new front hubs (I had to drive it with them locked for a while as one side was seized up), a starter, water hose after water hose- for a while I was changing one every week in various parking lots around town, doing my fair share of polluting as coolant dumped every time, and more stuff I'm sure I'm forgetting. But it started every day! I couldn't believe how reliable it's been. Remember a couple of years ago we had that polar vortex? It fired right up at -8 degrees. As I grew more confident I started doing jobs that didn't have to wait until things were broken. I pulled the rear brakes apart and replaced the cylinders and springs, brake lines, painted and got those all pretty.
About this time I started keeping better record of my work.
Here's the front end about a year ago:
There was so much slop I couldn't get anyone to align it. So I replaced the tie rods, the steering stabilizer, idler arm, pitman arm, sway bar linkage, ball joints, shocks, took a grinder and cleaned, painted with por-15, replaced all the seals, CV axels, bearings and everything else I could justify spending for while I had it torn down.
Here are a few pictures along the way:
I removed the steering knuckles and cleaned and por'd them, took a grinder and wire brush to the a-arms, frame and anything else I could get to, painted, sprung for the Bilstiens, put it all back together and it looked like this:
Sounds like you have been getting several of the issues worked out. After the head gasket is fixed shouldn't be much left. Looking forward to your build.
So that was the beginning of this year. I have been fortunate in that my in-laws have a large garage that they offered to let me set up shop in. I built some work benches, pulled the truck in and have been slowly chipping away at it. The head gasket went with about 275k miles on the motor and after doing a lot of research I decided to take the opportunity to put a new motor in it. With my wife's somewhat reluctant support I pulled the registration and insurance and we bought a 2003 4Runner to use while this one is down (quite a shock going from the '87 to the '03!). So with time to work, a nice shop to work in and a pre-determined budget I made a plan:
Pull the engine and have a professional rebuild it.
Pull the transmission and have it serviced.
Rust remediation and repair, including new front fenders, replace tailgate and a set of fiberglass rear quarters (which I've already ordered from Corey at toyotafiberglass- should be here next February) as well as minor rust around the windshield. A grinder and paint to as much of the frame as I can. The frame is solid, just surface rust- I'd just like to slow it down as much as possible.
Replace rear leaf springs with a set of 2" Old Man Emu leafs and a set of ball joint spacers up front.
A good cleaning and a paint job.
I found a guy in Winston-Salem that has been building engines for over thirty years and he's going to do a long-block build for me, including a new head.
Local guy here in Boone gave me a good cash quote for the transmission.
I am going to attempt the fiberglass panels on my own. I feel pretty confident I can do the job. Corey, who I know has a really great reputation, has been very supportive and has happily offered opinions and advice.
Also a set of Bilstiens shocks to match the front.
The interior is in pretty darn good shape. I've read a few write ups on painting the interior panels, and I'd like to pull the roll bar and refinish it; mostly minor cosmetic stuff.
I'm just about ready to pull out the engine. I plan to pull the engine and transmission out still attached to eachother.
While disassembling everything I decided to remove all the a/c components. It never gets too hot here in the mountains and I'm more of a windows-down sort of guy.
Many of my water lines are relatively new, so I don't think replacing them all is necessary.
Everything else will need a good proper cleaning.
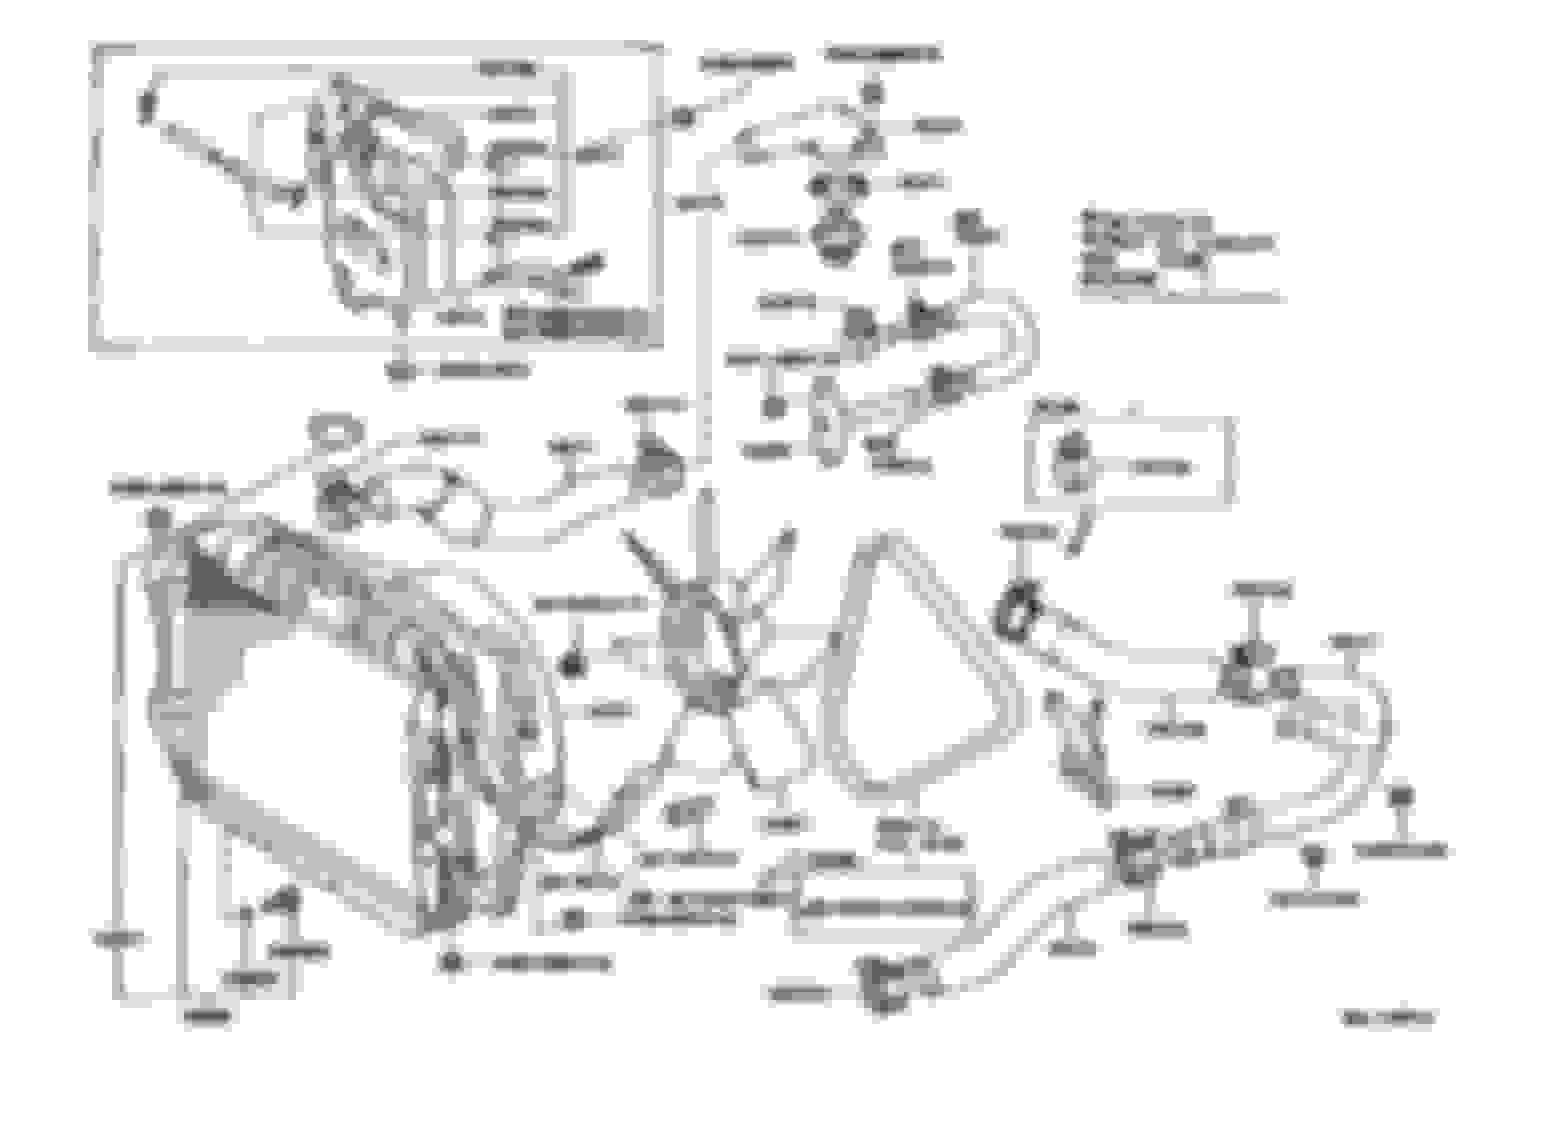
I took a lot of reference photos to help me reassemble everything.
I also found a couple of good schematics some might find useful:
And this pretty much brings us up to date. We have an appointment in Winston in three weeks, so my goal is to have the motor out by then so I can take it with us down the mountain and drop it off to be rebuilt!
Progress has slowed as family happenings take priority, but I do get a little time here and there.
Got the brackets and hard water lines cleaned, degreased and prepped:
And then painted:
I'm still hoping to finish pulling the motor out before the end of next week, but we shall see...
Did you order fiberglass panels or did you find metal? You can always cut out the rust and glue metal in the holes from behind and then fill with fiberglass and fiber mat.
Mine had the same exact rust patterns. It came from the mountains of VA.
Last edited by Nervo19; 10-20-2015 at 05:14 PM.
Reason: no reason
Thanks Nervo. Yeah, same mountains that I'm in here in NC. Tough winters...
I went ahead and ordered fiberglass. I have zero experience doing body work/metal fab and one of my goals is to do as much of the work on this as I can myself. I read and researched a lot on metal vs fiberglass and with time, capabilities and money considered I opted for the glass; I'll be able to install it myself and it'll be a permanent fix.
The new panels should be here early next year, giving me a fair amount of time to finish the motor and get ready to install them.
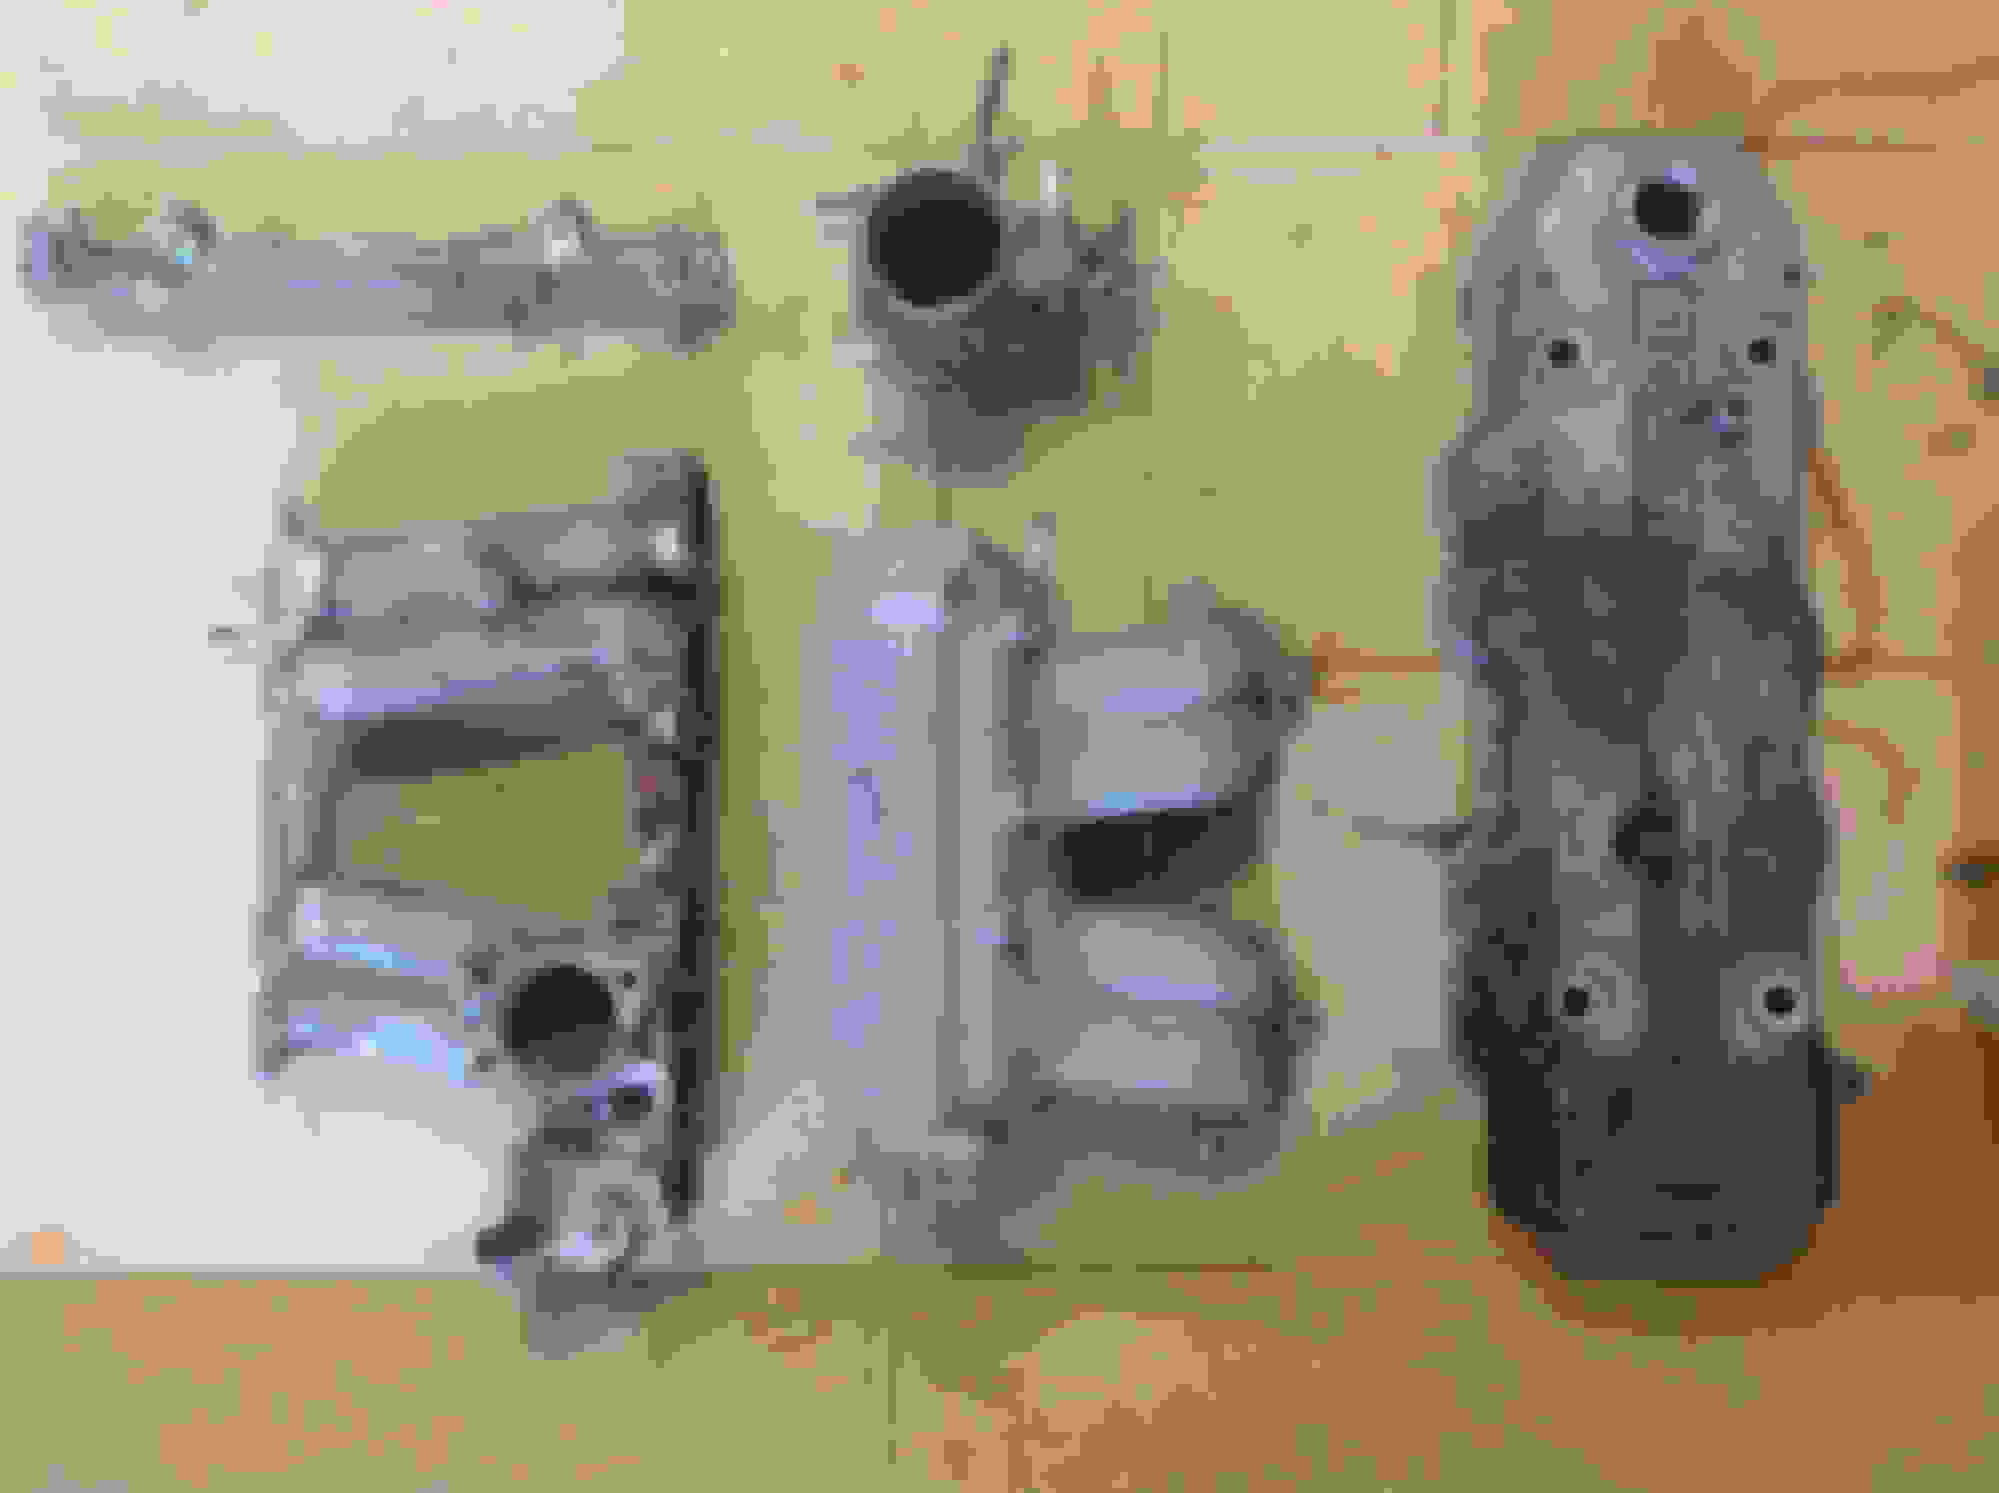
As the big clean continues I am now faced with how to clean a really nasty intake:
Kind of hard to tell from this pic, but because of the head gasket failure and 260,000+ miles the inside of this sucker is caked in sludge and carbon. So far I've unleashed two cans of brake cleaner into it with minimal results.
I've read a lot of different opinions on cleaning these. At this point I think my next move will be taking it to the the self serve car wash and power washing the crap out of it, literally.
Advance Auto sells a 5 gallon bucket of brake cleaner for about $50- I was considering soaking it in that for a few days, but not cheap.
I'll post some pics of it after the power washing.
I pull the Throttle Body off and take it to the carwash. If there are big chunks of carbon in it I will take a long rod and break the chunks loose. Wear some rubber gloves when cleaning the carbon. That will stain your hands for quite some time.
Thanks Terry. I read through your write up and I'm a little worried about one thing: I already removed the throttle position sensor- is this going to give me problems? I was worried about getting it wet/exposed to the brake cleaner.
Thanks Terry. I read through your write up and I'm a little worried about one thing: I already removed the throttle position sensor- is this going to give me problems? I was worried about getting it wet/exposed to the brake cleaner.
Welcome to YT, and Nice Runner you have there.
Sorry to hear about your Head Gasket, But seems as though you are not afraid to get your hands dirty!
As far as the TPS goes.......You will have to set it up from scratch. I like to use 4Crawlers write up online. Its kind of a pain in the butt to do, but once the TPS is set right, you typically never have to mess with it again.
Man, thanks Gizler! The 4crawler write-up is great, I can handle this.
I have always loved Yotatech!
No Problem.
Let me know if you have any questions with the Setup.
I have found that if you can go to a local U-pull it (I typically hate to do this) , and locate a truck the same or similar year as yours. You can cut the TPS plug off with a little bit of harness left and use that to make the procedure easier. You can them use alligator clips to attach to the wires rather than trying to stuff them into the TPS housing itself.
Finally got some time with the runner today. Wish I could work on something more exciting than cleaning. I really need to schedule a day to get this motor and transmission pulled out...
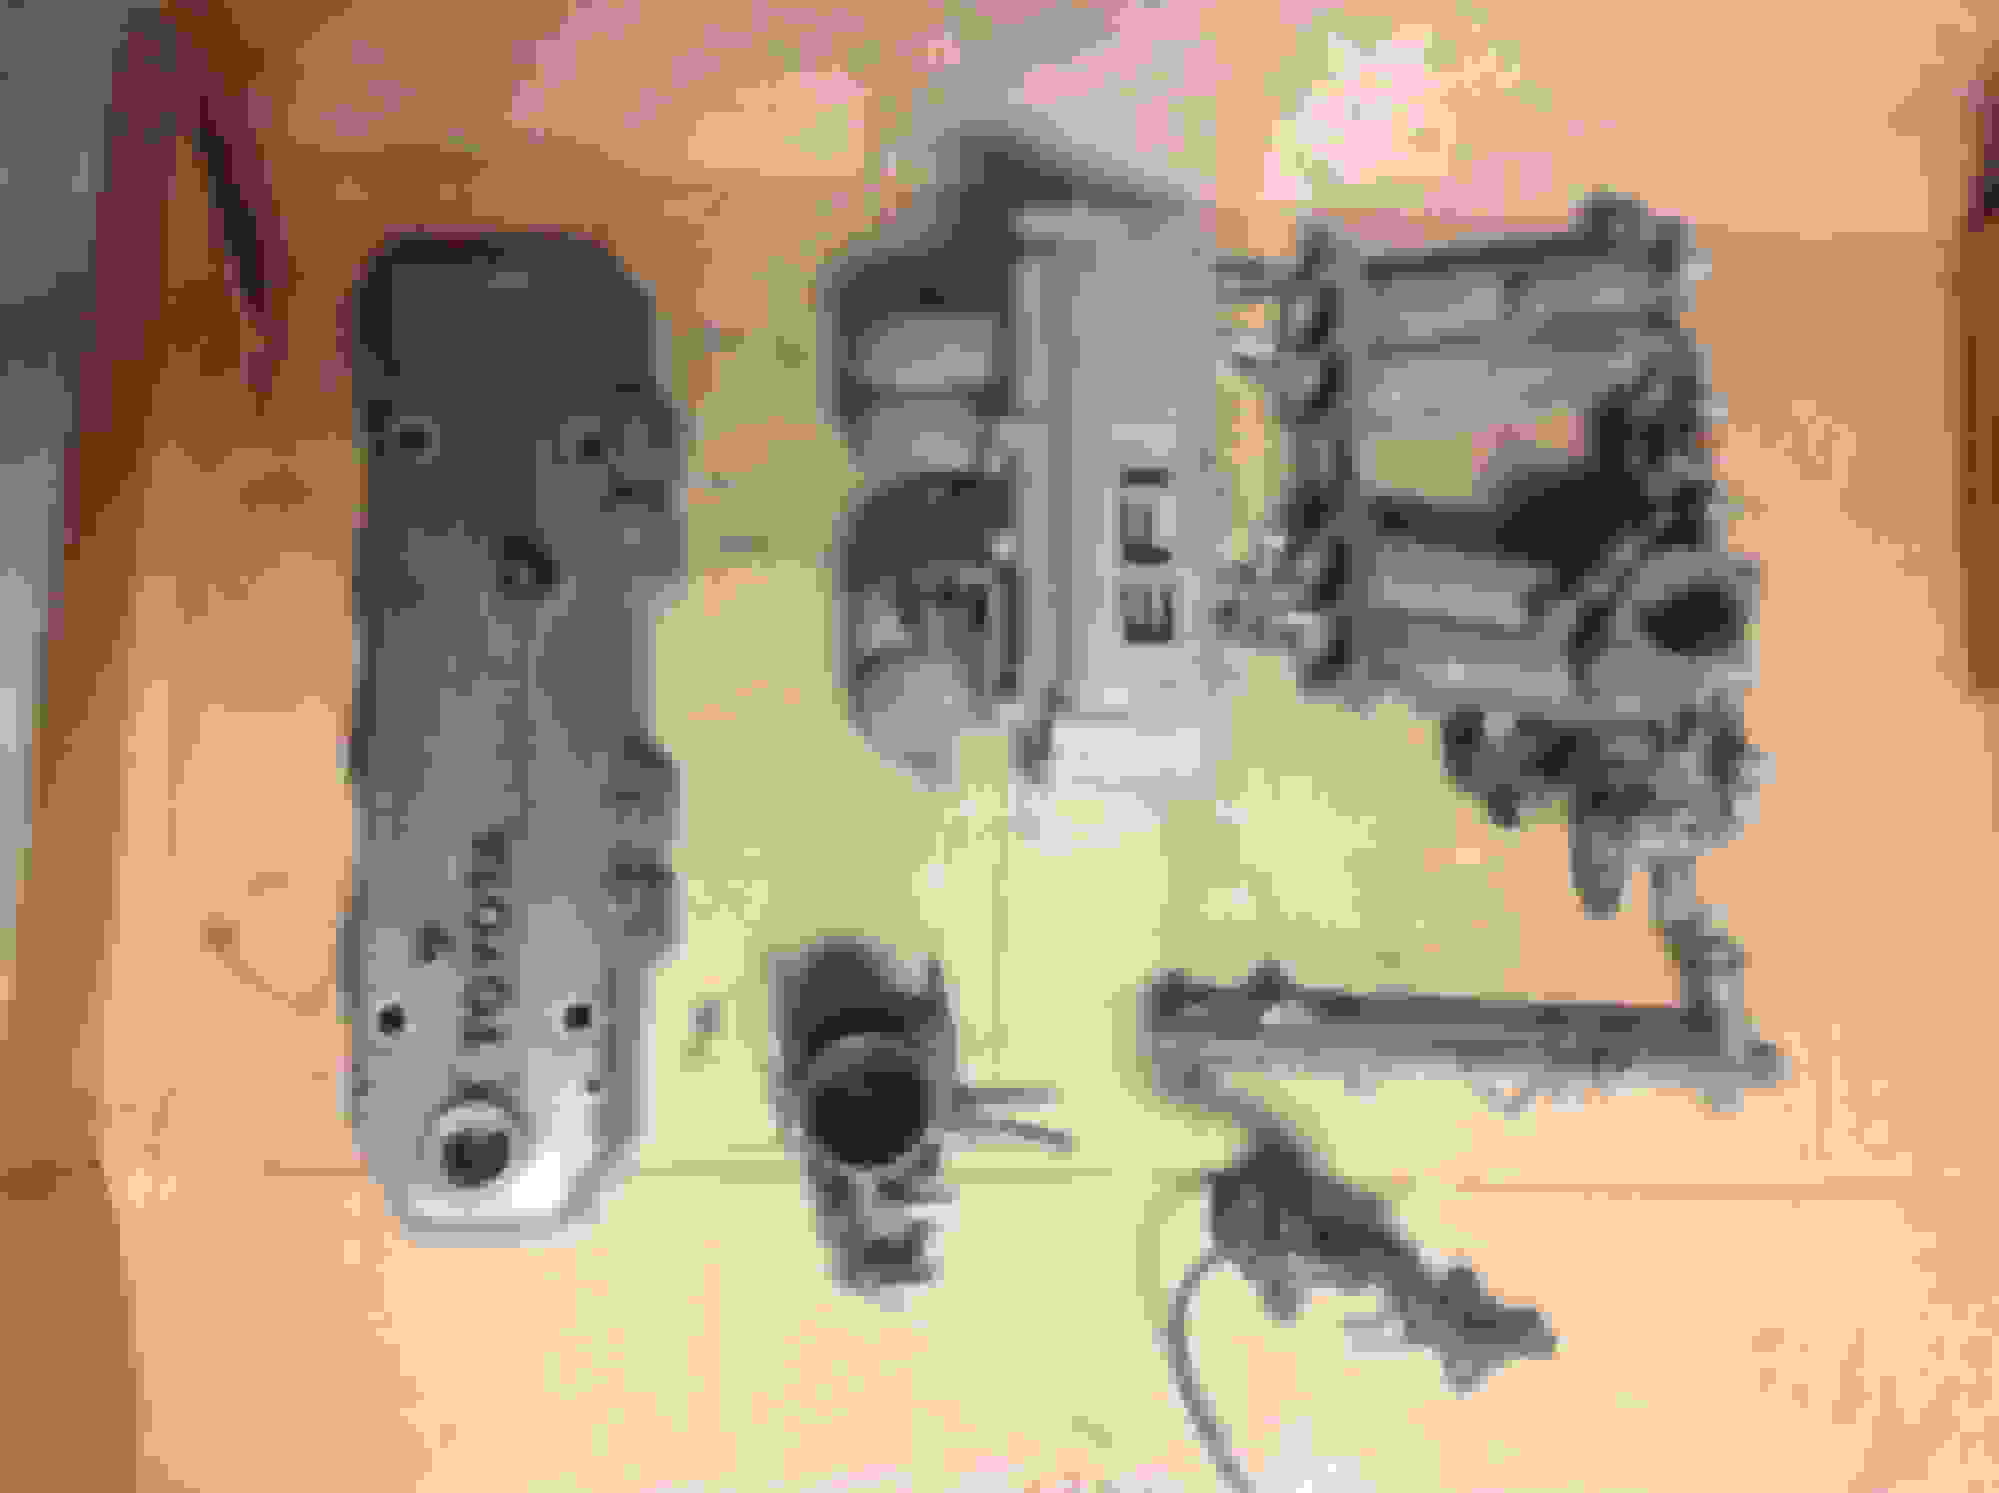
But there is some progress. Today I took the intake and valve cover to the car wash. Terry87 had some great advice on this one.
Here's the lower intake before:
And then after a trip to the self serve car wash:
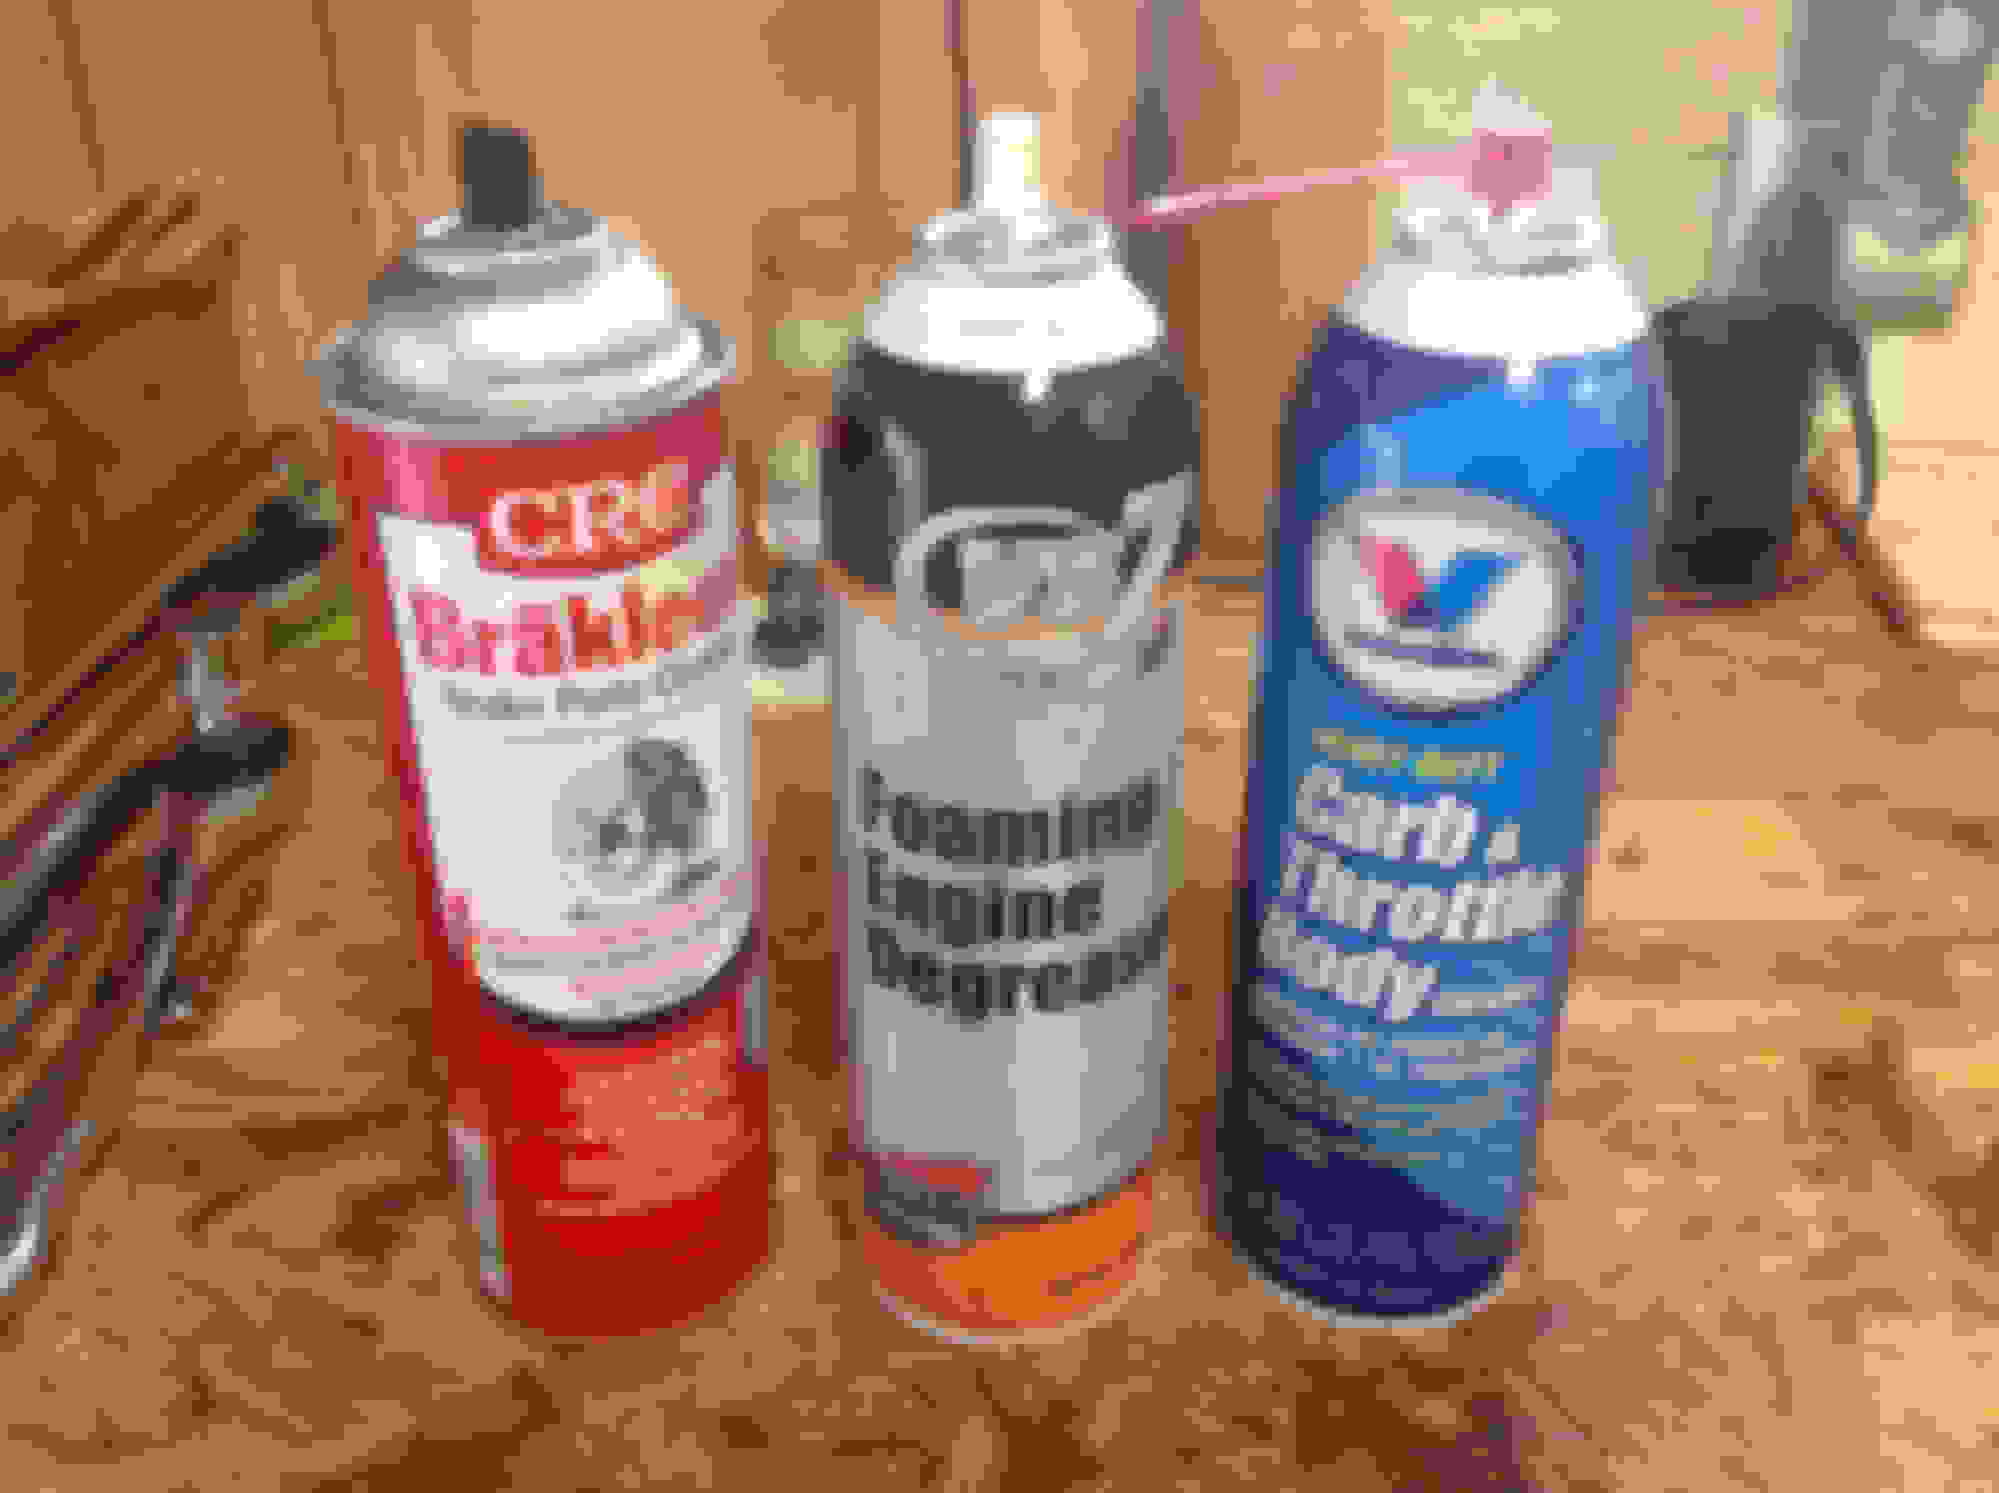
The tools I used next:
The Mighty VS7 came from a mechanic buddy of mine. It was great because it foamed up really well inside the intake, then just washed it out.
Then some more elbow grease, shop rags and some paint:
When the gasket set gets here I should be able to start reassembling the intake. I also started cleaning out the EGR and started a list of rubber hoses I need to buy.
I live in the mountains and after lots of research I've decided it's worth the upgrade to a high flow exhaust system, starting with a nice header. Even in-town driving will benefit from the increase in HP and the LCE header seems to be a favorite.
Also added a set of silicone vacuum lines from LCE:
Very exciting.
I have a buddy lined up to work with me this coming weekend. The goal is to finally get this motor pulled out!
 10-01-2015, 10:17 AM