When you click on links to various merchants on this site and make a purchase, this can result in this site earning a commission. Affiliate programs and affiliations include, but are not limited to, the eBay Partner Network.
Man, i really do love that bed. looks like itd be perfect to put jerry can holders on the back by the tailgate and a full size shovel on one side with a hi lift on the other side.
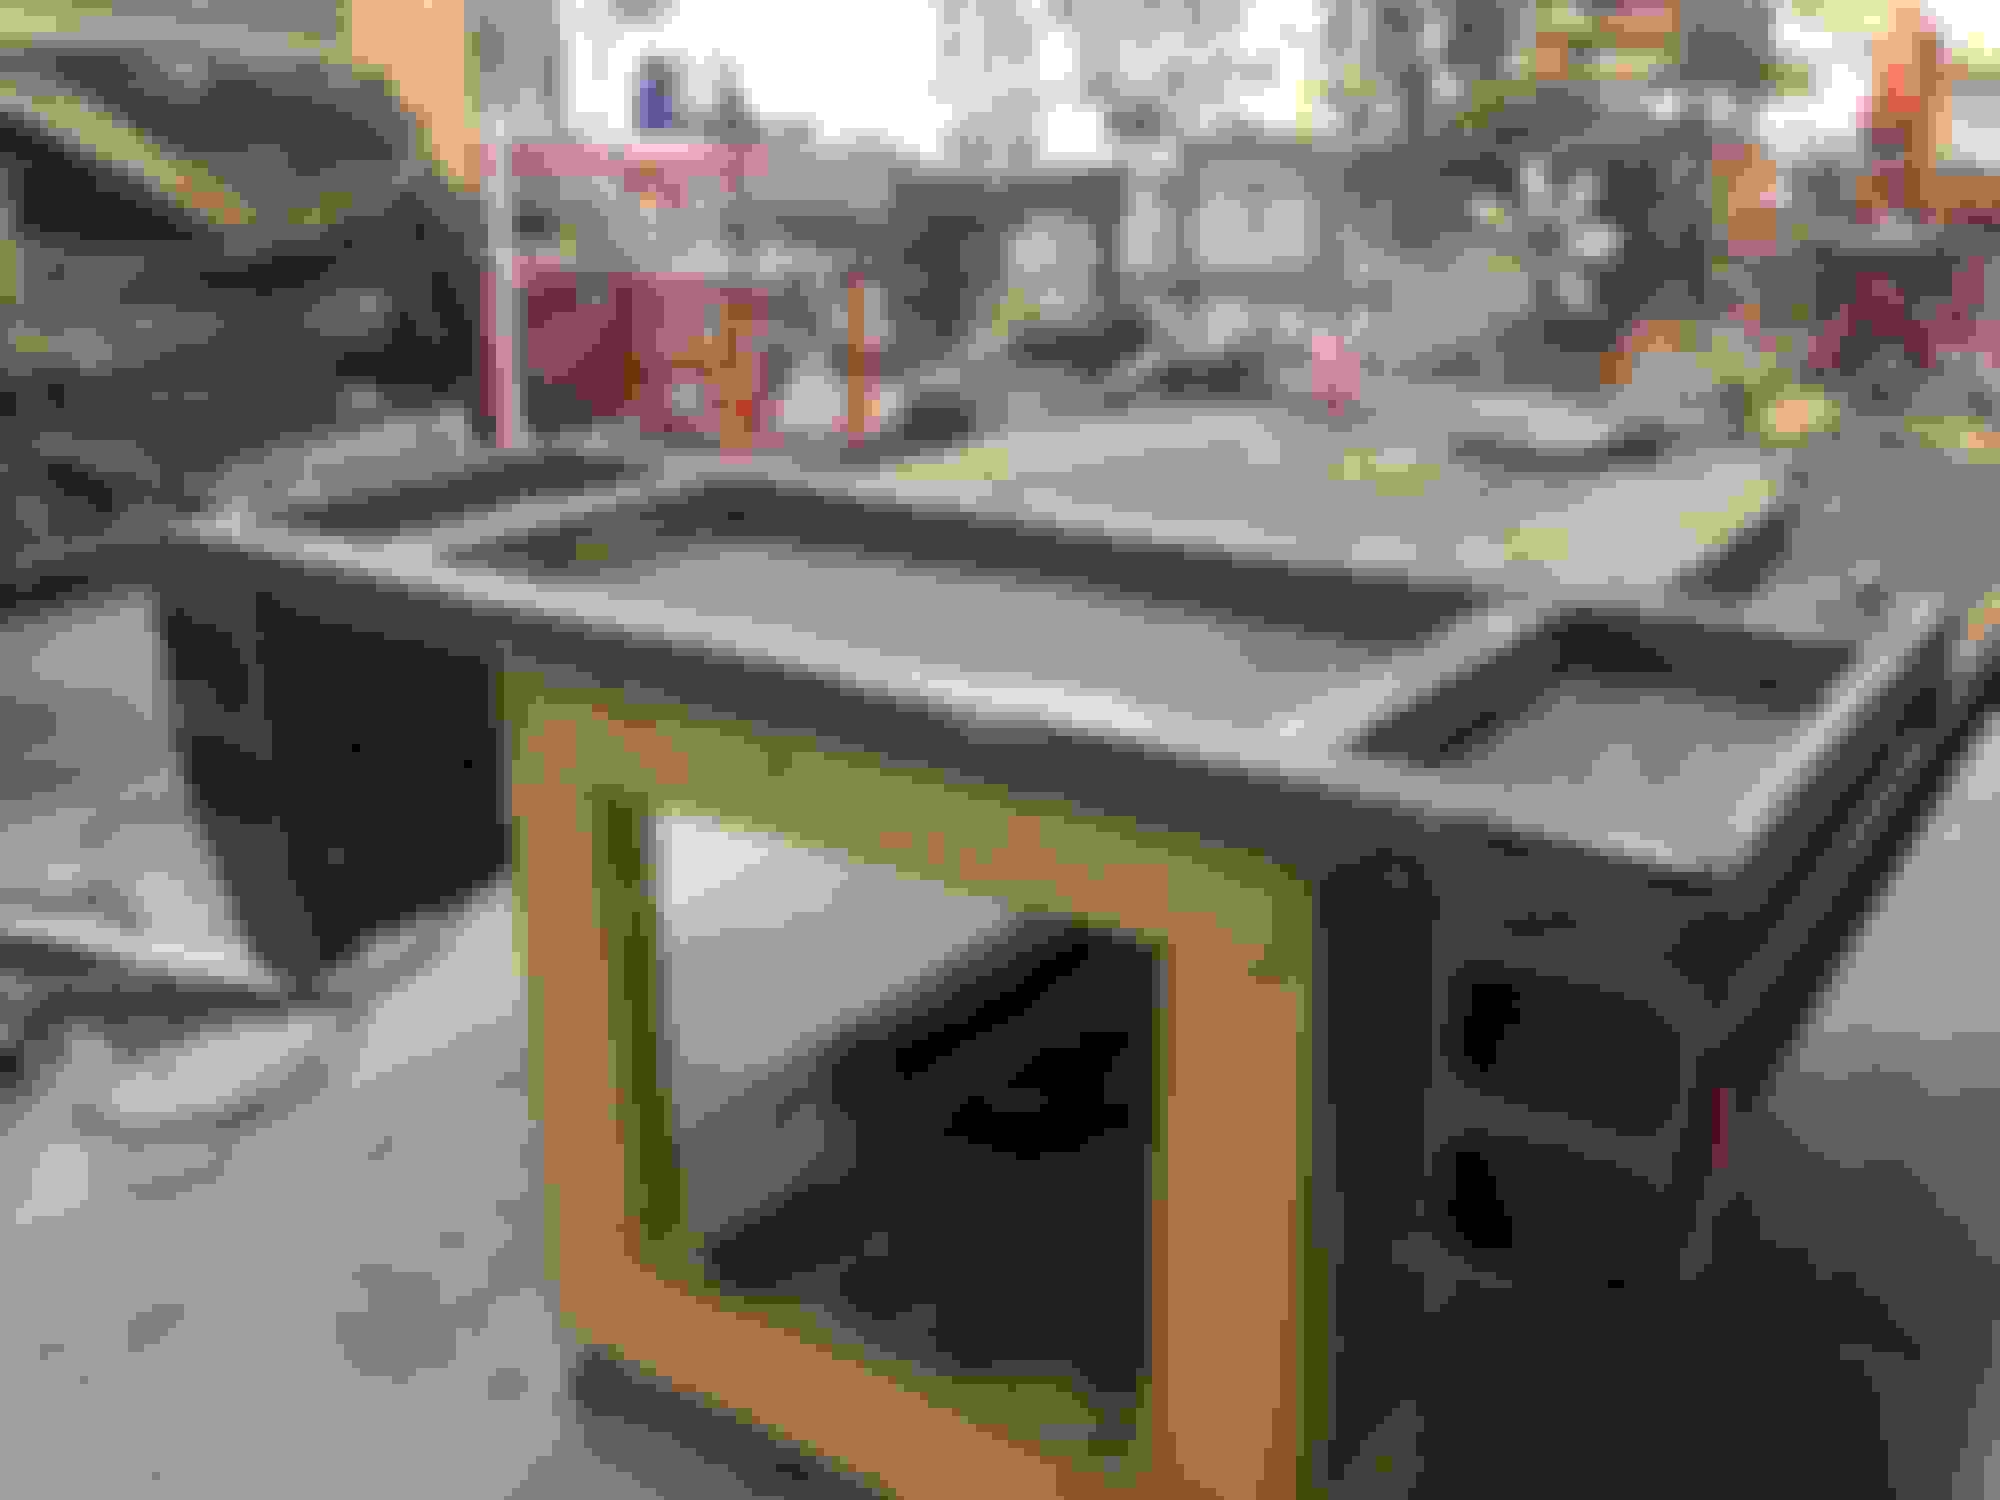
I got started on the repairs to the box this weekend. As you can see the whole sub frame was either rotten, or very thin, so I cut it all off.
I had a lot of 1-1/16x2-3/8 tube so I uses that instead of the 2x2 the bed originally had. The inner beams are just laying there, not welded in. I ran out of gas for the welder.
Finished the the subframe on the bottom side, flipped over to now repair a few thin spots on the side steps, if you call them that? Subframe Complete. Still need to test fit and fabricate the mounts. Now to repair the side steps, and add a headache rack, and a removable rear rack. This area was covered with aluminum checker plate, so you can imagine the mess the different metals made underneath. Nothing some new flat plate won't fix.
Me too! It's not finished, but I made some good progress today.
Started by removing my bed and putting the logger box on for a test fit, and to finish the mounts. Going to need to extend the fenders, and add mud flaps. Plus the bumper needs to be re-worked. Going to flip it around and put the hitch inside it instead of below. And taper the edges a bit and add tow hooks.
Next I started on the headache rack, and the stake pockets in the rear, for the removable rear rack.
I had to put the box back on so I can drive this week. I ran out of wire for the welder, but tomorrow hopefully I can finish the welding, get the sandblasting done and start body work/primer. Then next week comes paint! I hope to have this on the truck next weekend. Stay tuned.
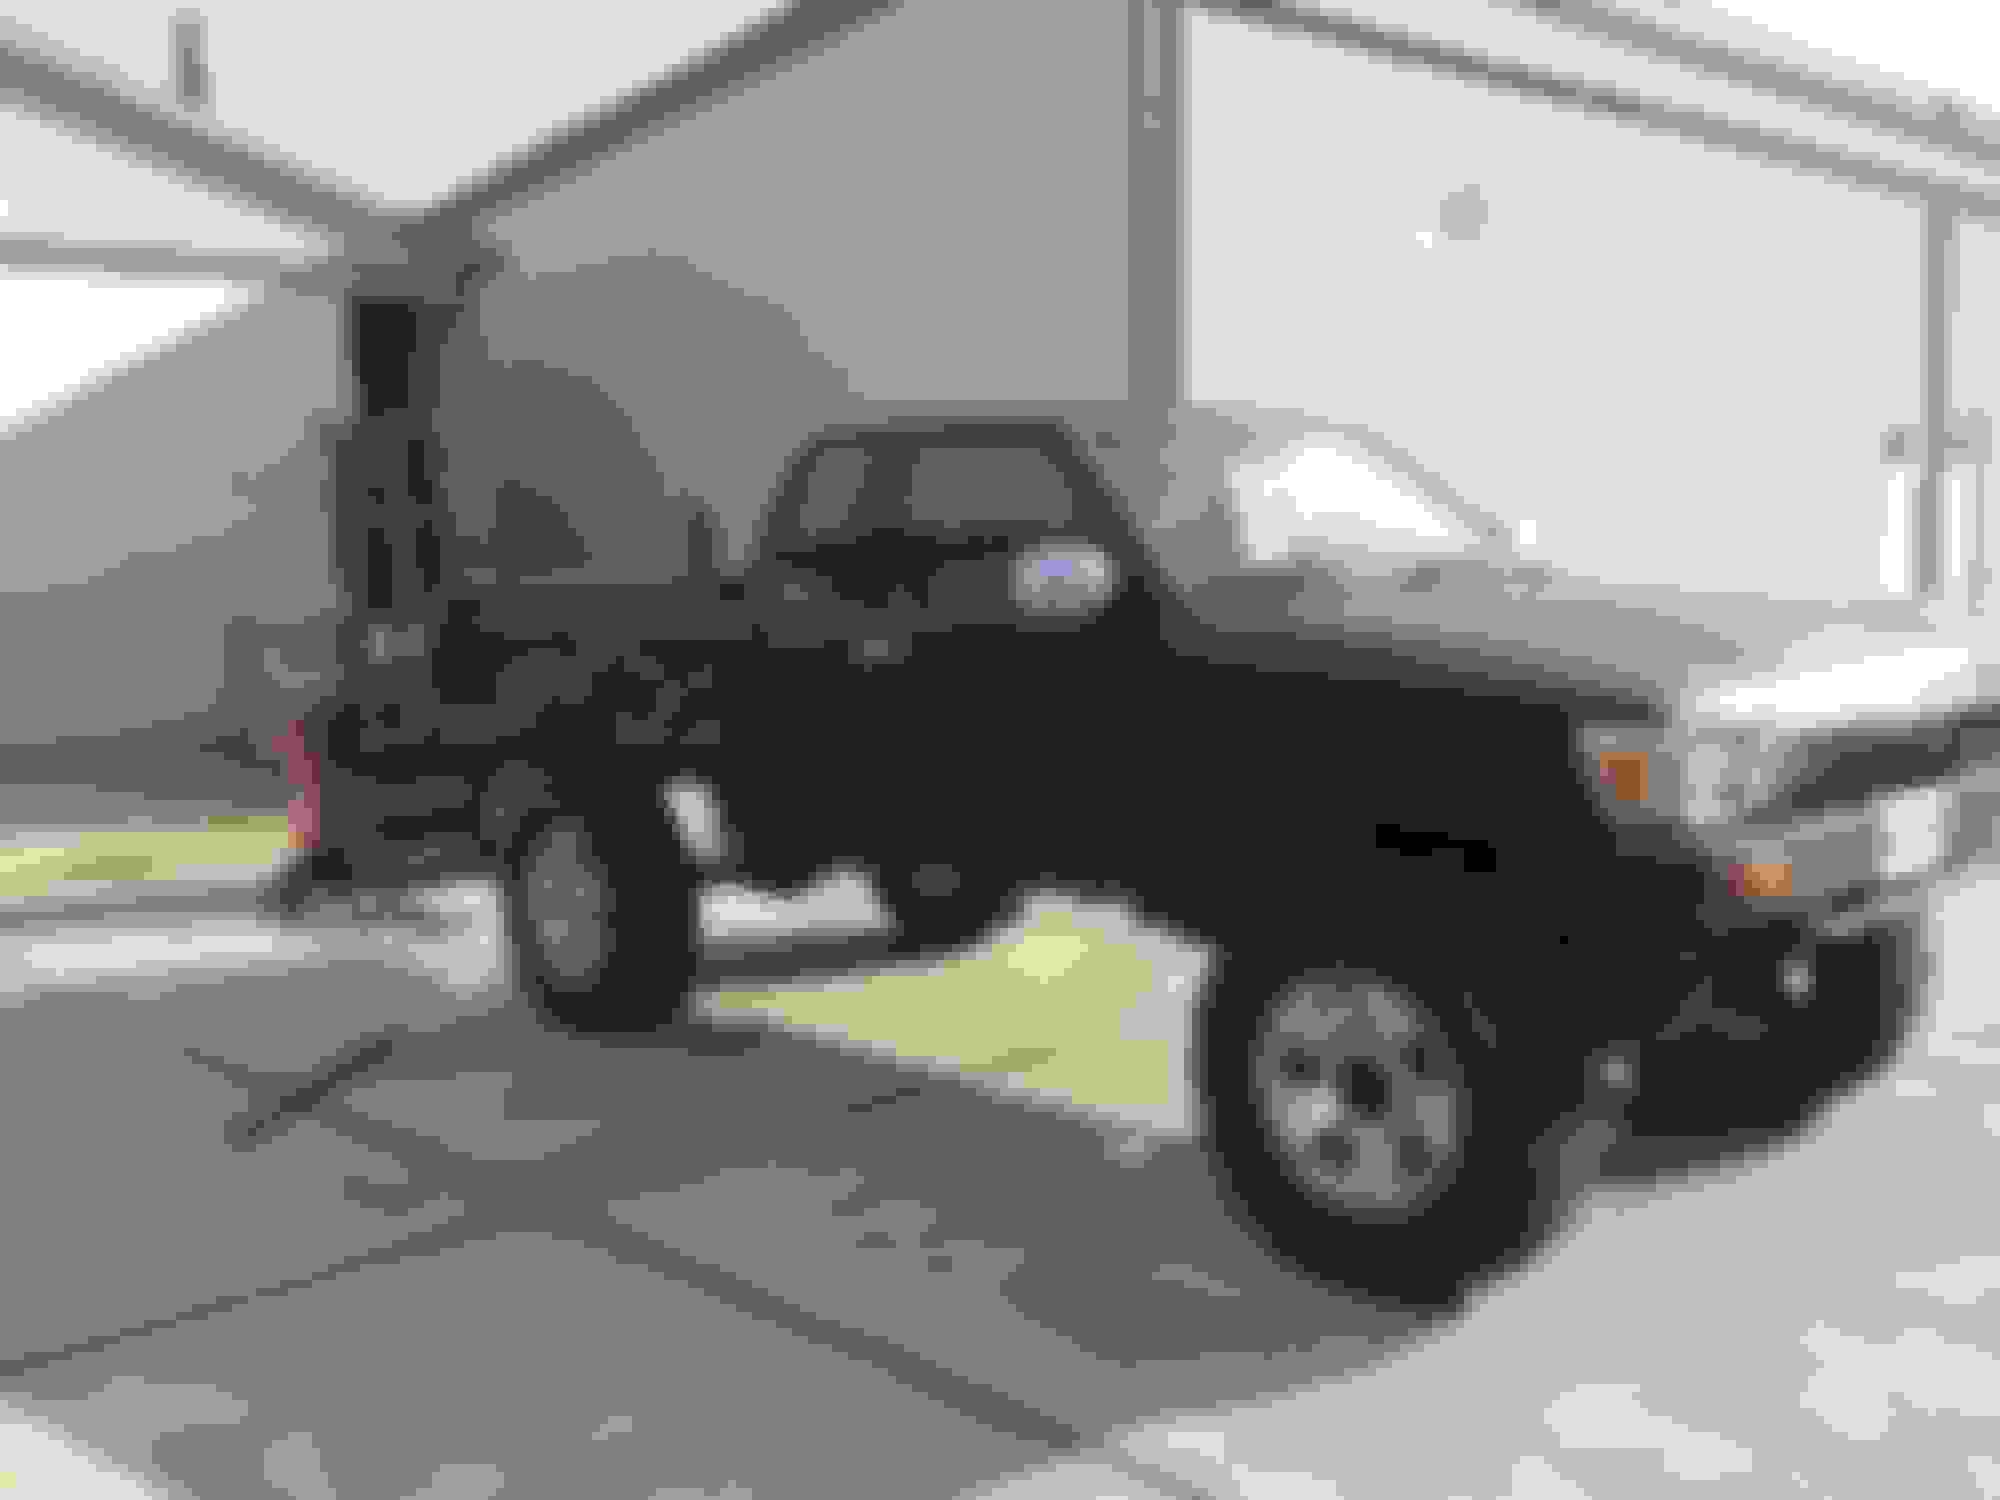
So close! Hopefully will be on the truck next week! Tremclad Rust Paint Flat Black thinned with Lacquer Thinner, sprayed on amazing well, wanted a cheap paint job that would easy to touch up if i scratched it.
Ran out of time, still have to modify the wiring for the lights, so I just zip-tied the factory ones on for the day. Still need to build mud flaps, but the rear flares are on. Used the rubber flares off a Kenworth hood from the local truck salvage yard.
How did you swap the cabs? Trying to do the same type restoration project myself.
Thanks,
chip
Start by draining the coolant, removing the rad hoses, rad and heater core hoses. Disconnect and remove batter. Disconnect grounds (back of engine to cab). Remove starter wires, and any wiring that goes from the engine to the inner fenders. Remove intake and intake hoses. Next in the pass side kick panel remove the ECM, unplug the wiring and pull it back into the engine bay. If you have AC, have the refrigerant reclaimed and disconnect lines. Disconnect rear wiring harness (under pass seat). Disconnect power steering lines. Manual, remove center console and shifter boot, Auto same thing but also linkage. Remove the hood for good measure. Depending what you use to lift, extra weight may be an issue, so take out seats, fenders, doors etc. That's up to you. Unplug wiring under cab (start beside starter and work back), O2 sensor, reverse switch, 4x4 switch. Remove 6 body mounts 2 behind front bumper, oh yeah, remove the bumper, 2 under kick pannels, and 2 under rear seats.. (14mm socket). THEN LIFT AWAY! Good luck.
It has been a while! Life is always in the way of the fun, but I have managed to do a few things. The engine has been ready on the stand awaiting the day of the heart transplant, i will hopefully find the time soon.
A new rolled Toyota arrived at a local wrecker, they know me so well they call when new trucks come in. A set of Bushwhacker OE style flares survived a rollover with minimal damage, so they will keep the front end of my truck legal and the tires are now in the fenders. The truck at the auto wreckers also has a nice skid plate made for a lifter IFS truck so that came as well.
Last edited by ianjadkins; 10-26-2017 at 12:27 PM.
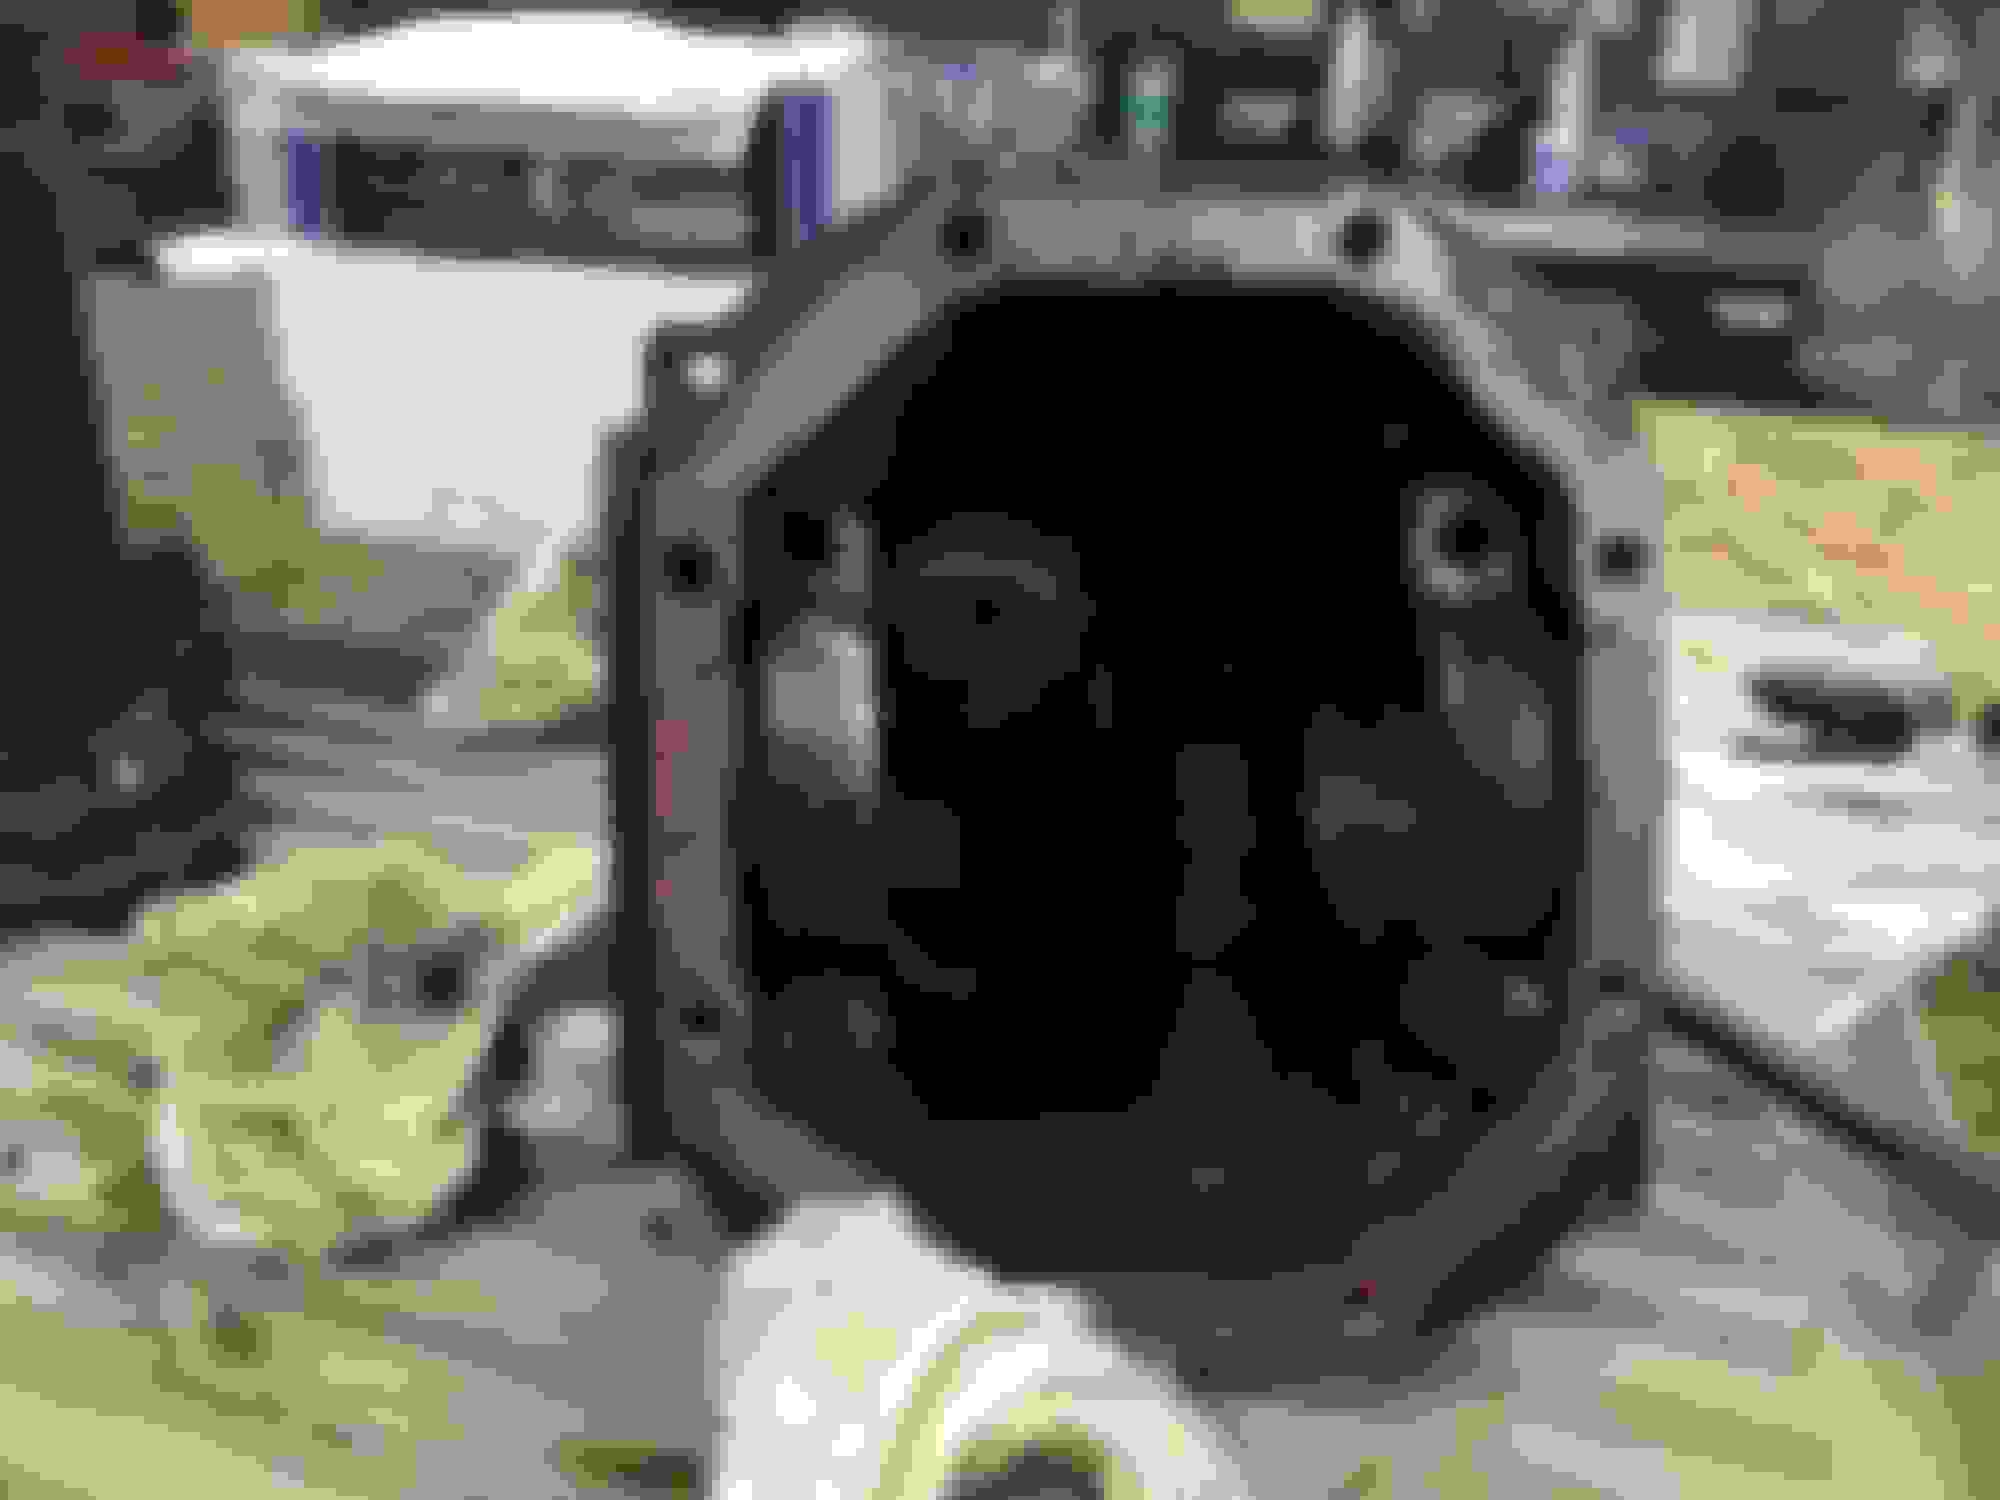
Finally had time to build a front diff. I had a spare 4cyl w/ 4:10 gears to rebuild so I ordered a 5.29 gear set and mini kit on Rockauto. Who knew when you order USA Standard on Rockauto.com you get Yukon Gears?!
Pattern using factory shims, I forgot to take a picture after the final adjustment.
Last edited by ianjadkins; 10-26-2017 at 12:28 PM.
i dig the hell out of this truck, man. i do think you should cut the headache rack and angle it forward a hair to match the body line of the cab. but i still love it!
I finally got the time to complete the engine swap. What a difference. I can see why so many people do this swap. Its like a new truck! Yeah New parts!
 03-30-2017, 07:50 PM