When you click on links to various merchants on this site and make a purchase, this can result in this site earning a commission. Affiliate programs and affiliations include, but are not limited to, the eBay Partner Network.
great progress man! i kick myself everyday because i had a center console that was in great shape when i bought my runner and i just tossed it!! i didn't know they were so hard to find, could've made a couple bucks off of it!
Glad to see you used steel to fix your problems.
I researched the fiberglass parts, and I have to admit they are very high quality but the time frame for getting them wasnt going to work.
While looking for some other parts for my frame off restore of an 1986 DLX 4R, I came across an 87 that was wrecked in 91, mostly parted out now but, it was in dry storage and had zero rust anywhere, I bought both quarters, he cut them out leaving about a foot of the floor board attached from the tailgate all the way to the front kick panel, so I got the rockers too.
I cant wait to start my build thread, this will be my first frame off
My 86 has rust on the rear quarters but not the places that you are repairing, it has 180,000 on the clock and I bought it from the original owner who used it for his farm, and zero frame rust.
I got it for a song and drove it home, still running until the snow ends
Good luck with your build
Last edited by SwVa_1stGen; 02-11-2016 at 02:40 AM.
I seriously doubt my repairs will last. I'm hoping that the combination of this being a nice weather car and being garage kept will help it last a bit longer. I have the Ranger for DD duty and this will only get driven on nice days and on wheeling trips. I hope that in 10 years or so when rust comes back I'll be able to afford paying someone to fix it right.
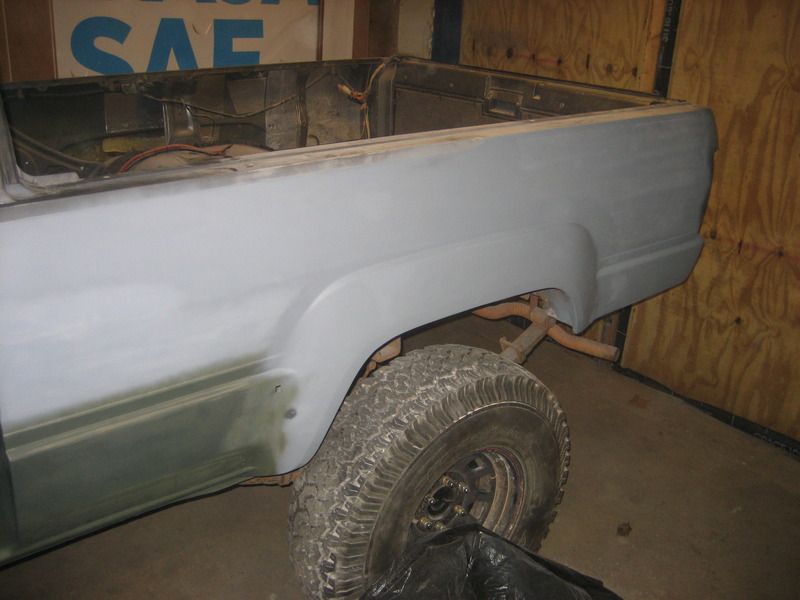
Today I finished the driver's side of the body. I had a few little tidbits to do around the rear wheel arch, the rocker, and the top of the windshield. Well I knocked those all out today.
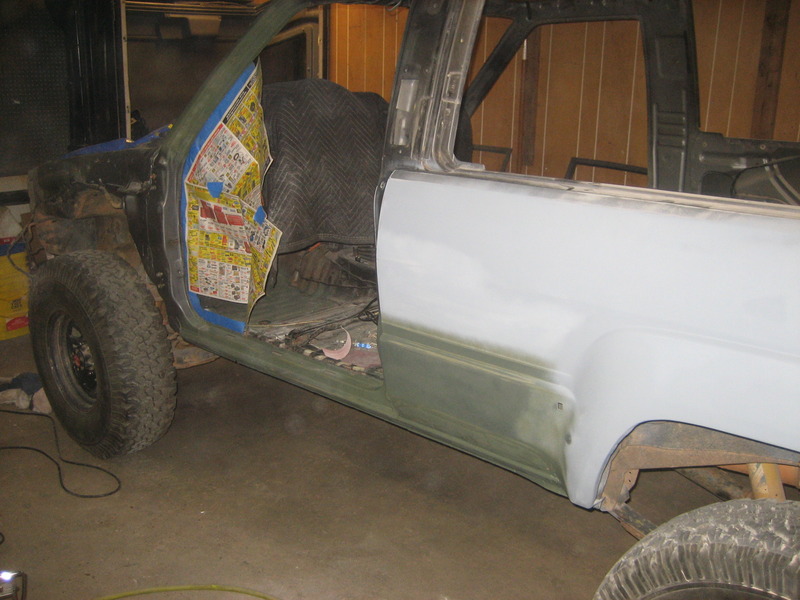
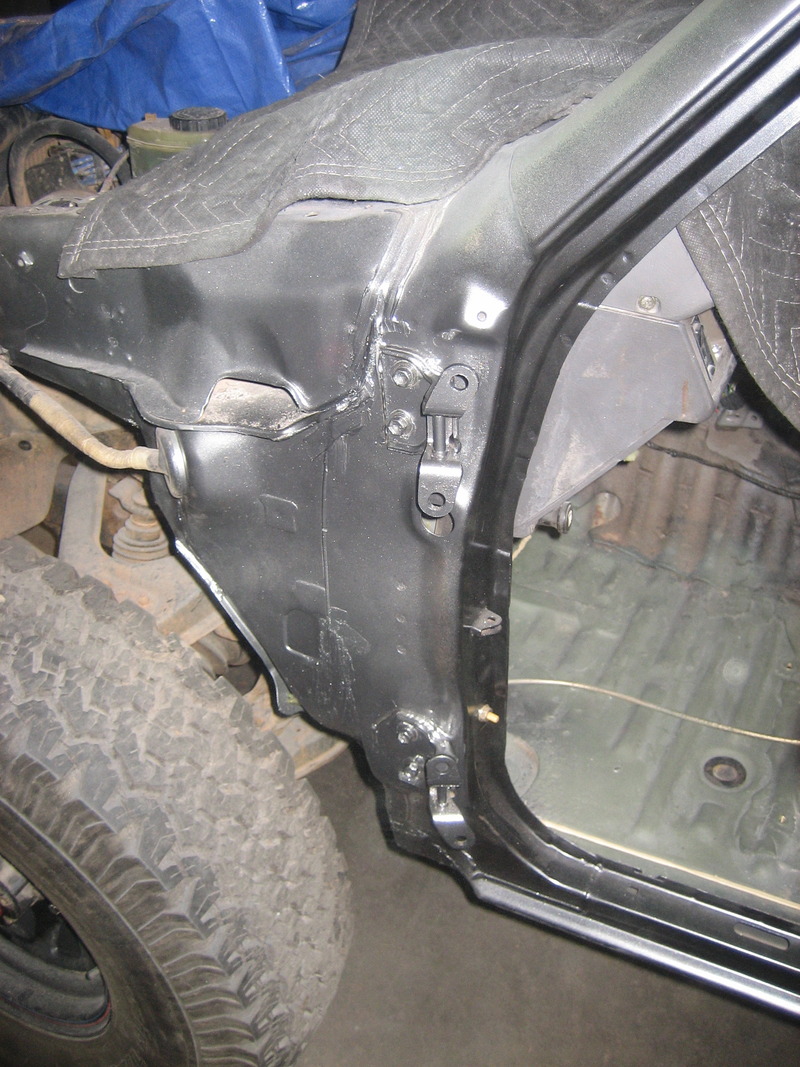
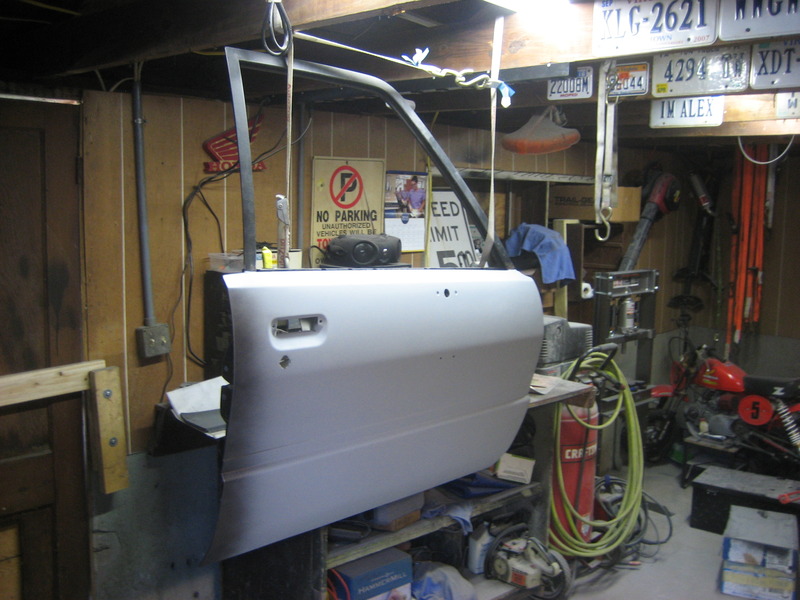
Self etch primed the door jamb.
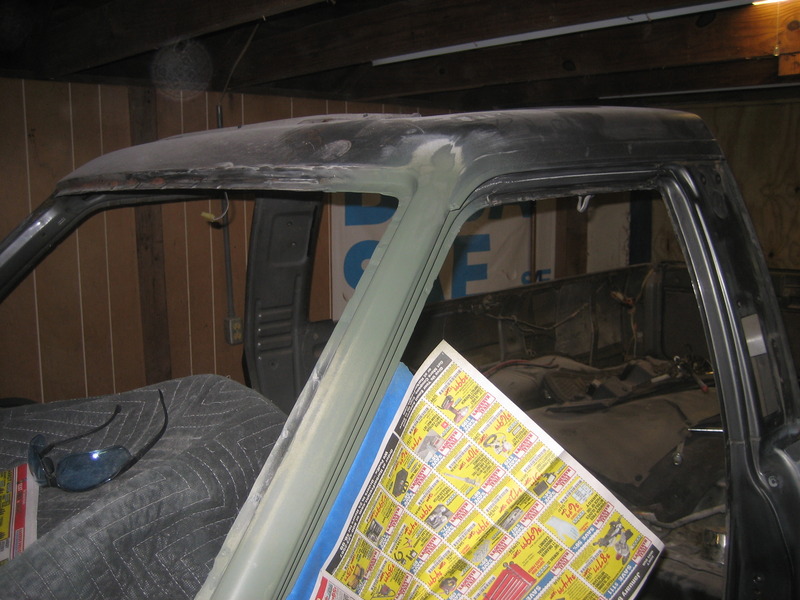
And did the same for the area I repaired at the top of the A-pillar.
And I painted the door jamb. I just used some rattle can paint here. It is not the factory color but it's darn close for parts store paint. Not terribly worried about it. Tomorrow I'll hang the front left fender and driver's door and get them all lined up. Driver's door is already finished and primed. The fender just needs to be stripped and primed.
Because water gets in places, I doubt I cut out all the rust before starting the various repairs, and I'm no professional. Hey, if I'm wrong I'll be happy, but if I'm right then I'm already mentally prepared.
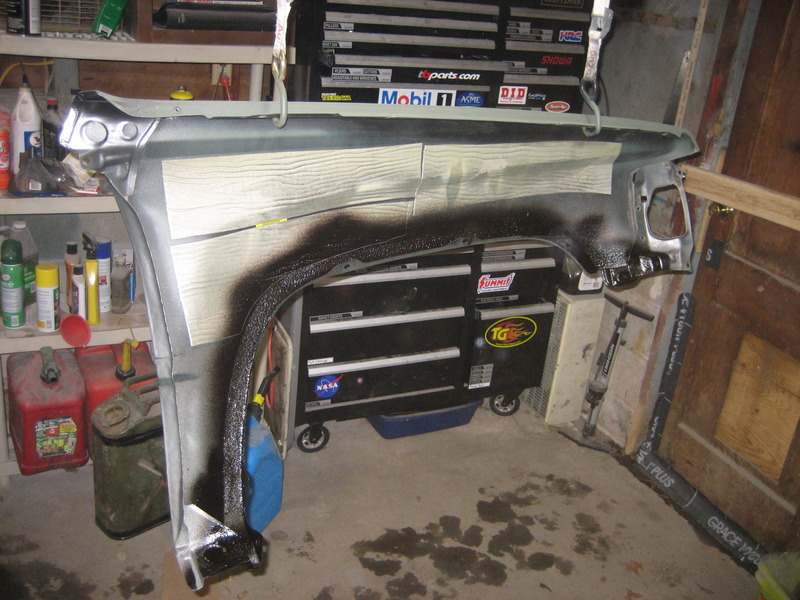
I installed and aligned the driver's door. Also sanded and re-primed the front fender. Since these fenders always collect debris on the lip on the inside I sprayed some rubberized undercoating to hopefully prevent the fender from rusting out at the top of the wheel arch.
Fender cleaned, primed, and undercoated.
Mounted the door and aligned the body side bolts. Removed the door so I could seam seal and paint the hinges.
Once the hinges are painted I reinstalled the door and aligned the door side bolts.
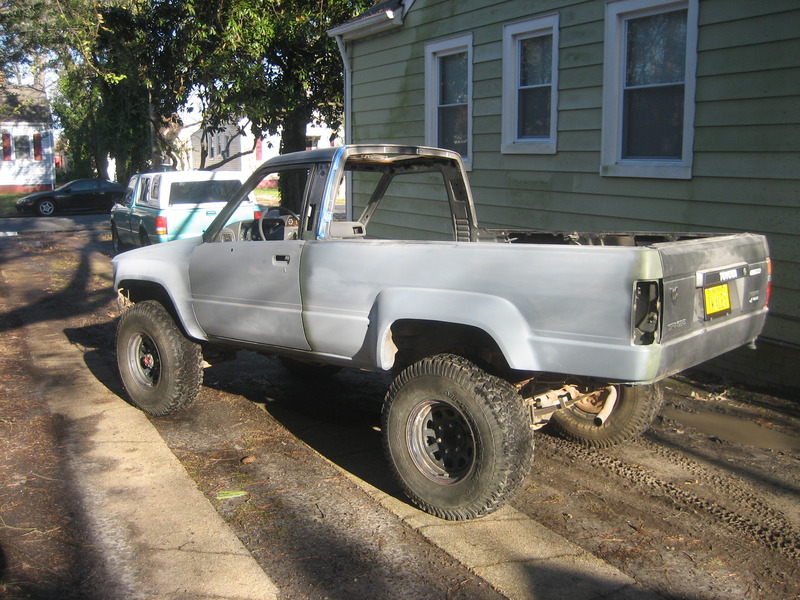
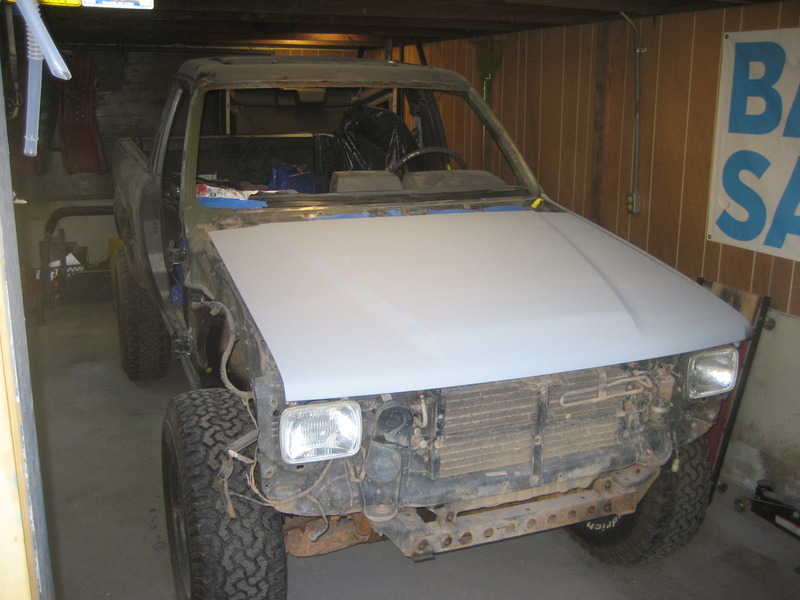
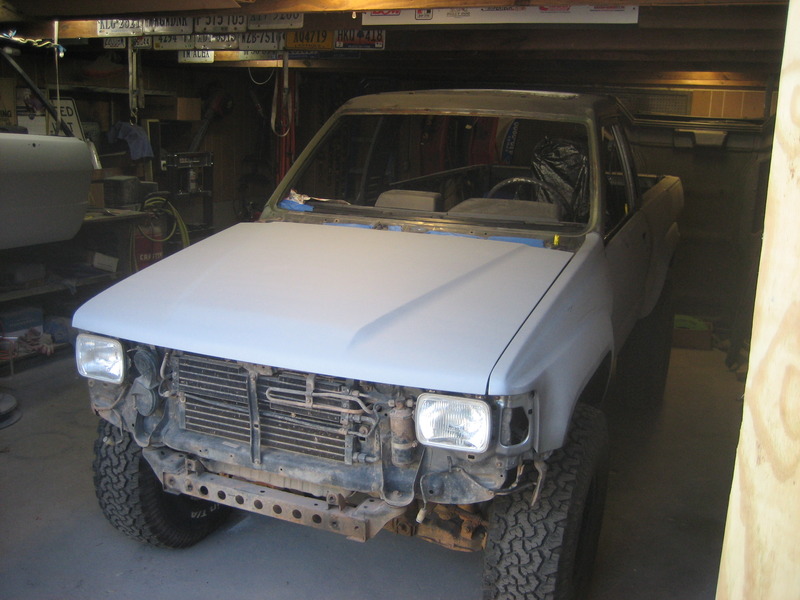
Here's the truck in the driveway. When the sunlight hit it I noticed a couple tiny dents I missed. Door and fender are aligned to each other. The fender might need a bit of adjustment once the hood is installed. I'm just happy to see parts going back on. It feels like a big accomplishment to me.
Took the truck around the block once just to be able to drive it, then backed it into the garage. Time to start the whole process over again on the other side. This side should go a lot faster. Less to fix and I can work a little more efficiently than I could when I first started.
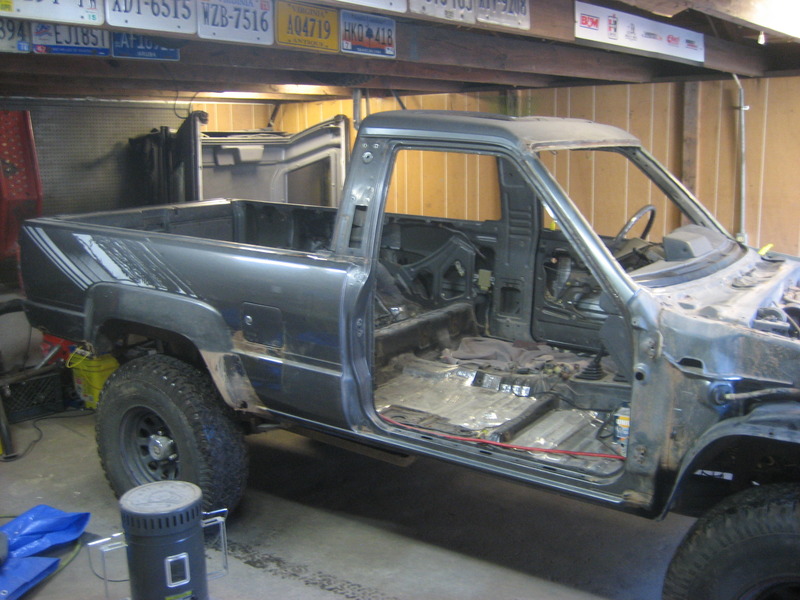
Took the truck out yesterday to get an estimate on painting. It looked just like the picture above except I bolted in the driver's seat, seatbelts, and tail lights. Wore my motorcycle helmet to keep my face from freezing. I expected to get a lot more weird looks and stares from people but apparently driving a truck with no panels, interior, or windshield isn't strange. The 4Runner seemed surprisingly fast. I've been running around in my little 2.3 Ranger so I guess I'm just not used a stripped out 4Runner.
Anyway, Maaco's quoted price was $1145. This includes light chip and scratch repair (basically sanding I think), sealer, then their top tier two stage paint (base coat and clear coat). Seemed reasonable since I'd pay about half that just in materials to do it myself and I have zero experience. They said if I was to bring it in on a Monday then they would have no issue getting it back to me by Friday the same week. They can also have a new windshield installed with universal rubber trim for $210.
Anyone else have their truck painted? What did you pay? Where did you go and were you happy with the quality?
It's funny you say that. My dad got his car painted by Maaco a few years back and it came out great. Still looks great too. He stripped the car himself and bought the same top tier option just like what I'm doing. When he tells people he got it painted by Maaco nobody believes him. I think that's because Maaco has an option for a $299 paint job. So someone goes and buys a $299 paint job, Maaco doesn't remove anything, they just tape stuff off, and then it looks like crap.
My dad ended up paying about double what my estimate was because he paid them to do the bodywork and rust repair.
I agree it comes down to product and prep work. Here is my civic. I had to strip the paint with a razor.
I have worked with a paint and body guy over 10 years. I have no real experience myself but have discussed it with him a few times. It's right for some but not for others
I thought your username referred to a Civic. Here's my dad's EF Civic painted at Maaco 3 years ago. I don't have any pictures but I do have this video. Looks the same now except it has 99 SI wheels instead of the OEM steelies with cheap hubcaps.
Maacos are independently owned. We have one with a good reputation here that's had the same owner for 30+ years. I had my mothers 1990 Accord repaired and painted there about 1996. I sold it to the neighbor across the street for his teen son. It was a metallic gray. If you remember Hondas of that period came from the factory with a peel problem. The teenage son drove that car for about 5 or 6 years until it got totaled. The paint always looked good. It looked better than factory and he wasn't the type to wash or wax the thing.
I would have loved to see you in the motorcycle helmet with no windshield. I've been imagining driving mine stripped down with no hardtop across town. I keep promising my son we'll paint ours but white primer looks pretty good right now.
There's no way we can paint this thing here. There's a HOA so no driveway painting and I have a gas furnace and water heater in the garage.
I think the quote you received is decent. Since my white 4Runner is not metallic I would just get a one stage paint job. That's what OEM was anyway.
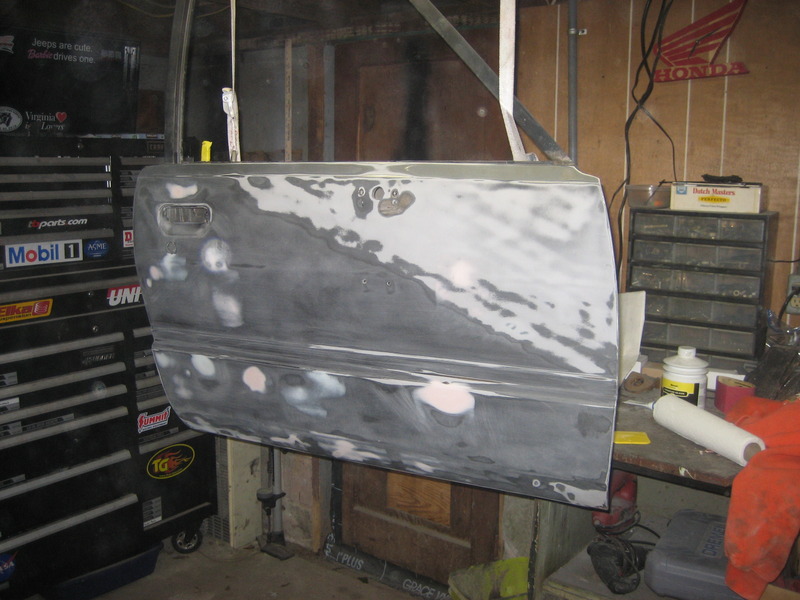
Passenger door is all fixed up. Had a lot of dents. Had some rust right at the front edge on the bottom. Ended up cutting out a 10x4 inch strip and welding in new metal but it was after this picture.
Primed and cut in the jambs and edges.
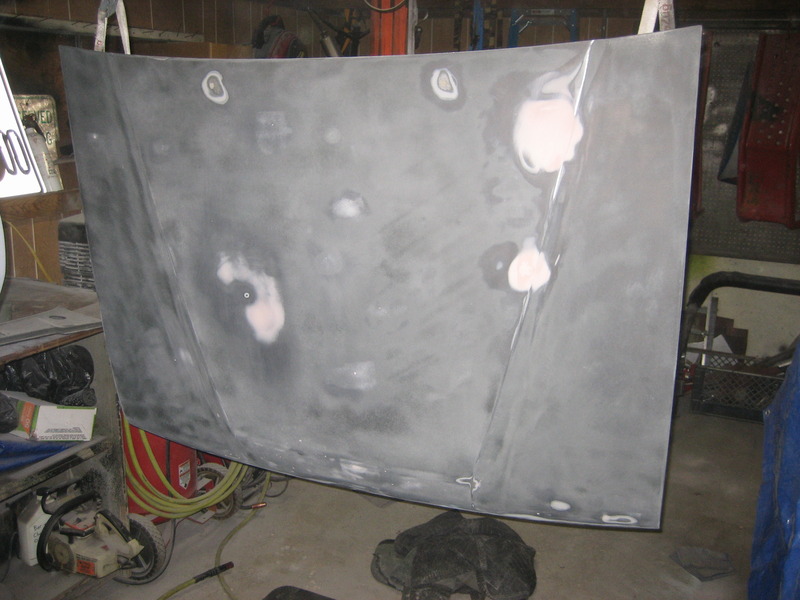
Hood smoothed out. A few blemishes showed up in primer that I missed, nothing major, just a few small chips and such.
Mounted up the hood. Won't interfere with fixing the little things I missed. It's lined up enough to close but I'll finalize the alignment once I have all the fender and doors on.
so I have to ask, what size tires are you running, and do you get any rub at the pinch weld? I'm running 33's and I've beaten the pinch weld back and I still get rubbing. to the point that it's rubbed so bad that I get water in the cab now. what's your secret?
I have 33x10.5R15 BFG A/T KO's on Cragar 15x8 steelies with 3.75 backspacing. No front lift of any sort. The tires used to rub on the plastic fender liner at full lock. I just carefully trimmed the fender liner to fix it. In preparation for the SAS, I hammered the pinch weld and re-sealed it all since I'm already doing bodywork.
 02-10-2016, 05:46 AM