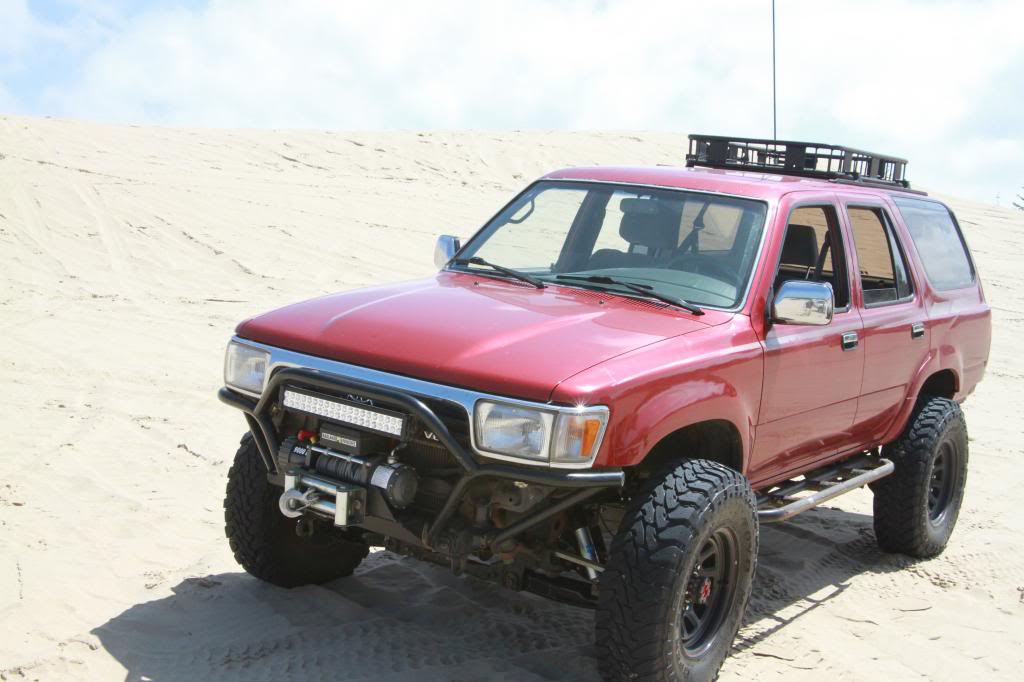
Andersej: 1993 2nd Gen 4runner
 06-08-2014, 09:56 AM
#21
Registered User
Thread Starter
Join Date: Dec 2011
Posts: 228
Likes: 0
Received 0 Likes
on
0 Posts
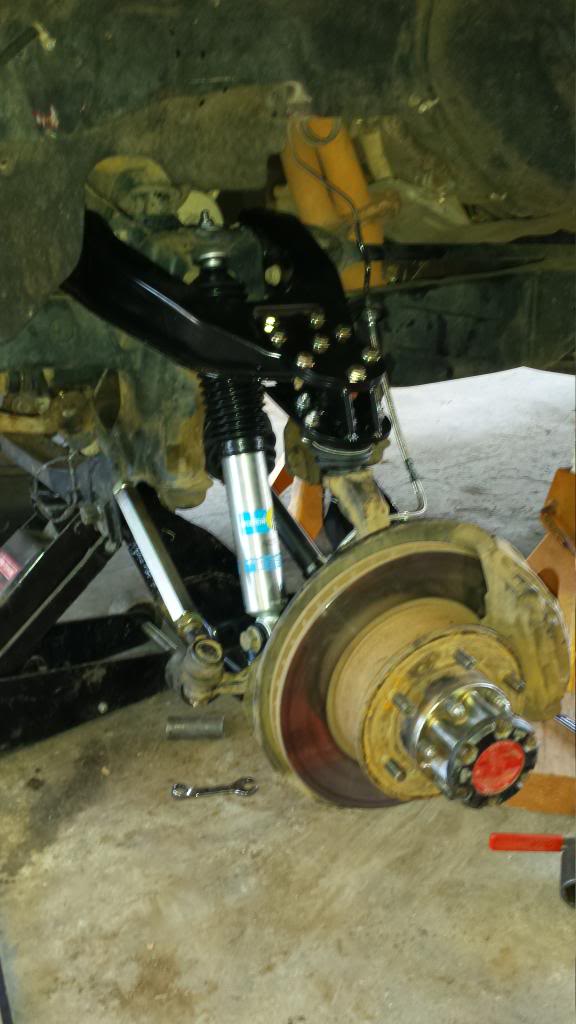
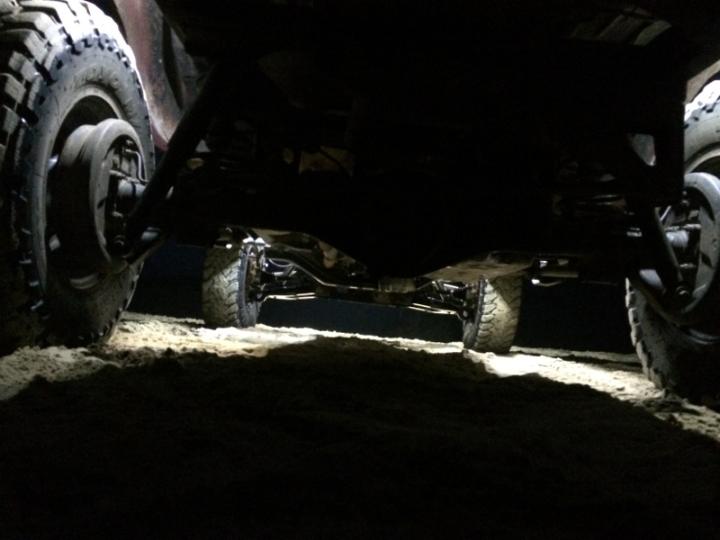
Got my Blazland kit in. Overall the istallation was a breeze and the quality of the product is very nice.
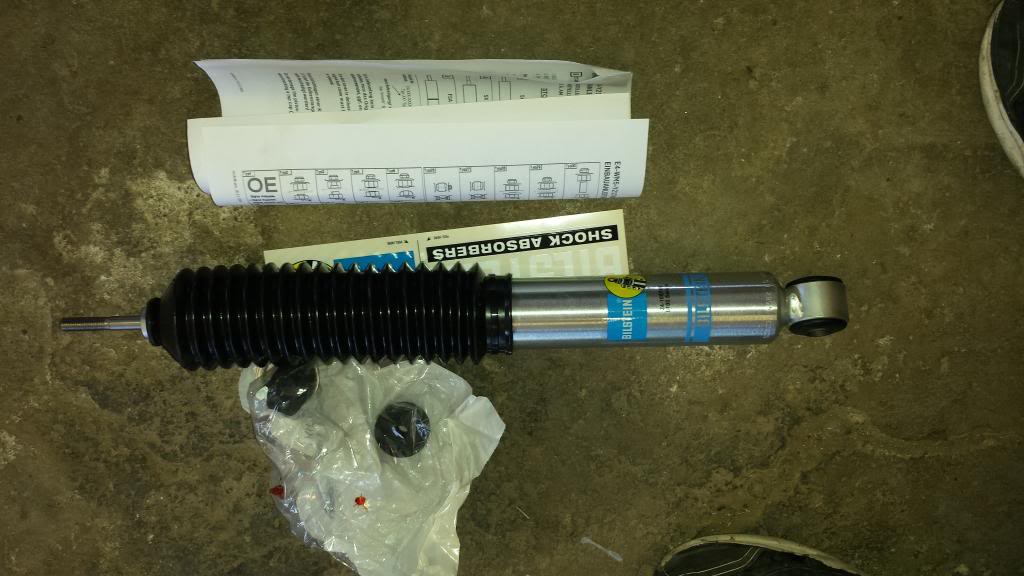
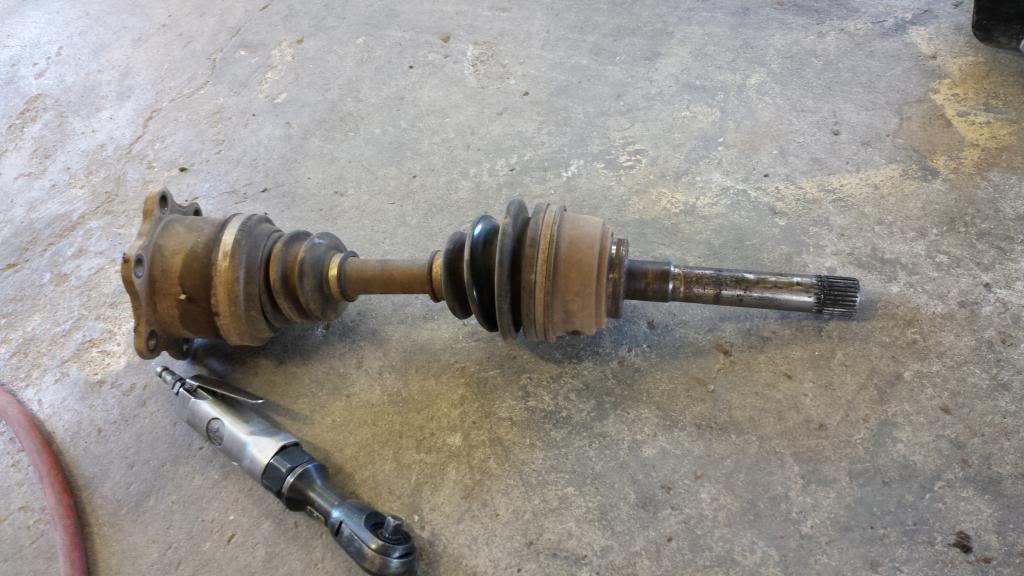
Got some stock t100 axles and some bilstein 5500's
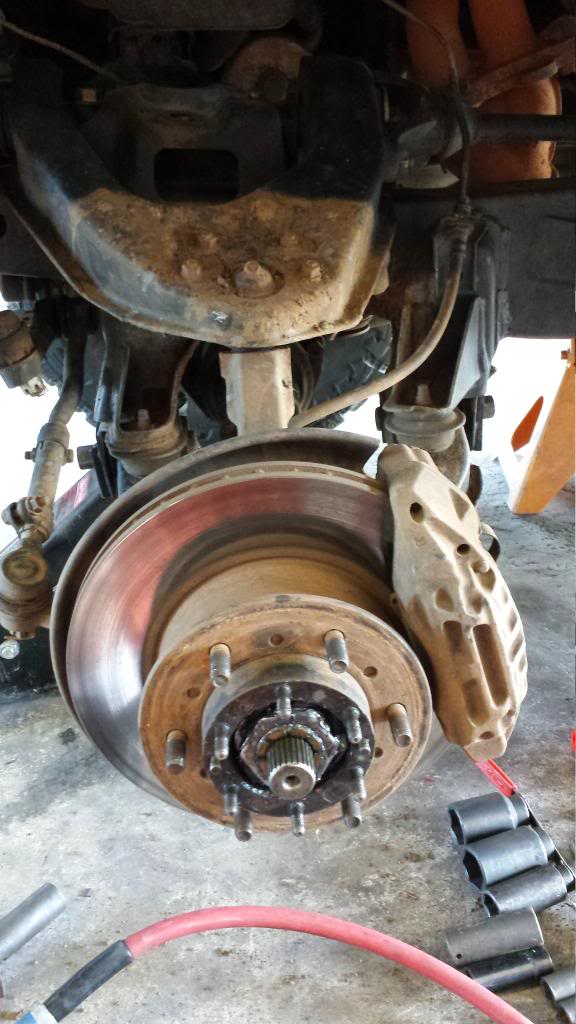
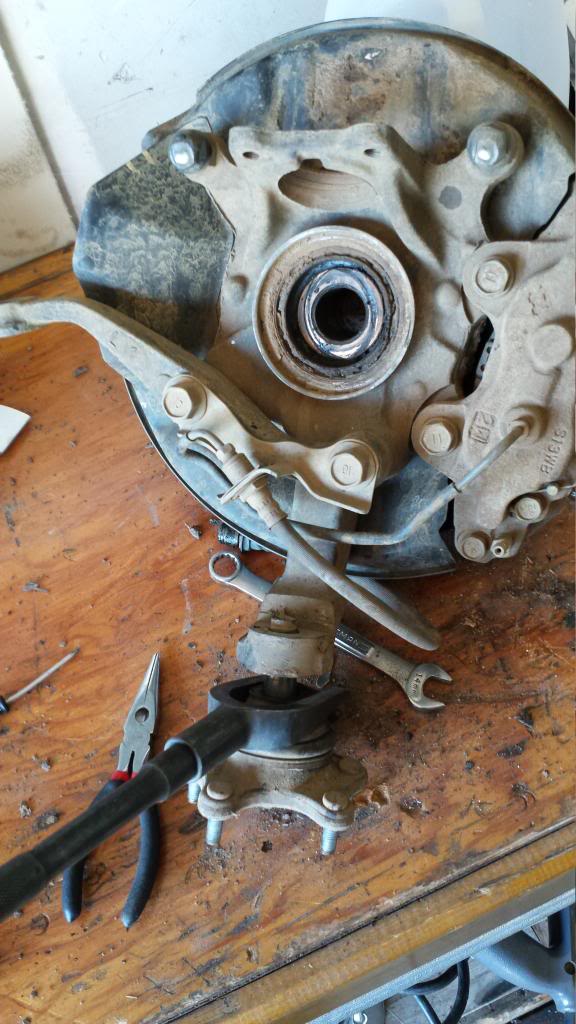
Took off the wheel and hub.
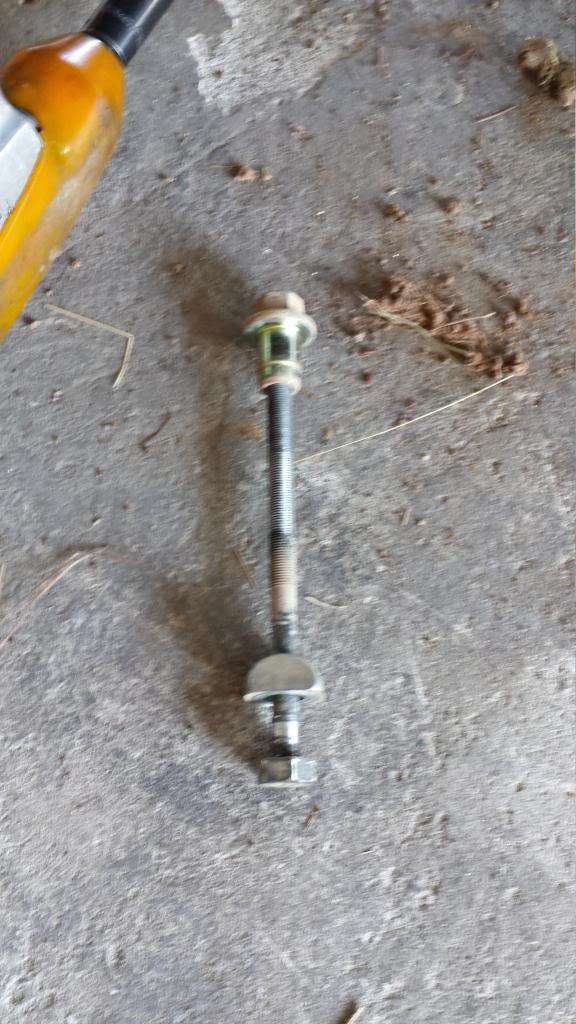
Loosened the torsion bar adjuster nut, then removed it.
Unbolted the torsion bar from the upper A arm
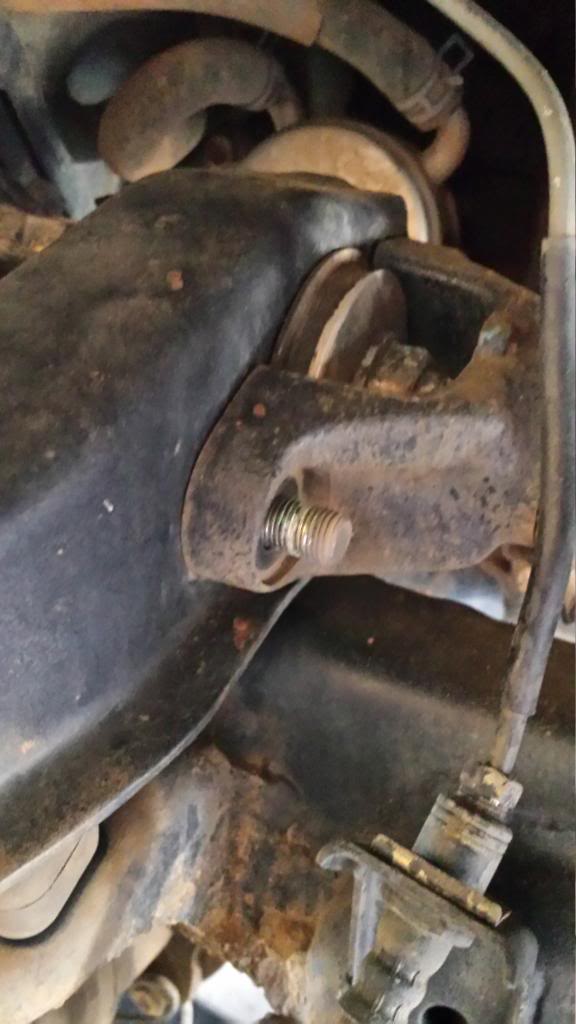
Unbolted the upper ball joint then then unbolted the upper A arm.
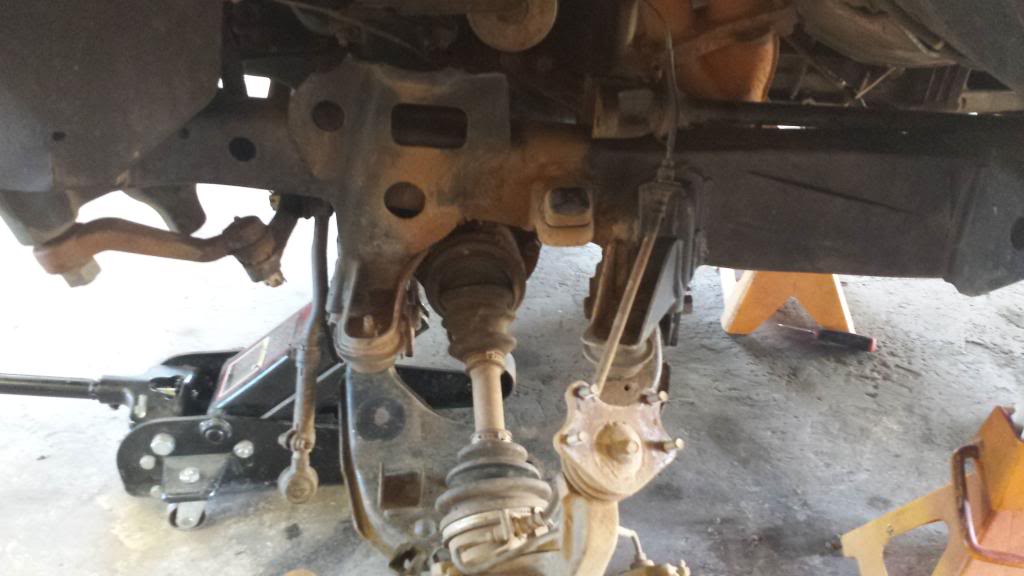
Removed the Shock and unbolted the CV axle from the diff
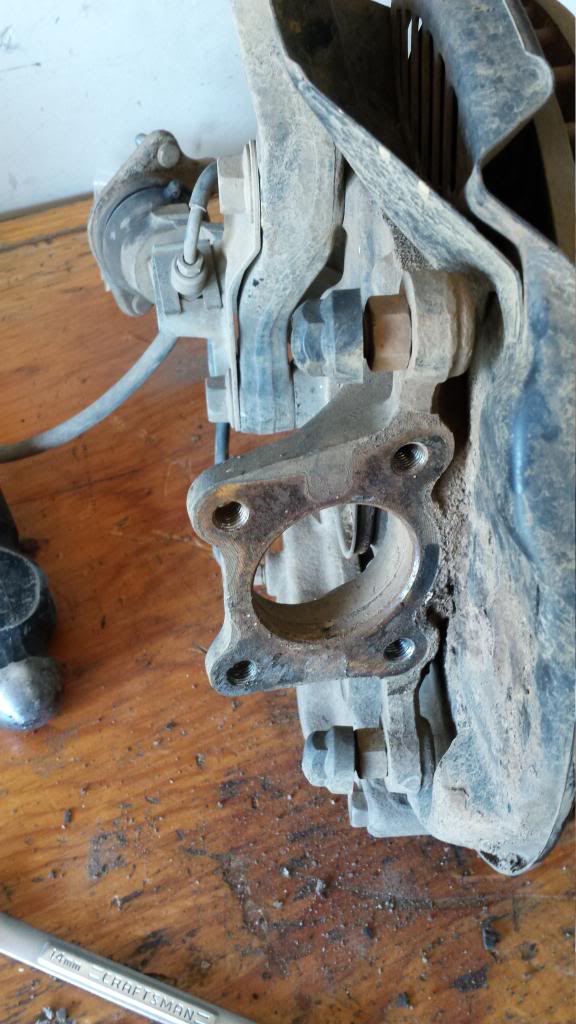
After removing the brakeline and the tie rod I unbolted the lower ball joint and removed the knuckle.
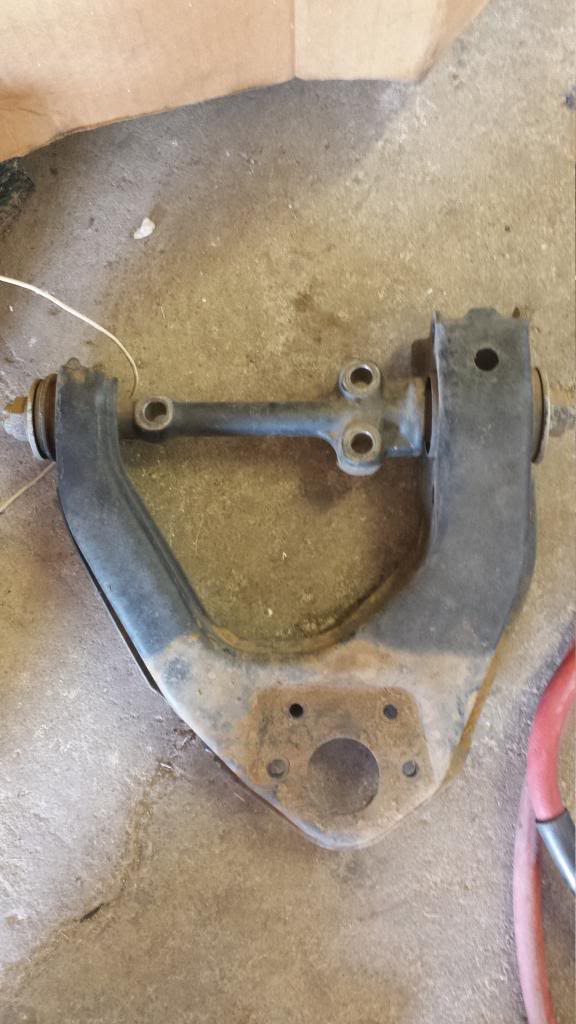
Then removed the lower A arm.
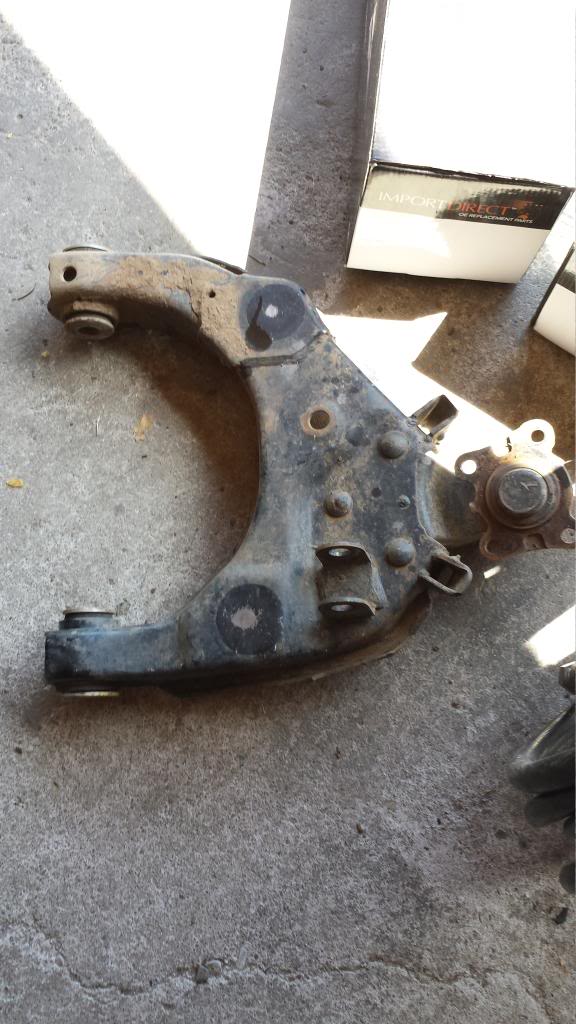
Decided to replace all my Ball joints while I was in there so i just pickle forked the existing ones off.
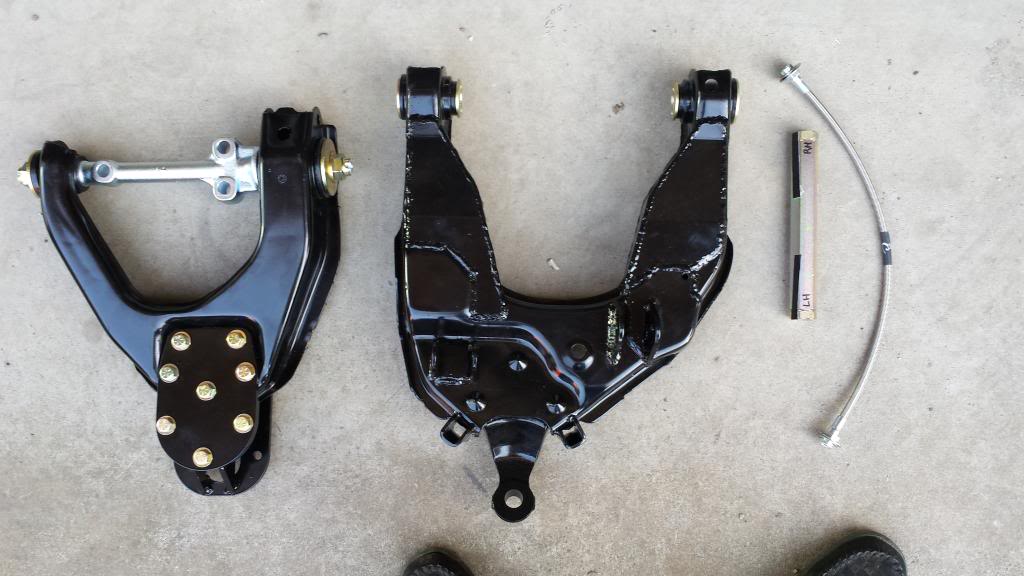
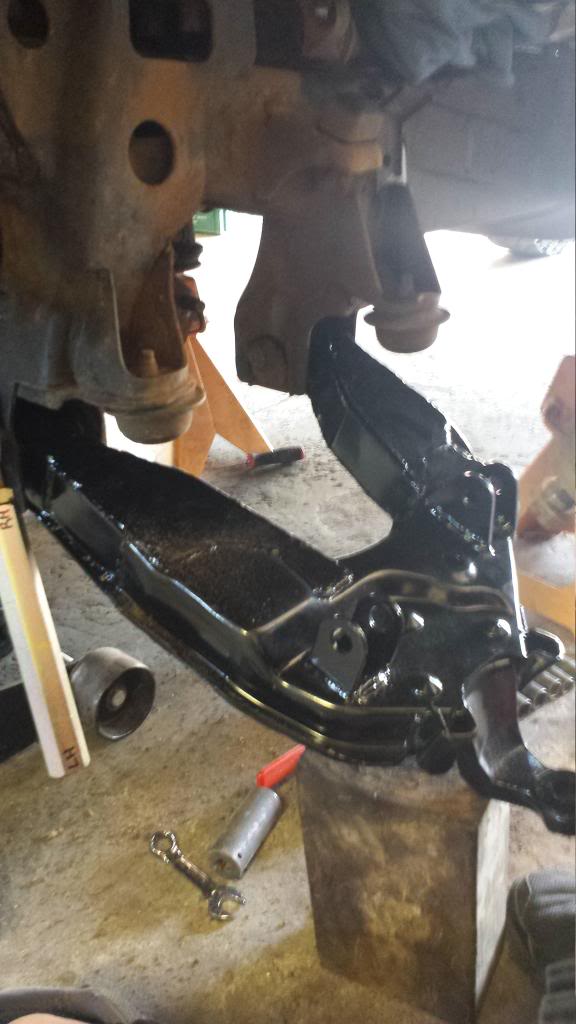
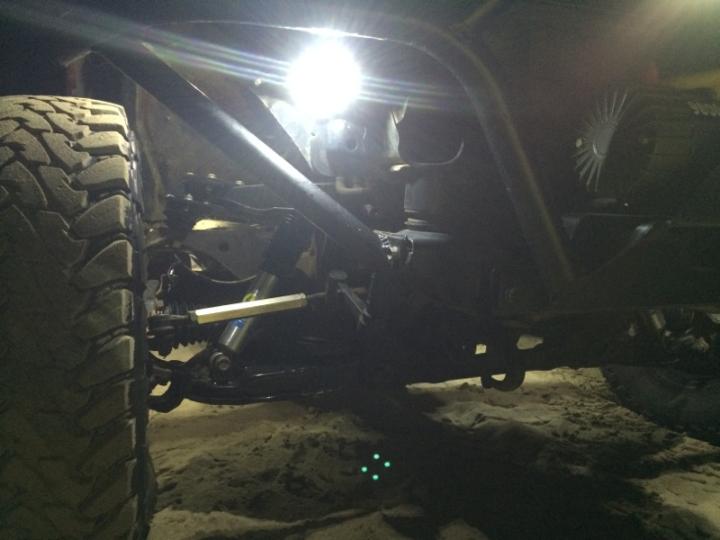
Then it was time for reassembly! started with the Extended lower A arm.
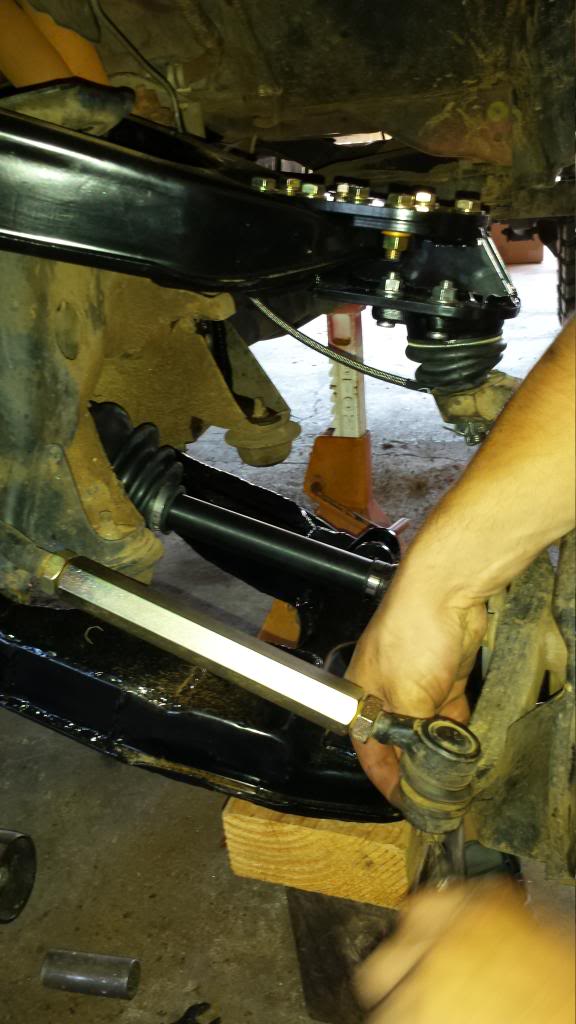
Tie rod extension
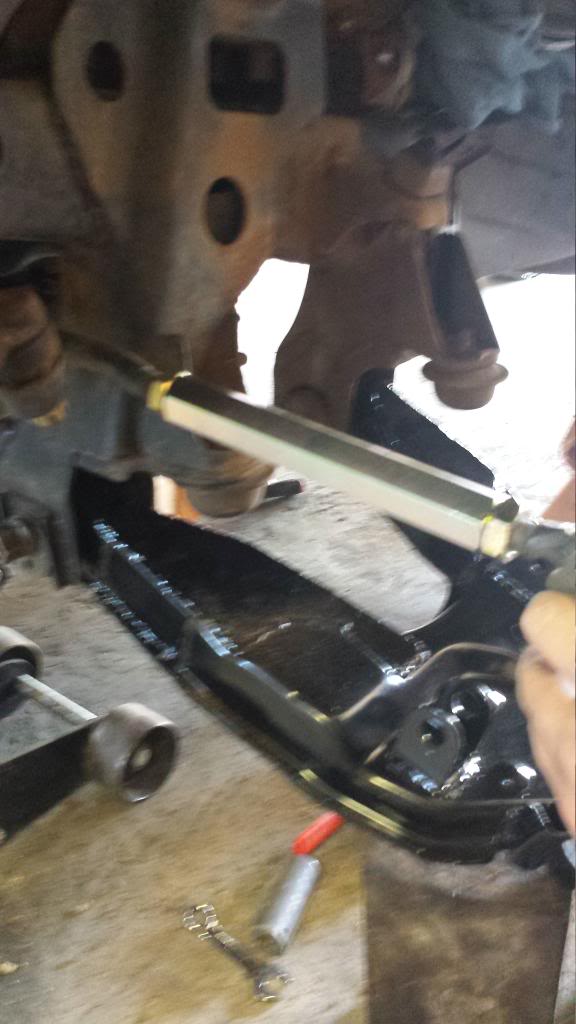
Extended upper A arm
along with the torsion bar
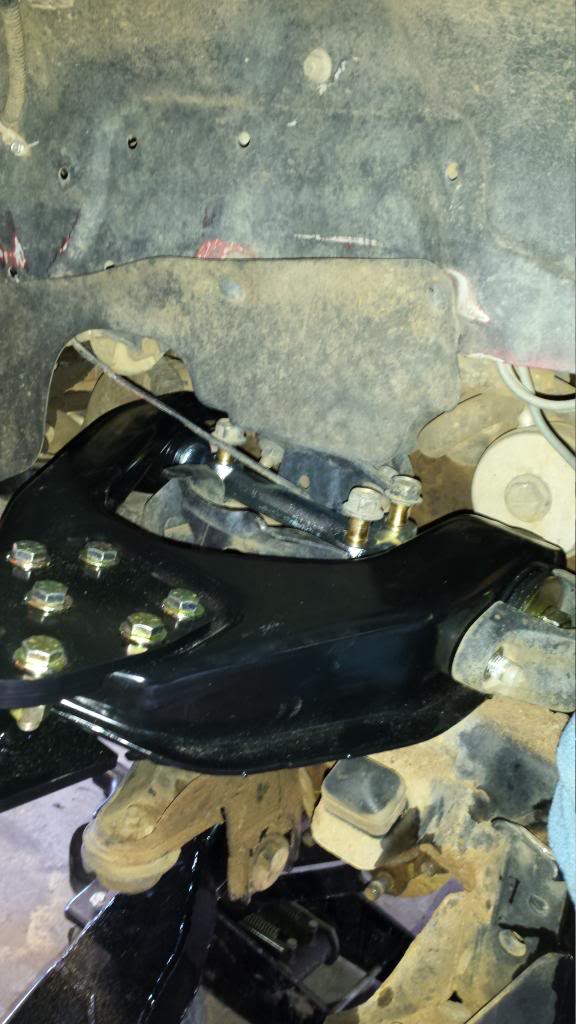
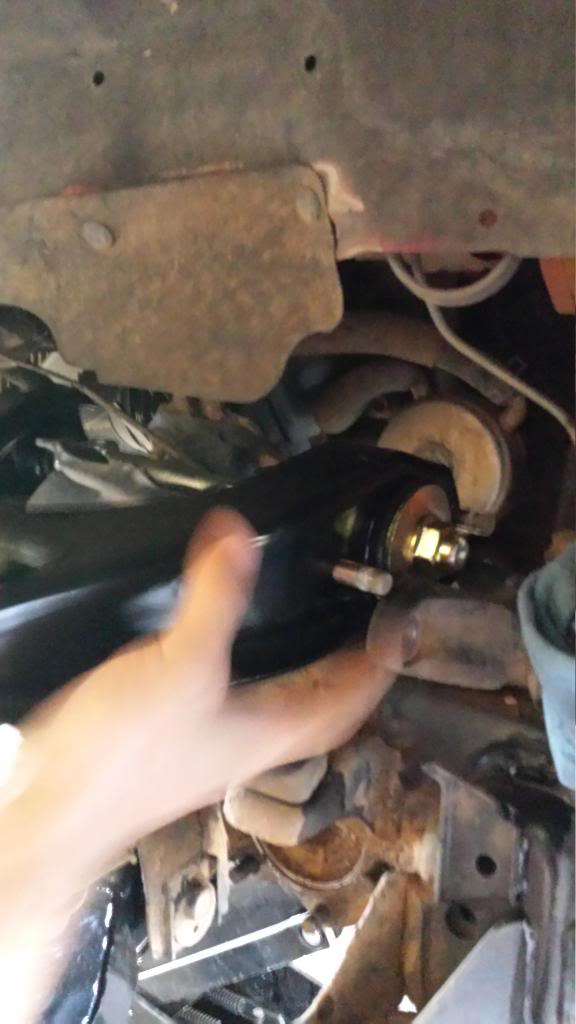
New upper balljoint attached to Upper A arm

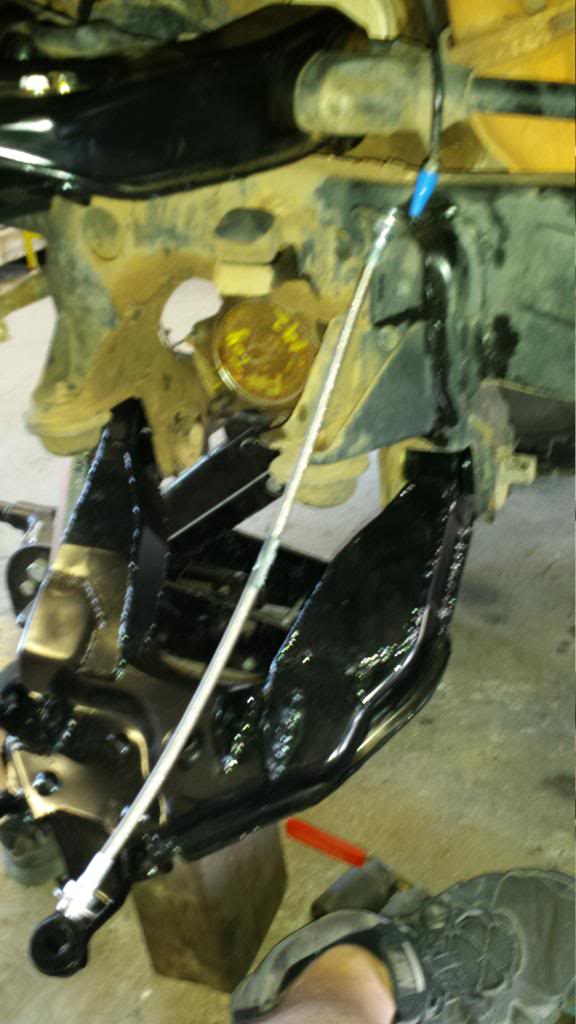
Extended Lower A arm and braided brake line
Put the new lower balljoint on the knuckle and installed. Had the raise the lower A arm quite a bit to line up the upper balljoint lol.
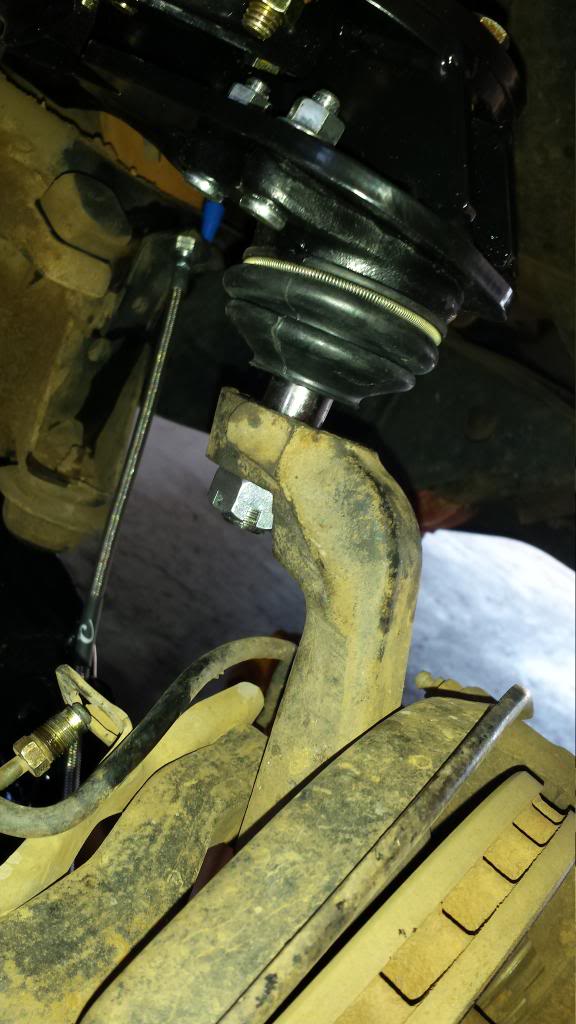
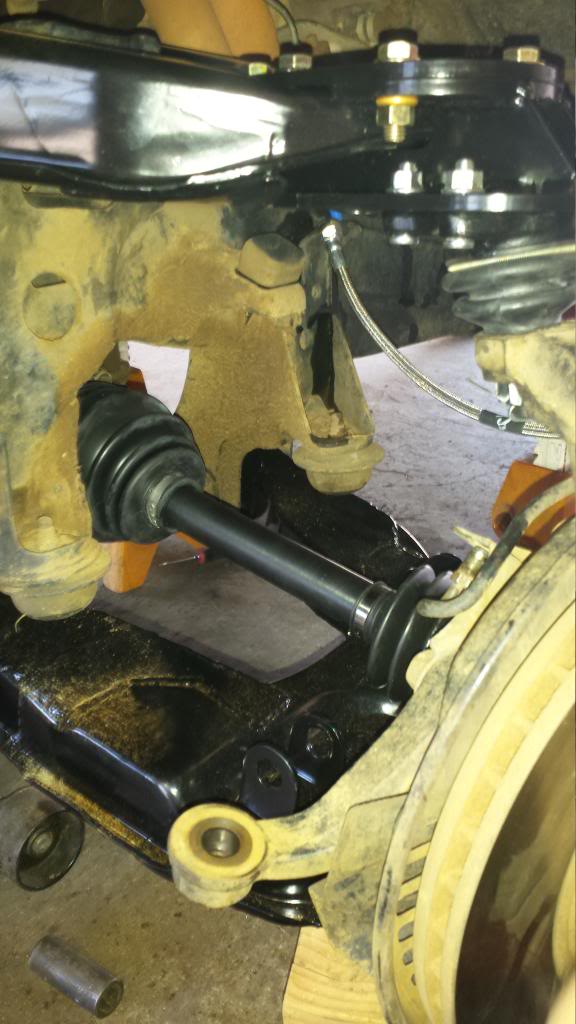
Before we tightened the lower ball join we installed the T100 CV axle.
Ataached tierod to knuckle.
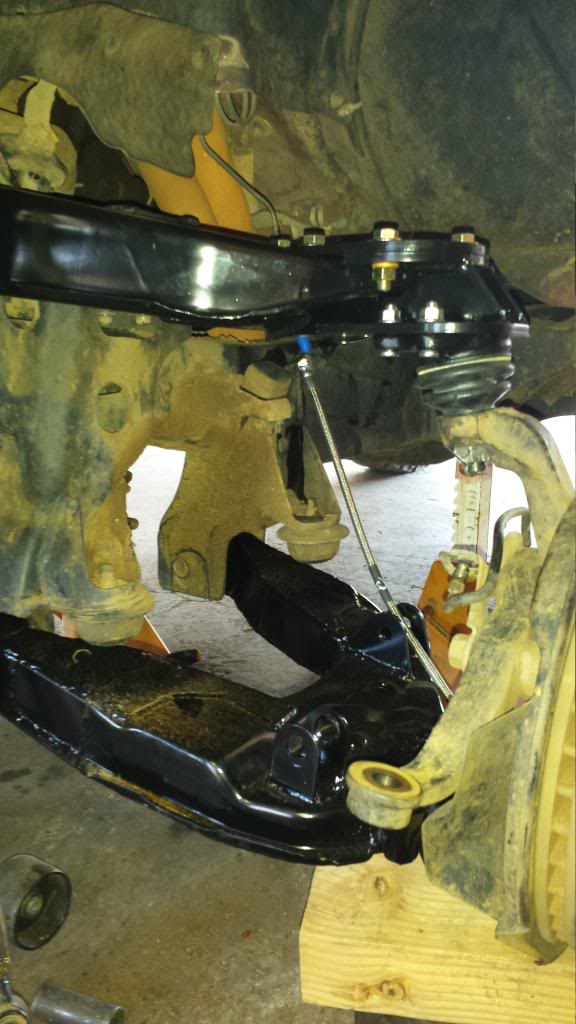
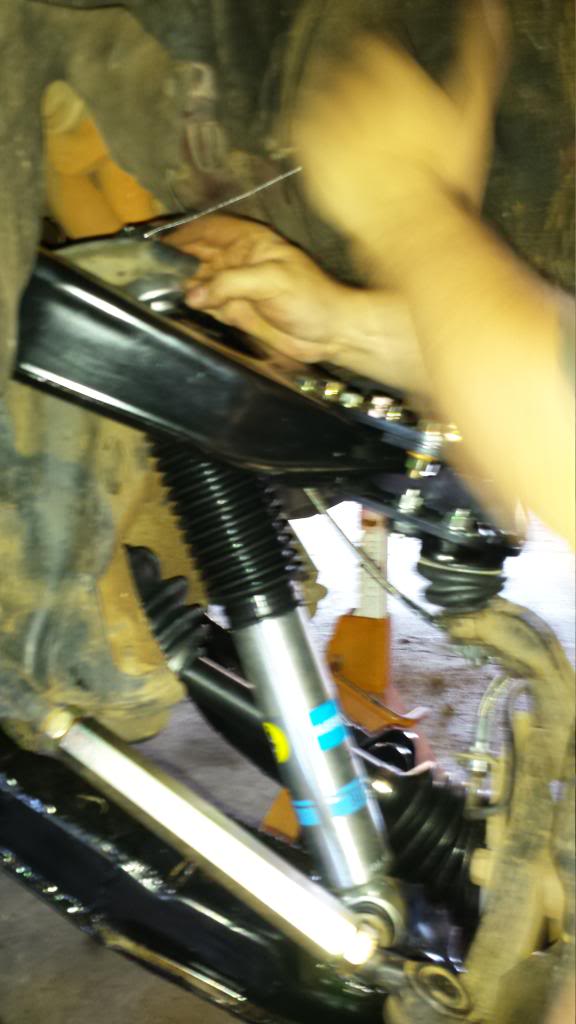
Installed the shock (which the first time we had to man handle it in because we didn't install it before tightening down the lower ball joint.)
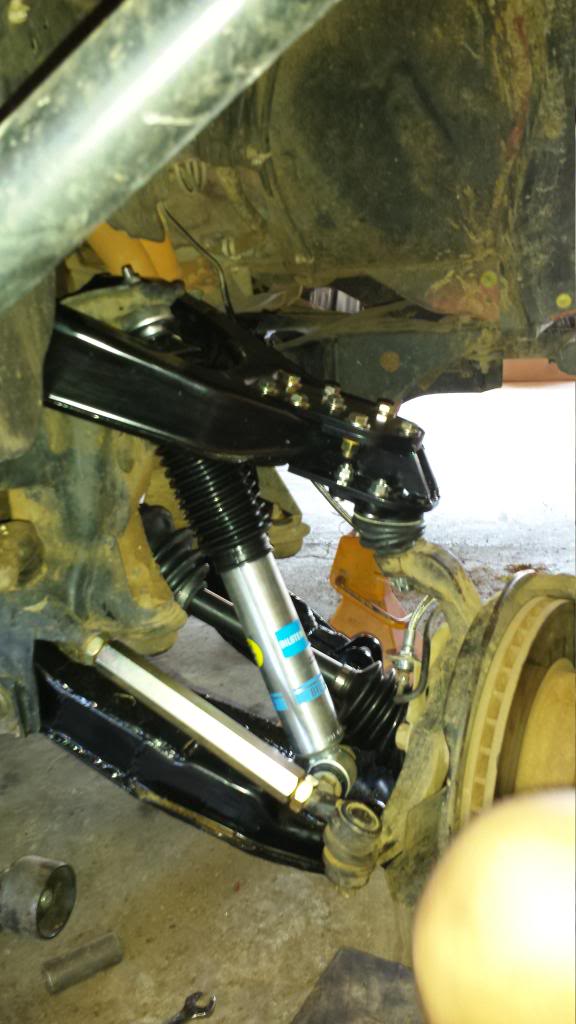
Lookin good.
Install the spacer and c clip then reassemble the hub and smack that tire back on!
Rinse and repeat with the other side and voila! There was probably 2-3in of more travel available still.
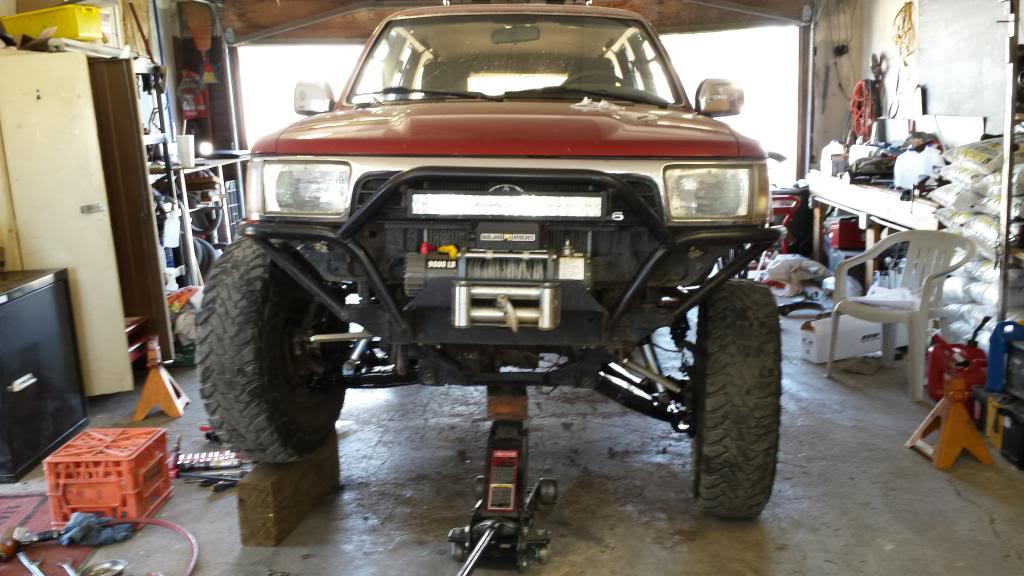

I am only going to run this set up for a couple months to save for the coilover kit. So I decided to just use stock torsion Bars for now. I had to crank them all the way down to get to about stock height.
The toe and camber were off big time so I used my tow truck and brought it down to a local tire shop (Ed's Tire Factory) and had them give it an alignment
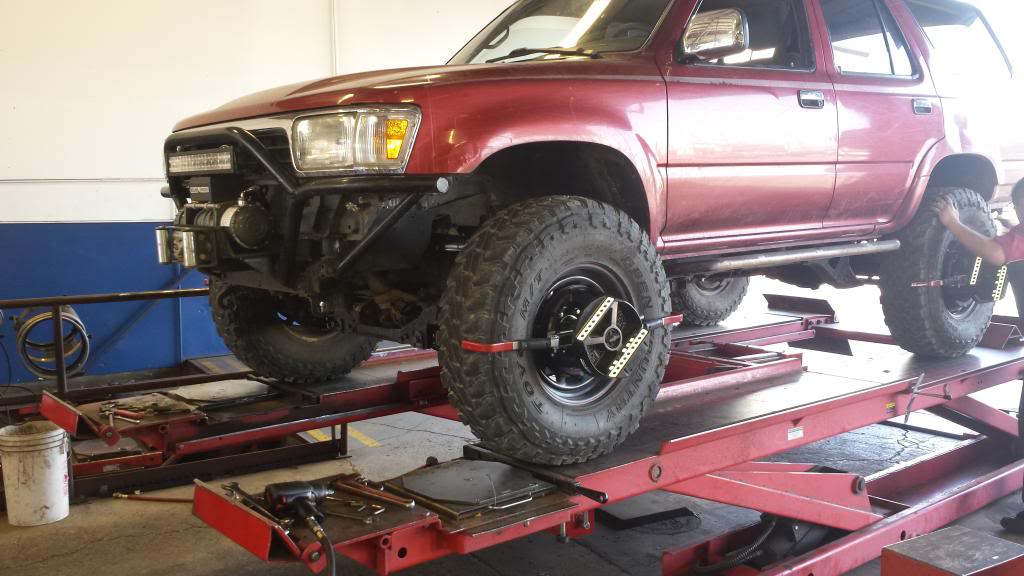
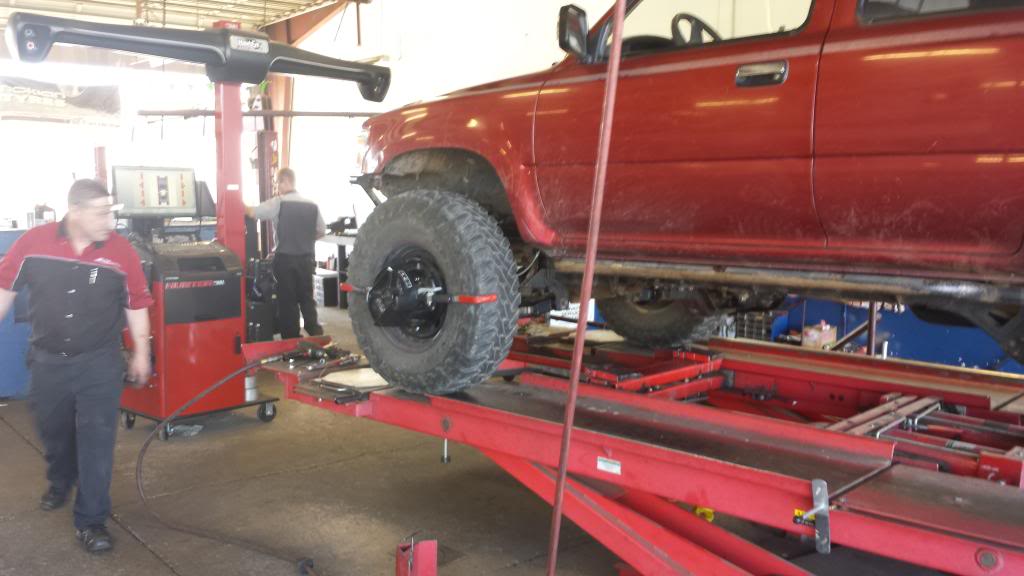
The ride right now is soft and cornering is a trip. It leans really far and picks up the inside a lot but I never feel like its tipsy lol. I know with the coilover kit a lot of that will go away. I took it on a small dirt road run and the front seems to soak most of the bumps but now the rear needs to be done.
I am curious if there is any way to get just a little more preload from the stock torsion bars though. Does anyone have any ideas????

Got some stock t100 axles and some bilstein 5500's

Took off the wheel and hub.

Loosened the torsion bar adjuster nut, then removed it.


Unbolted the torsion bar from the upper A arm

Unbolted the upper ball joint then then unbolted the upper A arm.


Removed the Shock and unbolted the CV axle from the diff


After removing the brakeline and the tie rod I unbolted the lower ball joint and removed the knuckle.

Then removed the lower A arm.

Decided to replace all my Ball joints while I was in there so i just pickle forked the existing ones off.

Then it was time for reassembly! started with the Extended lower A arm.

Tie rod extension

Extended upper A arm

along with the torsion bar

New upper balljoint attached to Upper A arm

Extended Lower A arm and braided brake line

Put the new lower balljoint on the knuckle and installed. Had the raise the lower A arm quite a bit to line up the upper balljoint lol.


Before we tightened the lower ball join we installed the T100 CV axle.

Ataached tierod to knuckle.

Installed the shock (which the first time we had to man handle it in because we didn't install it before tightening down the lower ball joint.)

Lookin good.

Install the spacer and c clip then reassemble the hub and smack that tire back on!

Rinse and repeat with the other side and voila! There was probably 2-3in of more travel available still.


I am only going to run this set up for a couple months to save for the coilover kit. So I decided to just use stock torsion Bars for now. I had to crank them all the way down to get to about stock height.
The toe and camber were off big time so I used my tow truck and brought it down to a local tire shop (Ed's Tire Factory) and had them give it an alignment


The ride right now is soft and cornering is a trip. It leans really far and picks up the inside a lot but I never feel like its tipsy lol. I know with the coilover kit a lot of that will go away. I took it on a small dirt road run and the front seems to soak most of the bumps but now the rear needs to be done.
I am curious if there is any way to get just a little more preload from the stock torsion bars though. Does anyone have any ideas????
 06-08-2014, 01:55 PM
#22
Registered User
Thread Starter
Join Date: Dec 2011
Posts: 228
Likes: 0
Received 0 Likes
on
0 Posts
Was able to torque down the Torsion bars almost all the way using a huge breaker bar. The ride height is much better and the suspension seems to have stiffened up some.


 06-09-2014, 07:32 AM
#26
Registered User
Thread Starter
Join Date: Dec 2011
Posts: 228
Likes: 0
Received 0 Likes
on
0 Posts
The only complaint I have so far is how bad it makes your rear suspension feel lol. Has anyone made the stock rear link a little taller and stronger using custom arms and such?
06-09-2014, 05:33 PM
#27
Registered User
Thread Starter
Join Date: Dec 2011
Posts: 228
Likes: 0
Received 0 Likes
on
0 Posts
Talked to Nate today from Blazeland to start some ideas for my rear suspension. I have to say that of all the places I've dealt with Nate is by far one of the best guys to do business with. He will take the time to help you figure out some of the questions for your setup. Big thanks again to Nate at Blazeland for your awesome product and advice.
 06-12-2014, 09:23 PM
#29
Registered User
James,
Great write up and pictures!
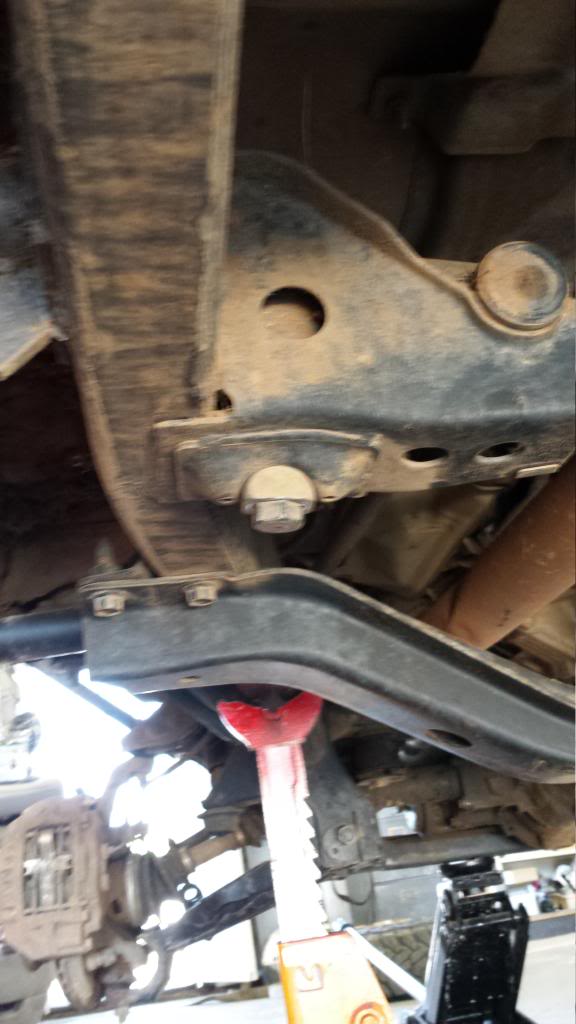
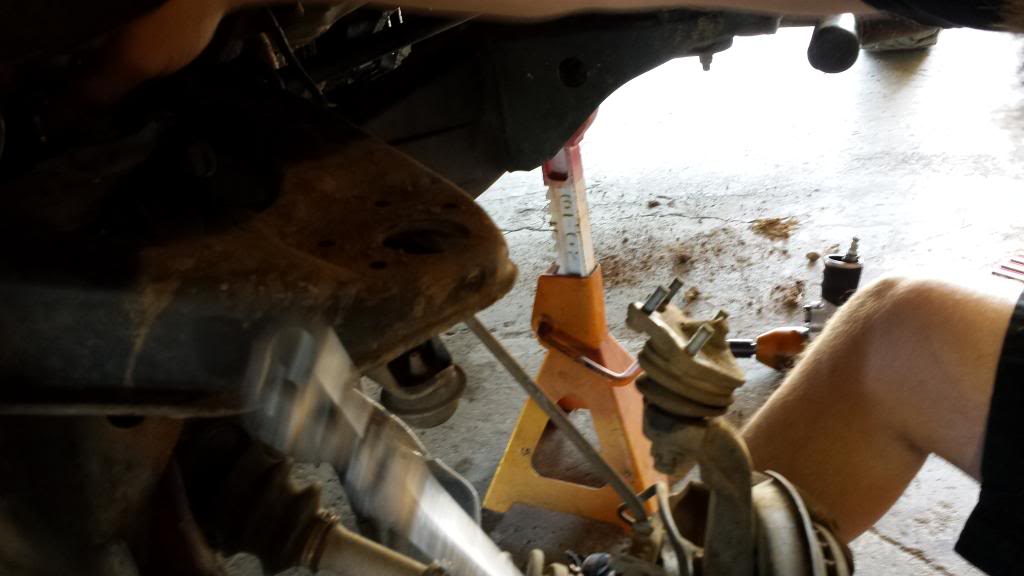
Be careful cranking the torsion bar to the max. If you go to far and gall up the threads it may be difficult and dangerous to to unload as the bolt will break and shoot through the floor pan. I recommend that when ever you adjust the torsion bars do it with the suspension at full droop and the weight unloaded. Use a floor jack on the center of the front cross member like you showed in one of your pictures.
A trick to get more pre-load to the torsion bar adjusting bolt is to add shims below the head of the adjusting bolt. Slugs or stack 1/2" washers. I had a batch of slugs cut with some laser cutting (3/8" plate) and made a shim stack 1-1/8" high. I was able to get a good bit more pre-load but the suspension was stiff and sagged fairly quickly. Adding more and more pre-load to a spring has a different effect than changing the spring rate.
Stock Torsion bars (22mm) just don't work with Long Arms, the leverage is just too much. Aftermarket T-Bars (24-26mm) will do the trick. I heard Kartek (google it) has Sway-A-Way T-bars in stock now after a long back order. But if your going Coil Over Conversion I guess that is a moot point. I'd love to sell you a shock hoop but an aftermarket sway bar is a big bang for your buck. Find some used ones, even better.
Oh by the way, I received your old LCA/UCA cores today. They were in good shape so I will be sending you the full deposit refund shortly. Oh yeah, the lower BJs were really pressed onto the LCAs, looks like you gave up trying to remove..... which is good, as some people force it and hammer the crud out of the drop and in doing so elongate the tapered hole, ruining the LCA in the process. Not a big deal for me to remove properly, I have the technology!
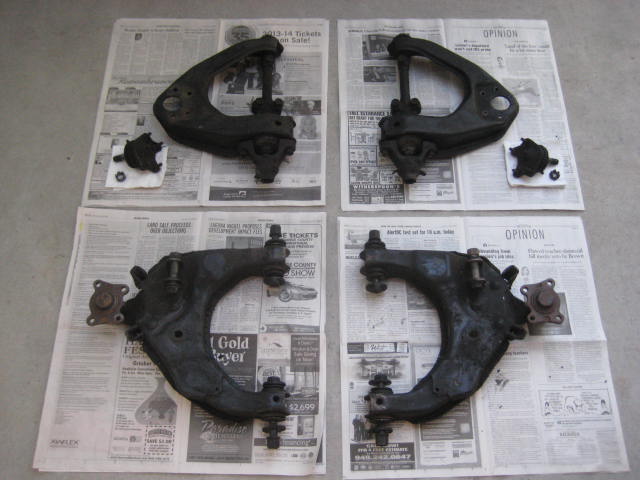
Not your actual cores, just a photo from my archive. Blazelander2013
Great write up and pictures!
Be careful cranking the torsion bar to the max. If you go to far and gall up the threads it may be difficult and dangerous to to unload as the bolt will break and shoot through the floor pan. I recommend that when ever you adjust the torsion bars do it with the suspension at full droop and the weight unloaded. Use a floor jack on the center of the front cross member like you showed in one of your pictures.
A trick to get more pre-load to the torsion bar adjusting bolt is to add shims below the head of the adjusting bolt. Slugs or stack 1/2" washers. I had a batch of slugs cut with some laser cutting (3/8" plate) and made a shim stack 1-1/8" high. I was able to get a good bit more pre-load but the suspension was stiff and sagged fairly quickly. Adding more and more pre-load to a spring has a different effect than changing the spring rate.
Stock Torsion bars (22mm) just don't work with Long Arms, the leverage is just too much. Aftermarket T-Bars (24-26mm) will do the trick. I heard Kartek (google it) has Sway-A-Way T-bars in stock now after a long back order. But if your going Coil Over Conversion I guess that is a moot point. I'd love to sell you a shock hoop but an aftermarket sway bar is a big bang for your buck. Find some used ones, even better.
Oh by the way, I received your old LCA/UCA cores today. They were in good shape so I will be sending you the full deposit refund shortly. Oh yeah, the lower BJs were really pressed onto the LCAs, looks like you gave up trying to remove..... which is good, as some people force it and hammer the crud out of the drop and in doing so elongate the tapered hole, ruining the LCA in the process. Not a big deal for me to remove properly, I have the technology!
Not your actual cores, just a photo from my archive. Blazelander2013
Last edited by BlazeN8; 06-12-2014 at 09:42 PM.
06-15-2014, 05:48 PM
#30
Registered User
Thread Starter
Join Date: Dec 2011
Posts: 228
Likes: 0
Received 0 Likes
on
0 Posts
James,
Great write up and pictures!
Be careful cranking the torsion bar to the max. If you go to far and gall up the threads it may be difficult and dangerous to to unload as the bolt will break and shoot through the floor pan. I recommend that when ever you adjust the torsion bars do it with the suspension at full droop and the weight unloaded. Use a floor jack on the center of the front cross member like you showed in one of your pictures.
A trick to get more pre-load to the torsion bar adjusting bolt is to add shims below the head of the adjusting bolt. Slugs or stack 1/2" washers. I had a batch of slugs cut with some laser cutting (3/8" plate) and made a shim stack 1-1/8" high. I was able to get a good bit more pre-load but the suspension was stiff and sagged fairly quickly. Adding more and more pre-load to a spring has a different effect than changing the spring rate.
Stock Torsion bars (22mm) just don't work with Long Arms, the leverage is just too much. Aftermarket T-Bars (24-26mm) will do the trick. I heard Kartek (google it) has Sway-A-Way T-bars in stock now after a long back order. But if your going Coil Over Conversion I guess that is a moot point. I'd love to sell you a shock hoop but an aftermarket sway bar is a big bang for your buck. Find some used ones, even better.
Oh by the way, I received your old LCA/UCA cores today. They were in good shape so I will be sending you the full deposit refund shortly. Oh yeah, the lower BJs were really pressed onto the LCAs, looks like you gave up trying to remove..... which is good, as some people force it and hammer the crud out of the drop and in doing so elongate the tapered hole, ruining the LCA in the process. Not a big deal for me to remove properly, I have the technology!
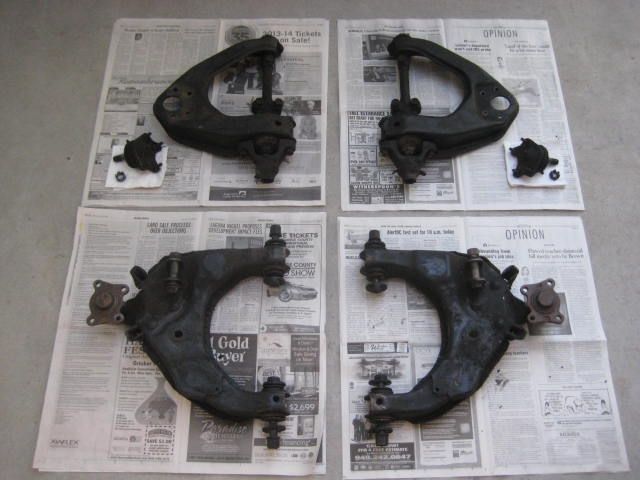
Not your actual cores, just a photo from my archive. Blazelander2013
Great write up and pictures!
Be careful cranking the torsion bar to the max. If you go to far and gall up the threads it may be difficult and dangerous to to unload as the bolt will break and shoot through the floor pan. I recommend that when ever you adjust the torsion bars do it with the suspension at full droop and the weight unloaded. Use a floor jack on the center of the front cross member like you showed in one of your pictures.
A trick to get more pre-load to the torsion bar adjusting bolt is to add shims below the head of the adjusting bolt. Slugs or stack 1/2" washers. I had a batch of slugs cut with some laser cutting (3/8" plate) and made a shim stack 1-1/8" high. I was able to get a good bit more pre-load but the suspension was stiff and sagged fairly quickly. Adding more and more pre-load to a spring has a different effect than changing the spring rate.
Stock Torsion bars (22mm) just don't work with Long Arms, the leverage is just too much. Aftermarket T-Bars (24-26mm) will do the trick. I heard Kartek (google it) has Sway-A-Way T-bars in stock now after a long back order. But if your going Coil Over Conversion I guess that is a moot point. I'd love to sell you a shock hoop but an aftermarket sway bar is a big bang for your buck. Find some used ones, even better.
Oh by the way, I received your old LCA/UCA cores today. They were in good shape so I will be sending you the full deposit refund shortly. Oh yeah, the lower BJs were really pressed onto the LCAs, looks like you gave up trying to remove..... which is good, as some people force it and hammer the crud out of the drop and in doing so elongate the tapered hole, ruining the LCA in the process. Not a big deal for me to remove properly, I have the technology!
Not your actual cores, just a photo from my archive. Blazelander2013
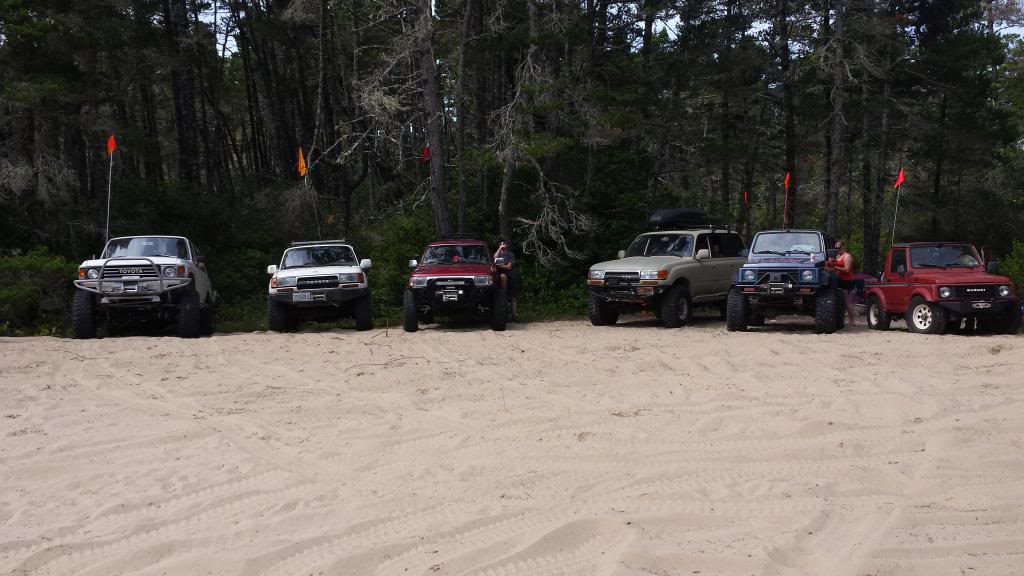
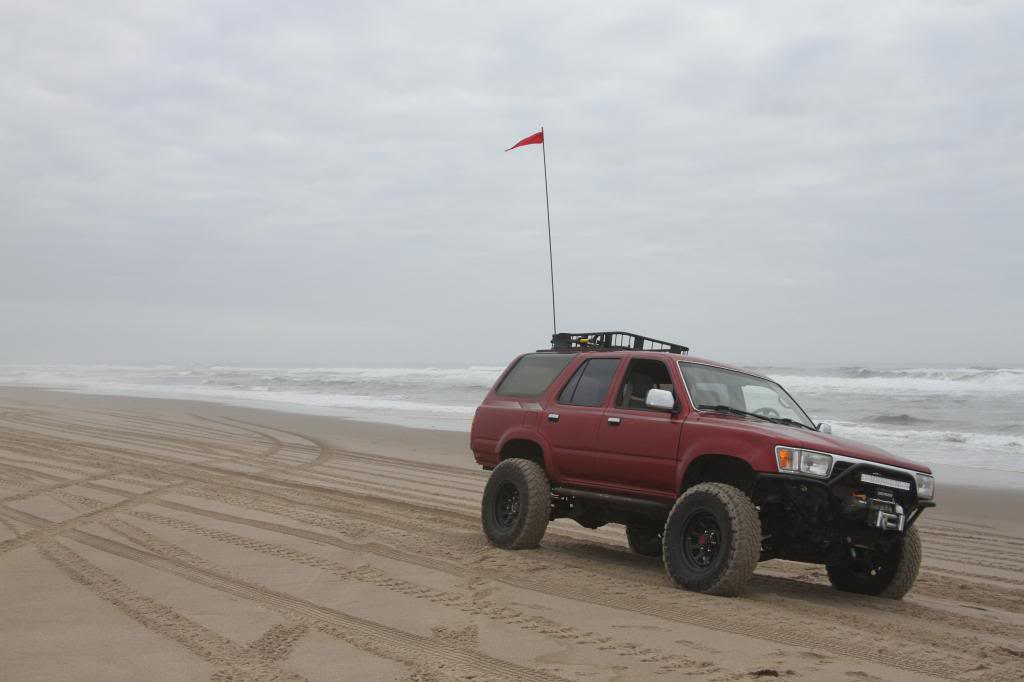
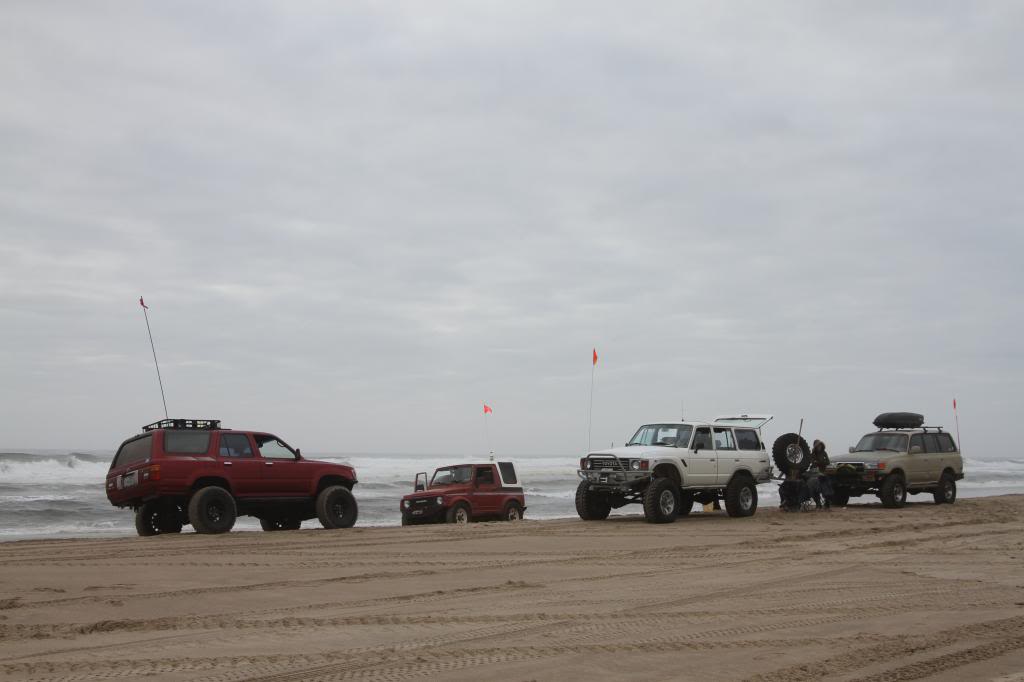
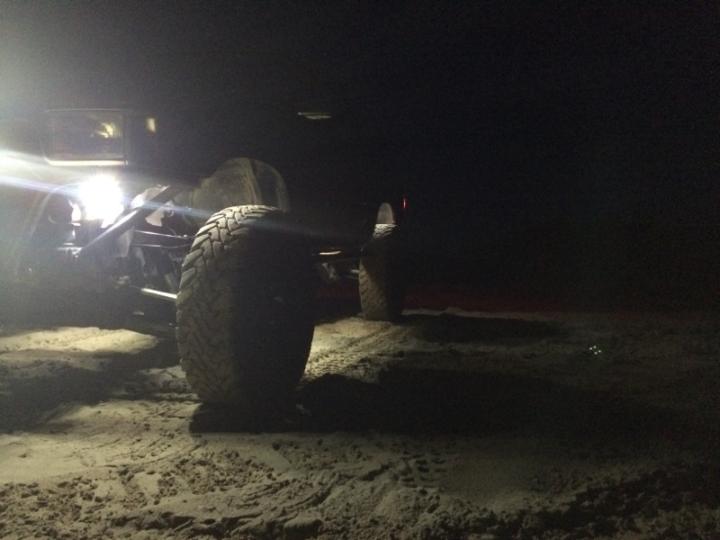
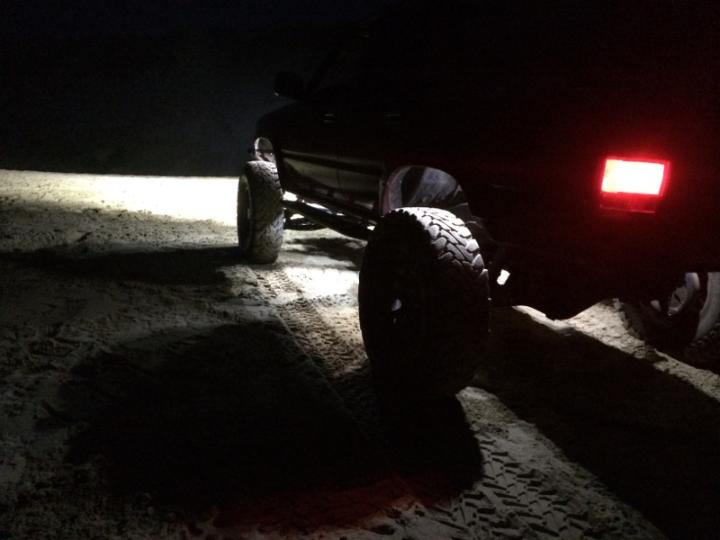
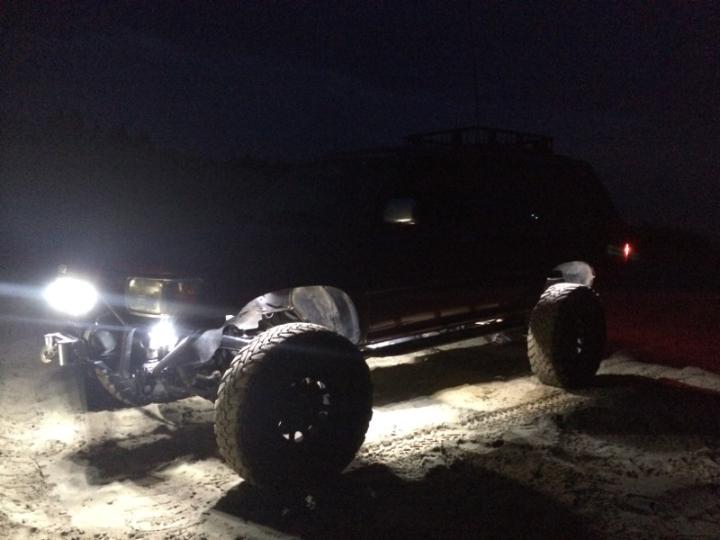
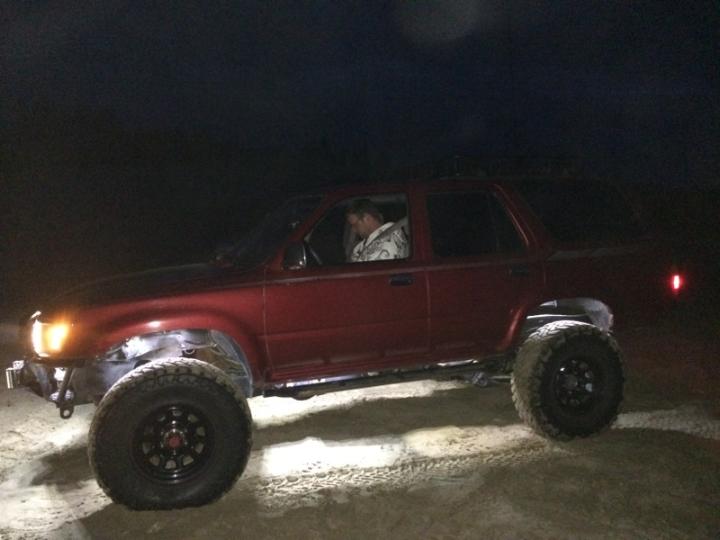
I went to the dunes this weekend and the front handled SOOOOOO GOOOOOD I was flying across the dunes. I even jumped the damn thing 3-4 times without a problem. I am so impressed by your kit! I'll post some pics when I get them.
Just hold onto my deposit money because I am going to buy your coilover hoops here shortly


 06-16-2014, 06:36 PM
#38
Registered User
Thread Starter
Join Date: Dec 2011
Posts: 228
Likes: 0
Received 0 Likes
on
0 Posts
06-16-2014, 06:38 PM
#39
Registered User
Thread Starter
Join Date: Dec 2011
Posts: 228
Likes: 0
Received 0 Likes
on
0 Posts
06-16-2014, 06:40 PM
#40
Registered User
Thread Starter
Join Date: Dec 2011
Posts: 228
Likes: 0
Received 0 Likes
on
0 Posts


