Build for a buddy. 2wd SAS 84/1st gen truck
 04-01-2014, 08:23 AM
#61
Thanks man.
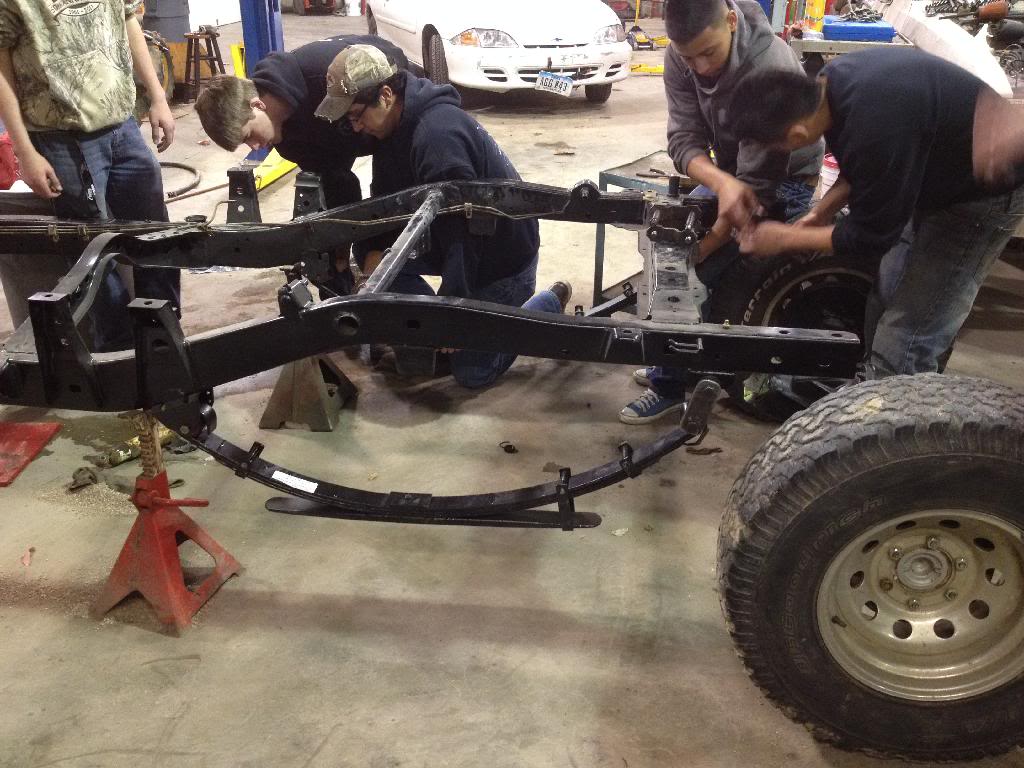
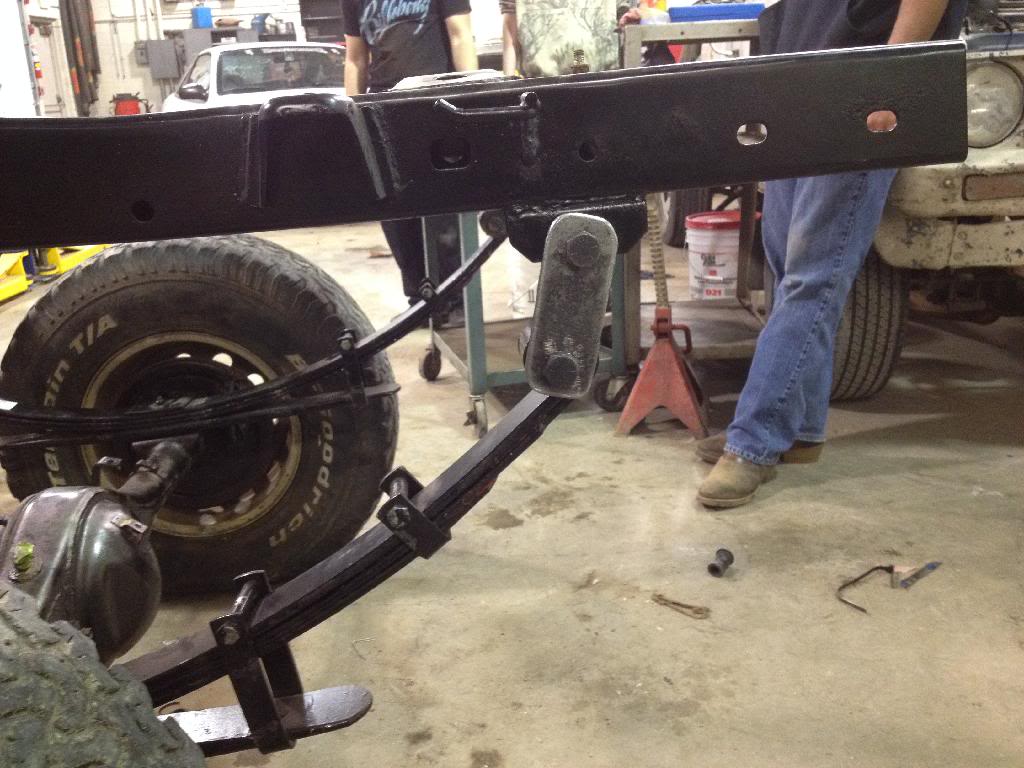
Since we are trying to retain the factory height plus the 2" lift, and using stock length springs. I am going to either make my own front hanger, brackets, or remove them from the 84 frame and re weld them onto the SAS'd one.
Since we are trying to retain the factory height plus the 2" lift, and using stock length springs. I am going to either make my own front hanger, brackets, or remove them from the 84 frame and re weld them onto the SAS'd one.
 04-03-2014, 06:46 AM
#62
Update 4-3-14
Started making the shackles yesterday. I ended up finding a 23/32 drill bit that was available at the local parts house.
Kids drilling out the holes.
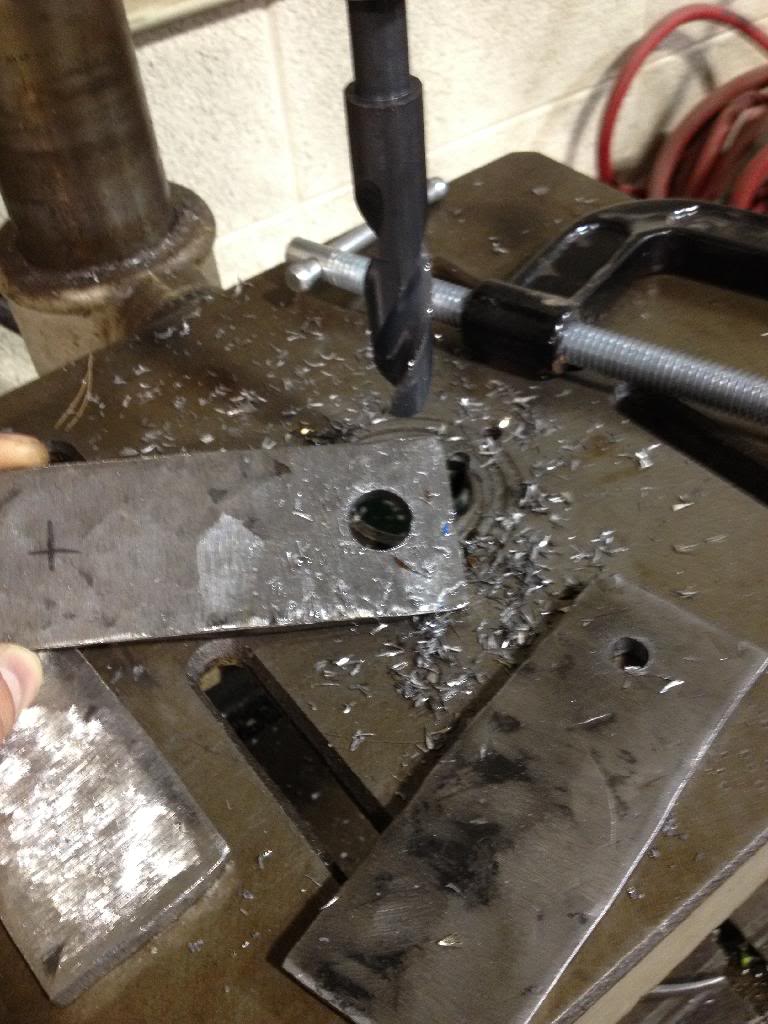
Rough cut and about halfway there.
I have them trying to make this one perfect so we can use it as a template for the others that we have to make.
Hopefully the Tube and jig kit comes today or tomorrow so we can get the front all figured out.
Kids drilling out the holes.

Rough cut and about halfway there.

I have them trying to make this one perfect so we can use it as a template for the others that we have to make.
Hopefully the Tube and jig kit comes today or tomorrow so we can get the front all figured out.
 Just wanted to know how many hours have yall put in this?
04-04-2014, 06:48 AM
Just wanted to know how many hours have yall put in this?
04-04-2014, 06:48 AM
#71
Update 4-4-14
Well The kids are coming along nicely making those shackles. They have to fine tune them today, and Hopefully we can have the rear mocked up before the day is out.
I think that they are turning out pretty good. All I did was supply the metal, measurements, and the bits.
https://www.yotatech.com/forums/f198...l#post52080781
I have some stock pins for the springs. I am going to try and head to the store to get some hardware so we can temporarily hang the rear to get an idea of how everything is going to go together.
I also checked the tracking on the tube and Jig kit, and it looks like it is due to show up on the 7th. I cannot wait for it to get here so we can the front together as well!
04-04-2014, 11:28 AM
#72
Update#2 4-4-14
Well I tried to head to the hardware store to get some bolts to use for mocking up the springs onto the axle. But I found that I could not get what I needed and the bolts that I found were 11$ a piece!! So I am going to talk to my buddy and get some greaseable ones from NWOR.
But anyhow, we had enough to make them work for now, and to get an idea of what its going to look like.
The kids were pretty excited to see them go on temporarily. It gave them a better idea of what it was going to look like.
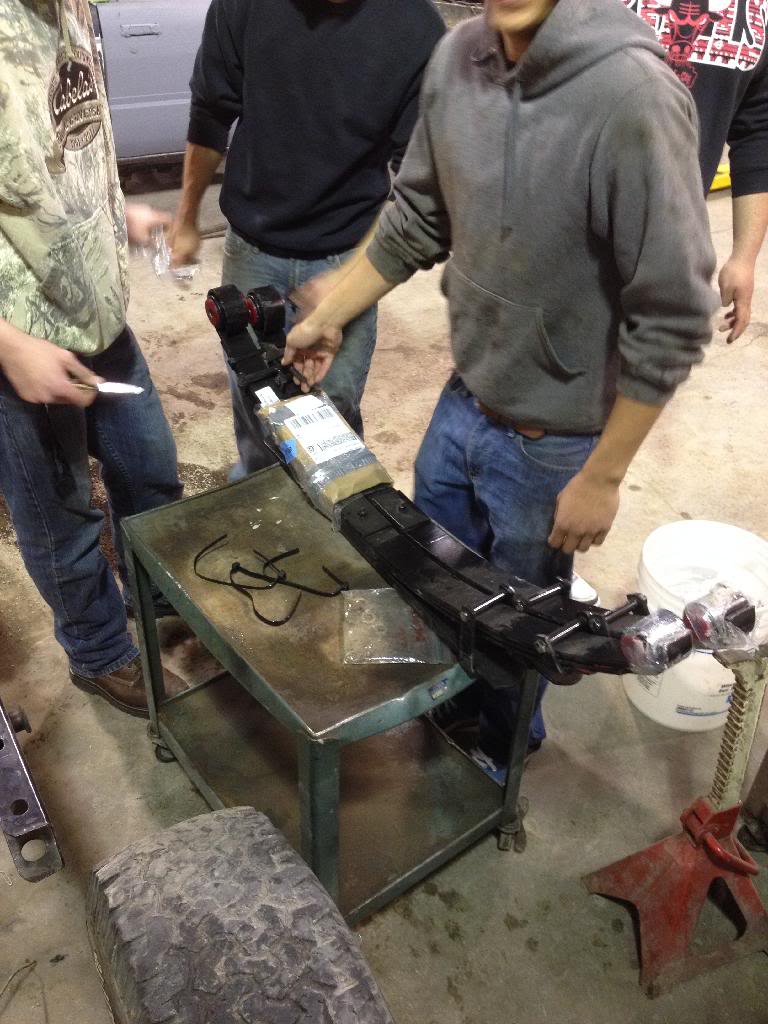
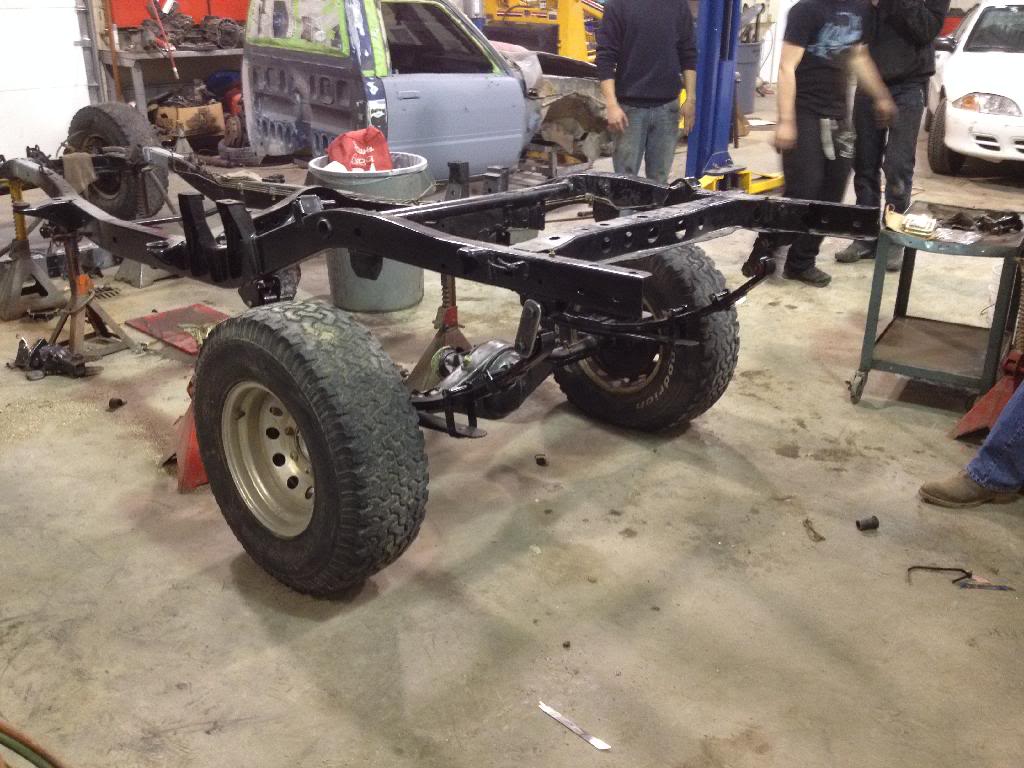
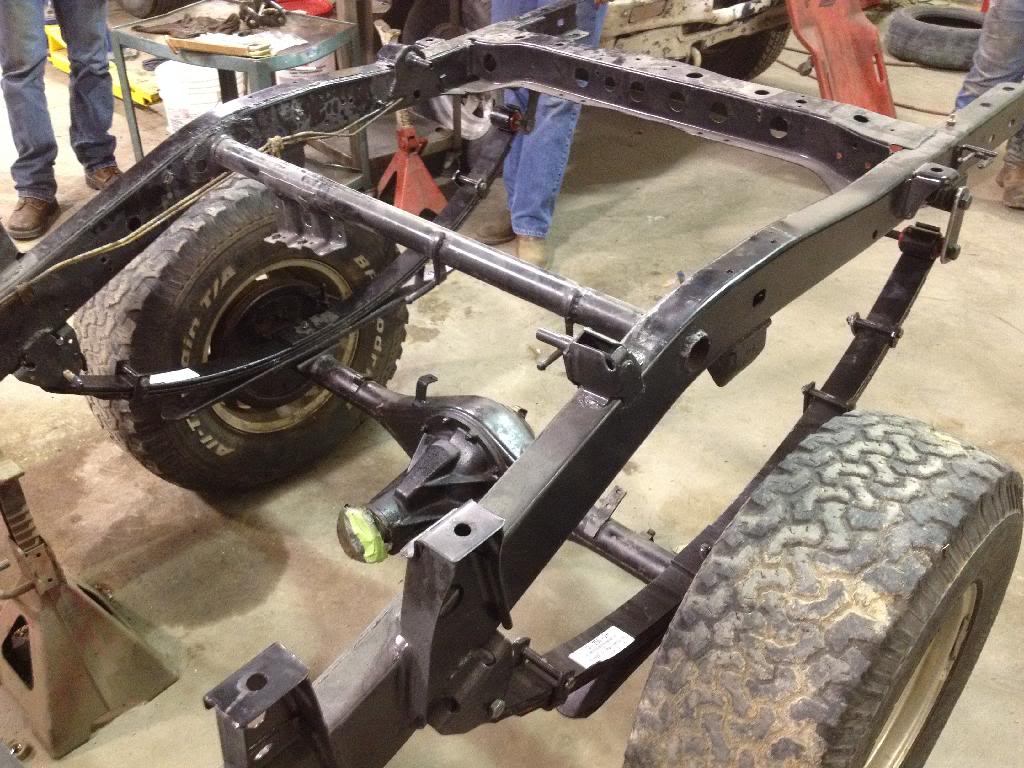
Unpacking the rear leafs.
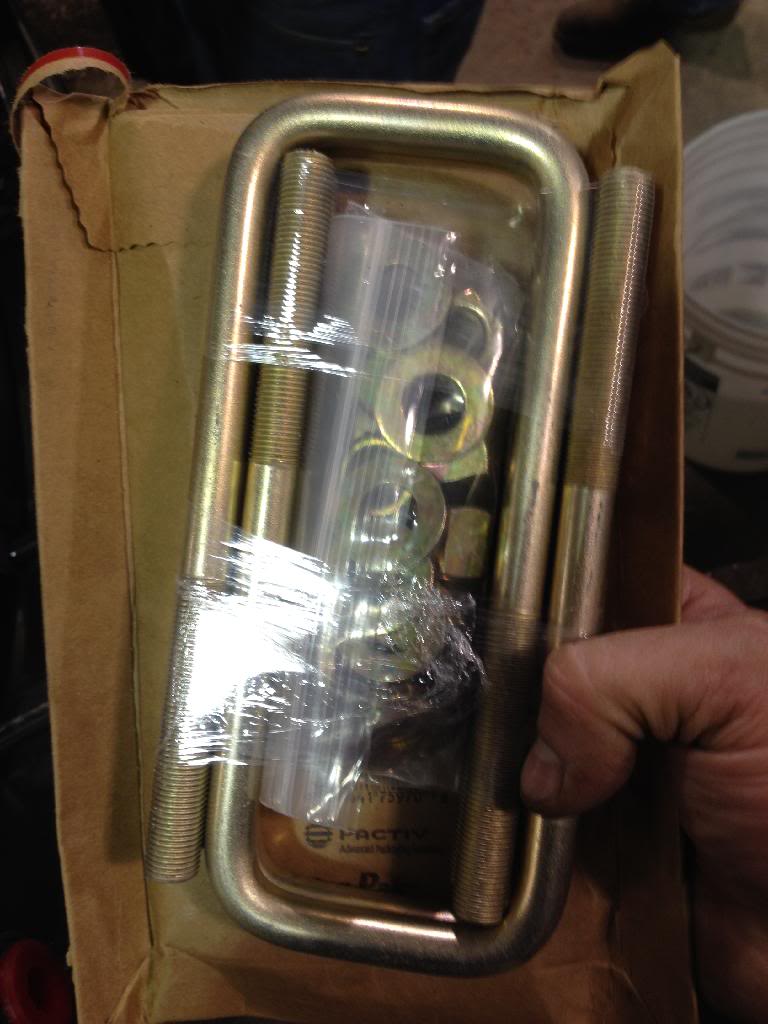
U-bolts are niiiiiiiiice!
Started hanging the springs.
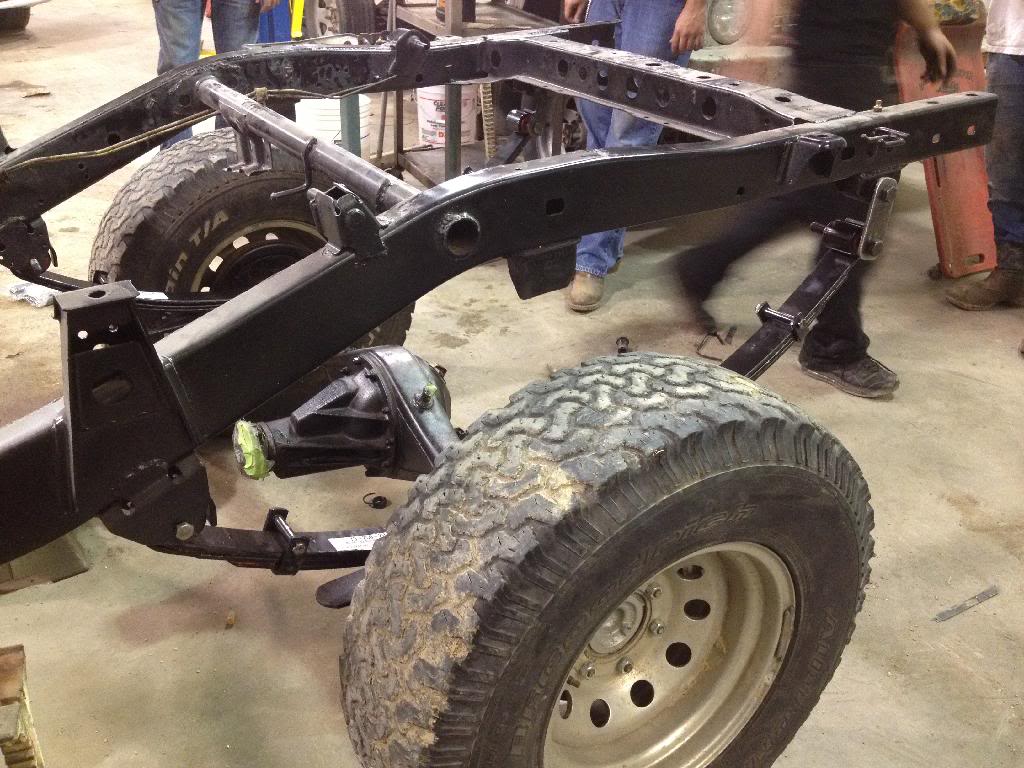
Looks like its going to sit pretty high with the 2" springs!!
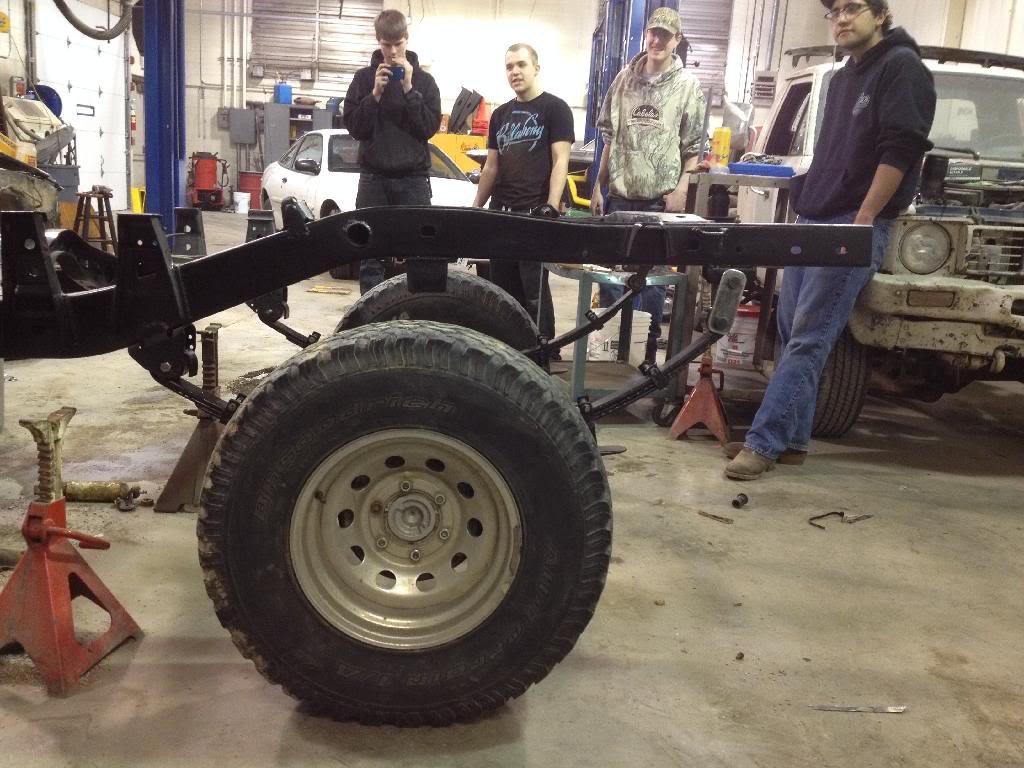
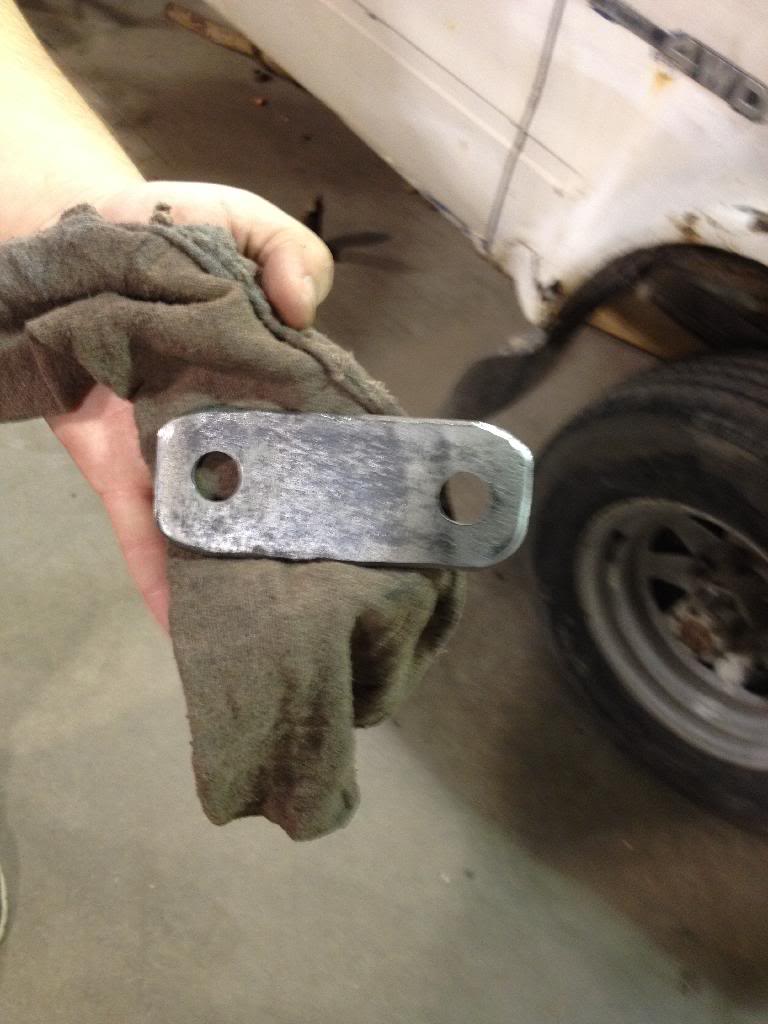
Custom shackles made by the students
So now we are going to start on the front when the tube and jig kit come on Monday.
But anyhow, we had enough to make them work for now, and to get an idea of what its going to look like.
The kids were pretty excited to see them go on temporarily. It gave them a better idea of what it was going to look like.
Unpacking the rear leafs.

U-bolts are niiiiiiiiice!

Started hanging the springs.

Looks like its going to sit pretty high with the 2" springs!!


Custom shackles made by the students


So now we are going to start on the front when the tube and jig kit come on Monday.
04-04-2014, 01:53 PM
#73
Registered User
Dang nice work guys!! Makin some serious progress and buildin your own parts as well. Looks like its gonna have a nice stance.I hope the front goes together as well as the rear did. So the spring perches for the rear on the 2wd frame are the stock ones???Or did you have to cut them and weld from the 4wd frame??Cant beleive how far along this build has come.
04-06-2014, 06:36 AM
#74
Dang nice work guys!! Makin some serious progress and buildin your own parts as well. Looks like its gonna have a nice stance.I hope the front goes together as well as the rear did. So the spring perches for the rear on the 2wd frame are the stock ones???Or did you have to cut them and weld from the 4wd frame??Cant beleive how far along this build has come.
04-06-2014, 06:37 PM
#76
After the springs and axles are all hung, we are going to start installing the engine/trans/ t-case. We have to make mounts for the 4wd crossmember. We also have to figure out what we are going to do with the steering. We might reuse the 4wd steering. But not ruling out hi steer.
04-07-2014, 12:18 AM
#77
Super Moderator
Staff
iTrader: (1)
Join Date: Aug 2008
Location: Anderson Missouri
Posts: 11,788
Likes: 0
Received 21 Likes
on
19 Posts
I just enjoy seeing a good clean frame up build. The kids seeing the drive train in place should give them a different view of things and you could always sit the cab on as a mock up just so they can see the big picture. Looking good.
04-07-2014, 05:25 AM
#78
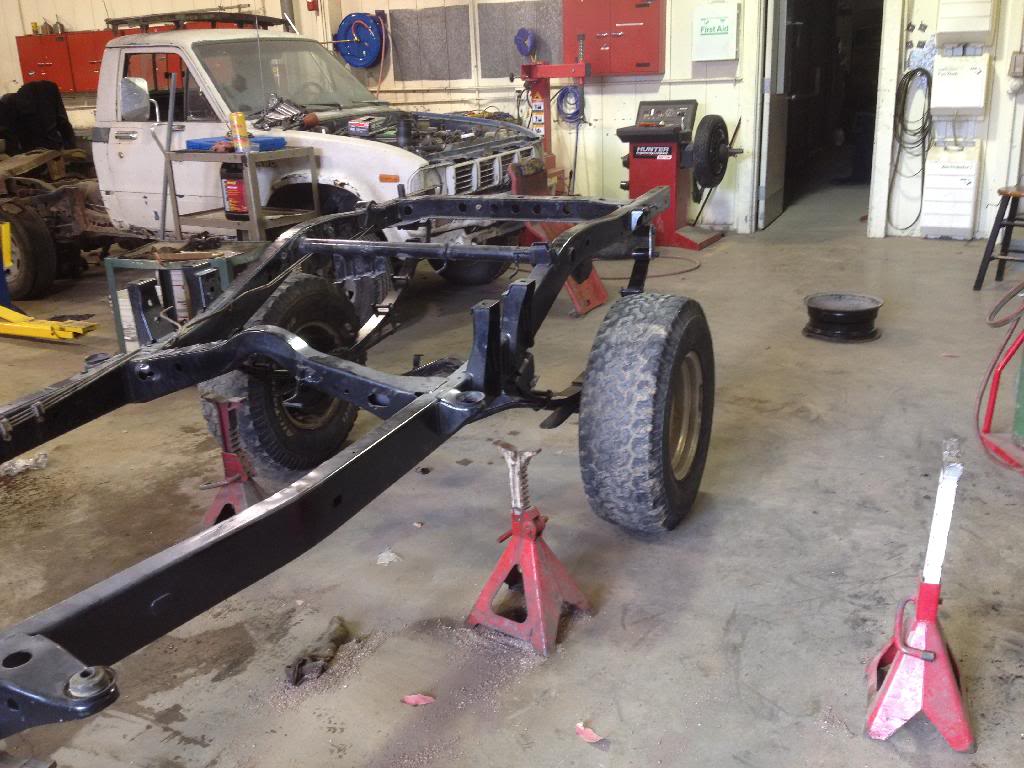
They really did get a better Idea of how its all going to come together once they saw the axle and springs on the rear. The Front tube and jig kit is scheduled to show up today also. Hopefully it will and we can get the front hung before the weeks out.
04-08-2014, 12:22 PM
#80
Well guys i need some help if any one can relate here. I have been doing alot of research on the tube and jig kits. Everyone of them says to drill the holes as far forward as the jig allows.
The questions I have and the issue I have with this is that typically the jigs are being installed when using extended length (all pro, trail-gear, alcan, etc) springs. Where we are using stock replacement length 2" lift springs. I have looked at the three 4wd frames I have access to, My 85, the 84 frame and the 81 frame. All of these frames that had a stock solid axle have the tubes through the frame in the center of the mount.
So I guess what I am getting at is that I feel as though I should put the placement of the tubes in the same "stock" SA location as the other frames I have access too. Because I do not want to create any type of steep shackle angle on the front spring packs that might cause issues.
Please let me know what you guys think. I talked to my buddy Chris (kornhuskerwizard) and he agrees with me and thinks I should also do it in the center like others. He and I have been researching on here and Pirate but have yet to find good solid info on the placement of the tubes in relation to the length of the springs.
Thanks guys.


