When you click on links to various merchants on this site and make a purchase, this can result in this site earning a commission. Affiliate programs and affiliations include, but are not limited to, the eBay Partner Network.
More action shots of accomplished work. Got my clutch fork repaired using some spring steel found in tool box (a spare spring clip for garden tools,LOL)
Before
After
Got my alternator bracket and adjuster built, painted, and installed.
Good luck getting it running post de-smog. What kind of carburetion will you be running? Also, what are your plans for the suspension? Pretty much stock? Now would be the time for any updates, if you were going that route...
Thanks. I will probably run a Weber 32/36, but will come at the end of the build. I bought OME rear springs and shocks. The fronts still have an arch in them, so will get OME front shocks and steering dampner. My grandson and I are in the process of cleaning the bottom the cab and prepping for bed liner paint. The next step is cleaning and prepping the engine bay and dash for paint. Hopefully all that can get during Christmas break
If I were you, I'd look at putting in a new wiring harness. I bought one of those painless 18 circuit waterproof offroad kits, and it worked well with minor adjustments. That way, you can delete the ECC and all the irrelevant wiring. I also cut off the stock Toyota connectors on pretty much everything, and just replaced them with spade disconnect pairs.
My frame up resto should start next year, I'll reference your rig for inspiration
Hey there. Dood, if EVER there was a restoration, you have done it. Wow..I can't say how impressed I am.
I've looked for that long lost sister truck to Dixie and I think I've found her,
in Texas!
I'll keep looking through your posts, hope to see a recent one.
Again, good stuff bud.
I wish had more to report, slow progress on the truck due back injury and 3 commissioned bass guitar builds have taken most of my time. I'm better now and working slowly modding the dash and repairing the dash pad for fiberglassing. I'll post some progress pics soon and thanks for the interest
I wish had more to report, slow progress on the truck due back injury and 3 commissioned bass guitar builds have taken most of my time. I'm better now and working slowly modding the dash and repairing the dash pad for fiberglassing. I'll post some progress pics soon and thanks for the interest
Sorry to hear about your injury! Hopefully it will fully heal up soon. Thats awesome you builkd guitars. I was into guitars and trying to learn to play them many years ago and I was buying pieces to build a reverse head Jackson. Got it all complete except for the pickups.
I wish had more to report, slow progress on the truck due back injury and 3 commissioned bass guitar builds have taken most of my time. I'm better now and working slowly modding the dash and repairing the dash pad for fiberglassing. I'll post some progress pics soon and thanks for the interest
Yea, sorry bout your back bud.
I look forward to some pics!
Sent you a pm, btw.
Sorry to hear about your injury! Hopefully it will fully heal up soon. Thats awesome you builkd guitars. I was into guitars and trying to learn to play them many years ago and I was buying pieces to build a reverse head Jackson. Got it all complete except for the pickups.
Thanks. The injury was to lower back and right hip joint, but still working it out. Building bass guitars is another hobby. I build from scratch and do finishing/refinishing for customers and even donate some to kids that are up and coming but can't afford to buy.
Thanks. The injury was to lower back and right hip joint, but still working it out. Building bass guitars is another hobby. I build from scratch and do finishing/refinishing for customers and even donate some to kids that are up and coming but can't afford to buy.
That's pretty cool that you do that! Got any pics of your work?
Nice looking truck, I want to take mine apart and clean it all up someday too. Hope you get it running soon, the motor looks nice and ready to break in.
Thanks for looking. I apologize for having no updates, been having some lingering health issues with my back and now my knees are giving me problems. Looks like surgery to replace both is looming. I'm still working to get my dash mods completed and painted. Still have some rust repair to do to floor pans, hopefully I can get these done before winter sets in.
I wanted to update some work I did while I was hobbling around with my knee and back issues. I decided to do an update to most of the truck. Reason was because my truck does not have A/C, only had original plastics for the dash, wanted to completely rewire the truck.
So the dash and accessories were first, since my dash was pretty well chopped up,, . A lot of thought/ideas crossed through my hollow gourd, viewing internet, mags, books, etc.. Pocketbook thickness was a constant battle. So here goes
Started with gutting an 83 instrument cluster, with a dremel. Using the front bezel, traced and cut template out in paper.
After everything was a go, transferred the template to 16 ga. mild steel from Tractor Supply. Decided on the gauge layout.
Cut out and filed to fit inside of the bezel. In looking from the back side, decided to use 4mm flat screws (drilled and countersunk, welded) to mount the new plate. Using hole saw in my drill press to get the gauge holes opened up.
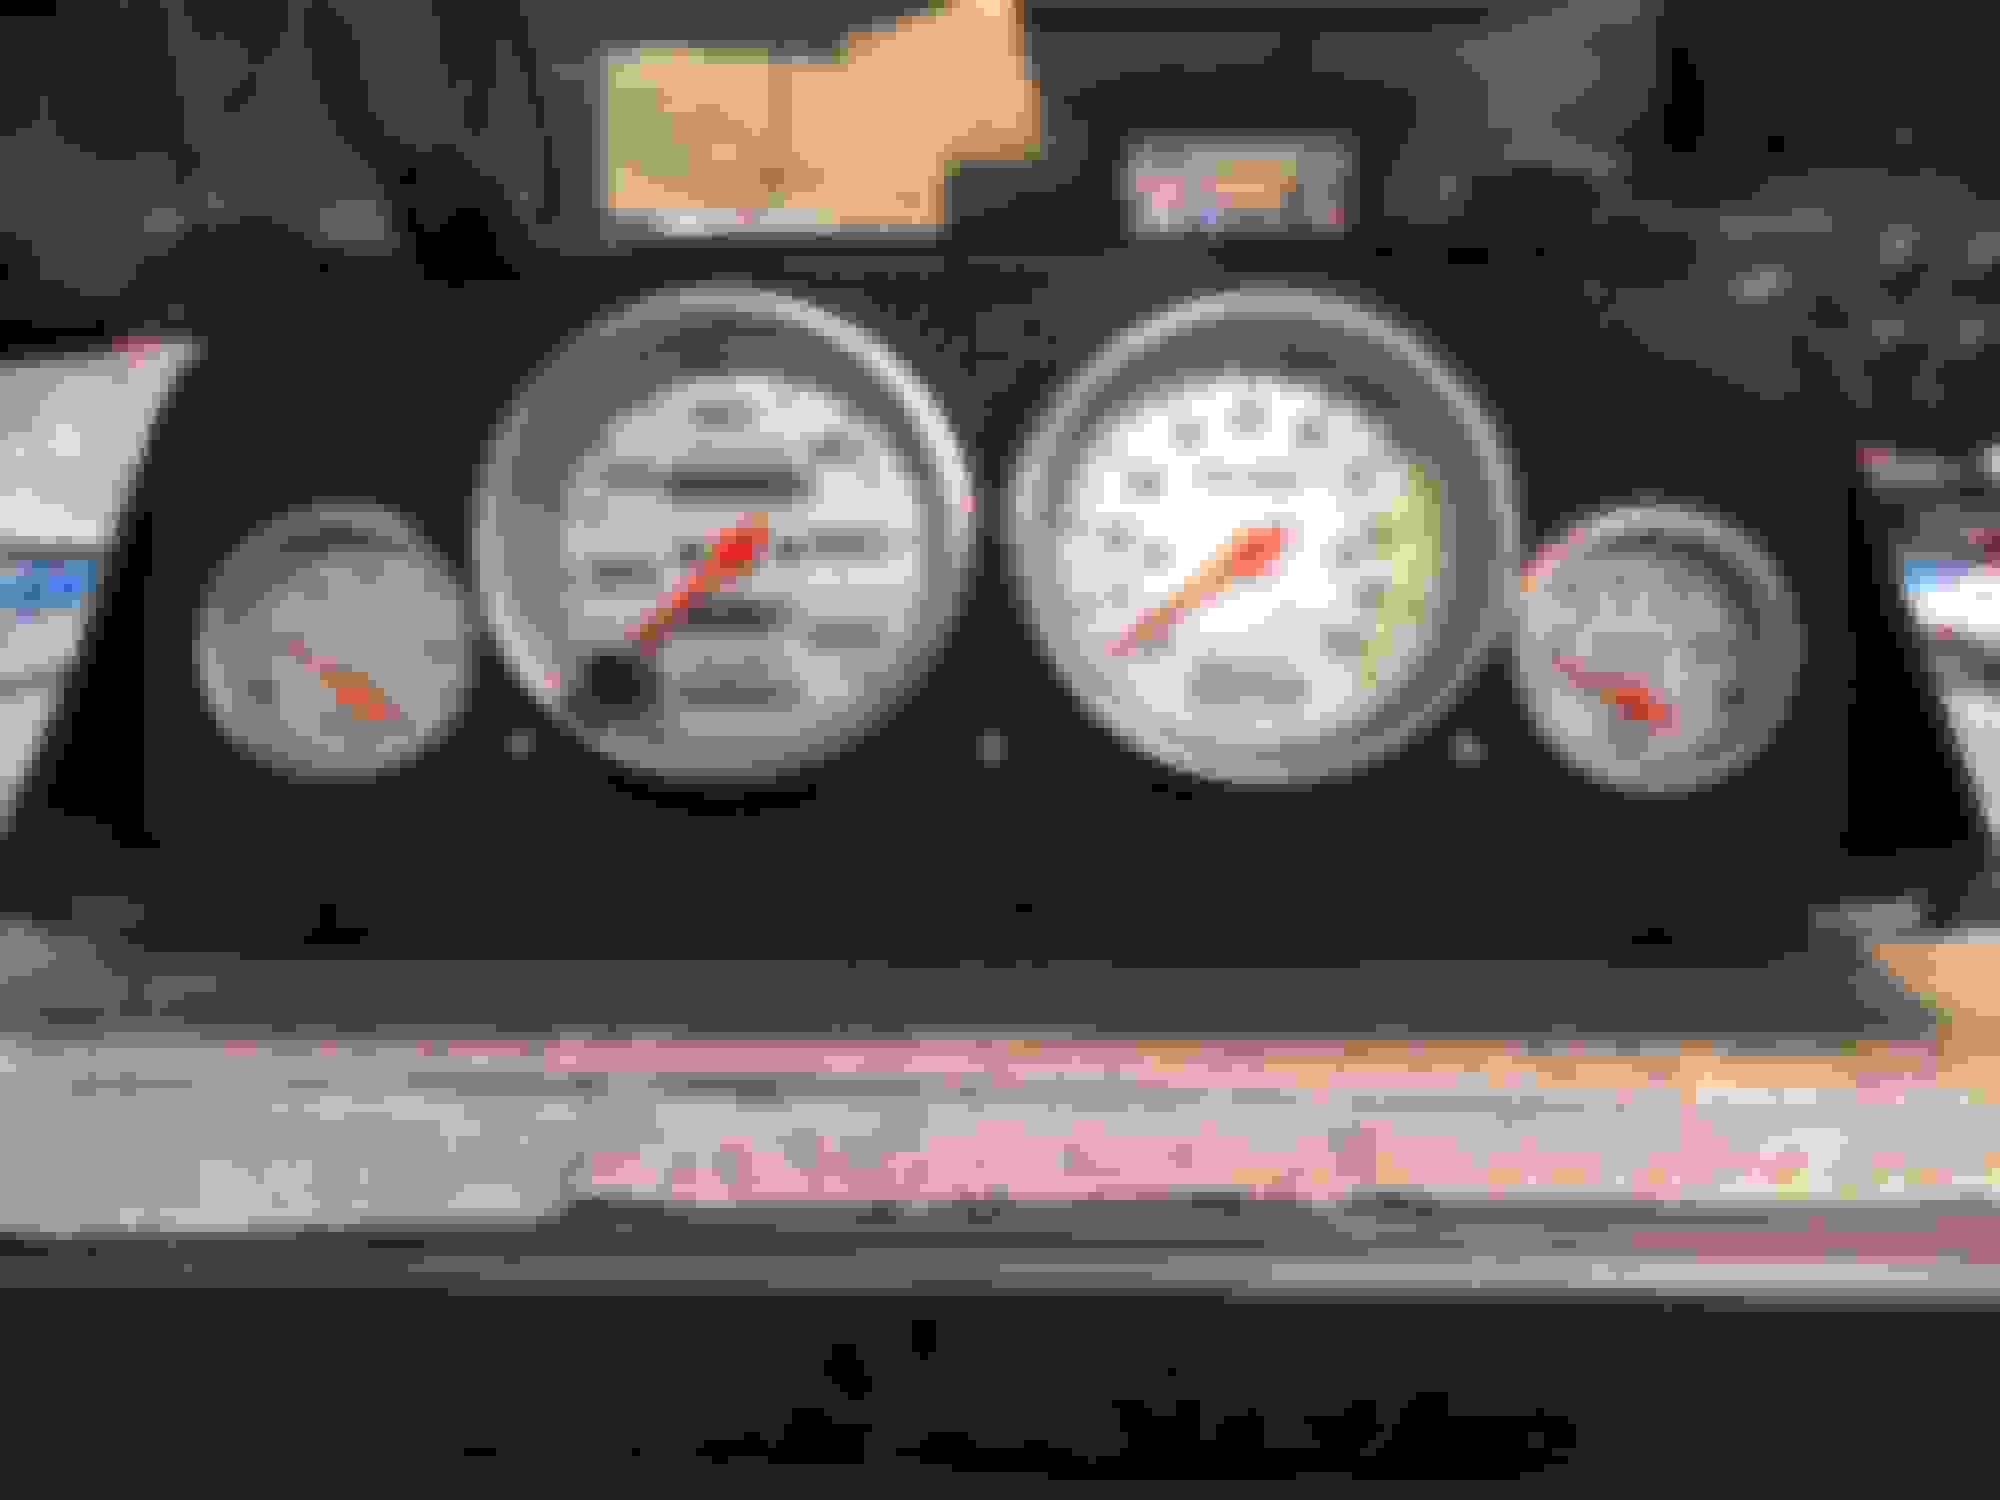
Painted the cluster housing with SEM Color Coat, covered the bezel with Carbon Fiber auto wrap from Ebay. Installed the gauges and started the wiring process. I installed 6 LED light to be used for warning lights, when I get there. Will not be using the clear plastic over the gauges. This is how it sets.

 11-20-2012, 04:36 AM