KawaZX636's 1983 Toyota Pickup Restoration
 04-19-2013, 07:22 PM
#41
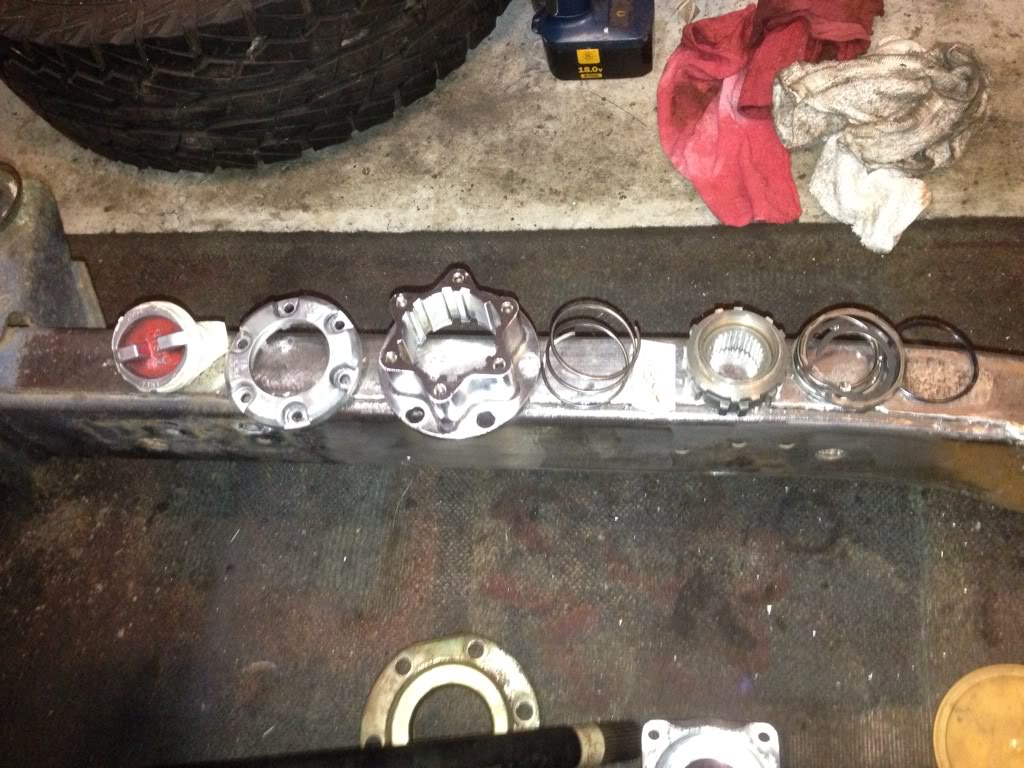
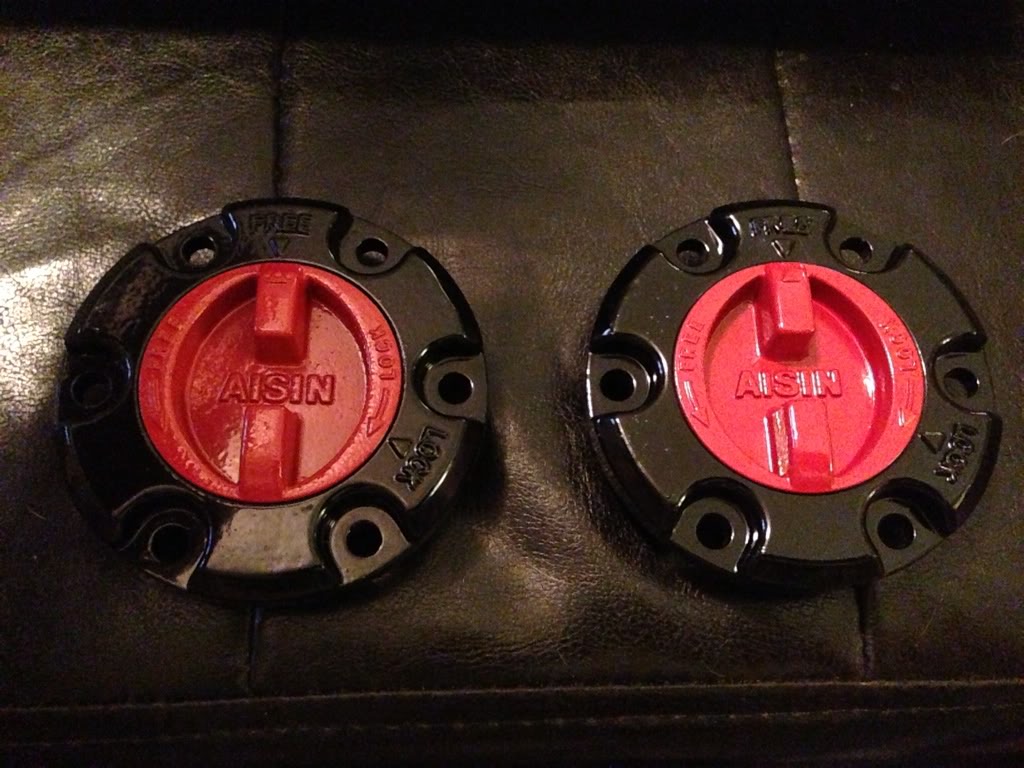
Ok, so the weather still sucks, BUT I did manage to test out the Eastwood Hotcoat powdercoating kit that I recently bought! I finished cleaning up my Aisin hub dials this afternoon and shot them with some powder.
Here's a before shot after I had cleaned up the Aisin hub locks (I media blasted the dials to take them down to bare metal, but I didn't take a pic):
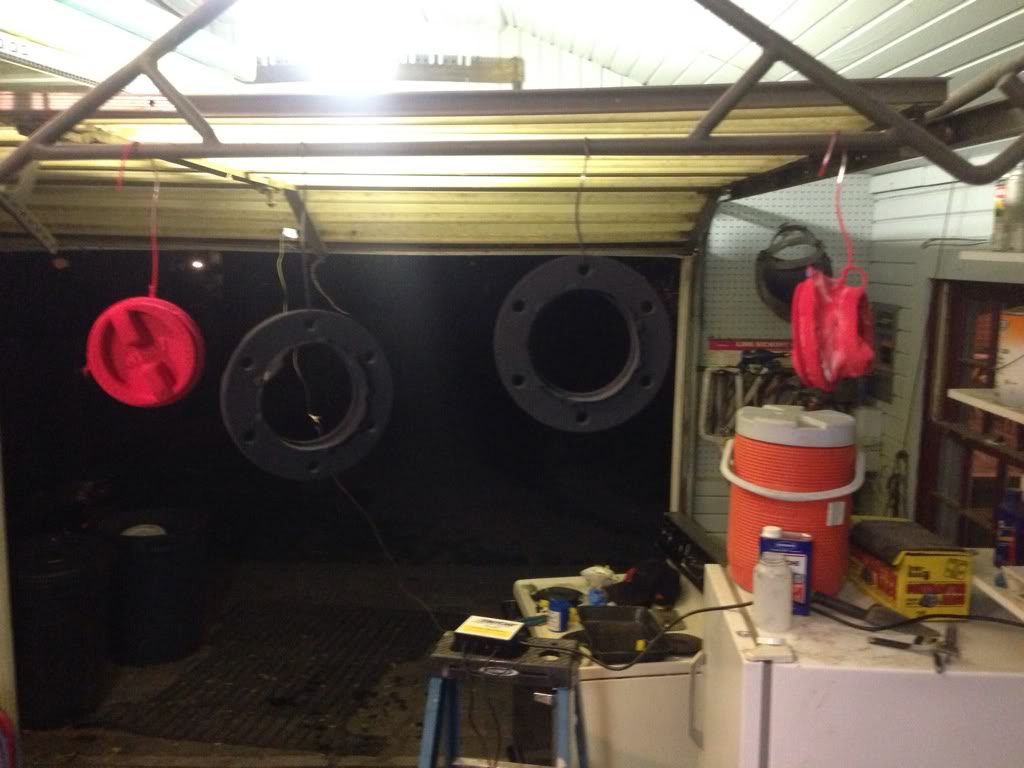
Here they are after being shot with powder (parts that I didn't want to shoot had to be masked off with high temp paint):
A little 20 minute bake in a $25 oven that I found on CL:
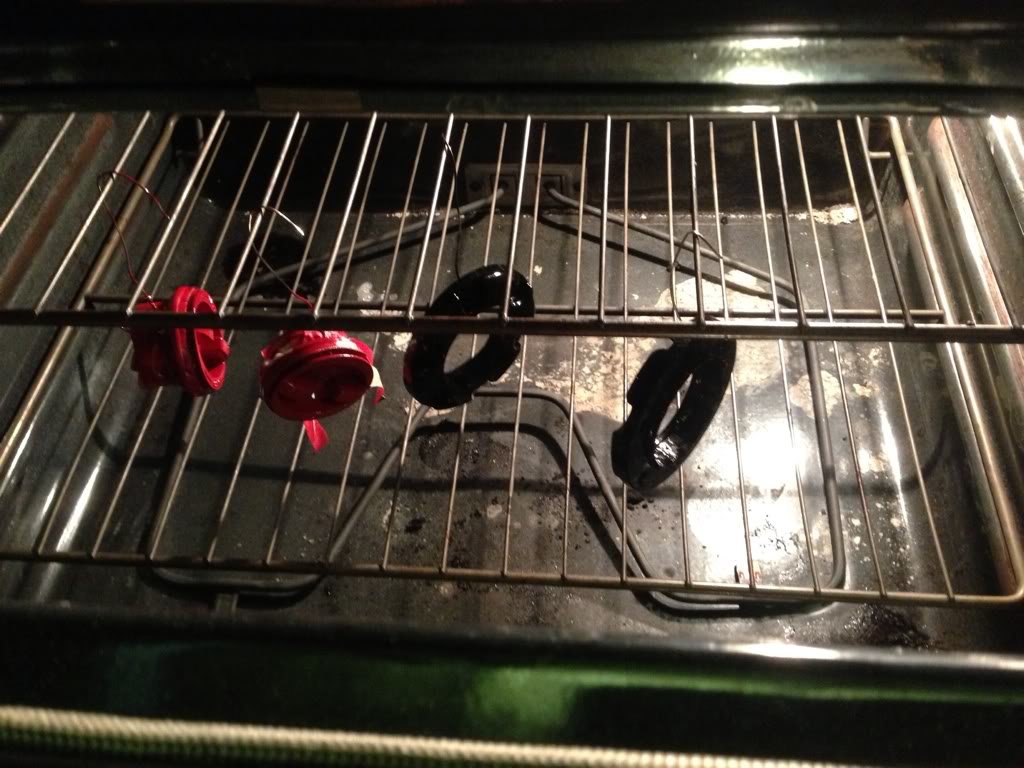
Fresh out of the oven:
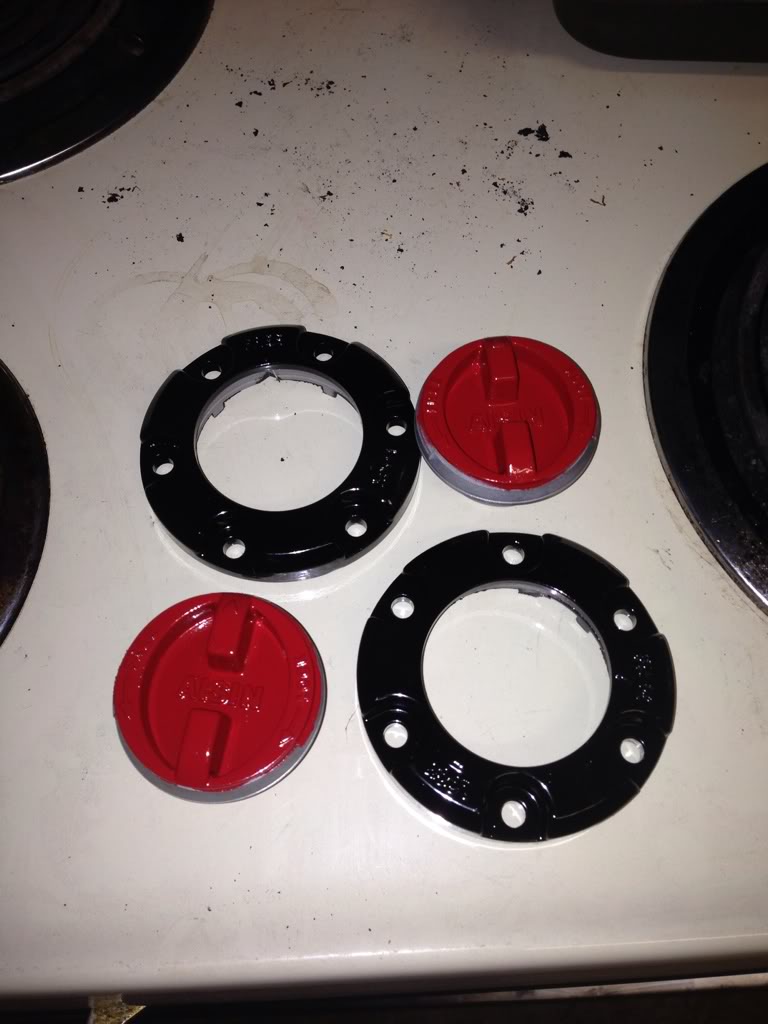
Had to trim some of the powdercoating with a razor blade so the dials would fit properly in the rings properly. Fits and looks really good!
This kit is awesome!! I would recommend it to anybody interested in powdercoating some odds and ins parts. The finish is instantly hard once cool and can be put into service immediately. Much better than waiting for paint to fully cure. I'm even planning on going back and powdercoating brackets and parts that I originally painted on my engine rebuild.
Here's a before shot after I had cleaned up the Aisin hub locks (I media blasted the dials to take them down to bare metal, but I didn't take a pic):

Here they are after being shot with powder (parts that I didn't want to shoot had to be masked off with high temp paint):

A little 20 minute bake in a $25 oven that I found on CL:

Fresh out of the oven:

Had to trim some of the powdercoating with a razor blade so the dials would fit properly in the rings properly. Fits and looks really good!

This kit is awesome!! I would recommend it to anybody interested in powdercoating some odds and ins parts. The finish is instantly hard once cool and can be put into service immediately. Much better than waiting for paint to fully cure. I'm even planning on going back and powdercoating brackets and parts that I originally painted on my engine rebuild.
 04-20-2013, 08:54 PM
#44
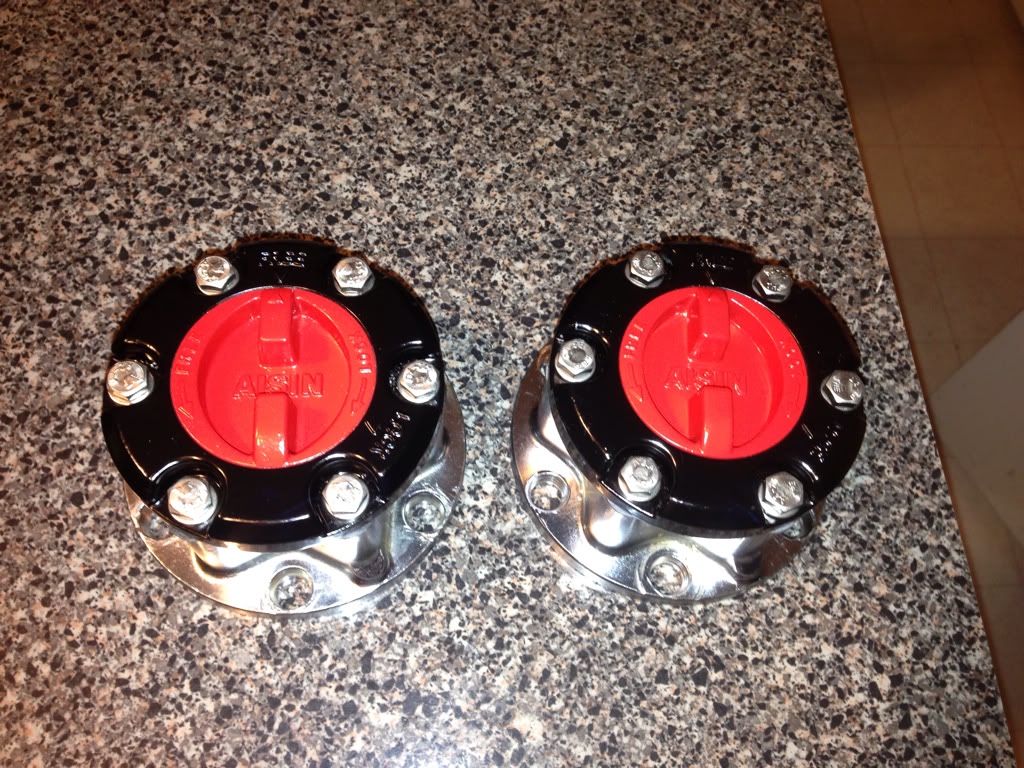
Assembled the Aisin hub locks tonight. They look pretty damn good considering that they are 30 years old - just new stainless hardware. I finger tightened the dial and ring on so that I can just remove it to install the snap ring on the birf when I go to assemble the axle.
 04-20-2013, 09:07 PM
#45
Thanks! And let me tell you, that powdercoating is tough as nails too-it's just a cheapo version of professional powdercoating. I dropped one of the dial rings on my concrete driveway and it rolled down it for about 40 feet. Not a single scratch when I picked it up!
04-22-2013, 09:29 AM
#46
Registered User

Join Date: Jan 2013
Posts: 2
Likes: 0
Received 0 Likes
on
0 Posts
I bought that system from Eastwood a few years ago but have yet to use it. Still in the box but hopefully that will change soon once I pick up a project to work on. Keep up the good work.
04-26-2013, 09:17 PM
#47
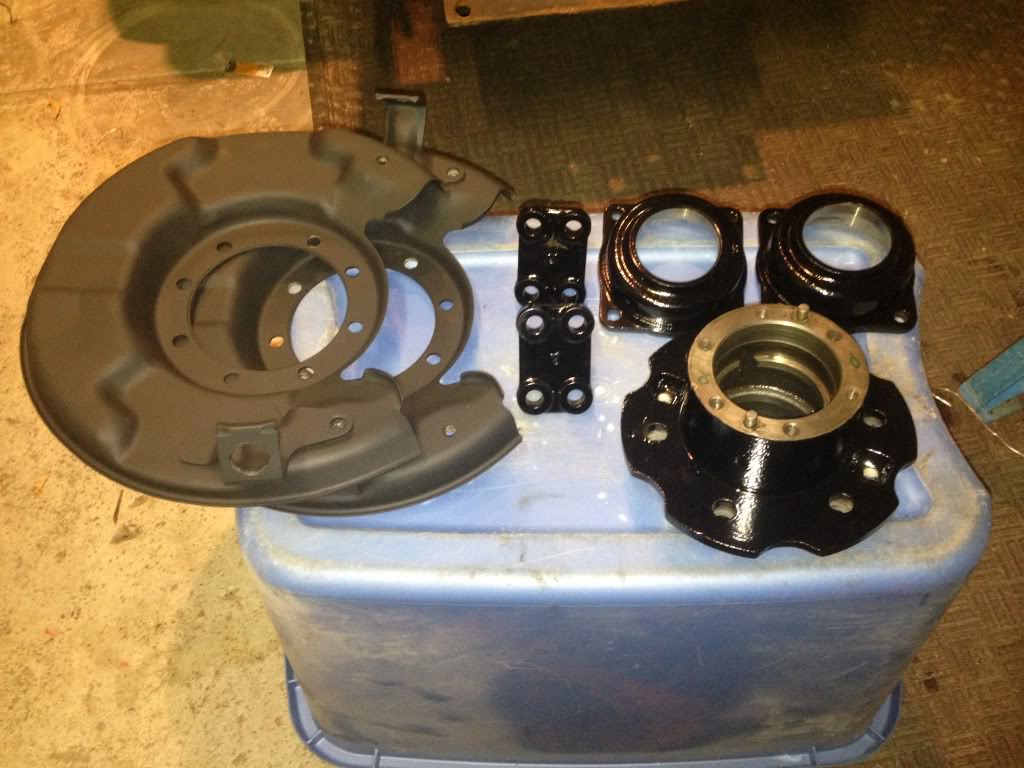
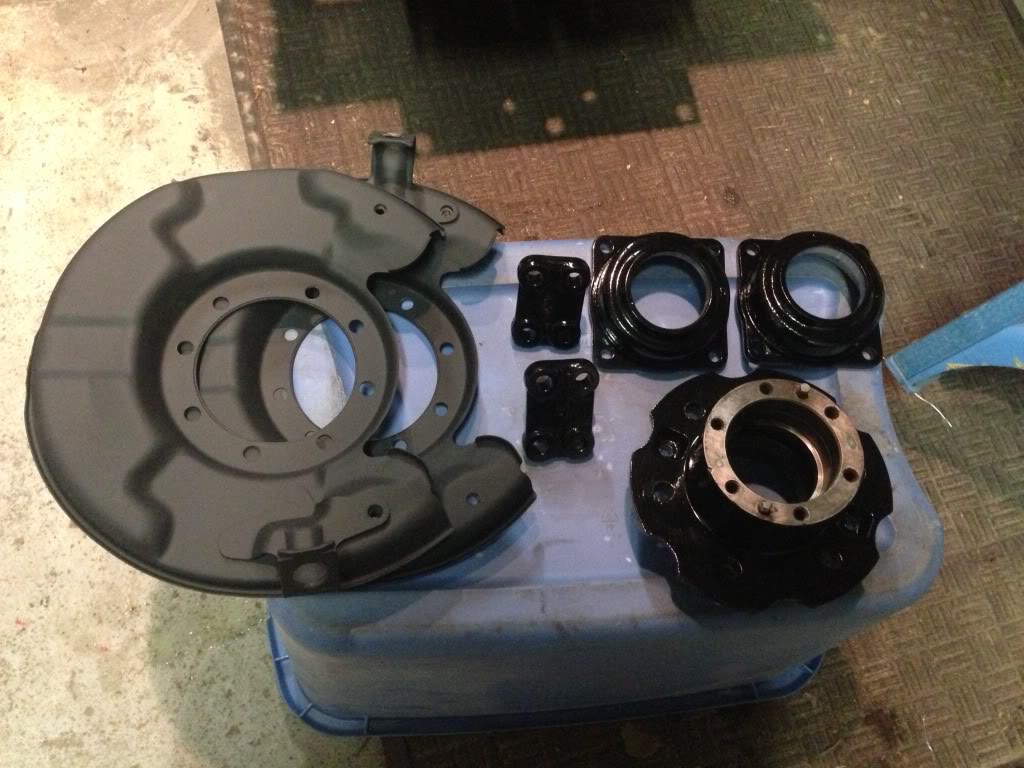
Cleaned up some parts today and did some more powdercoating tonight. I got the front disk brake shields (satin black), lower knuckle bearing caps (gloss black), steering knuckles (gloss red), rear wheel bearing cups (gloss black) and hub (gloss black). All I have left to powdercoat is the other hub (I managed to leave a hub at home when I headed over to my Pop's house to do the powdercoating) and the J-arm/upper knuckle bearing caps and I'll be able to reassemble both axles (once they are painted.
Here's the results (If you're looking to powdercoat some part, I would HIGHLY recommend this kit):
In other news, yesterday I ordered my rear OME springs, rear bearing kit, Marlin Crawler inner axle seals and rear disk brake conversion brackets. The front OME springs were on backorder so I'm going to find somebody else to order those from. I'll be cruising right along once I get that damn frame painted!
Shock options?? I'm leaning towards Rancho adjustable 9000 shocks. Anybody have any experience with those? I'm looking for a good, smooth ride on the road with a little bit of offroad campabilities
Here's the results (If you're looking to powdercoat some part, I would HIGHLY recommend this kit):


In other news, yesterday I ordered my rear OME springs, rear bearing kit, Marlin Crawler inner axle seals and rear disk brake conversion brackets. The front OME springs were on backorder so I'm going to find somebody else to order those from. I'll be cruising right along once I get that damn frame painted!
Shock options?? I'm leaning towards Rancho adjustable 9000 shocks. Anybody have any experience with those? I'm looking for a good, smooth ride on the road with a little bit of offroad campabilities

 04-30-2013, 08:32 PM
#51
I didn't have factory bumper brackets on mine (had to fab my own when I put the stock bumper on), but I will tell you that there are several of couple different ones out there for our trucks. Here's what they look like for mine (1983):
http://www.ebay.com/itm/FRONT-BUMPER-MOUNTING-BRACKET-RIGHT-SUPPORT-1982-1983-TOYOTA-PICKUP-NEW-UNIT-/400475410192?pt=Motors_Car_Truck_Parts_Accessories&fits=Year%3A1983%7CMake%3AToyota%7CModel%3APickup&hash=item5d3e31cf10&vxp=mtr
2WD bumper brackets will not fit.
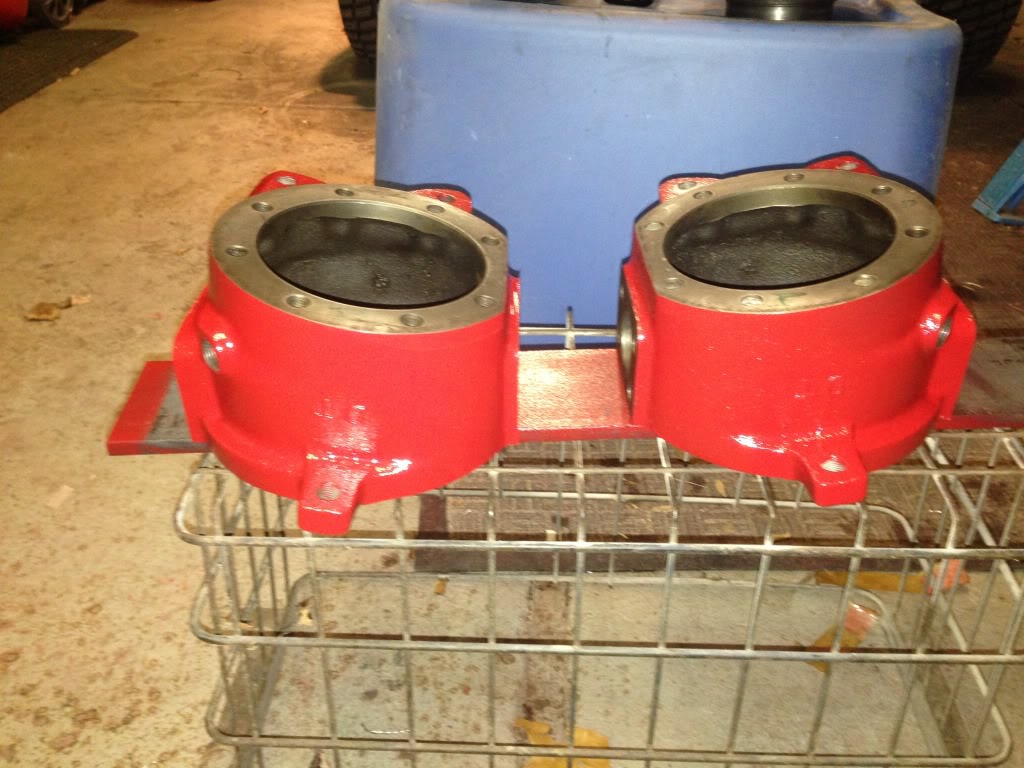
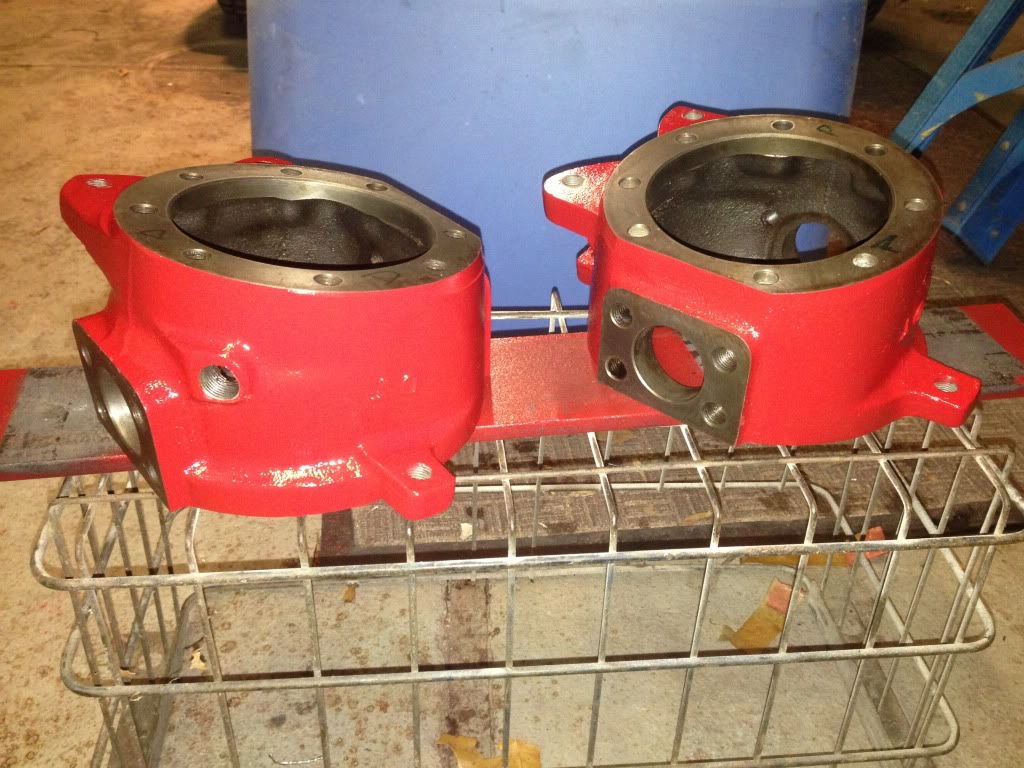
The hub bodies cleaned up easily. They are cromoly so I just scrubbed them with a toothbrush and some CLR followed by some chrome wheel polish. It took off all the rust (which was mostly surface rust) and shined them up nicely.
http://www.ebay.com/itm/FRONT-BUMPER-MOUNTING-BRACKET-RIGHT-SUPPORT-1982-1983-TOYOTA-PICKUP-NEW-UNIT-/400475410192?pt=Motors_Car_Truck_Parts_Accessories&fits=Year%3A1983%7CMake%3AToyota%7CModel%3APickup&hash=item5d3e31cf10&vxp=mtr
2WD bumper brackets will not fit.
The hub bodies cleaned up easily. They are cromoly so I just scrubbed them with a toothbrush and some CLR followed by some chrome wheel polish. It took off all the rust (which was mostly surface rust) and shined them up nicely.
05-01-2013, 05:07 AM
#52
I didn't have factory bumper brackets on mine (had to fab my own when I put the stock bumper on), but I will tell you that there are several of couple different ones out there for our trucks. Here's what they look like for mine (1983):
http://www.ebay.com/itm/FRONT-BUMPER...31cf10&vxp=mtr
2WD bumper brackets will not fit.
The hub bodies cleaned up easily. They are cromoly so I just scrubbed them with a toothbrush and some CLR followed by some chrome wheel polish. It took off all the rust (which was mostly surface rust) and shined them up nicely.
05-08-2013, 08:14 PM
#53
Well, after waiting for a bunch of deliveries from Big Brown and FedUp I'm starting to get some things rolling (well not actually rolling, but getting there). Rear axle bearings, marlin seals and sky rear disc brake conversion brackets all came in. Still waiting on my rear OME springs since 4wheelonline.com called me yesterday (2 weeks after I placed the order) and told me that the springs were shipping from Australia and will be here in 4-6 weeks. That's BS, but oh well.
I finished powdercoating all the front knuckle components. While I was at it, I took the alternator brackets and motor mounts off of my engine, stripped the fresh paint off and powdercoated them. I still want to do the power steering pump bracket, idler pully bracker and pulleys but I'm in no real rush so I'll eventually get to it.
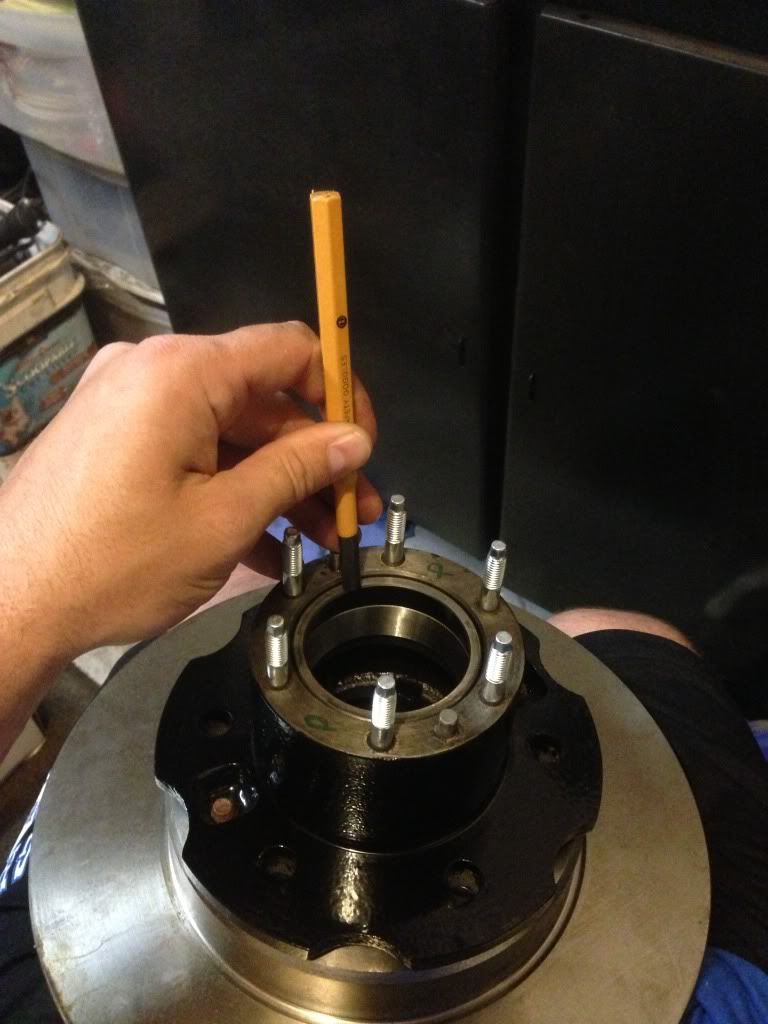
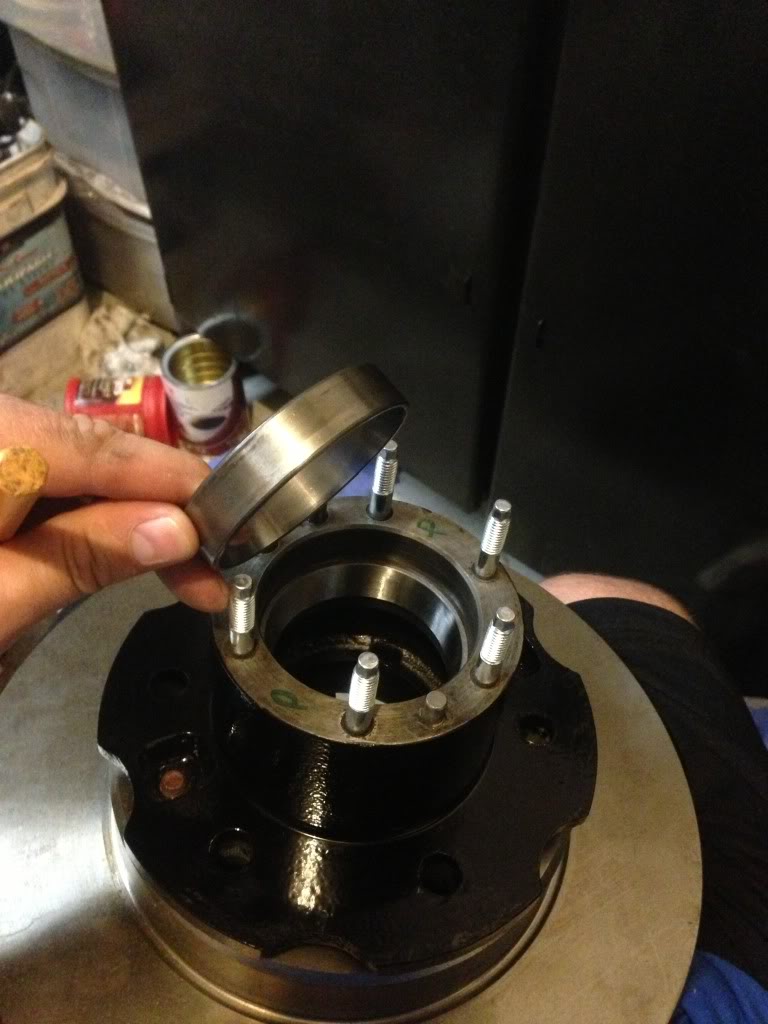
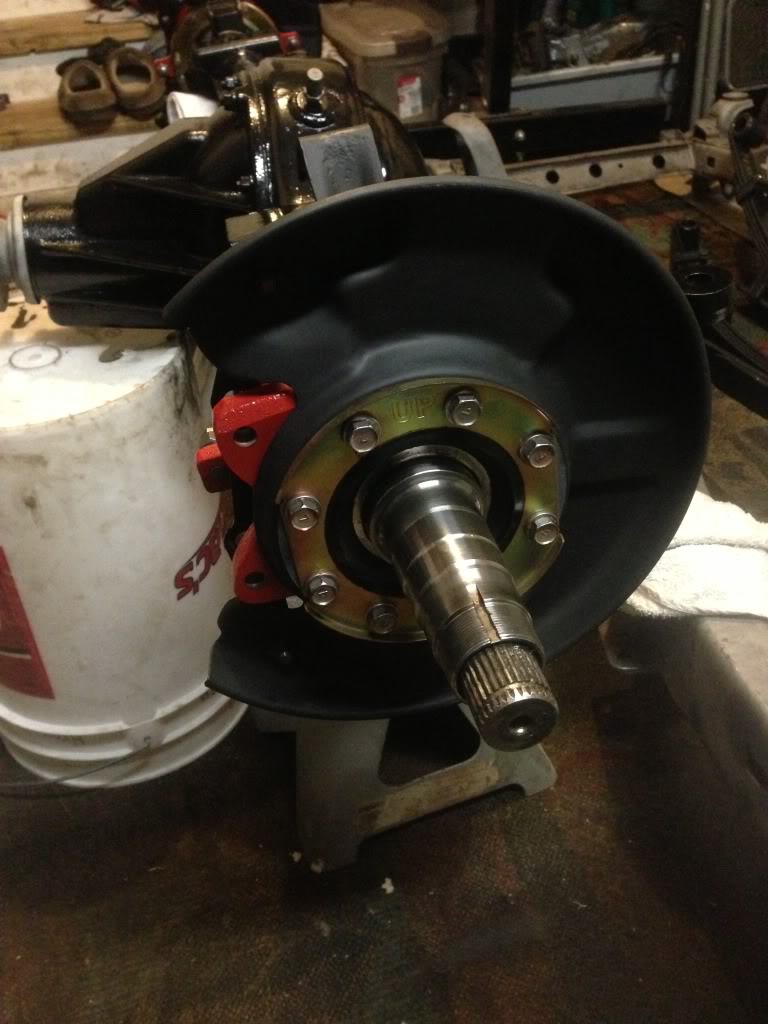
I started assembling the front hubs. Got the new studs installed for the Aisin hub locks, rotors install, studs half way punched in (baby was sleeping so I couldn't whack on it too hard), and the inner/outer races driven in. For those of you like me that don't have a bearing driver, you can use the old races to drive in the new ones without slipping and marring up the new races. It's an old trick that I used to use on motorcycles-see the pictures below
I will hopefully be able to paint the axles sometime soon. I took off the thirds, check the ring and pinion, reassembled in cleaned them up. They are ready to go, just need to find the time to slap some POR15 on them. Then it's just a matter of bolting everything on them.
I finished powdercoating all the front knuckle components. While I was at it, I took the alternator brackets and motor mounts off of my engine, stripped the fresh paint off and powdercoated them. I still want to do the power steering pump bracket, idler pully bracker and pulleys but I'm in no real rush so I'll eventually get to it.
I started assembling the front hubs. Got the new studs installed for the Aisin hub locks, rotors install, studs half way punched in (baby was sleeping so I couldn't whack on it too hard), and the inner/outer races driven in. For those of you like me that don't have a bearing driver, you can use the old races to drive in the new ones without slipping and marring up the new races. It's an old trick that I used to use on motorcycles-see the pictures below


I will hopefully be able to paint the axles sometime soon. I took off the thirds, check the ring and pinion, reassembled in cleaned them up. They are ready to go, just need to find the time to slap some POR15 on them. Then it's just a matter of bolting everything on them.
Last edited by kawazx636; 05-08-2013 at 08:16 PM. Reason: I can't spell
05-09-2013, 05:53 PM
#54
sometimes , if you use the old race , i'll get stuck , so if you take that old race , and grind the outer down a wee bit , it'll never get "caught up' and will work as an SST (special service tool) for a very long time .. keep it in your tool box
looking good bro
.
looking good bro
.
05-10-2013, 04:51 AM
#55
Corey, I know what you're saying. The outter race is fine to use to drive it in without grinding it down, but the inner race can get stuck. But since races are tappered, I was able to drive the inner race in with the old one and then drive it back out from the opposite side once the new race was set. Went pretty smooth
Last edited by kawazx636; 05-10-2013 at 07:35 PM.
05-10-2013, 07:51 PM
#56
Finally got to break out the POR-15 today! Ended up laying down 3 coats on my front and rear axle housings. I'm pretty impressed with how easily it brushes on and how well it levels out. I ended up using maybe a cup to do both axles so it truly does go a long way.

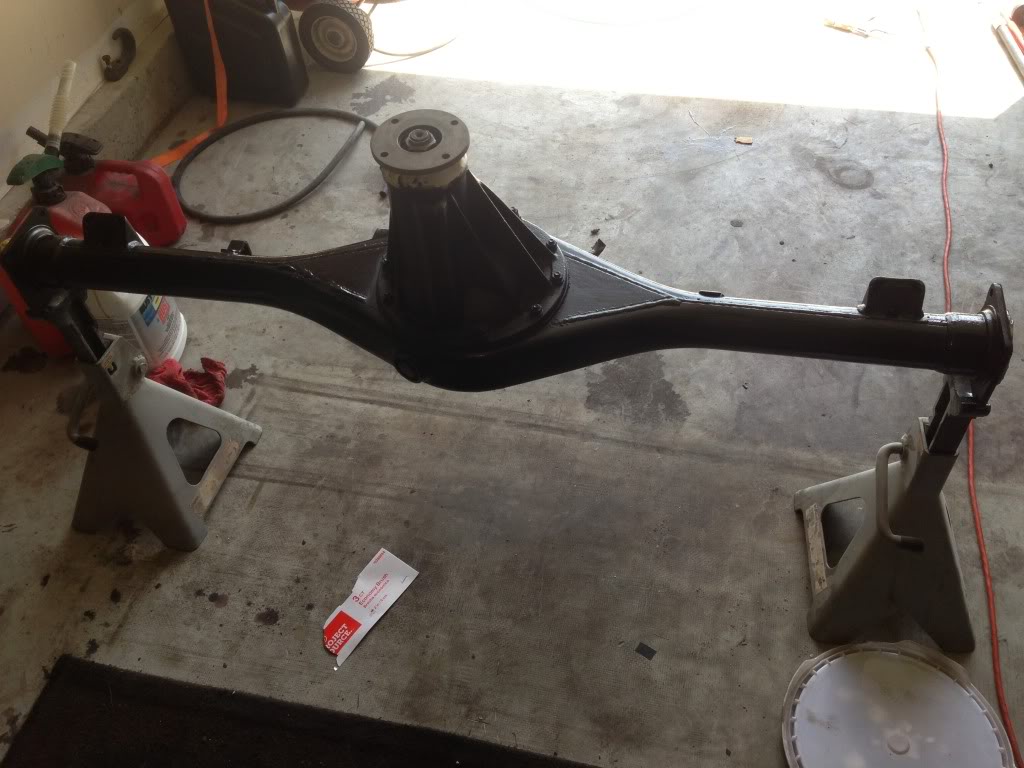
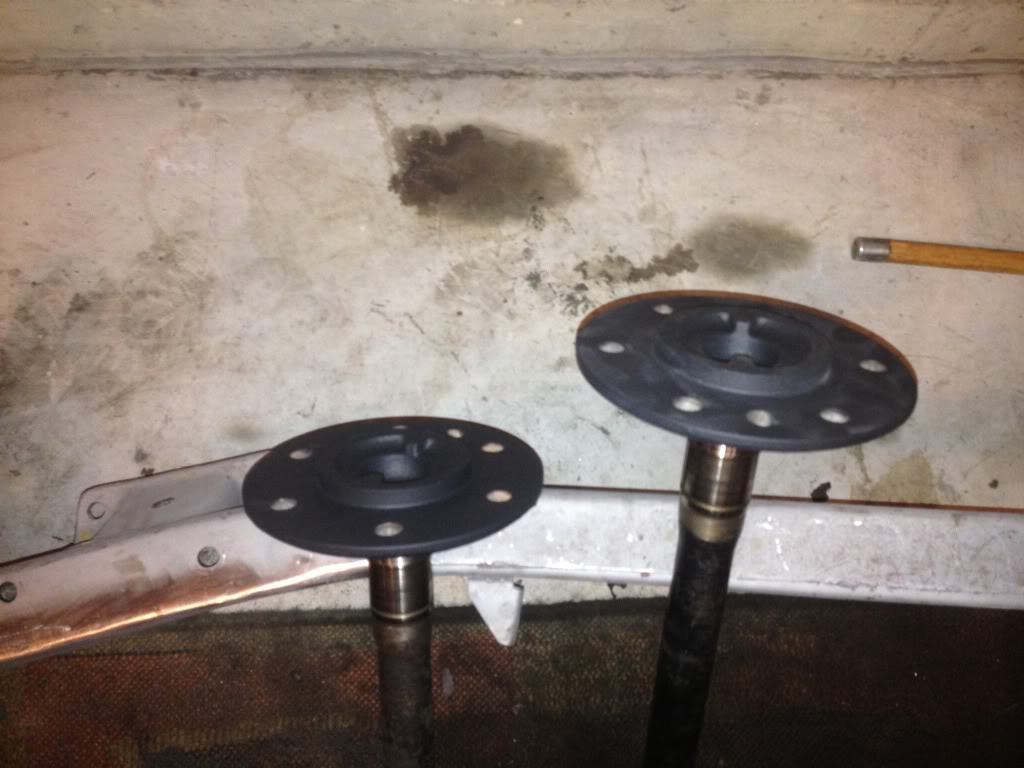
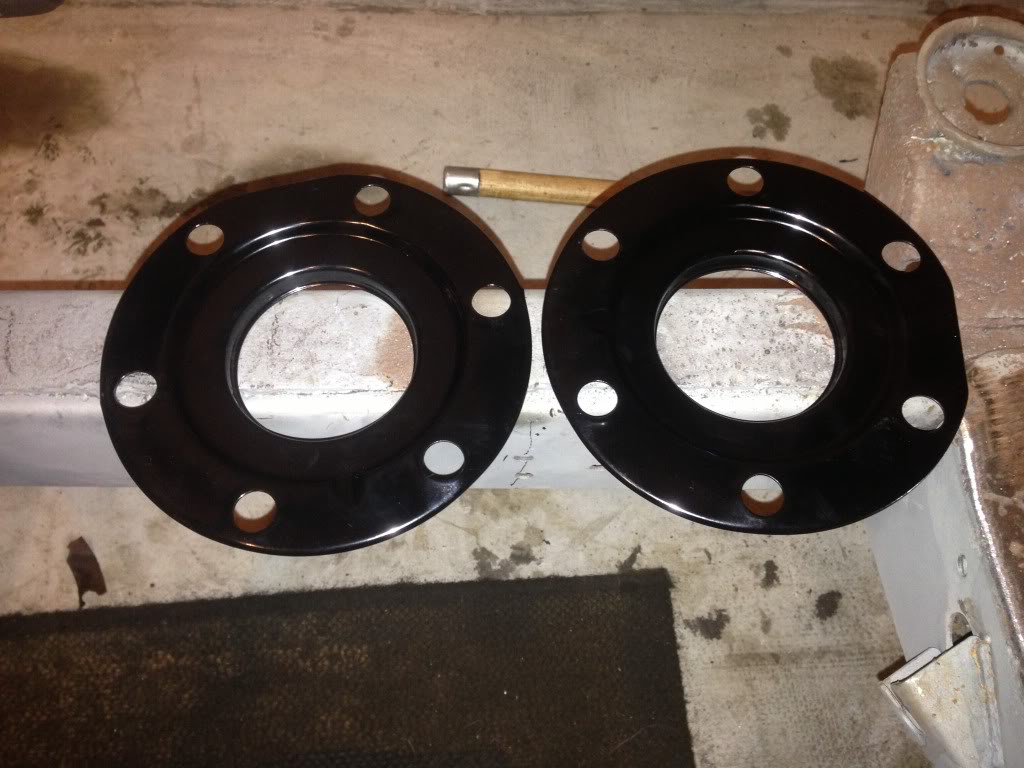
I felt a little froggy tonight so I powdercoated my rear axle flanges flat black.

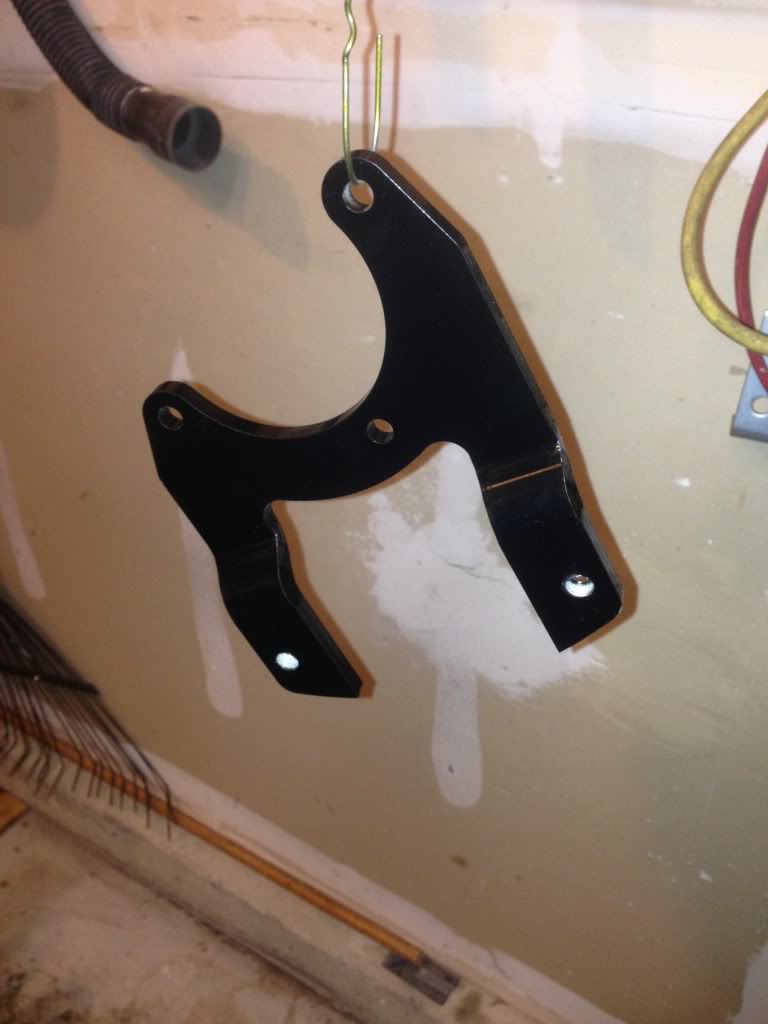
Also powdercoated my Sky rear disc brake conversion brackets
Annnnd shot the rear dust shields too
If it can fit in an oven, I'm powdercoating it!
In other news, I got the tracking number for my OME springs today! They should be in early next week!


I felt a little froggy tonight so I powdercoated my rear axle flanges flat black.


Also powdercoated my Sky rear disc brake conversion brackets

Annnnd shot the rear dust shields too

If it can fit in an oven, I'm powdercoating it!
In other news, I got the tracking number for my OME springs today! They should be in early next week!
05-16-2013, 08:52 PM
#57
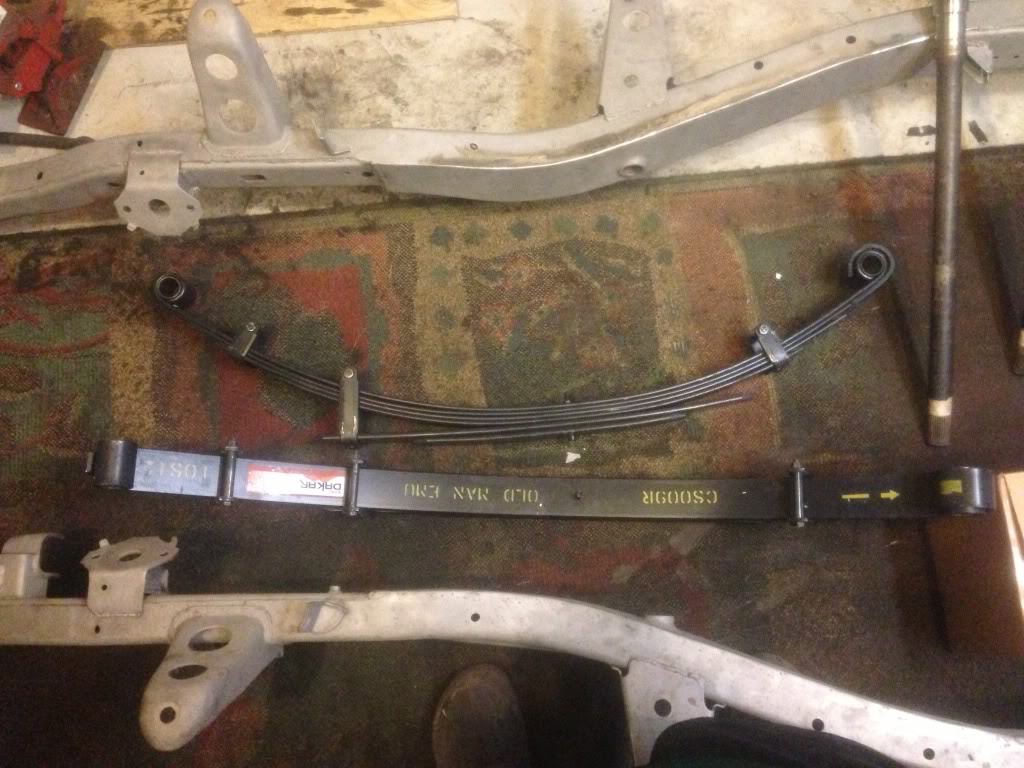
Well big brown came today with some goodies from Australlia. 2" OME rear springs. Still waiting on the front springs:
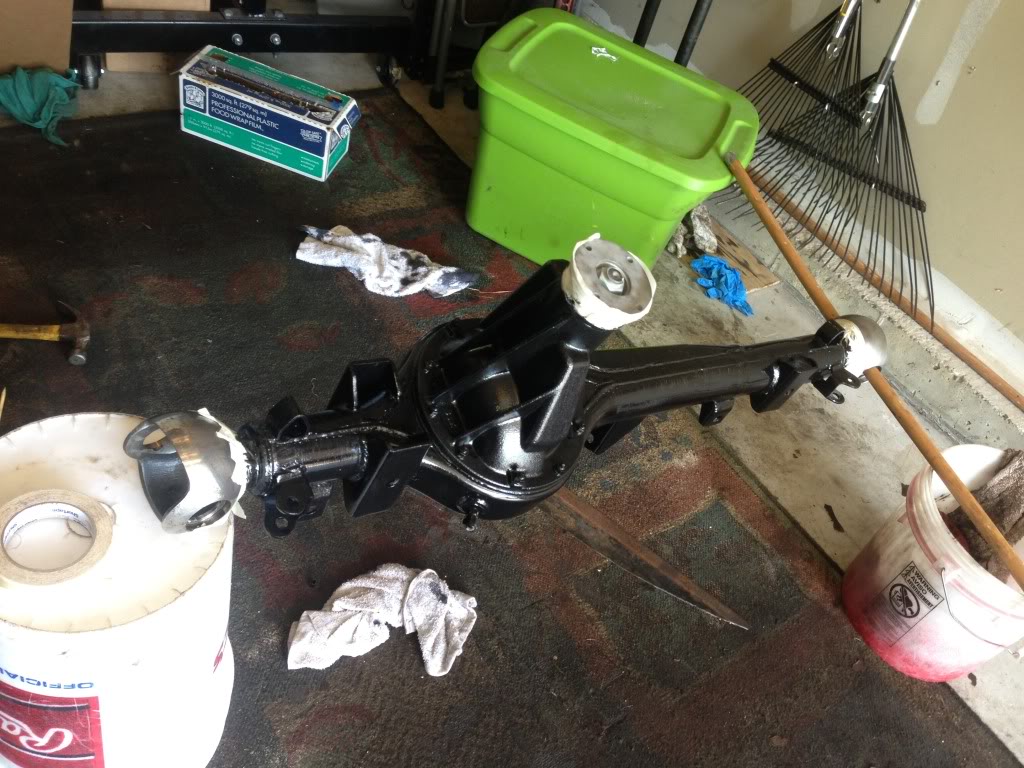
As far as progress... Got the knuckles assembled tonight.
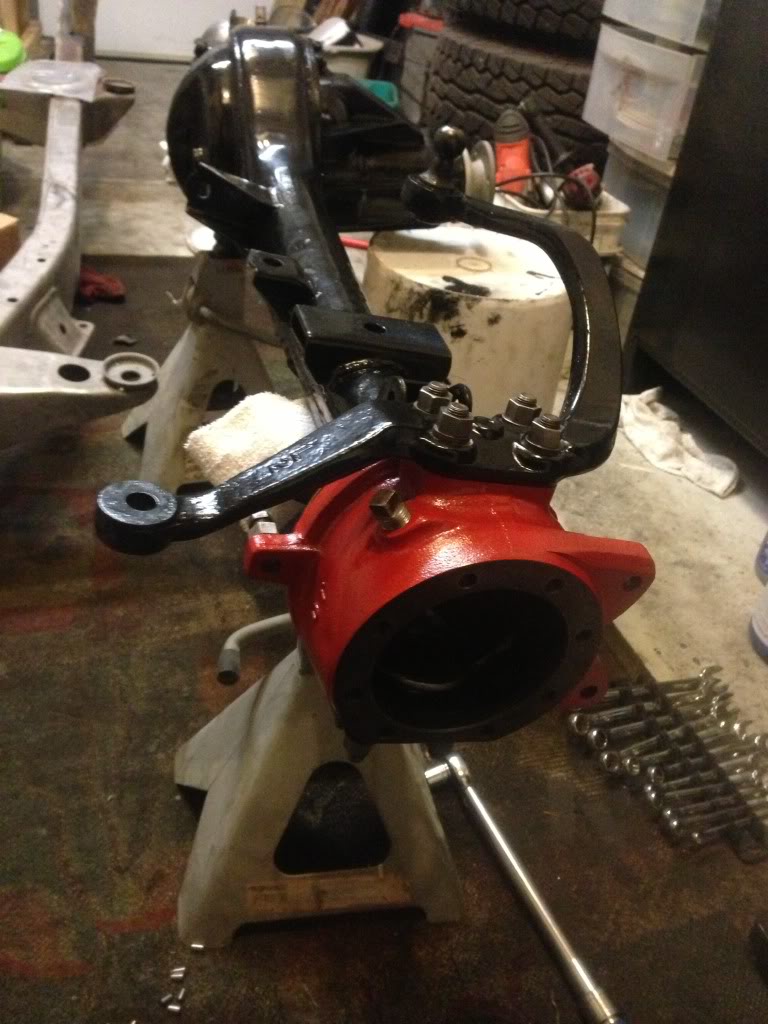
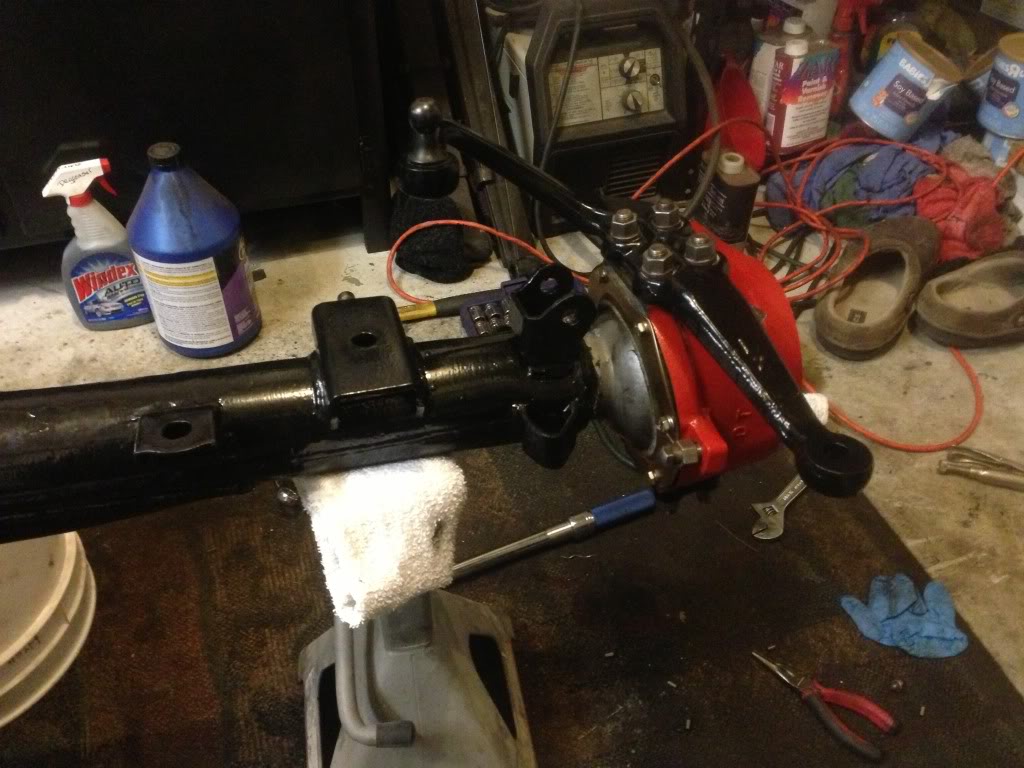
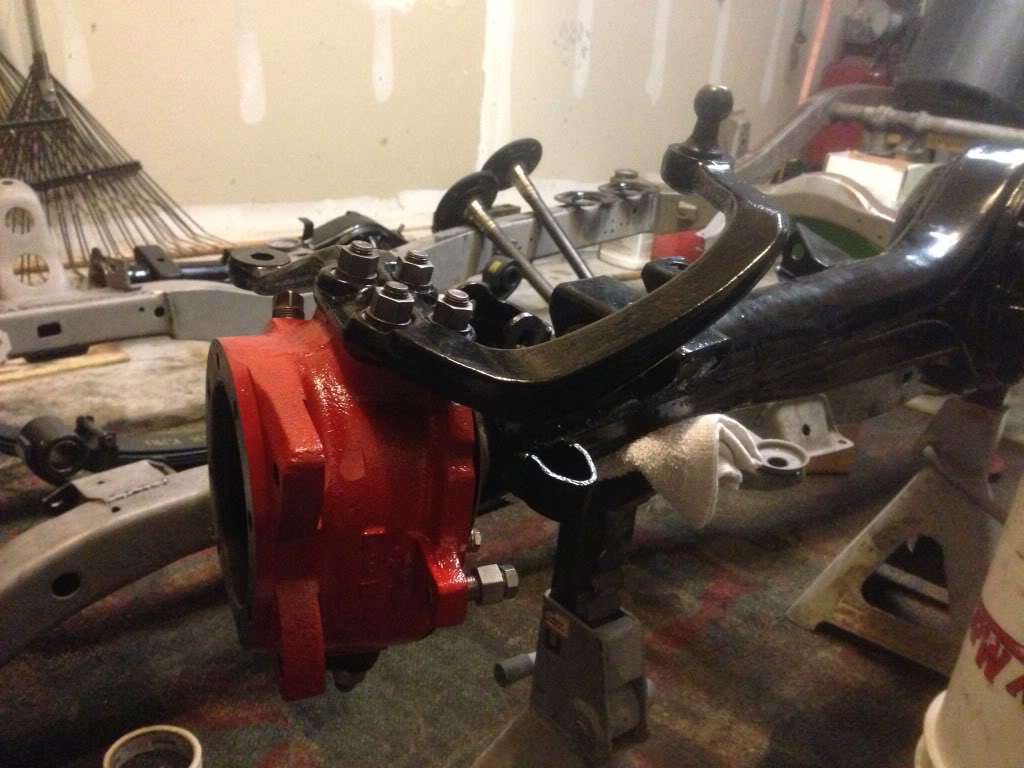
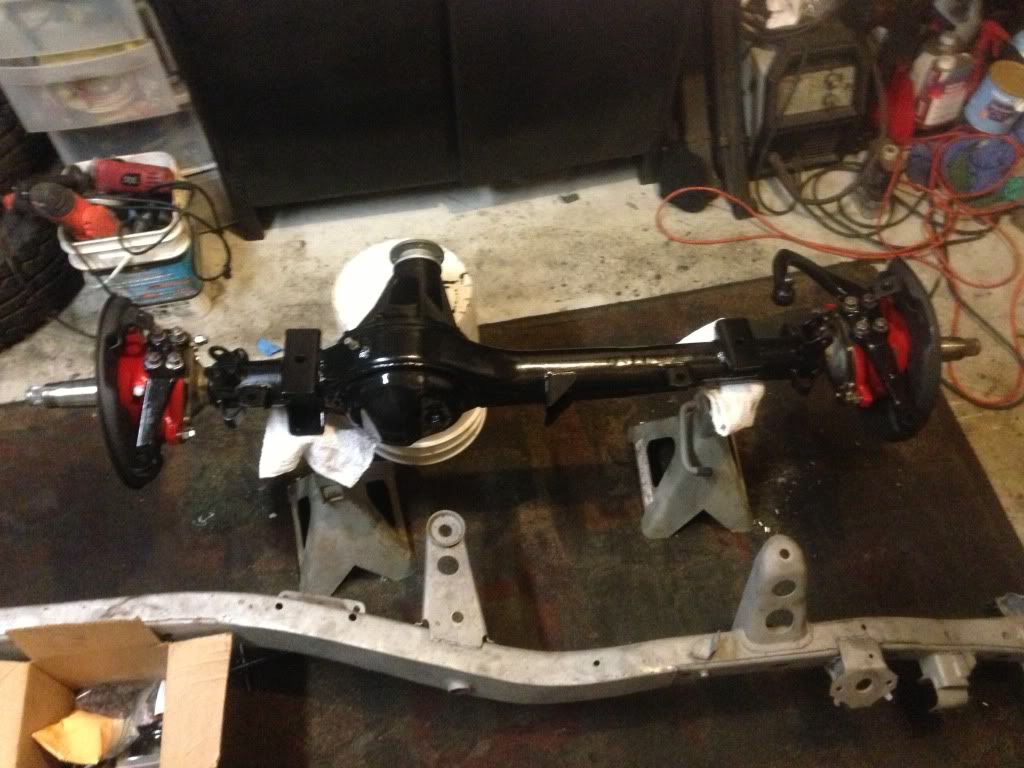
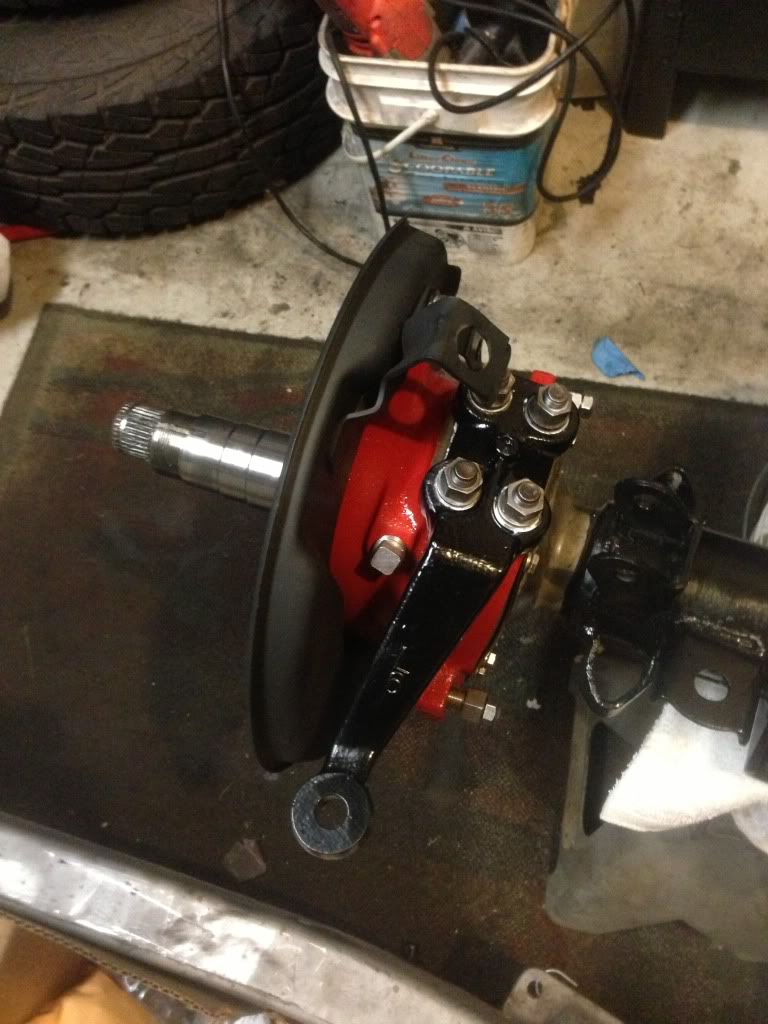
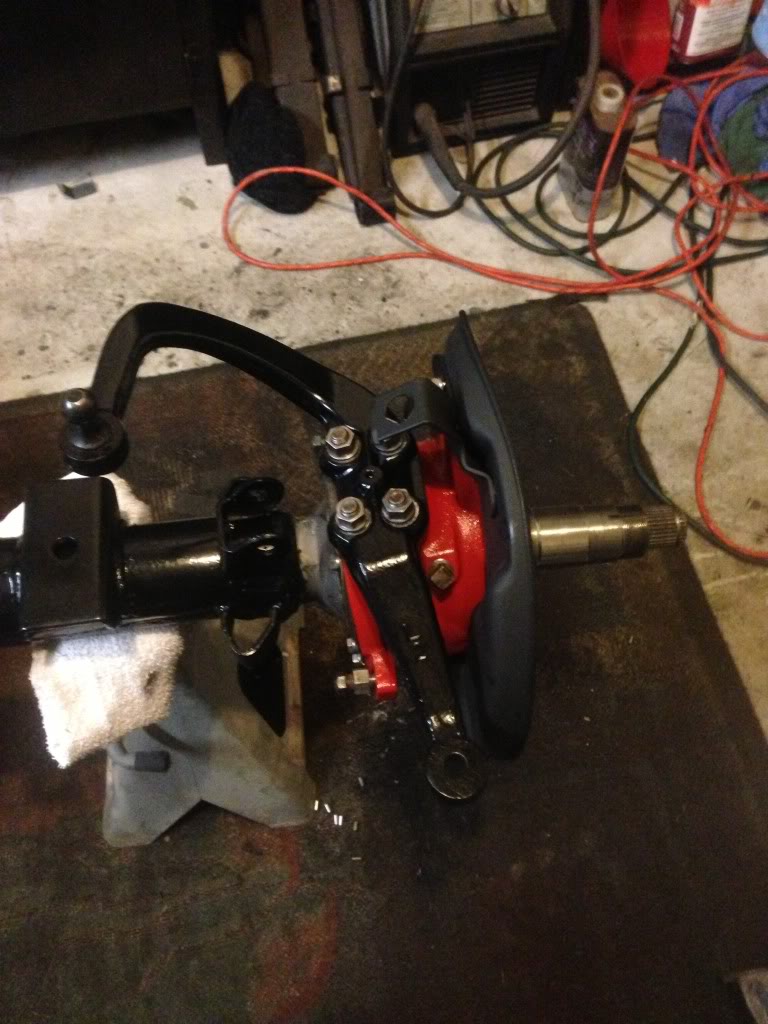
I used the Trail Gear knuckle rebuild kit, but beware - the kit came with Chinese bearings! (Not as advertised) I ended up ordering some Koyo Japanese bearings to ensure longevity. Knuckle build went fairly painless. The knuckle pull is even on both sides at approximately 7lbs of pull on the bearing load. I thought that I was goting to regret powdercoating the knuckles red and the dust covers flat black, but after getting it together I am really glad that I did. Just FYI, I plan on doing a gloss black (or maybe a dark metalic grey) paint on the body with red accents (ie: knuckles, shock boots, brake calipers, bushings, etc).
I'm hoping to get over to my friend's shop tomorrow night to use his press so that I can finish up the complete axle assembly. All I need to do is press the wheel studs into the hubs (A BFH didn't quite do the job) and I'll be able to bolt the rest together. While I'm at it, I'll be pressing the rear bearings onto the rear axle shaft.
As for the frame, my sandblaster just isn't measuring up. I'm going to rent one soon to finish up the rest of the frame so I can slap some POR-15 on it. For now, I'm just trying to get things assembled because I have amassed quite a supply of parts that I fear losing. So far, not a single nut or bolt has been lost (knock on wood).
More to come....

As far as progress... Got the knuckles assembled tonight.


I used the Trail Gear knuckle rebuild kit, but beware - the kit came with Chinese bearings! (Not as advertised) I ended up ordering some Koyo Japanese bearings to ensure longevity. Knuckle build went fairly painless. The knuckle pull is even on both sides at approximately 7lbs of pull on the bearing load. I thought that I was goting to regret powdercoating the knuckles red and the dust covers flat black, but after getting it together I am really glad that I did. Just FYI, I plan on doing a gloss black (or maybe a dark metalic grey) paint on the body with red accents (ie: knuckles, shock boots, brake calipers, bushings, etc).
I'm hoping to get over to my friend's shop tomorrow night to use his press so that I can finish up the complete axle assembly. All I need to do is press the wheel studs into the hubs (A BFH didn't quite do the job) and I'll be able to bolt the rest together. While I'm at it, I'll be pressing the rear bearings onto the rear axle shaft.
As for the frame, my sandblaster just isn't measuring up. I'm going to rent one soon to finish up the rest of the frame so I can slap some POR-15 on it. For now, I'm just trying to get things assembled because I have amassed quite a supply of parts that I fear losing. So far, not a single nut or bolt has been lost (knock on wood).
More to come....
05-17-2013, 05:19 AM
#58
Great job on this build. I think your color scheme will look awesome when it all completed. It great seeing that the powder coating system is working good, thinking about buying it also for my '67 Bug resto.
I'm thinking with going all black for undercarriage, with a blue paint job and silver accents.
I'm thinking with going all black for undercarriage, with a blue paint job and silver accents.
05-17-2013, 07:54 AM
#59
Thanks Lons! I would definitely go with the powdercoating system, I have yet to have any complaints about it.
I scored a nice old press from a friend of mine for $100 today. It's an old Ruger Equipment Company press from around the 60's that puts out 10 tons - Not bad for a table top press. So I managed to press the bearings on my rear axle shaft and the wheel studs on the the rear axle flanges and front hubs. Took about an hour to do with my "new" old press. Hopefully, I can get the front and rear axles completely assembled front hub to hub tonight. All I have left to order to complete the axles are the Chevy rotors and Monte Carlo calipers for my rear disc brake conversion, new front brake calipers and the Sky Manufacturing steering tierod. Once the frame is painted, I should have everything ready to have a complete rolling chassis with the engine and tranny mounted. FINALLY, my pile of parts is starting to look like a truck!
I scored a nice old press from a friend of mine for $100 today. It's an old Ruger Equipment Company press from around the 60's that puts out 10 tons - Not bad for a table top press. So I managed to press the bearings on my rear axle shaft and the wheel studs on the the rear axle flanges and front hubs. Took about an hour to do with my "new" old press. Hopefully, I can get the front and rear axles completely assembled front hub to hub tonight. All I have left to order to complete the axles are the Chevy rotors and Monte Carlo calipers for my rear disc brake conversion, new front brake calipers and the Sky Manufacturing steering tierod. Once the frame is painted, I should have everything ready to have a complete rolling chassis with the engine and tranny mounted. FINALLY, my pile of parts is starting to look like a truck!
05-17-2013, 06:27 PM
#60
Nice score on the press. I'm gonna keep an eye on your rear spring install, I'm interested in how far you have to move your rear hangers. Mine are too far aft and my shackles are at the wrong angle. I've got a long ways to go before I decide they need to be moved.
Keep up the good, inspiring work.
Keep up the good, inspiring work.


