flg8r22's 1981 4x4 restoration Thread
 12-20-2010, 06:10 AM
#41
Registered User
Thread Starter
iTrader: (1)
Join Date: Oct 2010
Location: N of Okechobee Florida
Posts: 1,002
Likes: 0
Received 4 Likes
on
4 Posts
thanks karl. cant wait to get up there next summer. 6 more months!
corey i found another block for an early 80's from my parts guy in tampa, so i'll get all the internals new from Lce or parts dinosaur. i have the 20r head already built. seems like more and more this truck is going to be a collage of several other trucks.
corey i found another block for an early 80's from my parts guy in tampa, so i'll get all the internals new from Lce or parts dinosaur. i have the 20r head already built. seems like more and more this truck is going to be a collage of several other trucks.
Last edited by flg8r22; 12-20-2010 at 09:21 AM.
 12-24-2010, 10:31 AM
#42
Registered User
Thread Starter
iTrader: (1)
Join Date: Oct 2010
Location: N of Okechobee Florida
Posts: 1,002
Likes: 0
Received 4 Likes
on
4 Posts
4x4 project version 1.5
didnt get much done on my 81 but worked a bit on a project a little more near to my heart. my grandaughters christmas gift. 
complete with pneumatic tires, custom badging, and a top rail paint job.
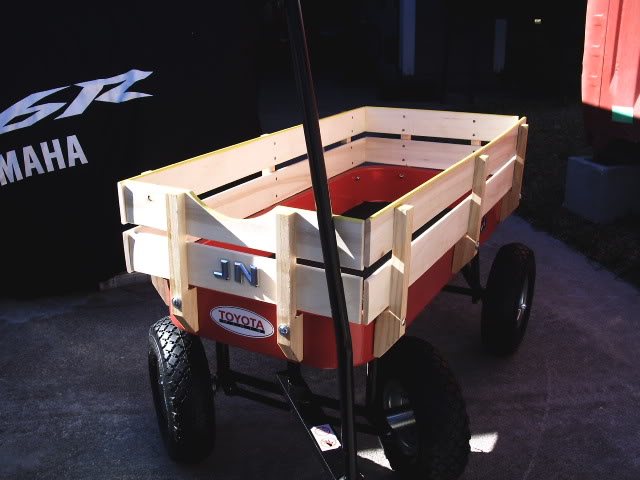
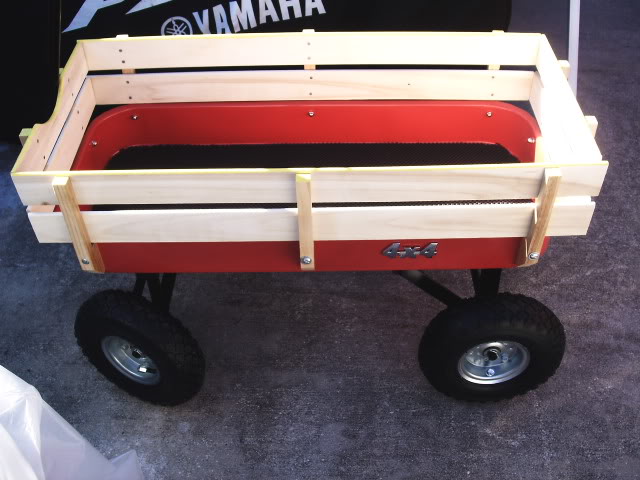
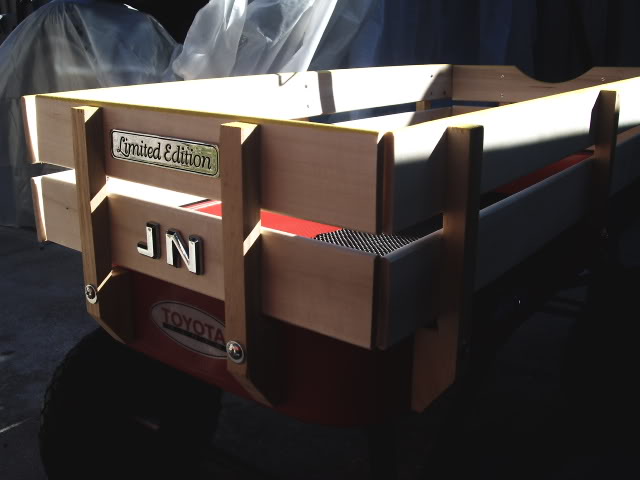
complete with pneumatic tires, custom badging, and a top rail paint job.
12-29-2010, 12:52 PM
#43
Registered User
Thread Starter
iTrader: (1)
Join Date: Oct 2010
Location: N of Okechobee Florida
Posts: 1,002
Likes: 0
Received 4 Likes
on
4 Posts
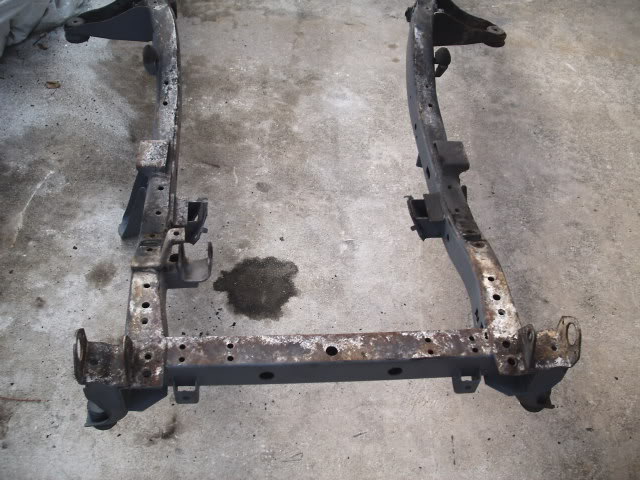
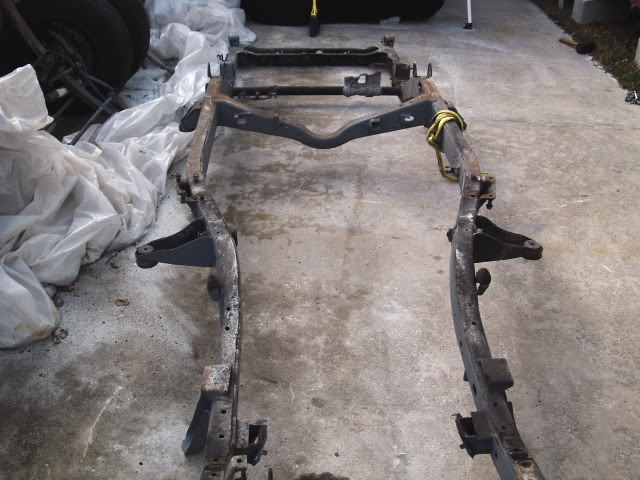
with another day of good weather and a little luck my tiny air compressor holds up, i will be able to finish media blasting the bottom of the frame tomorrow.
inside rails- done
top and sides- done
bottom- fingers crossed
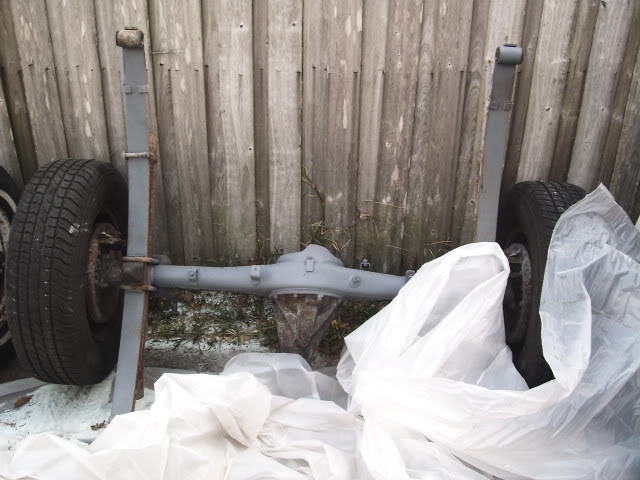
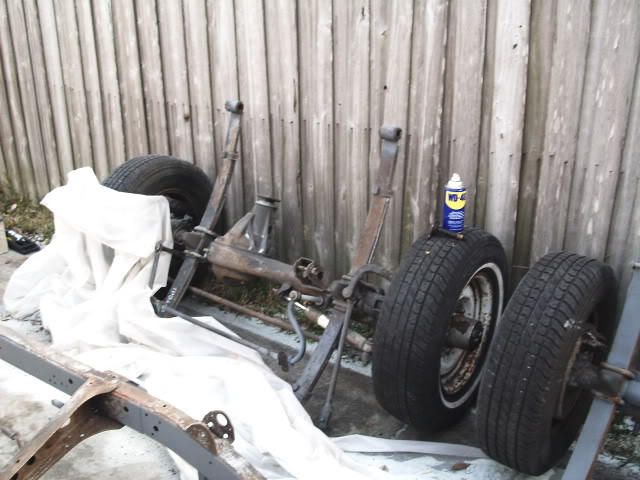
then its time for the fun stuff, rebuilding the front and rear ends, and new bushings all around.
inside rails- done
top and sides- done
bottom- fingers crossed
then its time for the fun stuff, rebuilding the front and rear ends, and new bushings all around.
12-29-2010, 01:40 PM
#44
Registered User
Doing mine was initially a total nightmare due to the rust and engine work but as I began to see the light it got much better.
Now that mine is drivable and seaworthy I am totally stoked. I need to do a few more mods here and there but as for now it's perfect.
I DD mine and wheel it from time to time. I love driving it.
Good luck on yours! Looks great so far!
Now that mine is drivable and seaworthy I am totally stoked. I need to do a few more mods here and there but as for now it's perfect.
I DD mine and wheel it from time to time. I love driving it.
Good luck on yours! Looks great so far!
Last edited by toyospearo; 12-29-2010 at 01:47 PM.
12-29-2010, 04:14 PM
#46
lookin' good !!
little suggestion for ya ..
take a rasp or die grinder and "clean up" the insides of the bushing supports .. makes for new bushing incersion much smoother + it will help your new bushings last longer , same as for the springs , if your reusing them ?
.
little suggestion for ya ..
take a rasp or die grinder and "clean up" the insides of the bushing supports .. makes for new bushing incersion much smoother + it will help your new bushings last longer , same as for the springs , if your reusing them ?
.
01-01-2011, 02:14 PM
#49
Registered User
Thread Starter
iTrader: (1)
Join Date: Oct 2010
Location: N of Okechobee Florida
Posts: 1,002
Likes: 0
Received 4 Likes
on
4 Posts
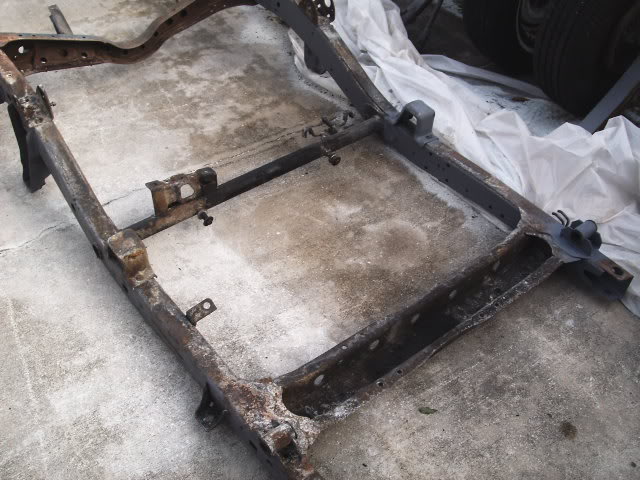
never thought it would take this long, but i can see the light at the end of the tunnel now as far as the frame is concerned. another 5' section on the bottom of the passenger side rail, and its ready for the bushings .

01-02-2011, 01:11 PM
#51
Registered User
Thread Starter
iTrader: (1)
Join Date: Oct 2010
Location: N of Okechobee Florida
Posts: 1,002
Likes: 0
Received 4 Likes
on
4 Posts
seems like it has taken a year, but the media blasting is completely finished. time to por15 the inside rails. hopefully tomorrow. next time i feel like doing this i'll make sure i find a friends house to make this mess at and definately have an industrial size compressor.

01-02-2011, 05:10 PM
#53
Registered User
Thread Starter
iTrader: (1)
Join Date: Oct 2010
Location: N of Okechobee Florida
Posts: 1,002
Likes: 0
Received 4 Likes
on
4 Posts
karl mine is a 26 gallon compressor and it sucked. i heard the pressure pot style blasters are a little better. i just have an old suction one from sears. just keep a spot in the garage for me, be there in june 
01-02-2011, 05:18 PM
#54
Registered User
Join Date: Jul 2009
Location: Asheville area
Posts: 55
Likes: 0
Received 0 Likes
on
0 Posts
I have a 20 something gallon with 1.5 hp. The blaster is a small hand held gravity feeder from harbor freight
. I'm not looking to do the whole frame just the rims for repaint and maybe a few other things. Was your problem a pressure issue or volume issue?
. I'm not looking to do the whole frame just the rims for repaint and maybe a few other things. Was your problem a pressure issue or volume issue?
01-03-2011, 05:09 AM
#55
Registered User
Thread Starter
iTrader: (1)
Join Date: Oct 2010
Location: N of Okechobee Florida
Posts: 1,002
Likes: 0
Received 4 Likes
on
4 Posts
a little bit of both, the media blaster is fine, just waiting for the pressure to build back up and giving it some down time to cool off was the bad part. oh yea, and the mess too
 01-06-2011, 04:26 PM
#57
01-07-2011, 01:21 PM
#58
Registered User
Thread Starter
iTrader: (1)
Join Date: Oct 2010
Location: N of Okechobee Florida
Posts: 1,002
Likes: 0
Received 4 Likes
on
4 Posts
finally got my mirrors i've been wanting. cool part is, they are hooked to the 83 truck i bought a few weeks ago(with clean title). also got the early 22r block to put my 20r head on, tilt column, brake master and booster, wiper arms, coolant and washer resevoirs, and a dome lite lens there is enough sheet metal here for me to finish my 81 and then some. also scored some more interior parts for me to stash in the garage. hoping to build a trekker with whats left of this one when the 81 is done. btw, the wife is not happy.
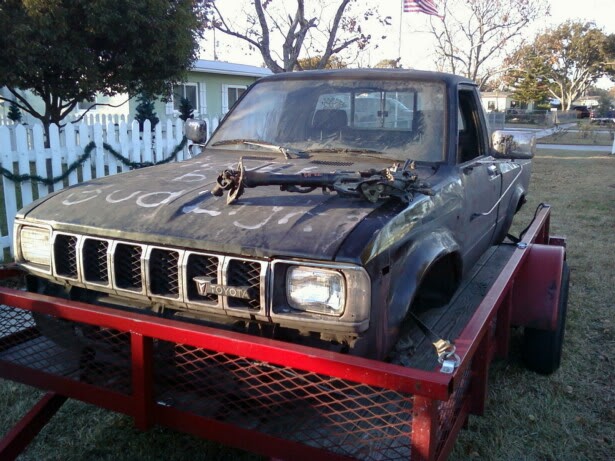
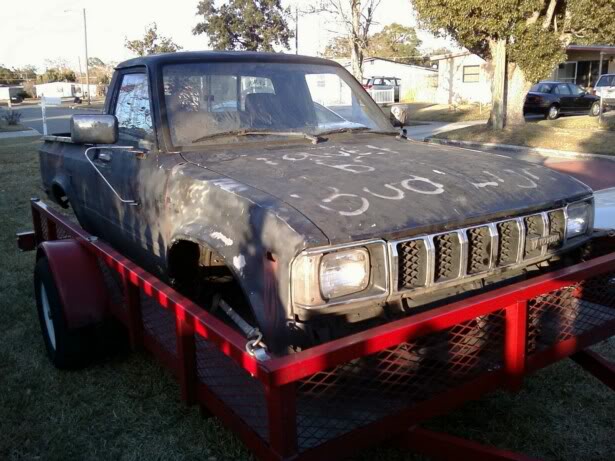
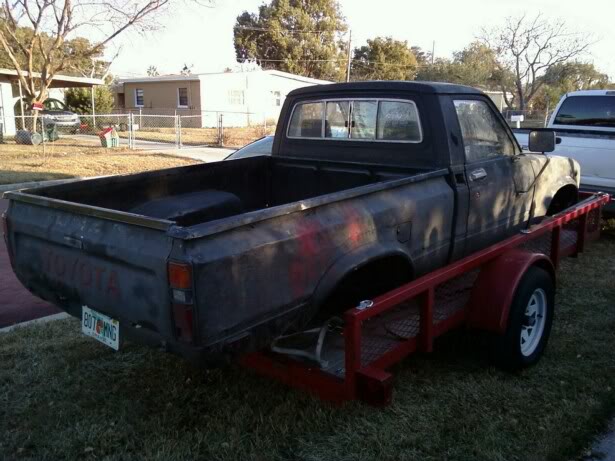
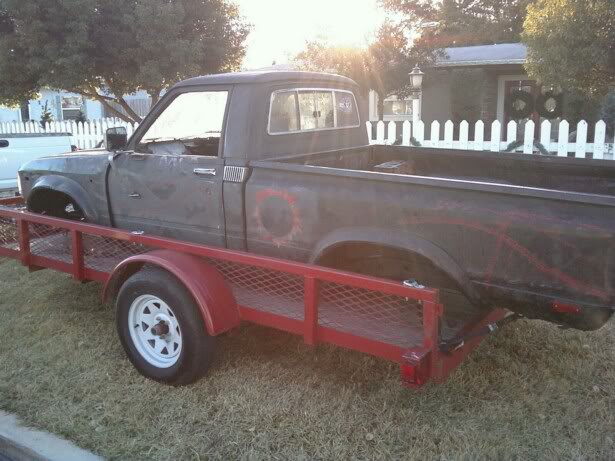
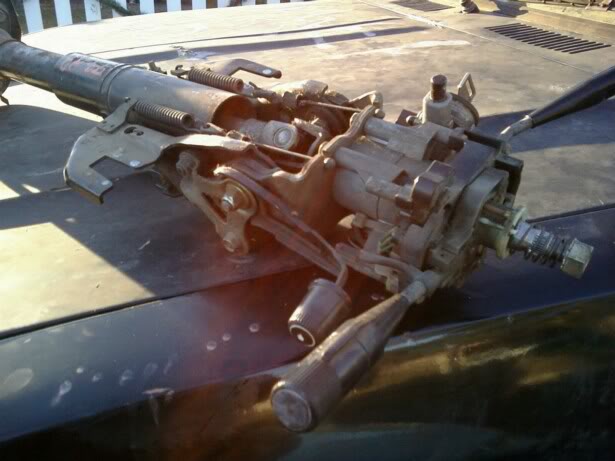
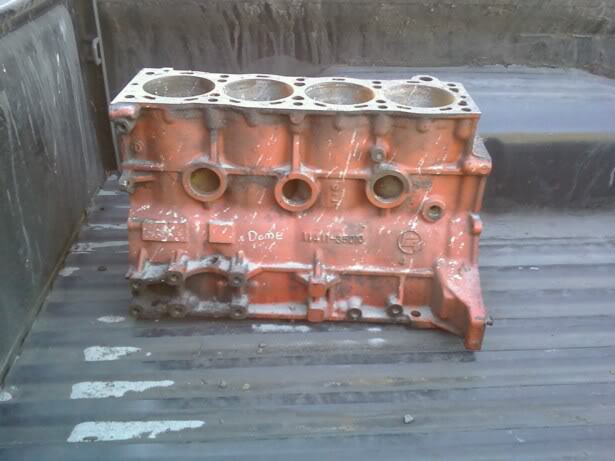
there is enough sheet metal here for me to finish my 81 and then some. also scored some more interior parts for me to stash in the garage. hoping to build a trekker with whats left of this one when the 81 is done. btw, the wife is not happy.
01-08-2011, 05:00 PM
#60
Registered User
Thread Starter
iTrader: (1)
Join Date: Oct 2010
Location: N of Okechobee Florida
Posts: 1,002
Likes: 0
Received 4 Likes
on
4 Posts
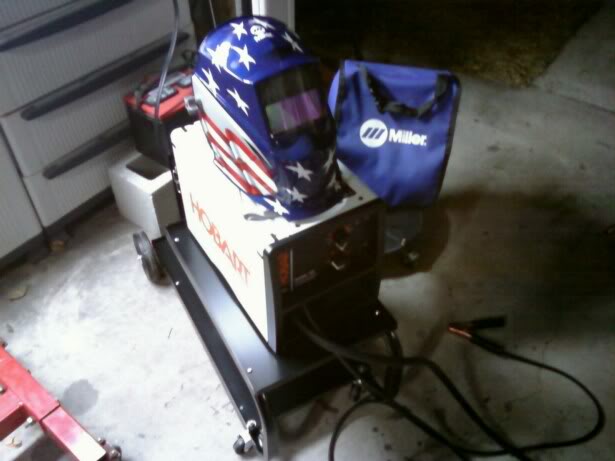
well, since my miller welder was stolen out of the back of my truck on new years eve, this is the replacement. 1/4 the size, 1/4 the price. still need to get the regulator and a new tank. sucks to be broke! hope it works out good. starting some bodywork this week.