When you click on links to various merchants on this site and make a purchase, this can result in this site earning a commission. Affiliate programs and affiliations include, but are not limited to, the eBay Partner Network.
Initial Grind and sand off to take a peek at that Bed Skirt seam
Think I got Lucky On this side...I'll Do the repairs. Order the New Body mount Bushings and Yank The Bed Soon. My Plan Is to Flip The Bed and POR15 the Underside. Repair the dented in Fence. Then Rhino Line the Bed interior.
So in between life pulling in every direction I work on the BRRT... The latest has been This TOxxxx hood awaiting clear and polish.
I found this Mat material at Lowes I thought Maybe I could use to cover Frame gap from the Three inch body lift.
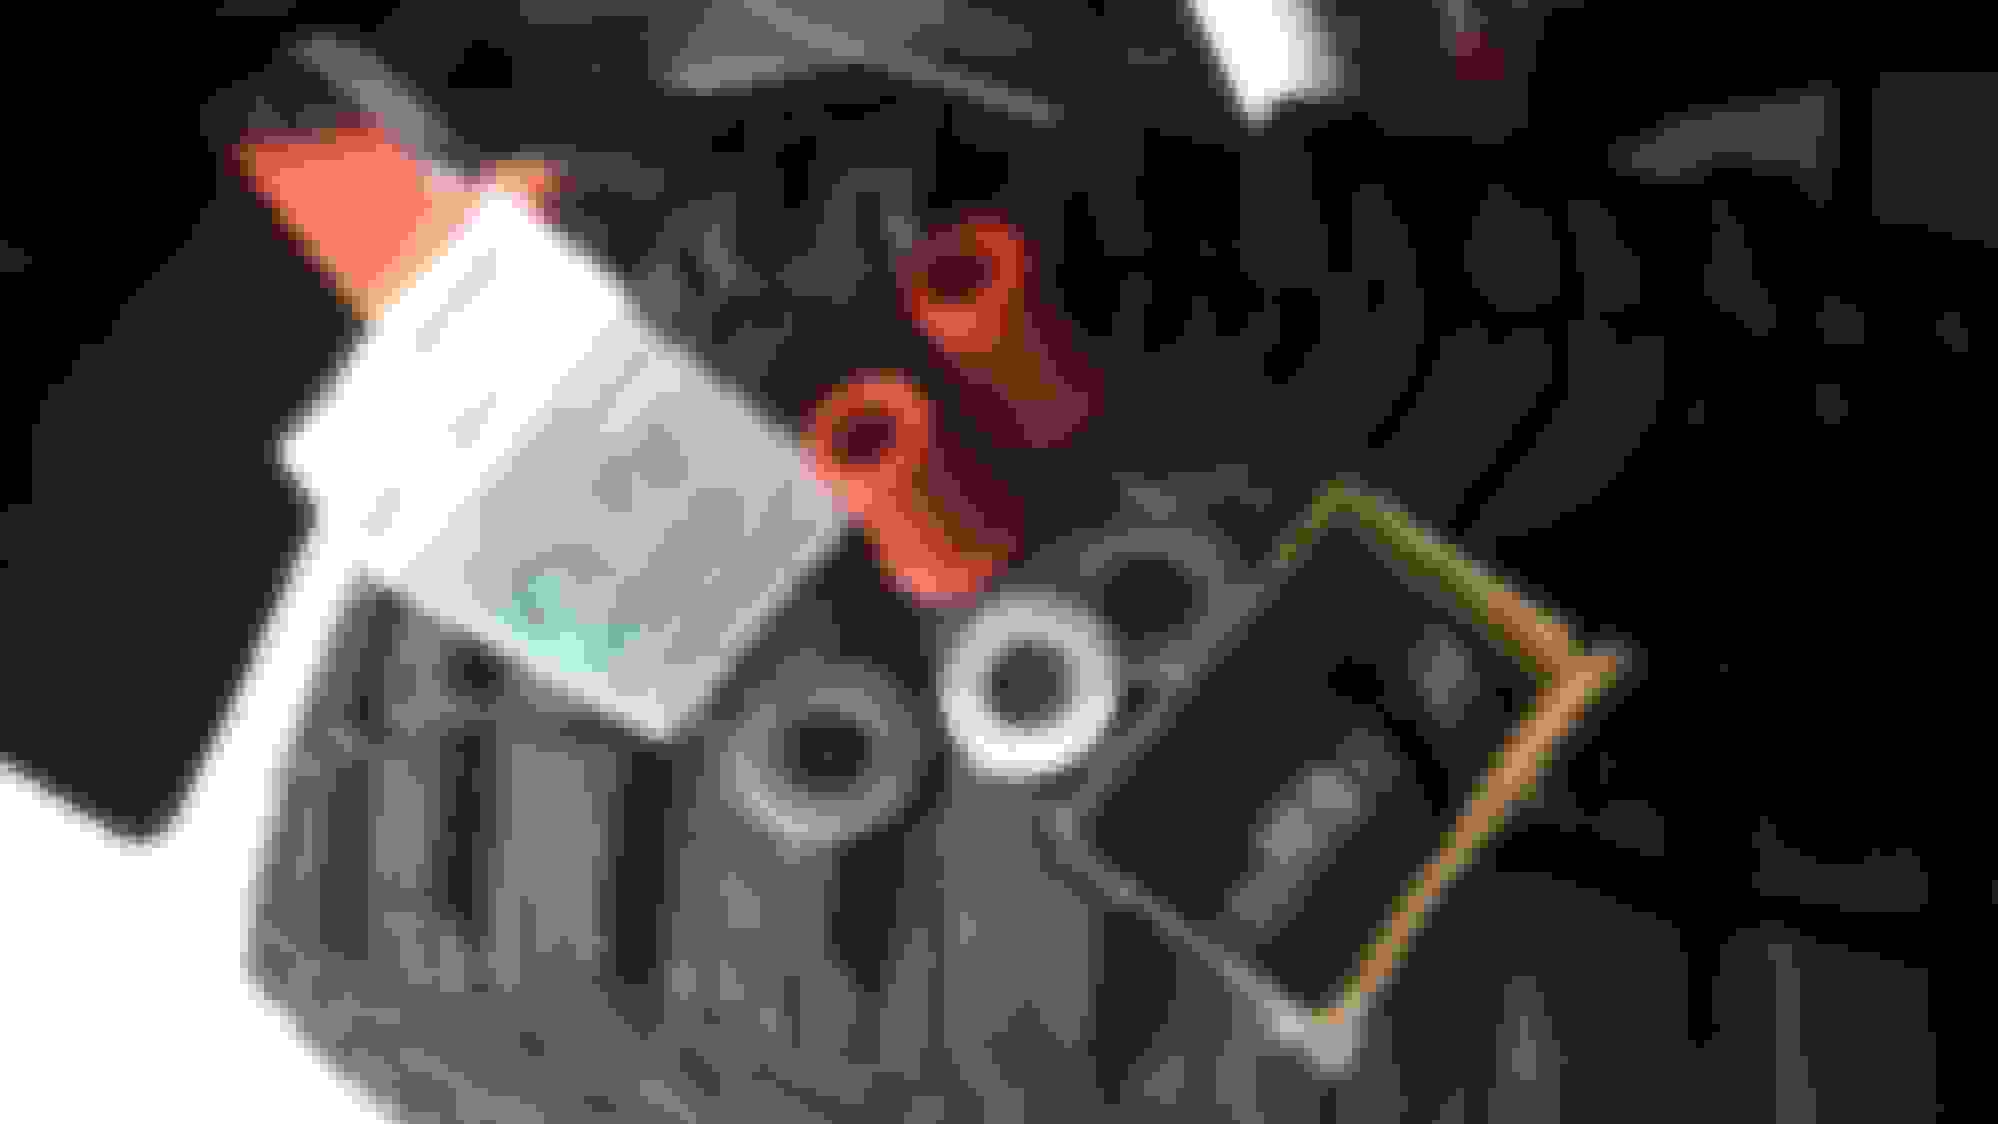
I used some old 45 shell casings to punch the fastener holes.
I was going to just add three inches to the original gap guards but I didn't like the cut so I changed the pattern but I'm still not happy with the look.. I made it extra wide to cover the entire Frame to protect it but it just looks goofy to me. Kind of like the way giant mud flaps look on these trucks. I may just cut these down to show more frame. Or go with a different rubber material like diamond plate rubber matting.
So I went to Depot and picked up the wood needed for the lower door panel area. I ordered the speaker grille and baffle on ebay. I'll use the existing speakers, Pioneer 3 ways
I used mazda/toyota panel fasteners Ebay via China but the quality was poor making the fasteners not consistent in doing their job. I had to hand pick fasteners to make them work. Just waiting for matching carpet on order to cover it.
Found these piece together switch housings that I thought would fit in the dash pocket area. but it's too big.
This is where I installed The switches for the KC lights On the 1981 Big Little Bear Toyota. I fabbed a switch plate from plexi and used smaller rockers But I think these larger rockers will snap into the dash bezel once I remove the pocket. If so then I'll order more of these rockers and wire them into an Isolated fuse block of their own. I plan on running 4 forward and 2 reverse LED KCs in retro style stainless housings on my roll bar.
Subscribed. Great thread and there's just something bout seeing these things get saved instead of destroyed I love! Glad the bed rust was minimum!
Where'd you find the dash pad, is there someone making new ones somewhere?
Last edited by FloridaHiluxGuy; 12-24-2015 at 02:20 AM.
Subscribed. Great thread and there's just something bout seeing these things get saved instead of destroyed I love! Glad the bed rust was minimum!
Where'd you find the dash pad, is there someone making new ones somewhere?
Thanks! The Dash Pad I found On Ebay...I don't think anyone is making new anything for these years... There seems to be two different types out there. A factory replacement dash pad and then a aftermarket dash cover that slips over the original. I went with factory pad which is a little pricey but I knew the fit would be just like the original.
So Many things have been been done since my Last Post here. Mostly little things and stuff that wasn't planned.... but got put into the "Q" because it had to. Some Major stuff like the bed still have yet to be addressed.
I decided to replace every rubber bushing I could find with Polyurethane Bushings
I found a factory shifter From Toyota That was designed for a different model but had the same Ball to fit into the top of the Transmission. The Bend was a little off but I was able to rebend it in a press and then I added a three inch extension that Threaded onto the top...
Next came some New factory dust boots
Extension for the Xfer case doesn't quite work with my angles for both to shift...I'll get one with a bend in it.... or figure something else out later
Then I went to replace the Slave cylinder with a factory Aisin slave and noticed The clutch fork was A bit wobbly and someone before me used that helical spring pictured on the right to stabilize the fork. After pulling the Transmission back I could see that there was only one throwout bearing retainer spring which is the one on the left.....There should be two. So At this point I installed a Factory new Fork,Throwout bearing Retainer, two Retainer springs, And throw out bearing...
Without a proper transmission jack to move the tranny back, I used a piece of 4x post ratchet strapped around the trans then nail gunned a block to that with a floor jack under all of it......Red Neck I know....I also slung that larger ratchet in between the frame as a saftey in case it decided to try and fall
Also Note in the previous picture the ugly dent in the crossmember from being high centered on a rock....That will get replaced soon.
Another thing about this project.... was after I put everything back together.... two months later the Input shaft seal took a dump and I had to pull it all apart to replace that seal
Last edited by Big Little Bear; 07-03-2016 at 01:25 PM.
I Know everyone Loves a Weber Carb over the Aisin But I found a rebuilt one Dirt cheap and decide it was time to tackle my carb issues. It was obvious to me that the previous carb was not hooked up per the factory manual and oddly enough it ran pretty well...
Sometimes Shiny and new isn't better.... The rebuilt carb had issues that I will have to address at a later point... I couldn't get it dialed in and wound up putting the old one back on. Only this time I routed the vacuum hoses according to factory which must have threw a few things off.... While trying to dial the old carb in I wound up using some parts off the rebuilt, like both accelerator pump diaphragms...then the only way I could achieve a good idle and fuel mix was the drop lean method.
So with the original carb functioning as it should according to factory vacuum lines. I decided to go with a K&N Filter.....At one point I had a LCE breather off the valve cover but didn't care for the oil that would sometimes vent out onto the valve cover so I went with this design that routes like the factory but has an oil catch in between.
Rebent and repainted the factory fuel filter hanger and replaced the filter here and at the tank...Everywhere I went I replaced hoses ...New fuel hoses in between the hard lines from engine bay to the Tank
Yanked the bumper and polished the back and front. Ordered all new bumper bolts...Except for the three small ones that I couldn't find. I found some stainless to replace those three at Home Depot
New bumper Ends and Then I Sanded and repainted the bumper Filler piece that you see between the Bumper and the Grill/ Headlight doors
Went with a New Hood Latch just because
Repainted the Emblem which was not fun but worth it
I ditched the Grey TO#### Grille and went with the TO#### Chrome version
 12-01-2015, 08:42 AM