1981 Toyota pickup....Project Tetanus
 04-21-2015, 07:21 PM
#1
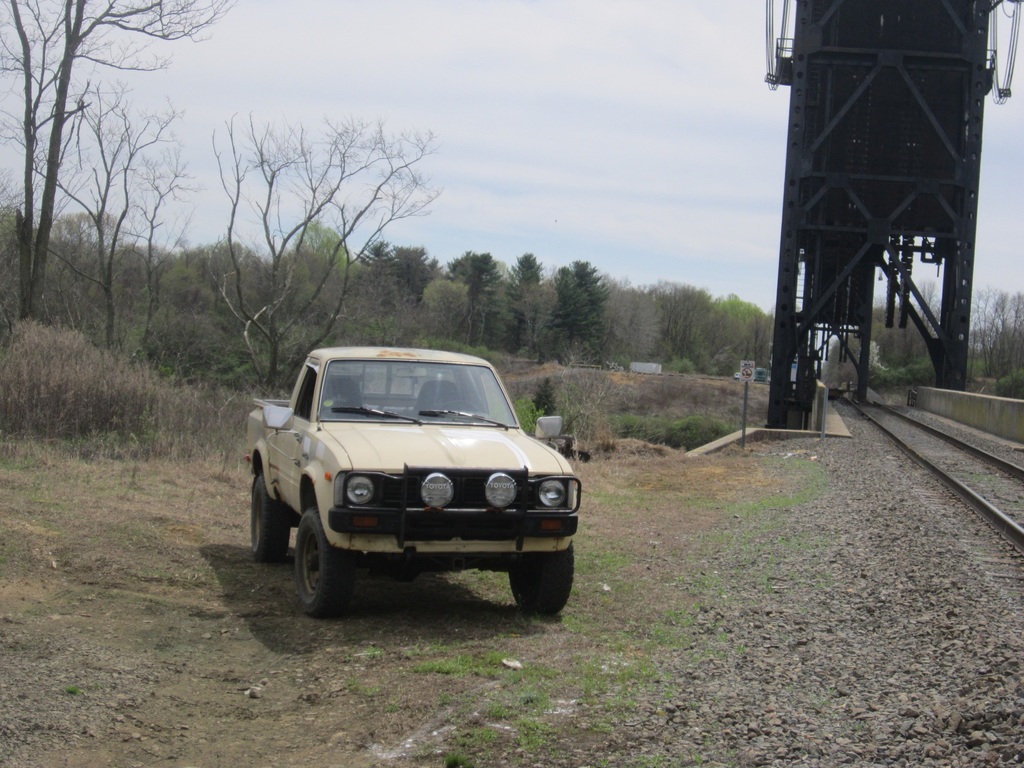
1981 Toyota pickup....Project Tetanus
Here's my '81. Yes it's got rust, but I am up for the challenge. I am looking for a clean bed and tailgate. I my have to go the flatbed route, but prefer the OEM look.
Here's a few pics of how it looks now. I have been compiling parts since I had it shipped from TN, but I still have a list longer then my arm of additional parts needed.
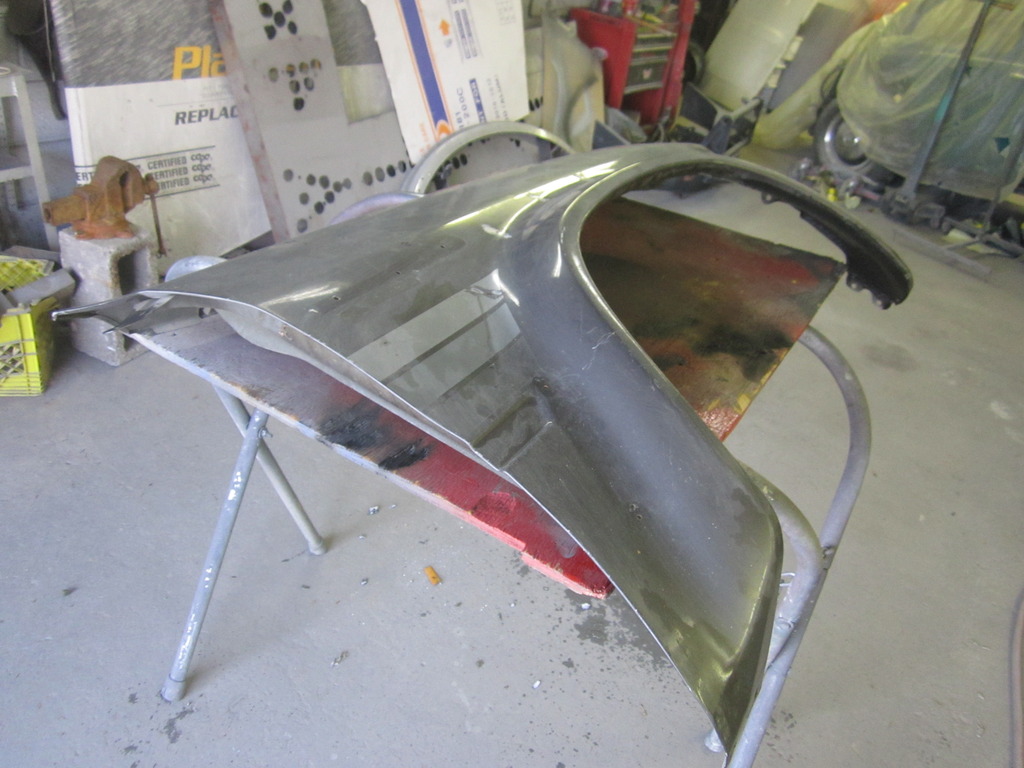
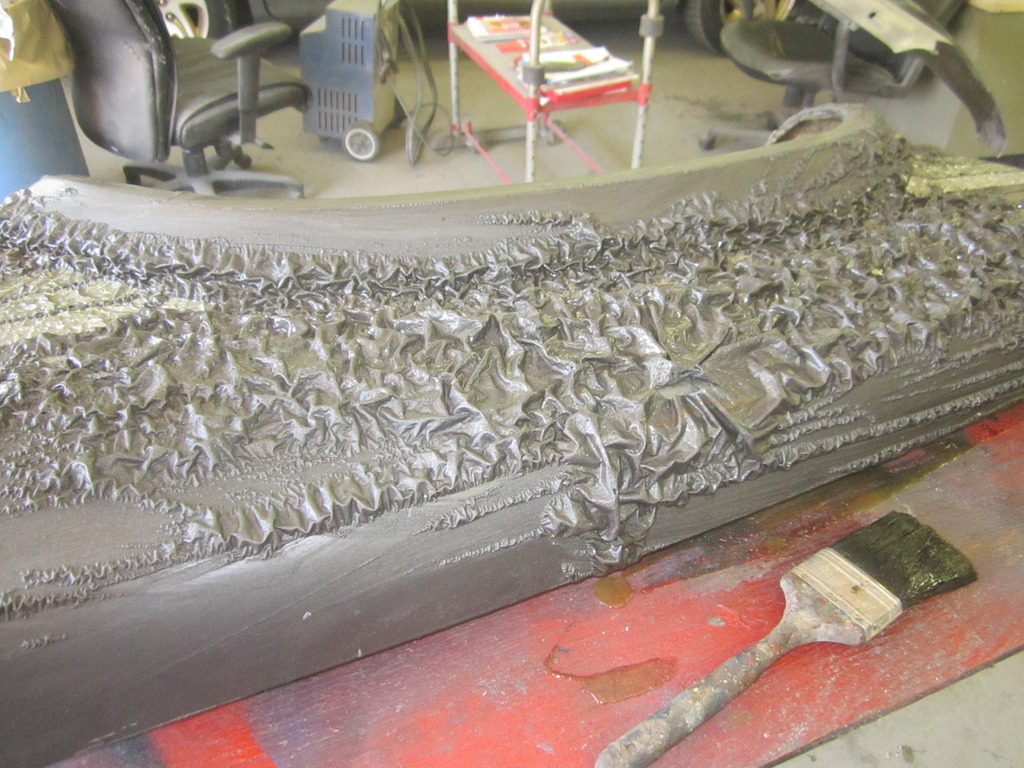
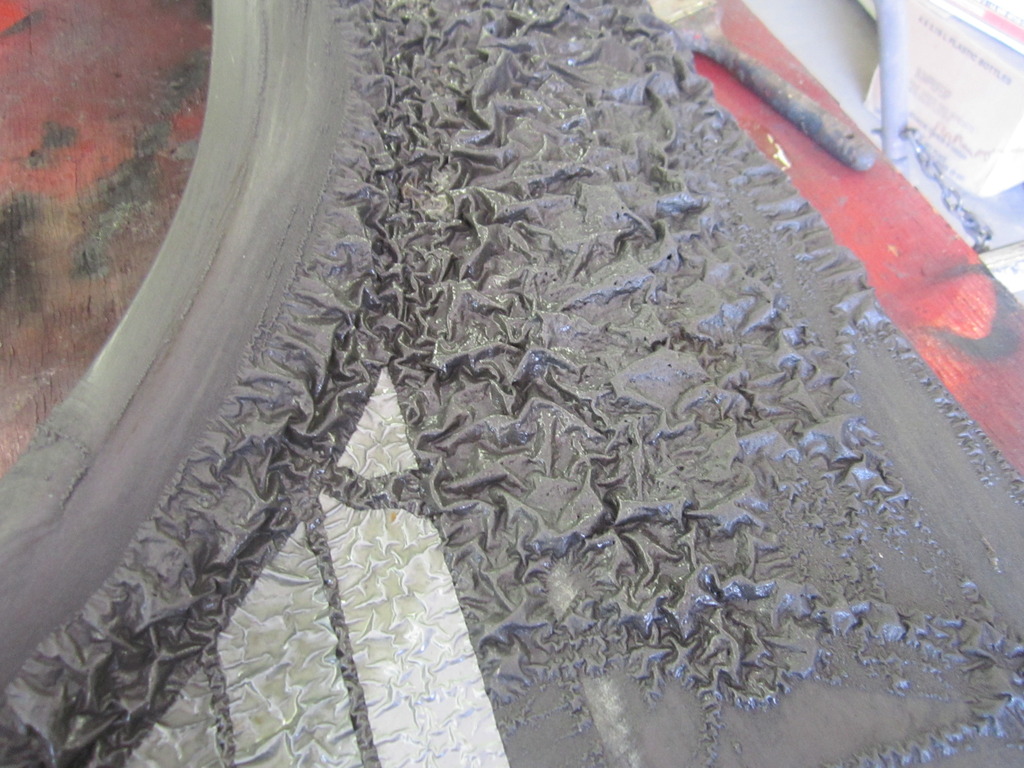
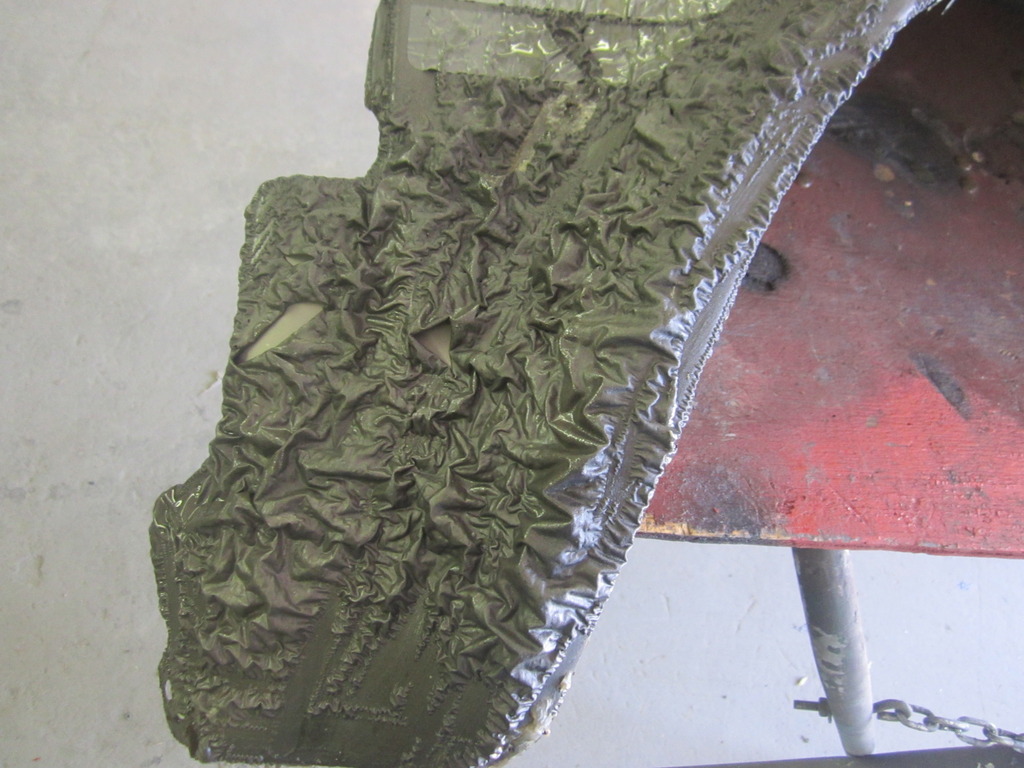
Here's a couple pics of the first panel that went under the knife. It's an OEM passenger side fender I scored from CL (along with the driver's side and grille) for $50. I chemically stripped and sanded it earlier today.
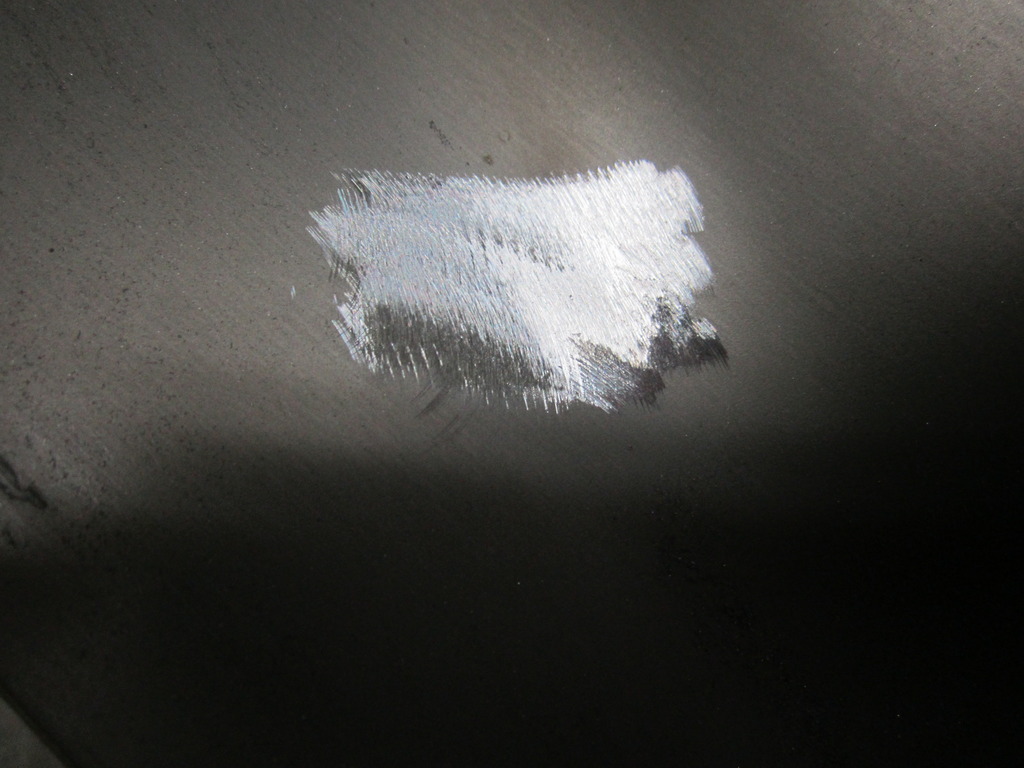
Here's a few pics of how it looks now. I have been compiling parts since I had it shipped from TN, but I still have a list longer then my arm of additional parts needed.

Here's a couple pics of the first panel that went under the knife. It's an OEM passenger side fender I scored from CL (along with the driver's side and grille) for $50. I chemically stripped and sanded it earlier today.


Last edited by 77lubr; 04-21-2015 at 07:23 PM.

 04-22-2015, 06:14 AM
#3
Good start! Be careful with Chemical strippers - if you don't get all the residue off the panel before paint you can get some adhesion issues later with your paint. I tend to do everything mechanically (sanding and grinding) in lieu of chemically for this reason.
04-22-2015, 08:43 AM
#4
I've been doing bodywork off and on for over 20 years now, and I have learned that lesson the hard way in the past. Since then I douse the panel with lacquer thinner, and after that I thoroughly clean off any trace pieces of paint the stripper loosened up. I then wipe it down with a quality grade grease and wax remover before DA'ing it. After sanding I do it all over again before priming.
04-22-2015, 08:55 AM
#5
I've been doing bodywork off and on for over 20 years now, and I have learned that lesson the hard way in the past. Since then I douse the panel with lacquer thinner, and after that I thoroughly clean off any trace pieces of paint the stripper loosened up. I then wipe it down with a quality grade grease and wax remover before DA'ing it. After sanding I do it all over again before priming.
05-03-2015, 03:55 PM
#6
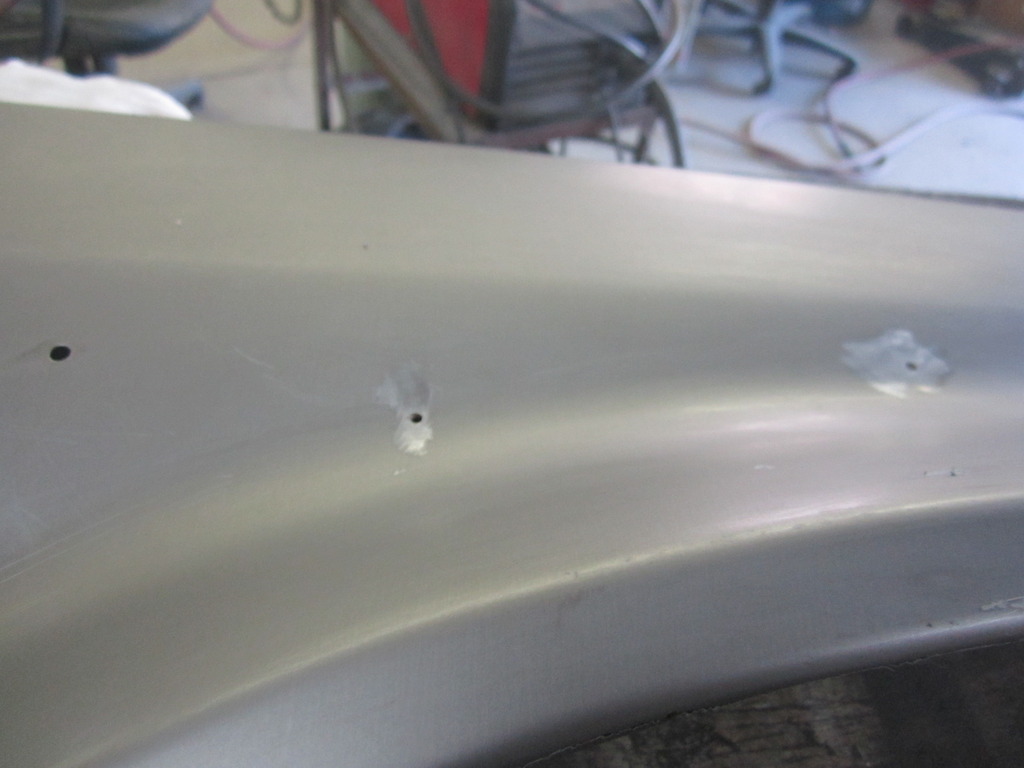
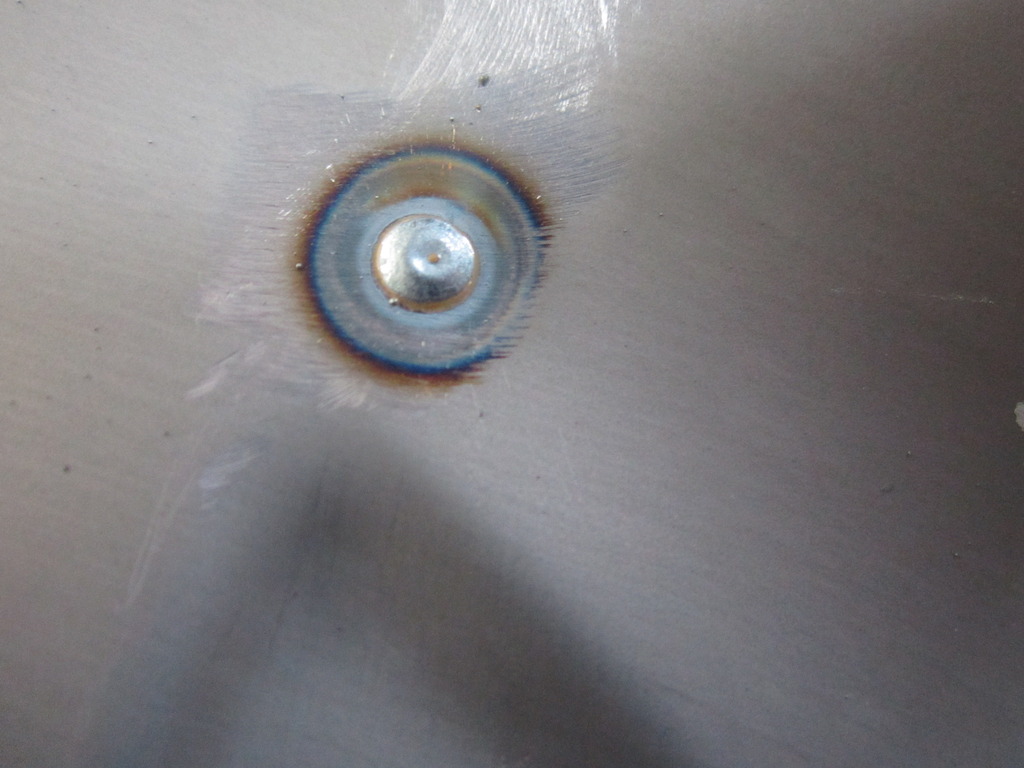
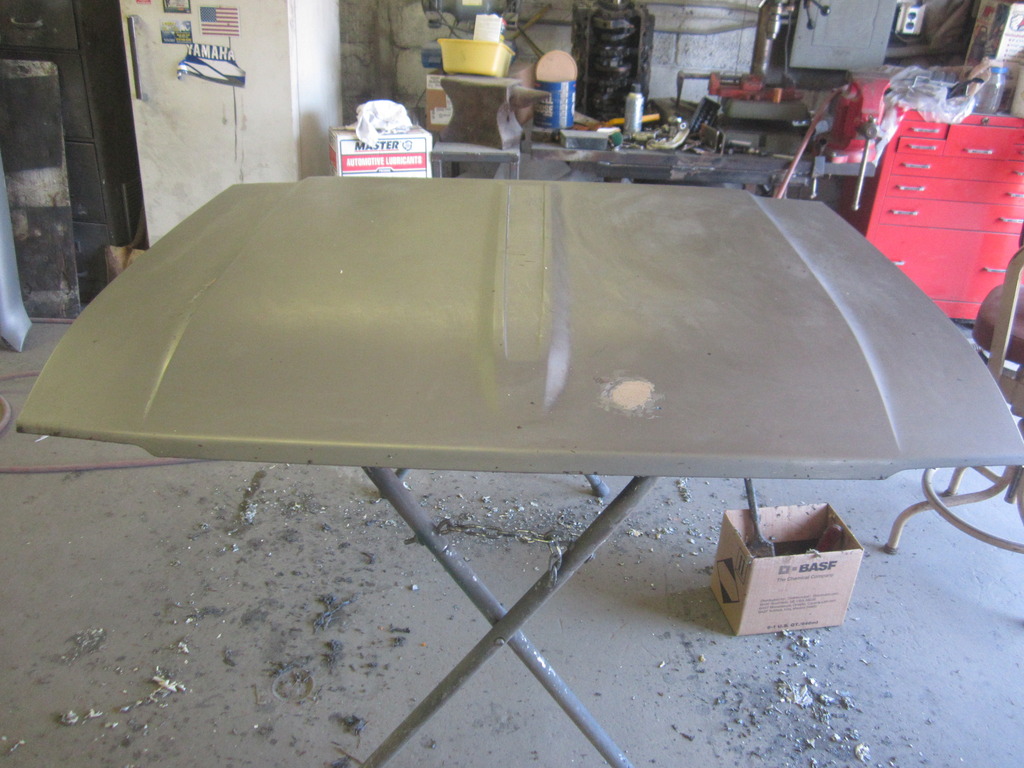
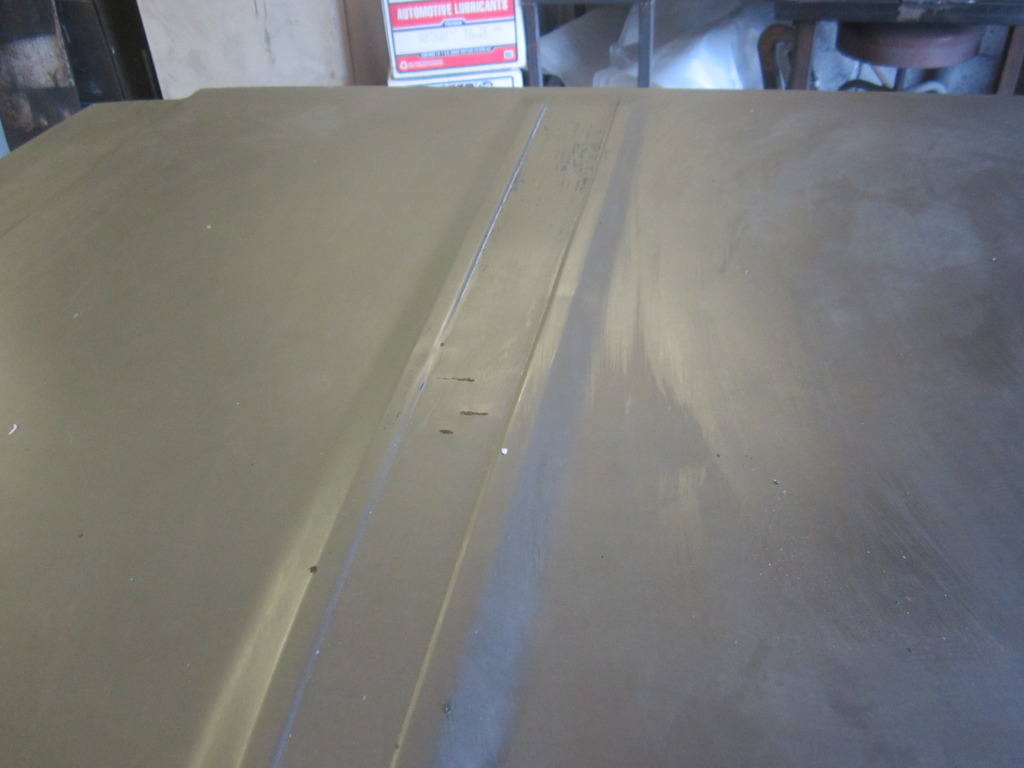
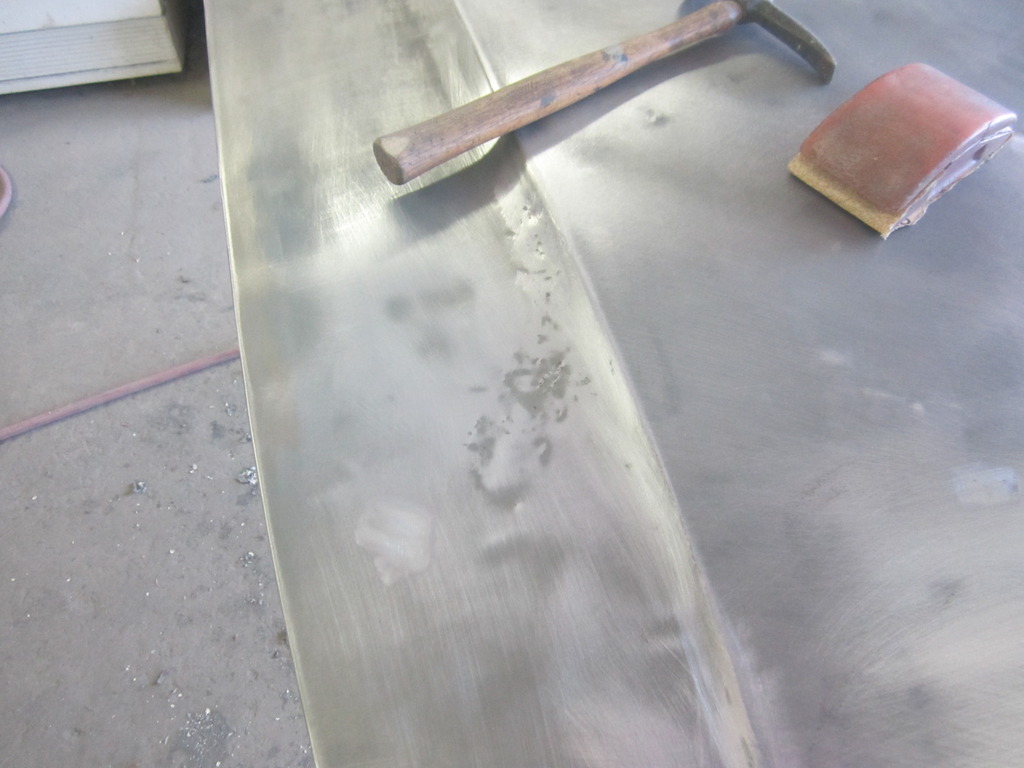
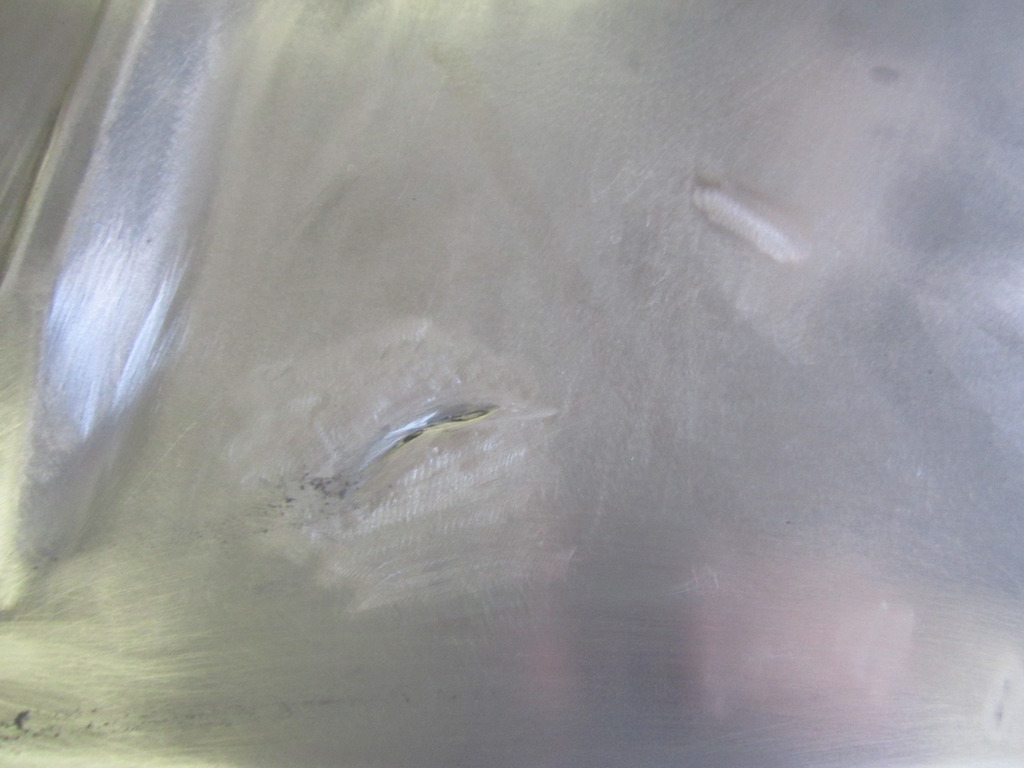
Got a few hours on the sheetmetal today. The stripper worked wonders on both the fender and hood as it should. I got the hood DA'd exposing all the fun dings and dents, and though I stripped the fender down and welded up the holes I need to finish sanding it and applying filler to the welded holes. I have some metal shrinking to do, but I left a "Dear Dad" note at the shop to see if he could mess with it while he's at the shop one day next week since I'm slammed all week long. I must admit that he's much better at it then I am.
Next week is a wash for me since it's Mother's Day and me and the little guy have plans with the boss, but I may be able to get up there during the week after Mother's Day. I'm also focusing on getting most of the brake parts as well as the front axle rebuild kit. I have another front diff removed from an '81 I can rebuild and still use my truck to haul stuff in the meantime.
Next week is a wash for me since it's Mother's Day and me and the little guy have plans with the boss, but I may be able to get up there during the week after Mother's Day. I'm also focusing on getting most of the brake parts as well as the front axle rebuild kit. I have another front diff removed from an '81 I can rebuild and still use my truck to haul stuff in the meantime.


 05-04-2015, 10:07 AM
#7
Looks like progress to me! I wish I could leave a "dear Dad" note and have my bodywork magically done when I returned, but my Pops does not have the patience or attention to detail to do that kind of stuff.
A little note on the hood. If I had mine to do all over again, I would have added some extra reinforcement underneath the hood somehow. The problem I was facing was that when I was blocking my filler and guide coats the hood would flex just enough that it wouldn't allow me to get the true shape that I wanted. I was able to support the problem areas during long blocking to nearly correct the issue, but it still didn't turn out perfect like I wanted after I had paint on it - it'll probably be one of those things that gets re-done later.
Also, I noticed that you snagged some other fenders off of CL. Do a good mock up on those with the hood - mine fit considerably different because the top fender lip on front clip was tweaked a little and thus so was the lip on the fender to "match" it. It was just a minor metal adjustment, but it something I wouldn't want to do after bodywork or paint.
Again, you seem to know your way around, but I just want to share my struggles in case it helps you or somebody else out.
Trending Topics
05-04-2015, 10:36 AM
#8
Also, I noticed that you snagged some other fenders off of CL. Do a good mock up on those with the hood - mine fit considerably different because the top fender lip on front clip was tweaked a little and thus so was the lip on the fender to "match" it. It was just a minor metal adjustment, but it something I wouldn't want to do after bodywork or paint.
I will definitely line them up before final paint. Even with OEM metal you will have slight differences.
I'm also soaking the crap out of the bolts holding the front sheemetal on now. Those dinky old crusty 10mm heads don't take much to bust even if you try and take your time.

Thread
Thread Starter
Forum
Replies
Last Post
GreatLakesGuy
The Classifieds GraveYard
8
09-04-2015 09:27 AM


