When you click on links to various merchants on this site and make a purchase, this can result in this site earning a commission. Affiliate programs and affiliations include, but are not limited to, the eBay Partner Network.
I've got three projects at work going an 86 Monte Carlo SS, a 68 Olds Cutlass and a 73 Pontiac convertible. They are being restored / updated for a private collection. The SS was a paint and body deal with a drivetrain swap, the Olds will be made into a Hurst clone, and the 73 Pontiac is a full on restore. I've got tons of pics if anyone is interested in this stuff.
I'm always interested in watching someone else do body work. I used to have an 81 Gran Prix which had a similar body to the Monte Carlo. What product do you use on the plastic bumpers?
I've been using Adtech. It's a machinable plastic. It bonds well to a well prepared substrate whether plastic, metal, or fiberglass. The front bumper cover was pretty destroyed before the body work. Tons of spider cracks.
I've been in the marine industry since the late eighties. Working in the research and development department and was mentored by a good ole guy. I earned a degree in hydrodynamics, and moved into product development and design until 2015. I have
designed and built quite a few boats from ski to skiffs and always found auto body and fabrication alot more fun. So here I am. Here's a few pics of the start of the 73 Pontiac resto.
This is a giant car. Just over 18' One owner all original equipment but was restored back in the 90's Car looks fairly straight and the body work held up descent but you'll see, there is over a half inch of Bondo on the entire body.
The convertible top was a nightmare to remove. It took me two days to find all the cables, clips, and attach points. Towing it to media blast The car was media blasted and primed except for the body panels to avoid warpage Almost a new car after prime Rust gone, a lot of holes now I'm going to be rebuilding 50% of the floor pan The entire rear clip was welded onto this body in an early 90's restoration. Firewall and a pillars will need a ton of fab 30 year old tires still holding air The entire trunk ring will need to be rebuilt
Took it down to the metal, nice and easy to avoid heating it up. Here is a shot of the half inch of bonding the car was covered in. Wow! The wheel wells were kinda glued on. Way too much damage to save. These have been the hardest things to rebuild so far Driver quarter behind the door had been wacked The previous body man didn't even try to hammer and dolly anything. It was just filled with bondo Those flap disks are great but make a giant mess. I haven't been able to run the air conditioning in the shop because of all the dust
My brother bought a Monte SS new from the dealer and to see one being restored just makes you realize just how fast time flies. One of my friends had Gran Prix. I always like seeing the old cars on the road. It really seems like yesterday that those were common everywhere but it was long ago. I like seeing any car being built and really enjoy seeing one being torn down as far as you have and then being brought back correctly. Why some one did not take the time to hammer and dolly some of the dings out I just never really understood. I like Swiss Cheese but not so much on cars and trucks. Only way of making sure a car or truck is in great shape is to tear it down.
I go to other forums and enjoy seeing some one take a project from start to finish and all of the stages that they go thru. I have learned a lot and am amazed at what all is involved. I will be following these builds. When you see one painted up and all the pieces are on it, it can hide all of the work that goes into them. Chasing down parts is another thing that comes along with them and some times finding that one item can be a job in itself.
Any tips that you can post about installing the floor pans, I will be eagerly watching for. I think I have the tools but it is the "Know How" I have not quite gotten to just yet. Watching someone that knows how to do it, they make it look easy. Looking forward to see how these projects end. Great job on bringing some oldies back.
Your Avatar, is that one you did? I have not seen it mentioned in your other builds.
Hey Terry. I will definitely post progress on the Pontiac as I go. The 85 in my avatar was a basically stock truck with a body lift. It was stolen and recovered from a nearby lake and returned to me. We rebuilt the entire thing, unfortunately there weren't cell phone cameras around to document all the work my brother and I did on it. A childhood friend of mine still has it but it has seen better days for sure.
I've always used Dykem rather than a guide coat for metal fab and body work. You won't miss a scratch from a heavier grit sandpaper or a high/low spot. It also goes a lot farther for the money especially when thinned with acetone This is the result of a bad Durabond patch. It just soaked up the water and ruined all surrounding metal. The inner rear fenders are a pain to build by hand but I'll get it
I am going to Google Dyken and see what that is. I have done small patch panels but doing a large panel that you are doing does intimidate me. Trying to get everything cut to the correct size and fitting properly seems like it would be the hardest part. Also having to make sure not to grind the stitch welding and being on the external surface looks like it could be difficult and warp a panel if not careful. I am looking forward to learning those steps and will be glad the day it comes to me like turning a wrench.
How you going to go about fixing the inner structure on the rear fender? That looks like a job in itself. I got a truck bed I can learn on and if it goes bad, I can get another bed in worse case scenario. I really want to do the patches for the "I did it factor".
Hey Terry the Dykem is an engineering fluid used for a variety of things from blue printing to body work. We used it a lot building fiberglass molds. It's especially handy at the metal stage and primer since it will show on the light primer very well. When it's thinned out it's very affordable and works much better than a $7 can of guide coat.
A good metal break/bender comes in handy and sometimes you can find a smaller one for pretty a reasonable price. I don't have a bead roller so I have to press panels by hand and I use a hammer and shot bag for a lot of stretching and shaping. Metal fab is definitely a rich man's game. You could spend over a hundred grand for equipment but I don't have a budget like that. So most of the shaping I do is by hand. It's also kind of therapeutic to mold a flat piece of metal into something usable. For the inner fenders on the rear I have cut a piece of 1/4 rod and rolled it in my 3 in 1 machine to make the hoop structure. I'll be posting pics as I go this week and try to detail each one.
As handy and mechanically inclined as you are, you'll be making your own parts soon.
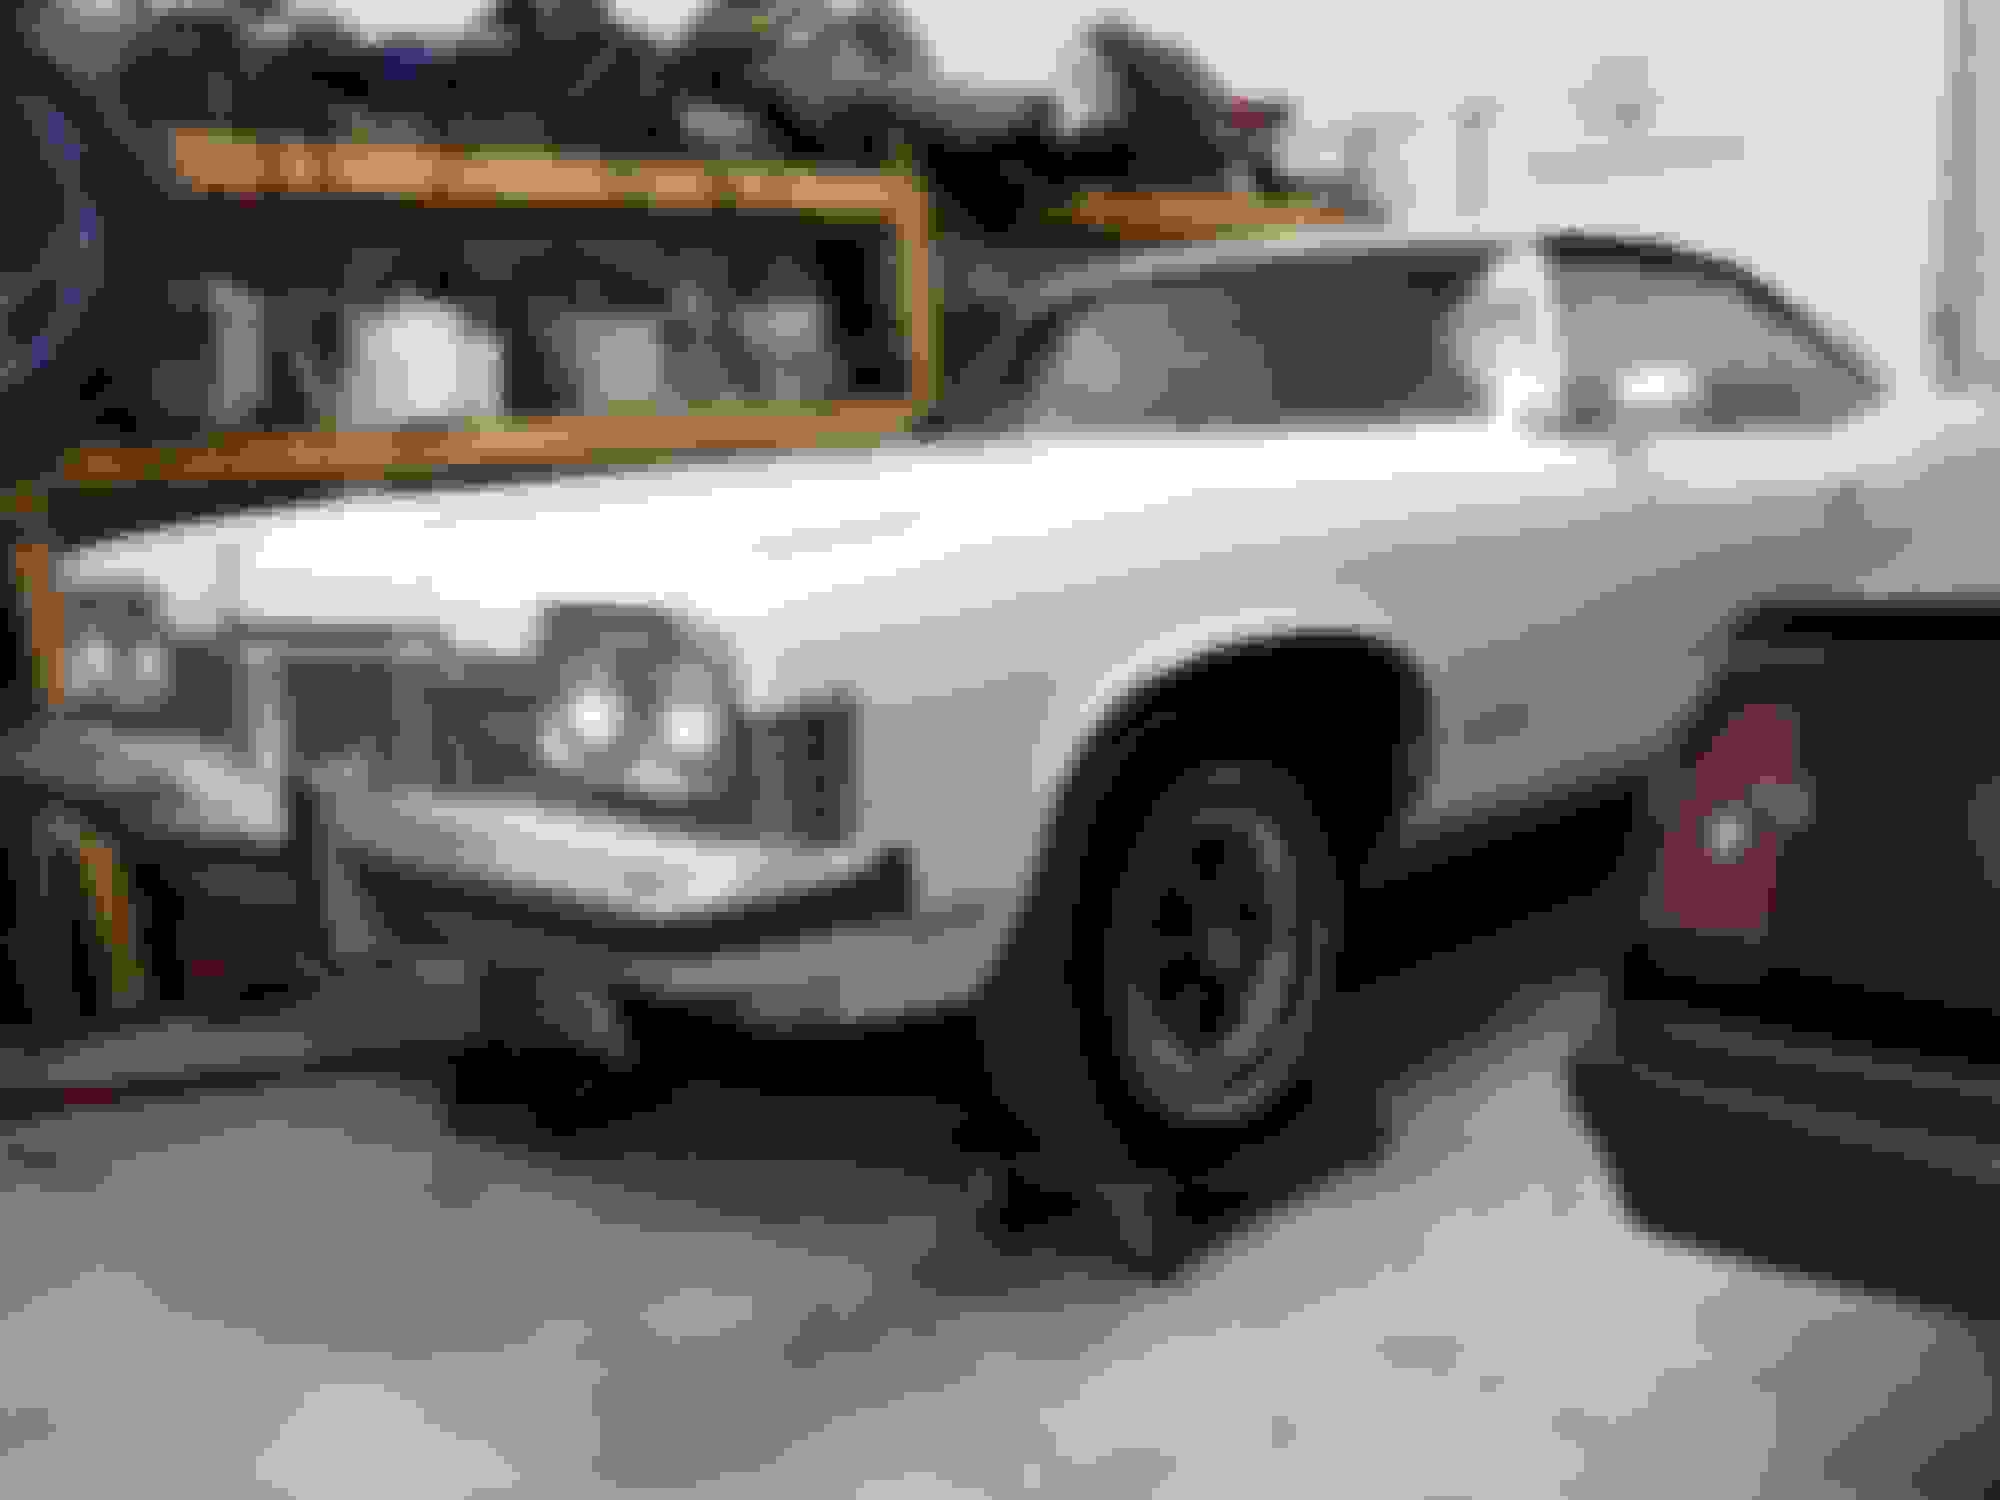
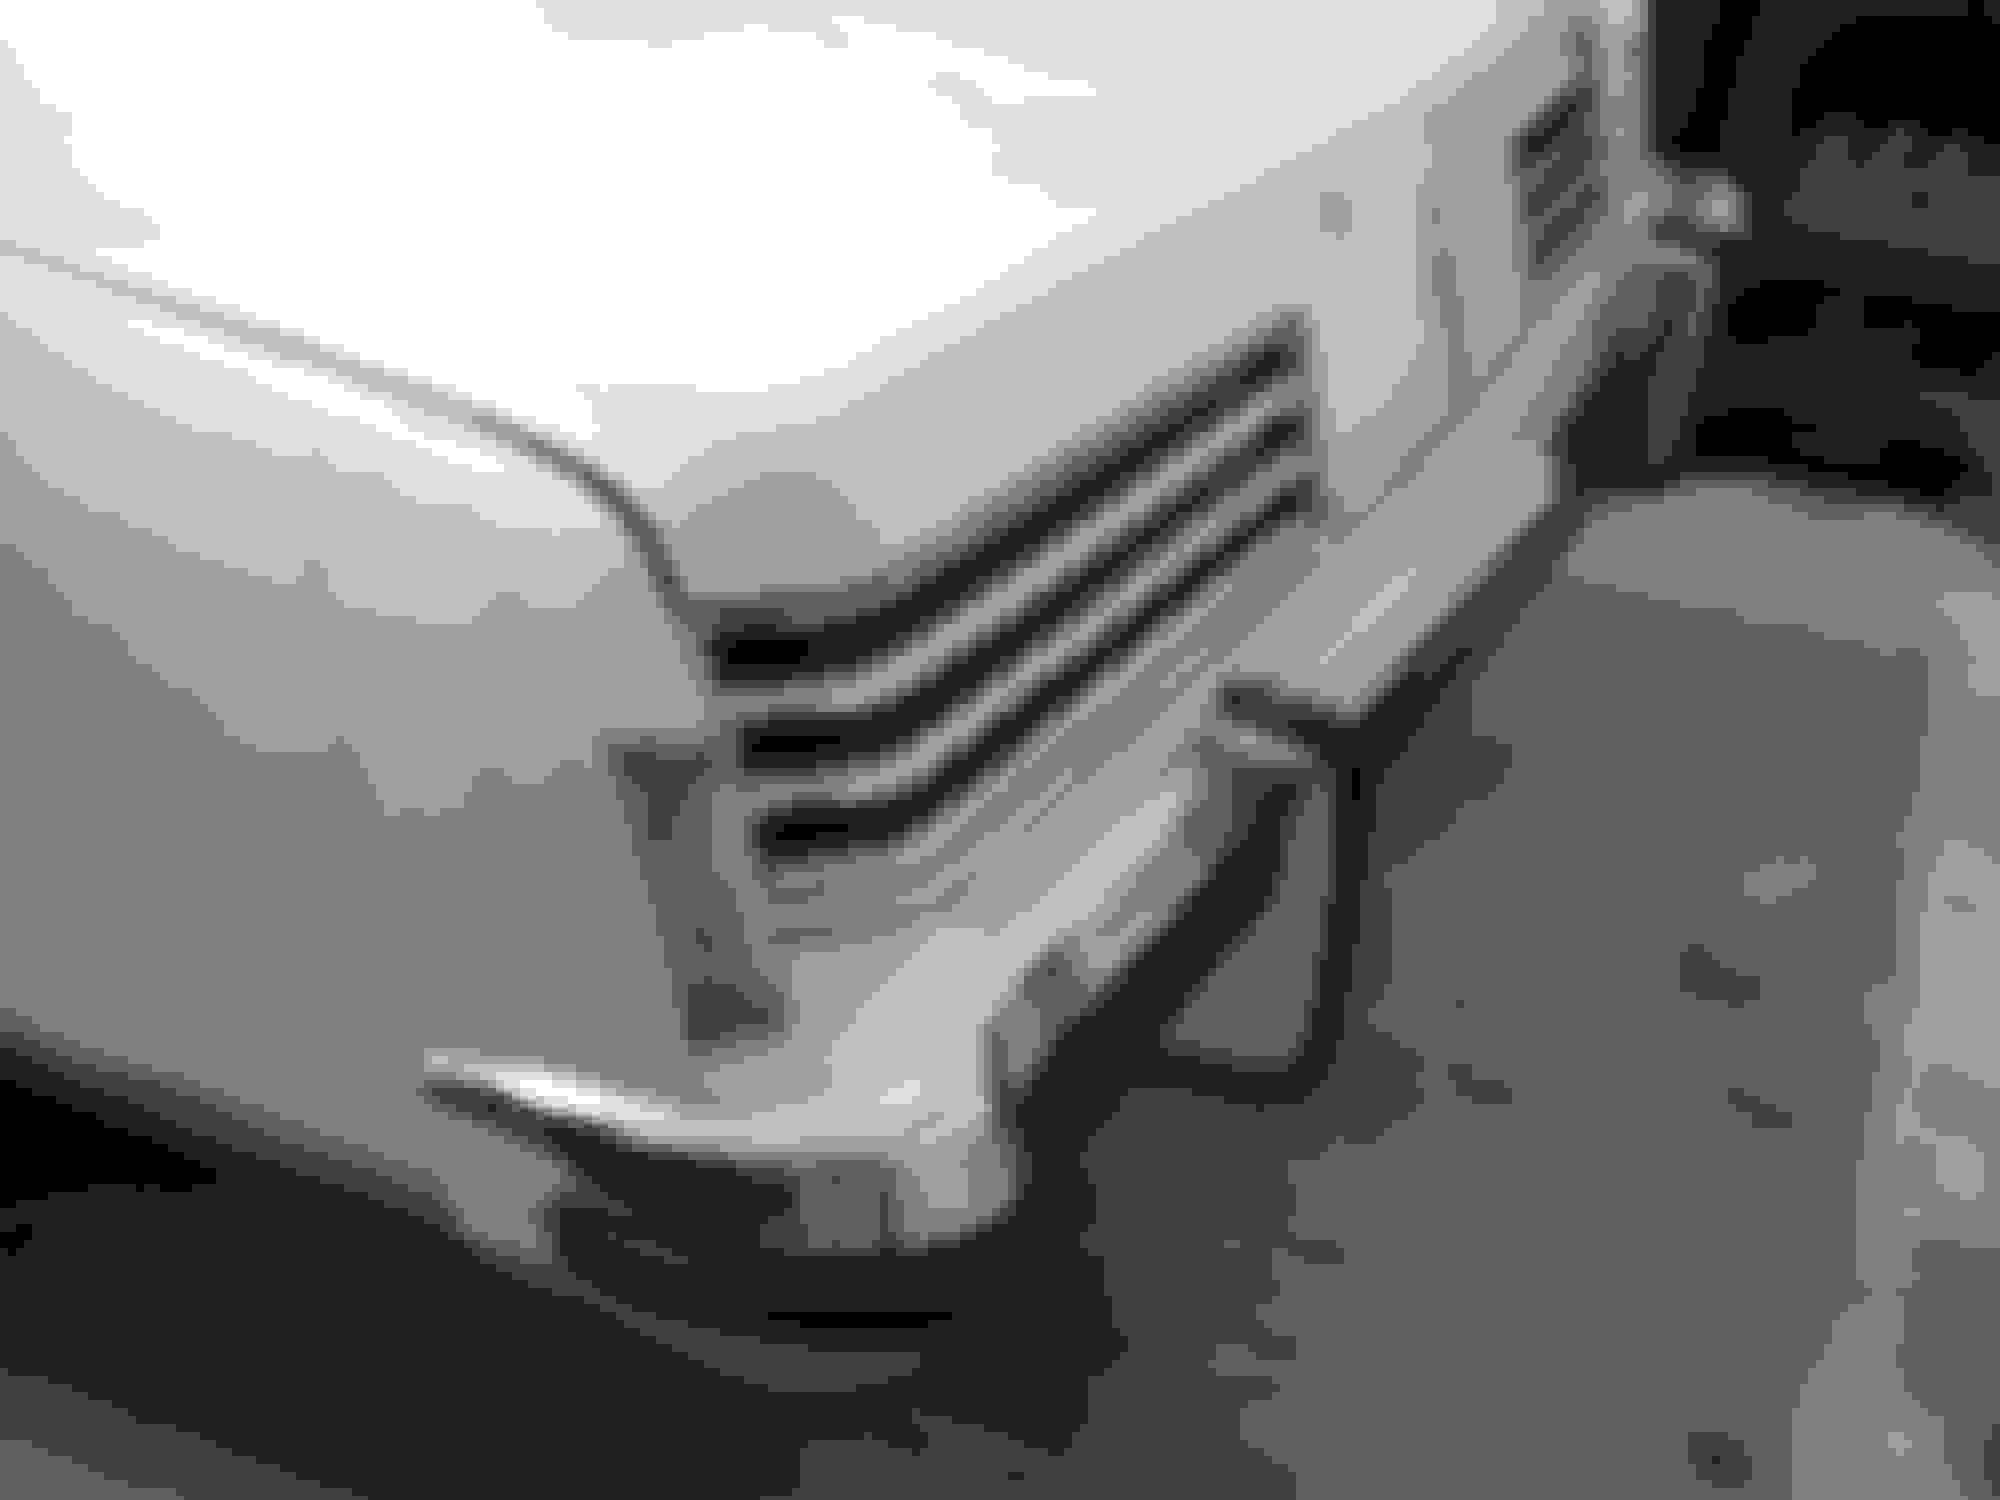
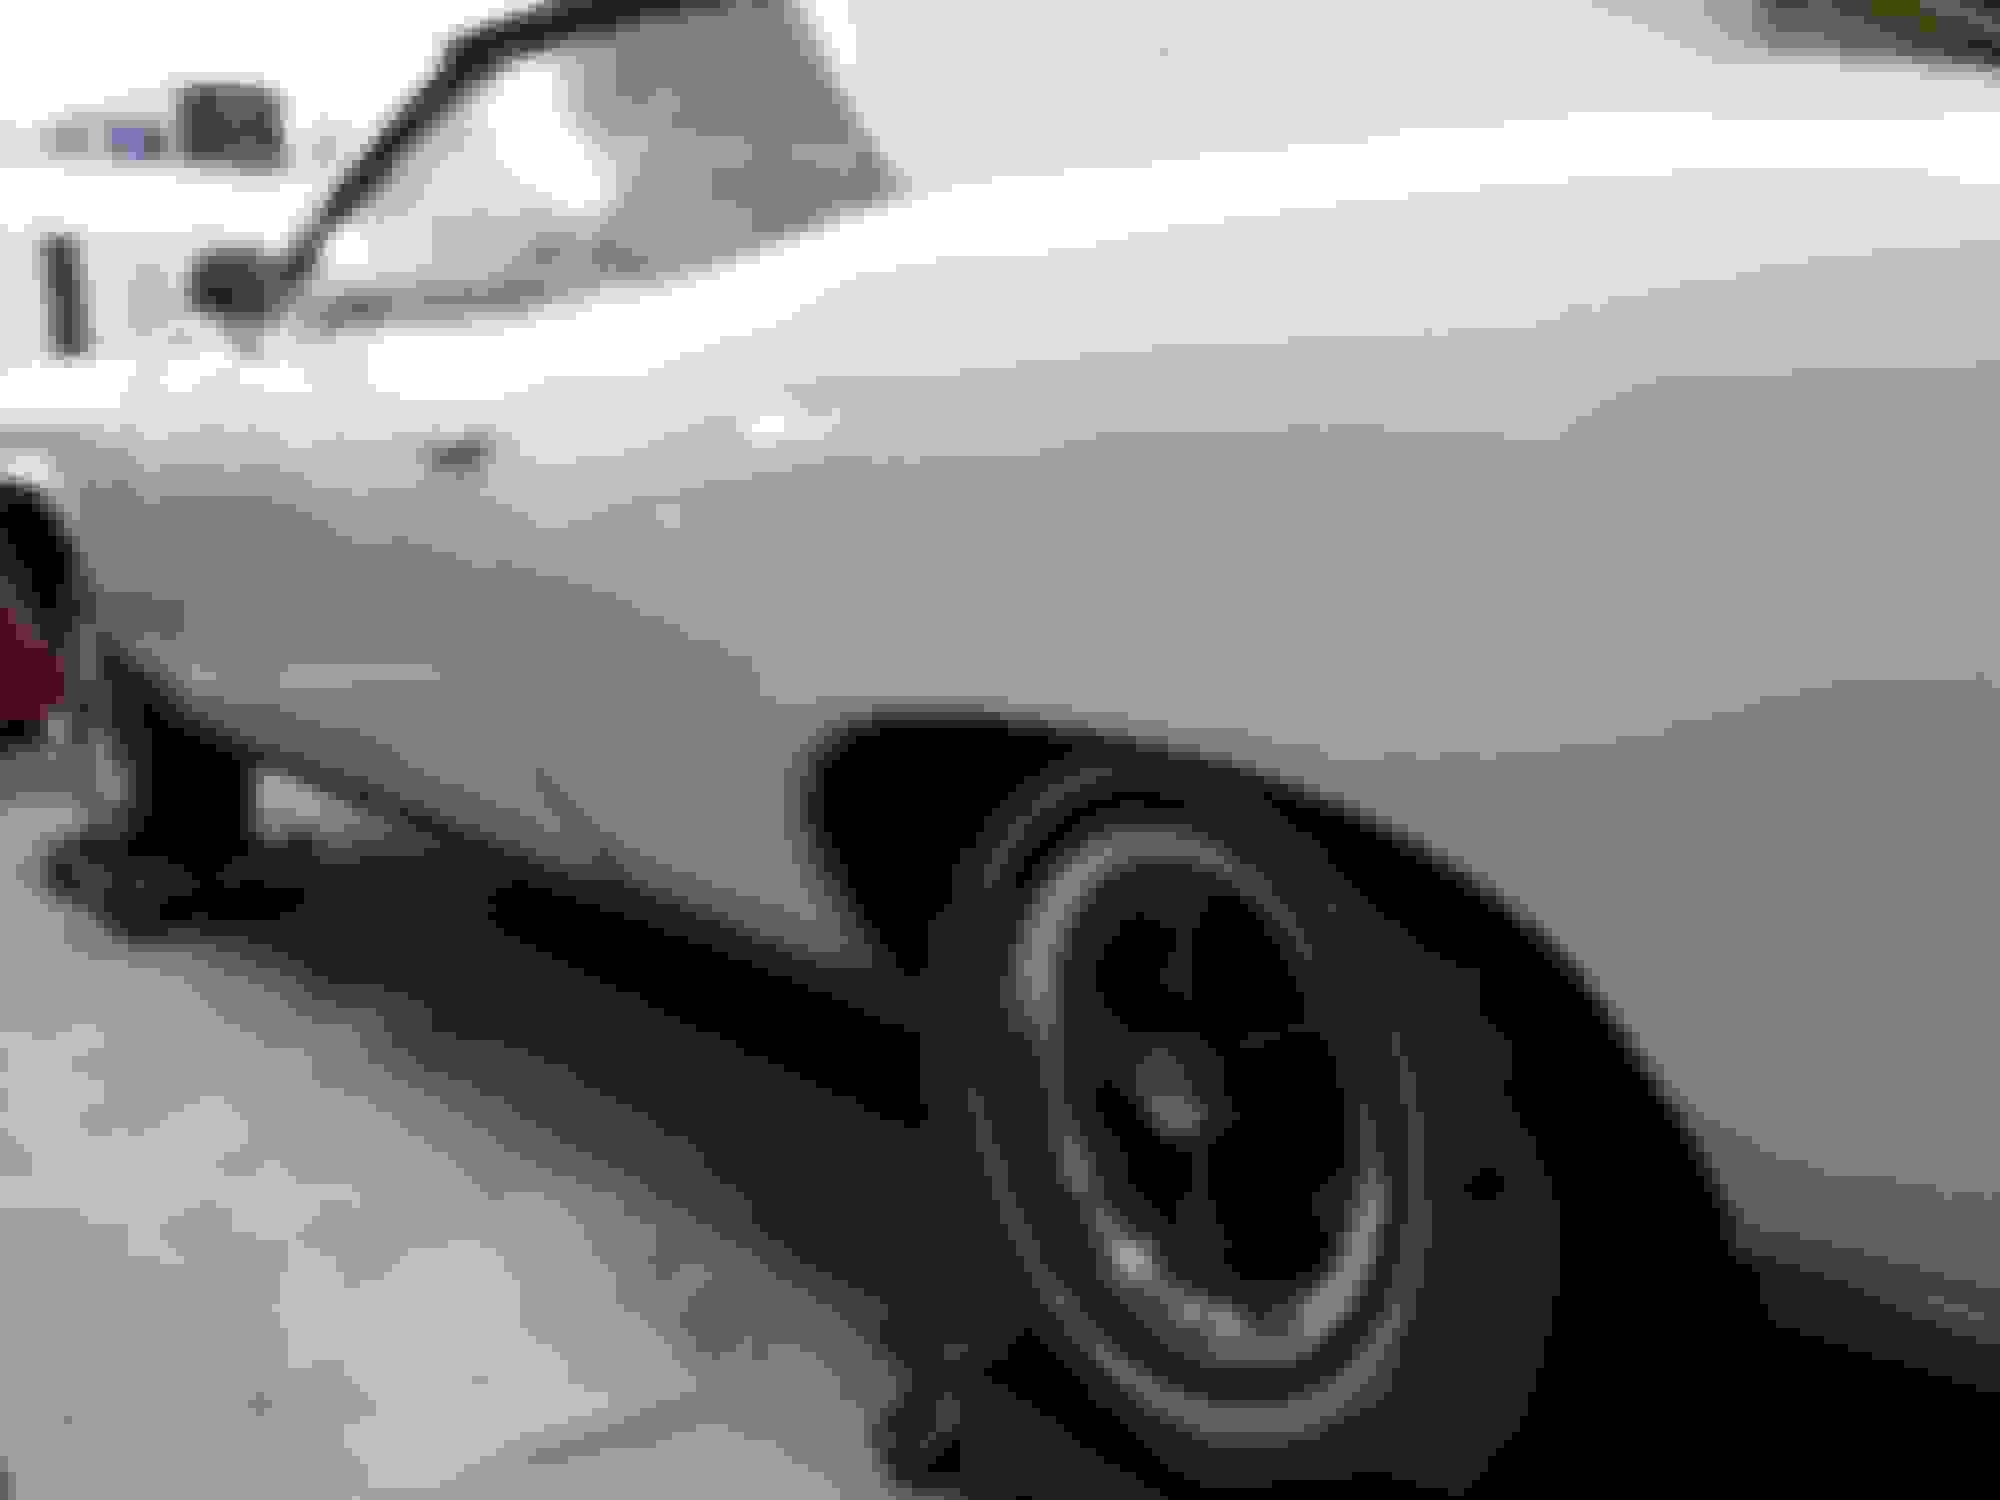
I'm gonna have to hit you up for some advice in the future if you don't mind. I've got a 68 Delmont 88 convertible (and a complete parts car) I inherited when my dad passed a few years ago. The car is very very similar to that Pontiac, similar shape, both are 18ft land yachts. I don't think mines quite so Swiss cheese like your media blast revealed, but the bottom of the a-pillars need major fabrication. Haven't been able to bring myself to work on it yet, but I think later this year I'll start, but would appreciate some advice on where to start.
dad had a retired auto restorer neighbor working on it for 2.5yrs. He was tasked with getting it running and driving - basically just mechanically sound, but only got maybe 90% there before I got it and had to transport it away. The guy supposedly did a bunch of stuff but refused to write down what he did when I asked, didn't even give me receipts, he was an ahole. Supposedly went through suspension, fabricated custom disc brakes, fuel, electrical, and did some major engine work (BB heads on the original 350). When I inherited it it needed to get the engine work completed - like some carb tuning, distributor and stuff I don't really know yet, since it's not stock and I dunno the internals. Eventually I'd like to do the full restoration like you're doing but my gut says find a good shop who can finish getting it running first - this way I can drive it back/forth for now and then it will eliminate one major thing first. What do you think? I have a thread over on classic Oldsmobile forums.
I'll definitely help you where ever I can. If you plan on keeping it forever doing the drivetrain first is a good idea. But for me, I've caught myself driving around in a well oiled machine that looked like a junker haha. Sometimes I think, man, it runs great, who cares what it looks like. Thanks for checking in, PM me if I can help.
Those are some badass cars! I have a buddy who airbrushes and does a mean job, I am still trying to get him to teach me how so I could try my hand at my car.
I'll definitely help you where ever I can. If you plan on keeping it forever doing the drivetrain first is a good idea. But for me, I've caught myself driving around in a well oiled machine that looked like a junker haha. Sometimes I think, man, it runs great, who cares what it looks like. Thanks for checking in, PM me if I can help.
Haha, I get that - my 75 Hilux looks like an eyesore on the exterior, but it runs good and the interior (where you're gonna spend your time) is already restored better than stock by the PO.
Yes, this is pretty much a family heirloom now, it's not going anywhere, that's why I was considering doing a frame-off in the future. Completing the engine work so I know it runs/drives is kinda where I think I'll end up. From there I can disassemble it and know what is what, etc.
Question: on those sections you cut out - how are you going to go about forming/curving the steel so it matches the fender profile?
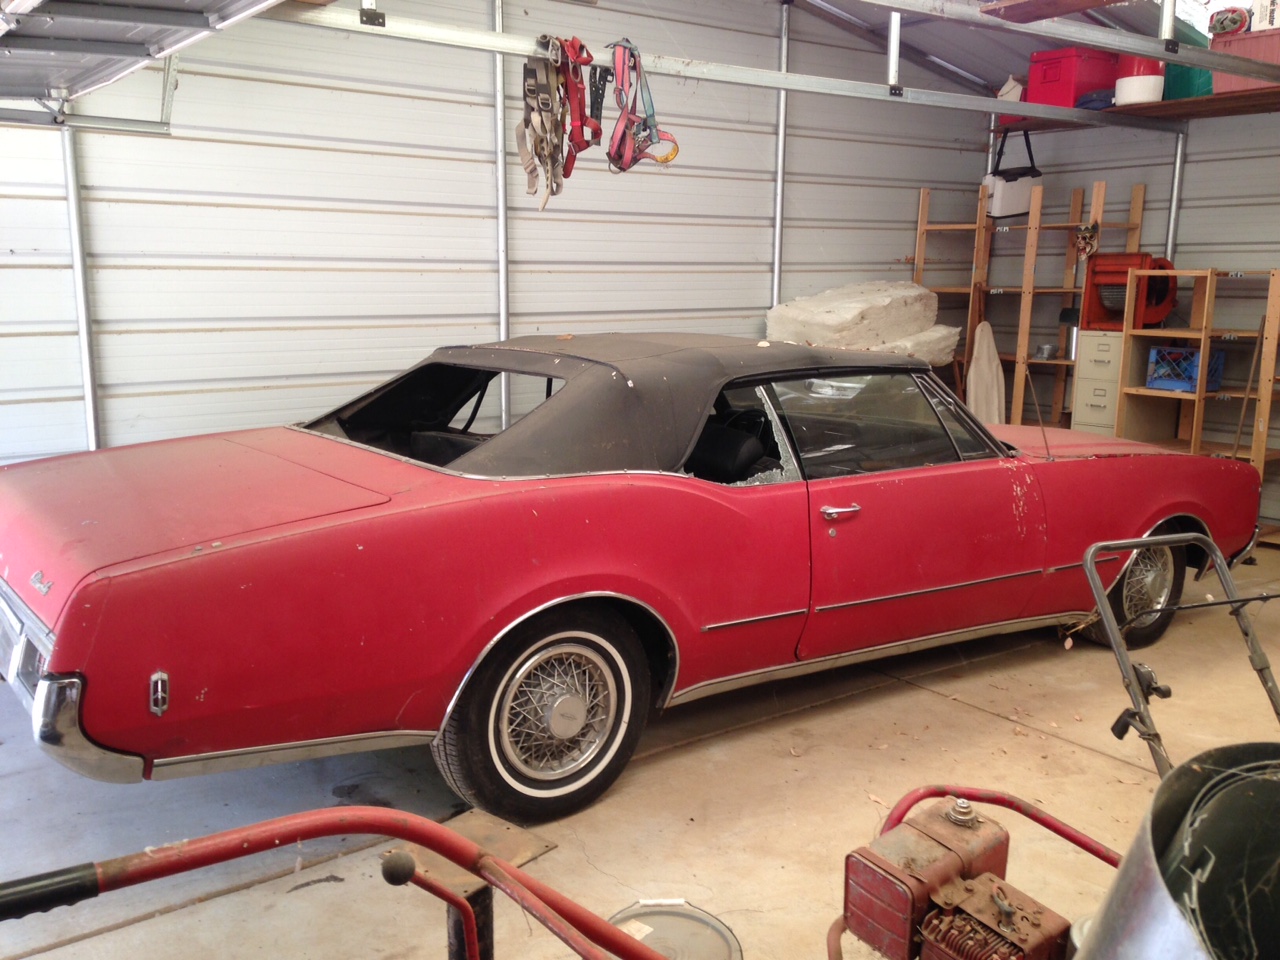
I really don't want to have to rob parts off the parts car, since it's complete - finding ANY parts for this car has already been tough. On that car, really only the rear fender is damaged, the rest might even be in better condition than the red one.
Here's my Delmont, hope you're ok with my putting pics in your thread:
Last edited by highonpottery; 03-06-2017 at 05:41 PM.
Haha, I get that - my 75 Hilux looks like an eyesore on the exterior, but it runs good and the interior (where you're gonna spend your time) is already restored better than stock by the PO.
Yes, this is pretty much a family heirloom now, it's not going anywhere, that's why I was considering doing a frame-off in the future. Completing the engine work so I know it runs/drives is kinda where I think I'll end up. From there I can disassemble it and know what is what, etc.
Question: on those sections you cut out - how are you going to go about forming/curving the steel so it matches the fender profile?
I really don't want to have to rob parts off the parts car, since it's complete - finding ANY parts for this car has already been tough. On that car, really only the rear fender is damaged, the rest might even be in better condition than the red one.
Here's my Delmont, hope you're ok with my putting pics in your thread:
For the metal work, I bend most everything by hand. A good shot bag and mallet help me a lot as well. The 18 gauge steel is surprisingly pliable. Sometimes a little heat helps in fine tuning after its tacked on. On my Toyotas I used Toyota metal from donor trucks/parts. Just seems right to me, but virgin steel is great for these old cars. I will go to a 20 guage for fine work like around the trunk ring and then 16g for floor pans. That's a nice looking car! Your more than welcome to post on my thread anytime.
P.S. I'll be back in my shop tomorrow and hopefully post up some new pics. Keep in mind on the convertible, the floor is a major structural component of the car. If you need to do floor pans, try to take care of those while it's on the frame. Then when your ready to separate the body and frame, build a support frame inside the body to retain shape and deter twisting. Without that the car will never be the same. It's always a good idea to take a million measurements from different points in the car and continue to check them while separating the body from frame. Also a GM body by fisher manual is an excellent tool .Take care.
Yes thanks for the tip! I was definitely planning to tack in some bracing before even considering taking off the body. First I have to tackle the bottom of the A-pillars, they're pretty much gone, I can stick my hand inside. I called the few salvage yards in the US with a 67/68, 88 or 98 Olds in their lot, that have enough taken off it to even consider robbing the pillars too -- the cheapest was $700 for just the cut-out parts and they're in another state! For that much I could buy another parts car, the bigger air compressor I'll eventually need, fab tools and/or lots of materials to complete the project I'm planning to mock up a cardstock template based on the parts car and hand fabricate it, it will also get sleeved inside the top of the pillar and into the rocker with a few rosette welds for strength - think that will work?
Last edited by highonpottery; 03-06-2017 at 09:42 PM.
 03-02-2017, 01:40 PM