Project: 86 p/u sas/om617 diesel swap

 01-02-2012, 10:42 AM
#42
Registered User
Join Date: Apr 2011
Location: Sedalia, MO
Posts: 317
Likes: 0
Received 0 Likes
on
0 Posts
Calvinr the engine is all mechanical. The only wiring will be the electric vacuum solenoid dor the shut off. The factory gauge sending units will work with a few plumbing parts.
01-02-2012, 06:47 PM
#43
Registered User
keep up the good work. i cant wait to see how this turns out. thinking of doing the same with my 86 4runner. btw your axles look awesome. gunna look sharp
01-05-2012, 10:01 AM
#44
Registered User
Join Date: Nov 2009
Location: Central Sierra Nevadas (Oakhurst)
Posts: 504
Likes: 0
Received 2 Likes
on
2 Posts
It would be awesome to have a printable full-size "map" of the new adapter. There are enough of us who can make our own, but being able to just follow the lines would make the process a lot quicker.
Diesel.... someday...
Diesel.... someday...
01-05-2012, 12:22 PM
#46
Registered User
Join Date: Jan 2008
Location: new richmond,ohio
Posts: 24
Likes: 0
Received 0 Likes
on
0 Posts
hey its going to be a while before i get over to my buddys house to give him the adapter . hey (mountian cop) i could take some construction paper and a crayon or pencil and do a rub of the adapter plate and send it to you if you pay the postage . (pyro) i did my chevys springs last weekend it came out nice i used (skys) chevy spring swap . i put the front hanger 11" forward and the rear 4" back i have a nice looking shackle angle but it dont sit much higher then the stock leafs but i did take out the overload leaf . im thinking of putting in back in and cutting it down to 8" in the front and flush with the perch in the rear to see how that does and ill get about another inch of lift . im going to order my front drop hanger from sky also . what are you doing about your front packs for the weight im not sure how many to use i have 6 toyota rear leaf packs some from a 94 2wd and from 81 4x4 . hey i did find out that you deff have to have your flywheel blanced the same as the merc. or the motor wont last long . i was looking at mine the other day when i did my egr delete and took all the junk that i didnt need. degreased it very well and i noticed a day or so after it dried up that it was a little wet around my head gasket you think i should change it or not im not real fimilar with these motors . runs fine like it is.
01-06-2012, 06:10 PM
#50
Registered User
Thread Starter
Okay, I've made my schedule for the next week, and hopefully I can stick to it and get everything done. Tonight I'm going to start by cleaning up my garage (it's a terrible mess.) I got my brackets cut at work tonight with the plasma cutter. I'll wait to post up the pics till tomorrow when I get them all welded and grinded and pretty. I also bought 4 - 9/16" Fine Thread Grade 8 zinc plated bolts and nylon locking nuts, at $7 a piece at True Value for the Chevy springs. Got all my metal I used from the metal pile at home or for cheap from the scrap pile at the welding shop back home. Total cost for metal was under $18. I won't be running shocks in the rear until after I do the diesel swap, as I only want to take the bed off once, and I will move the fuel tank and weld in the top shock mounting bar when I do that. The front axle should be rolling on wheels tomorrow afternoon if everything goes right. I'm trying to find someone with a good adapter plate that I can buy, just to save time and effort.
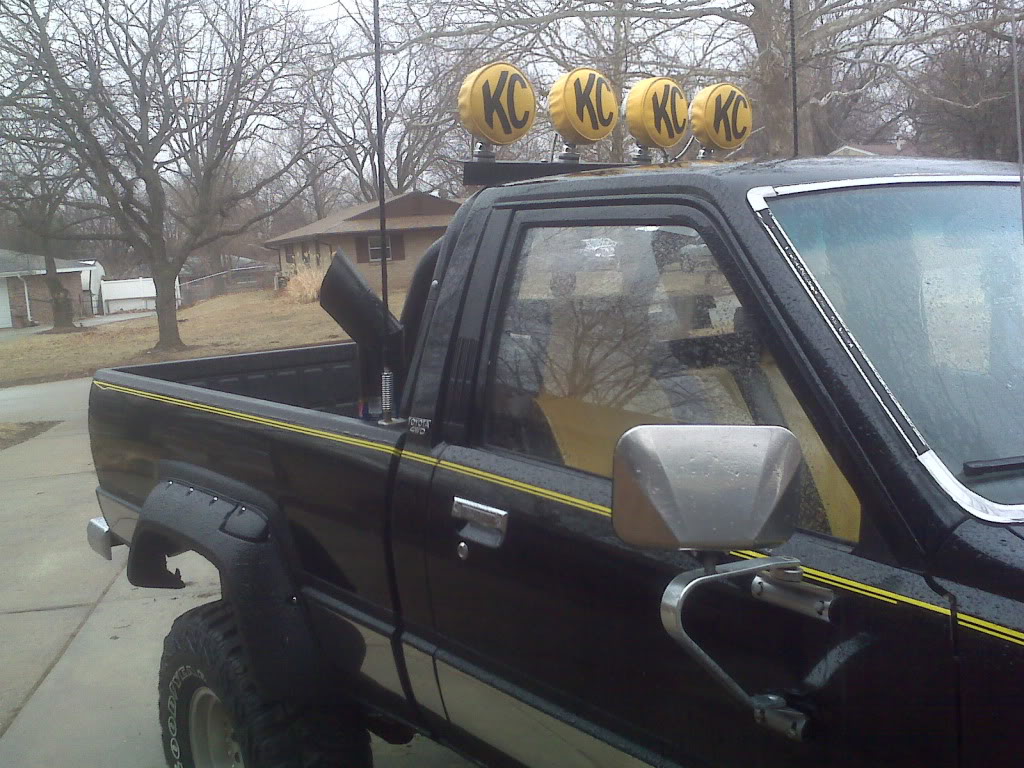
The one thing I'd like some input on is the exhaust. I'm not sure how to go about routing the exhaust and where to place the fuel tank. I'm moving the tank to eliminate that pesky potential rust spot. I'd like to move it to the driver's side of the truck and shoot the exhaust straight back. Anyone think I can route the fuel filler from the passenger side over to the driver side and make it work? I'm also drawn between a rear exit exhaust and a single 4" or 5" stack, and where to put the stack.
Thought maybe just a single passenger side one like this mock up?
01-07-2012, 04:51 PM
#51
Registered User
Thread Starter
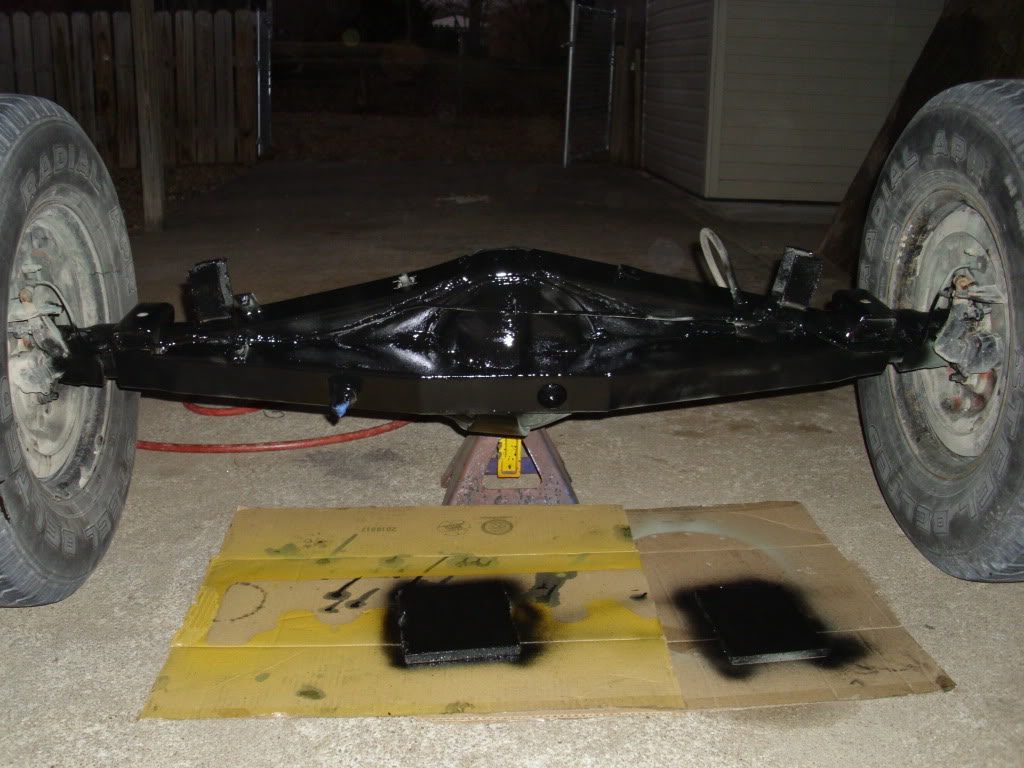
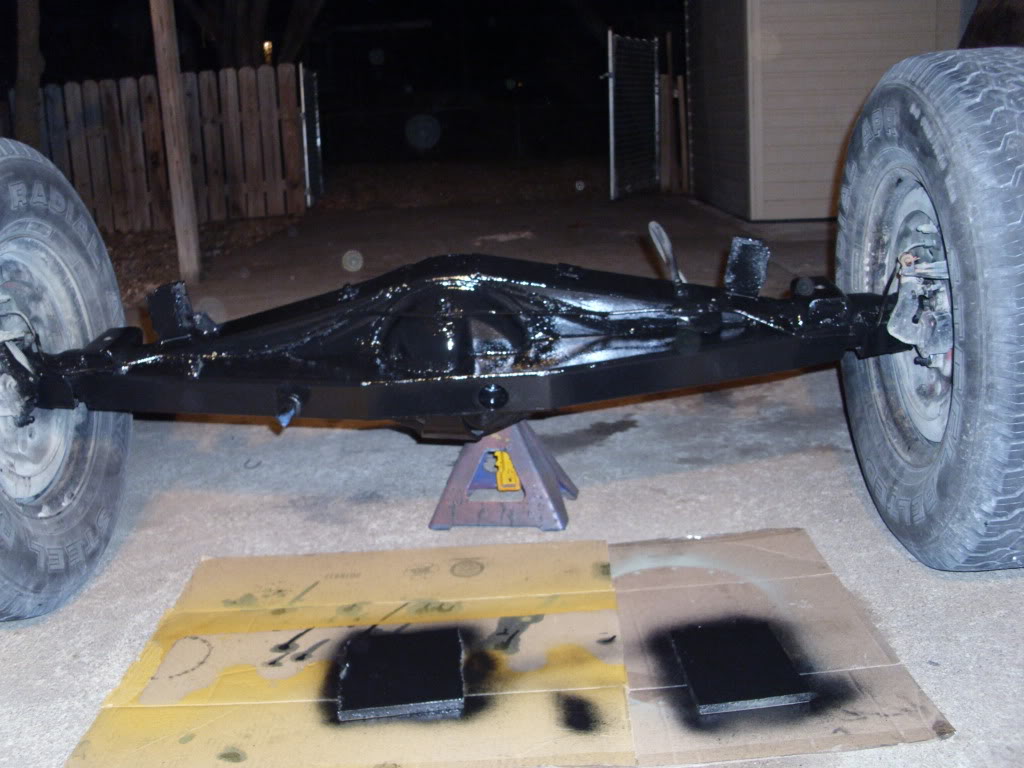
K so I got the axle assembled FINALLY! That was long over due....
I should note that to get the high pinion ARB 4.88 diff in, I had to grind the inside of the axle housing on the top side where the gear teeth go in because there wasn't enough clearance
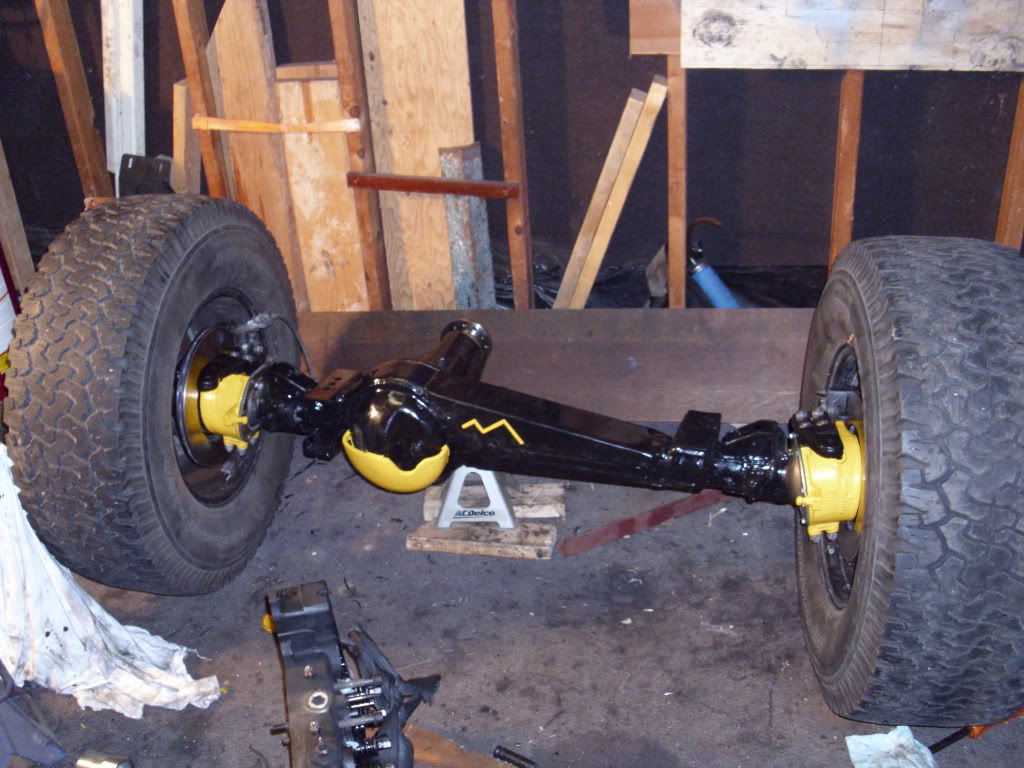
I should note that to get the high pinion ARB 4.88 diff in, I had to grind the inside of the axle housing on the top side where the gear teeth go in because there wasn't enough clearance
01-08-2012, 12:42 PM
#52
Registered User
Thread Starter
Just been cleanin' engine parts today. Using a whole lot of engine degreaser, Joy, and some Pledge floor cleaner and a stainless wire brush. What a mess.... Waitin for the paint to get here on Wednesday to paint the parts that are off. As for the block and head, I'm just wiping them down as best I can with a cloth, and I'll power wash it when it's assembled and paint it later.
The plan for tomorrow is to rip the rear axle and springs out, weld the axle up, and get paint on it and my Chevy springs. Then I'll put it back in with the new springs on Thursday when the paints dry.
I need to figure out my oil fitler. I don't like that stock one. I'm getting an adapter plate so that I can mount the filter remotely. Just gotta decide on a good oil filter housing. Any ideas?
01-10-2012, 08:07 AM
#53
Registered User

Join Date: Jan 2012
Location: Frederick colorado
Posts: 7
Likes: 0
Received 0 Likes
on
0 Posts
Hey man I been reading your thread and this is awesome work!!! I just bought an 1985 ext. Cab shorted and am planning to do a 617.95x swap in August area. I am curious on the body lift because I want to keep my center of gravity as low as possible because im building for a weekend crawler. Wondering if it is even harder to swap since the frame rails arc up in the S.F.A from factory, curious to see if.I.can notch the pan to not body lift and no hood mods. BTW where is a good place to get a 2nd gen bed for a decent price that is not fiberglass? Sorry I am not trying to hack
01-10-2012, 01:54 PM
#54
Registered User
Join Date: Apr 2011
Location: Sedalia, MO
Posts: 317
Likes: 0
Received 0 Likes
on
0 Posts
Not to steal Joe's thunder here but to put the 617 in without a body lift will be tricky. My truck is an ifs with a 4 inch body lift and even with the pan notched as far as I can get it it barely clears the hood. Check my thread if you want pics.
01-10-2012, 02:02 PM
#55
Registered User
Join Date: Jan 2012
Location: Frederick colorado
Posts: 7
Likes: 0
Received 0 Likes
on
0 Posts
I been seeing a few with an SAS swap that just notched the pan and it cleared by an 1/2 inch. But since on the 85 it came factory with a solid axles the frame arcs up in the engine bay by like 2 inches give or take thats why im kinda worried on mine.
01-11-2012, 11:35 AM
#56
Registered User
Thread Starter
Darian - A body lift doesn't really raise your center of gravity. It does, but what really raises it is a suspension lift. That's why a lot of guys go with a body lift, so they can fit bigger tires and still have the heavy parts of the truck sitting down low, like the engine, tranny, t-case, and frame. I have a 1" body lift, which installs without any add-ons. A 3" will require a longer fuel filler neck, some possible wire lengthening, radiator movement, shifter extension, etc. I'll let you know how mine goes with a my 1" It's 4crawler body lift. I'm tinkering with hood scoop ideas, also, for 3 reasons. 1 is for a cold air intake, 1 is for a top mounted intercooler, and 1 is to clearance the engine. I'm not sure which one's I'll use, if any, but keep that it mind, you can always cut the hood.
As for my update, my internet quit working since last week so I have a lot of progress since my last post. I got my valve cover painted on the engine, Cat Yellow, but it's a little more mustard than I wanted....
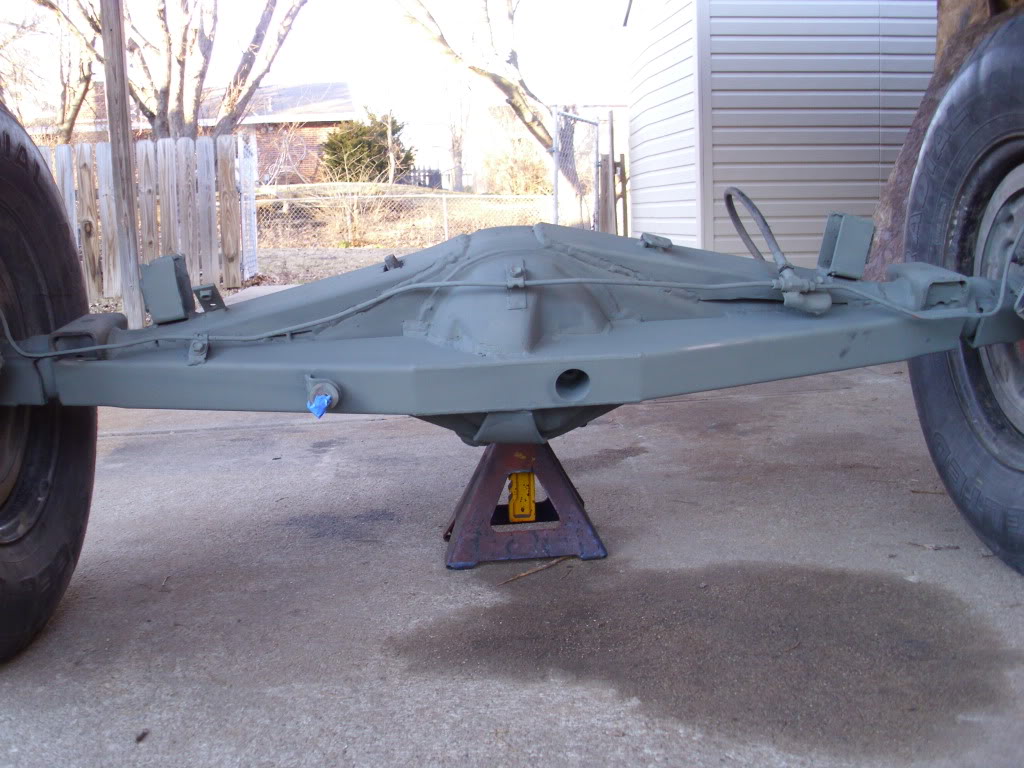
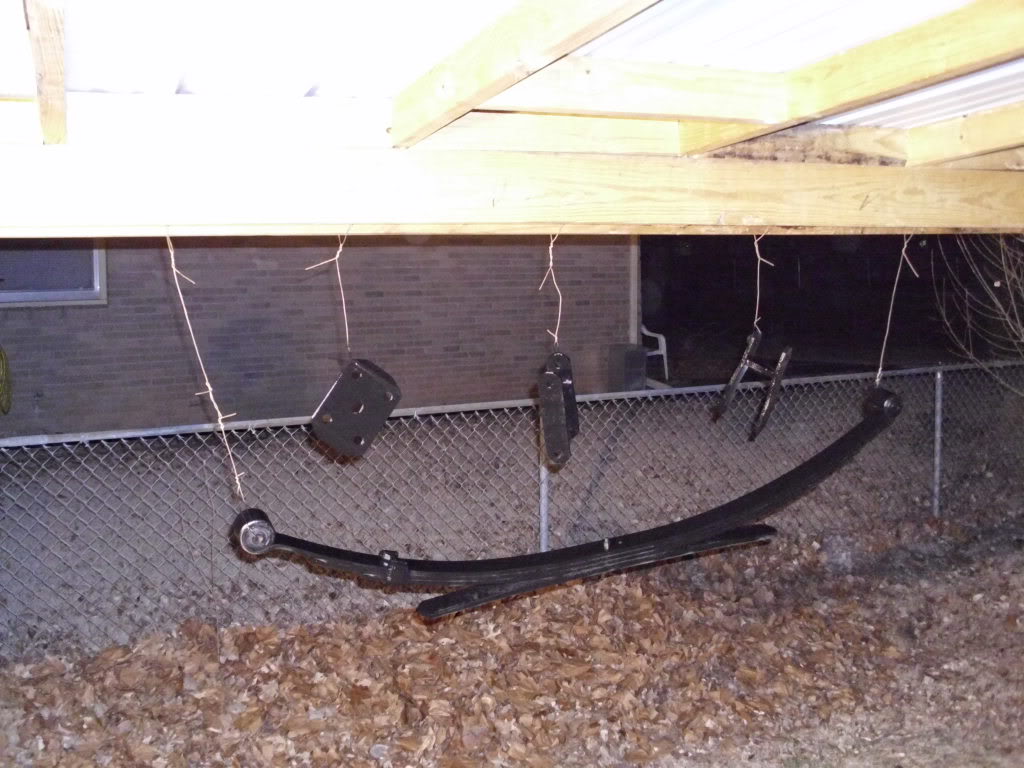
Got the rear axle ripped out, sanded down, welded up, and painted. Also got my springs hangers made. And I cut out some u-bolt flip kit plates out of some 9/16 steel I had laying in the garage. Used self etching primer for the first time, and so far I really like it. It really bit into the bare metal, very well. The bottom truss on my axle is from Low Range Off Road, and the top ones I just cut out of some 3/16" 2.5" x 2.5" square tubing with an angle grinder.
Also painted my chevy springs
Axle should go in tomorrow if the new u bolts ever get here. And my peachparts engine overhaul kit should be here tomorrow, so look forward to a running engine video sometime next week!
As for my update, my internet quit working since last week so I have a lot of progress since my last post. I got my valve cover painted on the engine, Cat Yellow, but it's a little more mustard than I wanted....
Got the rear axle ripped out, sanded down, welded up, and painted. Also got my springs hangers made. And I cut out some u-bolt flip kit plates out of some 9/16 steel I had laying in the garage. Used self etching primer for the first time, and so far I really like it. It really bit into the bare metal, very well. The bottom truss on my axle is from Low Range Off Road, and the top ones I just cut out of some 3/16" 2.5" x 2.5" square tubing with an angle grinder.
Also painted my chevy springs
Axle should go in tomorrow if the new u bolts ever get here. And my peachparts engine overhaul kit should be here tomorrow, so look forward to a running engine video sometime next week!
01-11-2012, 12:07 PM
#57
Registered User
Join Date: Jan 2012
Location: Frederick colorado
Posts: 7
Likes: 0
Received 0 Likes
on
0 Posts
Nice work man I really like that axle truss! Are you planing on a bigger turbo or IP mods? And i hope your 1" works cause i dont want to go over 2 inches I hate seeing my frame and i will notch the pan before hood mods. Only time will tell I guess. I really dont wanna mod my hood cause i want to use a front mount with a hx35. Do you have any ideas on exhaust or fuel tanks? Maybe an transfer pump to help the IP under heavy load.
01-11-2012, 12:12 PM
#58
Registered User
Join Date: Jan 2012
Location: Frederick colorado
Posts: 7
Likes: 0
Received 0 Likes
on
0 Posts
Just thought of this, since you are using your ifs steering box, get the brake from trailgear and move toward and tilt it towards the front to where the.pitman will sit farther down. Just an idea???
01-11-2012, 12:20 PM
#59
Registered User
Thread Starter
Turbo - Stock for now, as I'm out of money. I will upgrade to the Dodge Sprinter van tubro later. That appears to be the best one. Everyone says the 6BT Cummins turbos are too big. Just look on youtube. People can't get em to spool. And I'd go with an hy35 if you're set on that route 'cus IIRC the hx series are harder to spool
I will simply be following this thread on IP mods
http://www.superturbodiesel.com/std/...ad.php?tid=189
I'm planning on notchin the pan, as I want maximum suspension travel. Just gotta wait till it's in the truck before I start hackin' so I know where to hack.
Exhaust, I might have to buy a nice mandrel bent down pipe, but after that I'll run a straight 3" exhaust. Please look at my last post on page 2 and tell me what you think. I put a mock up pic of the stack. I did see one guy run the exhaust on the outside of the frame. I might attempt that.
Fuel tank - I'll keep my 17 gal. tank as it's already too small, but probably the biggest I can run. I'm going to be pulling the bed off so I can pull the fuel pump out of my tank (cus it's restrictive), then I'll move the tank so the frame won't rust next to it. I'd like to move it to the driver's side to keep the exhaust away from it since diesel exhaust is WAY hotter than gas. Just don't know if I can make a fuel filler neck go that far. And last but not least, for the lift (transfer) pump, yes, I have every intention of running either a FASS or Air Dog, not sure which, but not until my bank account comes back from the dead.
And those weird lookin things on top of my axle by the perches are my shock mounts lol.
01-11-2012, 02:39 PM
#60
Registered User
Thread Starter
UPDATE: It's snowing. FML. And to top it off, I ran out of welding gas and the next gas shipment doesn't come in till next Wednesday......


