Project: 86 p/u sas/om617 diesel swap
 11-08-2011, 10:18 PM
#1
Registered User
Thread Starter
Project: 86 p/u sas/om617 diesel swap
This is a thread about my first OM617 swap I did in 2012 while attending college. I have condensed the thread as of 08/2019 to make it more user friendly. I have since graduated college, worked as an engineer for multiple companies, and eventually started my own company, Doomsday Diesel , where I develop diesel conversion kits for Toyotas, Jeeps, etc. I leave this thread behind to help inspire new swaps and guide those who like all their information in one easy-to-access location.
Starting vehicle: 1986 Toyota Pickup 4x4 with IFS, 22R, 5 speed G52, Standard edition
Mods:
1" body lift
Solid axle swap
63" Chevy spring swap
OM617 Mercedes Turbo Diesel Swap
W56 tranny swap
Interior updates
Starting vehicle: 1986 Toyota Pickup 4x4 with IFS, 22R, 5 speed G52, Standard edition
Mods:
1" body lift
Solid axle swap
63" Chevy spring swap
OM617 Mercedes Turbo Diesel Swap
W56 tranny swap
Interior updates
Last edited by pyrojoe22; 08-16-2019 at 11:52 AM. Reason: Condensing
 11-09-2011, 07:21 PM
#2
Registered User
Thread Starter
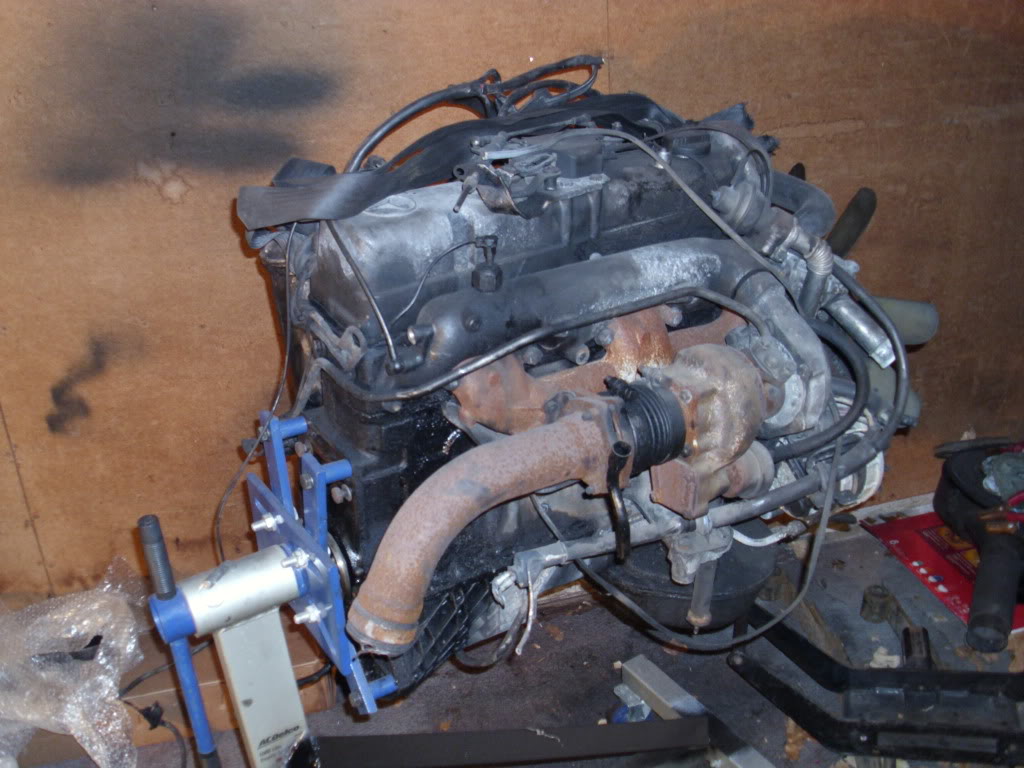
Here is my OM617 purchased for $150 at half price on Labor Day weekend at Pick-N-Pull
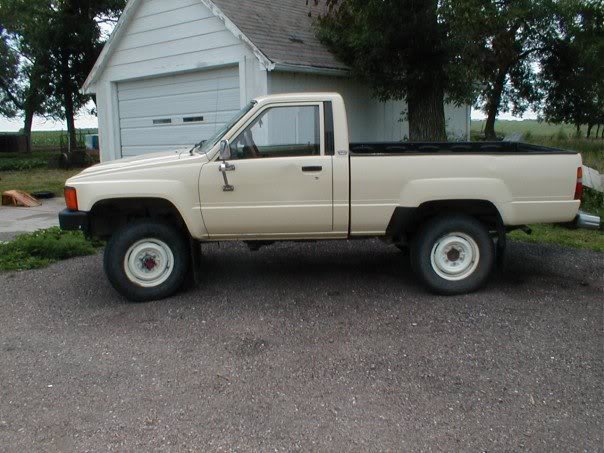
Here is the truck when I bought it
I don't have a picture of the axle complete when I bought it, but here are some step by step pictures of me taking the axle apart
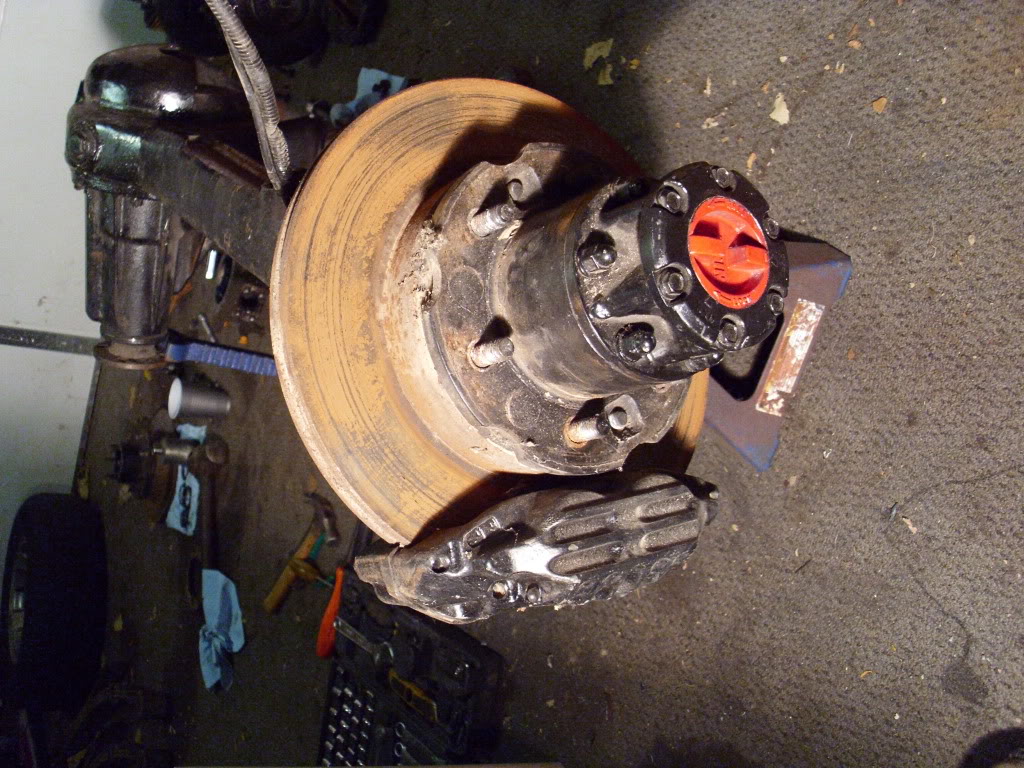
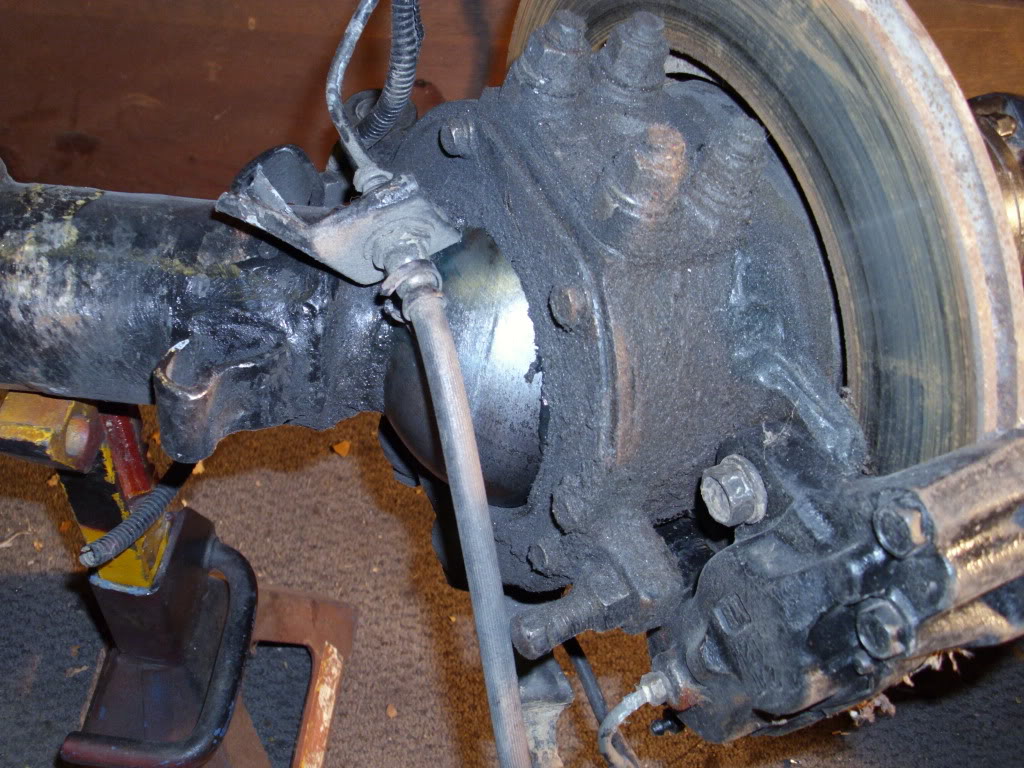
Image of the order of the 3 items on the back side of the knuckle
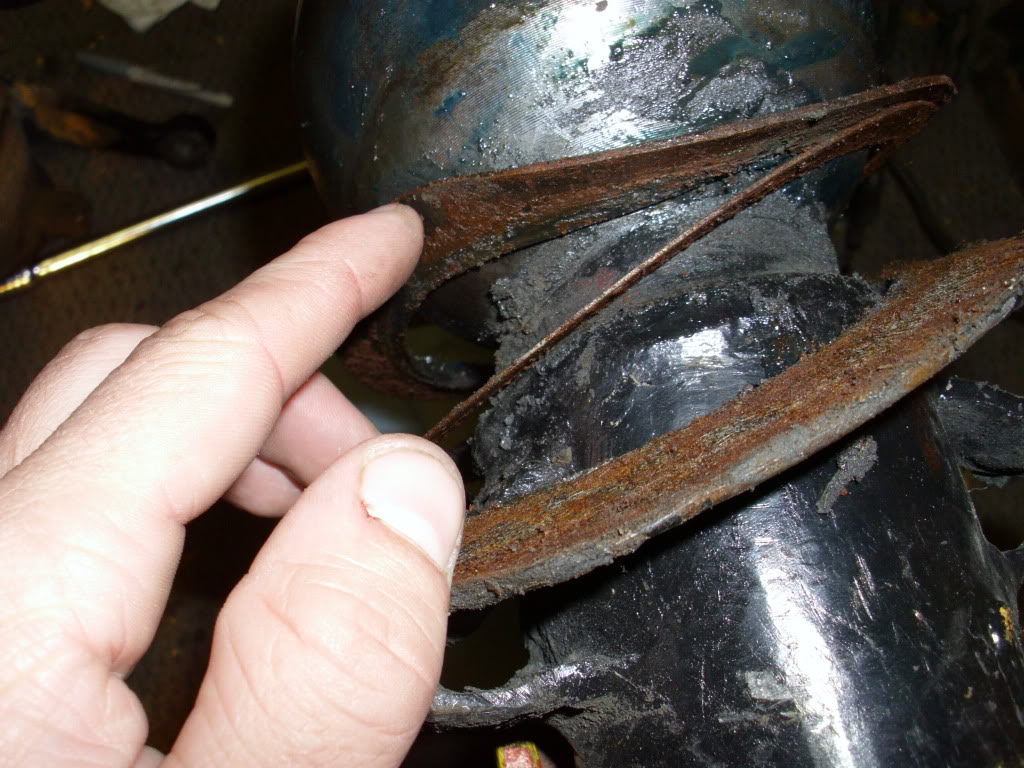
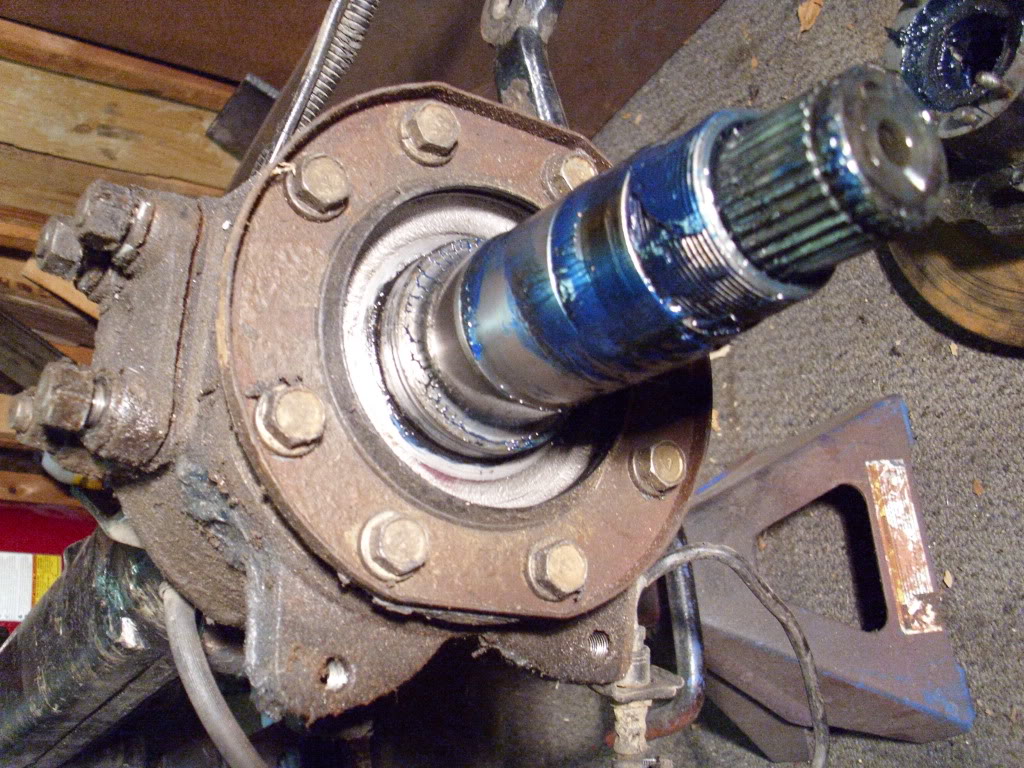
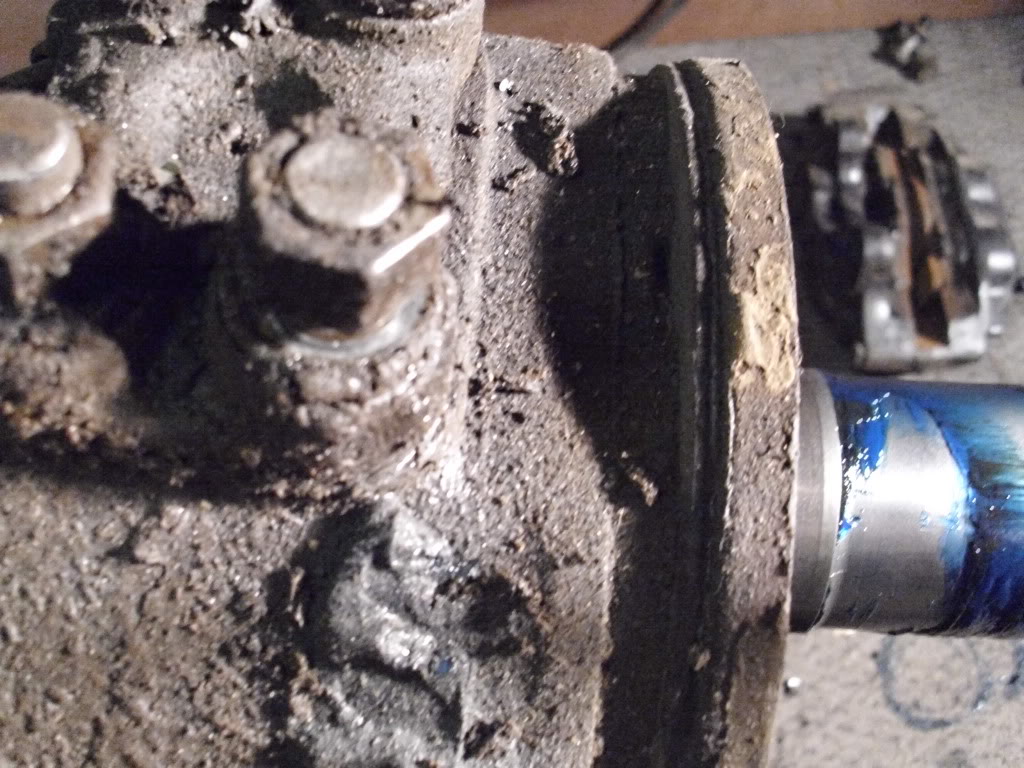
Then I started to rip apart the axle, and sand down EVERY part I could find, using an air powered die grinder from Harbor Freight ($6) and a wire wheel on a corded drill
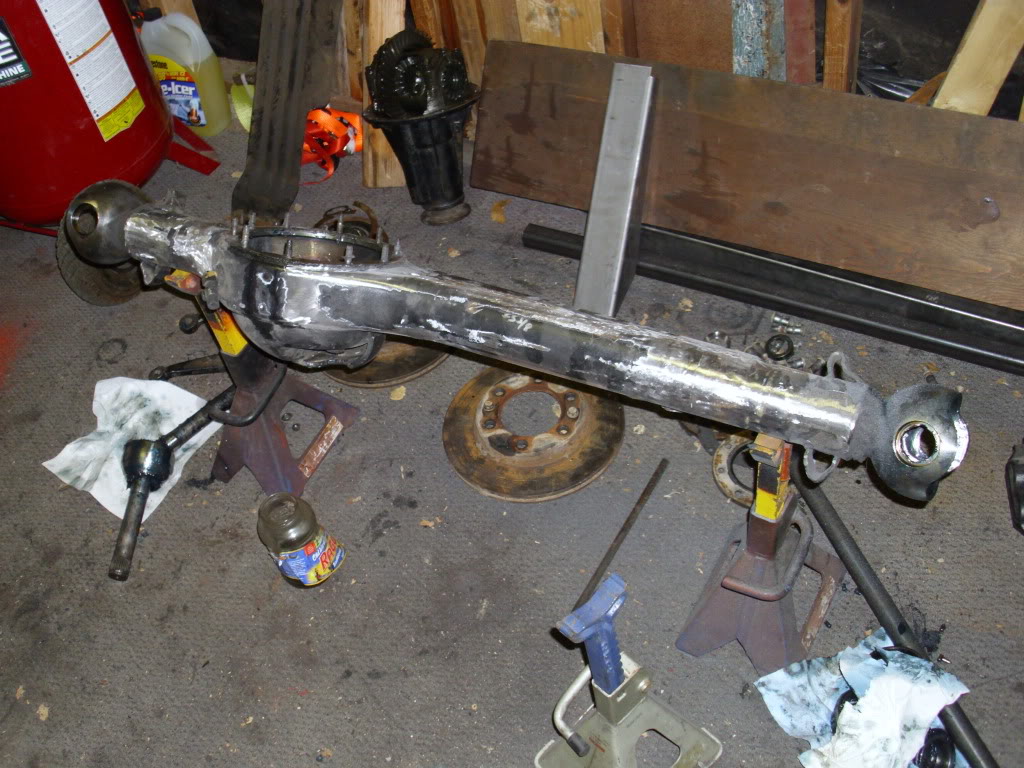
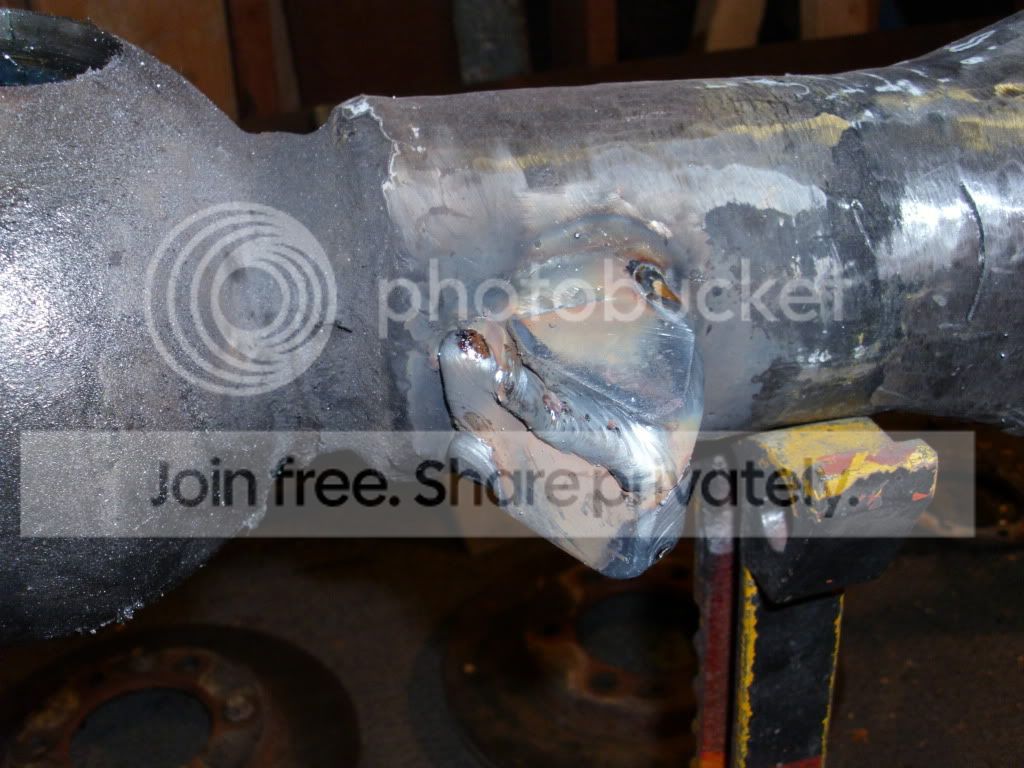
The steering tabs were completely caved in (except 1) from the previous owner's full hydro steering. I'm cutting small pieces of 1/4" steel to make new steering stops out of. On top, I'm welding on the tabs that came with the Creeper gusset kit from Trail-Gear.
The only good steering stop
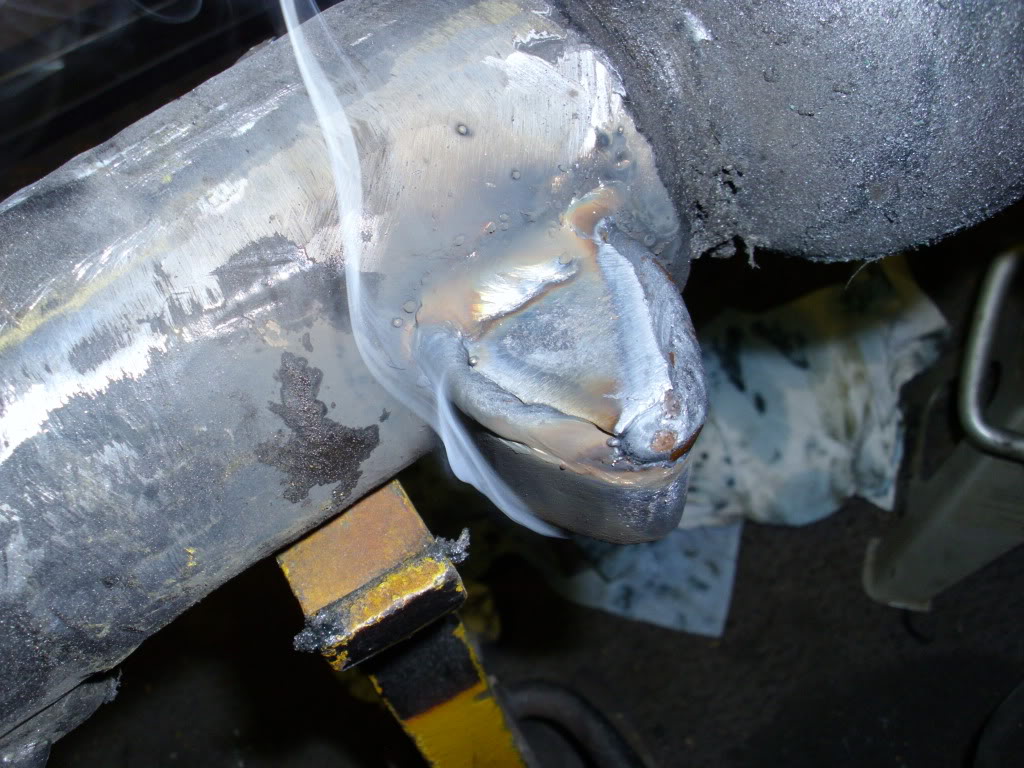
My own fabbed tab
Here is the truck when I bought it
I don't have a picture of the axle complete when I bought it, but here are some step by step pictures of me taking the axle apart
Image of the order of the 3 items on the back side of the knuckle
Then I started to rip apart the axle, and sand down EVERY part I could find, using an air powered die grinder from Harbor Freight ($6) and a wire wheel on a corded drill
The steering tabs were completely caved in (except 1) from the previous owner's full hydro steering. I'm cutting small pieces of 1/4" steel to make new steering stops out of. On top, I'm welding on the tabs that came with the Creeper gusset kit from Trail-Gear.
The only good steering stop
My own fabbed tab
Last edited by pyrojoe22; 08-16-2019 at 12:01 PM. Reason: Condensing
Trending Topics
11-19-2011, 07:03 AM
#10
Registered User

Awesome build, pyrojoe22. I like your front axle. Your comment on my adapter plate, the Mercedes has a cover plate for that hole in the oil pan. When I was designing my plate I was trying to make universal for stick or auto, but you are right, if I did it again I would just make a round hole for the crank, it would have been a lot less cutting.
11-21-2011, 06:28 AM
#13
Registered User
pyrojoe, I used my stock Toyota A/C compressor where the Mercedes alternator was.
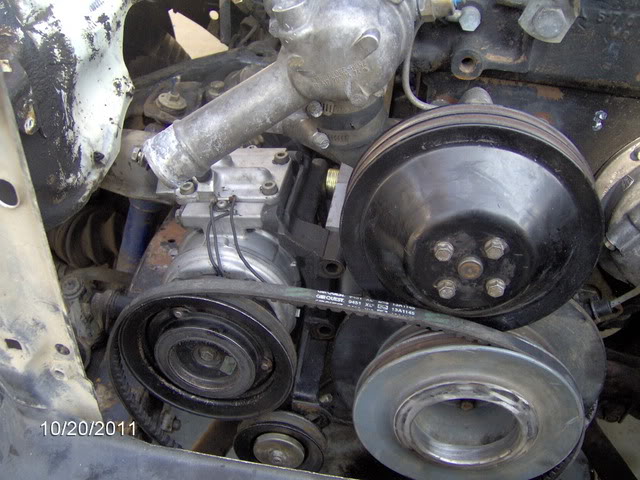
I made an adapter plate and used the stock Toyota compressor mount
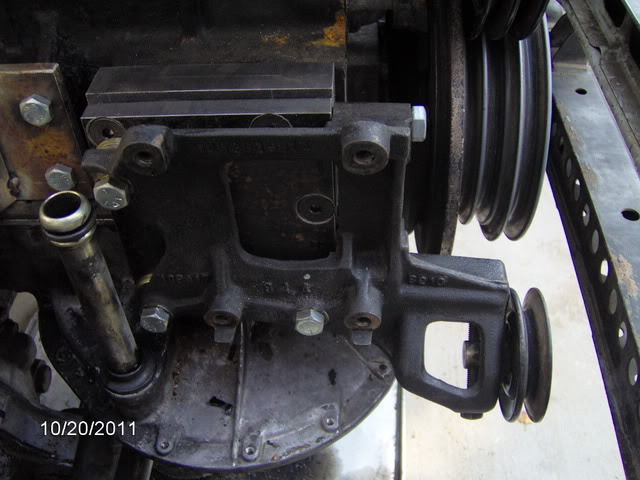
I ditched the stock Mercedes P/S pump and mounting bracket and put my alt. there. I will get some pict's today and post on my build thread.
I made an adapter plate and used the stock Toyota compressor mount
I ditched the stock Mercedes P/S pump and mounting bracket and put my alt. there. I will get some pict's today and post on my build thread.
11-22-2011, 07:18 PM
#14
Registered User
Join Date: Jan 2008
Location: new richmond,ohio
Posts: 24
Likes: 0
Received 0 Likes
on
0 Posts
Hey pyro love the build man. im getting ready to start the exact same build just in a 81 . i have determined that i dont have the time to make my adapter plate so im selling my 22re to buy the one from 4x4 labs. so what do you plan to do for your motor mounts ? also what about cooling this beast. what rad and fans ?
11-22-2011, 08:08 PM
#15
Registered User
Thread Starter
Hey pyro love the build man. im getting ready to start the exact same build just in a 81 . i have determined that i dont have the time to make my adapter plate so im selling my 22re to buy the one from 4x4 labs. so what do you plan to do for your motor mounts ? also what about cooling this beast. what rad and fans ?
Last edited by pyrojoe22; 08-16-2019 at 12:40 PM.
11-23-2011, 01:57 PM
#16
Registered User
Join Date: Jan 2008
Location: new richmond,ohio
Posts: 24
Likes: 0
Received 0 Likes
on
0 Posts
well i talked to 4x4 labs the other day and they were telling me they used a cheap 4 core rad form jegs. im not sure about anything yet because im pulling the 22re this weekend and ill order my plate hopefully next friday. but hopfully once i get the plate and get going on this i should have it done in acouple days. Hopefully ! ! just gotta find a rad that will work . so what about fuel tank and lines are you going to use the stock yoder tank and lines ? i think im going to try to use it i have my old tank from the 22r .
Last edited by yodacrawler89; 11-23-2011 at 01:59 PM.
11-23-2011, 03:16 PM
#17
Registered User
All the swaps I saw use the stock tank and lines, just clean them out.
If space is tight look into an air to water intercooler. Small footprint, and uses another small radiator you could probably put in line with the consensus to use the same fan. Just a thought.
If space is tight look into an air to water intercooler. Small footprint, and uses another small radiator you could probably put in line with the consensus to use the same fan. Just a thought.
11-23-2011, 06:16 PM
#19
Registered User
Thread Starter
You will have to modify the filler neck to fit a diesel fuel pump nozzle in there at the gas station, and take out your fuel pump from the gas tank. The OM617 has a mechanical pump on the engine. Leaving the 22R's fuel pump in the tank restricts the flow of diesel. All you have to do is take it out and replace with a piece of hose or tubing to suck off the bottom of the tank. Stock lines will work, but not with bio-diesel. If you're running anything besides straight diesel, even B20, change your lines to bio-diesel friendly lines, or you'll regret it. I've seen some pretty cool stuff in my bio-diesel research at school so far.... get bio-diesel lines.
Update** Today I did some craigslisting and some calling and found a transmission FINALLY and found a V6 diff for the rear. I'll probably get a trail gear high pinion one when the time comes for the front. Now I'm trying to decide on gear size. Truckman is highly against numerically high gears, which I strongly disagree with. He's in it for mileage ONLY. I'm in it for mileage and ROCK CRAWLING! I've heard that you should gear it like the 22R, 31's 4.56 - - - 33's 4.88 - - - - 35's and up 5.29
8/19 Update: And I was right. You want to gear this engine just like the 22R. Best cruising RPM is 2400-2600 RPM.
Last edited by pyrojoe22; 08-16-2019 at 12:43 PM.
11-23-2011, 07:52 PM
#20
Registered User
When I do my swap I'm starting with my stock 4:10s, test it out. Most swaps in the yotas seem to start this way. I'd be afraid of installing the wrong size gear tire combo. Also, you isolate some issues with highway cruising rpm I'm guessing. I've learned from other mods to try and do it in steps so you can isolate issues easier rather then changing a bunch of stuff and then try to sort it out. Just my two cents


