1UZFE swap 92 X-tra cab R151 5spd
 05-24-2009, 10:20 PM
#1
Registered User
Thread Starter

Join Date: Oct 2006
Location: Surrey,BC
Posts: 77
Likes: 0
Received 0 Likes
on
0 Posts
1UZFE swap 92 X-tra cab R151 5spd
This is a completed swap, it's been on the road for almost 3 months without any problems.
I spent over a year researching every thread I could find. There was lots of good info, but there was a few things that were missing.
A) Most swaps were in Aus/NZ so they were right hand drive and often solid axle.
B)Used a conversion bellhousing, which is a great way to go, but is horribly expensive to purchase and ship to Canada/USA.
C) I didn't use the stock ECM/wiring. I run Megasquirt II/ EDIS 8 ignition.
The swap was done in two stages.
Winter'08
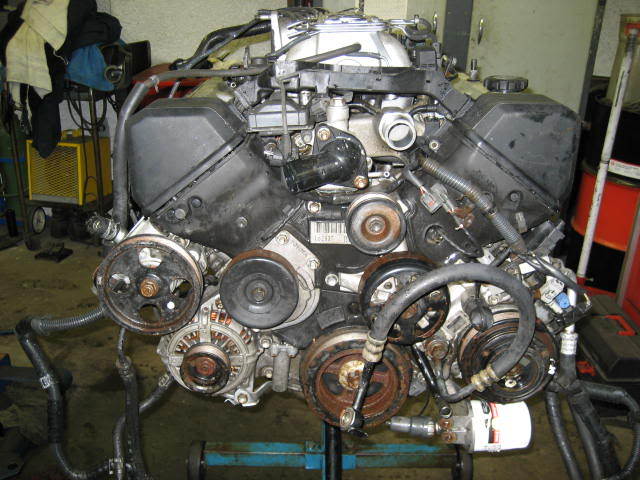
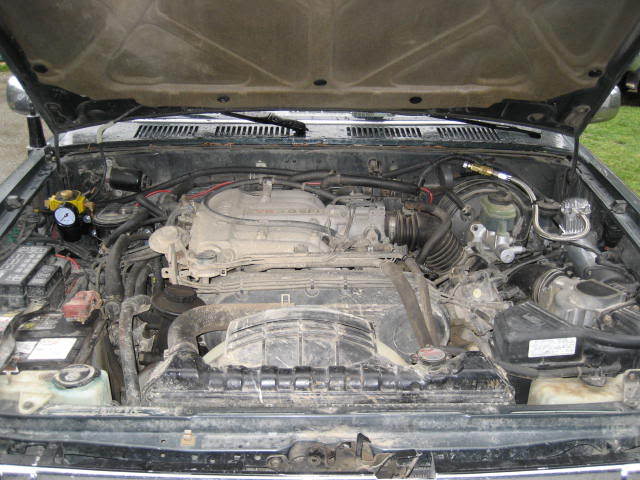
This is what I stared with, out of a 92 SC400.
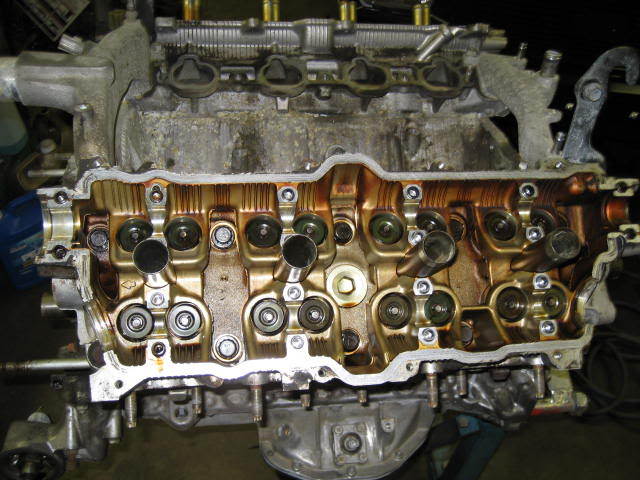
Installed new valve seals and resealed the entire engine.
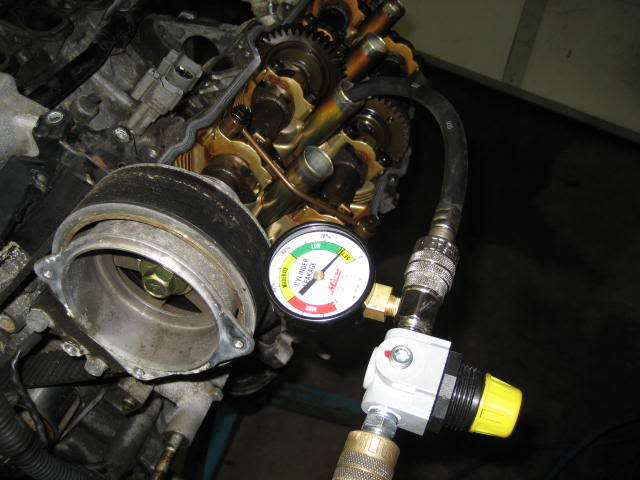
Leak down test passed with ease.
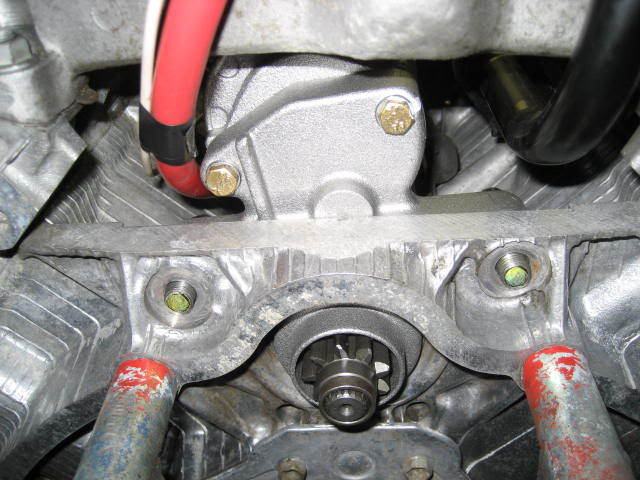
I Heli-coiled the block so the starter bolts could be installed on the starter side. Will save alot of work if the starter ever needs replacing.
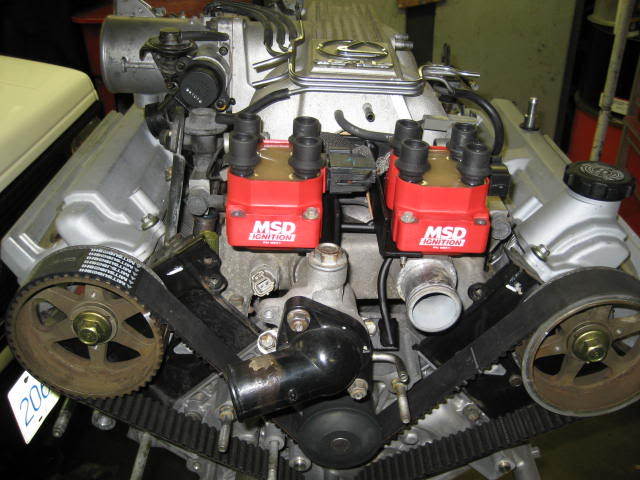
With the engine completed I started the mods. 1st was mounting the DIS coils in place of the stock IAC motor. The IAC was missing, and since I'm using a manual trans, it's not really needed.
For the Ford EDIS ignition I needed a 36-1 crank trigger. The stock crank trigger is 12 teeth so I purchased a trigger wheel for a 98+ 1UZFE (picture) It's a 36-2 wheel (36 teeth with 2 missing) I had a friend TIG weld up the 2 missing teeth and then removed 1 tooth near the 10o'clock position so the ignition would be in proper time. Sorry no pic of the completed trigger wheel.
The stock Lexus crank sensor works fine with the ford module.
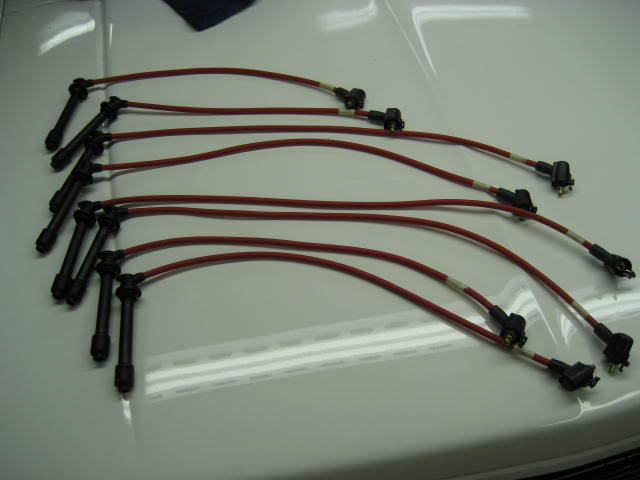
I had Aurora Ignition make me up a hybrid set of ignition cables. Was cheaper then buying the stock replacements.
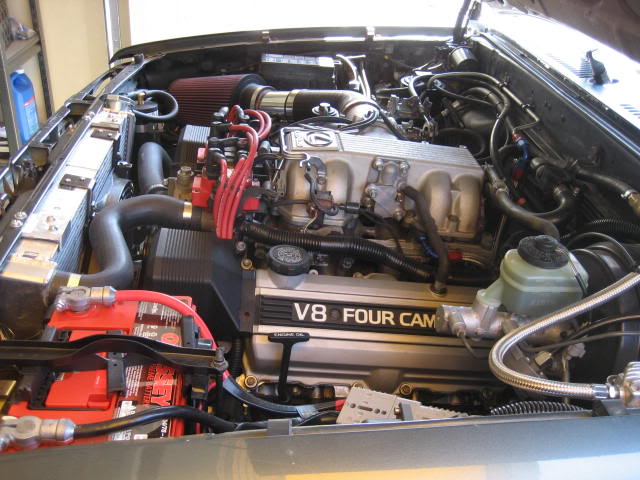
Engine ready for a test run. Note the deleted cam sensors, not needed to run MSquirt.
I spent over a year researching every thread I could find. There was lots of good info, but there was a few things that were missing.
A) Most swaps were in Aus/NZ so they were right hand drive and often solid axle.
B)Used a conversion bellhousing, which is a great way to go, but is horribly expensive to purchase and ship to Canada/USA.
C) I didn't use the stock ECM/wiring. I run Megasquirt II/ EDIS 8 ignition.
The swap was done in two stages.
Winter'08
This is what I stared with, out of a 92 SC400.
Installed new valve seals and resealed the entire engine.
Leak down test passed with ease.
I Heli-coiled the block so the starter bolts could be installed on the starter side. Will save alot of work if the starter ever needs replacing.
With the engine completed I started the mods. 1st was mounting the DIS coils in place of the stock IAC motor. The IAC was missing, and since I'm using a manual trans, it's not really needed.
For the Ford EDIS ignition I needed a 36-1 crank trigger. The stock crank trigger is 12 teeth so I purchased a trigger wheel for a 98+ 1UZFE (picture) It's a 36-2 wheel (36 teeth with 2 missing) I had a friend TIG weld up the 2 missing teeth and then removed 1 tooth near the 10o'clock position so the ignition would be in proper time. Sorry no pic of the completed trigger wheel.
The stock Lexus crank sensor works fine with the ford module.
I had Aurora Ignition make me up a hybrid set of ignition cables. Was cheaper then buying the stock replacements.
Engine ready for a test run. Note the deleted cam sensors, not needed to run MSquirt.
Last edited by motoriderbc; 05-24-2009 at 10:22 PM.
 05-24-2009, 10:57 PM
#2
Registered User
Thread Starter
Join Date: Oct 2006
Location: Surrey,BC
Posts: 77
Likes: 0
Received 0 Likes
on
0 Posts
I then decided to build a simple test stand to test run the engine. Also to check the operation of the Msquirt ECM and the Ford EDIS.
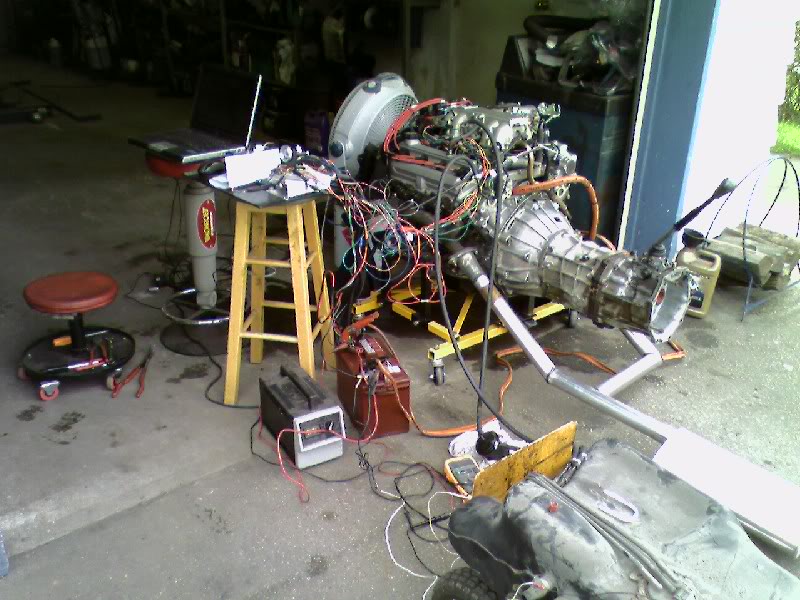
Engine ran well once a basic tune was programmed. Mechanically the engine sounded great with good oil pressure.
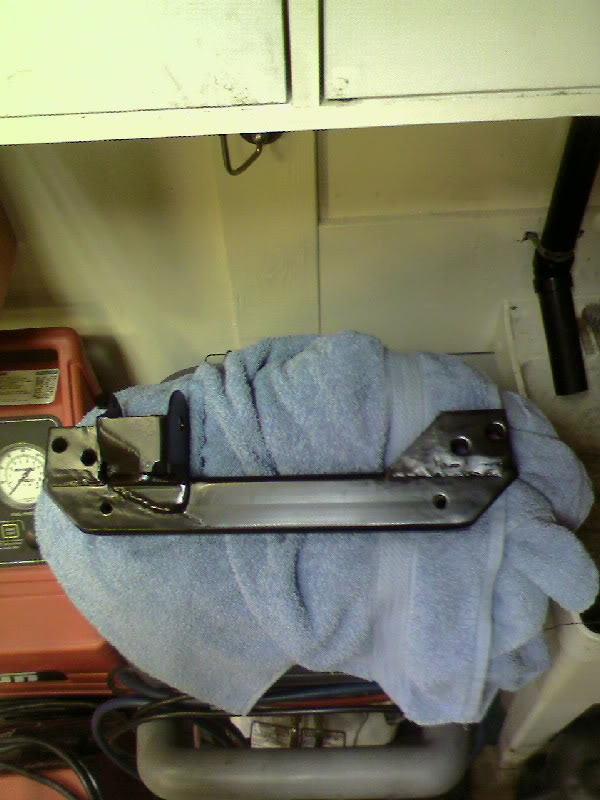
Unfortunatley I don't have pics of making the adapter plate. It's made from 3/8" steel. I made card board templates to get the alignment right. I used a cutting torch to cut the basic shape and then a ginder to clean up the edges. I bought some end mills for my drill press to counter sink the mounting holes as needed. The plate works well and lines up nicely but was alot of work to complete. I think if I did it again I'd just buy the converision bellhousing
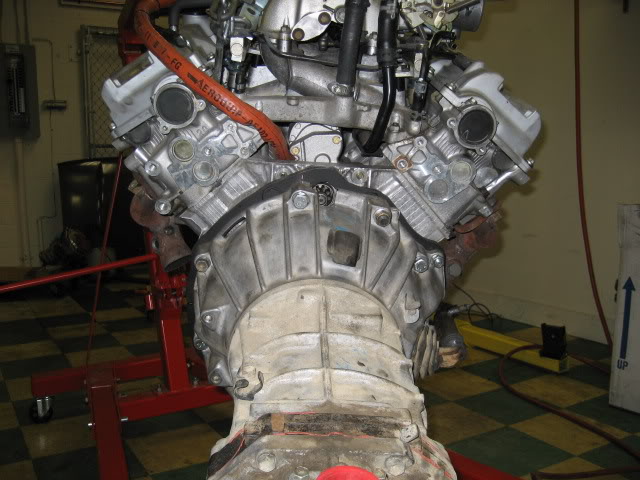
Adapter is visible in black. Note cutout in R151 bellhousing for starter gear clearance. Bellhousing was milled 3/8" to compensate for adapter. Should have been 5/8" to get perfect input shaft engagement, due to flywheel differences.
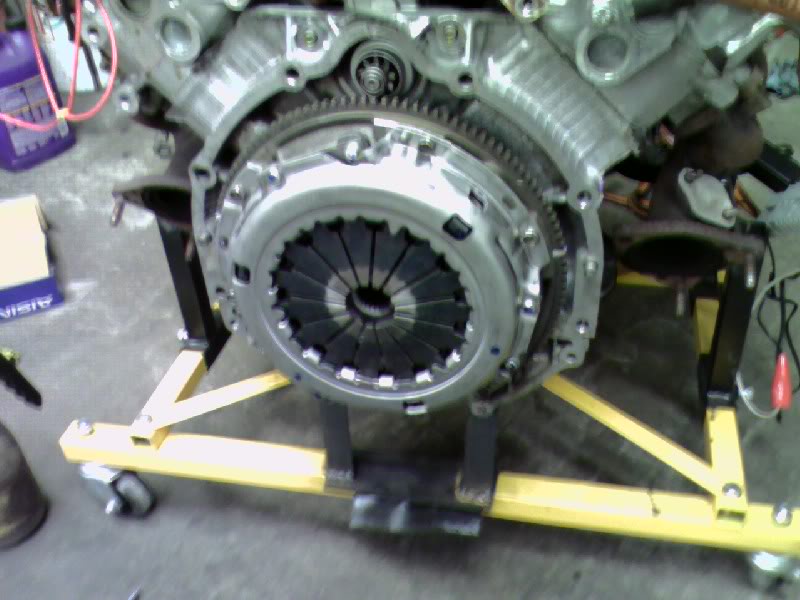
Modified 91 MR2 Turbo flywheel with 3.0l clutch. Flywheel crank holes were filled and the redrilled by a machinist. I then chamfered the gear teeth since the starter engages on the engine side.
Engine/trans assembly was now ready to be swapped. Will try to post part II tomorrow.
Engine ran well once a basic tune was programmed. Mechanically the engine sounded great with good oil pressure.
Unfortunatley I don't have pics of making the adapter plate. It's made from 3/8" steel. I made card board templates to get the alignment right. I used a cutting torch to cut the basic shape and then a ginder to clean up the edges. I bought some end mills for my drill press to counter sink the mounting holes as needed. The plate works well and lines up nicely but was alot of work to complete. I think if I did it again I'd just buy the converision bellhousing
Adapter is visible in black. Note cutout in R151 bellhousing for starter gear clearance. Bellhousing was milled 3/8" to compensate for adapter. Should have been 5/8" to get perfect input shaft engagement, due to flywheel differences.
Modified 91 MR2 Turbo flywheel with 3.0l clutch. Flywheel crank holes were filled and the redrilled by a machinist. I then chamfered the gear teeth since the starter engages on the engine side.
Engine/trans assembly was now ready to be swapped. Will try to post part II tomorrow.
 X 198,345,321,987,345,392 times
 05-25-2009, 09:57 PM
#5
Registered User
Thread Starter
Join Date: Oct 2006
Location: Surrey,BC
Posts: 77
Likes: 0
Received 0 Likes
on
0 Posts
Part II No turning back..
In Jan '09 after prepping everything I could think of, I decided to pull the trigger and start the actual swap. It took approx 7 weeks to complete, chipping away at it whenever I could.
Original, but good running 3.0l. Instead of selling the 3.0l, I bought a 89 Xtra cab 4x4 with a blown engine. I installed the good 3.0l in the 89 and then used it as a driver while my swap was in progress. After the swap was complete I sold the 89 and the profit pretty much paid for 50% of the swap cost.
There is much confusion over what style oil sump you should use for this swap. I know I spent hours looking at threads and pictures trying to figure out which was best. My engine has a rear sump (SC400), the other available in NA is the front sump (LS400)
The opinion in OZ/NZ seems to be that the front sump is the only way to go. The goal of course is to get the engine as low as possible. With a front sump the steering relay rod is the limiting factor.
With the rear sump the IFS differential is the limit. In stock form a 4-5" body lift would be needed (not reasonable)
This why everyone likes the front sump, it will fit with a 3" BL.
If you have a rear sump you have 3 choices:
a) 4" bracket lift, 1UZFE should fit with no Body Lift
b) Major oil pan/sump fabrication
c) Lower the IFS diff 2" using a new crossmember/diff drop. Only a 2" body lift is needed now.
I choose option c). Mainly because a) I couldn't locate a reasonable priced front sump set up b) I wanted the BL to be as small as possible c) I really dislike bracket lifts and would never use one.
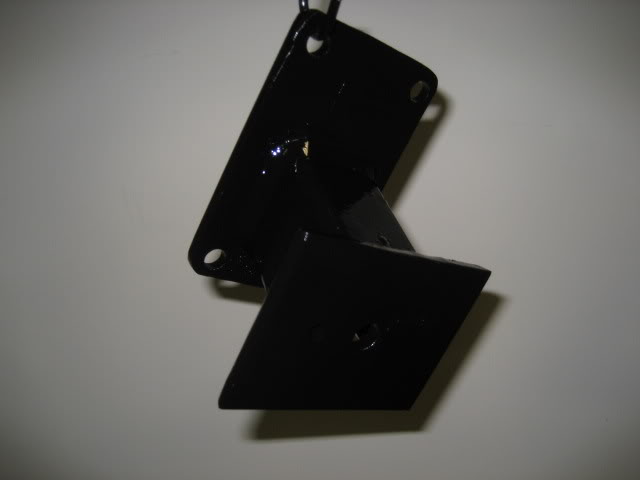
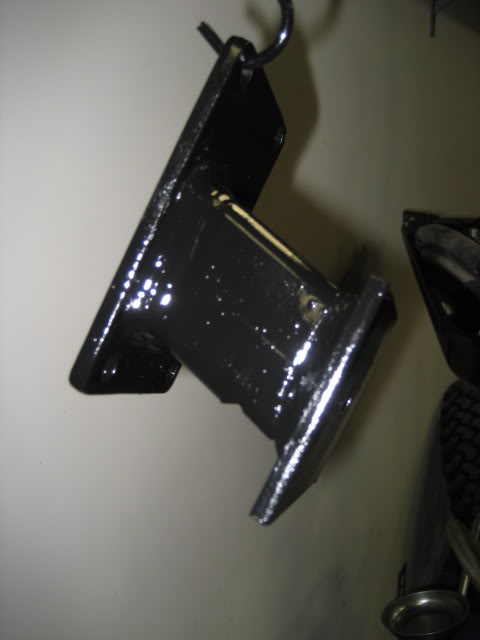
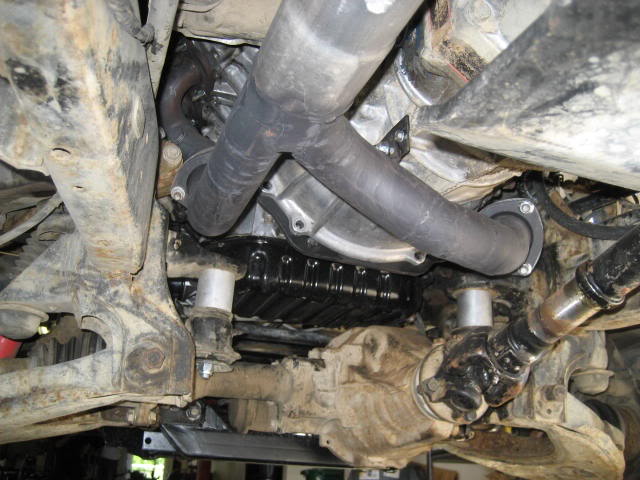
So I made up this crossmember, it lowers the diff 2". With some solid 2" spacers on the rear mounts and some clearancing on the flanges everything fits nicely.
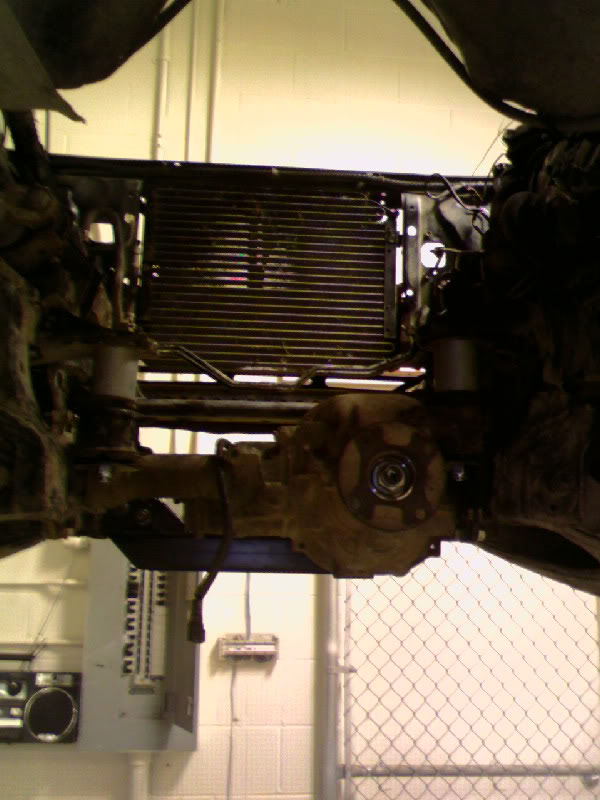
So far its worked great. The only downside is a 1.5" loss in ground clearance, but hasn't been an issue yet. We'll see if how I feel after a summer of wheel'n.
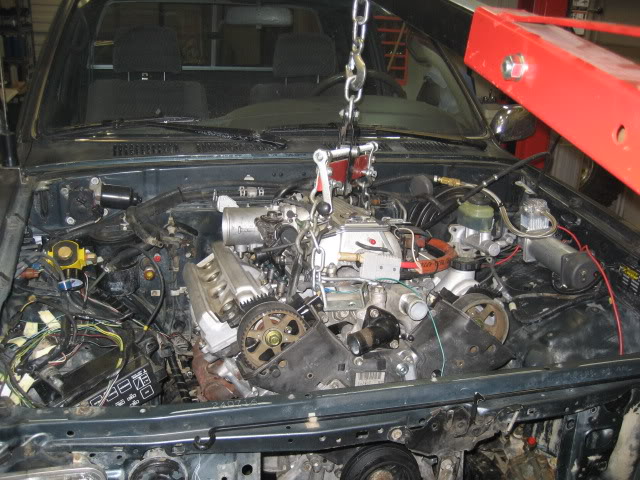
Test fit, seems to be ok! Transmission was moved back 2.5" to gain clearance for a cooling fan.
Engine mounts made up. The engine and frame mount points almost line up perfect, so mounts were easy to fab. I reused the original 3.0l rubber mounts.
The transmission mount needed a 2" spacer and offset 2.5" ( sorry, no pic)
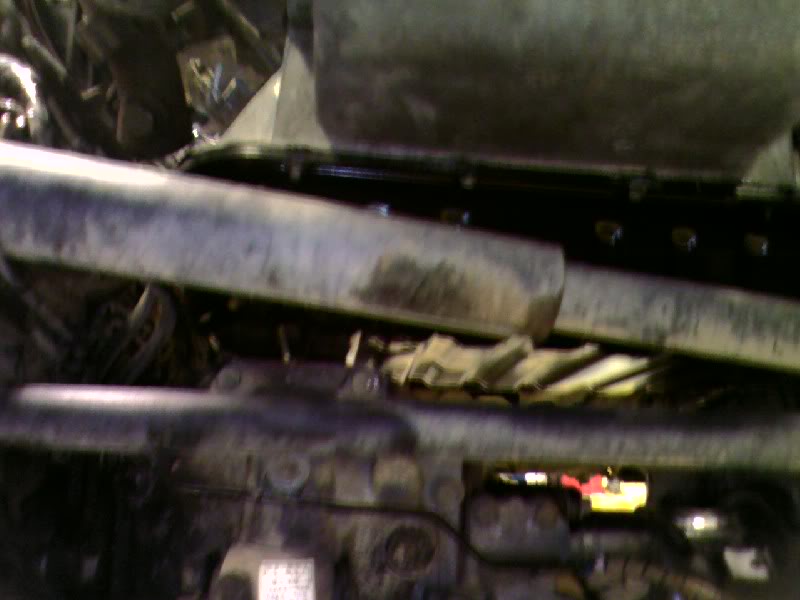
Sump clearance.
Engine is now installed!
In Jan '09 after prepping everything I could think of, I decided to pull the trigger and start the actual swap. It took approx 7 weeks to complete, chipping away at it whenever I could.
Original, but good running 3.0l. Instead of selling the 3.0l, I bought a 89 Xtra cab 4x4 with a blown engine. I installed the good 3.0l in the 89 and then used it as a driver while my swap was in progress. After the swap was complete I sold the 89 and the profit pretty much paid for 50% of the swap cost.
There is much confusion over what style oil sump you should use for this swap. I know I spent hours looking at threads and pictures trying to figure out which was best. My engine has a rear sump (SC400), the other available in NA is the front sump (LS400)
The opinion in OZ/NZ seems to be that the front sump is the only way to go. The goal of course is to get the engine as low as possible. With a front sump the steering relay rod is the limiting factor.
With the rear sump the IFS differential is the limit. In stock form a 4-5" body lift would be needed (not reasonable)
This why everyone likes the front sump, it will fit with a 3" BL.
If you have a rear sump you have 3 choices:
a) 4" bracket lift, 1UZFE should fit with no Body Lift
b) Major oil pan/sump fabrication
c) Lower the IFS diff 2" using a new crossmember/diff drop. Only a 2" body lift is needed now.
I choose option c). Mainly because a) I couldn't locate a reasonable priced front sump set up b) I wanted the BL to be as small as possible c) I really dislike bracket lifts and would never use one.
So I made up this crossmember, it lowers the diff 2". With some solid 2" spacers on the rear mounts and some clearancing on the flanges everything fits nicely.
So far its worked great. The only downside is a 1.5" loss in ground clearance, but hasn't been an issue yet. We'll see if how I feel after a summer of wheel'n.
Test fit, seems to be ok! Transmission was moved back 2.5" to gain clearance for a cooling fan.
Engine mounts made up. The engine and frame mount points almost line up perfect, so mounts were easy to fab. I reused the original 3.0l rubber mounts.
The transmission mount needed a 2" spacer and offset 2.5" ( sorry, no pic)
Sump clearance.
Engine is now installed!
Last edited by motoriderbc; 05-25-2009 at 09:59 PM.
05-25-2009, 10:18 PM
#7
Registered User
Thread Starter
Join Date: Oct 2006
Location: Surrey,BC
Posts: 77
Likes: 0
Received 0 Likes
on
0 Posts
Exhaust:
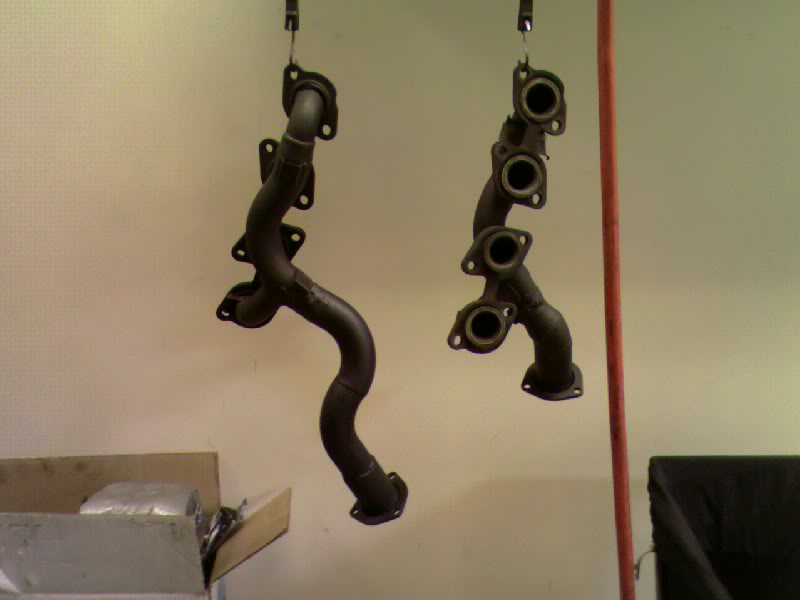
I used the SC400 manifolds, but heavily modified to fit around the upper A-arm mounts. I used mandrel bends and small 3 bolt flanges. The right side is very tight around the slave cylinder.
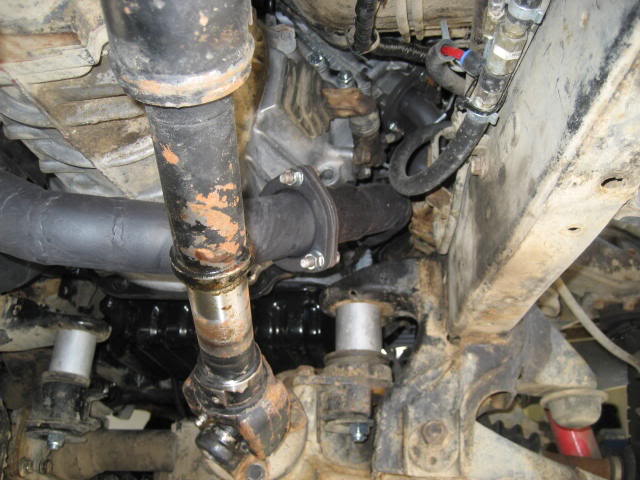
I installed a Wide band O2 in the Y pipe. The rest of the system is single 3" with a large Magnaflow muffler. Idle and cruise are fairly quiet, but it sounds fantastic under load.
I used the SC400 manifolds, but heavily modified to fit around the upper A-arm mounts. I used mandrel bends and small 3 bolt flanges. The right side is very tight around the slave cylinder.
I installed a Wide band O2 in the Y pipe. The rest of the system is single 3" with a large Magnaflow muffler. Idle and cruise are fairly quiet, but it sounds fantastic under load.
Trending Topics
05-25-2009, 11:20 PM
#8
Registered User
Nice work.
An alternative method for the flywheel ring gear is to remove it and put a new one on. Remove it with a grinder (cut it) and then heat the new one up on a BBQ and slip it in place.
Good idea with the starter bolts.
An alternative method for the flywheel ring gear is to remove it and put a new one on. Remove it with a grinder (cut it) and then heat the new one up on a BBQ and slip it in place.
Good idea with the starter bolts.
05-26-2009, 06:03 AM
#9
Registered User
Thread Starter
Join Date: Oct 2006
Location: Surrey,BC
Posts: 77
Likes: 0
Received 0 Likes
on
0 Posts
I actually was going to do that, but when I compared to the original flexplate the chamfer was on the wrong edge of the tooth when the ring gear was turned around . ie wasn't on the "drive" side. To be safe I copied the original flexplate position.
06-01-2009, 10:26 PM
#10
Registered User
Thread Starter
Join Date: Oct 2006
Location: Surrey,BC
Posts: 77
Likes: 0
Received 0 Likes
on
0 Posts
Continued..
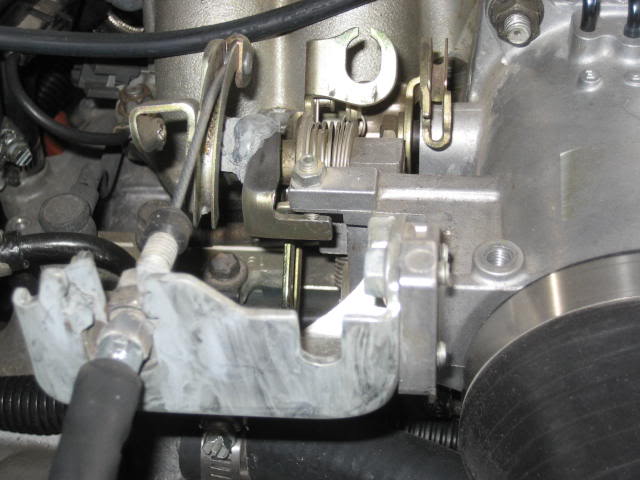
To make the throttle cable work without some wierd angles I cut the quadrant off at it's original 6 o'clock position and rewelded it at the 12 o'clock position. A couple modified fender washers tacked on the bracket positioned the cable in the right position.

Clutch hose bracket
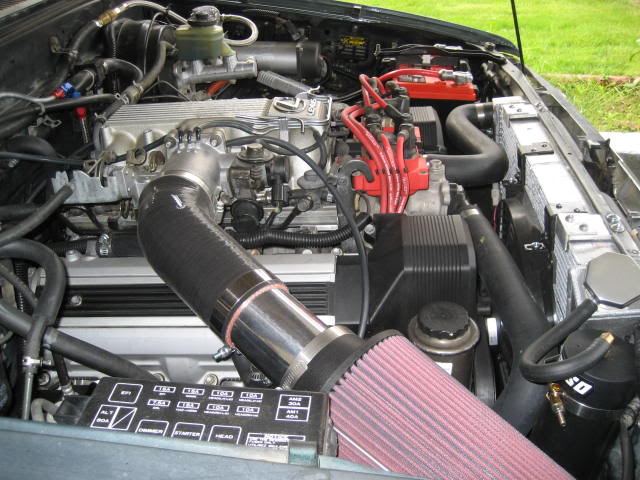
Used a 3 core alloy radiator with a 16" slim puller fan. Core support was modified heavily to fit the large radiator.

Back on the road!
To make the throttle cable work without some wierd angles I cut the quadrant off at it's original 6 o'clock position and rewelded it at the 12 o'clock position. A couple modified fender washers tacked on the bracket positioned the cable in the right position.
Clutch hose bracket
Used a 3 core alloy radiator with a 16" slim puller fan. Core support was modified heavily to fit the large radiator.
Back on the road!
 have one on me , all i can say is wow that is awesome
03-05-2010, 10:20 AM
have one on me , all i can say is wow that is awesome
03-05-2010, 10:20 AM
#17
Registered User

How much work do you think it would have been to have used the stock ECU and harness? In my off road rig I want to keep it as stock as possible if I was to do this swap (no Standalone). Do you by chance will have that Bell housing adapter template?
Also did you retain the use of your A/C?
Also did you retain the use of your A/C?
Last edited by Wheelingnoob; 03-05-2010 at 10:23 AM.
03-08-2010, 10:29 PM
#19
Registered User
Thread Starter
Join Date: Oct 2006
Location: Surrey,BC
Posts: 77
Likes: 0
Received 0 Likes
on
0 Posts
Thanks for all the comments, it's been a year since the swap was finished and I still love it!
Using the stock ECM wouldn't be any more work as long as you have the Lexus harness to start with.
I'd have to check on the template to see if it's around still. I've moved since the swap, it might have been lost.
I did not retain my A/C. I'm sure it's possible to do, but it would take alot of engineering. Besides the engine sounds so good you want to drive with the window open all the time
How much work do you think it would have been to have used the stock ECU and harness? In my off road rig I want to keep it as stock as possible if I was to do this swap (no Standalone). Do you by chance will have that Bell housing adapter template?
Also did you retain the use of your A/C?
Also did you retain the use of your A/C?
Using the stock ECM wouldn't be any more work as long as you have the Lexus harness to start with.
I'd have to check on the template to see if it's around still. I've moved since the swap, it might have been lost.
I did not retain my A/C. I'm sure it's possible to do, but it would take alot of engineering. Besides the engine sounds so good you want to drive with the window open all the time


