irab88 adds another liter: 22R-EC to 5VZ-FE
 04-30-2017, 06:39 PM
#261
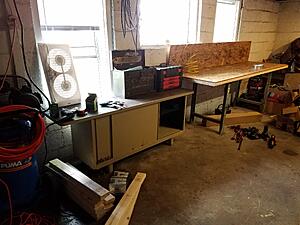
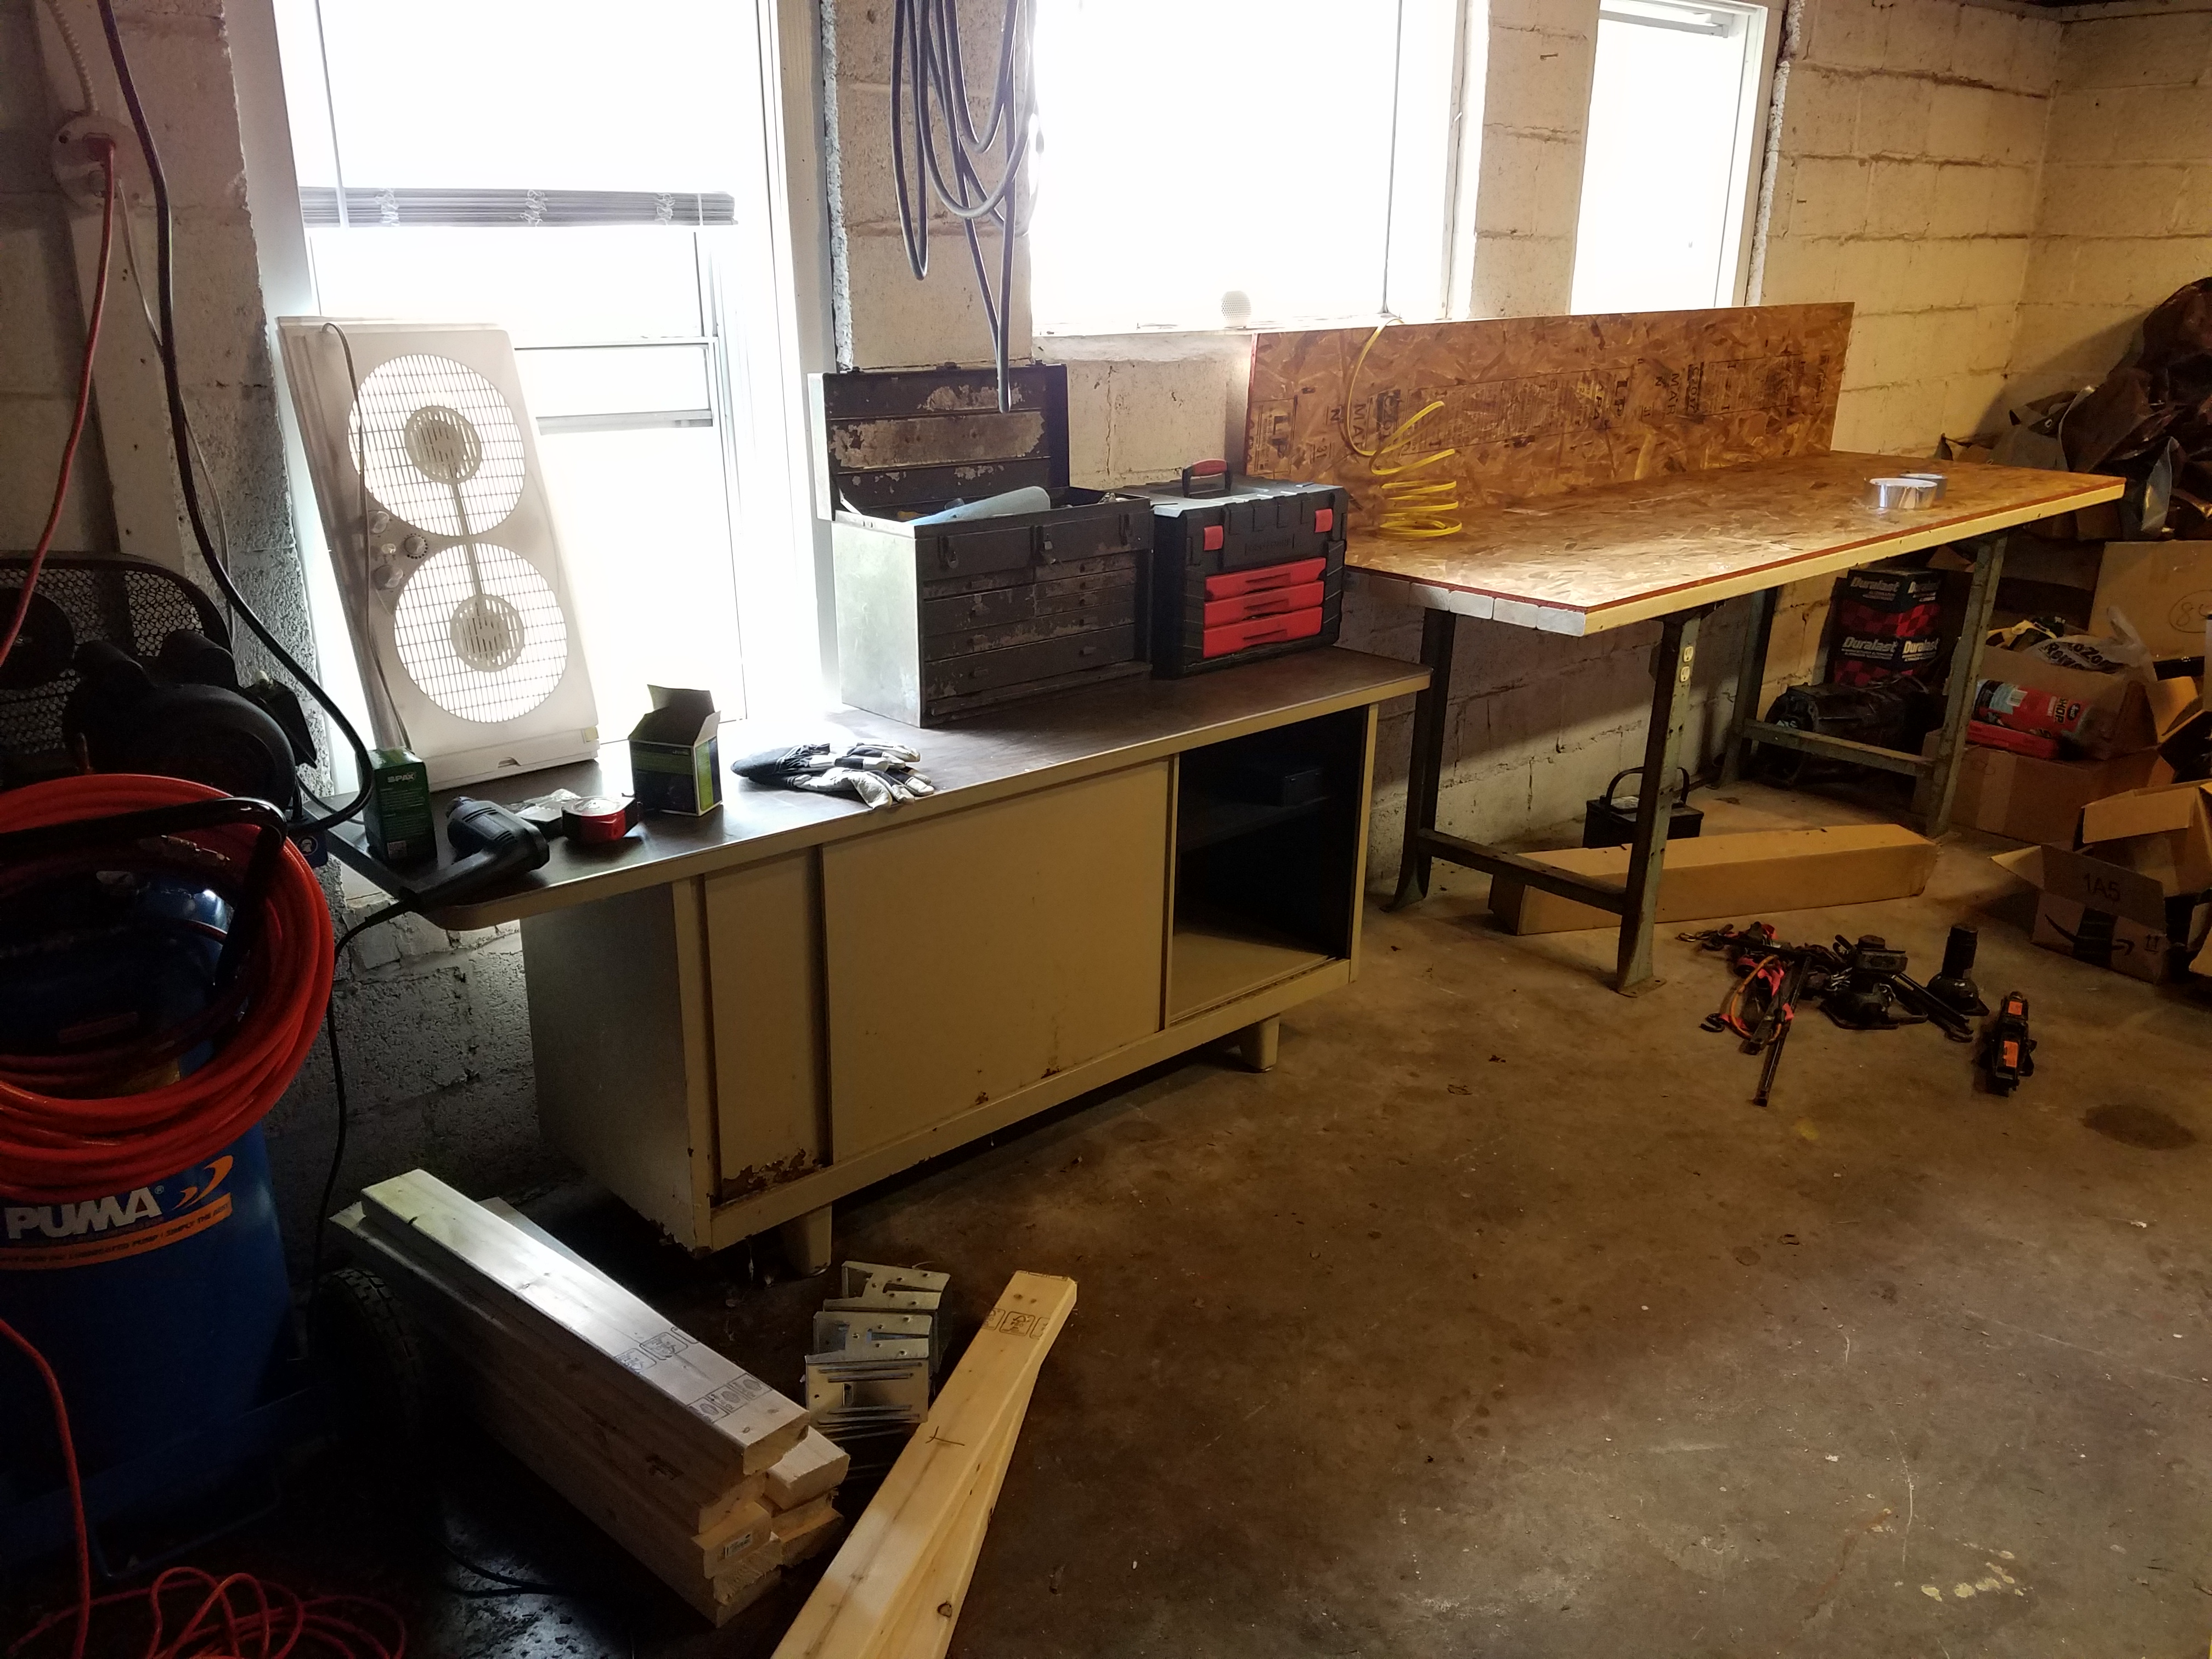
I got to borrow the family truck again, and got some old cabinets from the folks. I then used the family truck to grab some plywood and 2x4s and throw together a half-decent shop table.
This week I hope to clean up and get back into things. I've been on travel for so long that I've forgotten where all my tools are...
This week I hope to clean up and get back into things. I've been on travel for so long that I've forgotten where all my tools are...
 06-29-2017, 06:59 AM
#264
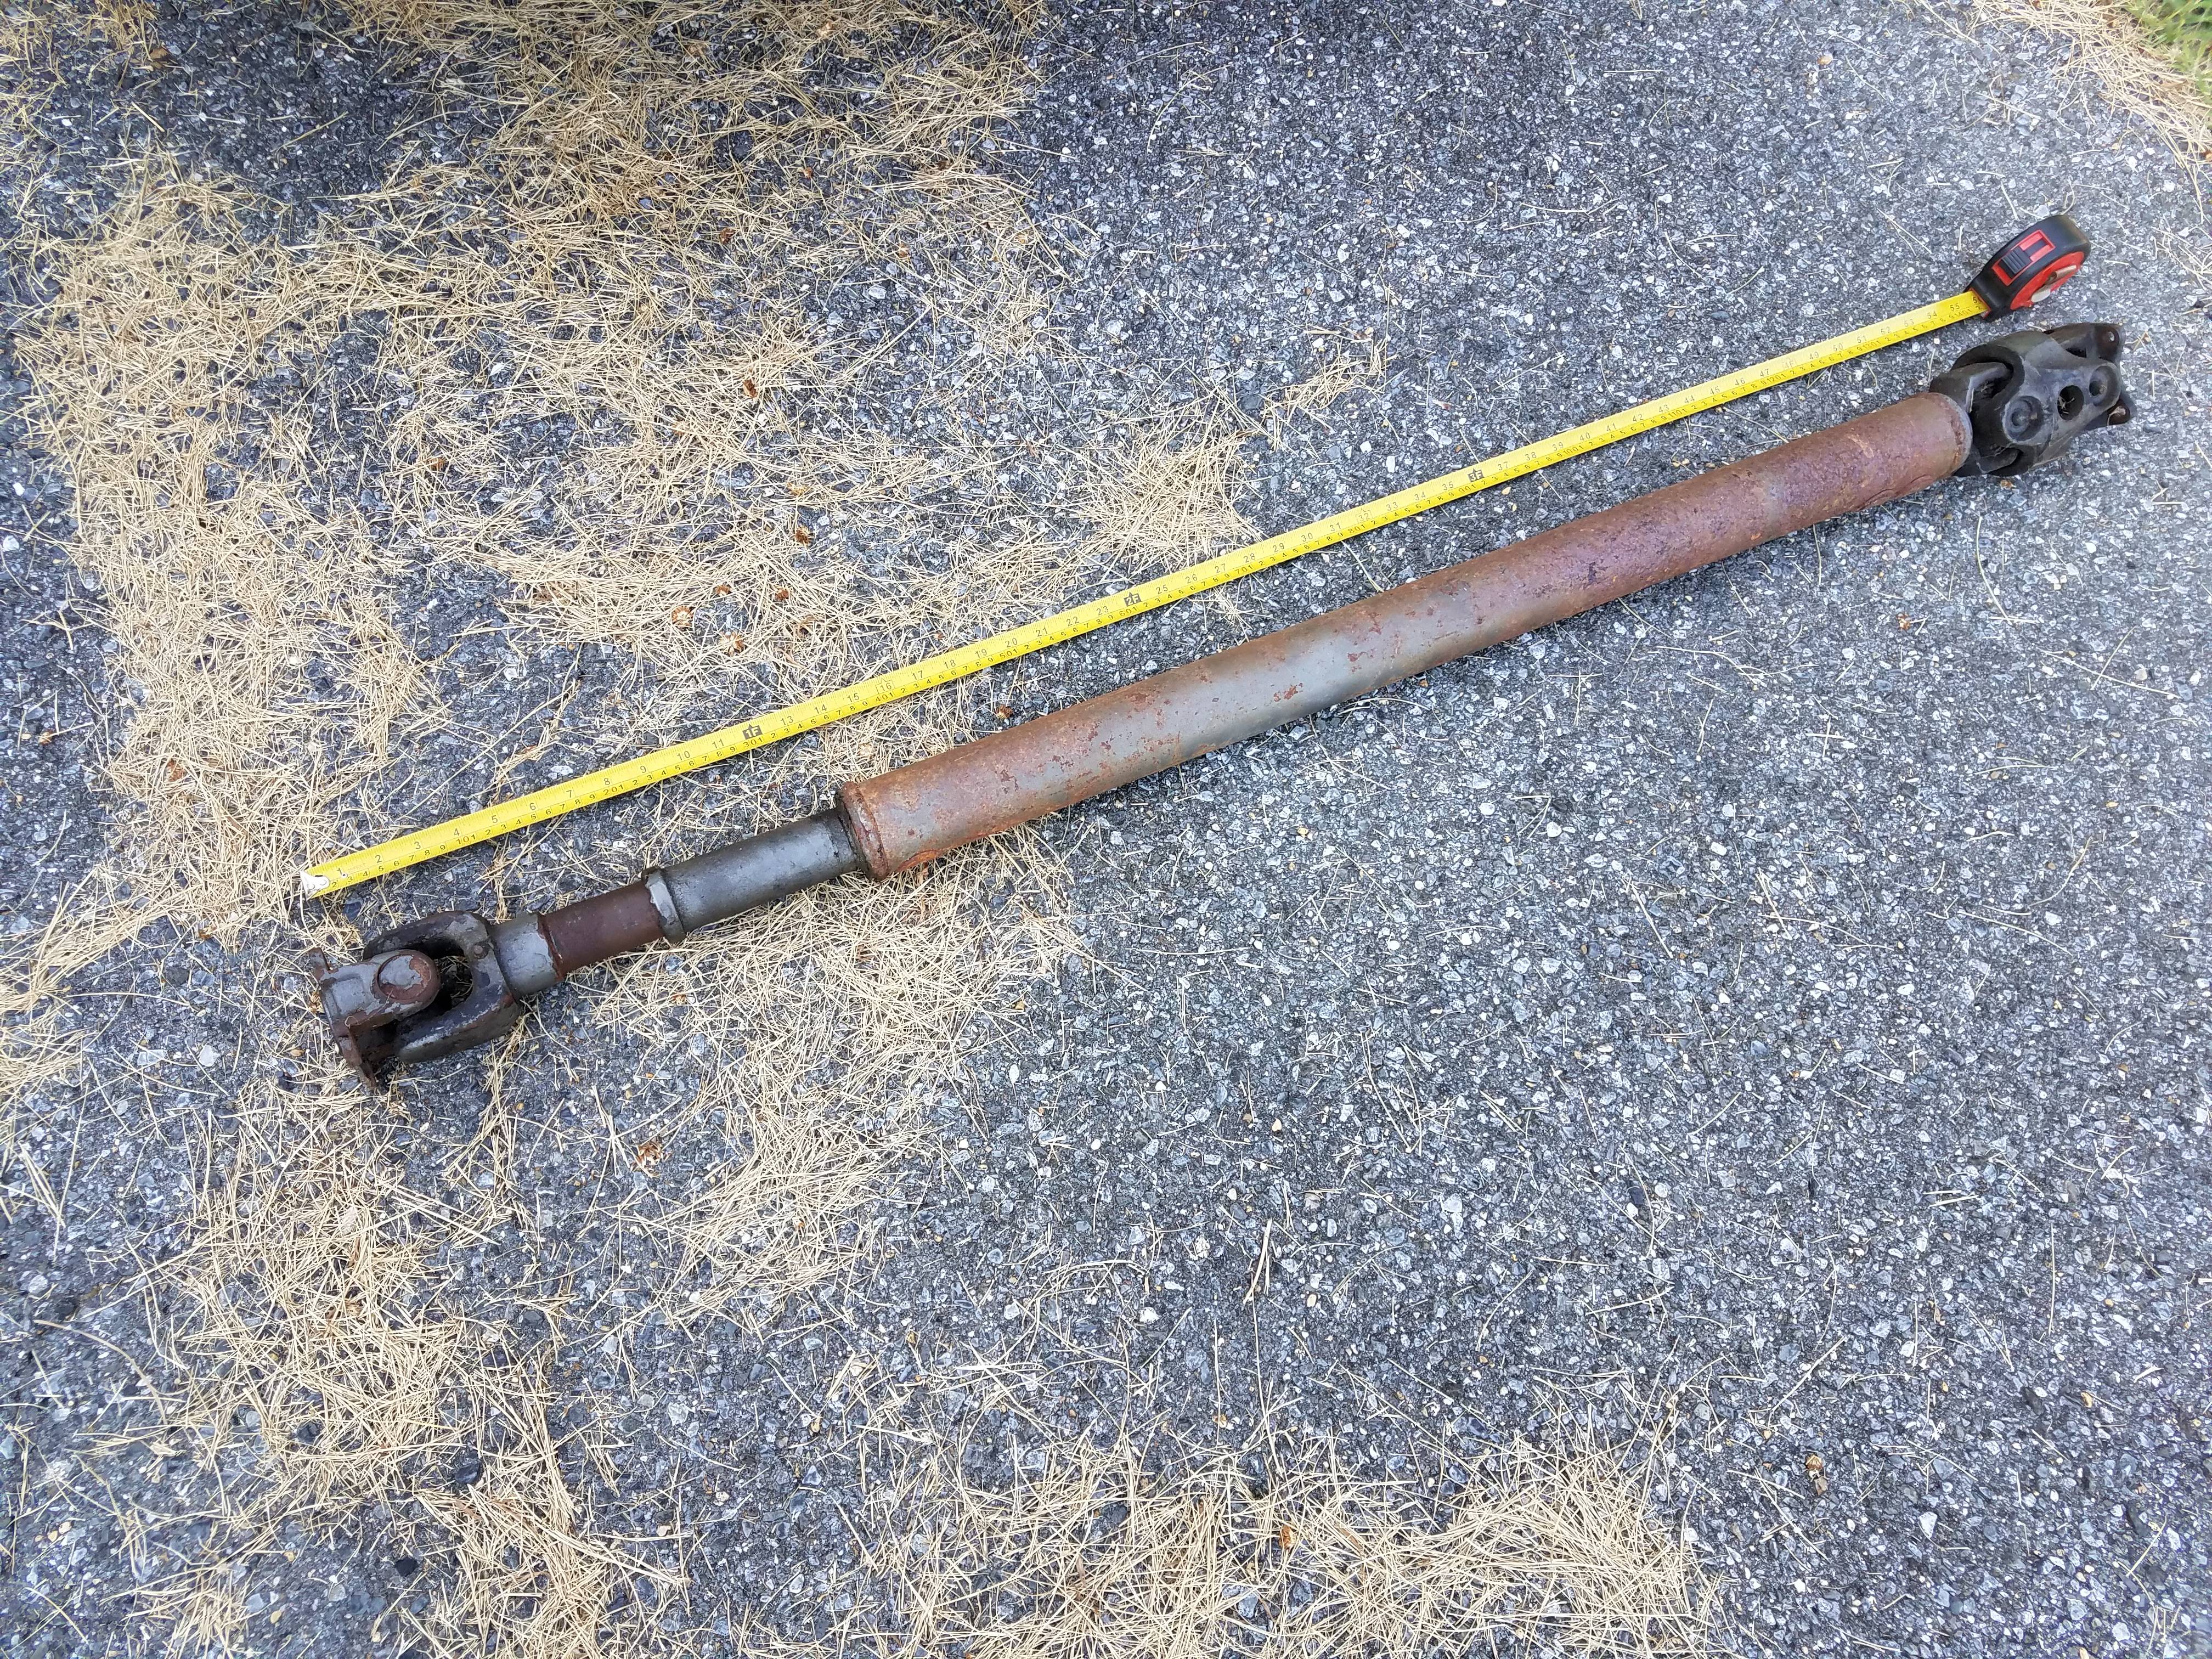
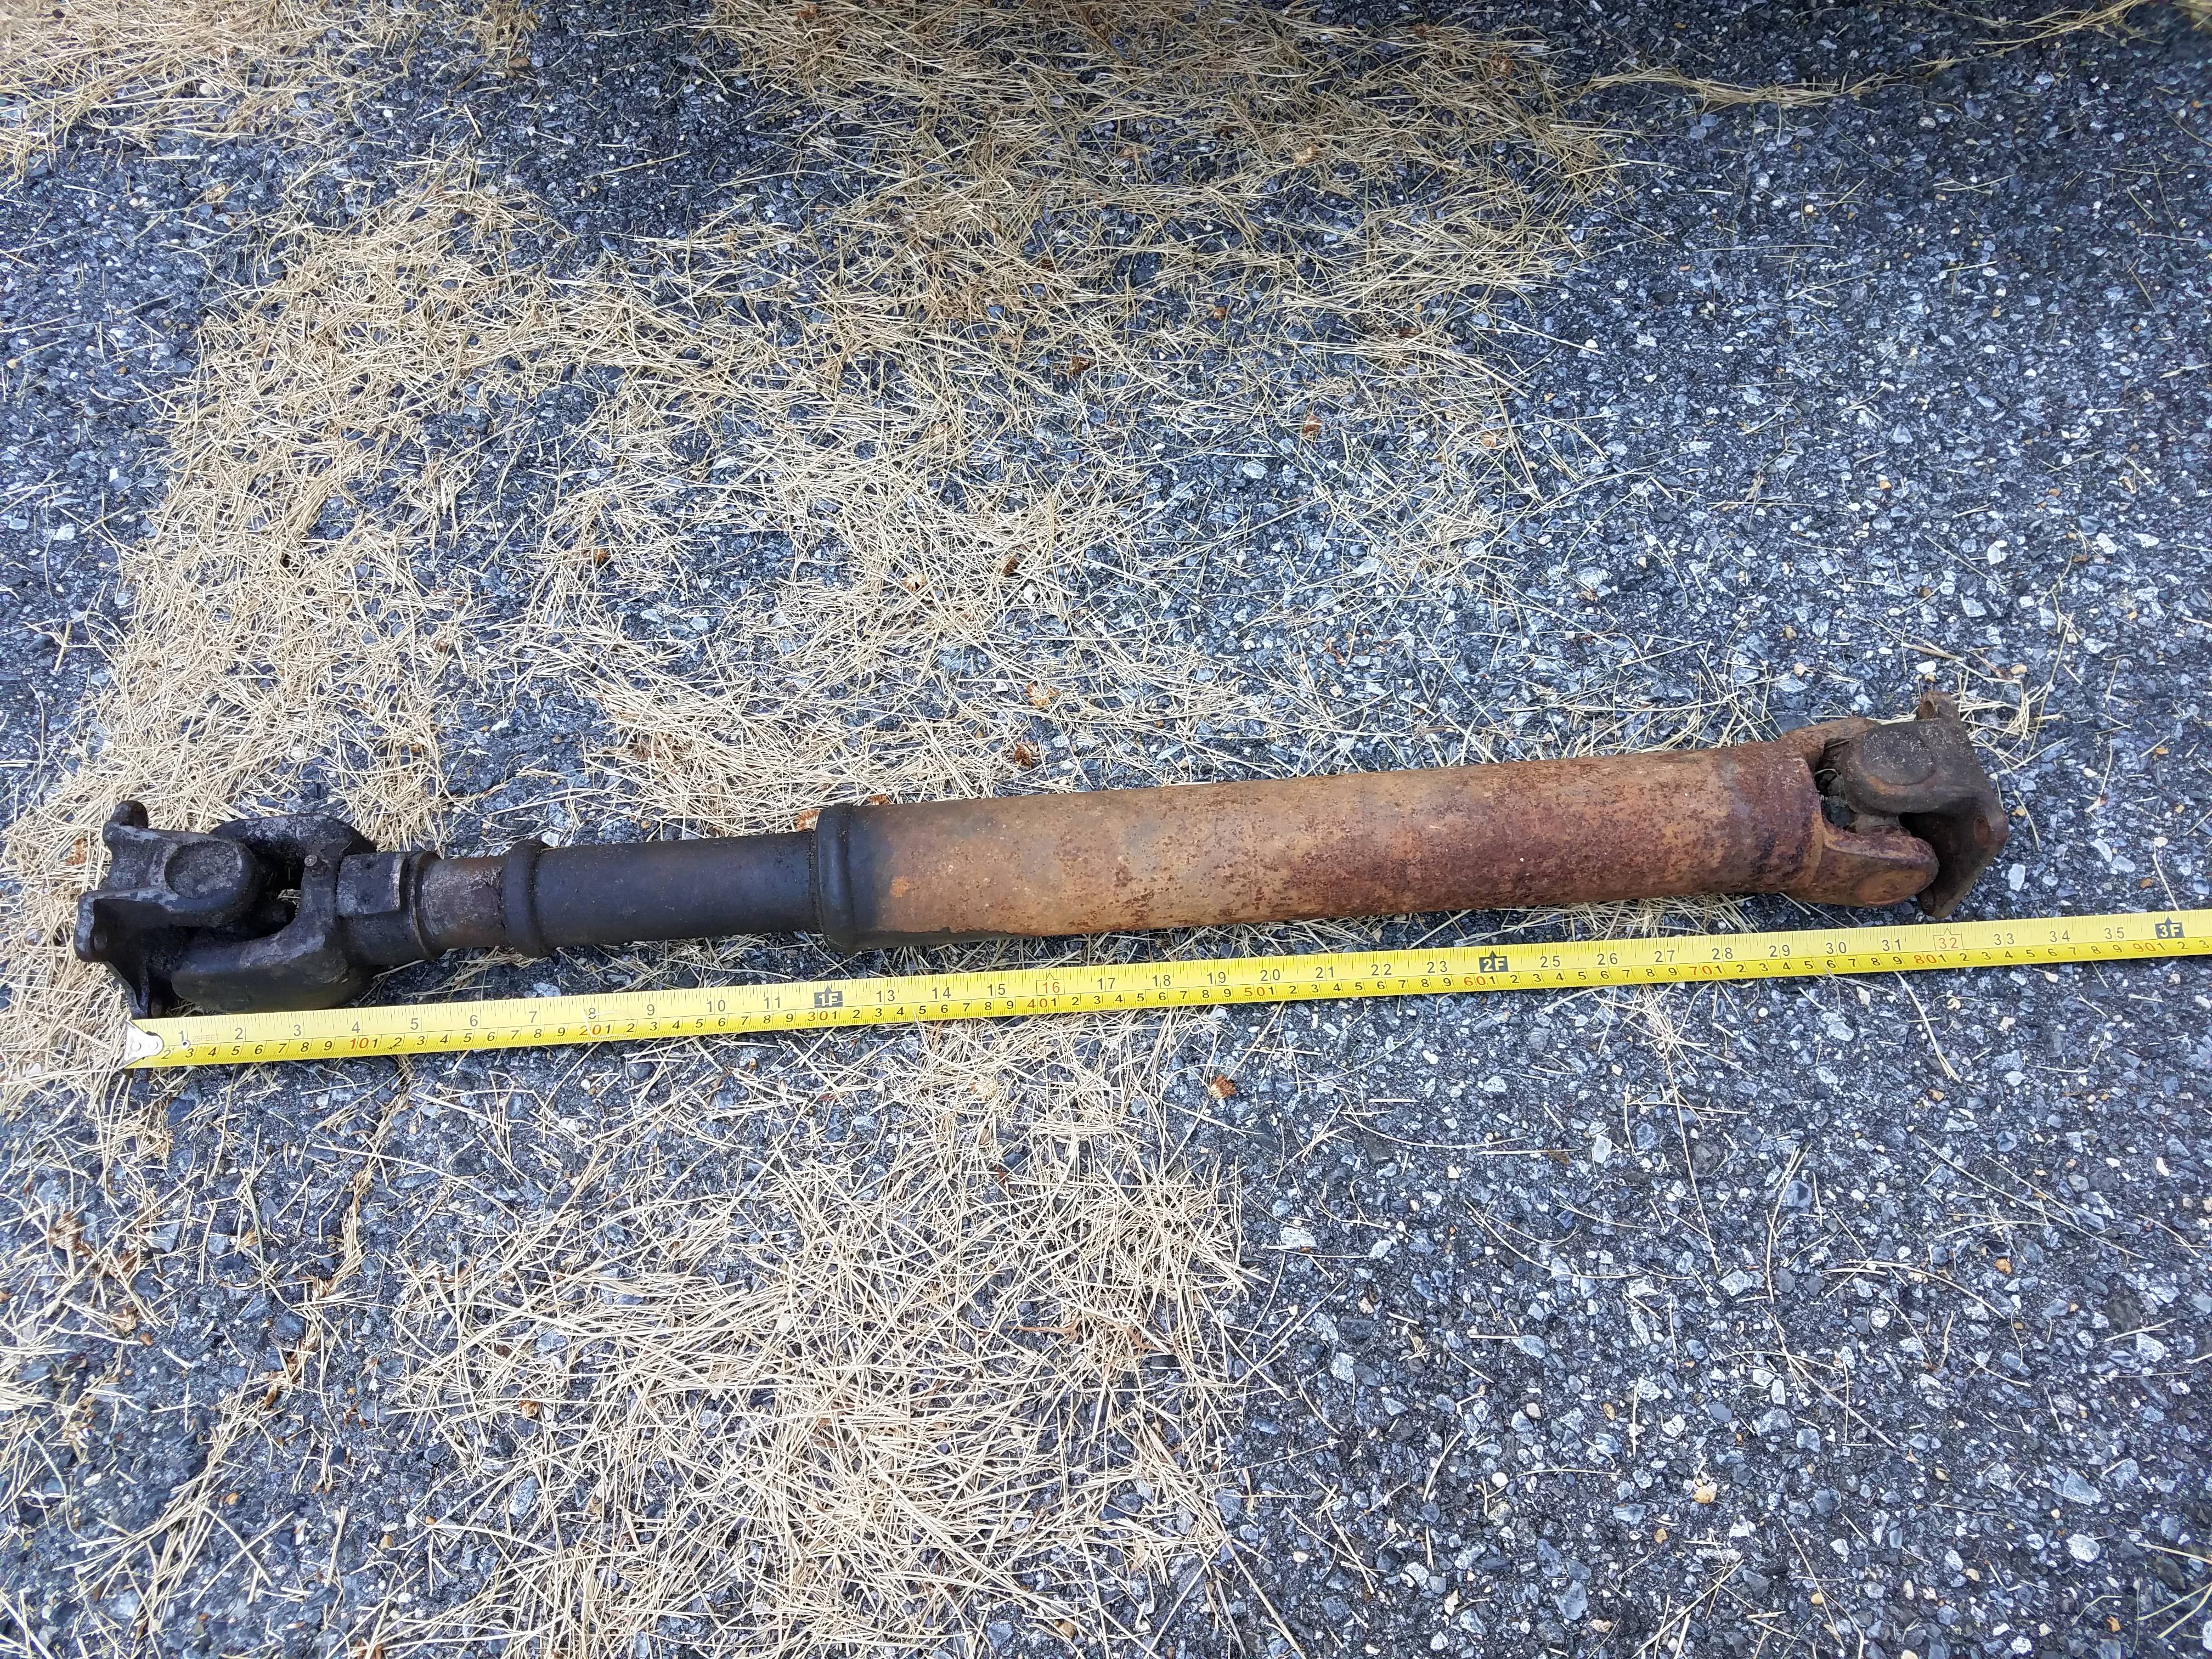
Measured for driveshafts this week, and hopefully can get those done soon.
Then it's on to wiring.
Rear:
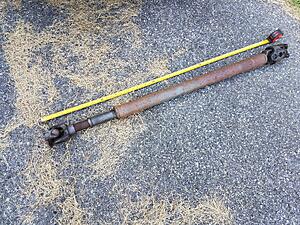
Needs to be 60.5" (I would much rather have a 2-piece, but no one wants to make them for high-speed applications)
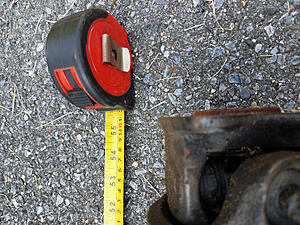
Front:

Needs to be 28.5"

Then it's on to wiring.
Rear:
Needs to be 60.5" (I would much rather have a 2-piece, but no one wants to make them for high-speed applications)

Front:
Needs to be 28.5"
 06-29-2017, 08:13 AM
#265
Registered User
Wait, your front driveshaft doesn't have a CV?
Enlighten me on why you would want a two piece driveshaft? I would guess the drive angle out back is going to be steep.
Enlighten me on why you would want a two piece driveshaft? I would guess the drive angle out back is going to be steep.
06-29-2017, 08:48 AM
#266
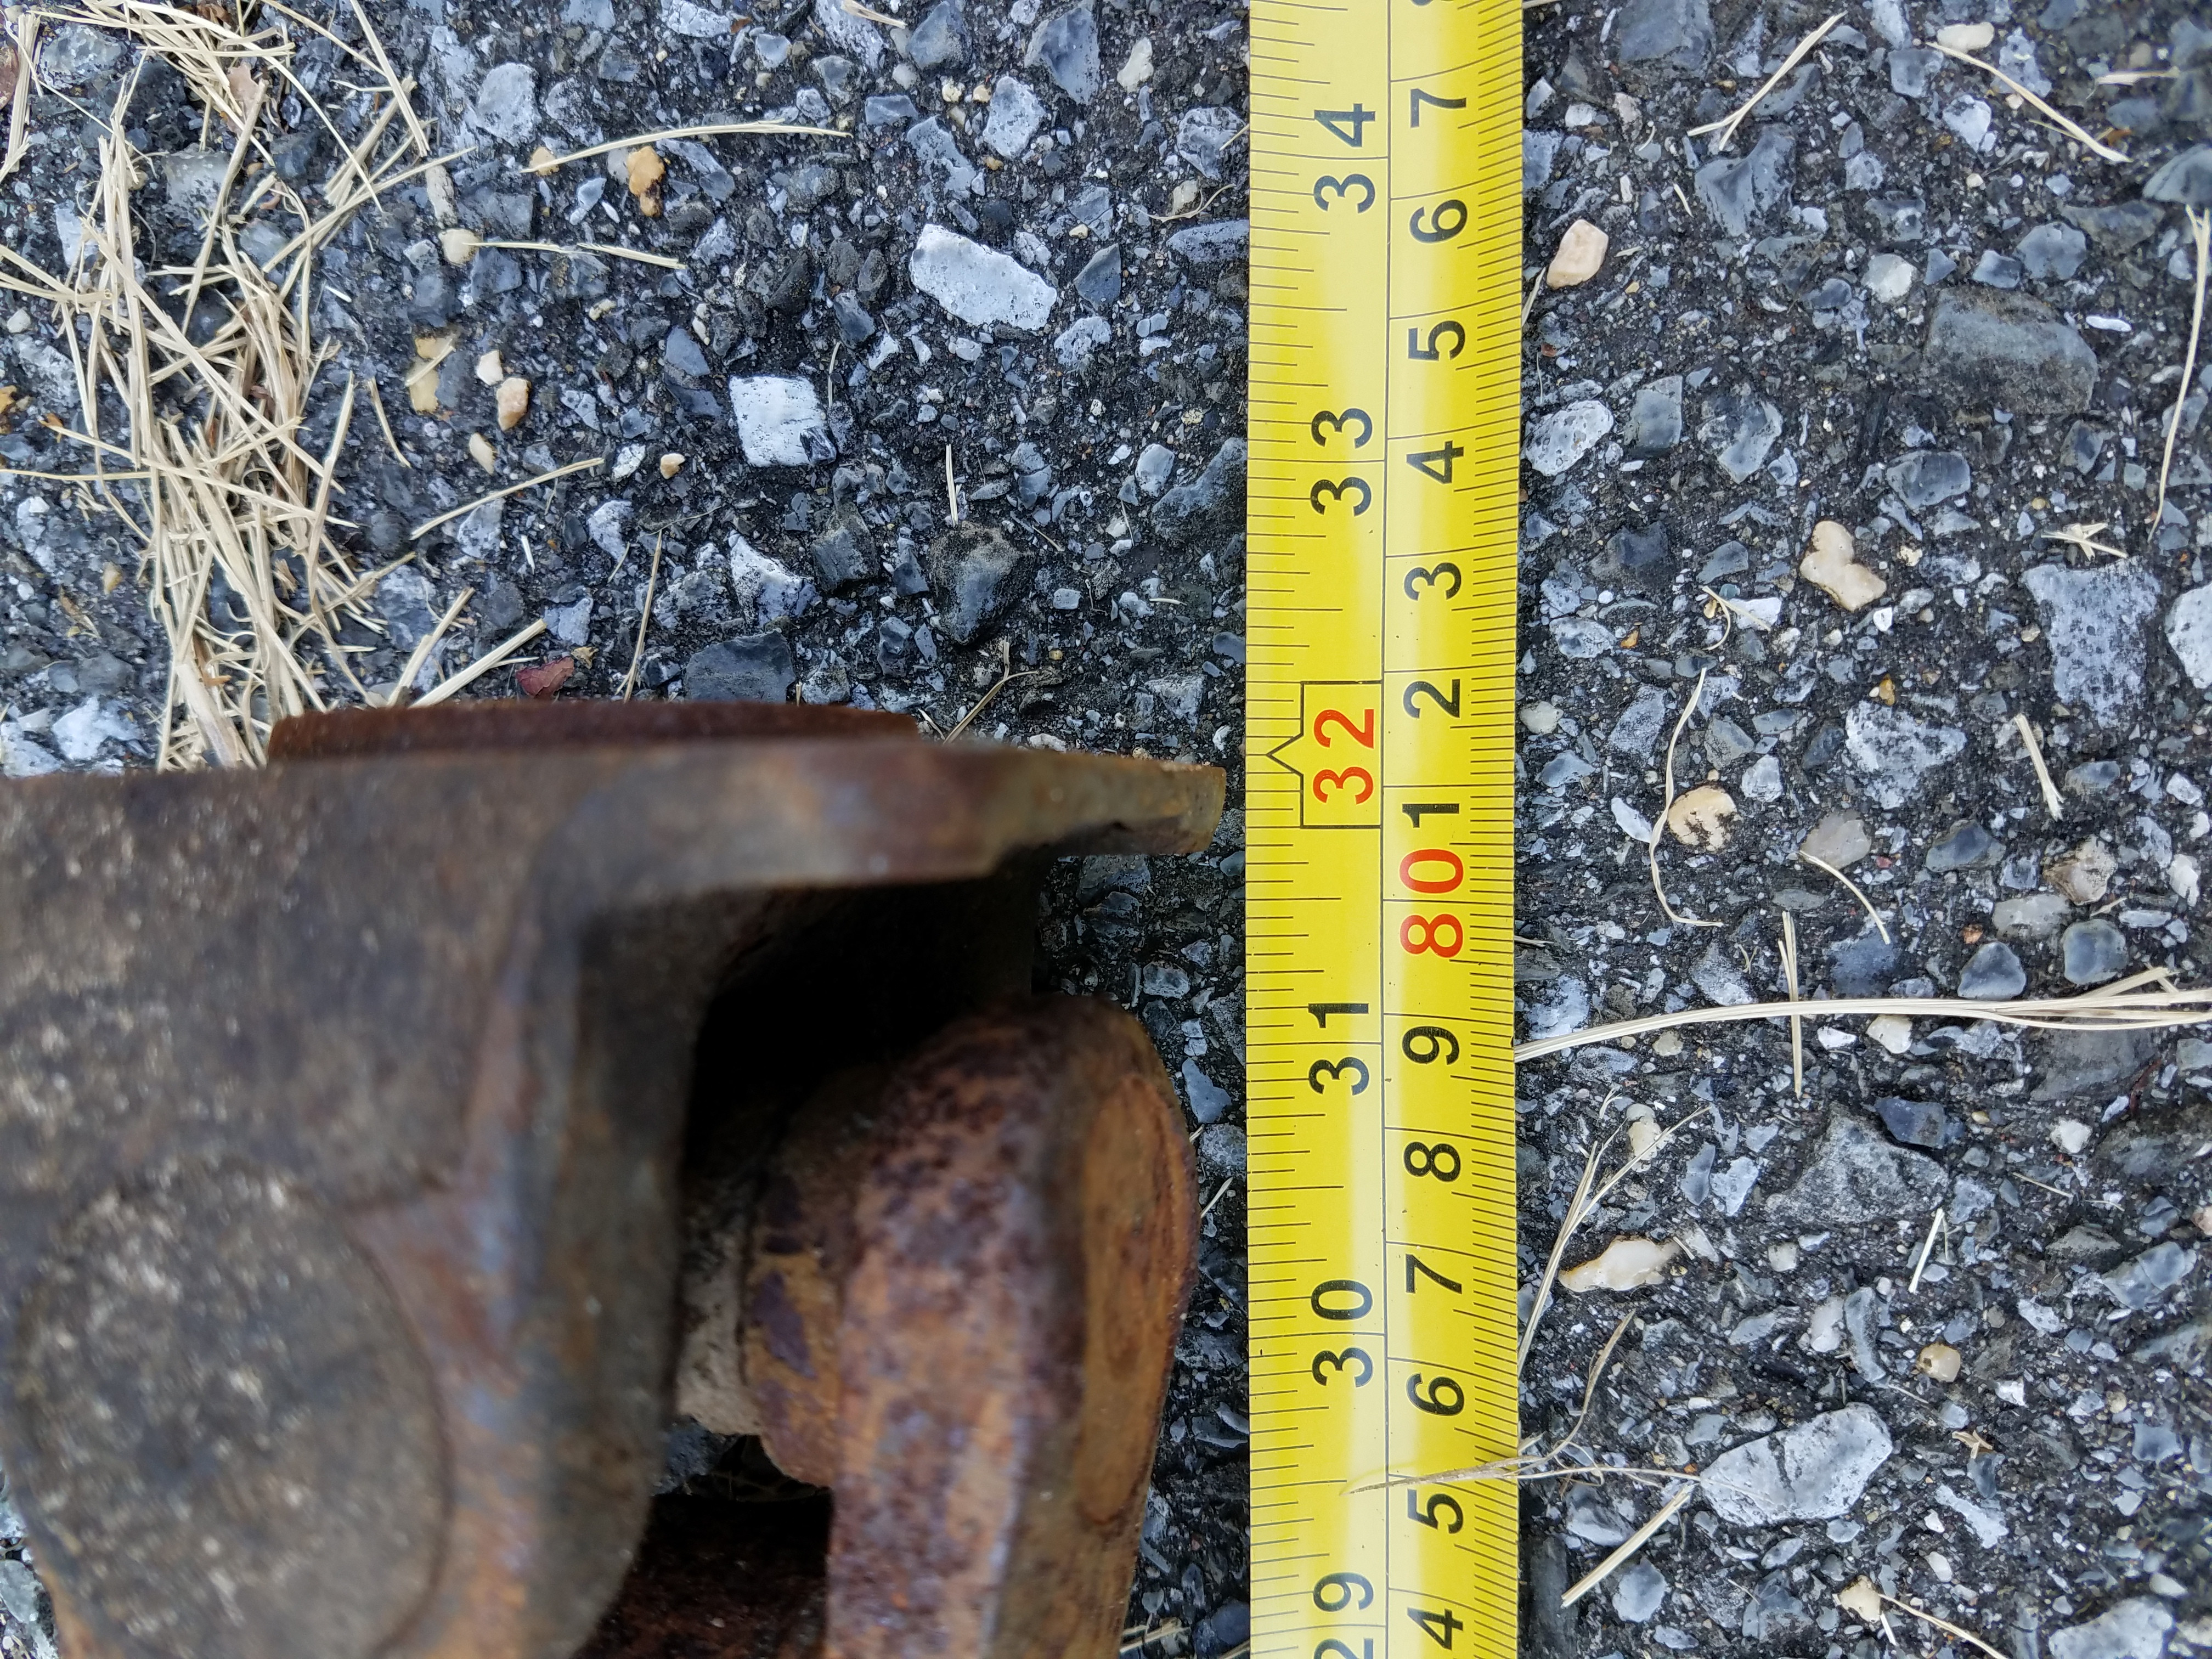
The dual-case adapter hits the CV, so I had to go with single joints:
https://www.yotatech.com/forums/f199...l#post51955533
The 2-piece adapter would allow for higher ground clearance. My truck isn't lifted enough to worry about driveline angles. Yet.
https://www.yotatech.com/forums/f199...l#post51955533
The 2-piece adapter would allow for higher ground clearance. My truck isn't lifted enough to worry about driveline angles. Yet.
06-29-2017, 09:28 AM
#267
Registered User
front shaft...
Why not clearance the adapter? Guessing it is just barely touching by the looks of the scar. I do not recall reading about others having this issue, but It makes me wonder if I will run into the same issue on the SFA and 5" of up travel.... I do have a clockable 10� R150 adapter, I'll need to look at the clearance more closely.
The rear...
Who is making your driveshafts? I use A1 in Baltimore, and will be getting them to build my new shafts. But they aren't too keen on metric stuff, so I will just bring them the parts to assemble and balance.
I wouldn't be concerned with ground clearance on the shaft, the real anchor is the pinion anyhow. For some reason the center of the truck sees way less scraps then the sides near the frame and tires. Besides, if you go with a one piece shaft now, if/when you lift it a few inches, that one piece shaft should work fine. if you SAS that may be a different story.
06-29-2017, 09:36 AM
#268
I want to sas, but some of the long-travel stuff looks sweet.
front:
As I recall, it scraped a bit more than I could grind away without interfering with the bolt hole. I'm looking up other dual-case setups right now, but it looks like a lot of them don't use a CV up front. Don't know, as this issue MUST have come up before me.
rear:
I'm using B&B auto salvage (Buck does driveshafts). I only just called today, and will swing by after work. Over the phone, Buck seems to know his stuff.
Good points on the 1- vs 2-piece driveshafts. And yeah, it makes sense, especially if I want to make a custom bed/move the rear axle.
07-05-2017, 04:54 PM
#269
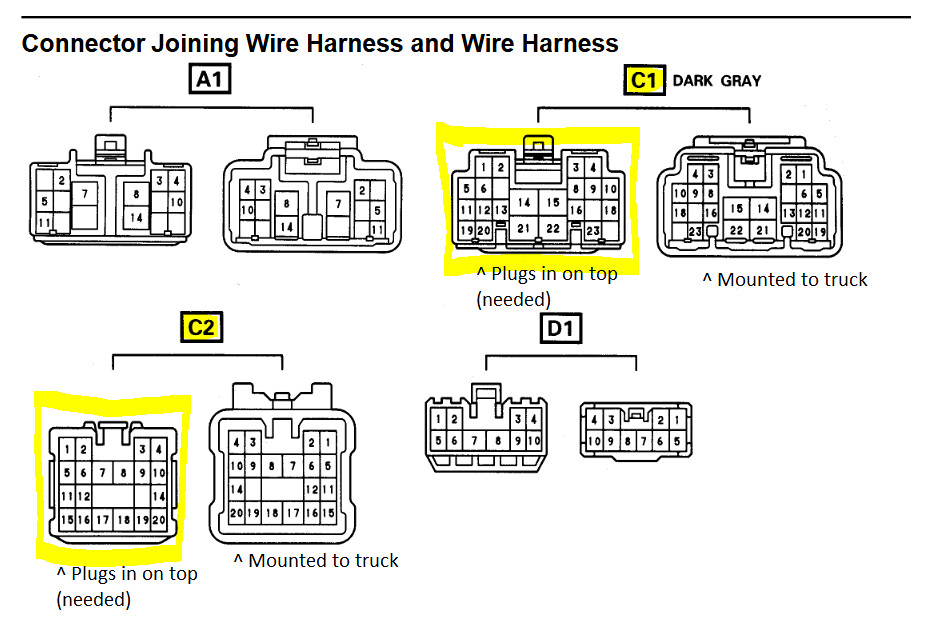
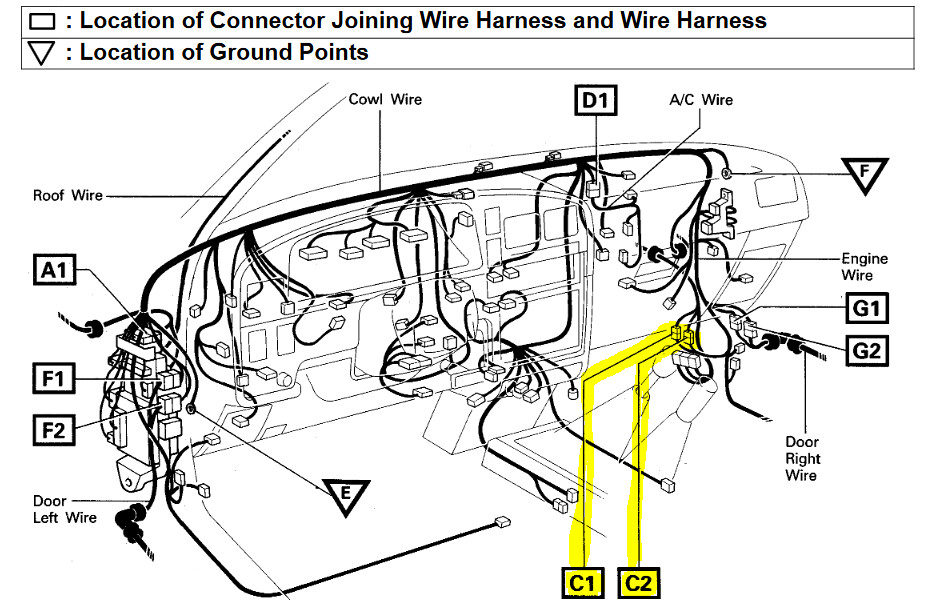
Got to work on wiring diagrams today! All of my connections can go to the C1 or C2 connectors in the passenger kick-panel. However, I gave the mating plugs away to the guy who bought my 22R-E, so I'll have to find them somewhere else...
pics tomorrow...
pics tomorrow...
07-06-2017, 05:22 AM
#270
pics!
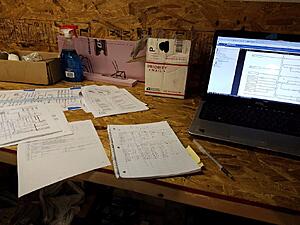
I love my garage. It has a leak, it's musty, there are spiderwebs everywhere, but it's mine.
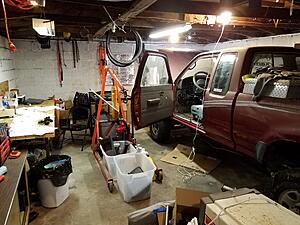
I recently got an 18,000 BTU AC and jerry-rigged it to the window. I spent all evening going between the 97 EWD, the 93 EWD, and my truck.
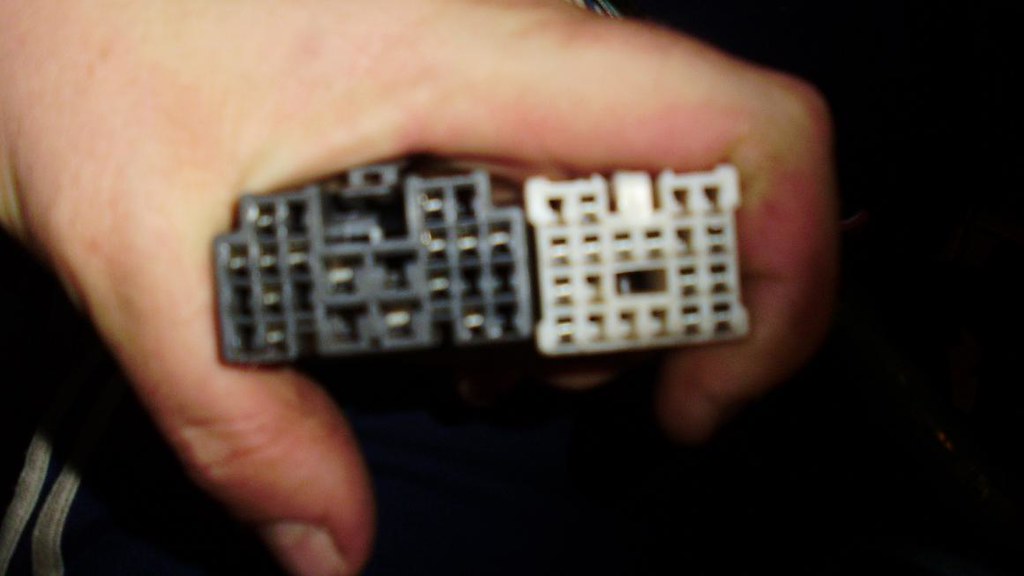
These are the connectors I need. I'm looking for them, but since I have some upcoming vacation, I probably won't get to them in a while.
This photo isn't mine (it would be in focus if it were), but these are the connectors I need.
I love my garage. It has a leak, it's musty, there are spiderwebs everywhere, but it's mine.
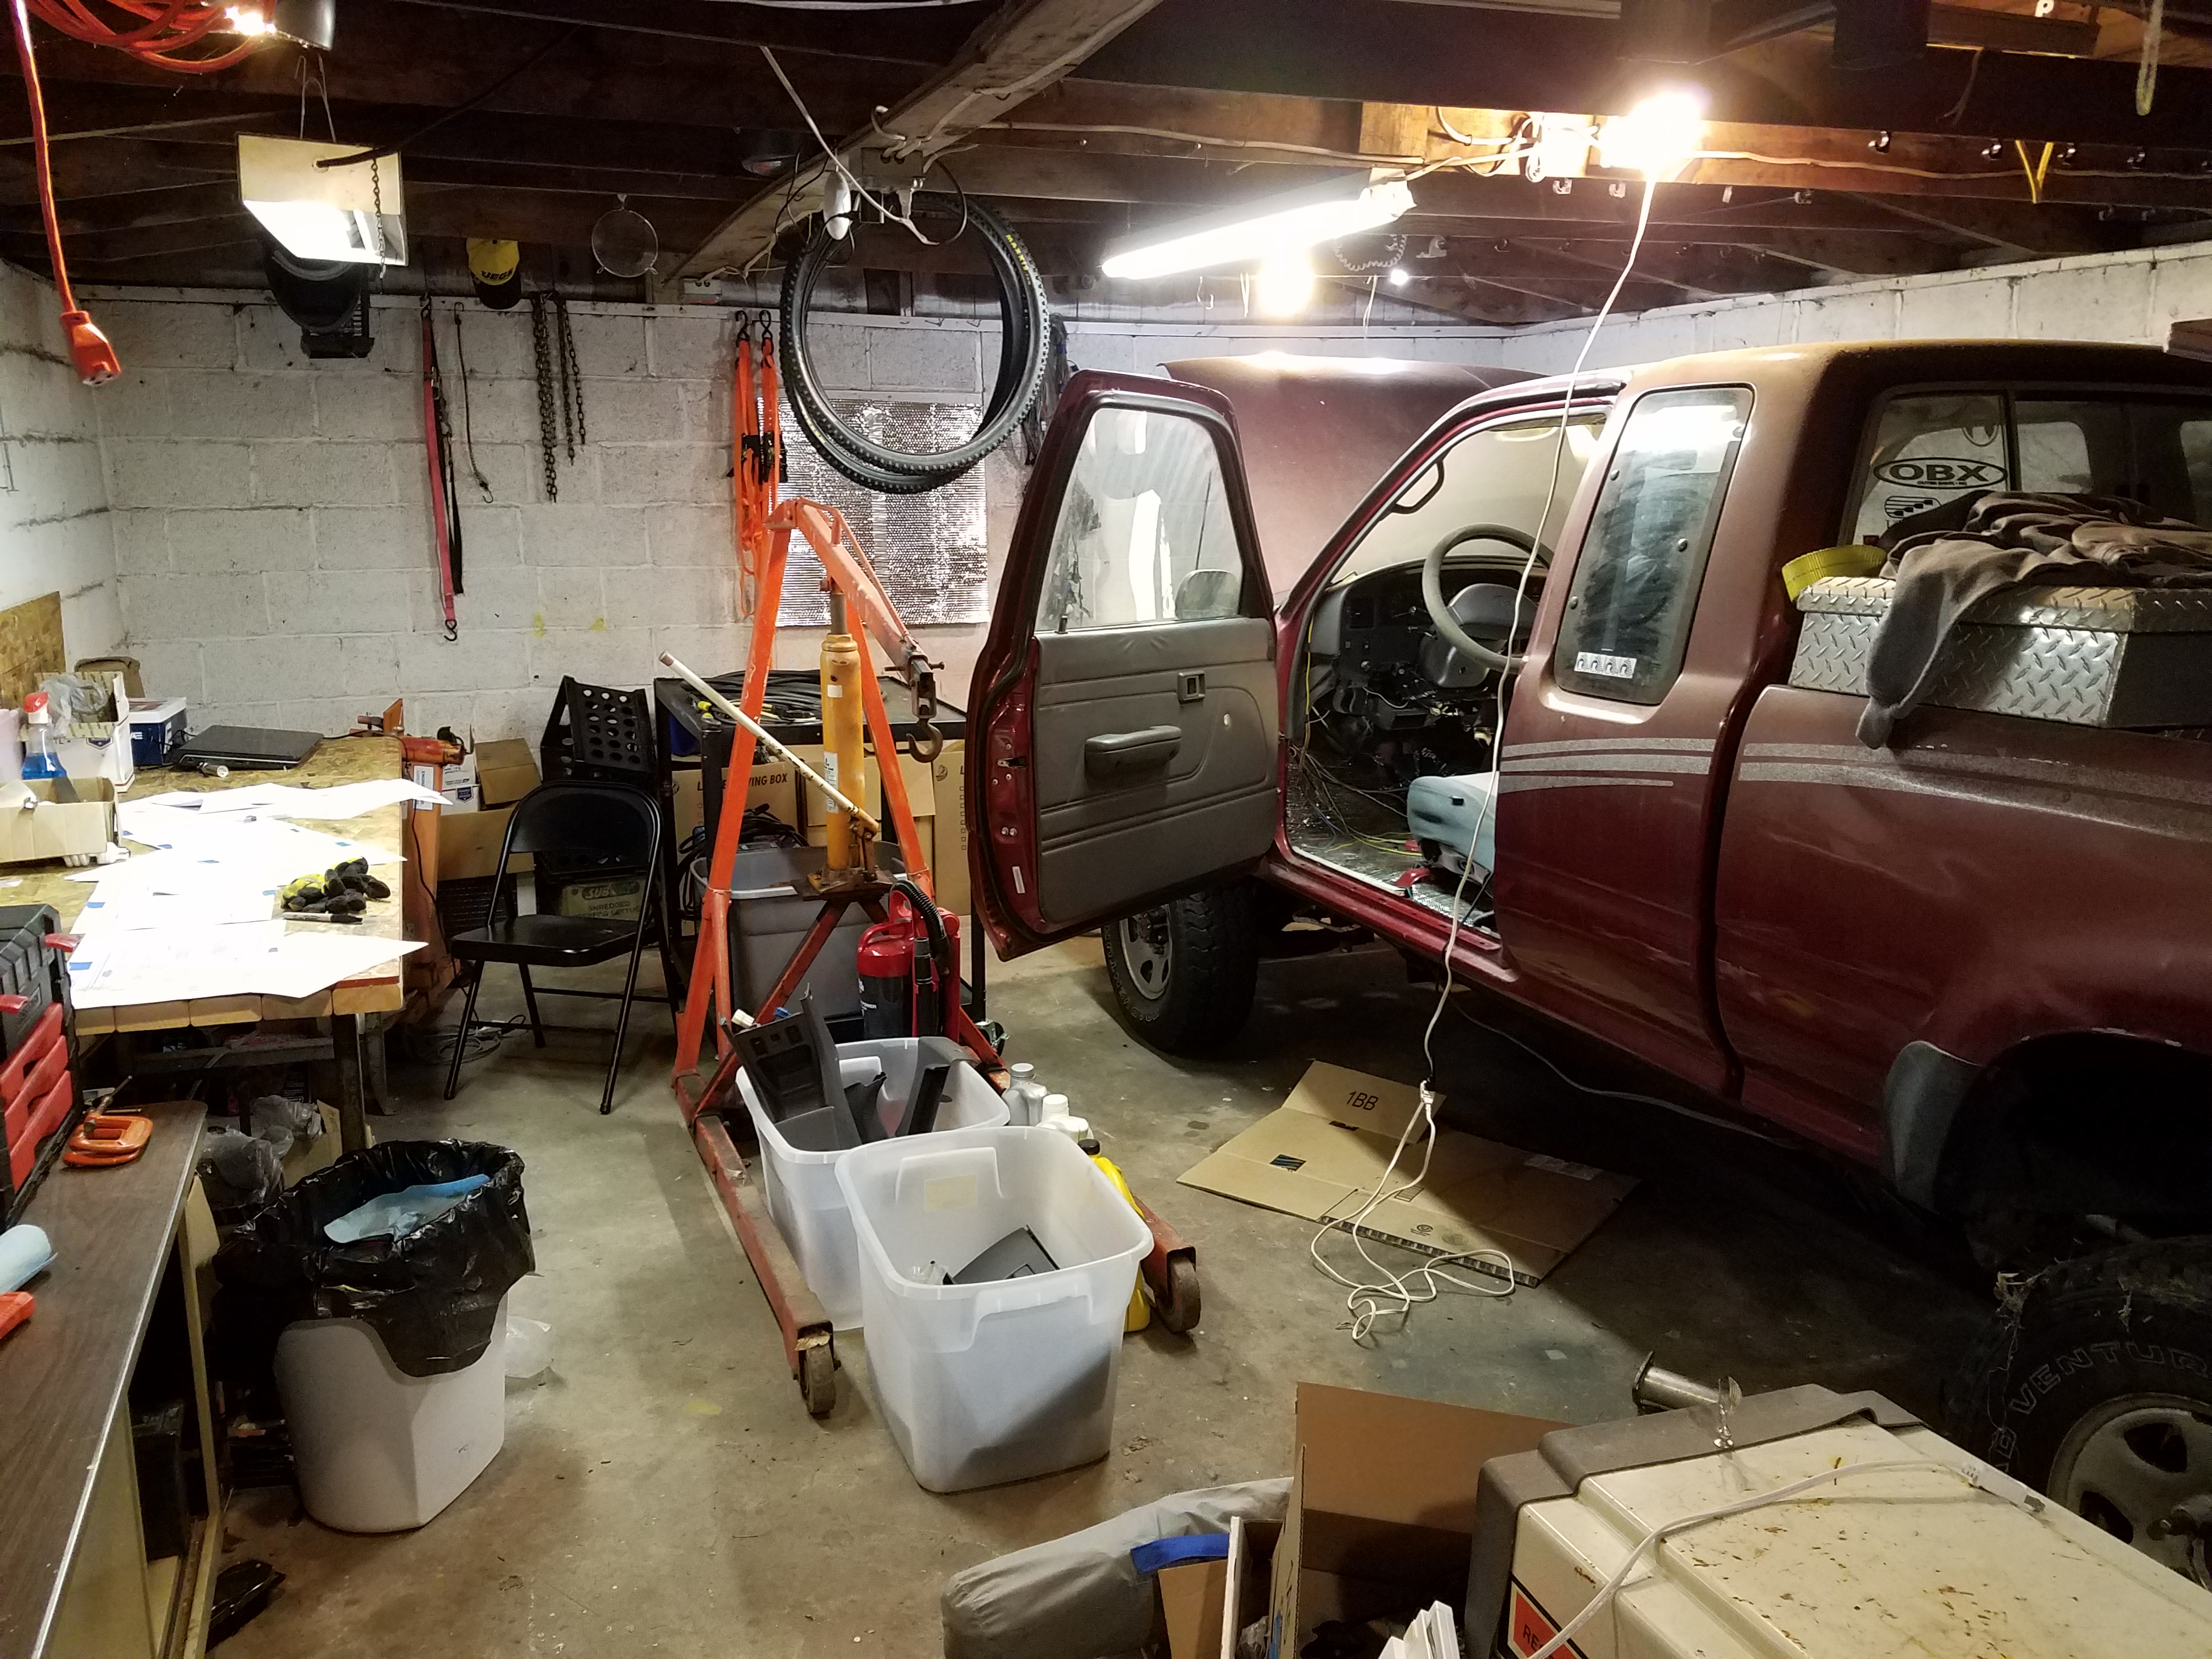
I recently got an 18,000 BTU AC and jerry-rigged it to the window. I spent all evening going between the 97 EWD, the 93 EWD, and my truck.

These are the connectors I need. I'm looking for them, but since I have some upcoming vacation, I probably won't get to them in a while.
This photo isn't mine (it would be in focus if it were), but these are the connectors I need.
Last edited by irab88; 07-06-2017 at 06:11 AM.
07-06-2017, 08:56 AM
#271
Found the part numbers for the Toyota C1 and C2 connectors on my pickup:
C1 Housing:
90980-10881
C2 Housing:
90980-10811
Pins:
82998-12340 -small female contacts (Sumitomo 090)
82998-12380 -large female contacts (Sumitomo 187)
hopefully this info will be useful to someone else.
C1 Housing:
90980-10881
C2 Housing:
90980-10811
Pins:
82998-12340 -small female contacts (Sumitomo 090)
82998-12380 -large female contacts (Sumitomo 187)
hopefully this info will be useful to someone else.
07-07-2017, 05:44 AM
#272
Took a look at little things around the truck yesterday. I need a new rag joint (also called a steering connector). However, the ones at Autozone are not the right size, so I'll have to get another. I read on u-joints vs rag joints, but I just want this to work for a while until I change it again.

I also needed some heater hose and battery tray, all in the mail.
I also needed some heater hose and battery tray, all in the mail.
07-10-2017, 07:04 AM
#273
Getting parts this afternoon. I have some of the pins and battery tray at the post office, and more stuff is coming tomorrow.
This project is going better than I thought, but still way behind schedule. Having the A/C in the garage helps out a bunch.
This project is going better than I thought, but still way behind schedule. Having the A/C in the garage helps out a bunch.
07-11-2017, 05:25 AM
#274
Got to work on my rig last night after some long-overdue grass mowing.
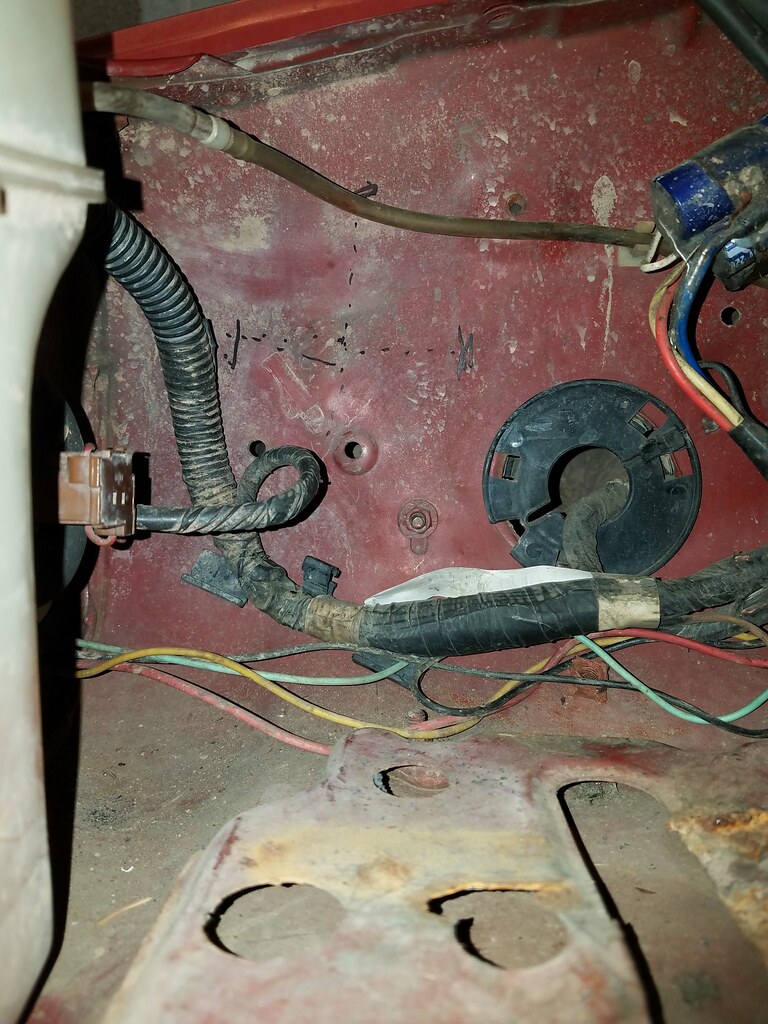
First up, some of the wiring diagrams I'm using. Click for the full resolution:
96 4Runner ECM wiring:
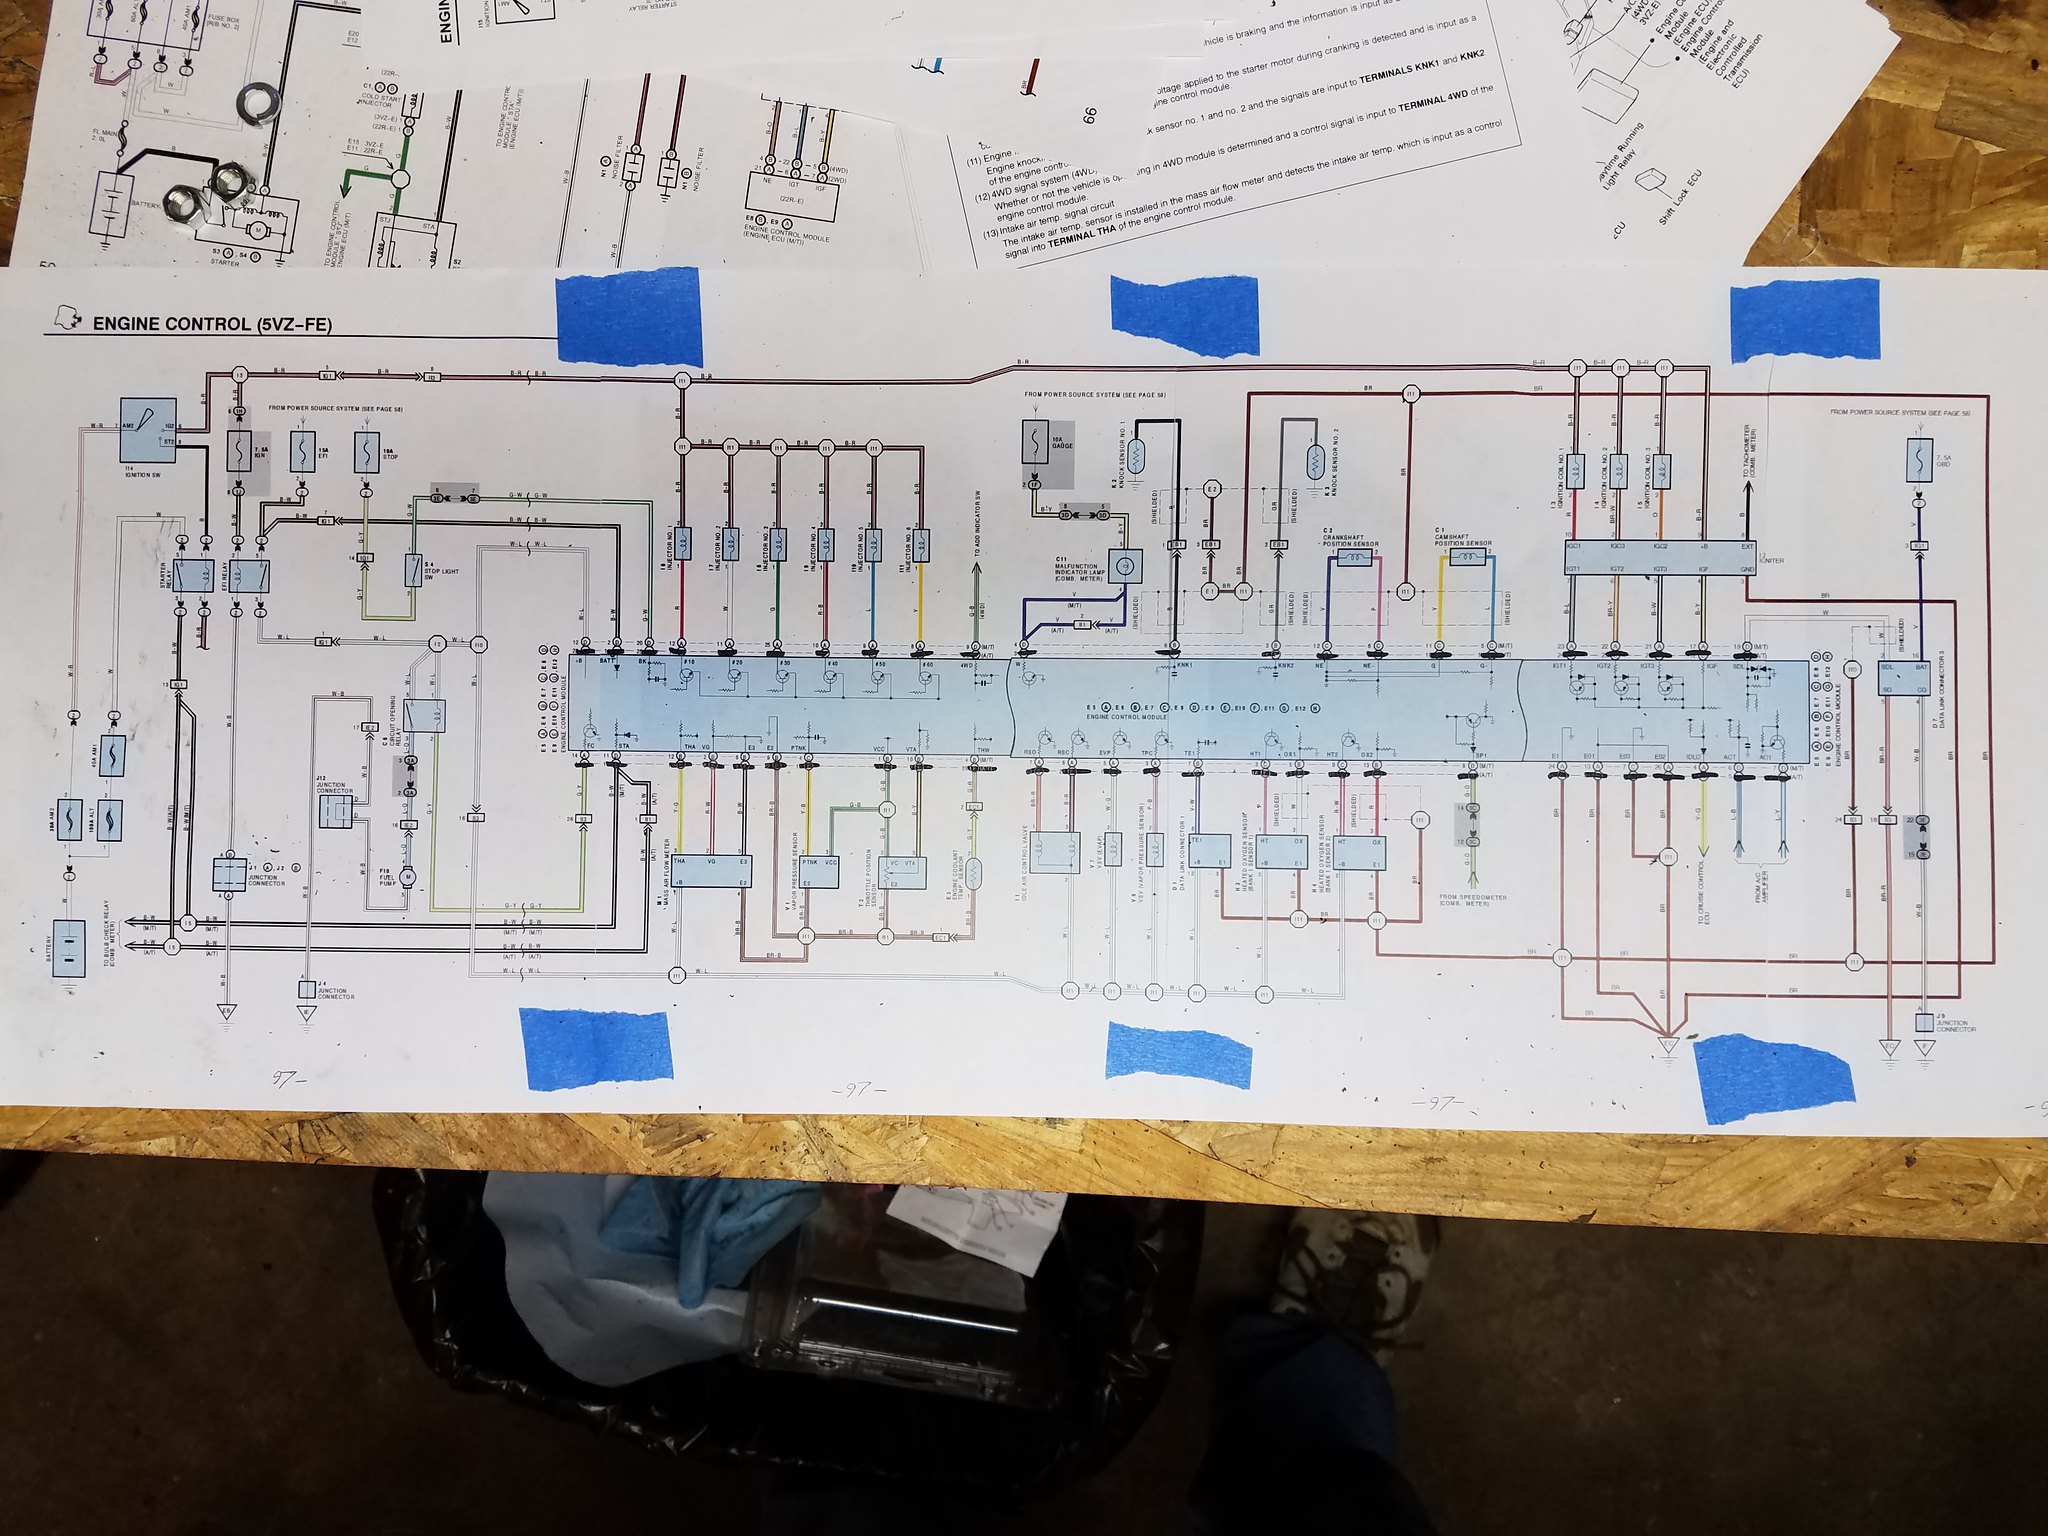
20170710_195748
93 Pickup ECM wiring:
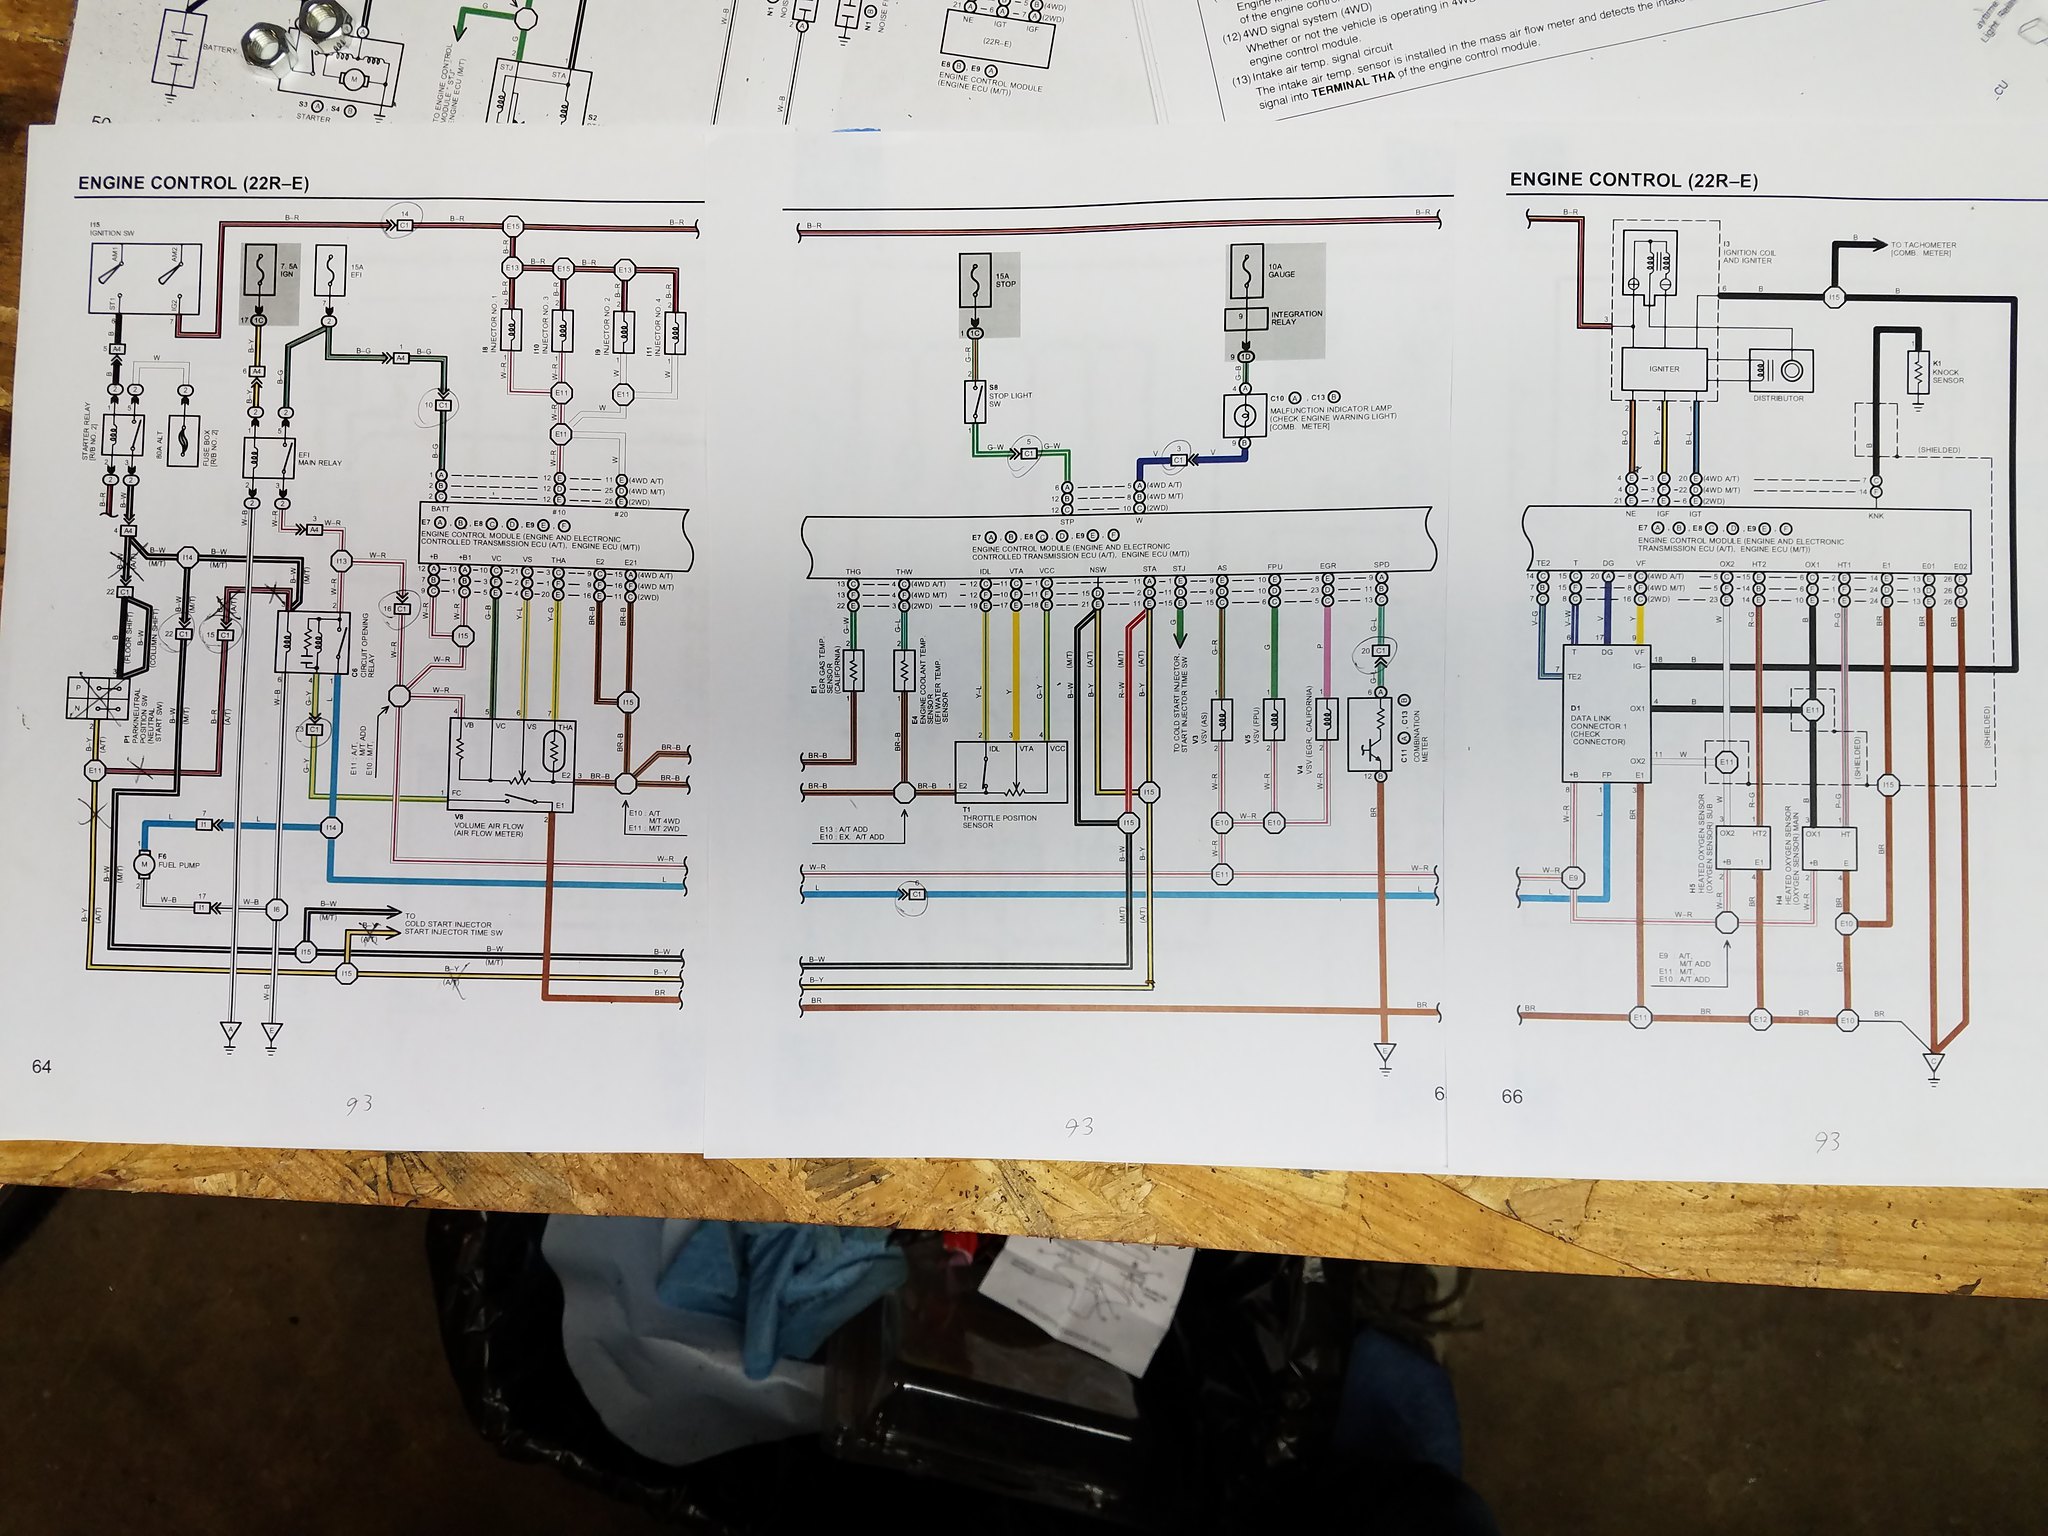
20170710_195822
(note the "C1" connector circled. Those are the wires I needed to tap into for the 97 ECM.)
Here is the list of critical wires:

(Of note here: the OBD fuse should be tapped into the EFI fuse, NOT the relay.
First up, some of the wiring diagrams I'm using. Click for the full resolution:
96 4Runner ECM wiring:
20170710_195748
93 Pickup ECM wiring:
20170710_195822
(note the "C1" connector circled. Those are the wires I needed to tap into for the 97 ECM.)
Here is the list of critical wires:
(Of note here: the OBD fuse should be tapped into the EFI fuse, NOT the relay.
Last edited by irab88; 07-13-2017 at 10:03 AM. Reason: links
07-11-2017, 05:51 AM
#275
Now the good stuff.
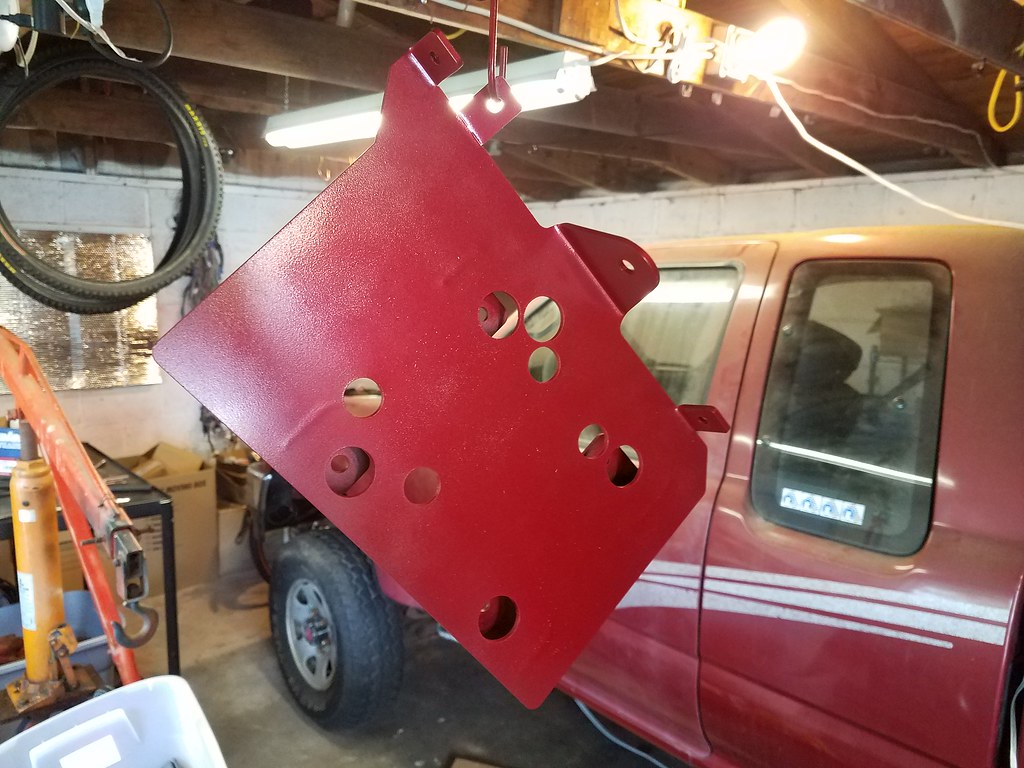
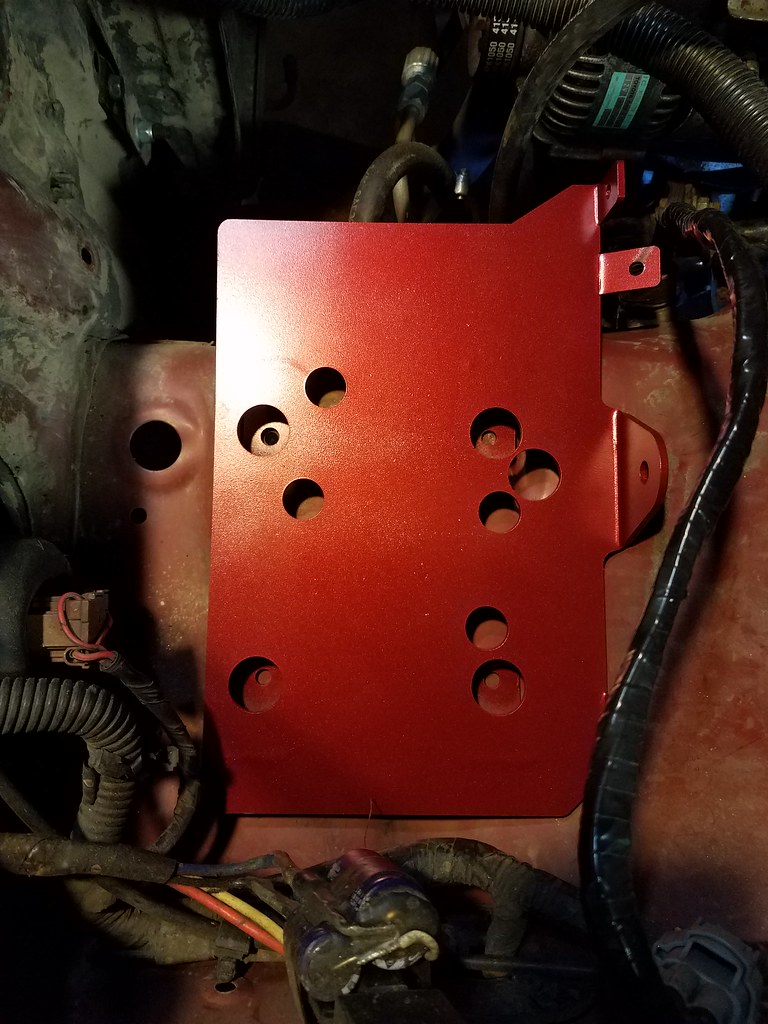
New battery tray from ToyOnlySwaps. They were QUICK with the shipping. The plate is beefy, and has attachment points for the charcoal canister brackets.

Then, while fitting it in the truck, I found that my coolant overflow tank is too big. Apparently there is a smaller tank on 86-88 trucks that fits better here. I'll have to figure out what to do here.

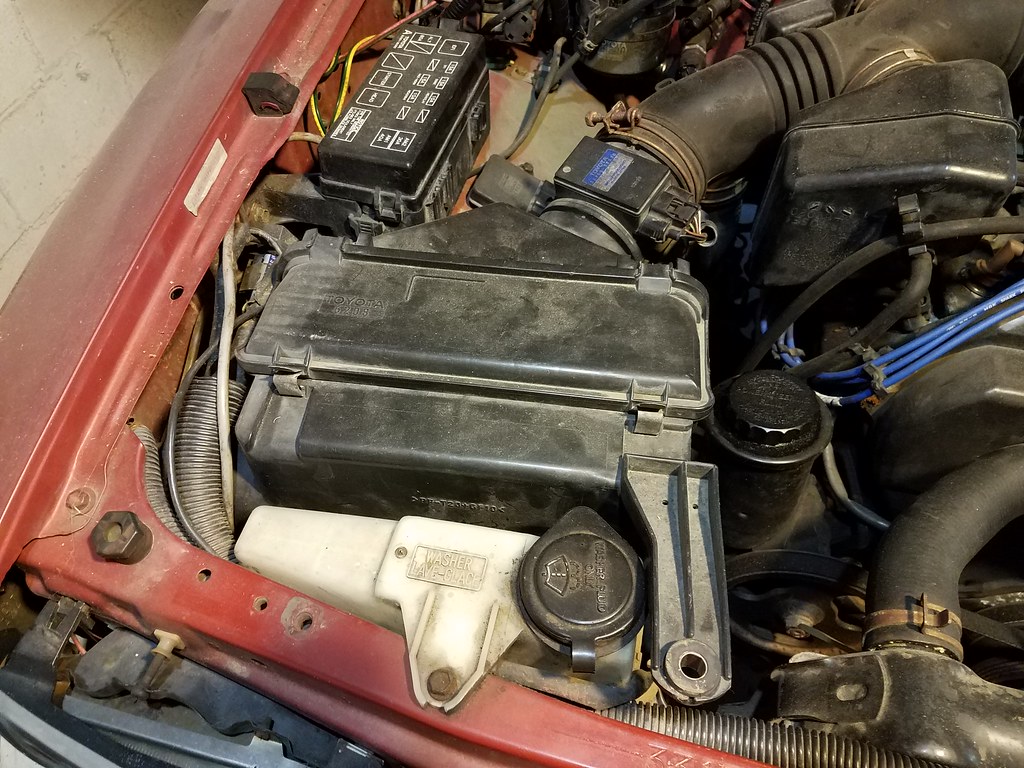
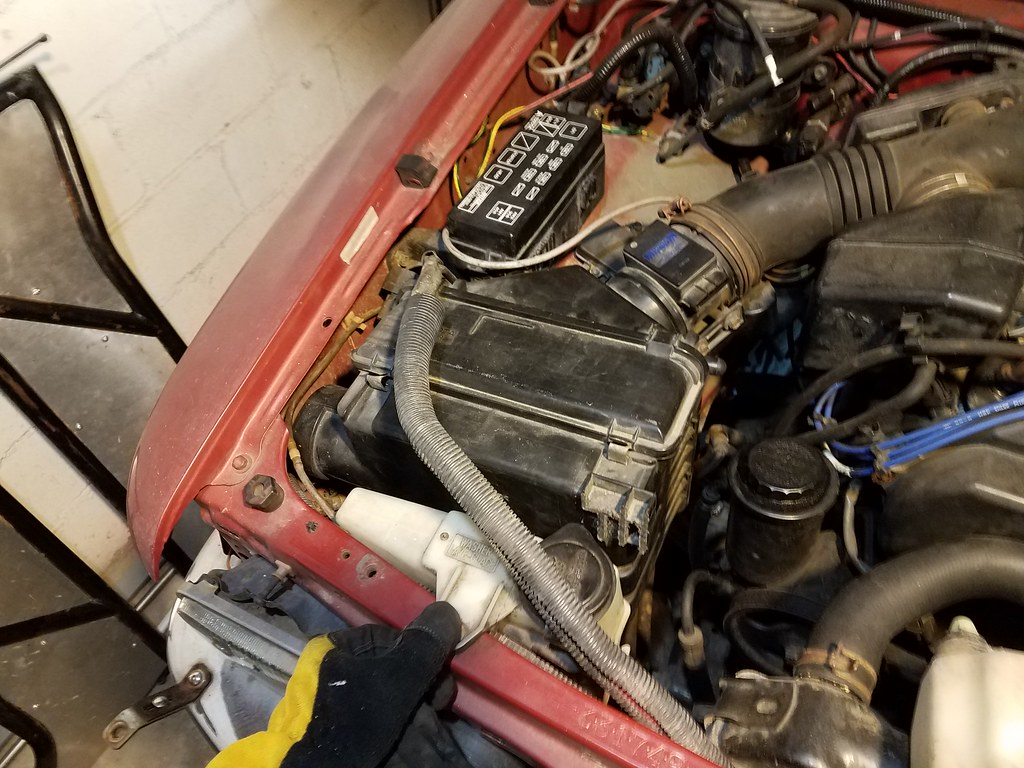
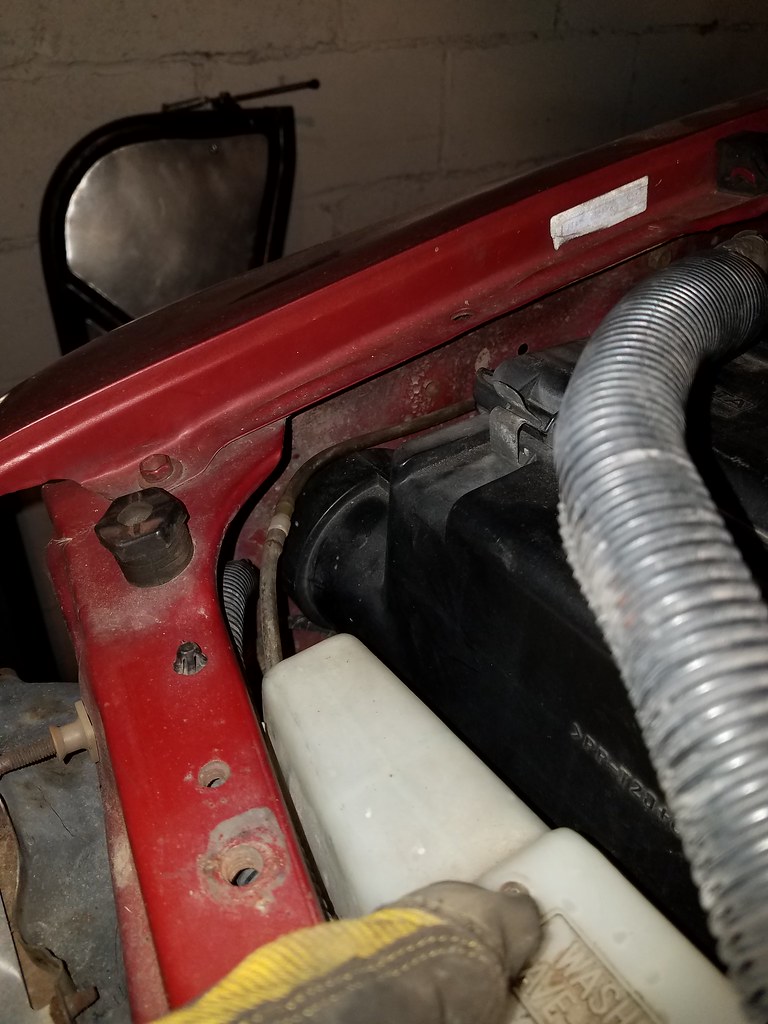
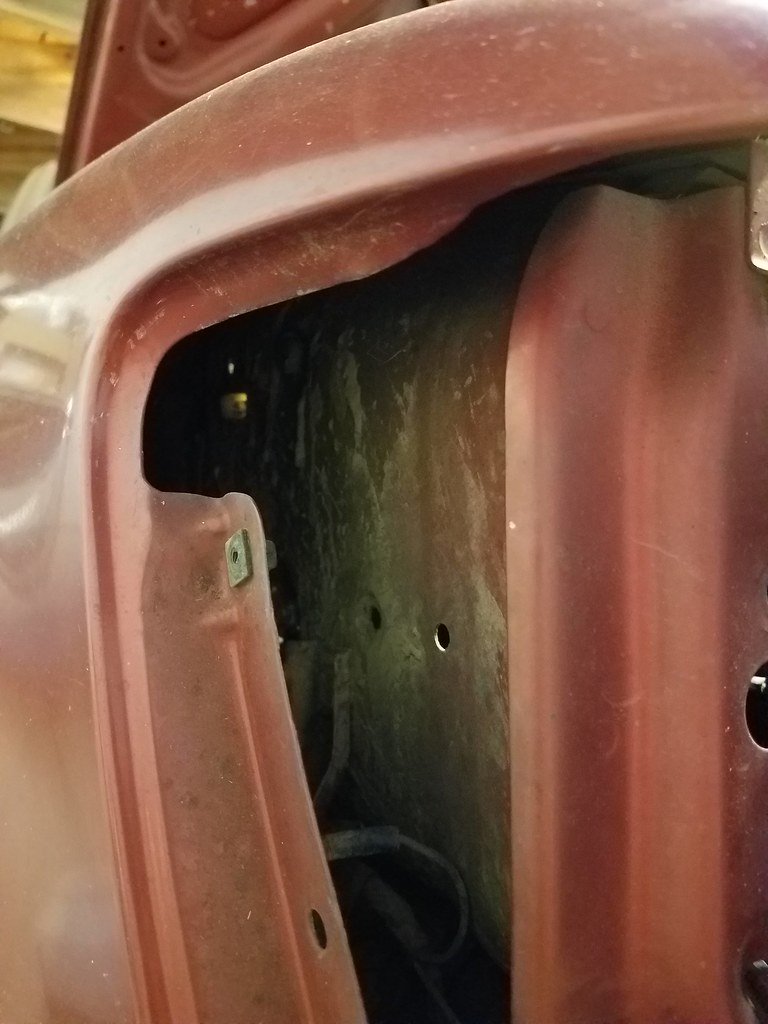
Since that was all I could do there, I moved on to the air box. I cut off the 4Runner mounting tabs, and marked up the area for the fender pass-through. I'm not sure if I want to use the 4Runner's fender air duct, or try something else.
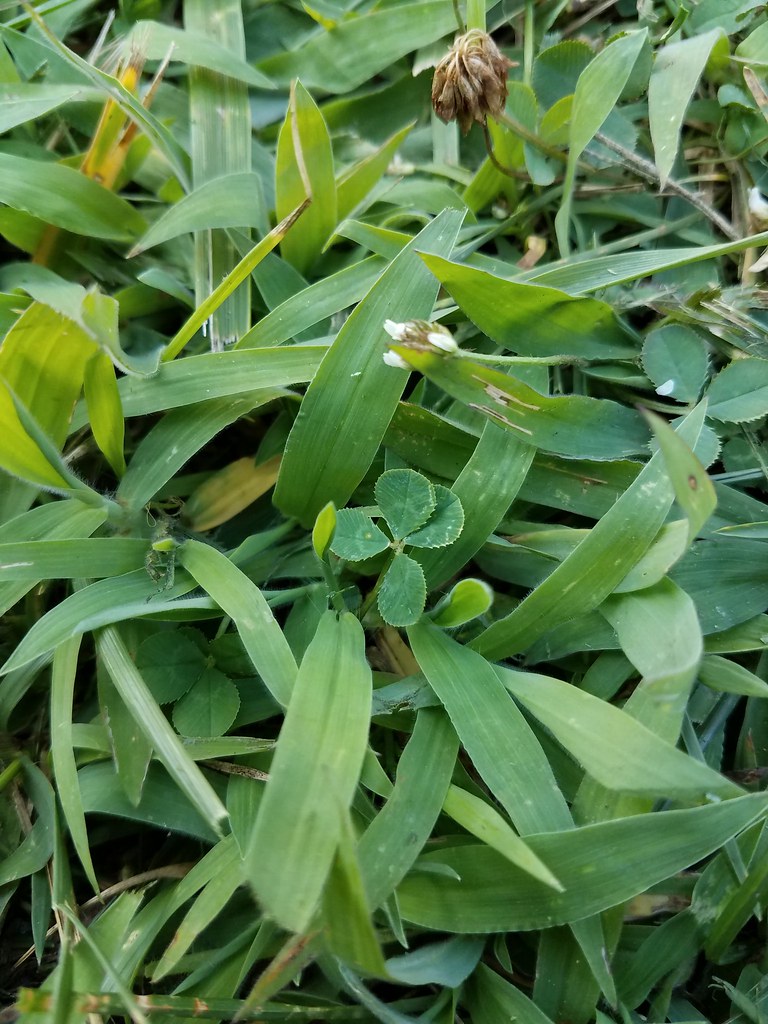
And a good sign: As I was heading in to work on the rig, I found a 4 leaf clover just outside the garage. I decided to let this one grow instead of adding it to my collection.
New battery tray from ToyOnlySwaps. They were QUICK with the shipping. The plate is beefy, and has attachment points for the charcoal canister brackets.
Then, while fitting it in the truck, I found that my coolant overflow tank is too big. Apparently there is a smaller tank on 86-88 trucks that fits better here. I'll have to figure out what to do here.
Since that was all I could do there, I moved on to the air box. I cut off the 4Runner mounting tabs, and marked up the area for the fender pass-through. I'm not sure if I want to use the 4Runner's fender air duct, or try something else.
And a good sign: As I was heading in to work on the rig, I found a 4 leaf clover just outside the garage. I decided to let this one grow instead of adding it to my collection.
07-12-2017, 11:12 AM
#276
Messed with the heater hoses last night. I need a few hose clamps, but I have all the hoses in place. I also tried to get the rag joint off the 4Runner, only to find it stuck on. I couldn't find my pickle fork, so it looks like I'll be getting another one.
In the meantime, I've made a list of what I need to do and get:
To do:
To get:
Longer than the traditional "wiring, fluids, interior" list, but broken out like this, I can cross these things off 1 or 2 at a time.
I won't be working on the truck much over the next week or so, as I'll be in and out for work, and some parts aren't shipping as fast as others.
In the meantime, I've made a list of what I need to do and get:
To do:
- replace rag joint
- mount air box
- modify fender for air intake
- replace oil switch with sender
- hose clamps for heater lines
- build last wiring harness (2 plugs)
- mount ECM
- mount battery
- install smaller coolant tank
- wire the tach
- wire the speedometer and sensor
- wire the water temp sender
- wire the trans (4wd and rev)
To get:
- hose clamps
- pickle fork
- 22R-E oil pressure sender
- hole saw for fender
- small coolant tank
- 22R-E water temp sender
- 4wd mating plug
Longer than the traditional "wiring, fluids, interior" list, but broken out like this, I can cross these things off 1 or 2 at a time.
I won't be working on the truck much over the next week or so, as I'll be in and out for work, and some parts aren't shipping as fast as others.
07-25-2017, 06:10 PM
#277
I was out in the garage for a few hours this evening... made almost no progress...
I needed a new rag joint in the steering, so I thought I'd take the one off the 4Runner. Easy, right? Nah... took me way too long to get it off. And it ended up getting a bit damaged. Did you know you can't just buy a new one? They don't sell them. And I don't want to turn this into a major fab project.
I went to put on the new steering hose lines. Simple bolt-on? Nah, spent a half hour looking for my damned wrench... which was inside the house the whole time -_-
And finally, I got 4 hose clamps on. Woo. The only thing I actually got accomplished.
At least I have a decent starting point for tomorrow.
07-26-2017, 03:41 AM
#278
Registered User
BTW, My local pick and pulls have a few 4Runners each that you could pull a rag joint from. I am guessing you could find a better one at a yard. I'd just take the shaft and joint to make it easy.
07-26-2017, 05:24 AM
#279
I might go on a junkyard spree soon. There's a handful of parts I need. I'm actually free this weekend, I might head out to the local PnP...
In other news, I was thinking last night; Since I'm getting rid of the pressure switch on the steering line (idle-up valve), I thought I could add in a manual idle-up control. I would use one of the ADD valves, and a toggle switch in the cab.
In other news, I was thinking last night; Since I'm getting rid of the pressure switch on the steering line (idle-up valve), I thought I could add in a manual idle-up control. I would use one of the ADD valves, and a toggle switch in the cab.
07-26-2017, 06:26 AM
#280
Registered User
You could put a choke cable on your accelerator pedal cable or linkage. This would give a bit more control for the moments when you need three feet to get going on a tricky section again. OR use a bicycle brake cable and lever on your stick shift to control throttle. These were my plans but the new engine is throttle by wire, so I will be installing an attenuator to intercept the accelerator pedal signal and have infinite throttle control on a dashboard knob.


