Solid Axle Swaps, All Years Anything SAS related

Scuba's 99 Single Cab SAS.. 5 Years in the Making

Old 05-02-2014, 08:19 PM
  #61  
Contributing Member
iTrader: (3)
 
BigBluePile's Avatar
 
Join Date: Dec 2006
Location: Sedro-Woolley, WA
Posts: 15,177
Received 178 Likes on 124 Posts
Honestly, I didn't find any difference between AOR's 5&6" rear springs....wasn't happy with that :/
Old 05-02-2014, 08:25 PM
  #62  
Registered User
 
HighLux's Avatar
 
Join Date: May 2010
Location: Ofallon Missouri
Posts: 2,587
Likes: 0
Received 7 Likes on 7 Posts
Looking good scuba. You have turned into a 4weeling solid axle fabricating monster 4wd guru!!
Damn near watched you grow up on yotatech. Proud of ya man. Fine young man.
Old 05-08-2014, 04:20 PM
  #63  
Registered User
Thread Starter
 
scuba's Avatar
 
Join Date: Jan 2008
Location: Austin, Texas
Posts: 11,338
Received 120 Likes on 59 Posts
Tomorrow is the day.
Cutting begins at roughly 8am. Stay tuned for pictures, questions, ETC.

Old 05-08-2014, 04:27 PM
  #64  
Registered User
 
HighLux's Avatar
 
Join Date: May 2010
Location: Ofallon Missouri
Posts: 2,587
Likes: 0
Received 7 Likes on 7 Posts
Originally Posted by scuba
Tomorrow is the day.
Cutting begins at roughly 8am. Stay tuned for pictures, questions, ETC.

May the yota gods guide the torch for you.
Old 05-09-2014, 11:13 PM
  #65  
Registered User
Thread Starter
 
scuba's Avatar
 
Join Date: Jan 2008
Location: Austin, Texas
Posts: 11,338
Received 120 Likes on 59 Posts
Well today was fun! Got a late start but had a very productive day and got to my goal of getting the axle hung.

$6k in parts.
Name:  121515D8-A205-4024-A62D-C58CB4432984.jpg
Views: 300
Size:  64.3 KB

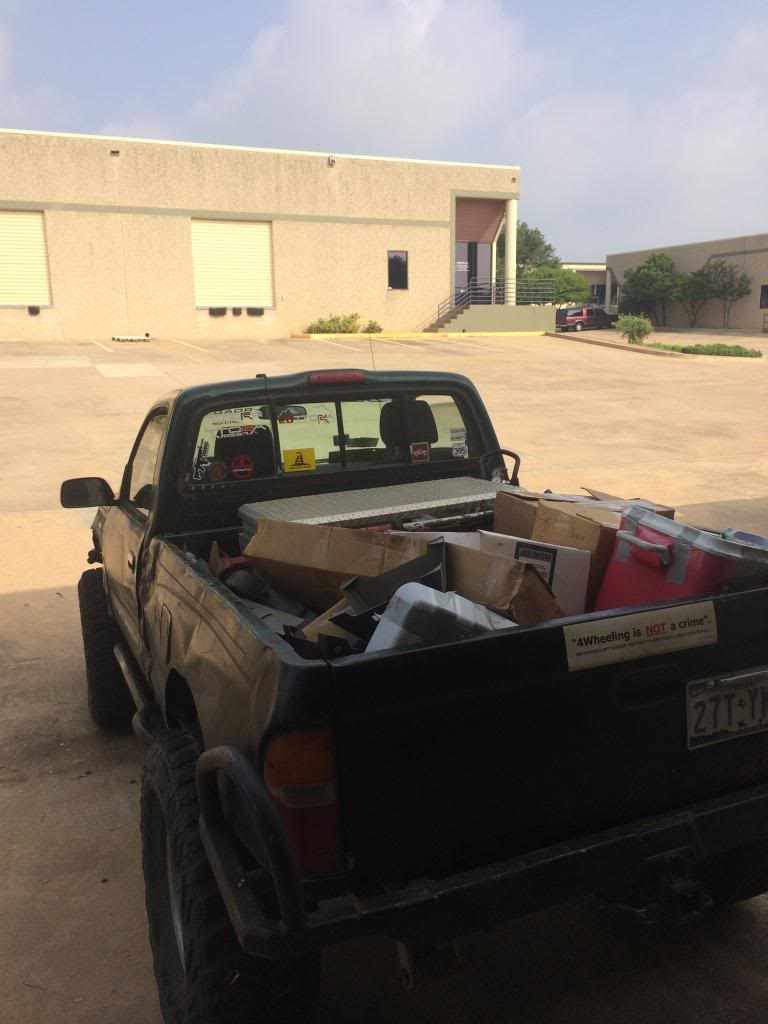
Last shot of the truck on IFS.
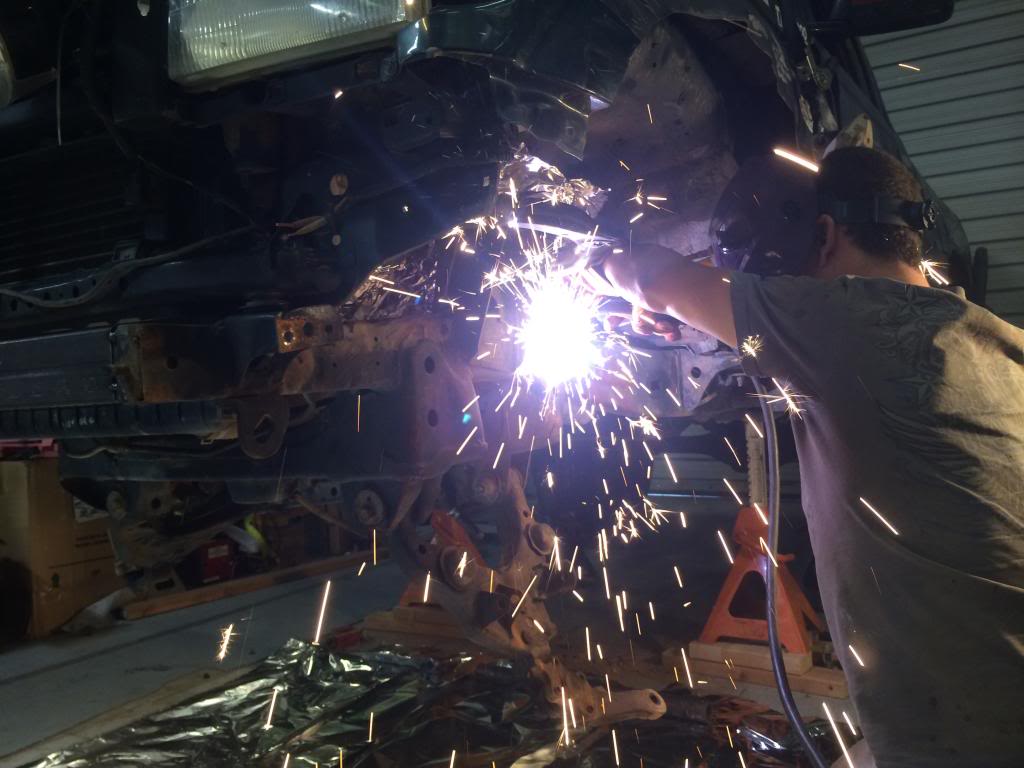
Name:  46BA1451-225C-4B54-B368-A1FE99DD9D0E.jpg
Views: 295
Size:  108.3 KB

Cutting.
Name:  6D0A4AA5-1FDB-454A-893C-4AD089A1D42A.jpg
Views: 292
Size:  81.1 KB

Mockup


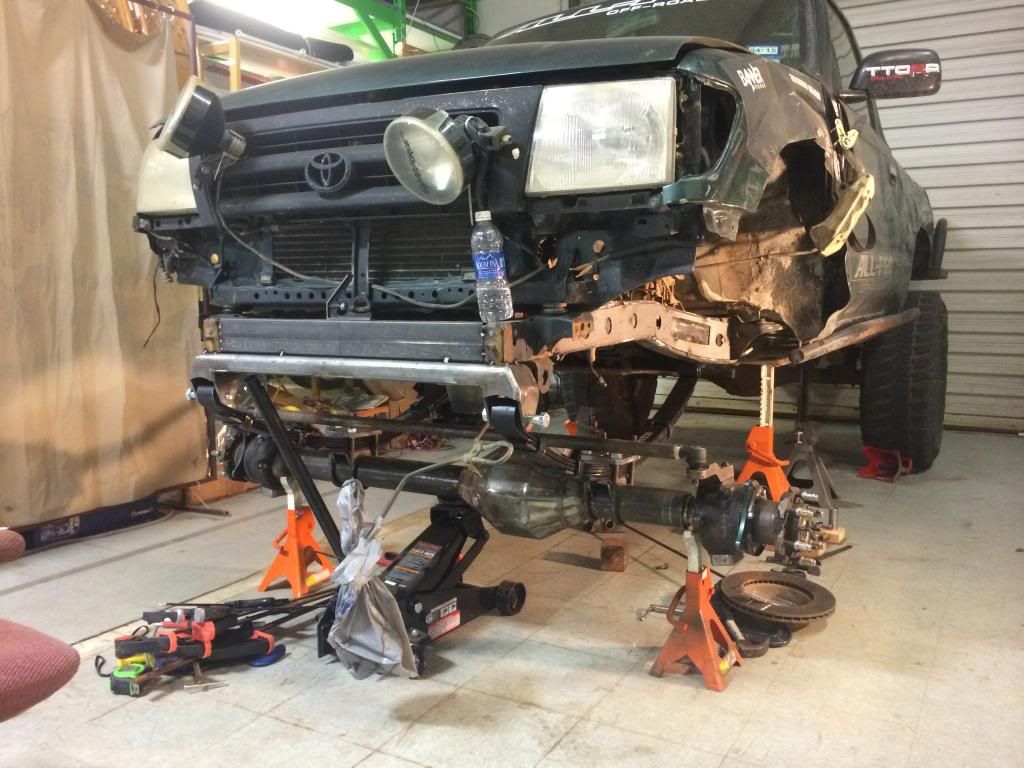
The centerline will probably be a little farther back than this.

Name:  1D1CA939-073F-40F4-9B22-6B236176D75A.jpg
Views: 326
Size:  112.9 KB


First thing in the morning I need to swap the oil pan, then get the shackle hangers mounted and test clearances. After that I'll get the steering box swapped in and go from there.

Old 05-09-2014, 11:19 PM
  #66  
Fossilized
Staff
iTrader: (6)
 
dropzone's Avatar
 
Join Date: Oct 2005
Location: PNW
Posts: 19,771
Received 448 Likes on 293 Posts
looks good bud!
Old 05-10-2014, 08:20 AM
  #67  
Registered User
Thread Starter
 
scuba's Avatar
 
Join Date: Jan 2008
Location: Austin, Texas
Posts: 11,338
Received 120 Likes on 59 Posts
Thanks Robb!
Back at it again this morning. Waiting for coffee to finish brewing and I'll get the new oil pan set in place!
Old 05-10-2014, 11:22 AM
  #68  
Registered User
 
rattlewagon's Avatar
 
Join Date: Oct 2009
Location: Northfield, Vermont
Posts: 4,735
Received 301 Likes on 207 Posts
Nice clean work space! Cant wait to see it sitting on all 4s.
Old 05-10-2014, 12:15 PM
  #69  
Registered User
Thread Starter
 
scuba's Avatar
 
Join Date: Jan 2008
Location: Austin, Texas
Posts: 11,338
Received 120 Likes on 59 Posts
First time on it's own weight. Thoughts on shackle angle?
It's about 5* negative.

Name:  60C02950-0151-4401-B5C7-965B08607C93.jpg
Views: 343
Size:  103.7 KB

Name:  8DB8445C-D891-4108-AB57-55CE5083D113_1.jpg
Views: 309
Size:  113.0 KB

Old 05-10-2014, 11:20 PM
  #70  
Registered User
Thread Starter
 
scuba's Avatar
 
Join Date: Jan 2008
Location: Austin, Texas
Posts: 11,338
Received 120 Likes on 59 Posts
Update:
Most bracketery on the front has been fully welded/ gusseted.
Steering box is partially mounted. Steering shaft is basically done.

Tomorrow I need to check a couple angles, finish welding the steering box mounts, finish welding the axle bracketery, assemble/ paint axle and front end, plumb steering box and finally, fill the oil pan.
Then I can move on to the rear end.

Old 05-11-2014, 08:02 AM
  #71  
Registered User
Thread Starter
 
scuba's Avatar
 
Join Date: Jan 2008
Location: Austin, Texas
Posts: 11,338
Received 120 Likes on 59 Posts
Steering box is mounted, just gotta finish welding the brackets.

Name:  9D5CFB45-4D8B-490D-91E6-F940C296E728.jpg
Views: 304
Size:  98.9 KB

Old 05-11-2014, 08:34 AM
  #72  
Registered User
 
HighLux's Avatar
 
Join Date: May 2010
Location: Ofallon Missouri
Posts: 2,587
Likes: 0
Received 7 Likes on 7 Posts
Looks stout. So whats left? Steering hook up?
Old 05-11-2014, 10:04 PM
  #73  
Registered User
Thread Starter
 
scuba's Avatar
 
Join Date: Jan 2008
Location: Austin, Texas
Posts: 11,338
Received 120 Likes on 59 Posts
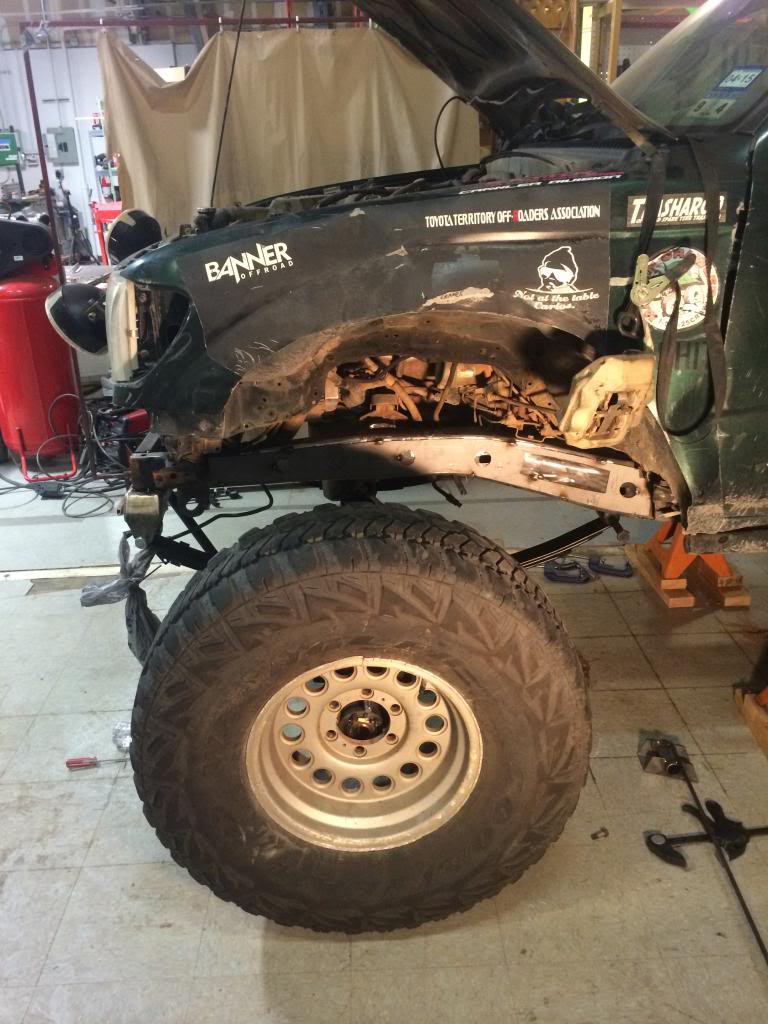
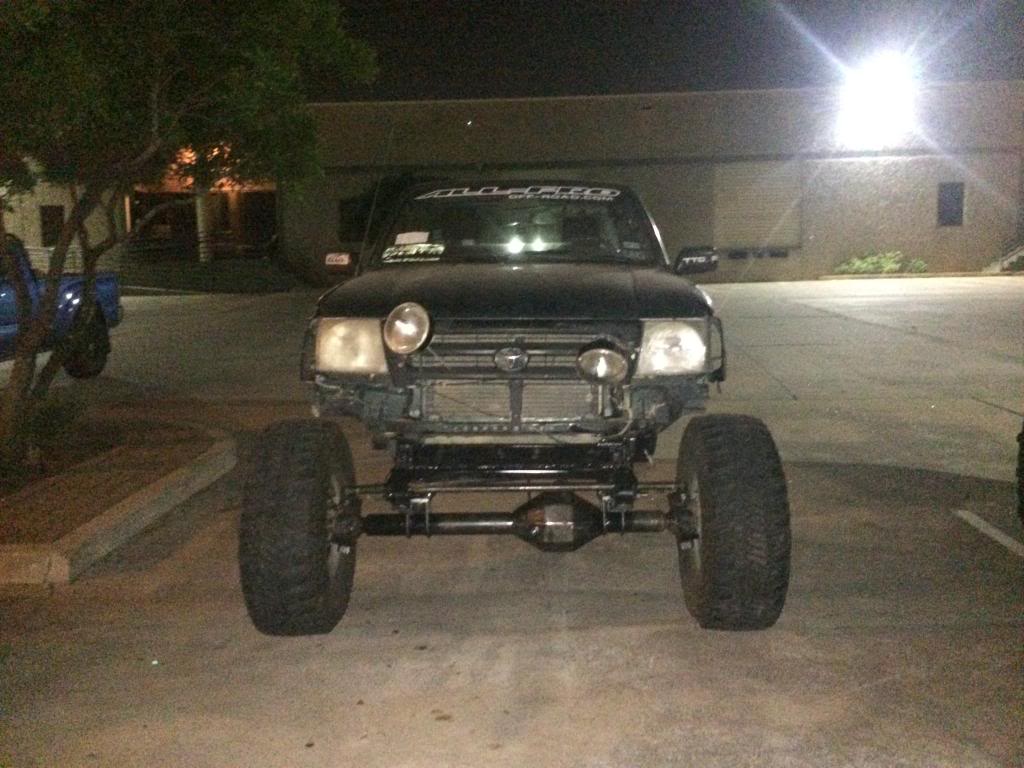
The front is "done." I still need to put the inner shafts/ birfs in, weld the steering stops on, and a couple other small things. I drove it out of the shop and got it up to about 50. I've gotta get the toe set a little better but everything is working pretty well.
I was hoping to get the center of the axle about 3" forward of stock. I measured everything and the axle ended up 7" forward. I've got a 111.5" wheelbase with an 80* approach angle. :O

Working on the rear suspension right now. The truck should be 95% by tomorrow evening.

Name:  0EB87C06-D7E8-4689-BDDC-274F667B1E26.jpg
Views: 315
Size:  102.3 KB

Name:  598072A0-5BCF-4A50-9372-67A363AE7CF4.jpg
Views: 297
Size:  104.9 KB

Name:  65E91D73-1298-4756-984E-CC73B3C865B9.jpg
Views: 278
Size:  85.2 KB

Old 05-11-2014, 11:18 PM
  #74  
Registered User
 
garagedoorman's Avatar
 
Join Date: Apr 2014
Posts: 7
Likes: 0
Received 0 Likes on 0 Posts
See, money does buy happiness. Great improvement
Old 05-11-2014, 11:59 PM
  #75  
Fossilized
Staff
iTrader: (6)
 
dropzone's Avatar
 
Join Date: Oct 2005
Location: PNW
Posts: 19,771
Received 448 Likes on 293 Posts
Glad you got the steering box issued figured out..
Old 05-12-2014, 06:40 AM
  #76  
Registered User
 
rattlewagon's Avatar
 
Join Date: Oct 2009
Location: Northfield, Vermont
Posts: 4,735
Received 301 Likes on 207 Posts
Looks like you need some bigger tires! Did you end up doing anything about the shackle angle?
Old 05-12-2014, 10:25 AM
  #77  
Registered User
Thread Starter
 
scuba's Avatar
 
Join Date: Jan 2008
Location: Austin, Texas
Posts: 11,338
Received 120 Likes on 59 Posts
Originally Posted by rattlewagon
Looks like you need some bigger tires! Did you end up doing anything about the shackle angle?
After my first post about shackle angle I moved the shackle hangers 3/4" forward and got the shackles to sit back at 80*. It's still a little steep but should settle in nicely.

Old 05-12-2014, 01:34 PM
  #78  
Registered User
 
85sr5excab's Avatar
 
Join Date: Sep 2012
Location: iowa
Posts: 618
Likes: 0
Received 0 Likes on 0 Posts
Originally Posted by scuba
After my first post about shackle angle I moved the shackle hangers 3/4" forward and got the shackles to sit back at 80*. It's still a little steep but should settle in nicely.

Hope they settle for u. Truck's lookin tits. How's it ride so far?
Old 05-12-2014, 08:04 PM
  #79  
Registered User
Thread Starter
 
scuba's Avatar
 
Join Date: Jan 2008
Location: Austin, Texas
Posts: 11,338
Received 120 Likes on 59 Posts
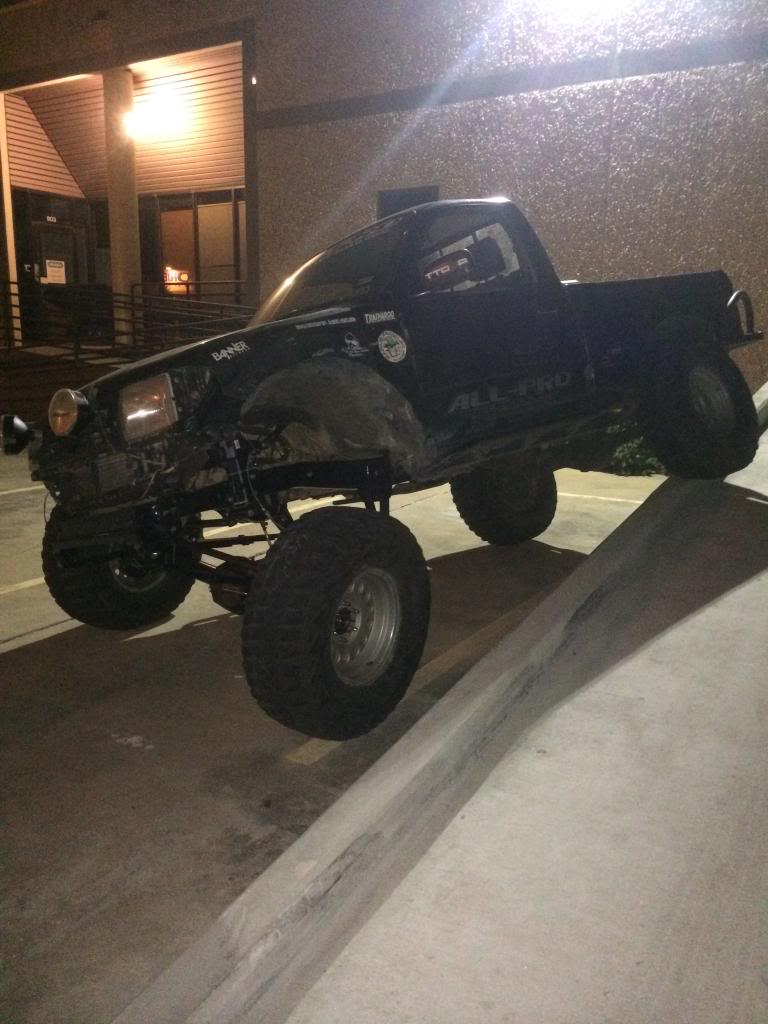
I got to take the truck home from the shop tonight.
It's slightly bouncy without shocks. Needs a steering stabilizer. Wanders a bit at speeds of 50 and over. Otherwise, everything is great. I need to triple check my toe which I thought I set at 3/16's in. I'll get some pictures tomorrow morning. I did the math and I was at the shop for a grand total of about 50 hours!
Old 05-13-2014, 05:03 AM
  #80  
Registered User
 
bump530's Avatar
 
Join Date: Apr 2013
Location: Louisiana
Posts: 478
Likes: 0
Received 4 Likes on 4 Posts
Why did you decide to put the shackle hanger under the frame? Looking at the FROR kit, it looks like it would go thru the frame.

Thread Tools
Search this Thread
Quick Reply: Scuba's 99 Single Cab SAS.. 5 Years in the Making


All times are GMT -8. The time now is 04:35 PM.