When you click on links to various merchants on this site and make a purchase, this can result in this site earning a commission. Affiliate programs and affiliations include, but are not limited to, the eBay Partner Network.
I have the 33" version of the Goodyear Wrangler DuraTracs. Love them. Just a bit more aggressive than an A/T, but not a full M/T. Great manners both on - and off road.
Marlin was out of 26" long SS brake lines at the time of this decision....
so I started thinking.....wouldn't it be nice to do what I did in
the past on 2 other SAS jobs....use 2 new rubber lines in series.
2 of these on the front on each side.......38" should suffice.
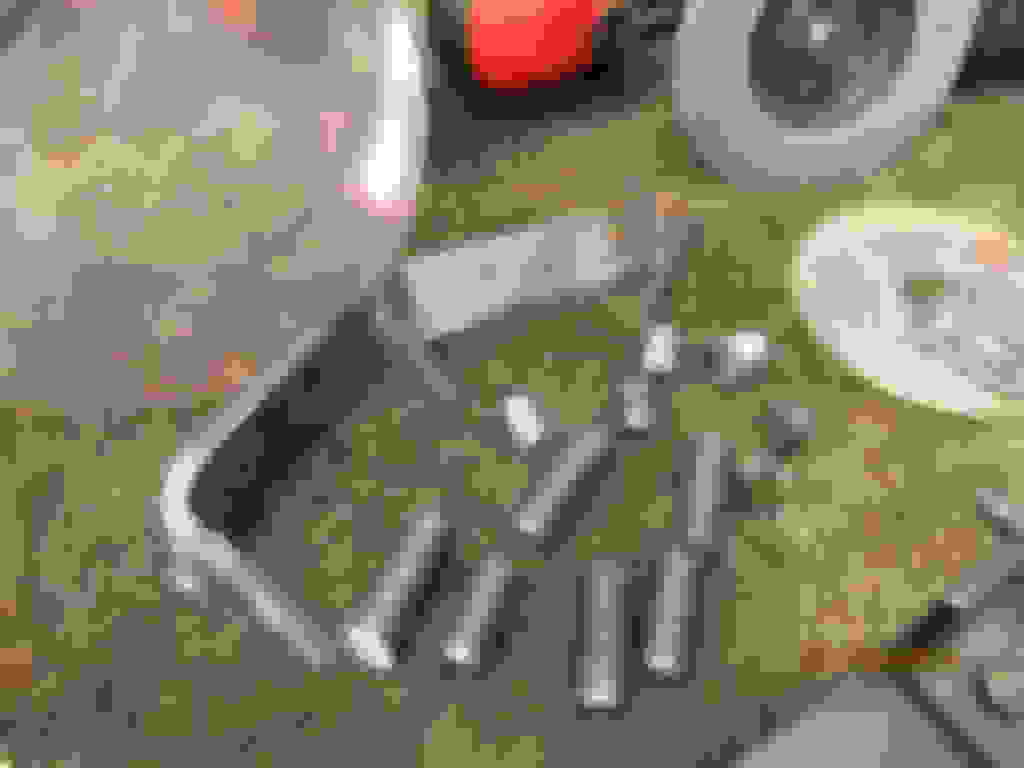
Brand new rotors were inherited with this project. Strangely one rotor has 6 new studs and no
damage....then there's this one that has thread damage to all 6 studs in the same general area.
Mind you, these are new rotors with new studs. Not sure what happened there but 6 new Dorman
wheel studs are on there way to me part # 610-264
.......ok, thinking about it a little....I bet I used an old nut to pound these studs out of the
old rotor/hub assembly
And I probably used the press to ease them out for the other side so it's my fault
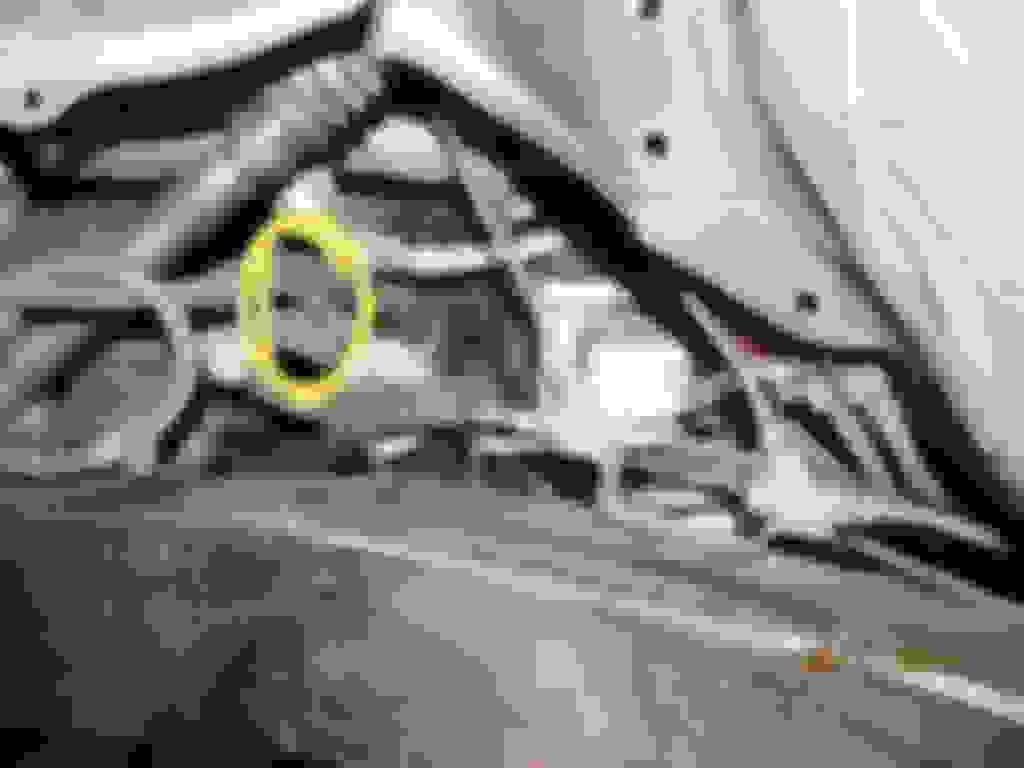
Purchased toyota part # 43204-60020 backside of knuckle rebuild kit.
Rubber seal DOES NOT go in there first.....
same shot without the flash going off.
It's the metal ring that goes in first.
Then the rubber....a little bit of grease keeps the pieces in place.
Then I cut the felt at the top 12 o'clock position.....
....and slip it in place. Again, some grease keeps it in place.
Finally, the metal half rings go in place and not too tight on the bolts.
Passenger side....will attach the new rubber hoses at this junction.
Driver's side....it's more complicated but will just remove the old hose at it's junction.
Trying to get it street worthy first
That means it might not have a front DS at the very beginning.
Just walked down to Napa and picked up my brake hoses.....4 of them.....$10 each.
These are 17" long hoses.....the part number I posted further up on this page would have
been 19" long and I'm figuring the 17's are a better fit.
Male to female.
34" length total. I will pull the solid steel line down to the frame and secure it with 1 or 2 clamps.
Really appreciate all the driving me around you did for me, Stace.
Started to tap the reinforced frame for the Ford shock towers..........
.....but as you can see changed my mind and carefully aligned them and MIG welded in place.
Also, cut off the back half of the rear fixed spring pack mounts.
They were hanging out in space over the edge of the plate and now they look a little better.
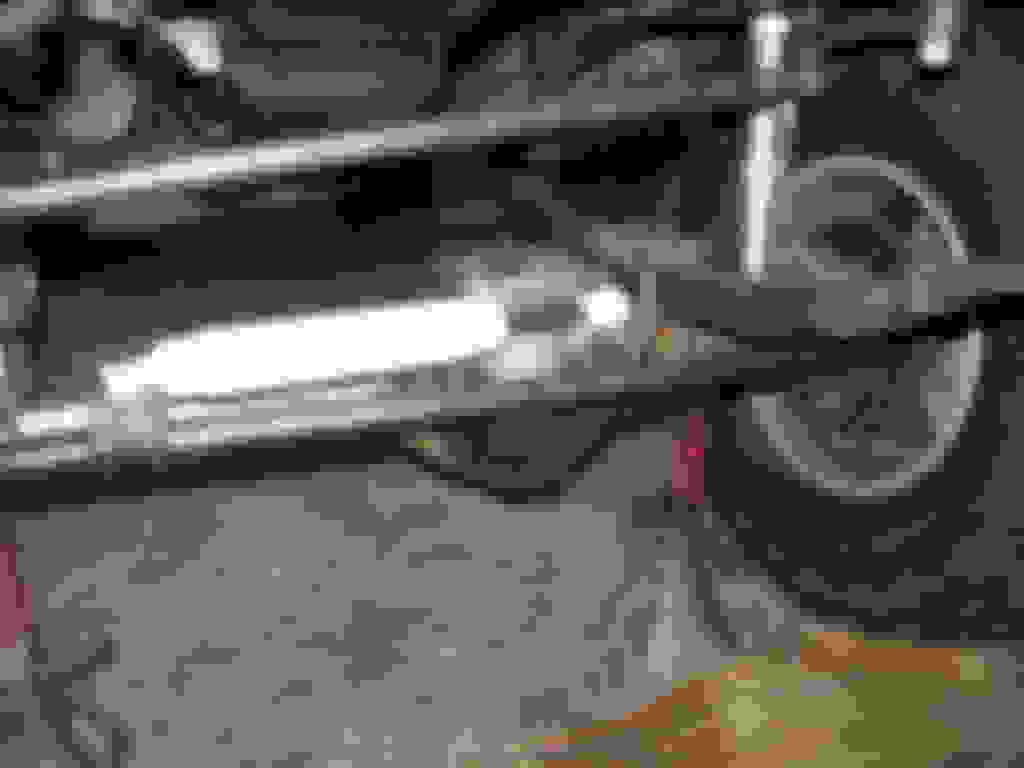
Rear mount is kinda close to the cat. Started to worry a little when I was aligning the leafpacks
and squaring things up. Came about 1/2" away from the cat so all is ok.
Touched up the 4 corners on the front pivotal shackles.
"excess weight" that I cut off mostly for appearances.
Cut the excess off the top of the u-bolts.
Same on this other side. Notice that 1 u-bolt has a welded thick washer...
welded at a slight angle to tighten up evenly.
The angle can be seen here.
And this is the reason here....the extra bend required in the u-bolt to clear and wrap
around the axle housing.
...........................................
..............Sacrificial u-bolt is welded in place to keep the HD one properly located.
...........
..........
Jam nut.....Excess bolt is cut off
same on other side....the jam nut has the bolt cut flush.
What I see before my morning coffee......
sip....sip....all is clear again.
Sneaker is on the front driveshaft flange.
That flimsy cross-member is in the way of the future DS.
I have some ideas....build it down some more or relocate a heavy duty piece of 2x3 rectangular
tubing about 6 inches farther back.
Get that crossmember sorted.
I'll have time to come over in 2 weeks (burning vacation time). We'll get your brake lines sorted, filled, bled, and I can get your custom splash guards made.
You'll be driving it around soon.
We gotta shake it down.
I see the finish line.
Brakes were bled using the one man with a 5 foot piece of clear hose and milk jug with good success. Power steering reservoir topped off (did a flush just to make sure good, clean ATF is flowing thru the lines).
First test drive this morning. Success. Nothing fell off and no smoke. Some tweaking of the front pivotal shackles and I already have the spacers to clearance their pivotal movements. I have a slight toe-out condition right now and will easily remedy that with a half twist of the Marlin rod.
Did this test drive WITHOUT the shimmy shock on. No apparent shimmy even when hitting potholes and speed bumps but I will be putting the Marlin shock on today or tomorrow.
Engine (3.4L with auto) runs just as sweet as it did 8 months ago before it went into the shop. The 35" tires are heavy so I can't burn any rubber off the line anymore. The 4.10 gears might be changed out in the future for 4.88's
I estimate I have a 6" lift or more overall. It's a monster of sorts all I wanted was a competent camping rig and I guess it does that and then some.
More to come with pics soon. Oh ya...first stop was the carwash to wash off the grinding dust/grease that had accumulated over 8 months time. Got most of it off. But it still does not have a custom ZUK bumper yet. Still had some guy about my age(50's) come over and compliment my rig. He said he used to have an 03 Taco and loved it....should not have given it up.
I wonder if these 2 inch aluminum front wheel spacers will ever loosen up on me? I did apply blue medium strength Locktite to the virgin wheel studs. 70 ft/lbs.
This afternoon the Marlin steering stabilizer was welded on.
Not so obvious, this creeper shackle was moved to the inside 1/4" and back the same.
And the toe was tweaked in 1/2 turn. The plan Monday is to visit Davis Steel
and get some bumper material....in the truck
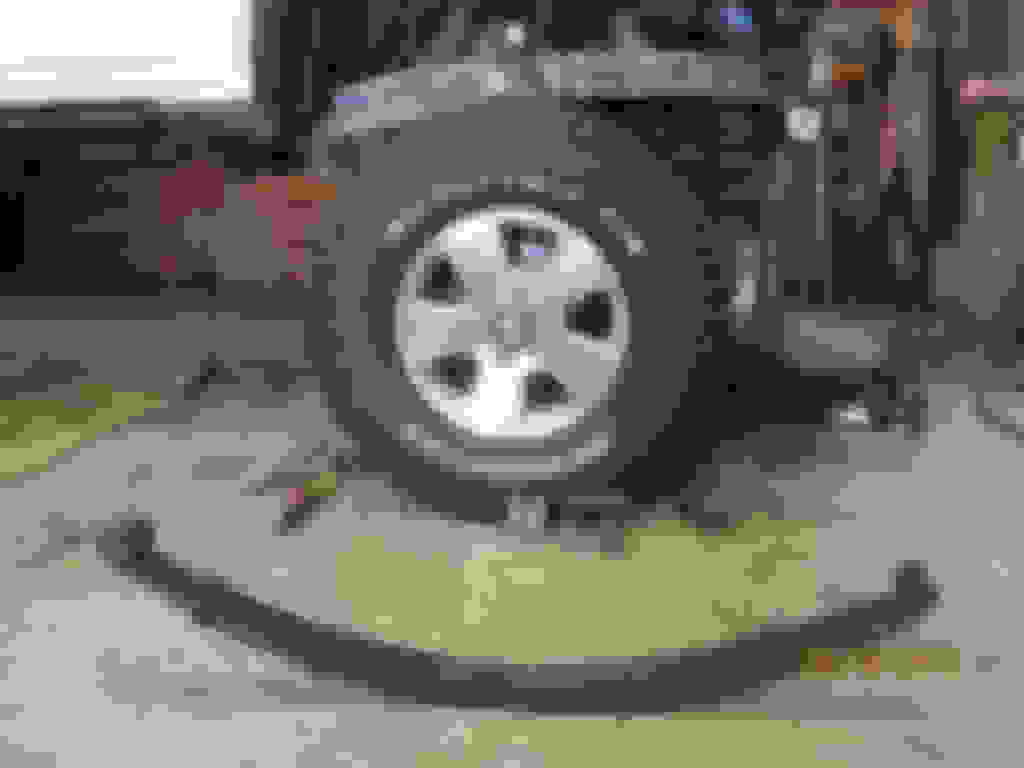
The leafpacks up front were a bit stiff and also had too much lift so the AAL will be removed.
Also, the Creeper shackles shown still welded to the frontal frame will go away and the wide
normal shackles (thanks Craig!) will replace the. Creepers are now verified to suck for road
use....especially on the front packs. Drives real creepy..... and wonders.... and front of shackle
moves all over the place with steering input.
Craig had cut the tabs off the original pack and re-welded them directly to the
corners of the AAL. Migging mild steel to spring steel I thought would have
been cracking at the weld joint but I saw no such issue with Craig's weld
I carefully sliced the tabs back off and removed the bolt that holds
the pack together.
This AAL is causing the excessive ride height and the stiff ride I am almost sure.
Re-assemble pack and cut excess bolt end off.
Salvaging the tabs....placing them back where they originally came from.
Re-weld them and immediately placed a fan near the welds to keep the nearby
leafs from over-heating and loosing temper.
Leafpack mounted back in place and the extra wide shackle is welded in place.
Same is done for the driver's side. All this in the 110 degree weather.
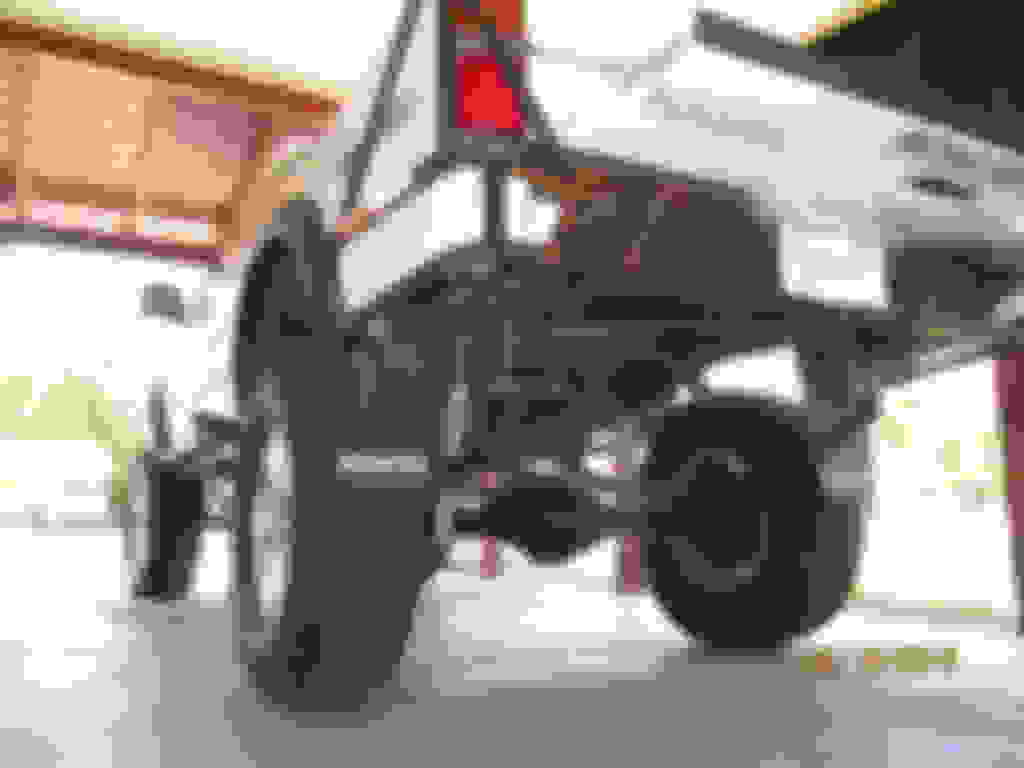
Some shots of the truck today. It's on the road but some more tweaking to do.
I will be taking it on a trip to Rochester NY in about 6 weeks so I have time to
fix things....as long as I don't mind working in the 115 degree weather.
As shown, a diff has been picked up from the nearby Fedex....
somebody wants a Kazuma in the 8.4" rear-end Tacoma
The 12" travel shocks will see the upper mounts soon located down about 3 inches to put the shock in the middle of its travel range.
After discovering that a hard left u-turn results in the tire contacting the front
portion of the leafpack. I decided to break the weld AGAIN on the shackle
and move it inwards 3/4" and that fixed the prob.
That also meant I had to break the welds that held the spring perch on and move it inward 3/8". Joy.
Front shocks are right in the middle of their travel...as they should be
Take note of the large angle from steering box to steering shaft. Not a bit
of a problem. Steering is silky smooth.
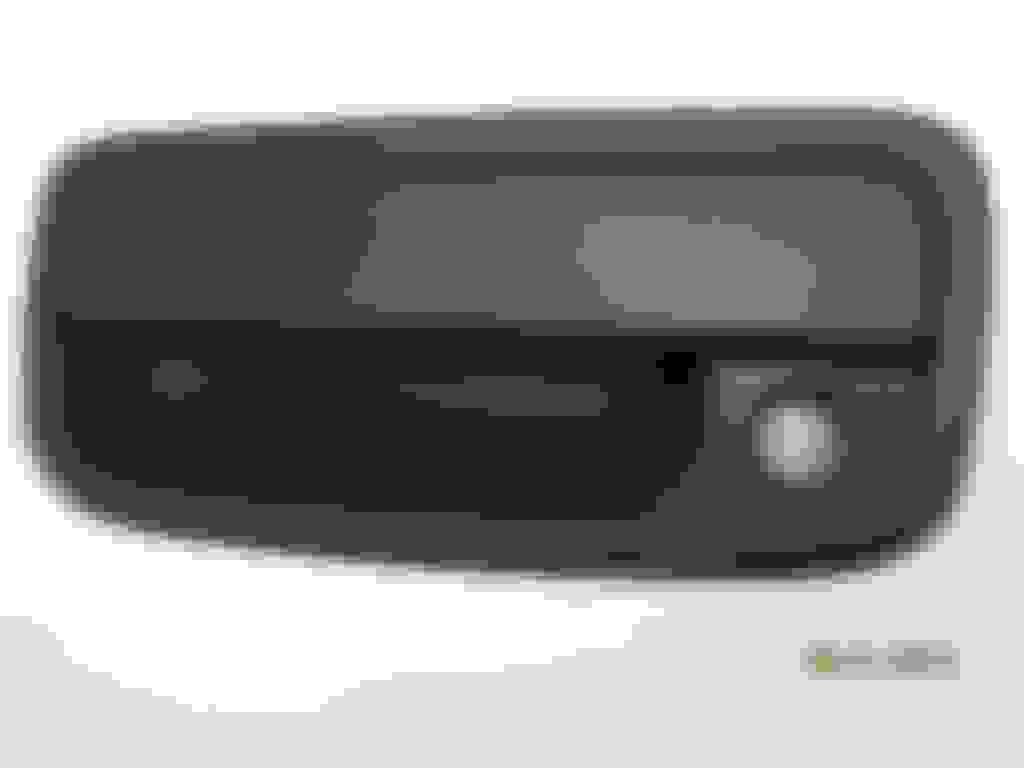
New driver side plastic door handle.....this should be considered as a part of the cost of the SAS
because if I can't get into my truck because the handle decided to bust 100% then I can't
drive the SAS truck.
Here's the new one in place and probably good for another 14 years.
Here's the step by step to change it out. 3 hours taking my time...taking pics....occasional swearing
also. This was the easy part...even for me. Electric windows obviously. Take small screwdriver
and pry under the FRONTAL part of the plastic switch panel....it pops up rather easy....slide assembly
FORWARD and out it comes. The 2 wire harnesses unclip real easy.
I used a tiny jewelers screwdriver to remove the 2 plastic buttons with minimal damage....
Then a really BIG phillips to get the 2 screws out.
Remove this screw....easy.
Stll would not come off. Then it dawned on me.....
....just slide the darn thing straight forward and it comes instantly loose.
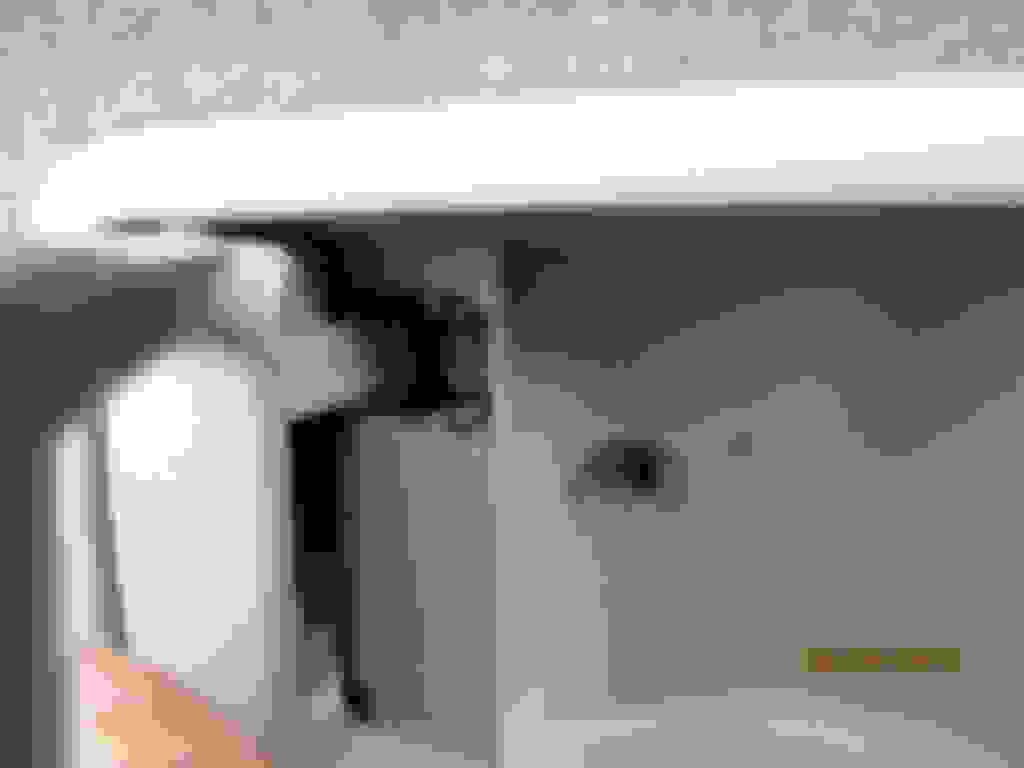
You can see the latch on the left side of pic that I popped off with no issues.
close up of that door opening latch.
Probably should have removed this the very first step but it easily pops off prying on the TOP.
You can see the hook on the bottom of the plastic ornamental cover and the plastic peg....
that's all that holds that piece in....not much.
Nerve racking popping those delicate brittle plastic button retainers loose. I used 2 big screwdrivers to pop them loose. Only busted 1. Only had to dis-connect the tweeter
wire and that was easy......panel was officially loose.
This is a good one....busted only one.
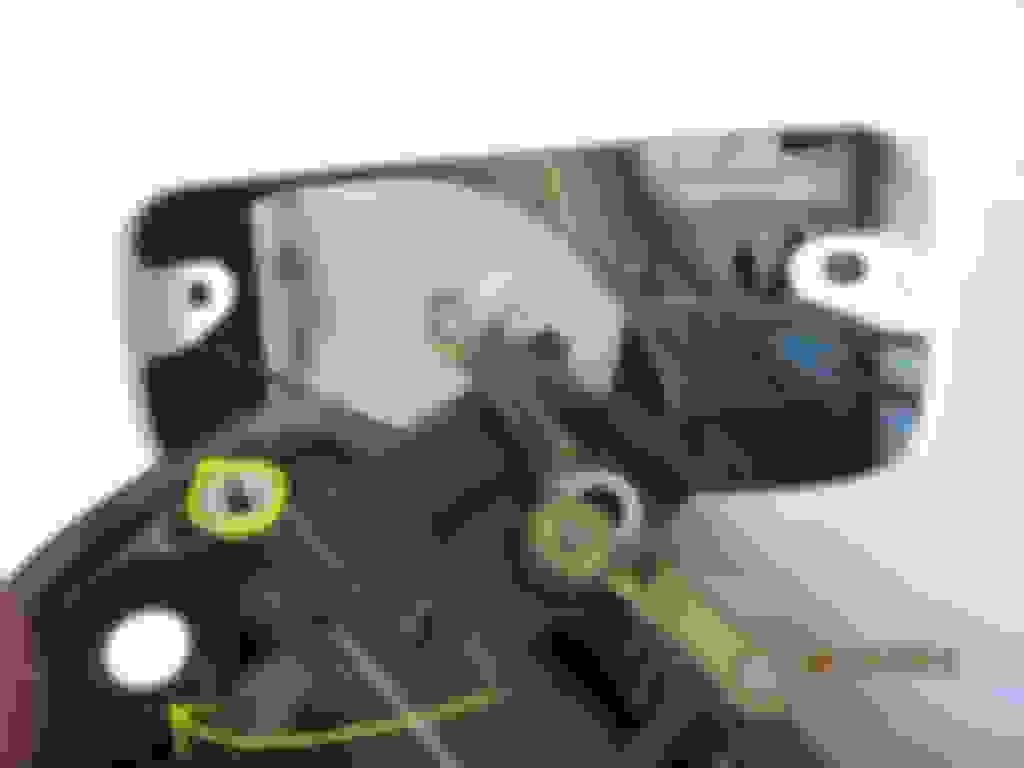
Peel back the plastic tarp and there's the bad boy.
hmmmm....2 10mm bolts....how do I get to that one way in there?
Toyota was kind enough to put a access button in
And easy access with a 1/4" ratchet.
there we go.....
Take the key assembly off. Minor PITA to get that pink clip off without breaking it but it
worked out ok.
2 things will hold that key assembly in place....a 10mm bolt and some support also from
the visible metal tab shown touching my little finger. More about that tab in a minute......
This other white tab was an equal PITA but got it off.
I broke it off......a new one comes on the new handle anyways.
The key assembly drops easily in that hole on the left....the 10mm bolt holds it securely in
place.... Look closely at the key hole. See the place for the metal tab to slip under the plastic
lip? Make sure your new aftermarket door handle has a wide enough lip for the tab to interface
with. If not, you may crack that plastic tab and cuss a little. The tab does not appear to be
a main source of support for the tumbler assembly if it's any consolation. That's about it.
All the rest is basically re-assembly.
I used red loctite and tightened the holy walkamolies out of it.
That's my old Tacoma front DS that was on my IFS stuff originally.
It's extended in place and you can see that it hit the tranny cross-member.
The differential end of the DS can EASILY be re-drilled....lots of real estate on the landcruiser flange.
Not that big a deal to redrill.
If I used a 1.25" Low Range aluminum spacer on the upper end......then the splines would
be back to their normal place.
This end requires no drilling...it will bolt right up.
Ya....looks like 1.25" spacer.
Driveshaft on upper left of pic..... That's the tranny mount....will keep that.
It unbolts from hidden holes in the cross-brace.
I plan to support the tranny so it doesn't move when I remove the cross-brace.
Thick steel plate That the tranny mount will now bolt to instead.
New cross-member will be "offset" closer to the camera lense point of view
and braced accordingly.
No rush on that mod yet.....got a few other things to do.
Wow!!!! Quite the progress! Honestly I was curious if you were going to keep the creeper shackle mounts. Ihave those for my rear springs and can tell that they are back there foooo show. Again, fantastic . Can't wait to see how the crossmember works out. Then, flex pics!!!!!
thanks BigBlue-
The 1.25" spacer for the rear DS works so well and has a nice fit and finish that
I just now ordered another for the front DS.
Ya, the creeper shackle is not entirely road friendly....at least on my front shackle
set up. But I had to try it out to see for myself.
The cross-member is going to work out well...I know it. I have been thinking
about the simplest and strongest method. The 1.25" aluminum DS spacer actually
helps me get more clearance....the combo of moving the cross-member back and
the DS forward with the spacer guarantees good clearance during DS droop.

 05-27-2015, 07:00 AM