Solid Axle Swaps, All Years Anything SAS related

SAS FJ60 with axle housing flip and front shackle for my 2001 Tacoma

Thread Tools
 
Search this Thread
 
Old 11-17-2014, 04:57 PM
  #41  
ZUK
Registered User
Thread Starter
iTrader: (1)
 
ZUK's Avatar
 
Join Date: Oct 2003
Location: Prescott AZ
Posts: 1,845
Received 24 Likes on 22 Posts
Originally Posted by Staceman1
Can I buy one of your old CV Axles from you?
Nephew needs a trail spare. Need any help?
Just let me know.
If you need it then it won't cost you anything.....the CV's are not "complete" as the earlier pics showed. Do you think it might be better to have the "cut birf" to allow it to get out in 2WD mode?
Old 11-17-2014, 06:59 PM
  #42  
ZUK
Registered User
Thread Starter
iTrader: (1)
 
ZUK's Avatar
 
Join Date: Oct 2003
Location: Prescott AZ
Posts: 1,845
Received 24 Likes on 22 Posts
This is the pass. side prepared and ready for the ZUK plate. I decided on a moderate plate but still
worth the effort and that is to plate it with 4" x 5/16" flatstock....roughly 44 inches worth. That hump
visible near the cab body mount is no longer. It is now somewhat "level" with the help of a flame and
a big hammer. The flatstock will not stick out.

Last edited by ZUK; 10-23-2017 at 10:11 AM.
Old 11-17-2014, 07:11 PM
  #43  
Contributing Member
iTrader: (3)
 
BigBluePile's Avatar
 
Join Date: Dec 2006
Location: Sedro-Woolley, WA
Posts: 15,177
Received 181 Likes on 126 Posts
That's one smooth frame rail!
Old 11-23-2014, 06:13 PM
  #44  
ZUK
Registered User
Thread Starter
iTrader: (1)
 
ZUK's Avatar
 
Join Date: Oct 2003
Location: Prescott AZ
Posts: 1,845
Received 24 Likes on 22 Posts
Originally Posted by BigBluePile
That's one smooth frame rail!
Gonna look even smoother with this 4" x 5/16" thick flat-stock on the whole front of the frame rail


The back piece of steel had to have the torch to heat it up so the c-clamps would conform the plate to the curve.

Last edited by ZUK; 10-23-2017 at 10:12 AM.
Old 11-23-2014, 08:45 PM
  #45  
Contributing Member
iTrader: (3)
 
BigBluePile's Avatar
 
Join Date: Dec 2006
Location: Sedro-Woolley, WA
Posts: 15,177
Received 181 Likes on 126 Posts
That is one big piece of steel.
Old 11-24-2014, 04:58 PM
  #46  
ZUK
Registered User
Thread Starter
iTrader: (1)
 
ZUK's Avatar
 
Join Date: Oct 2003
Location: Prescott AZ
Posts: 1,845
Received 24 Likes on 22 Posts
Estimated about 150 inches of thick MIG weld...continuous on the top side and stitched on the bottom. Pics tomorrow.
Old 11-24-2014, 10:37 PM
  #47  
Contributing Member
iTrader: (3)
 
BigBluePile's Avatar
 
Join Date: Dec 2006
Location: Sedro-Woolley, WA
Posts: 15,177
Received 181 Likes on 126 Posts
Is this a common practice on the Tacoma SAC's?
Old 11-25-2014, 07:48 PM
  #48  
ZUK
Registered User
Thread Starter
iTrader: (1)
 
ZUK's Avatar
 
Join Date: Oct 2003
Location: Prescott AZ
Posts: 1,845
Received 24 Likes on 22 Posts
Originally Posted by BigBluePile
Is this a common practice on the Tacoma SAC's?
I don't think it is.....I might be the first as I have never ran across a build with anybody doing this. It's a piece of 4" wide flatstock about 44" long.....and it appears to really do a beefing up job on the frontal frame. 2 reasons I can justify it.......it protects my investment meaning I can do a frontal collision with a car....or even an SUV and likely come out with no damage and drive off with no damage (that would really confuse the cop taking the report as they know how smashed up all light trucks end up being) and number 2----I can drill/tap/mount my steering box directly to the outside frame rail. (no drilling thru the frame and using 3 sleeves. )
The radiator I am using (Spectra CU1778 fits 95-04 Toyota Tacoma) also appears to be an uncommon choice but it seems like it should be the preferred choice due to being flush with the bottom of the frame rails.
I was just out in the shop grinding the high spots on some of the welds. No pics yet to show.

Last edited by ZUK; 11-26-2014 at 03:12 PM.
Old 11-26-2014, 01:18 AM
  #49  
Contributing Member
iTrader: (3)
 
BigBluePile's Avatar
 
Join Date: Dec 2006
Location: Sedro-Woolley, WA
Posts: 15,177
Received 181 Likes on 126 Posts
It will definitely make for a clean look!
Old 11-26-2014, 03:17 PM
  #50  
ZUK
Registered User
Thread Starter
iTrader: (1)
 
ZUK's Avatar
 
Join Date: Oct 2003
Location: Prescott AZ
Posts: 1,845
Received 24 Likes on 22 Posts
Out there doing some welding.....2 x 4 x .25" rectangular steel....37" long...... it will be the main frontal cross brace in about an hour.. Pics eventually coming.
Old 11-27-2014, 06:22 AM
  #51  
Contributing Member
iTrader: (3)
 
BigBluePile's Avatar
 
Join Date: Dec 2006
Location: Sedro-Woolley, WA
Posts: 15,177
Received 181 Likes on 126 Posts
Yay!!! Pics!!!!!
Old 11-29-2014, 04:40 PM
  #52  
ZUK
Registered User
Thread Starter
iTrader: (1)
 
ZUK's Avatar
 
Join Date: Oct 2003
Location: Prescott AZ
Posts: 1,845
Received 24 Likes on 22 Posts
welded on the frontal crossbrace
passengerside


5/16" thick bottom brace plate.....if it bends then I
have serious other issues to worry about.

Last edited by ZUK; 10-23-2017 at 10:13 AM.
Old 11-29-2014, 09:58 PM
  #53  
Fossilized
Staff
iTrader: (6)
 
dropzone's Avatar
 
Join Date: Oct 2005
Location: PNW
Posts: 19,771
Received 448 Likes on 293 Posts
still learning about the frame plating etc. Just curious why you didn't have holes cut in the middle of the plate to weld to like some have done?

Will the plate throw off the steering box placement at all?
Old 11-30-2014, 06:29 AM
  #54  
ZUK
Registered User
Thread Starter
iTrader: (1)
 
ZUK's Avatar
 
Join Date: Oct 2003
Location: Prescott AZ
Posts: 1,845
Received 24 Likes on 22 Posts
Originally Posted by dropzone
still learning about the frame plating etc. Just curious why you didn't have holes cut in the middle of the plate to weld to like some have done?

Will the plate throw off the steering box placement at all?
I'm learning about the plating too I thought about the plating for a long time. No holes for sure and that's the way I wanted it to be. The large dia holes have the effect of weakening the structure.....and I noted the after-market plates were only 3/16" thick....and I noted the lack of "coverage from frame horn tip to the cab body mount 44 inches away.

The thickness is my 5/16" plate is sufficient to drill/tap the plate itself for direct bolt up of the box with a fine thread 1/2" bolts....grade 5 or grade 8. The common problem of the older SAS trucks where the frame cracks due to the steering left/right stresses won't happen on this one because of this plate.

I probably mentioned this already but the front of the Taco frames are very thin.....and dimensioned smaller and smaller the closer you get to the frame end. The metal is thin...roughly .110" thickness....the frame end is a tiny 2 x 3" and gradually gets wider and taller until it's 2.75" wide x 5.25" tall near the cab body mount. A little beef on the frontal section like I did it seems like a good idea.

I cut off the very frontal body mount to get a solid piece of plate right up to the frame tip....then I re-attached the stock body mount. The 2x4x1/4" thick piece of frontal bumper/cross-brace complements the strength of the 5/16" x 4" plate.

Last edited by ZUK; 09-10-2015 at 08:01 AM.
Old 12-01-2014, 12:56 AM
  #55  
Contributing Member
iTrader: (3)
 
BigBluePile's Avatar
 
Join Date: Dec 2006
Location: Sedro-Woolley, WA
Posts: 15,177
Received 181 Likes on 126 Posts
Beefy.
Old 12-07-2014, 06:00 PM
  #56  
ZUK
Registered User
Thread Starter
iTrader: (1)
 
ZUK's Avatar
 
Join Date: Oct 2003
Location: Prescott AZ
Posts: 1,845
Received 24 Likes on 22 Posts
32mm nut wizzed right off....factory pitman arm wizzed right off with the electric impact....the
ridiculously tight high pressure metal line wizzed right off.


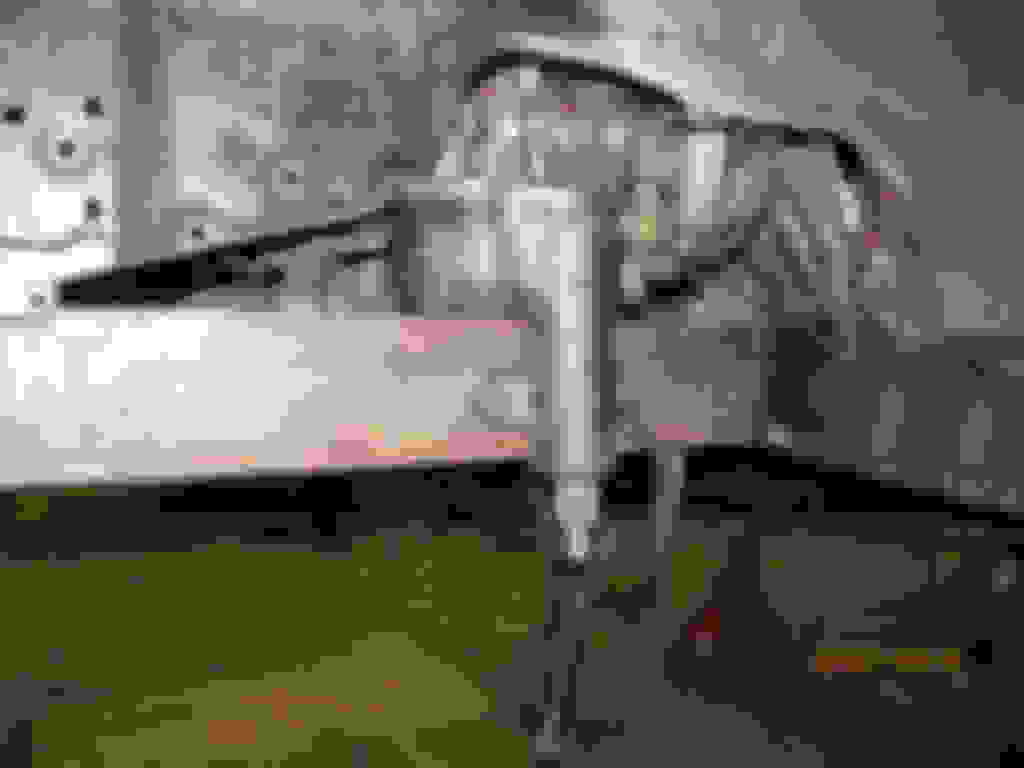
Clamped in place to see what it will look like.....I know it will be closer to the front....after I trim the
sheet metal.


Last edited by ZUK; 10-23-2017 at 10:14 AM.
Old 12-07-2014, 08:11 PM
  #57  
Contributing Member
iTrader: (3)
 
BigBluePile's Avatar
 
Join Date: Dec 2006
Location: Sedro-Woolley, WA
Posts: 15,177
Received 181 Likes on 126 Posts
Time to trim!!!!!!
Old 12-27-2014, 04:33 PM
  #58  
ZUK
Registered User
Thread Starter
iTrader: (1)
 
ZUK's Avatar
 
Join Date: Oct 2003
Location: Prescott AZ
Posts: 1,845
Received 24 Likes on 22 Posts
The upper sector is from my original factory IFS "rack and pinion" ....really is of no use for this project.
That's the plastic factory cover....probably can easily re-use that to cover the firewall hole. The
lower sector is one that I purchased on Ebay....30 bucks.


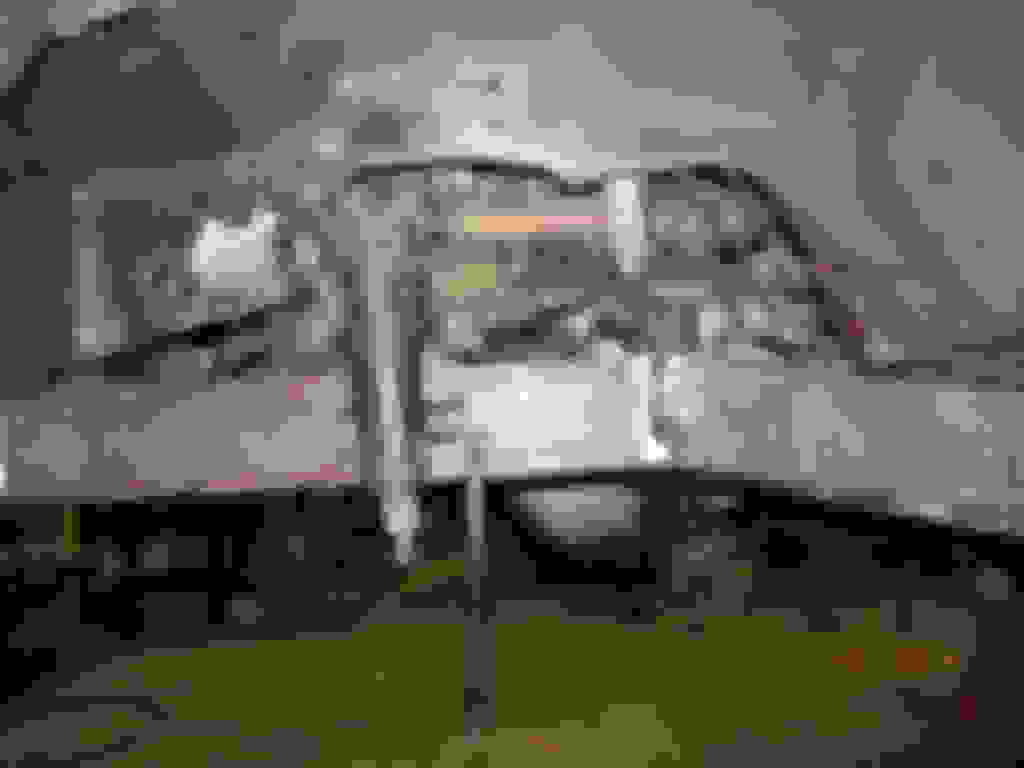
Looking up into the firewall hole from the steering box's point of view.


Another shot from the same approximate vantage point.


Shot from inside the cab.


With the sector shaft splined together this is about what I will have.....


In the process of now hanging the leaf packs.....working on the fixed rear mounts. It's a little
trickier for the rear mounts....they are inboard of the frame a little bit.

A local buddy of mine (Craig) thinks I might have a ton more lift than I think I'm gonna get with these
4" lift springs....and I might have to go with 37" tires just to make it look normal. Curious what its
gonna look like when I put some weight on those packs.

Last edited by ZUK; 10-23-2017 at 10:19 AM.
Old 12-31-2014, 01:23 PM
  #59  
ZUK
Registered User
Thread Starter
iTrader: (1)
 
ZUK's Avatar
 
Join Date: Oct 2003
Location: Prescott AZ
Posts: 1,845
Received 24 Likes on 22 Posts
Was going to weld them....tack them....but think I will use some channel locks for a test..

Last edited by ZUK; 10-23-2017 at 10:20 AM.
Old 12-31-2014, 01:27 PM
  #60  
ZUK
Registered User
Thread Starter
iTrader: (1)
 
ZUK's Avatar
 
Join Date: Oct 2003
Location: Prescott AZ
Posts: 1,845
Received 24 Likes on 22 Posts


Now to move the axle BACK 2 inches It's too far forward
This very easy to do because the rear fixed mounts are not so "fixed" and just clamped in place.
Then to tweak some leafpack mounts on the housing and weld it semi-permanent.

Last edited by ZUK; 10-23-2017 at 10:22 AM.


Quick Reply: SAS FJ60 with axle housing flip and front shackle for my 2001 Tacoma


All times are GMT -8. The time now is 12:55 AM.