When you click on links to various merchants on this site and make a purchase, this can result in this site earning a commission. Affiliate programs and affiliations include, but are not limited to, the eBay Partner Network.
Heres a quick write up on restoring 37 year old factory paint that was covered with paint I didn't like. I bought this truck hoping that I'd be able to restore it to original. It's been a process so far. Lots of hours but not a lot of money. When you consider a paint job costs in excess of a few thousand dollars and all in on this will be less than $300. I'm only going to blend two areas with new paint which is the bottom rear front fender and the sweat rust where the drivers arm sat on top of the window frame
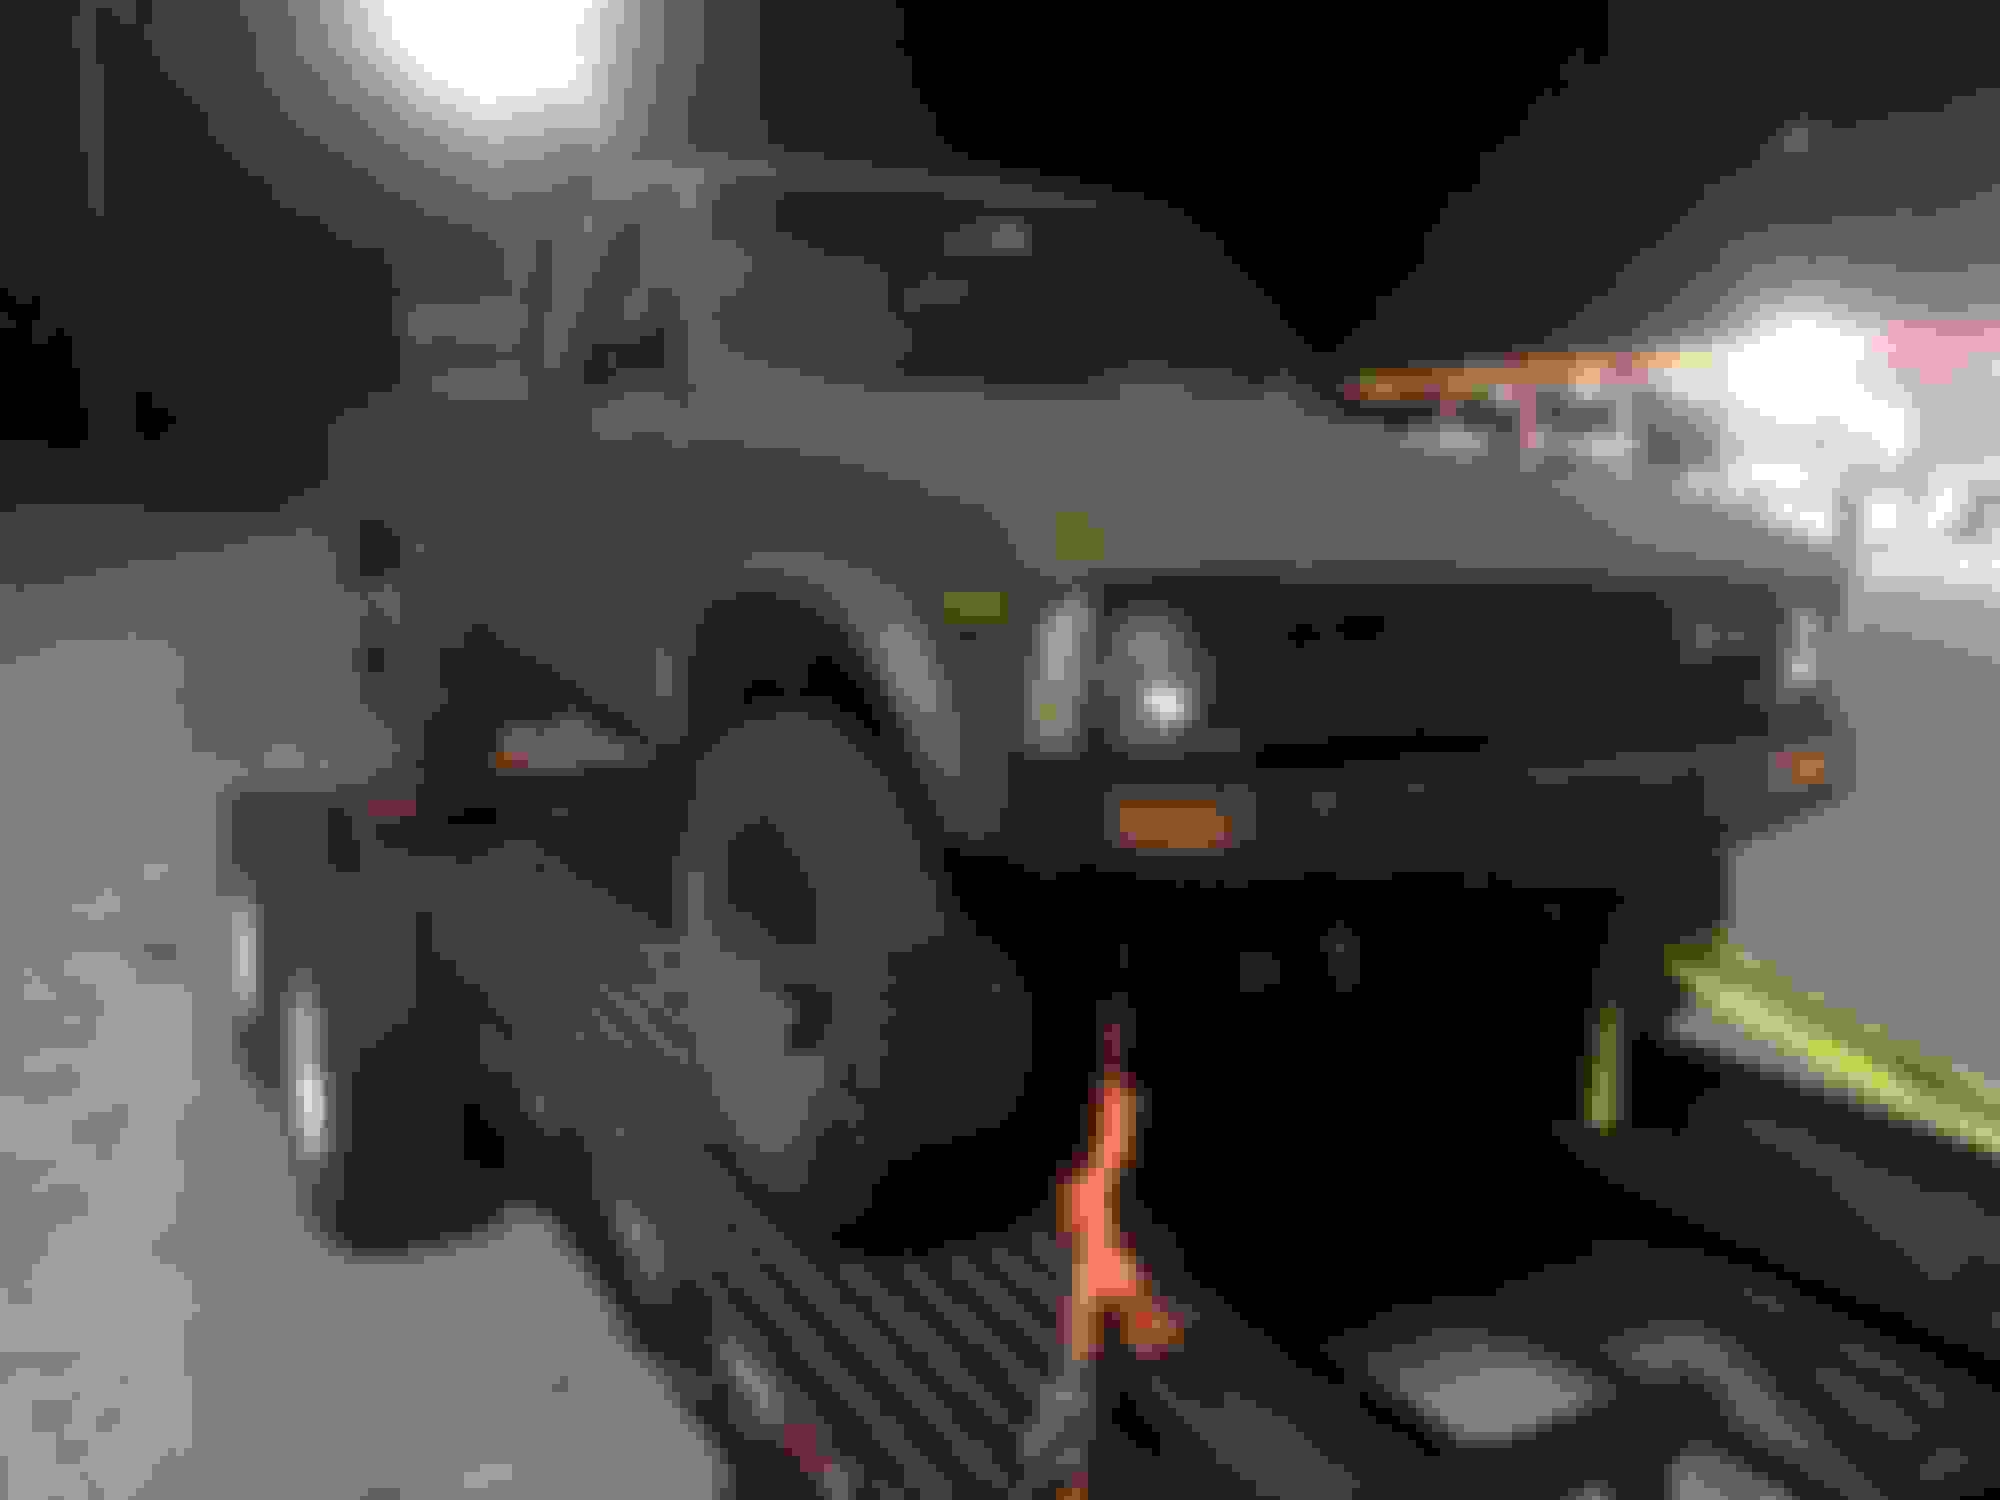
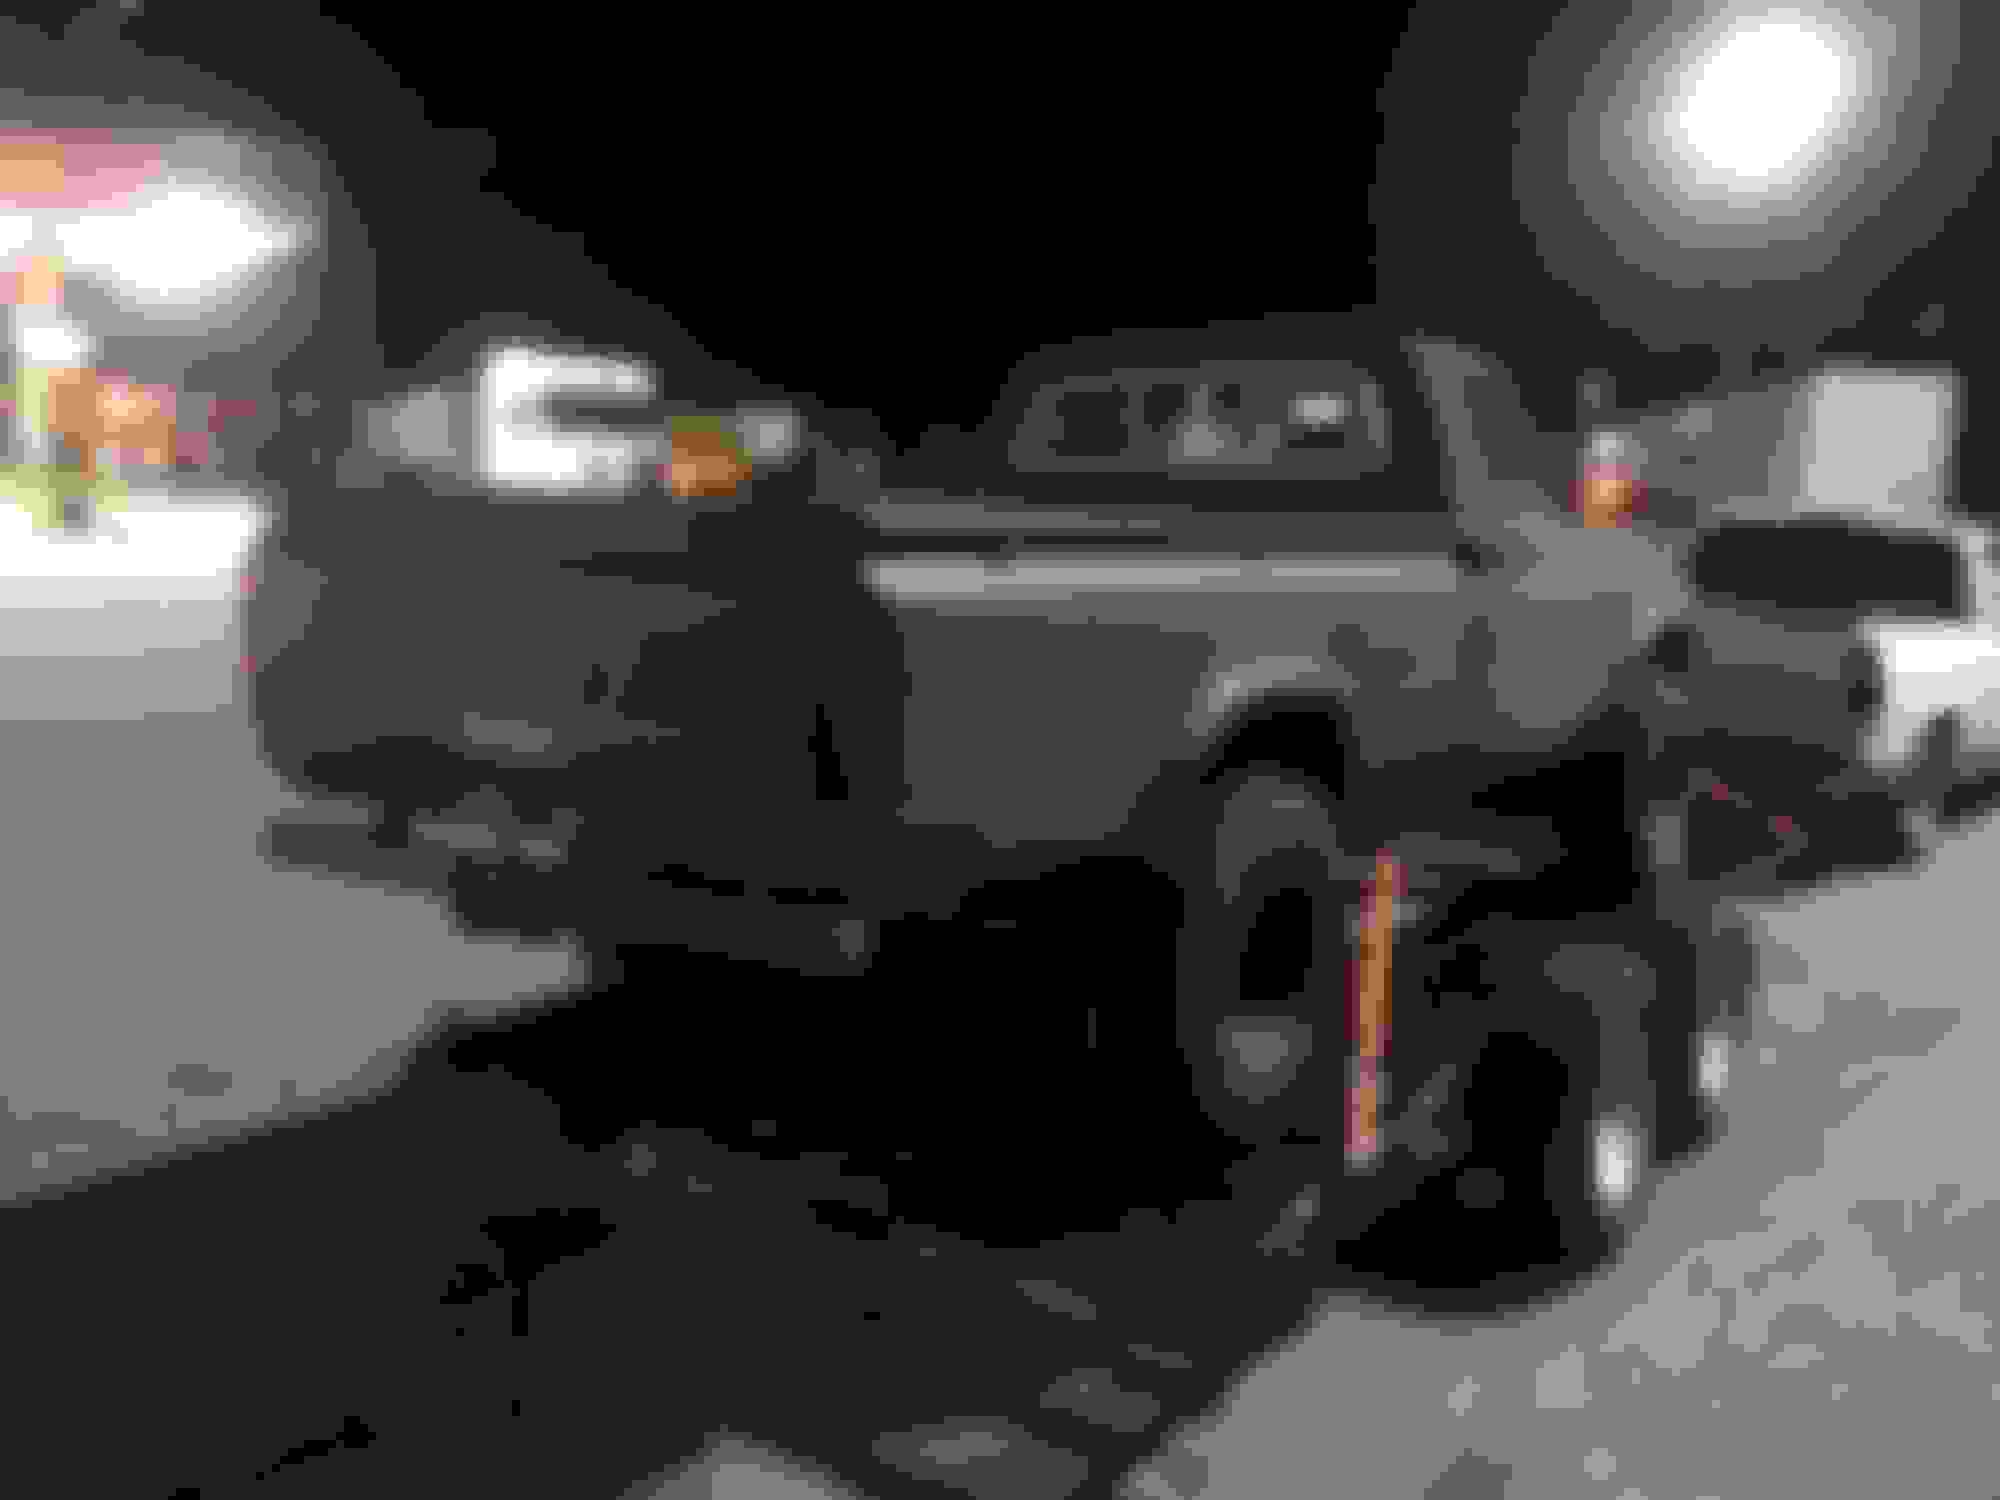
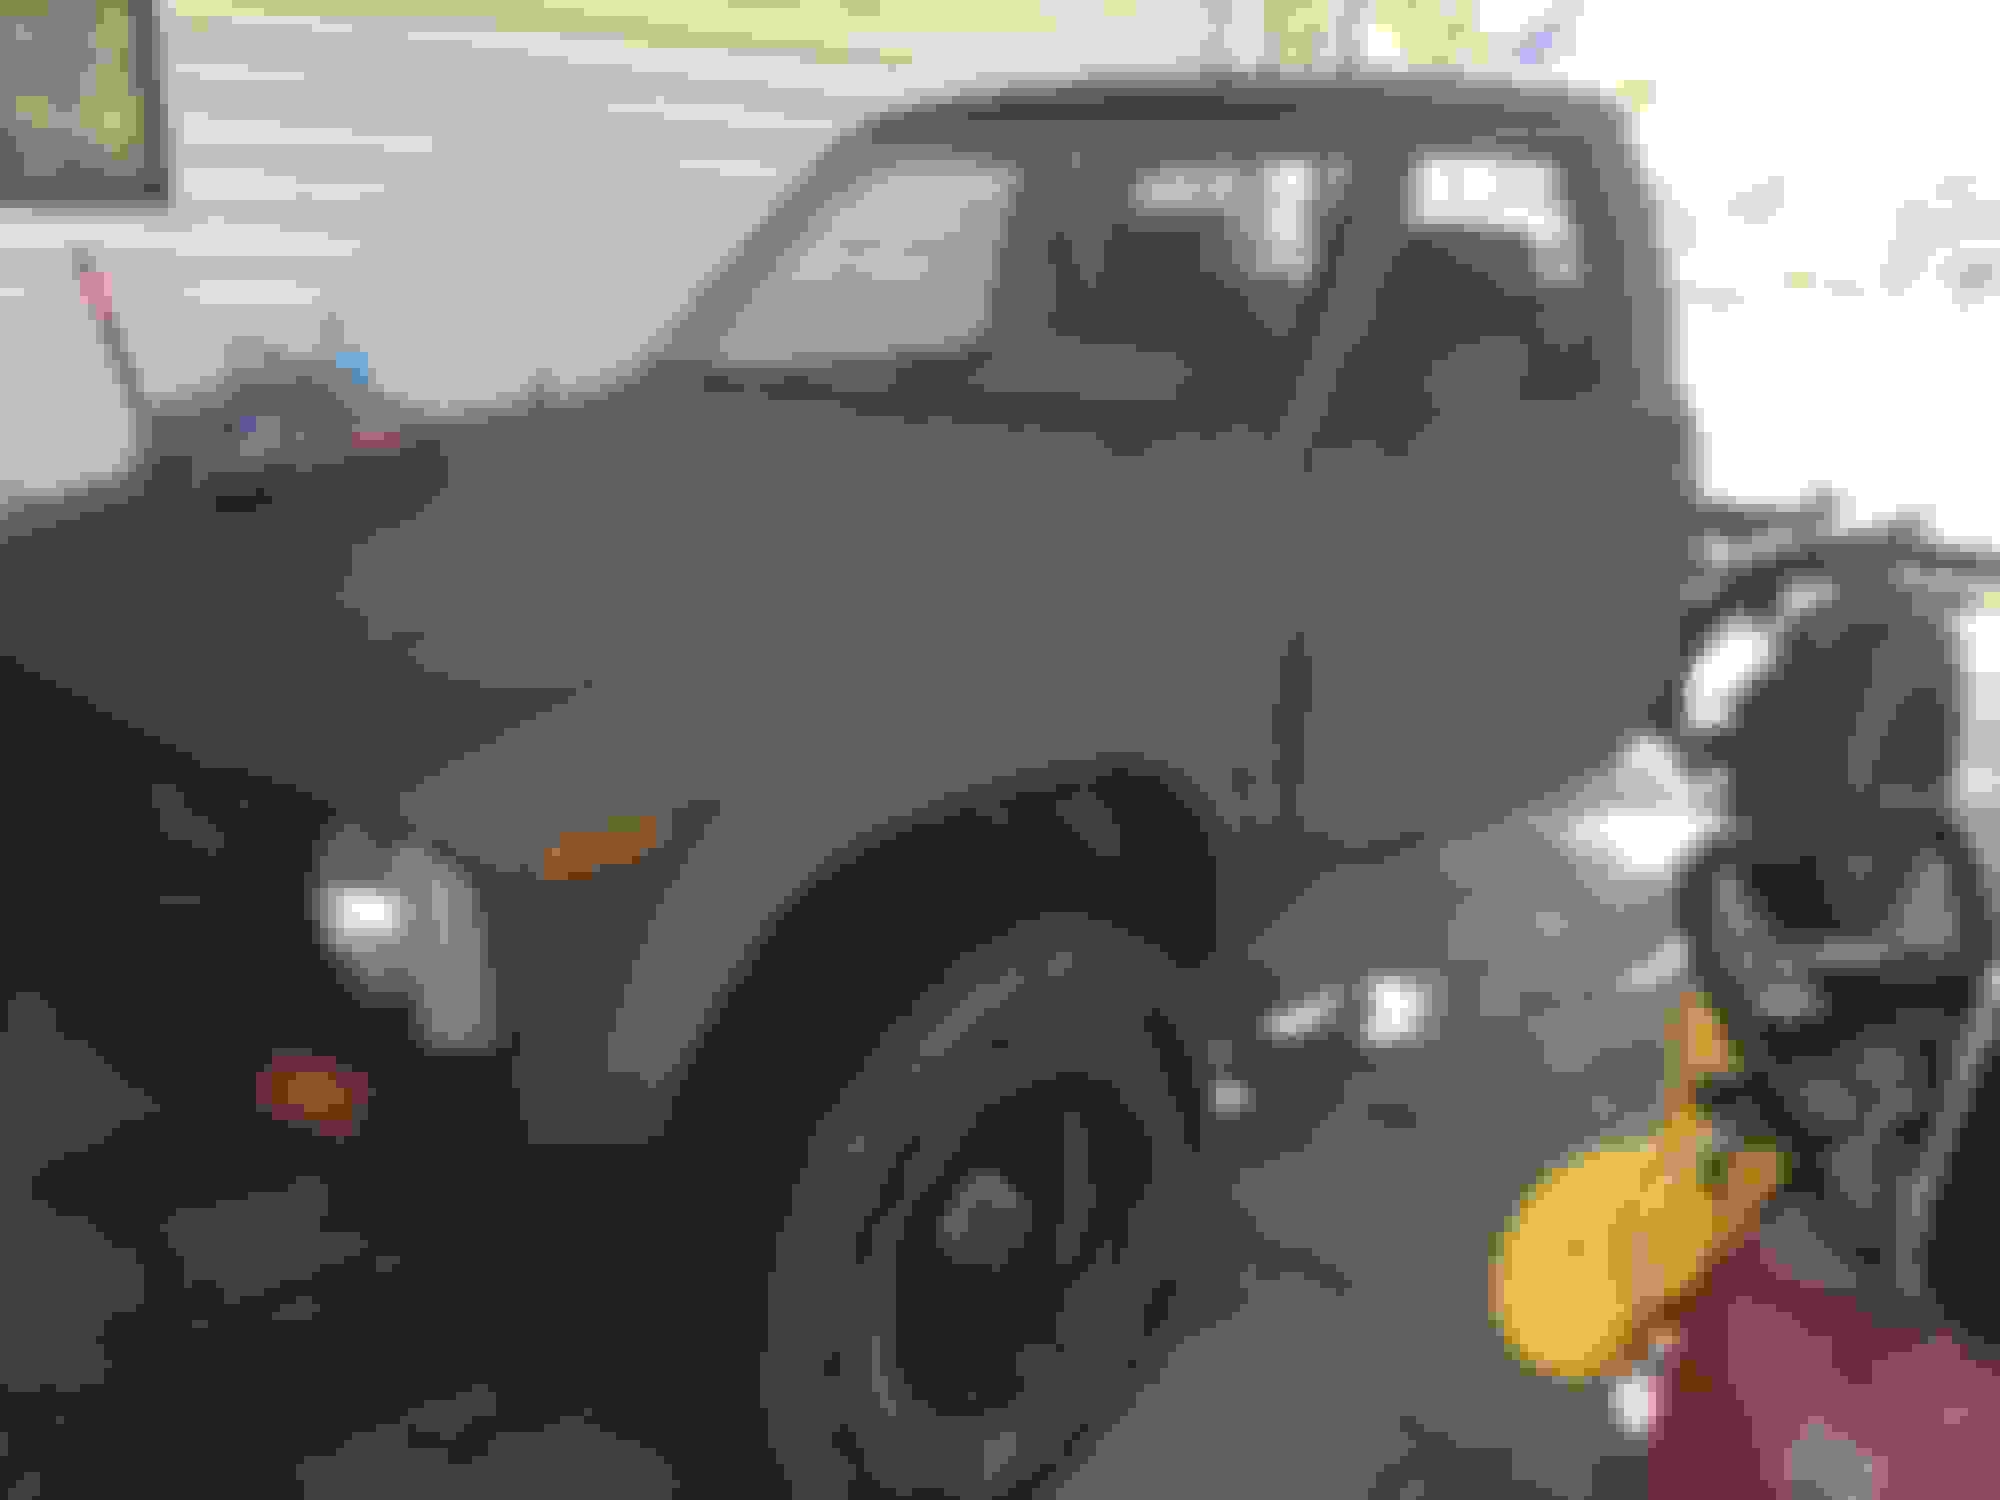
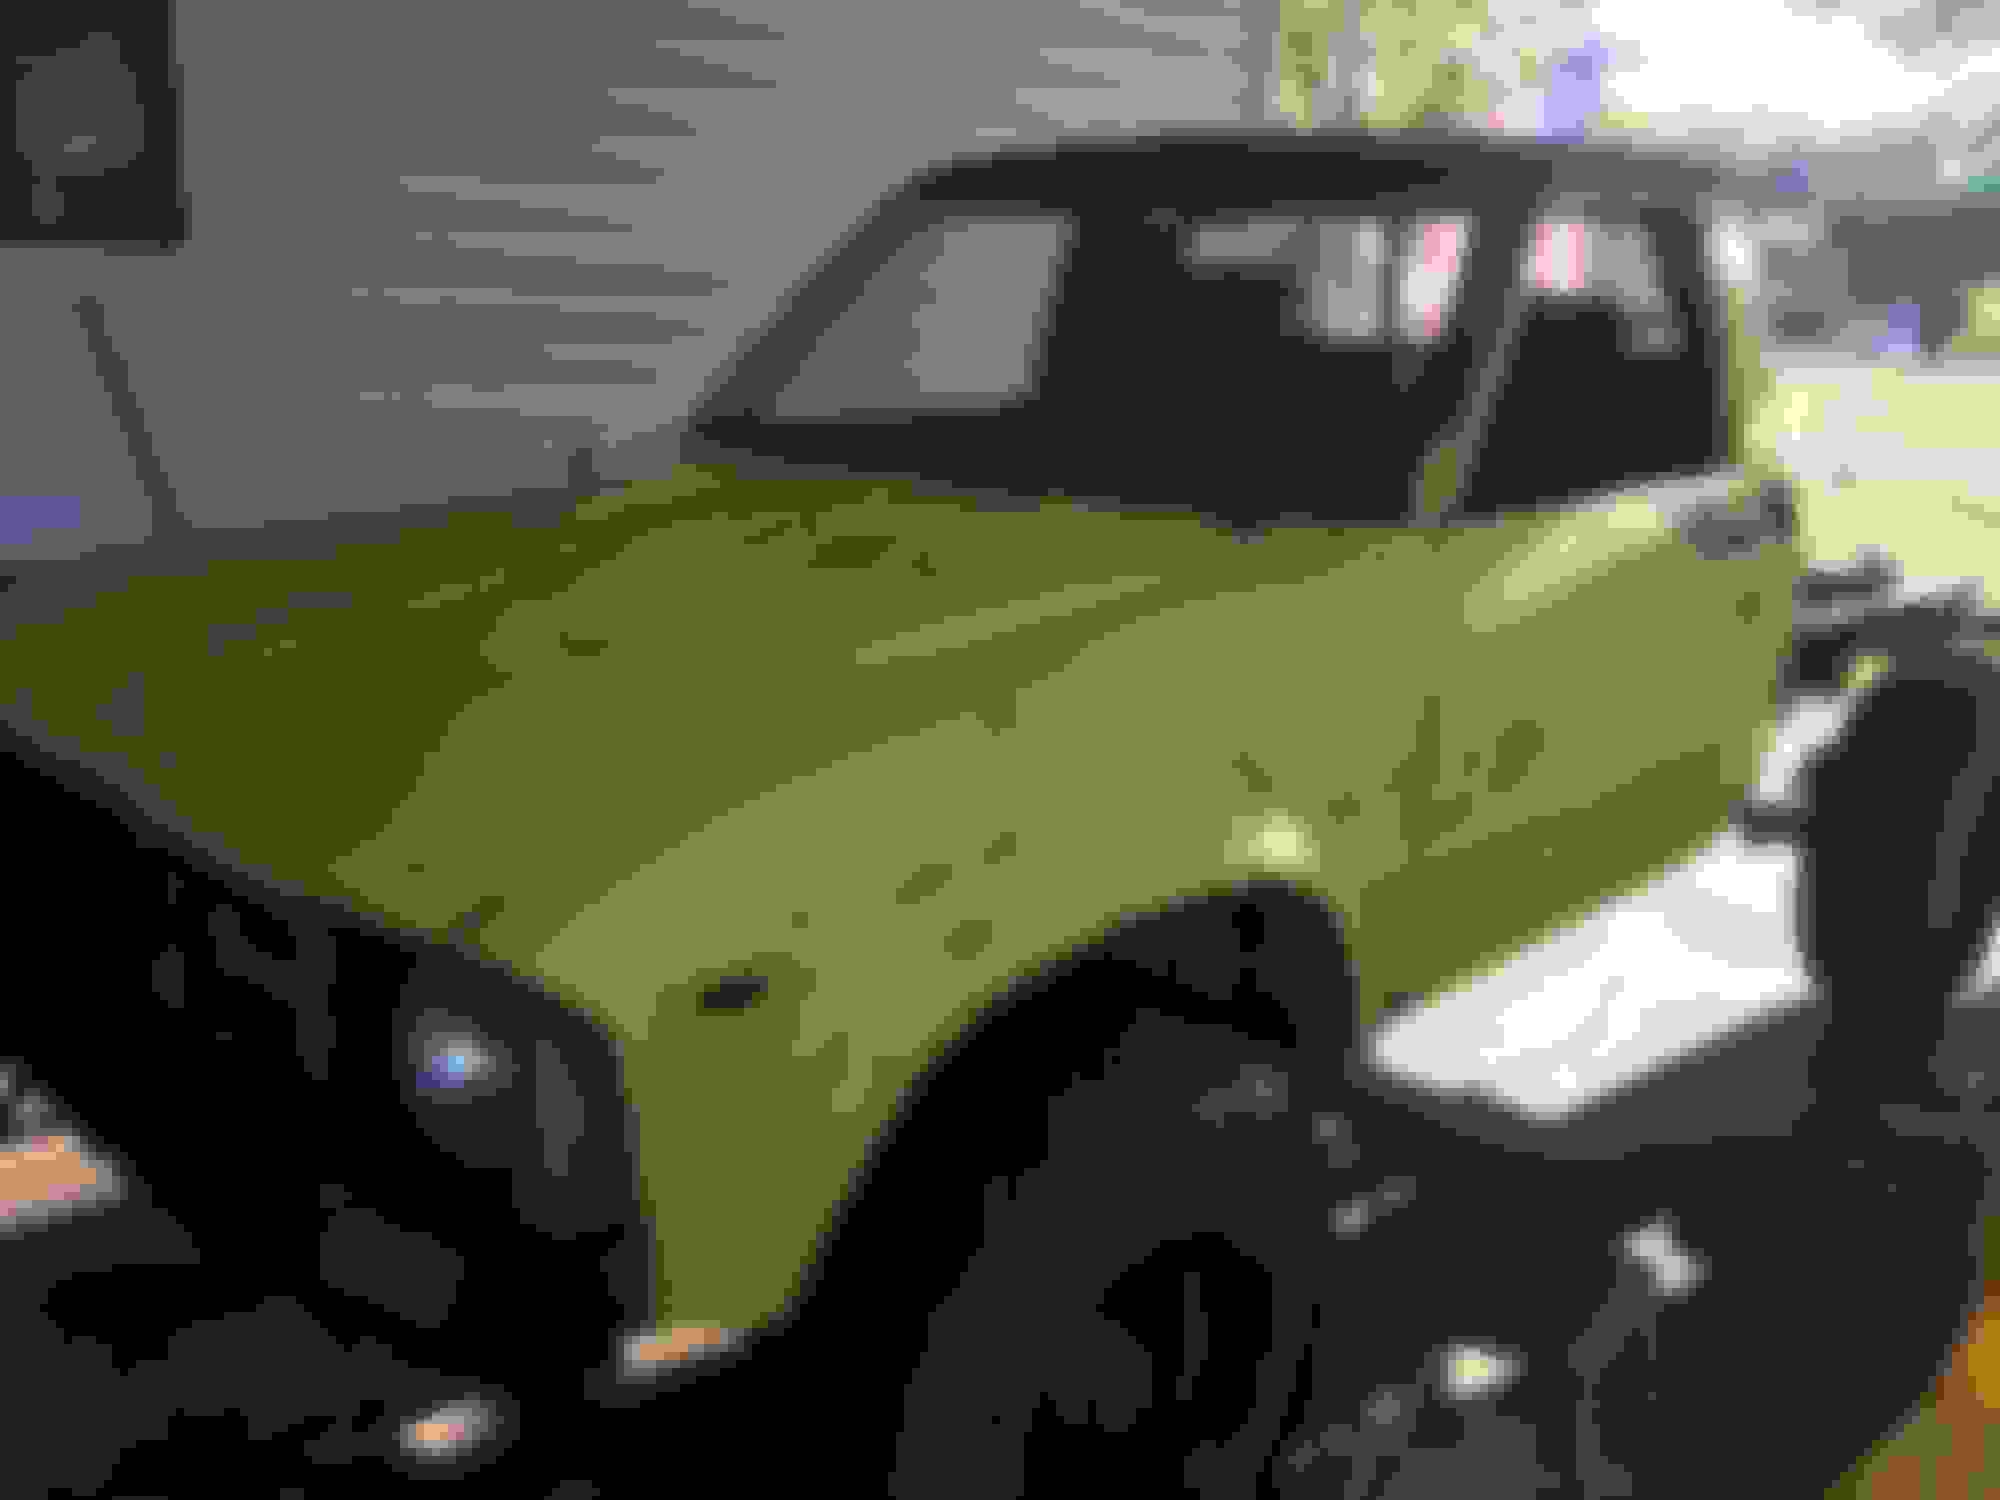
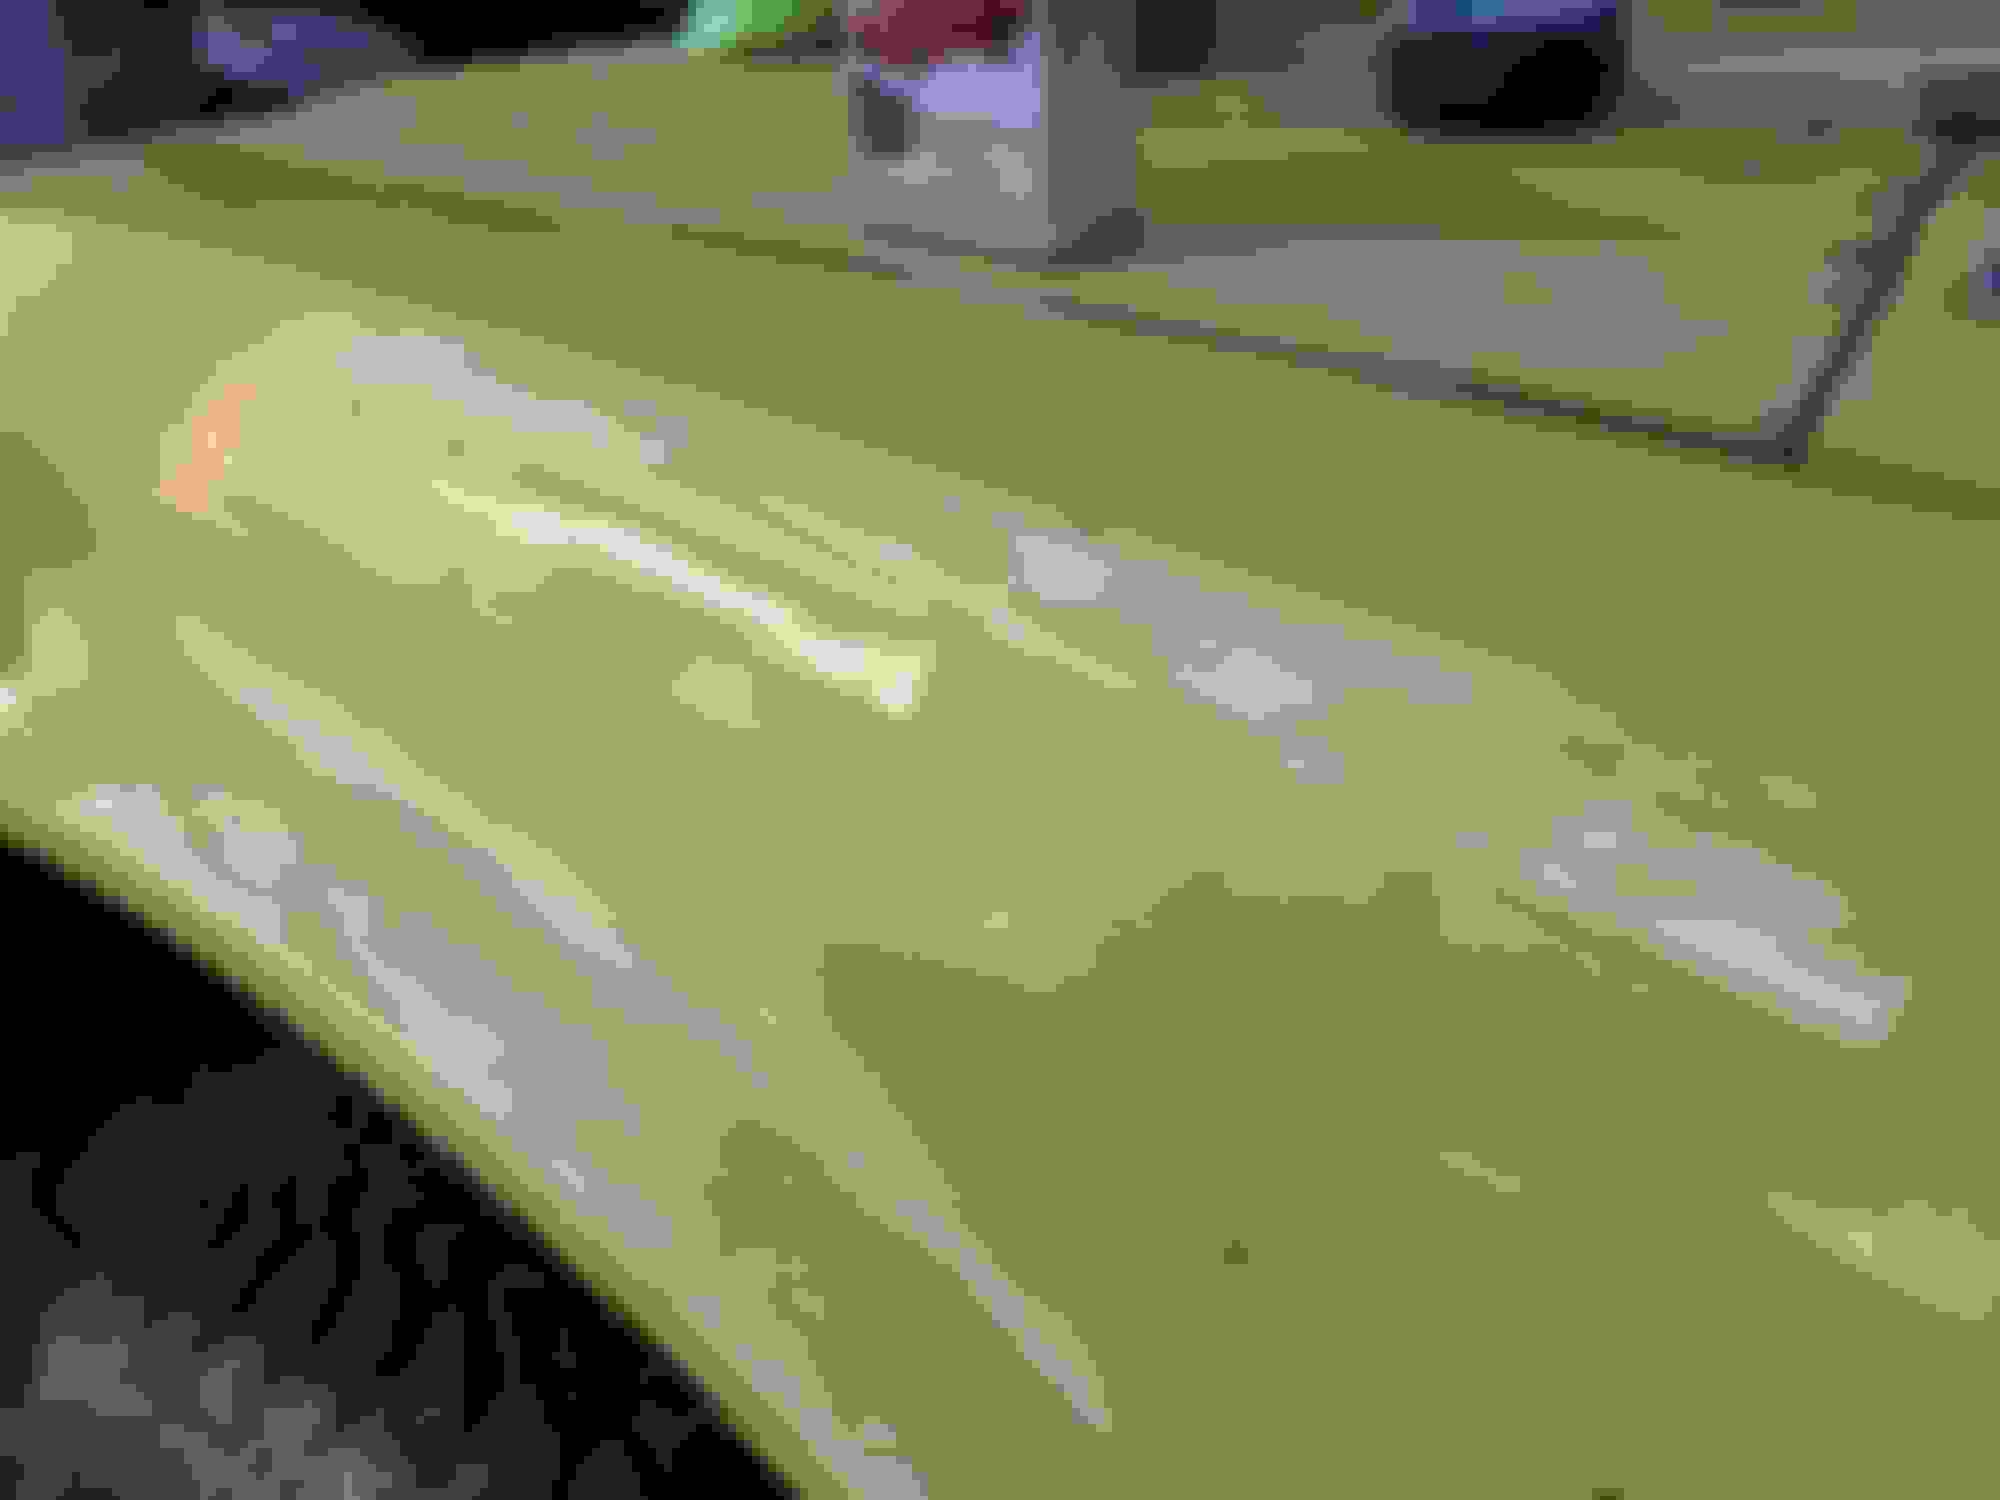
This is what we started with. An abused 1980 RN47 We used laquer thinner, scotchbrite pads, and a lot of elbow grease. Careful not to take too much of the olive drab green off to cause the factory paint to go thin Working the corners and body line take special attention and patience to save the factory finish from going thin. Remember, this paint is almost 40 years old. We used about a gallon and a half of thinner and ten to twelve scotchbrite pads we got at the dollar tree. Cost so far....$50 It's getting dark so I wet sanded what little green paint was left with 1500 wet sand paper Buffed a section with 3m #1 compound, then #2 & #3. Each quart runs around $30. Foam pads for the buffer=$20 each I've done the top of the passenger fender and a spot on the hood. This old paint is looking amazing so far. Will post progress as I go through it tomorrow. Think about a paint restoration rather than a repaint if you can. It will save you tons of money if you want to put in the sweat equity
You did a great job on getting the gloss back on the factory paint. It is turning out nice. Better then I would of thought it could of been. Great job!!!
This section for your Thread will work. The Appearance Sections last thread was in '12. It will get noticed here better.
Thanks Terry. I told my wife that there is good paint under there. She was skeptical. Looks like I won the bet.
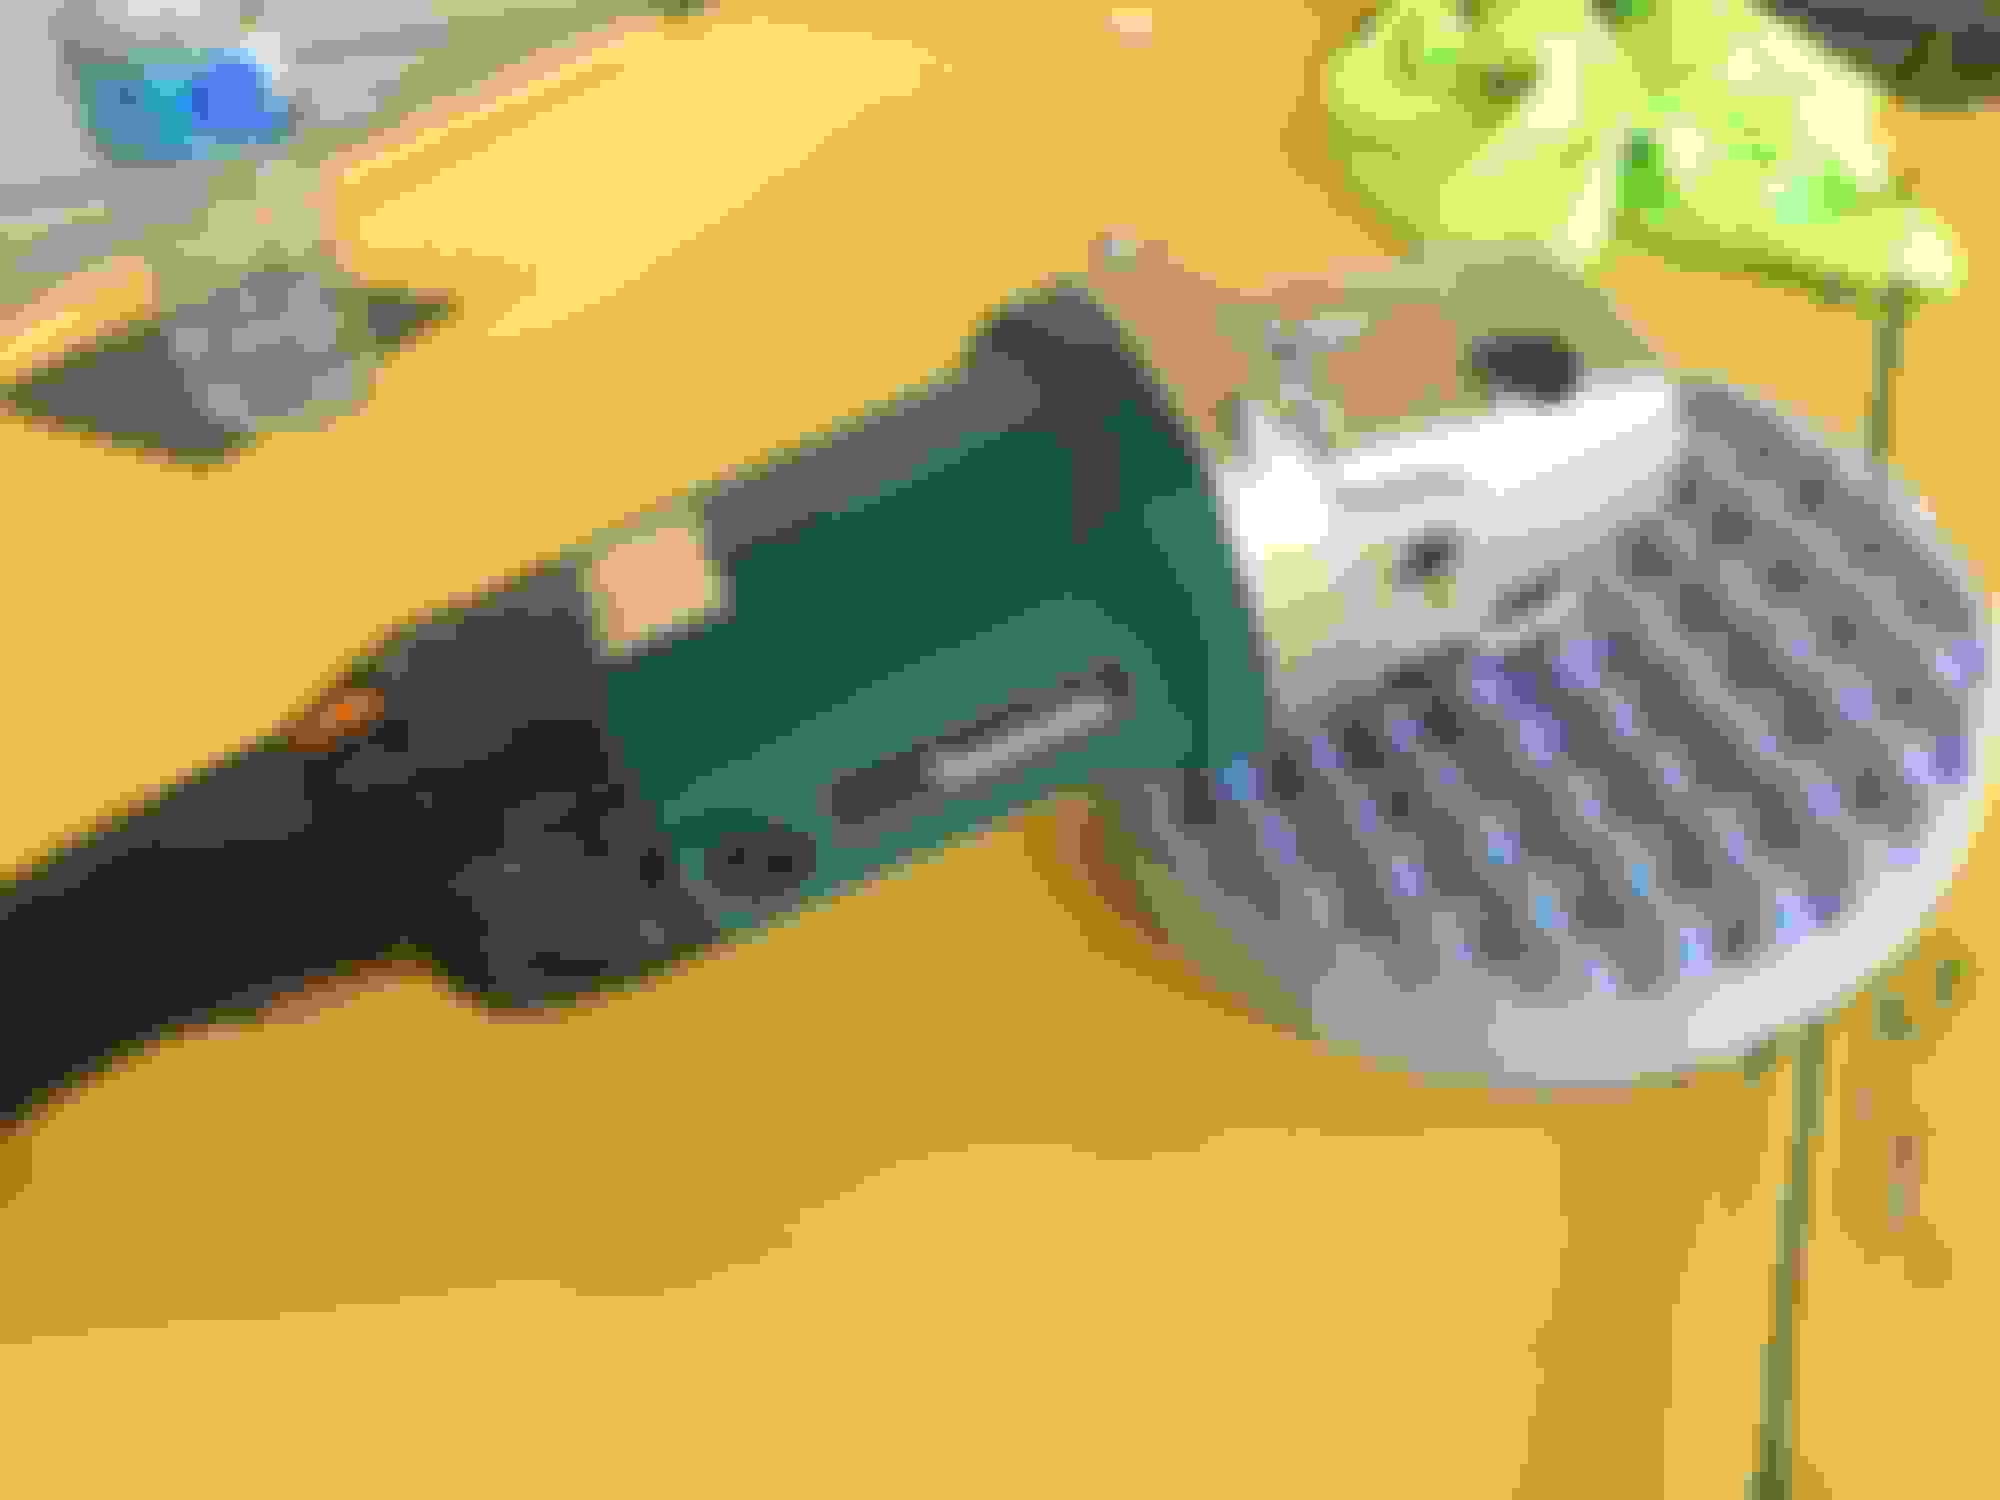
Heres the the tools of the trade for the project.
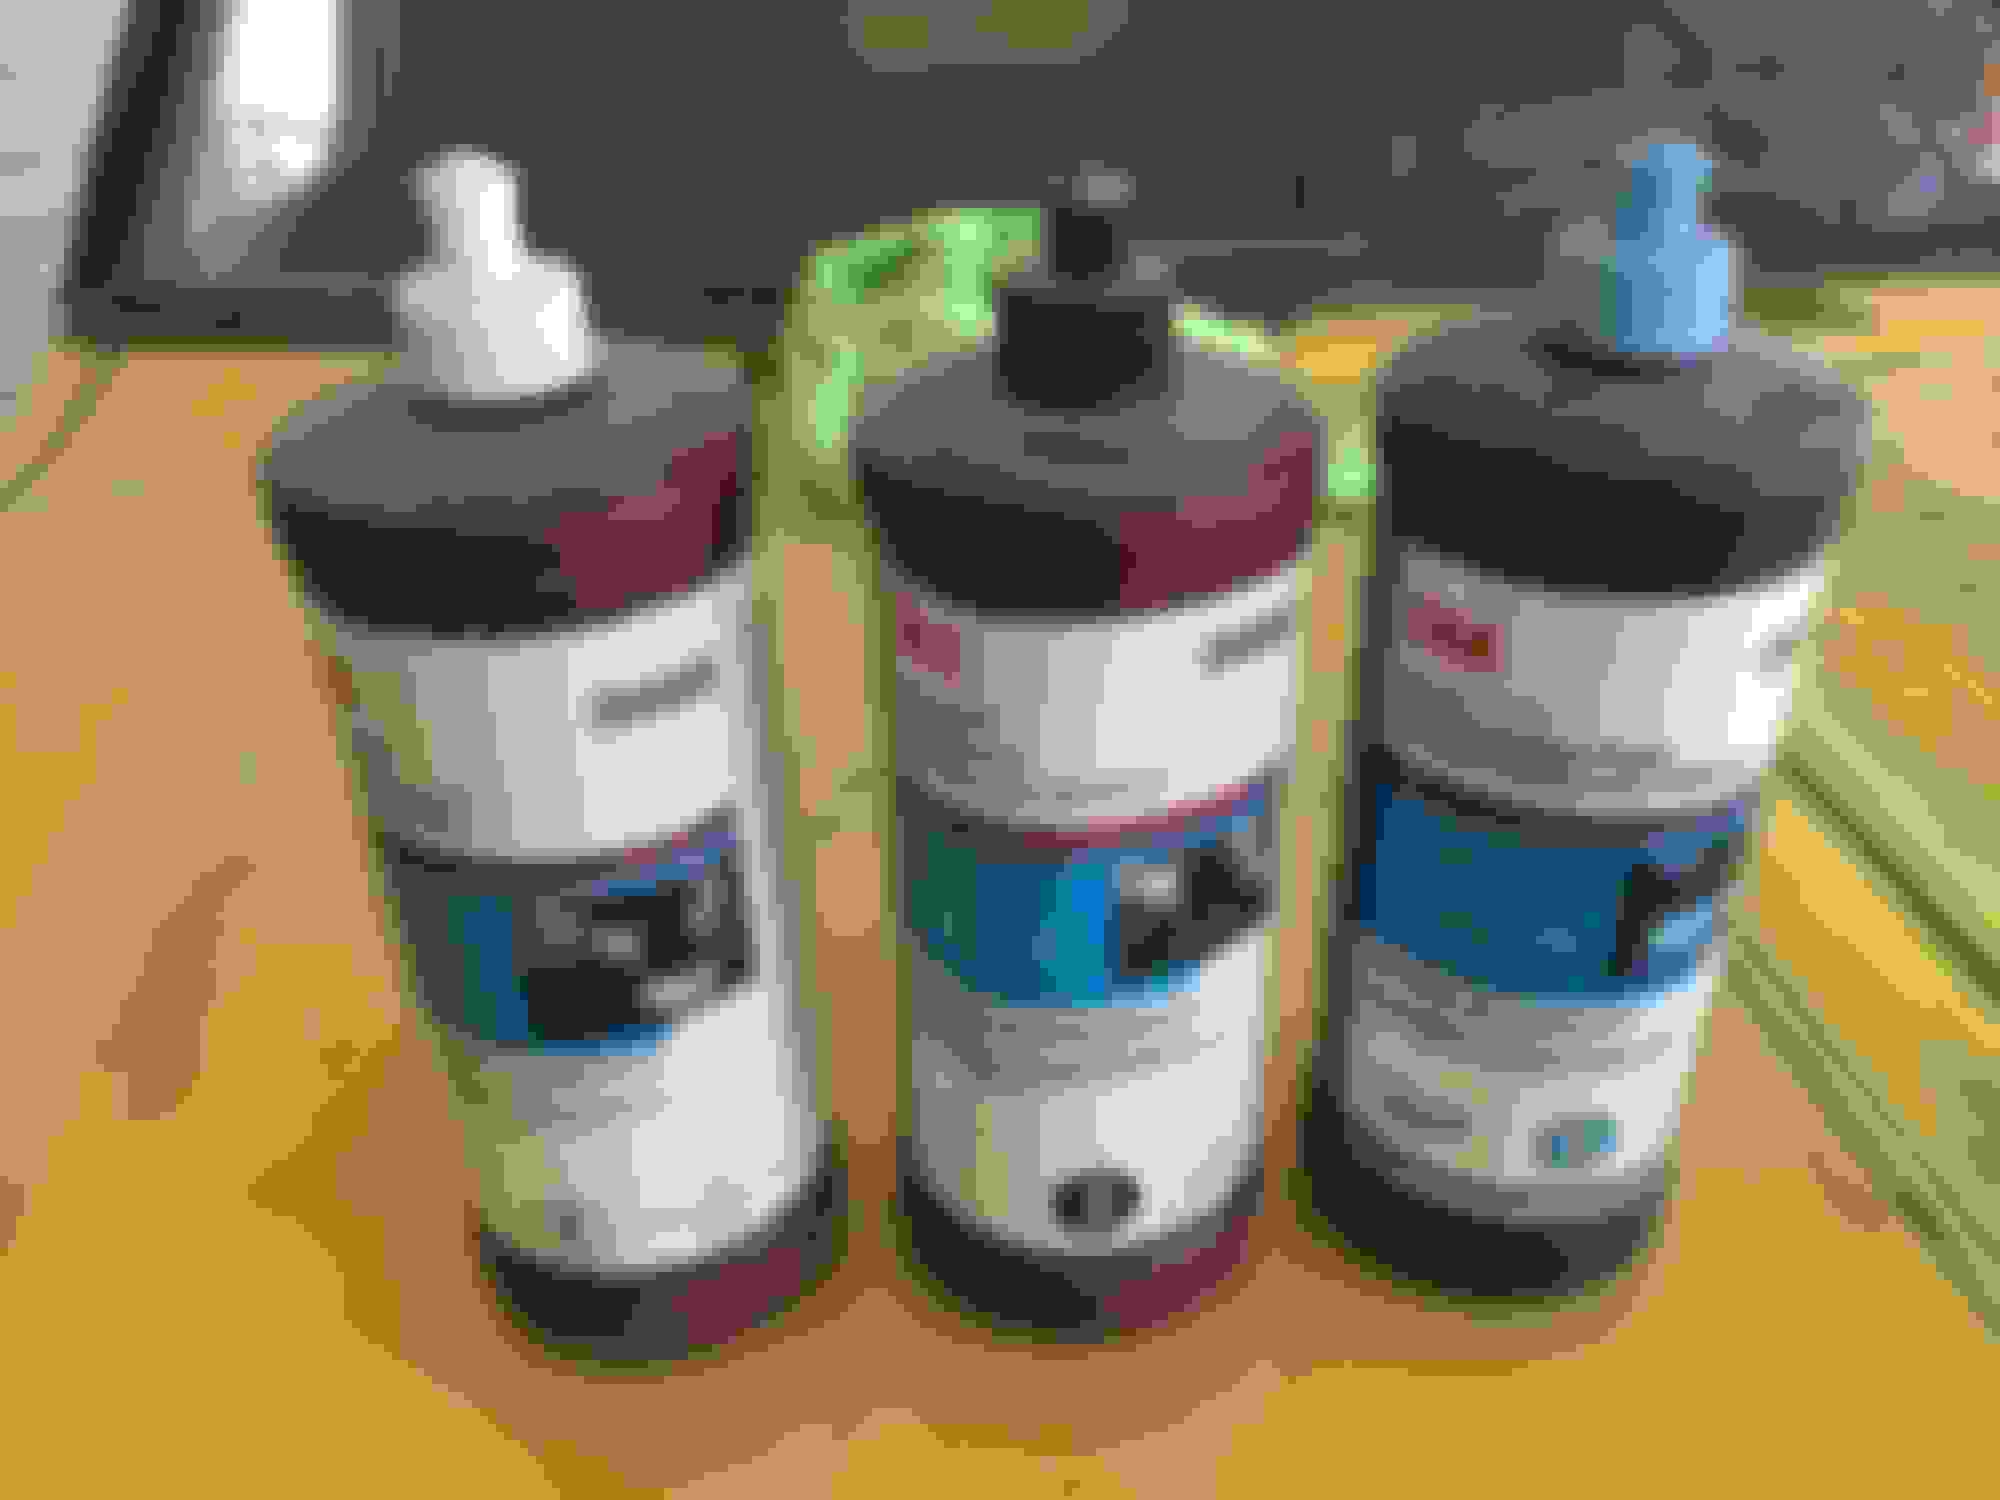
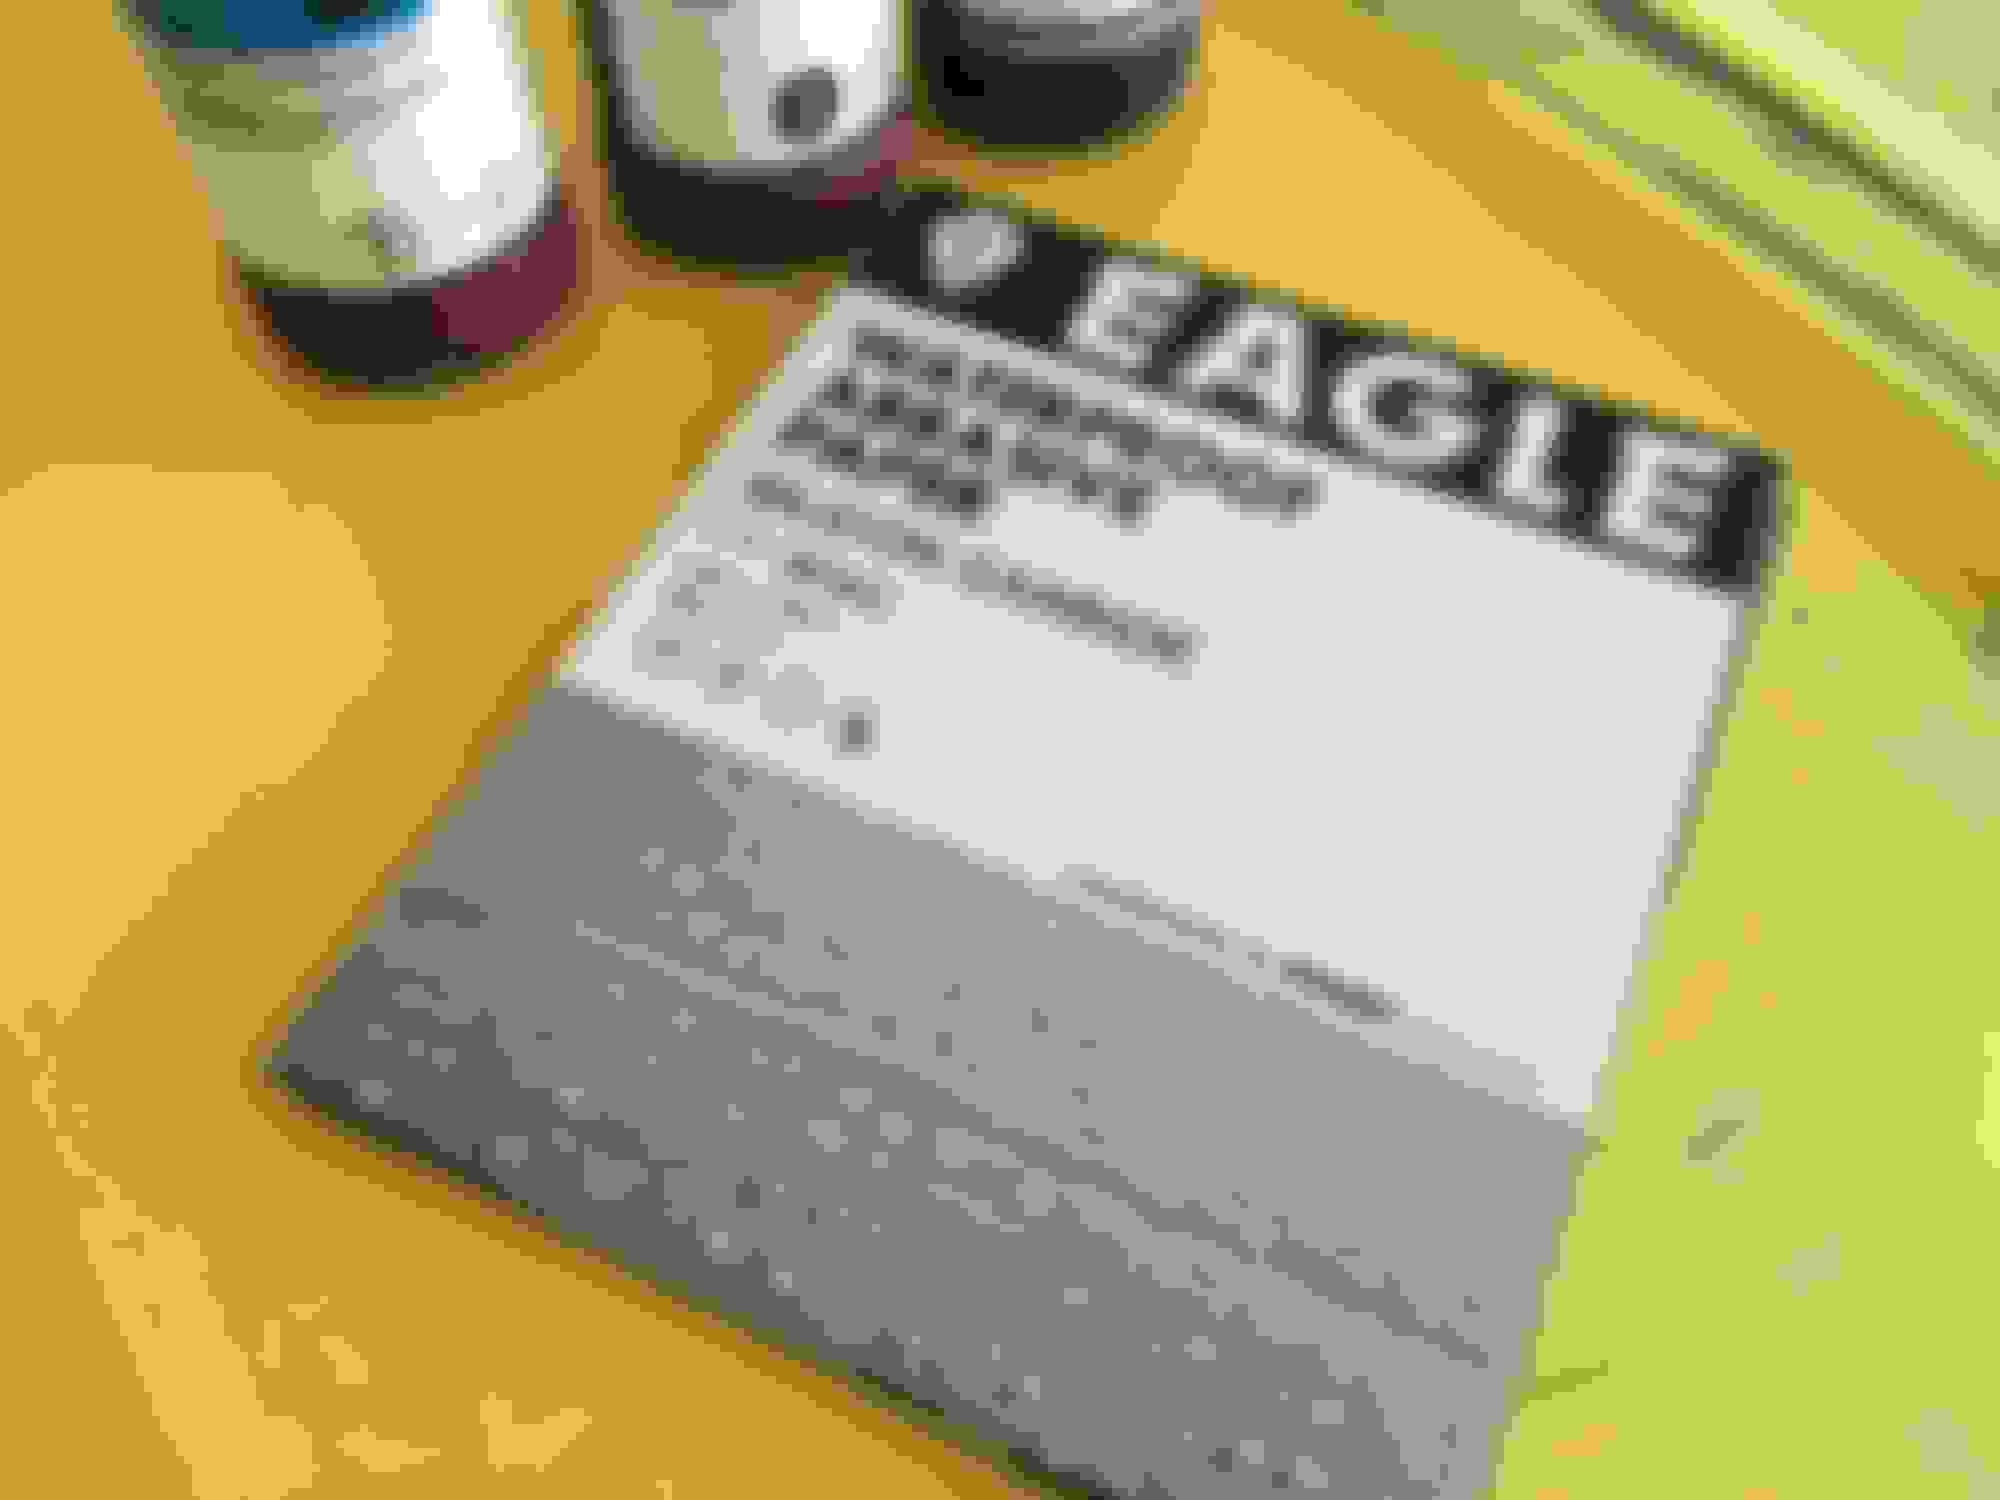
I've had this Makita variable speed buffer for over 20 years and never an issue. One of the best power tools I've ever owned. They run about $300. Harbor freight sells a buffer for $29. I've used these doing boats and although they are inexpensive, they get the job done. Spend the extra 9 bucks for the warranty and you won't have to worry about burning it up or dropping it. Very good product and worth the money. These run about $30 retail. Body supply houses are cheaper I use 3m wet or dry paper up to 800 grit, then switch to Eagle brand. It's half the price, about $40 a sleeve, and the paper on the finer grits, 1000 and up, is much more pliable A drop of dish soap in a spray bottle with water help by not making such a mess as a bucket full of water. The small amount of soap helps lift the old paint away from your work area. A 3m squeegee is great for keeping the area your working on free from debris and helps you see where you need more sanding. Normally I would use an engineering fluid called Dykem between grits but I can see well on this color without it
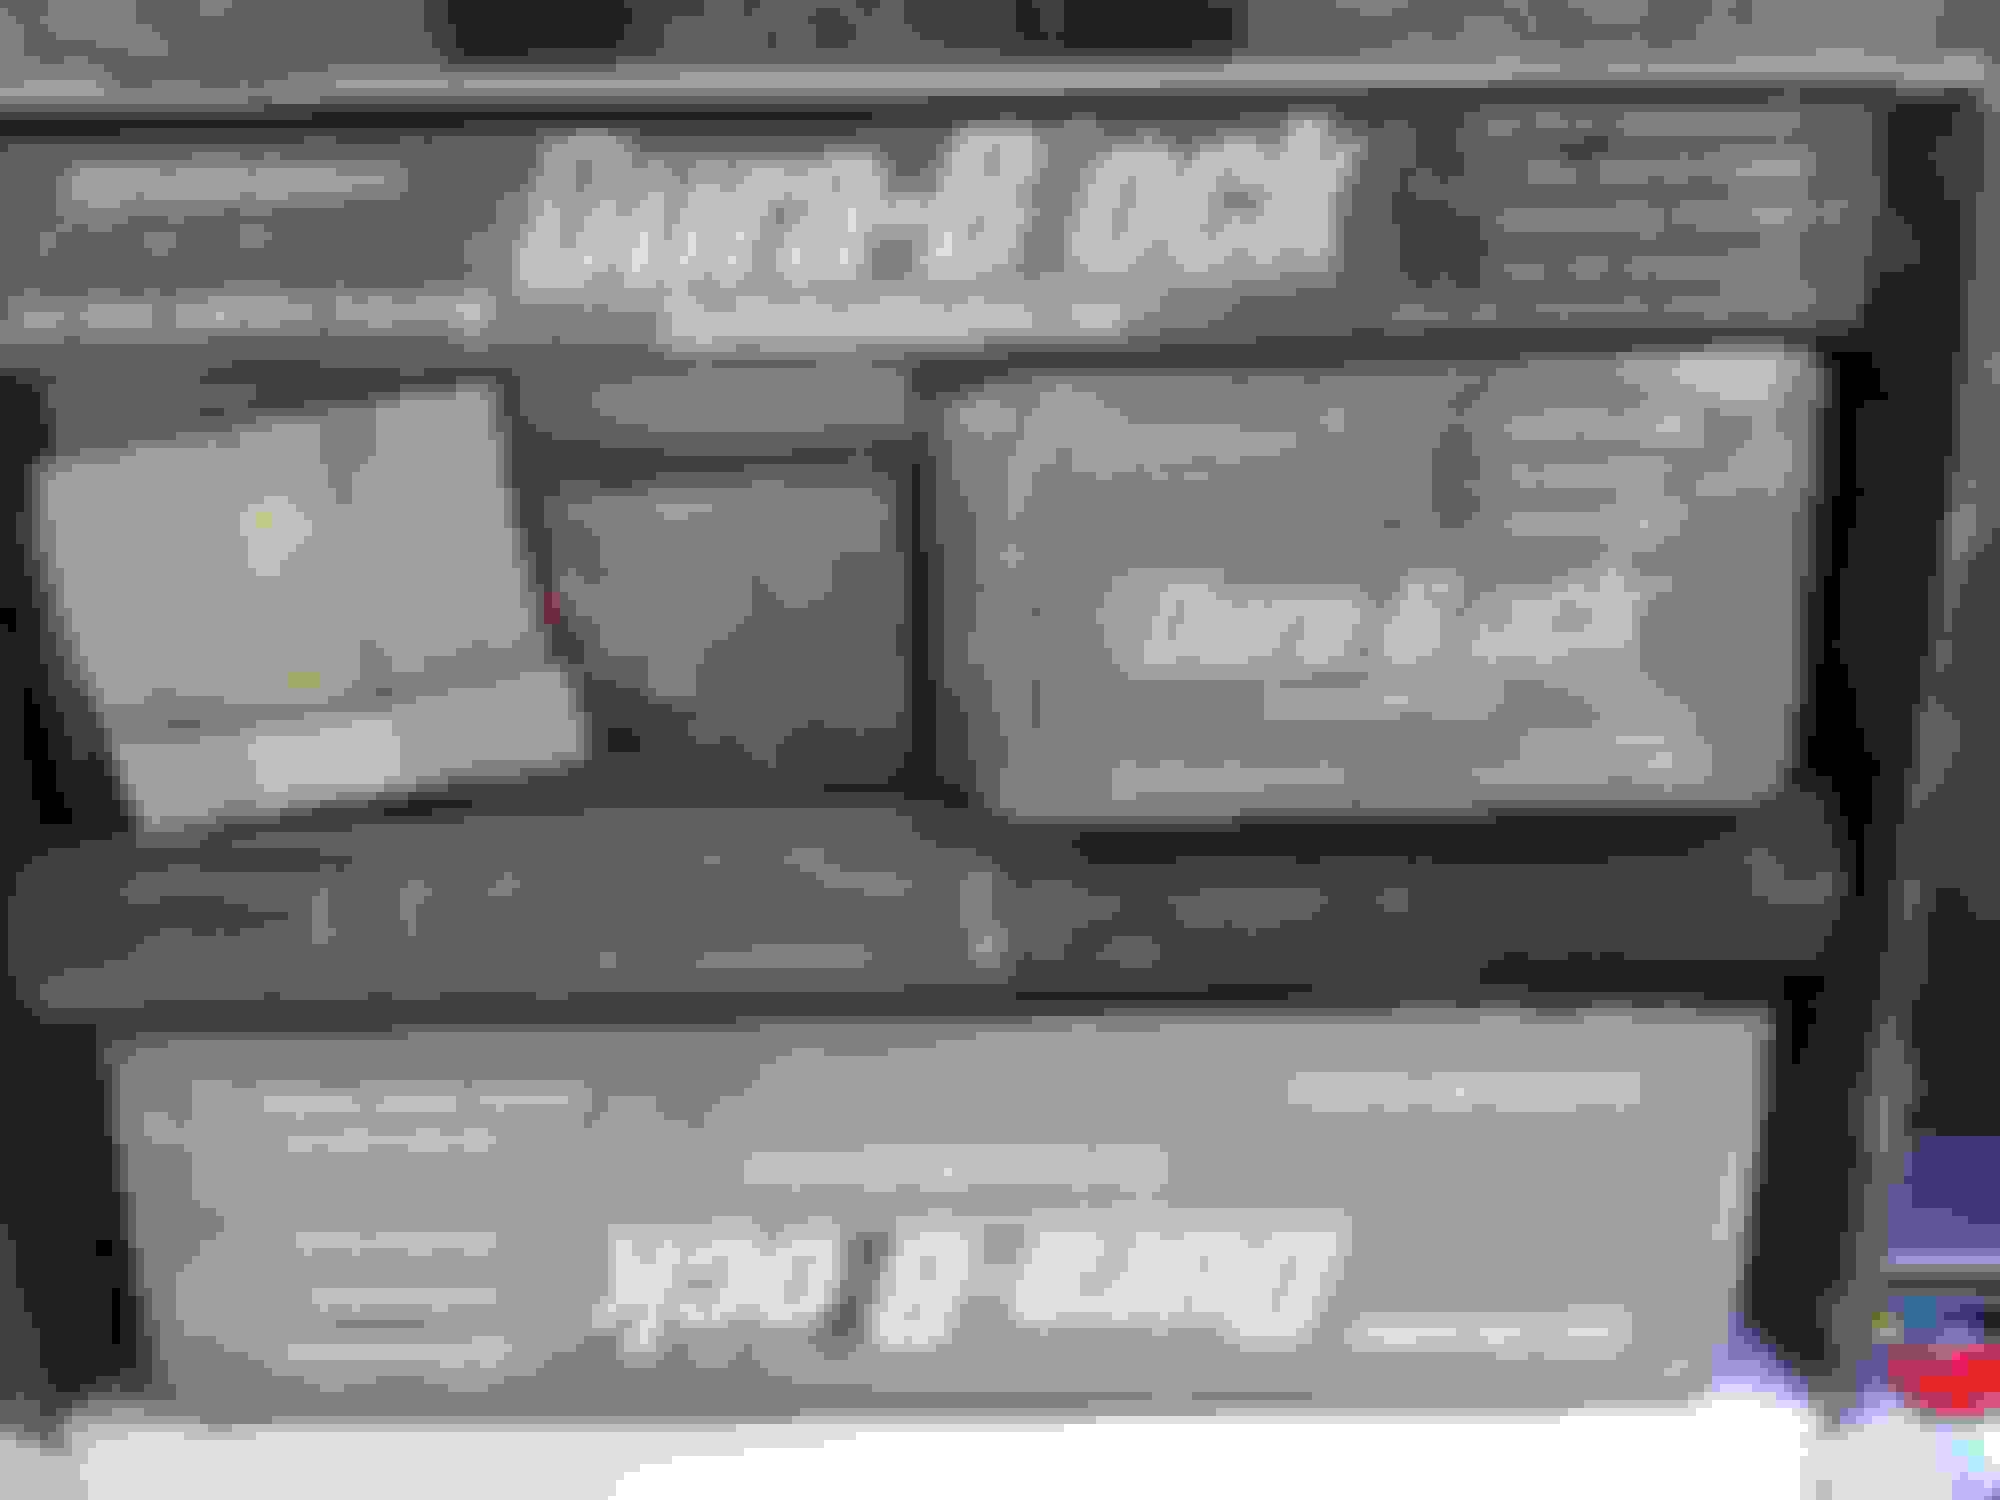
I almost forgot a couple things. First, if you don't like the feeling of your hands on fire, wear rubber gloves when sanding with fine grit sandpaper (600 grit and up). Without gloves you will lose your fingerprints which can be a good or a bad thing. Second is, use a good quality sanding block. Durablock makes a great product and you can get a full set on Amazon for around $40. I prefer a rigid block sanding for filler and primer but for paint these work great
After a quick buff with 3m 1,2&3 I put a coat of Liquid Glass on it. This is contains no wax so your paint can still breathe. I've been using this since I was a kid. It's runs about $25 a can these days when you can find it
After a quick buff with 3m 1,2&3 I put a coat of Liquid Glass on it. This is contains no wax so your paint can still breathe. I've been using this since I was a kid. It's runs about $25 a can these days when you can find
Good write up. Looks like someone didn't like yellow, just covered it with the green
I use a lot of the same products when refinish/finish guitars. Same procedure, nice work
Wow that's amazing. I never would have thought you could take spray paint off. I really like the old yellow paint. Are you going to save the truck bed as well?
thanks for welcoming me to yota tech , your truck is looking great its amazing what some laquer thinner and some elbow grease can do and the color sanding and buffing the po wont recognize it when your done
@Lons81
Thanks Lon. The PO had this on their family farm for hunting. Their mailbox was even painted green. Hows the build coming.
@Nervo19
I am going to save the bed. It needs alot of fab but mostly inside. I may order the stripes from Slacker for this, but then again, Im thinking of painting them on. The yellow is my favorite factory color beside the old blue ones
@raks88
Your welcome and thank you. Its been a long weekend and only part way thru but it will be worth every minute.
Last edited by flg8r22; 03-19-2017 at 03:52 PM.
Reason: additional info
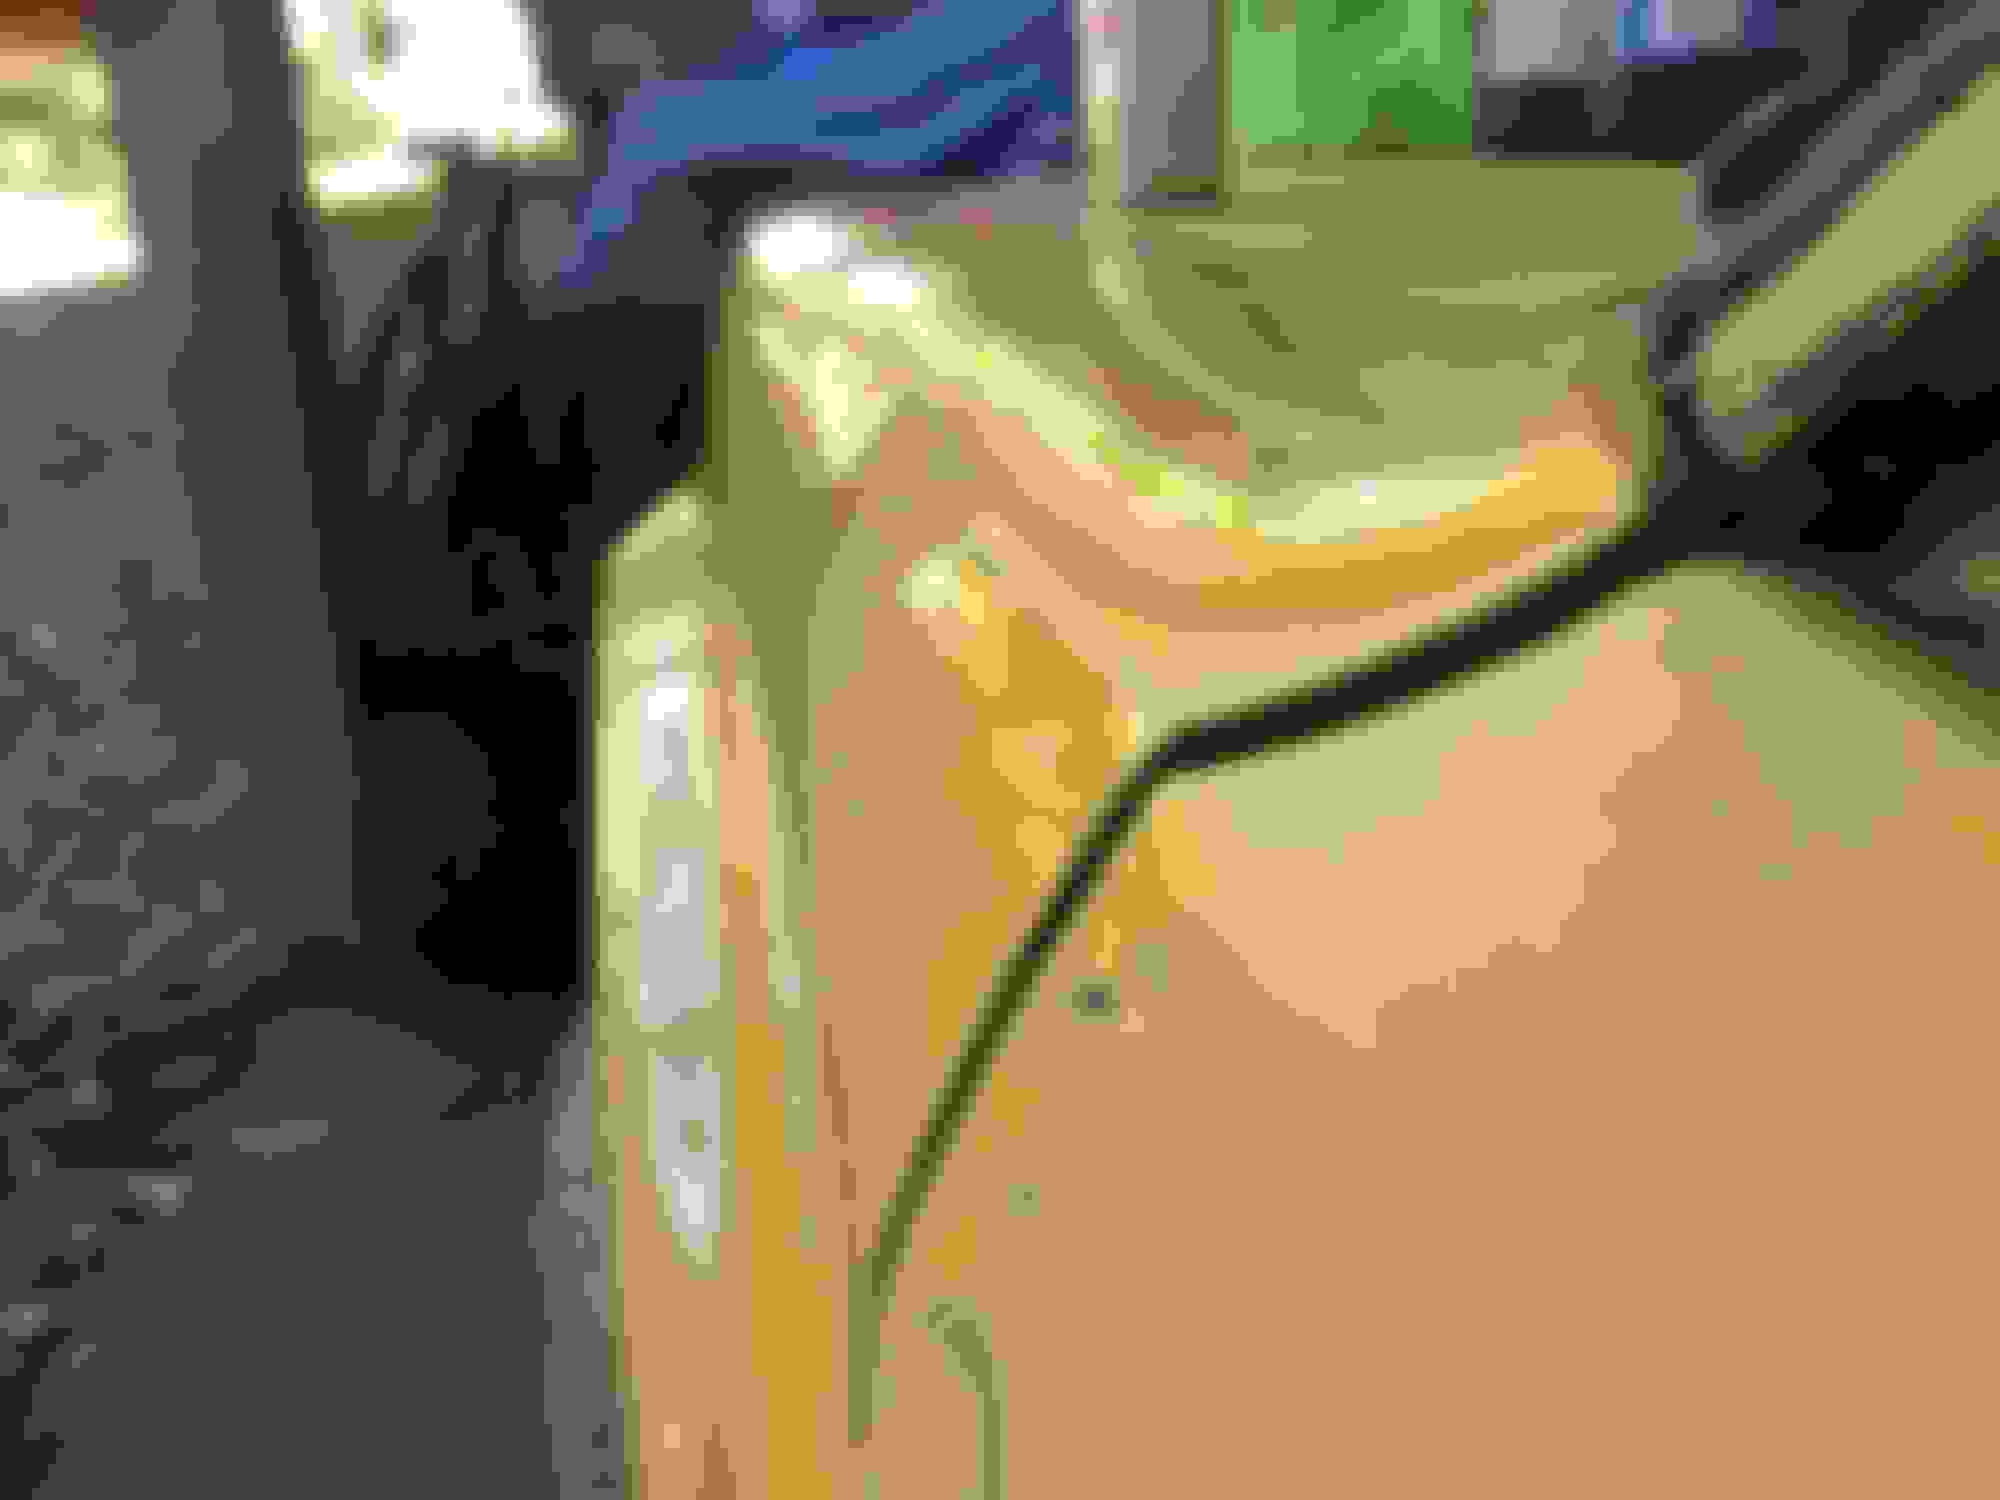
Got a little more done this eve. The driver cab corner sanded and buffed and sanded about a third of the drivers door.
The door fitment looks jacked but is shadow from the green paint in the jambs The giant gorilla snot on top of the door is Durabond, the worlds worst invention, I will see what is under there and either weld in a new piece or work with what's left
Almost got the hood done tonight but too dark for pics. I'll upload some tomorrow. Now it's time for a nap and then getting the head and timing cover off the 89 4Runner
 03-18-2017, 05:46 PM