And so the 22re rebuild begins
 06-22-2009, 10:50 PM
#1
Contributing Member
Thread Starter
And so the 22re rebuild begins
The rebuild kit is a master kit from engnbldr with new head bolts and water pump since I already have the main bearings for the brand new crank TED was very cool and let me swap the crank bearings for the water pump and head bolts turns out it was a wash price wise to trade but still he could have charged me for the pump and head bolts but just traded them out and substituted the bearings instead HUGE THANKS TO TED AT ENGNBLDR.
So I got the rebuild kit today and it has been sitting there daring me to do something with it , and so began the pre assembly of the pistons can't do anything else till I get the block back so here is some cheap rebuild porn for all interested.
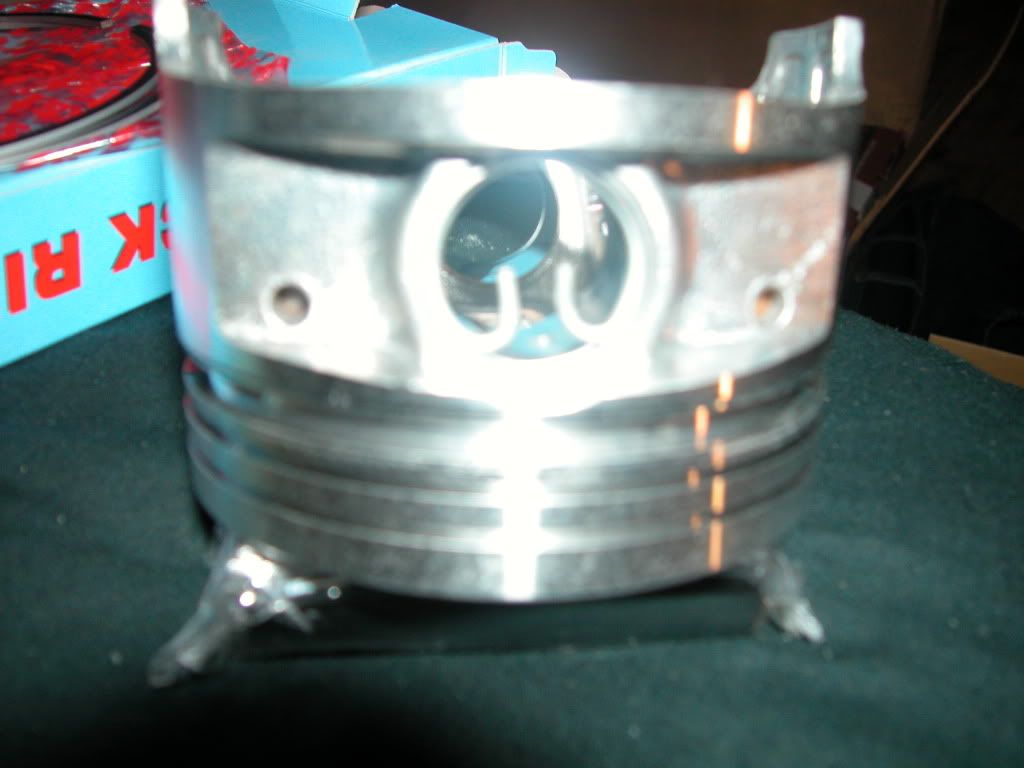
First thing after unpacking everything was to open the piston's and rings and see what it all looked like here is the bare piston it is .20 over stock after I installed the first wrist pin clip. I do this with all the Harley's I rebuild for people makes it easy to keep the pin from coming out the other side when installing the connecting rods.

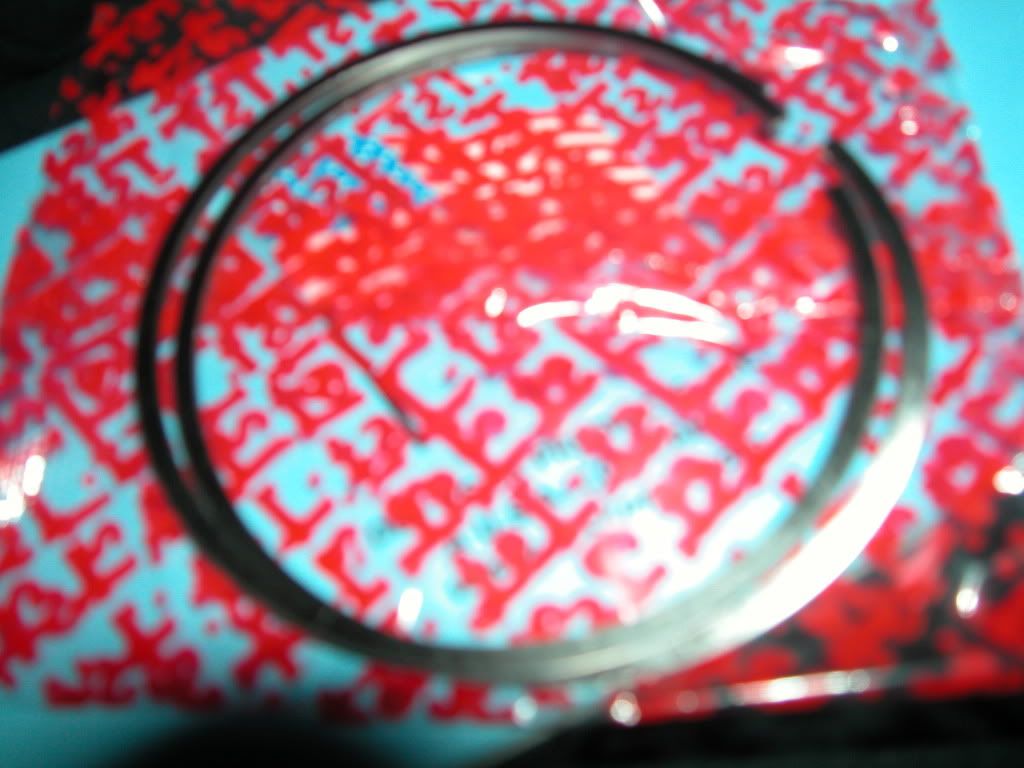
Next you can see the rings they are packaged with there position written on the package so you can't get them wrong and placed in the wrong groves in the piston itself.
These are for the first grove(closest to the top) of the piston
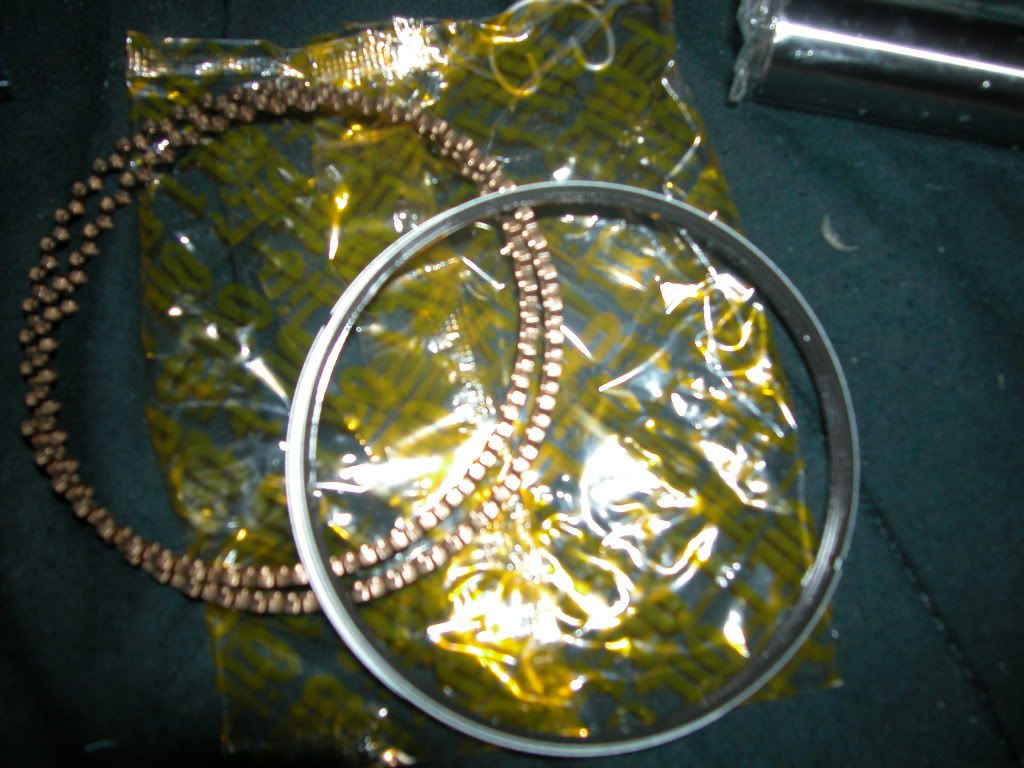
These are second for the middle grove

This set is for the bottom
Now that they are all out I had to do it could not stop myself lol Anyway this is real important if you are doing this yourself each of the rings for the top two groves must be looked at carefully.
You will see if you look real close at the rings near the split the word ROCK printed on them it maybe hard to see but look for the word because it MUST FACE UPWARD ON BOTH SETS OF RINGS WHEN INPLACE or they are not correctly installed and will not seat or oil will pass right through them and you have to start all over.
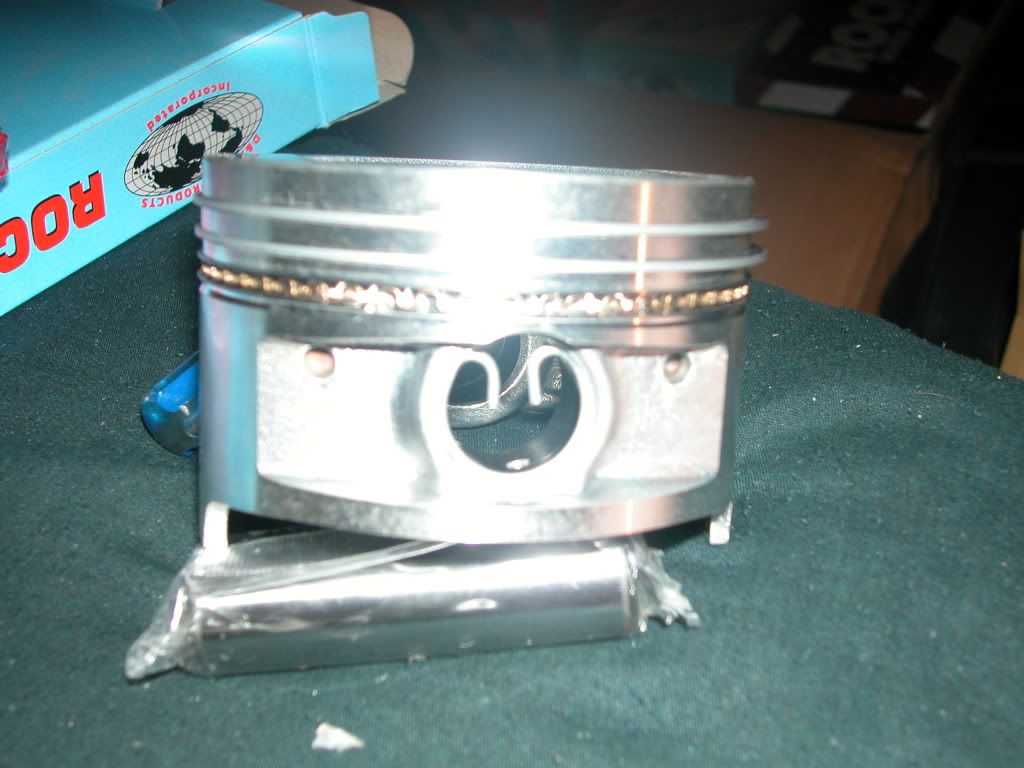
The bottom set is very important that you set one of the solid rings on both the top and bottom of the bumpy (oil) ring. Sorry I did not get pics of the install of the rings but this is how they should look once the rings are in place as required. Notice the pin sitting in front of the piston ready to be installed after I get the rods back from the machine shop they are peanning (spelling) and balancing them along with the block work.
Well that is all I can do tonight or until I get the block back for all that matters but I will try to keep this updated as I get more of the motor done , should have the block back in a couple day's after they install the freeze plugs and wrist pin bearings so stay tuned
So I got the rebuild kit today and it has been sitting there daring me to do something with it , and so began the pre assembly of the pistons can't do anything else till I get the block back so here is some cheap rebuild porn for all interested.
First thing after unpacking everything was to open the piston's and rings and see what it all looked like here is the bare piston it is .20 over stock after I installed the first wrist pin clip. I do this with all the Harley's I rebuild for people makes it easy to keep the pin from coming out the other side when installing the connecting rods.
Next you can see the rings they are packaged with there position written on the package so you can't get them wrong and placed in the wrong groves in the piston itself.
These are for the first grove(closest to the top) of the piston
These are second for the middle grove
This set is for the bottom
Now that they are all out I had to do it could not stop myself lol Anyway this is real important if you are doing this yourself each of the rings for the top two groves must be looked at carefully.
You will see if you look real close at the rings near the split the word ROCK printed on them it maybe hard to see but look for the word because it MUST FACE UPWARD ON BOTH SETS OF RINGS WHEN INPLACE or they are not correctly installed and will not seat or oil will pass right through them and you have to start all over.
The bottom set is very important that you set one of the solid rings on both the top and bottom of the bumpy (oil) ring. Sorry I did not get pics of the install of the rings but this is how they should look once the rings are in place as required. Notice the pin sitting in front of the piston ready to be installed after I get the rods back from the machine shop they are peanning (spelling) and balancing them along with the block work.
Well that is all I can do tonight or until I get the block back for all that matters but I will try to keep this updated as I get more of the motor done , should have the block back in a couple day's after they install the freeze plugs and wrist pin bearings so stay tuned


 06-23-2009, 09:40 PM
#4
Contributing Member
Thread Starter
I read some where also that you should do a torque to yield on the head bolt's i.e. quarter turn of bolt's once 65-70 ft. lbs. of torque are meet you know any thing about that?
 06-24-2009, 09:08 AM
#7
Registered User
no torque to yield on the 22r's.
and about those wrist pin bushings, there pressed in and honed to fit. but i see your pins there in that pic above, and you say the shop is pressing those bushings for you.
and is it getting bored? if so they need those pistons you have also.
im not sure if you are aware of those things or not, just trying to be helpful
Trending Topics
06-24-2009, 04:38 PM
#8
Contributing Member
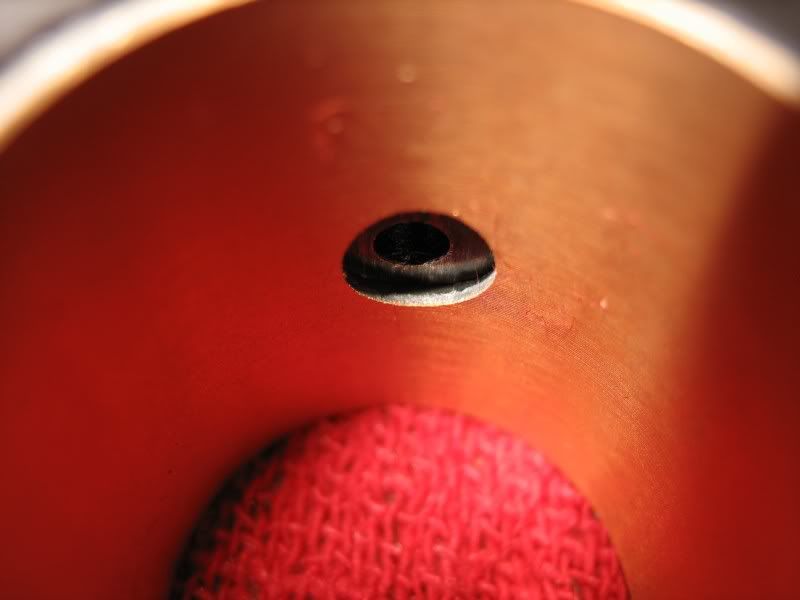
 just have to make 100% sure you line up the oil holes
mine were dead-on with all 4

 06-24-2009, 04:41 PM
#9
Contributing Member
btw, does you're camera have a "Macro" button? It usually has a picture of a little flower on or next to it. Try pressing that for you're close-up photos; it's makes the camera focus in on closer objects, and the pics should come out more clear 
06-25-2009, 11:06 PM
#12
Contributing Member
Thread Starter
Droped the piston's , crank pin's and freeze plugs off at the machine shop today and they said it should be ready to pick up Monday or Tuesday so then the rebuilding can commence.
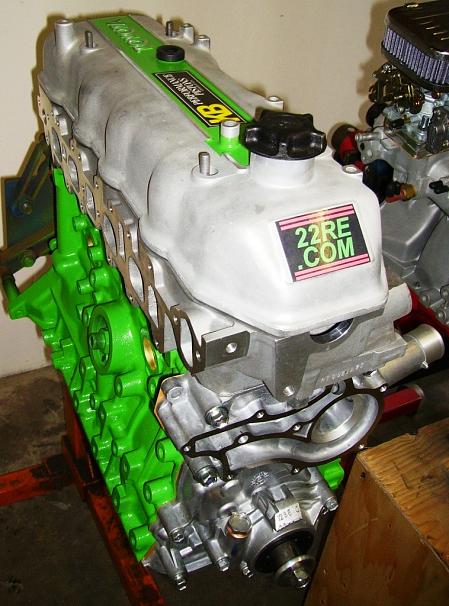
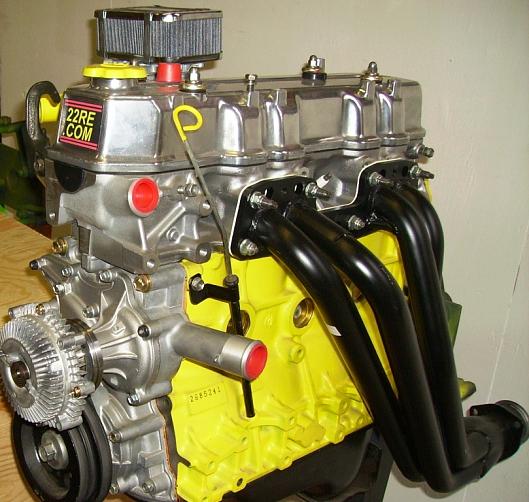
First up will be painting the block (red) pulley's (black) valve cover (red ala L.C.Engineering's RED HEAD) Header and all the other part's (silver and all lettering red) to give it a oh so cool look , then pulling the old motor out and starting to swap bolt's and replace all new part's OH YEA!
Any idea's about different color's?
06-25-2009, 11:08 PM
#13
Contributing Member
Thread Starter
Cool Thanks for the tip I will try to remember that as I start the rebuild and taking picture's.
06-26-2009, 03:03 PM
#15
Registered User

Join Date: Dec 2008
Location: PNW
Posts: 105
Likes: 0
Received 0 Likes
on
0 Posts
rock products?..........hmmm. ummm, hmmm. how do those feel compared to japanese internals? ( weight, apperance, feel, etc). They seem to be popular (price wise) just really havent heard the two compared. Good luck w/ your build.
 06-26-2009, 04:45 PM
#17
Contributing Member
I never will understand the neon-green trend  just not a big fan of it I guess...
to each their own; it's not like it looks horrible, but I wouldn't use the color on my truck, lol
I'm old school I guess... red, blue, or black... oh and chrome
just not a big fan of it I guess...to each their own; it's not like it looks horrible, but I wouldn't use the color on my truck, lol
I'm old school I guess... red, blue, or black... oh and chrome
06-26-2009, 10:27 PM
#18
Contributing Member
Thread Starter
To me and maybe I am still a little naive and brought up in the woods to long but a mans word and guarantee are what makes him without them your nothing and after all the time talking with TED I feel very assured he is 100% a man of his word. I would pay twice as much for his parts if that's what it took to get that kind of service and old school way of doing business from someone , more shop's should follow his example and do thing's right and stand behind their products the way he does.
I guess without even knowing it
 (GREAT MINDS THINK ALIKE
  ) HELL YES I AM but I also decided to do the header black to get even a more balanced and super cool factor : I was leaning toward CATERPILLER YELLOW for the block but I just LOVE Black Red and Silver together all though yellow in the mix instead of silver looks kick ass too the yellow would not look so cool on the rest of the motor that will be silver.
06-26-2009, 10:34 PM
) HELL YES I AM but I also decided to do the header black to get even a more balanced and super cool factor : I was leaning toward CATERPILLER YELLOW for the block but I just LOVE Black Red and Silver together all though yellow in the mix instead of silver looks kick ass too the yellow would not look so cool on the rest of the motor that will be silver.
06-26-2009, 10:34 PM
#19
Contributing Member
Thread Starter


